How to use computer grafix to make a popsicle garland
Use Computer Grafix to Make a Popsicle Garland
67
STEPS
TOOLS

open a new document in a word processing program and add 1 - 4" X 6" text box.
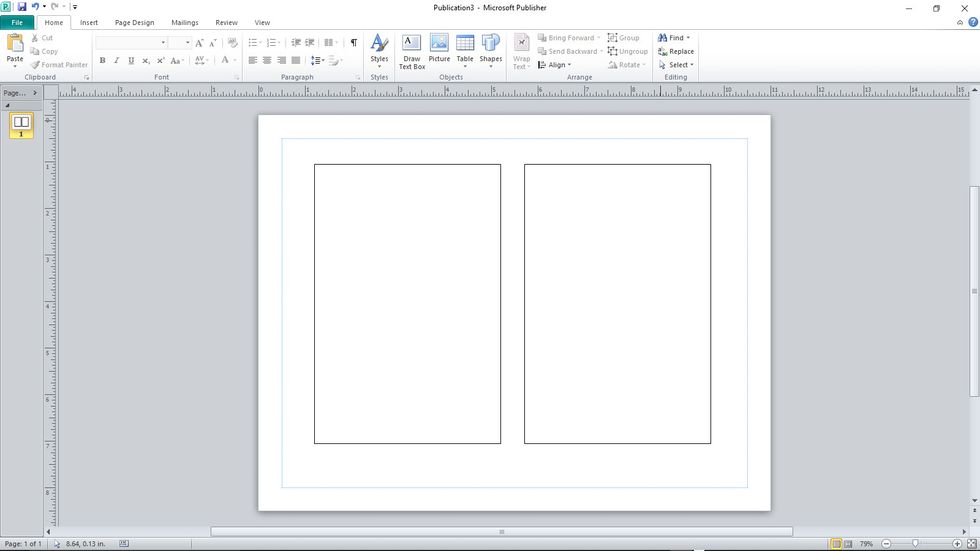
copy and paste to fit 2 - 4" X 6" text boxes on one page.
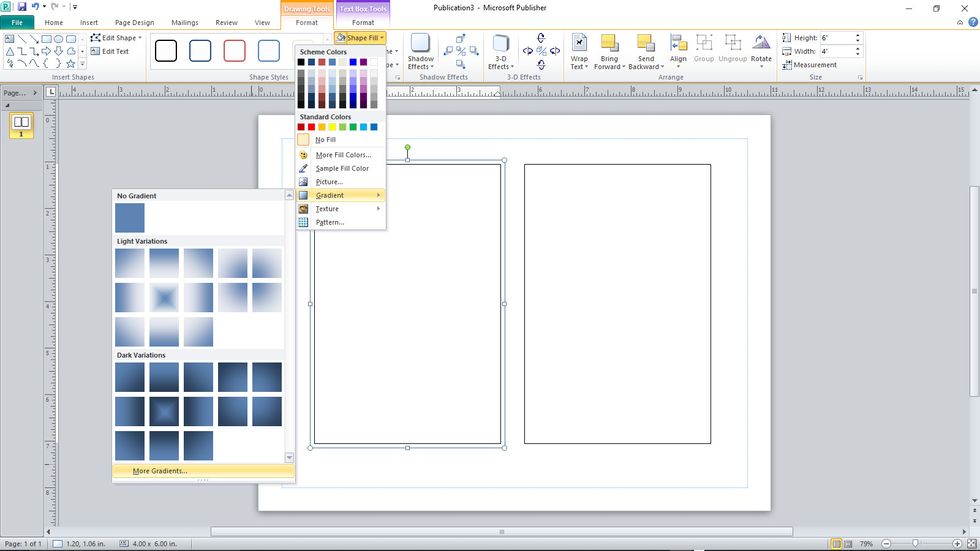
from "drawing tools" menu, select "shape fill", then "gradient" and "more gradients".
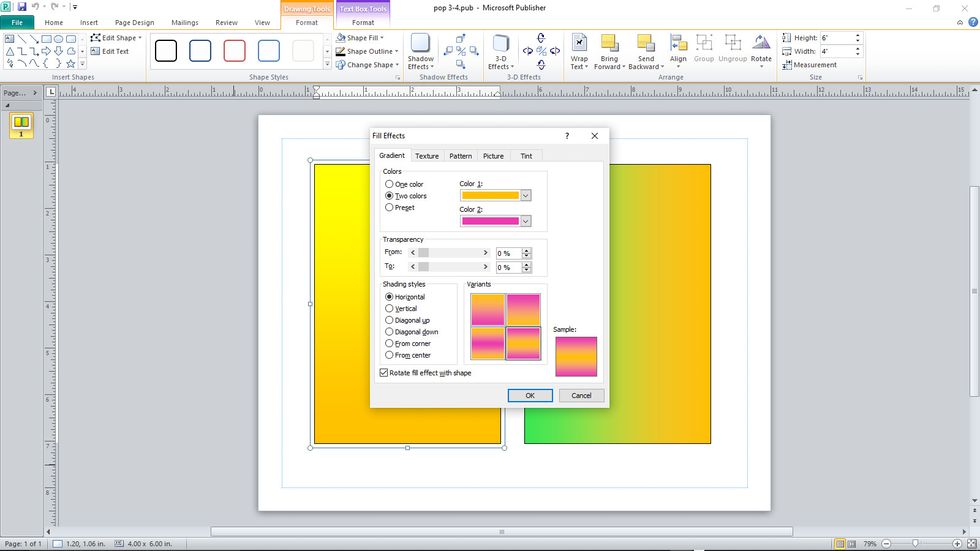
select "two colors" and select a "shading style" of your choice.
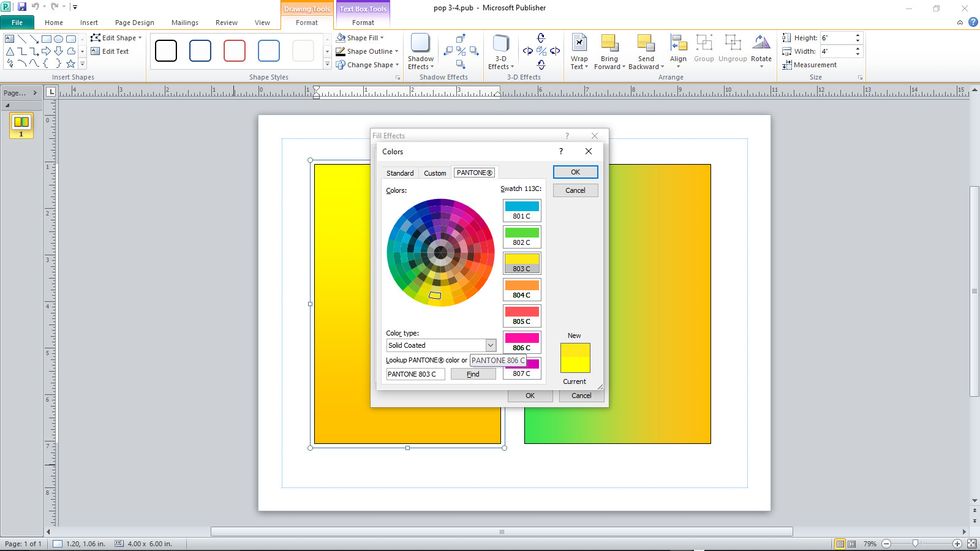
select the colors to be used. make a note of choices if you would like to use the same variety of colors in all of your popsicles.
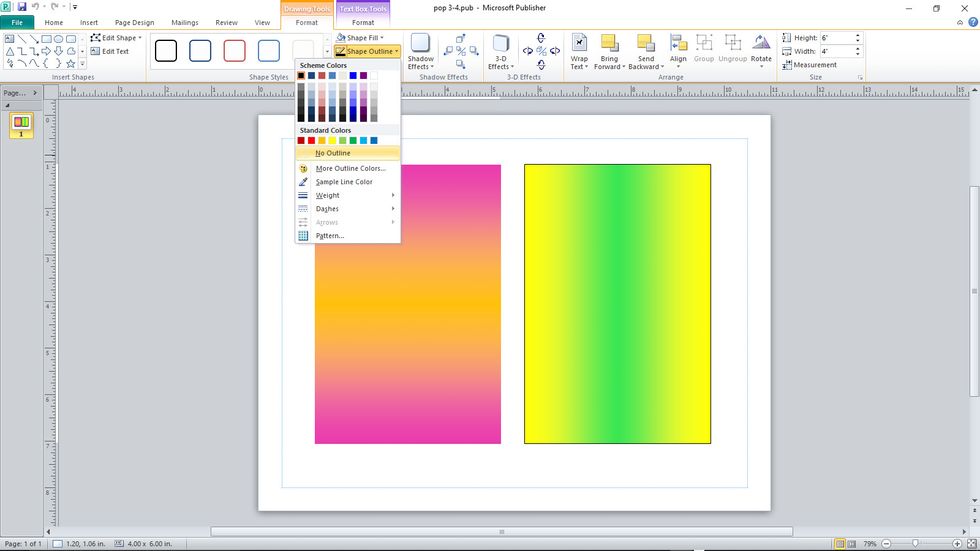
under "drawing tools", select "shape outline" and "no outline" for both boxes. save the page, then repeat to create 5 more gradient boxes for your popsicles.
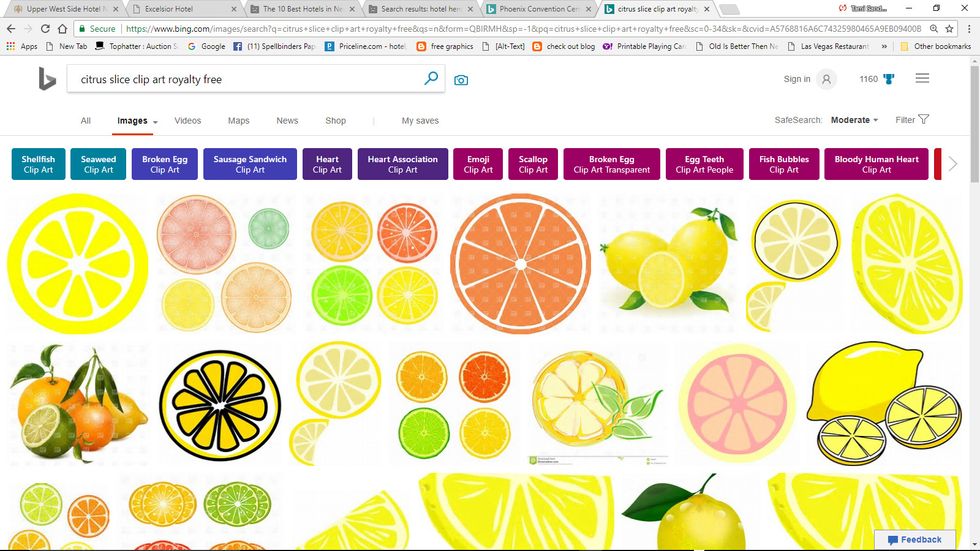
search the web to find royalty free fruit designs to print to use for your Shrink Film pieces. arrange designs on a page, fitting as many as possible on a sheet.
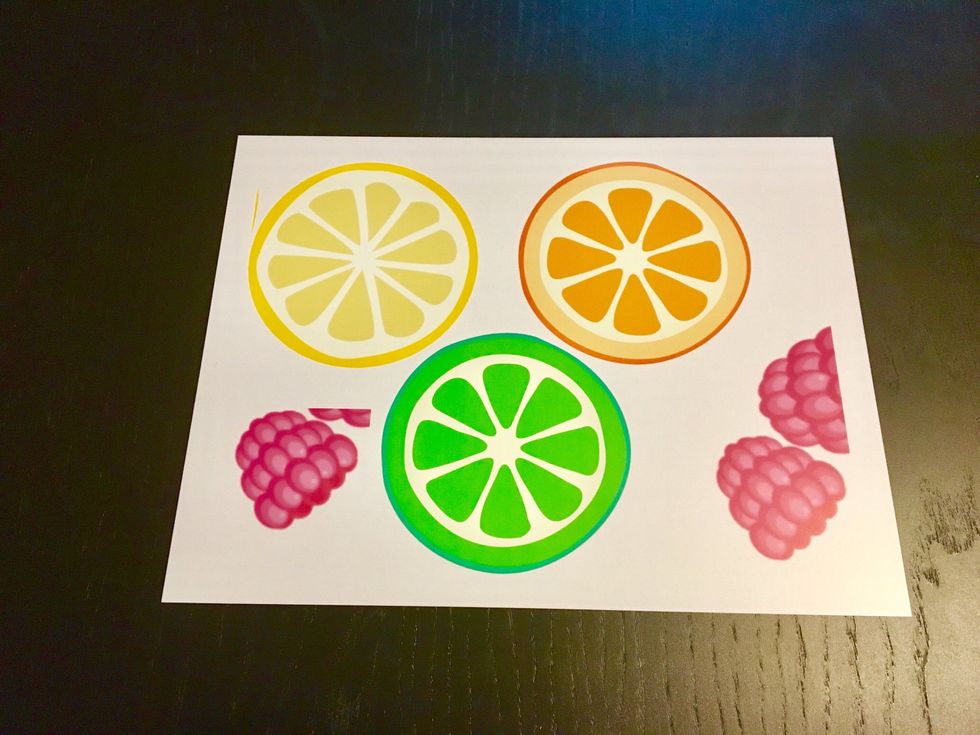
print out fruit clip art on Inkjet Printable Shrink Film, you will need to print multiple sheets to have enough fruit to embellish your popsicles.
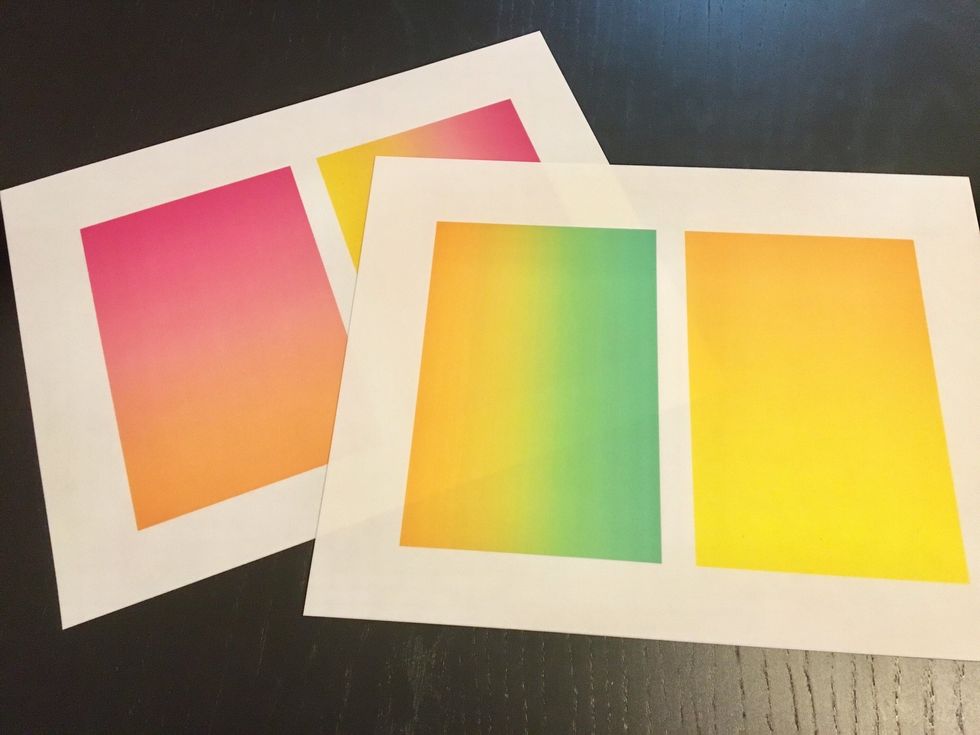
print out the gradient designs for the popsicles on the Matte Adhesive backed Computer Grafix.

cut out the gradient pieces from the printed sheets.
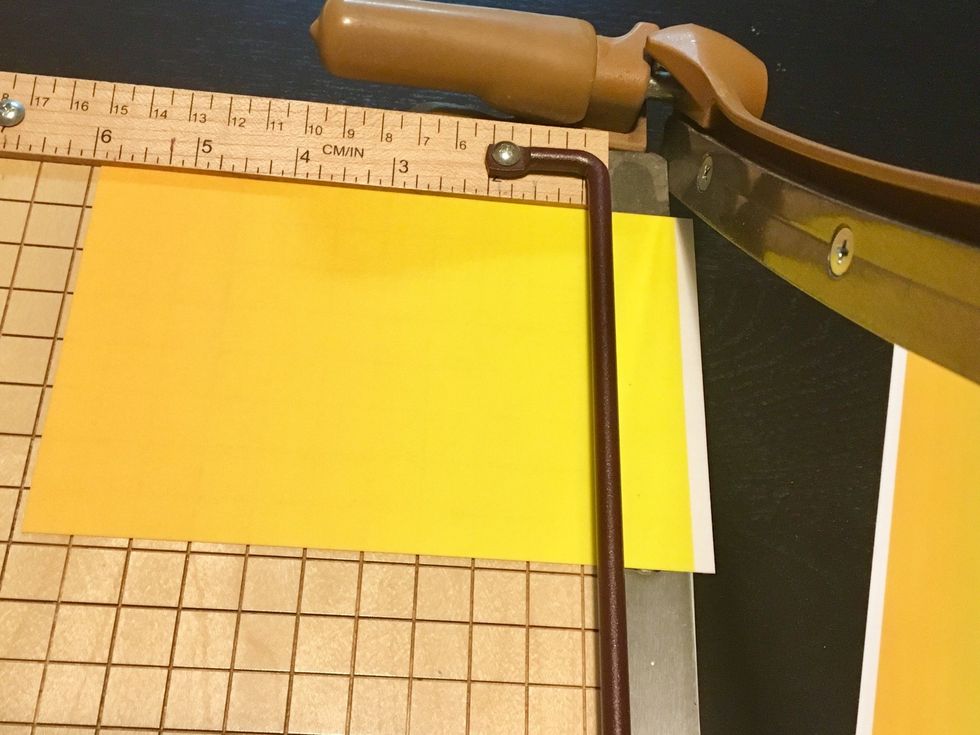
trim close to design.

cut out 7- 4 X 6 pieces of White Chipboard for the base of the popsicles.

separate the adhesive backing from the film on one of the gradient printed pieces.
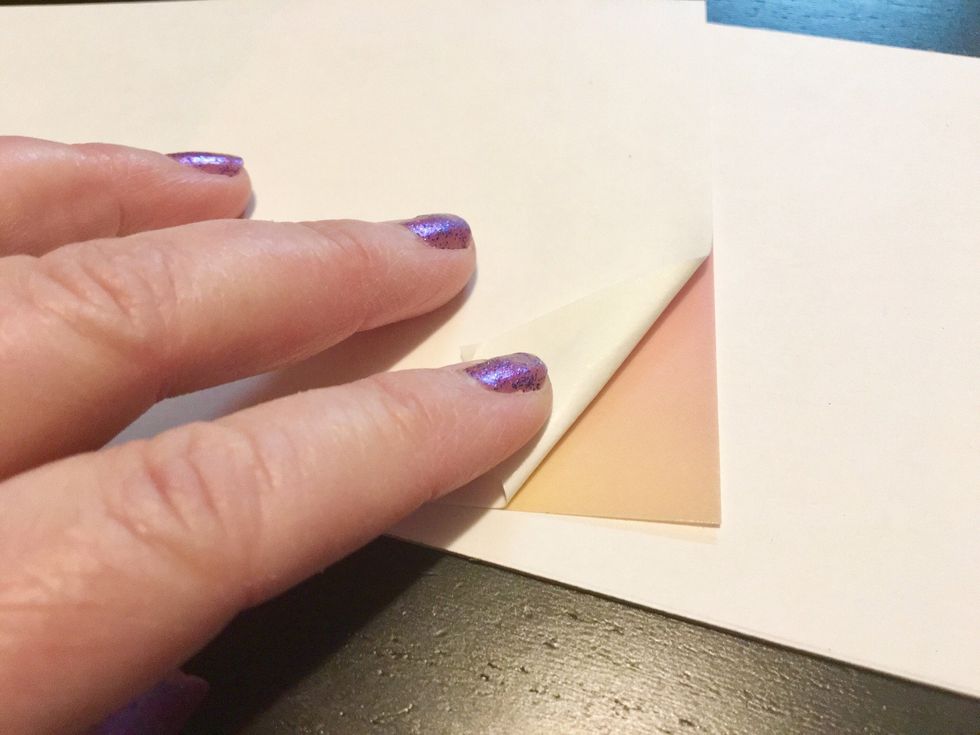
fold back the corner of the backing.
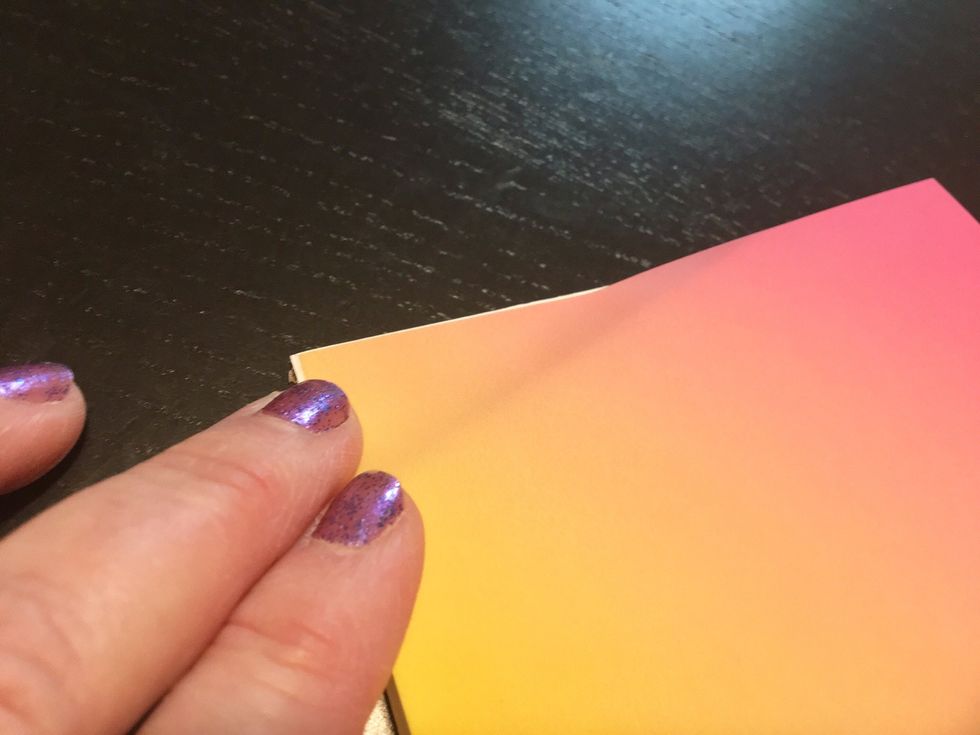
line up the adhesive backed corner of the film with the matching corner of your 4 X 6 chipboard piece and apply film to the corner.
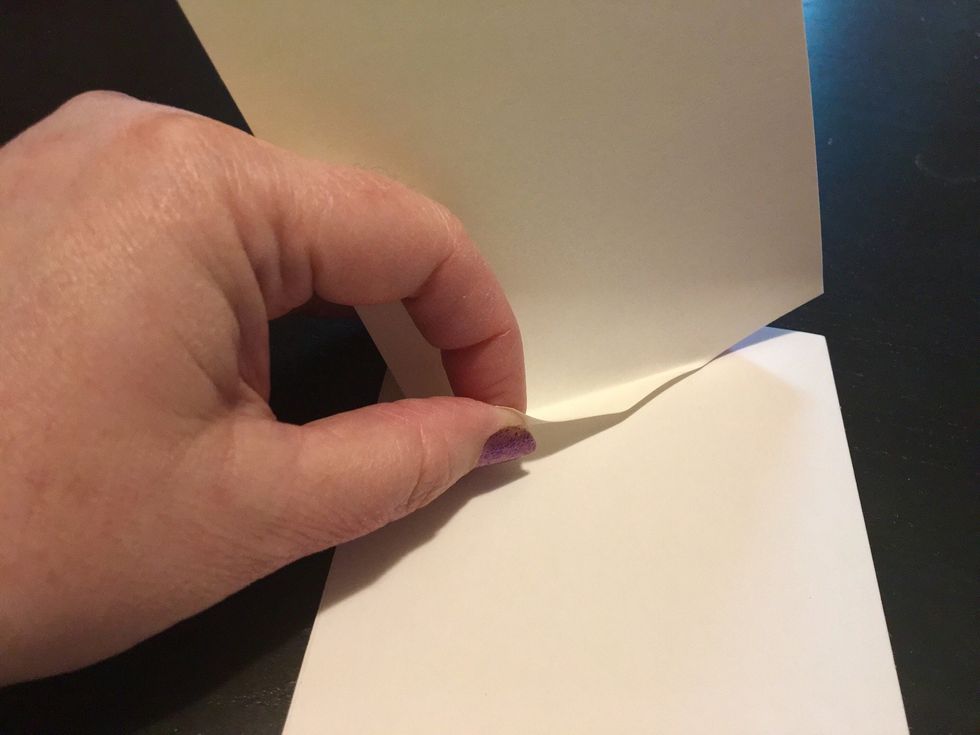
pull the backing to remove it bit by bit...
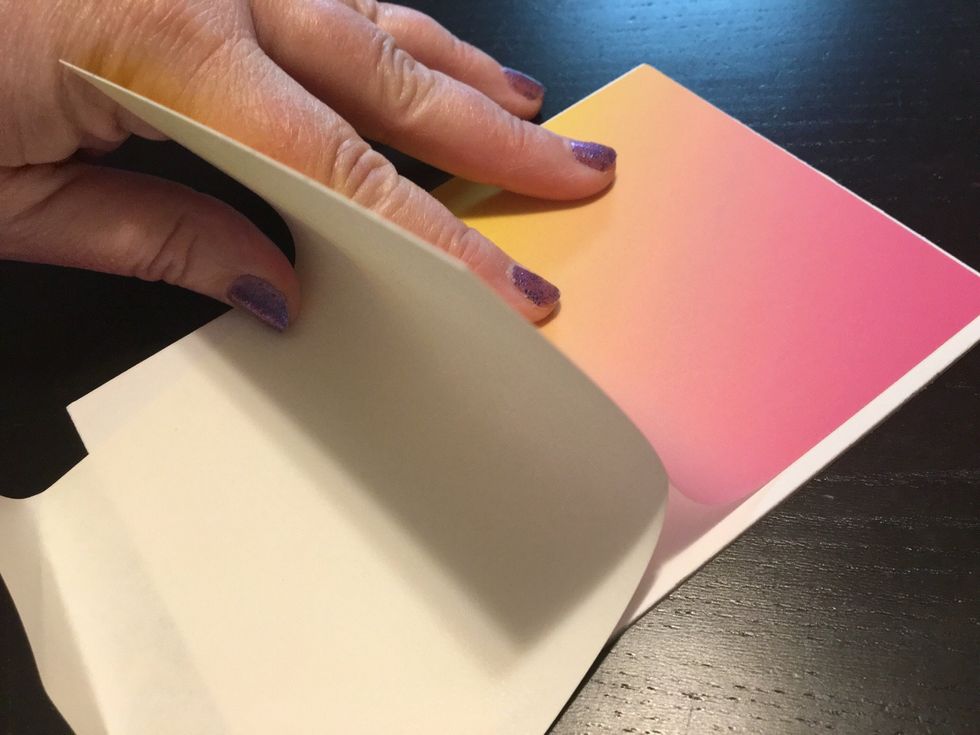
...as you smooth the film onto the chipboard. work slowly and press well to make sure no air bubbles are trapped.
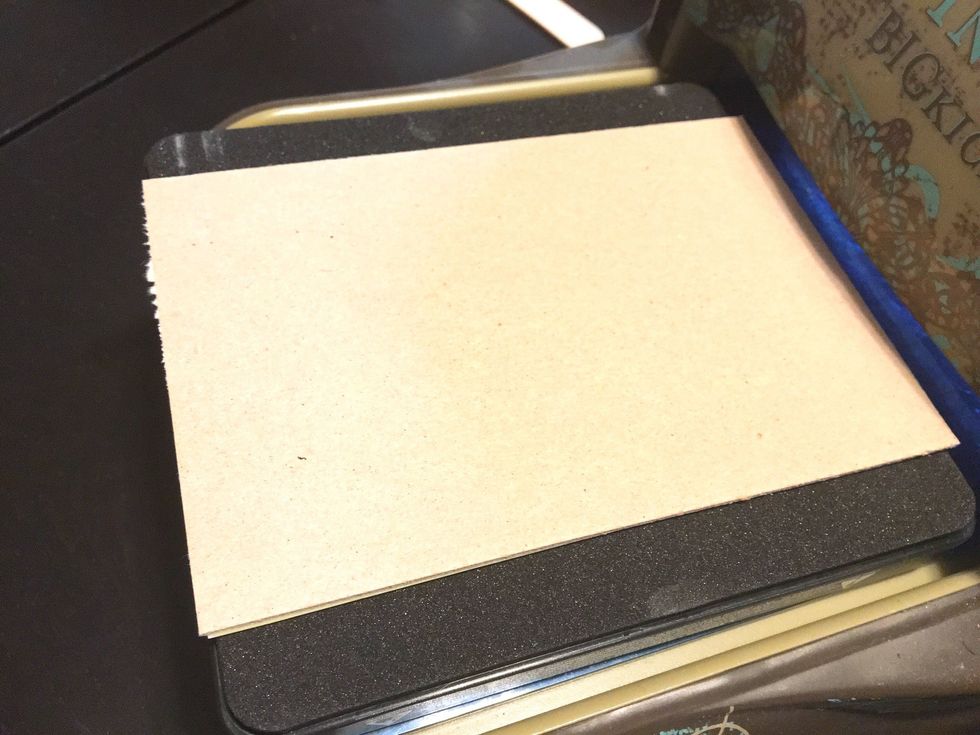
place facedown onto the die, centering the chipboard over the cutting area.
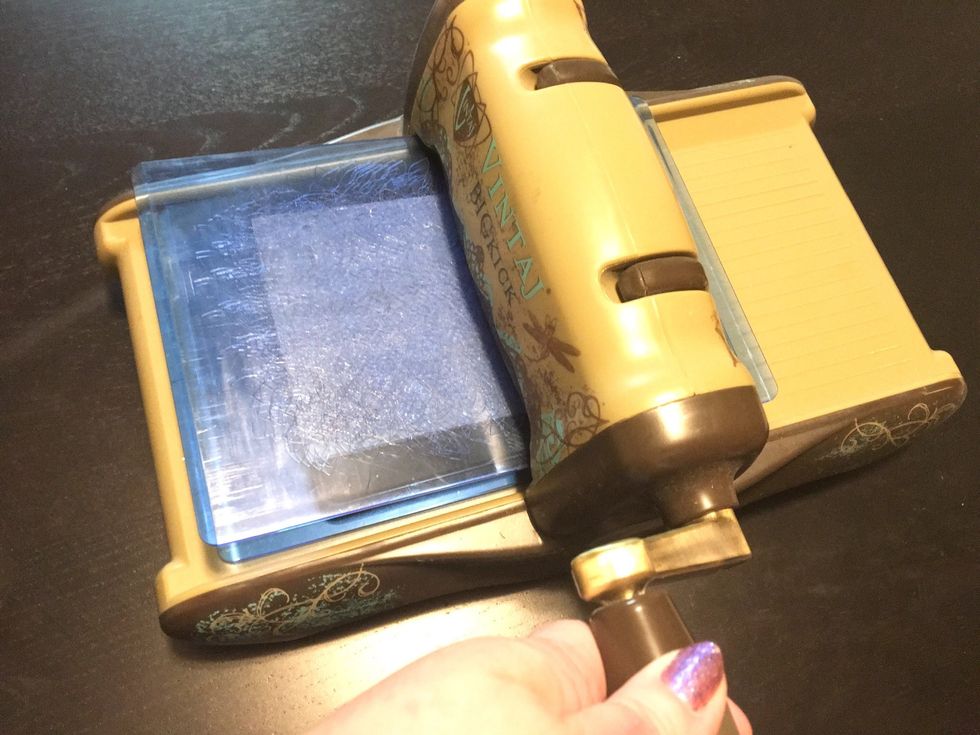
"sandwich" pieces as called for by your machine and run die through your cutting machine.
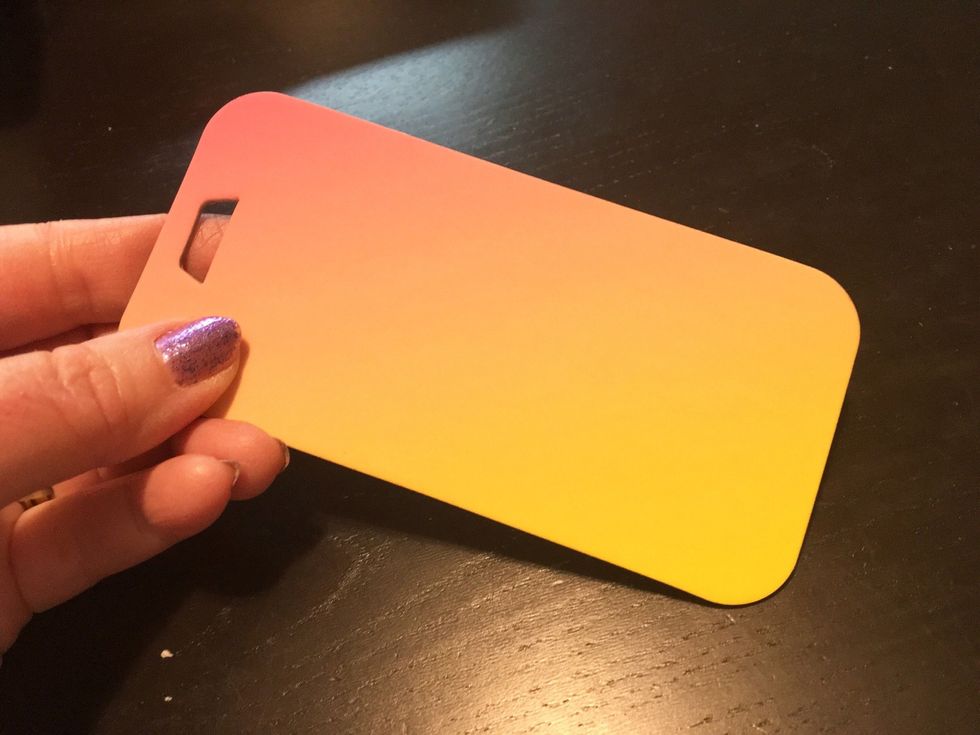
finished diecut popsicle. repeat steps to create other 6 popsicles.
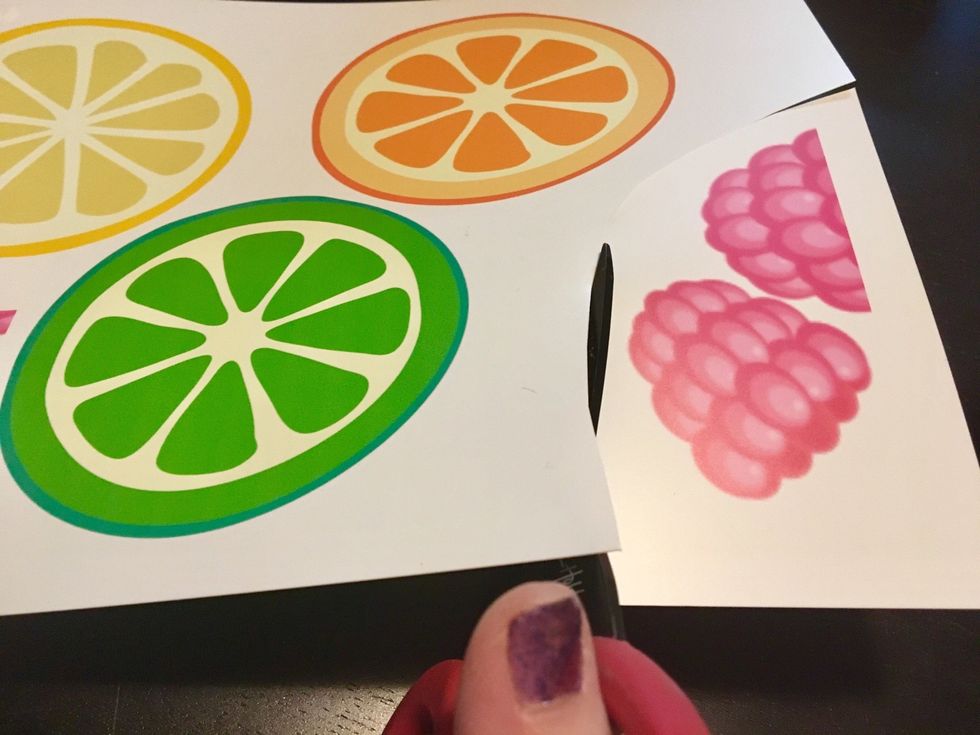
cut out fruits from Shrink Film.
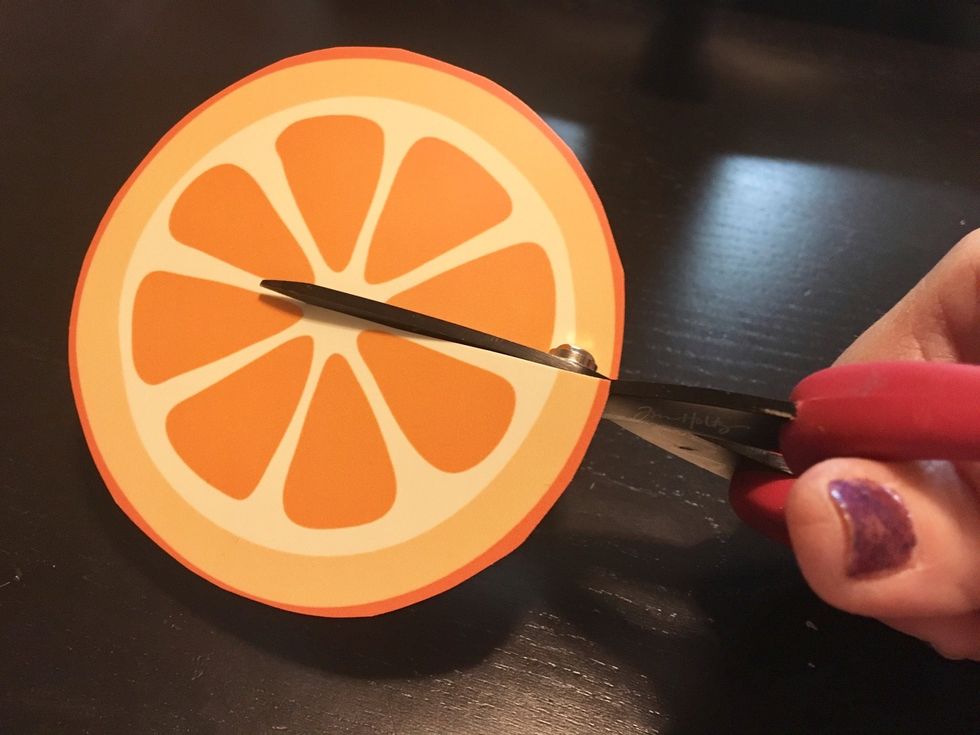
cut citrus pieces in half.
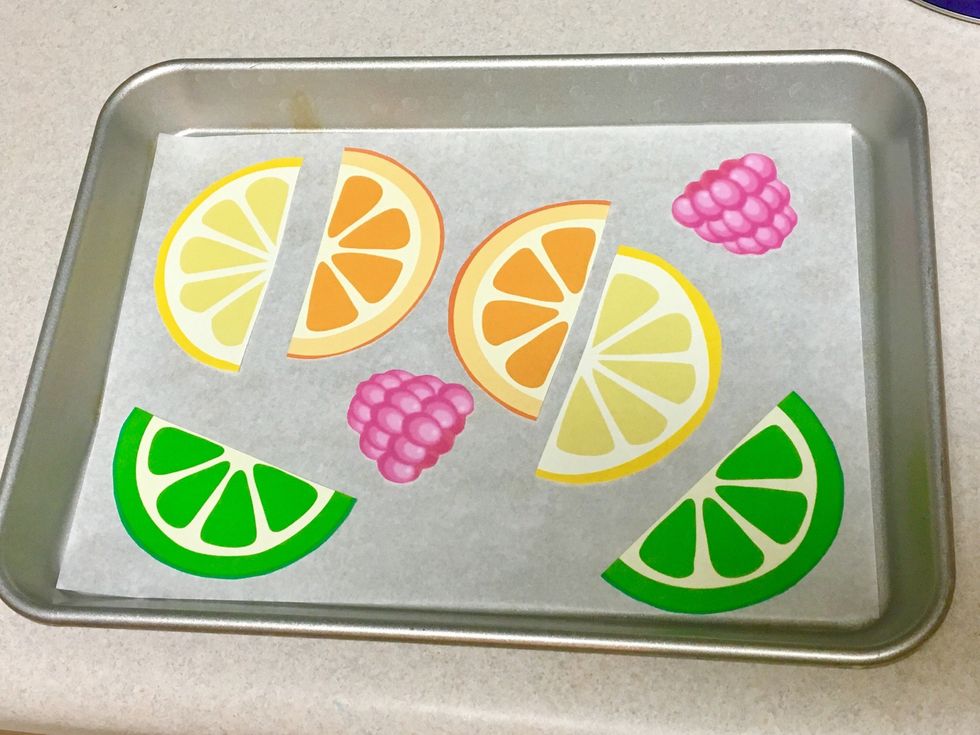
place Shrink Film pieces on a parchment lined baking tray and bake as per directions on package.
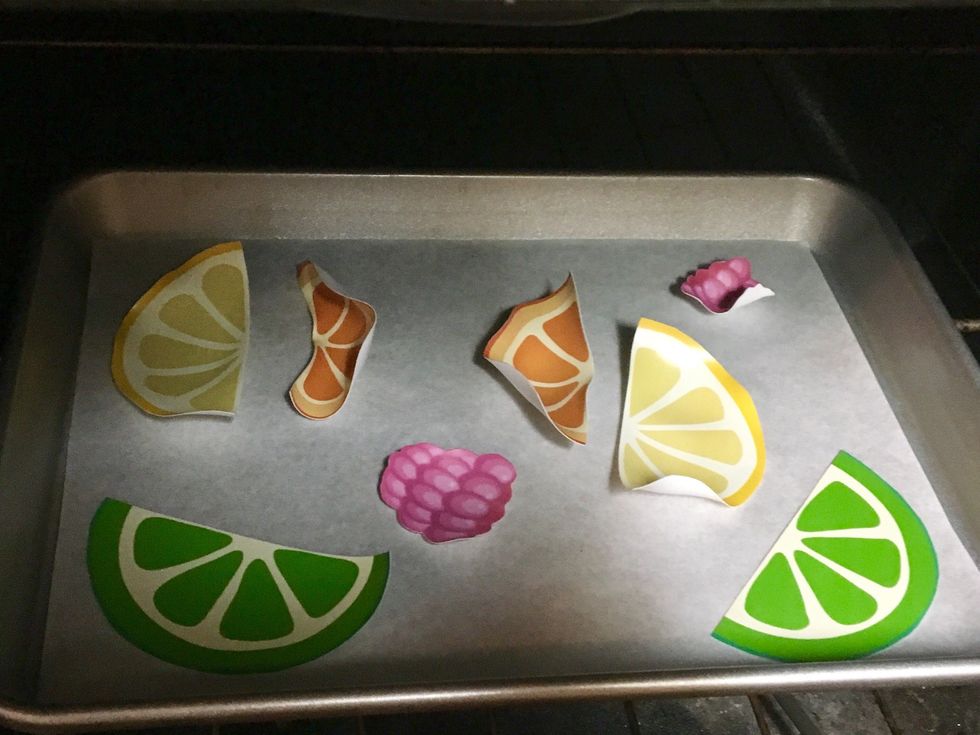
Shrink Film pieces will pucker and bend as they shrink. keep baking until pieces completely shrink and flatten.
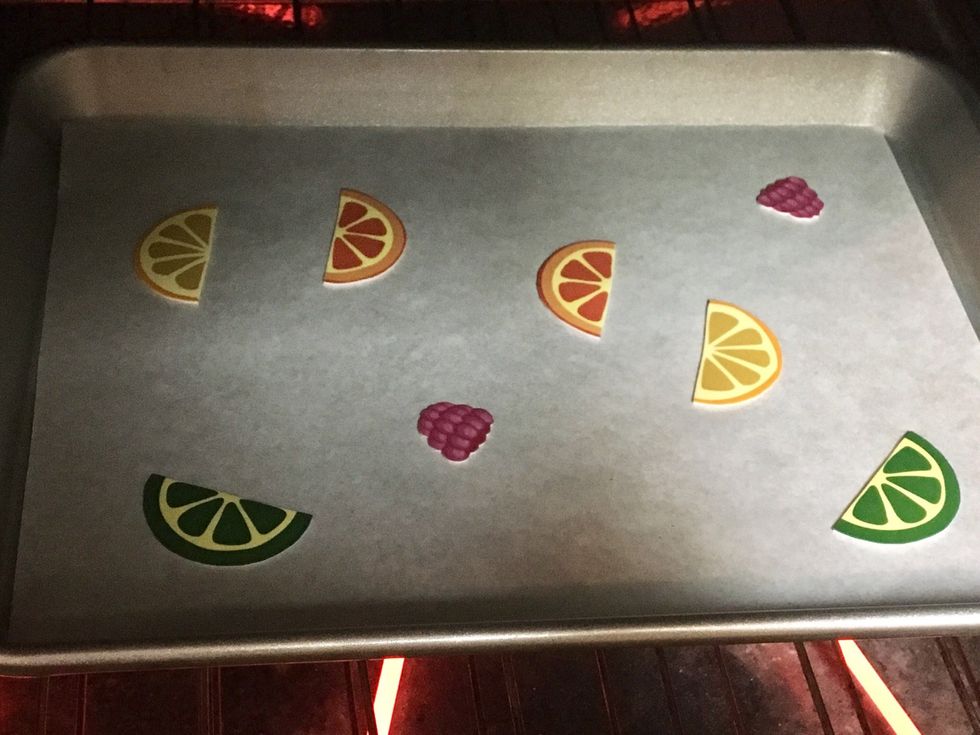
you can tell pieces are done baking when they have reduced in size and have become flat again.
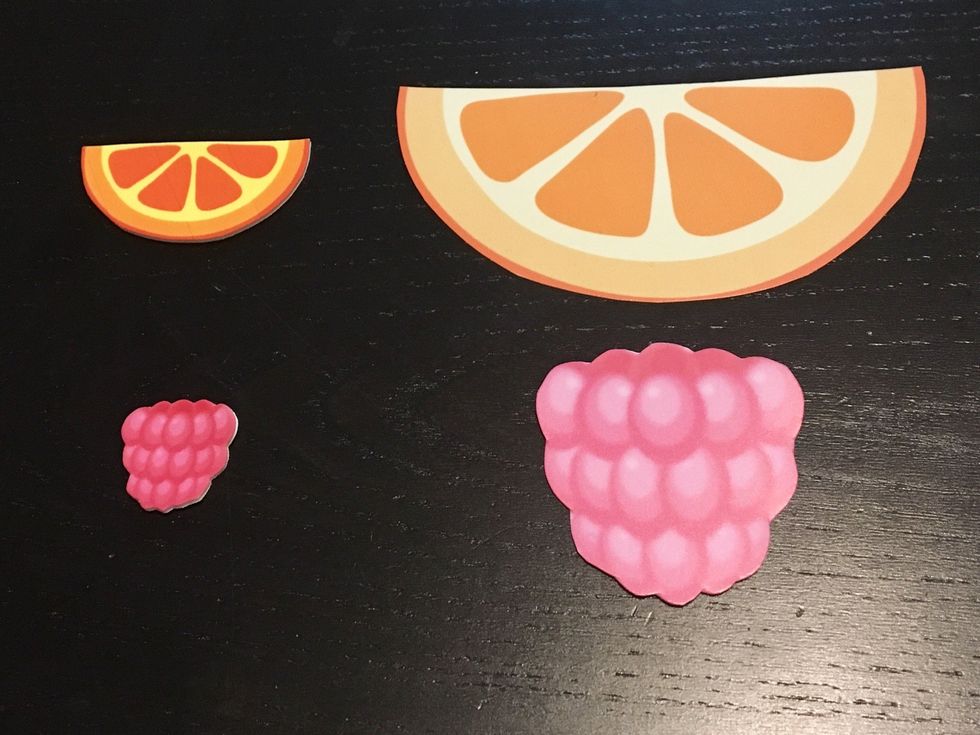
compare size and color of fruit pieces before and after shrinking. notice how the designs have become darker as the design colors have concentrated as they shrunk.
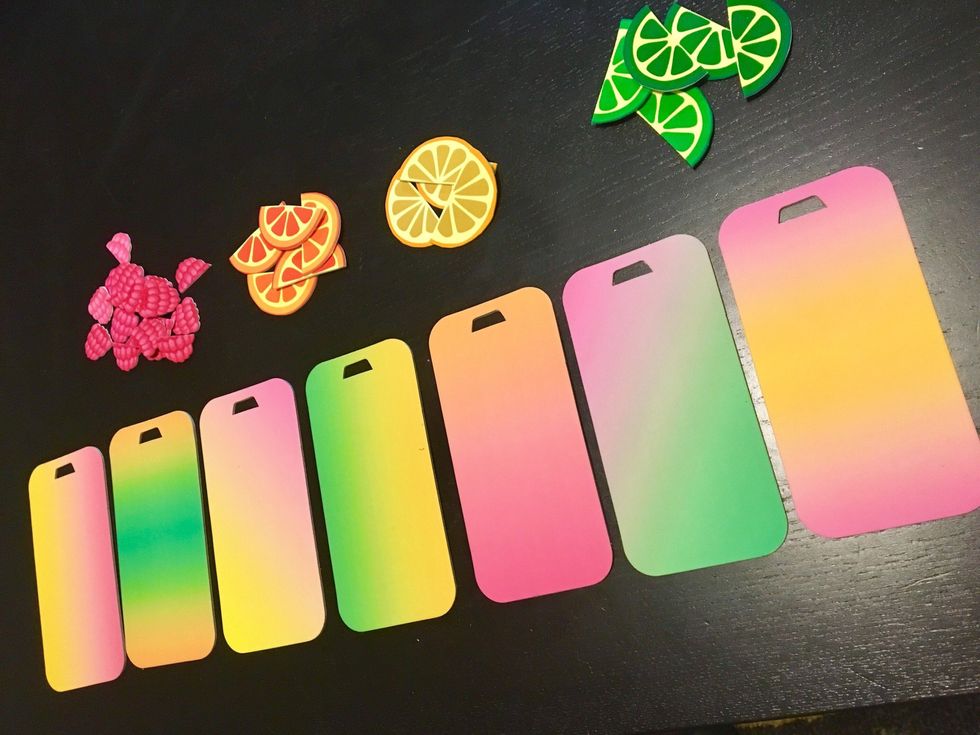
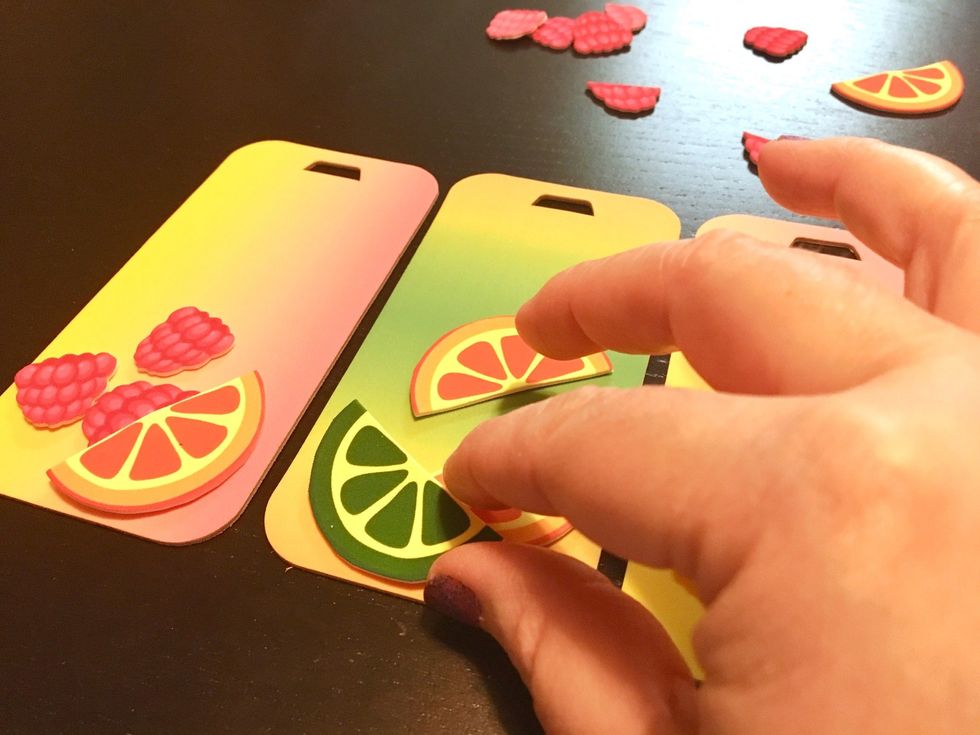
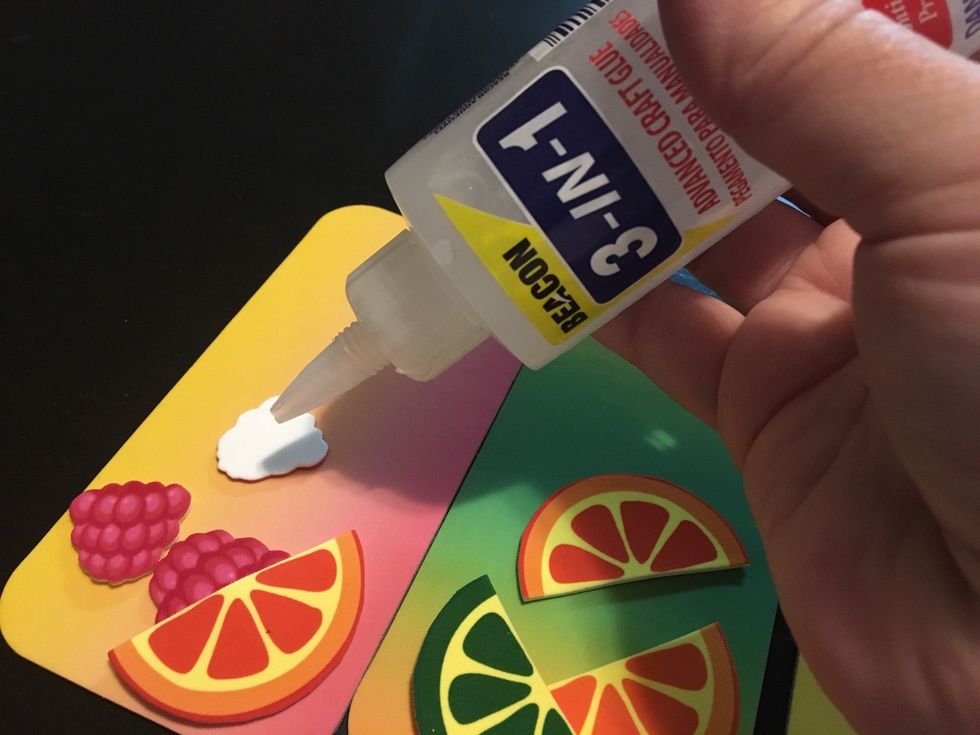
once you are happy with how the fruit pieces are arranged, begin adhering them to the popsicles using 3-in-1 Glue.

finished popcicles with fruit pieces adhered.
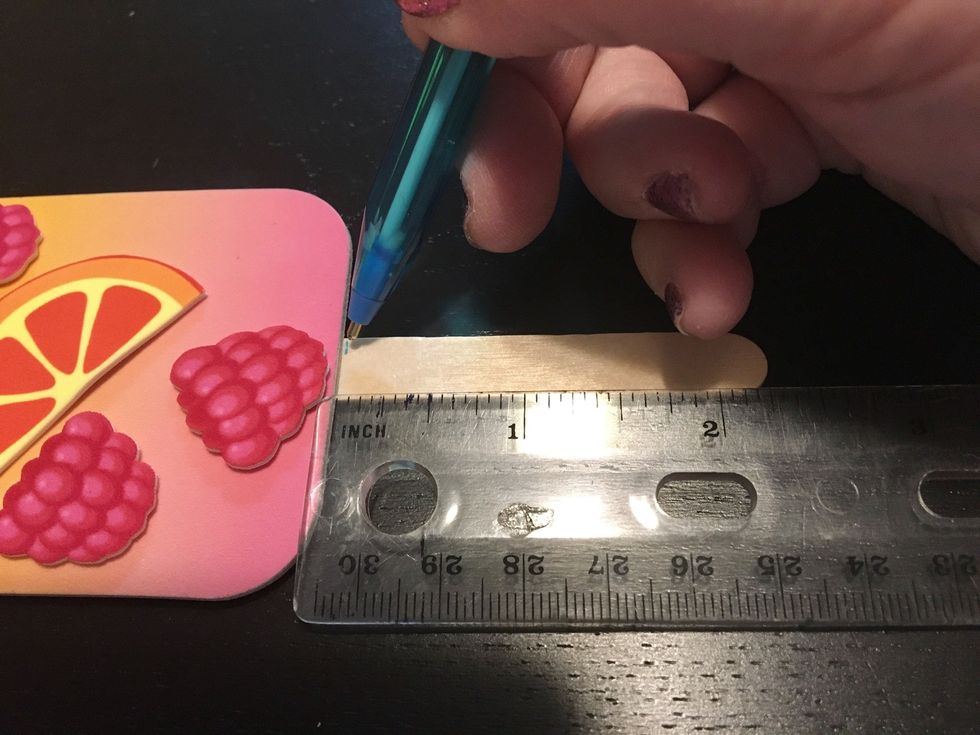
measure and mark sticks at 2 1/4" from base to bottom of popsicle.
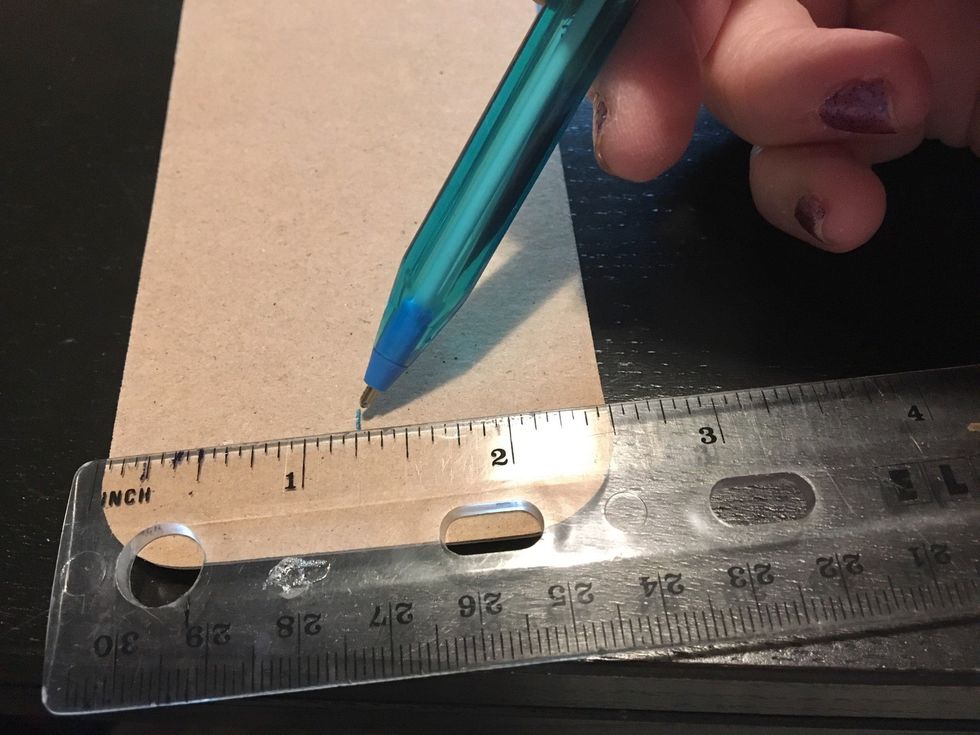
measure and mark center of popcicle on back at 1 1/4".

make a few more marks at center...
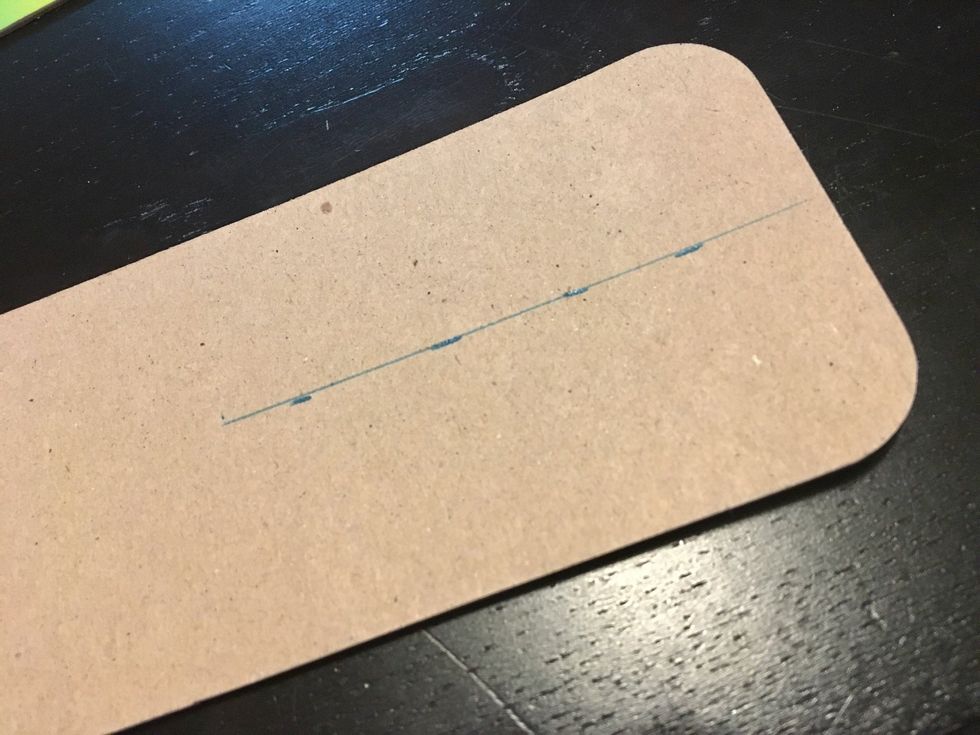
then connect them with a line.
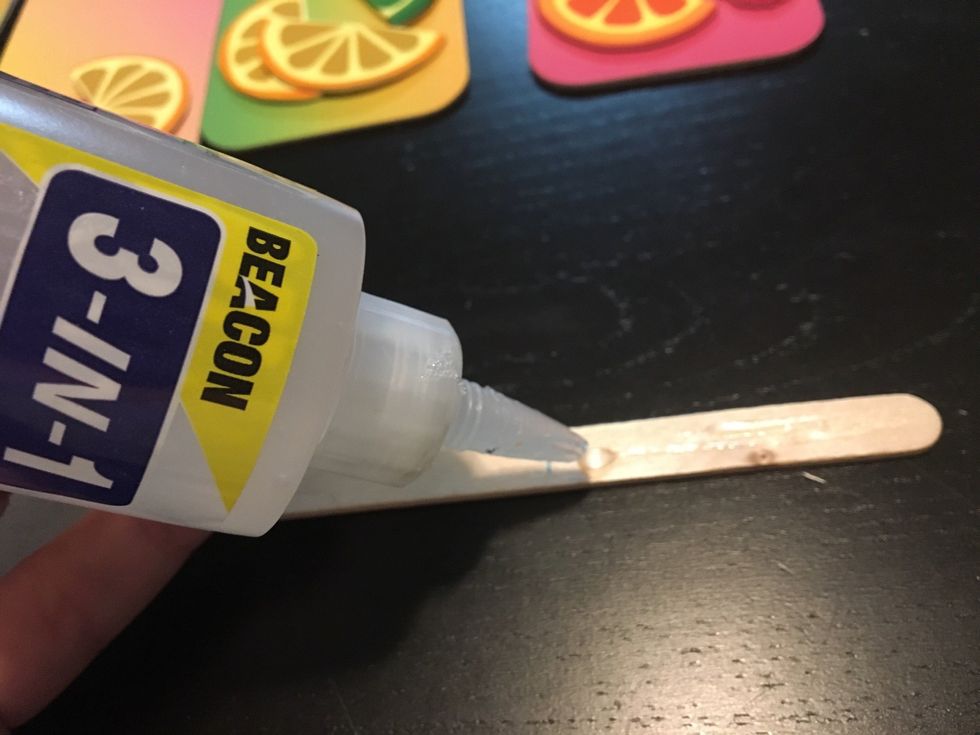
add a bead of glue to back of popsicle stick...
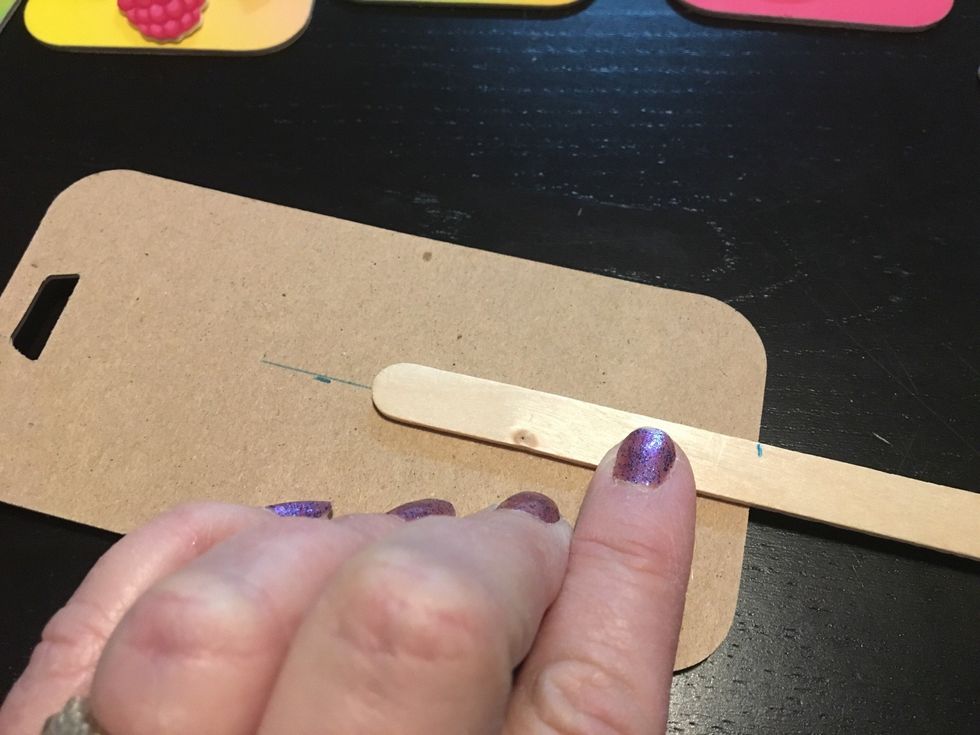
then adhere to back of each popsicle; lining up stick on center of line down the back and having the 2 1/4" mark on stick at the bottom of the popsicle.
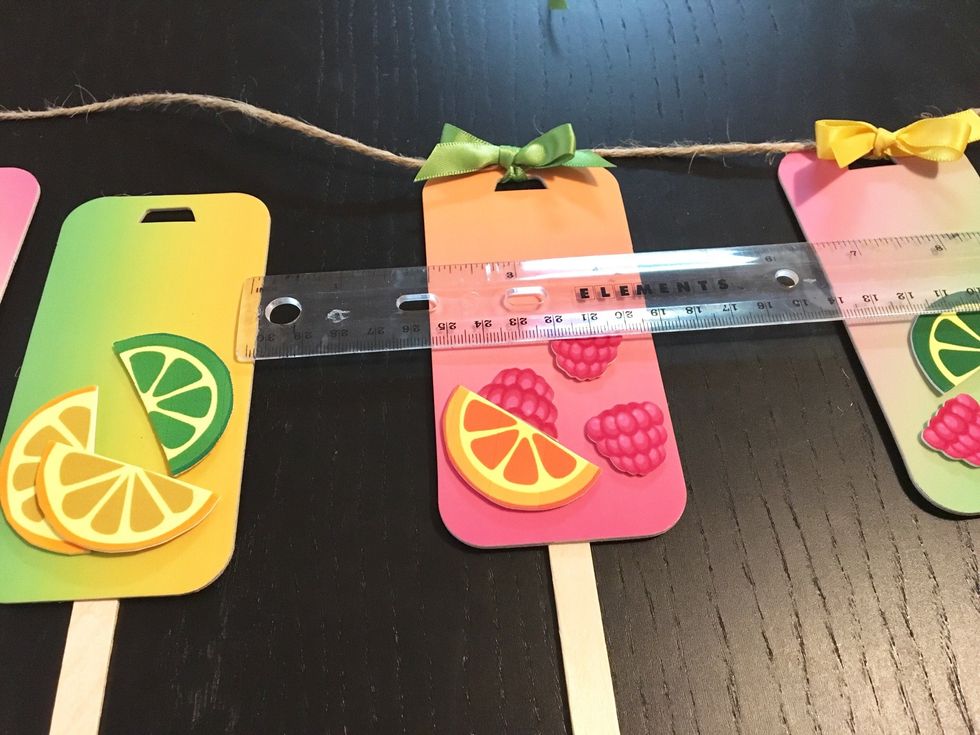
cut 1 yard of jute and mark center. tie on one popsicle using ribbon at center, finishing in a bow. then space other popsicles about 2" apart on either side of first one. repeat til all are attached.
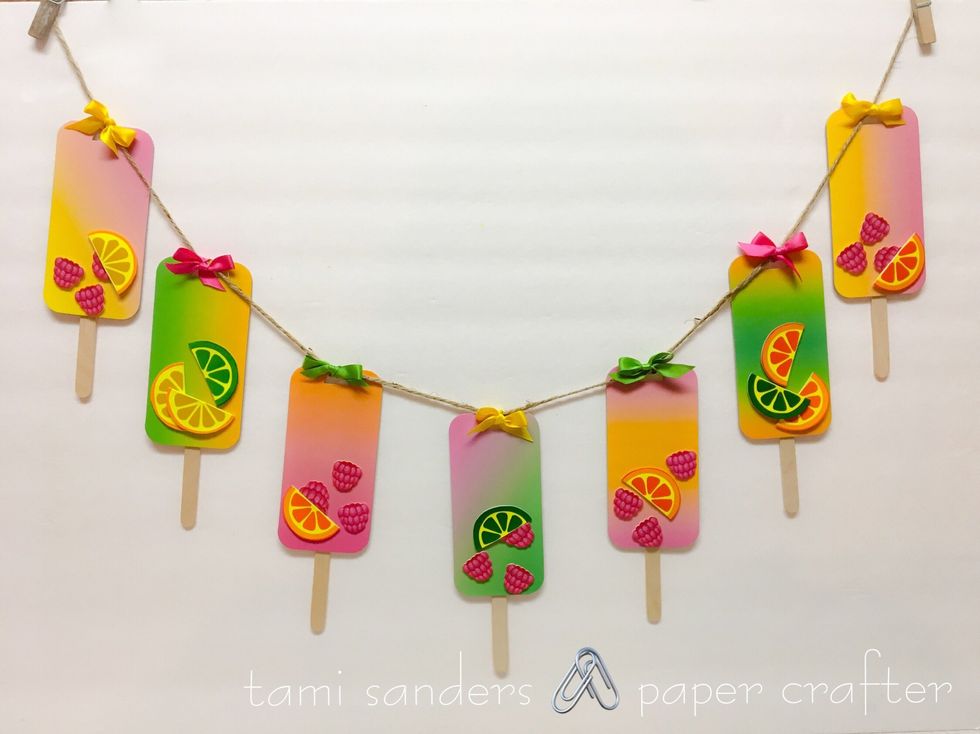
finished popsicle garland.
- Grafix: Computer Grafix - Matte Adhesive Backed
- Grafix: Inkjet Printable White Shrink Film
- Grafix: 12 X 12 White Chipboard
- Sizzix: Bigz Bookmark Die
- Beacon: 3-in-1 Glue
- Narrow Satin Ribbon: Pink, Green and Yellow
- Jute Cording
- Wood Popsicle Sticks
Tami Sanders * Paper Crafter
* i LOVE to craft * scrapbook, paper arts, mix'd media, jewelry, stamp and more. * i design for clearsnap and grafix. * i also teach
texas
The Conversation (0)
Sign Up