The Conversation (0)
Sign Up
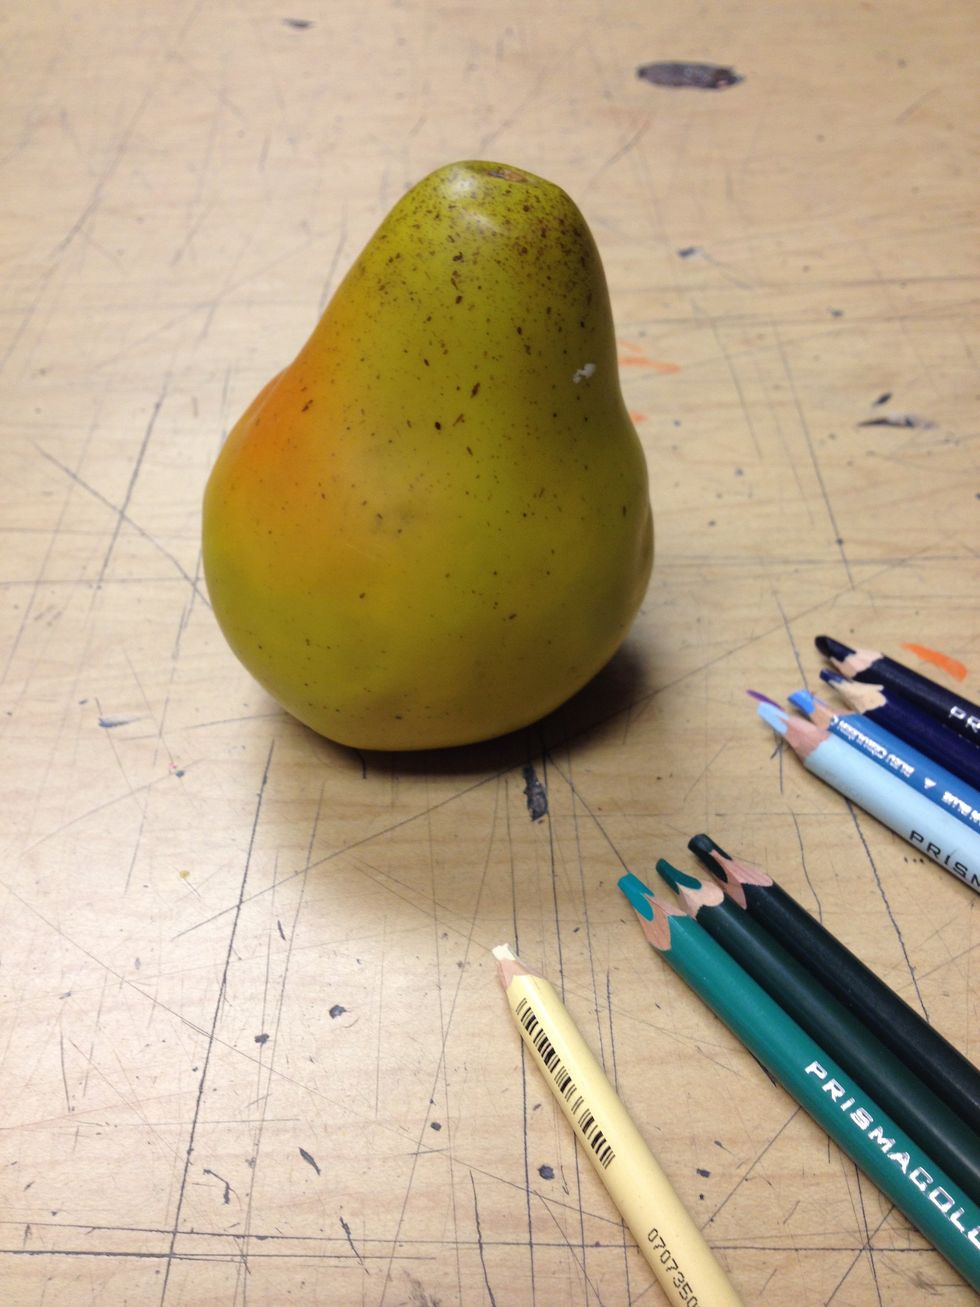
Carefully observe you object. Decide what the local color is. Select monochromatic and analogous colors that represent the local color (we will refine our choices later). Also pull blues and a purple.
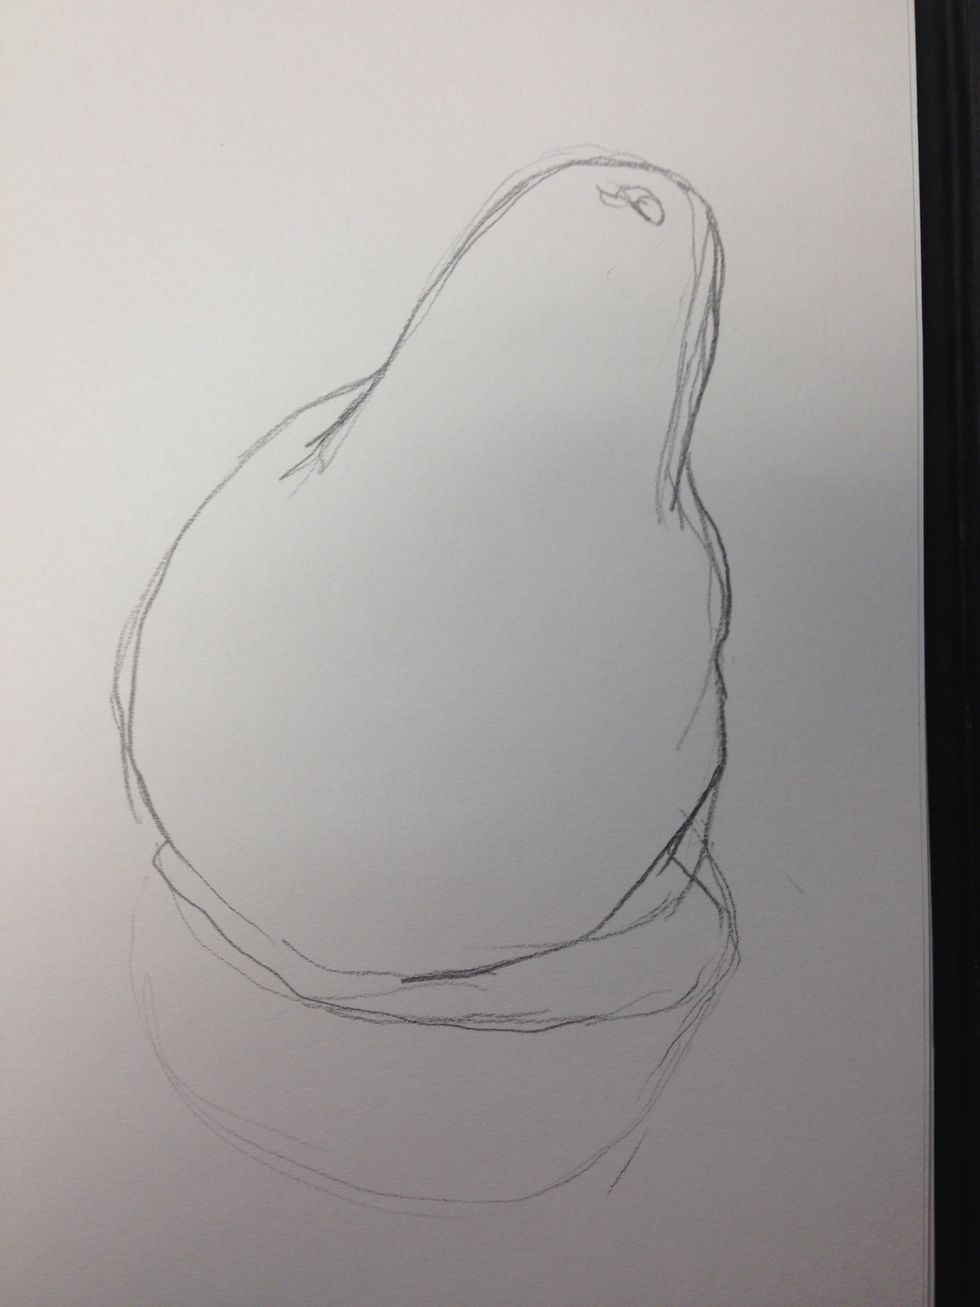
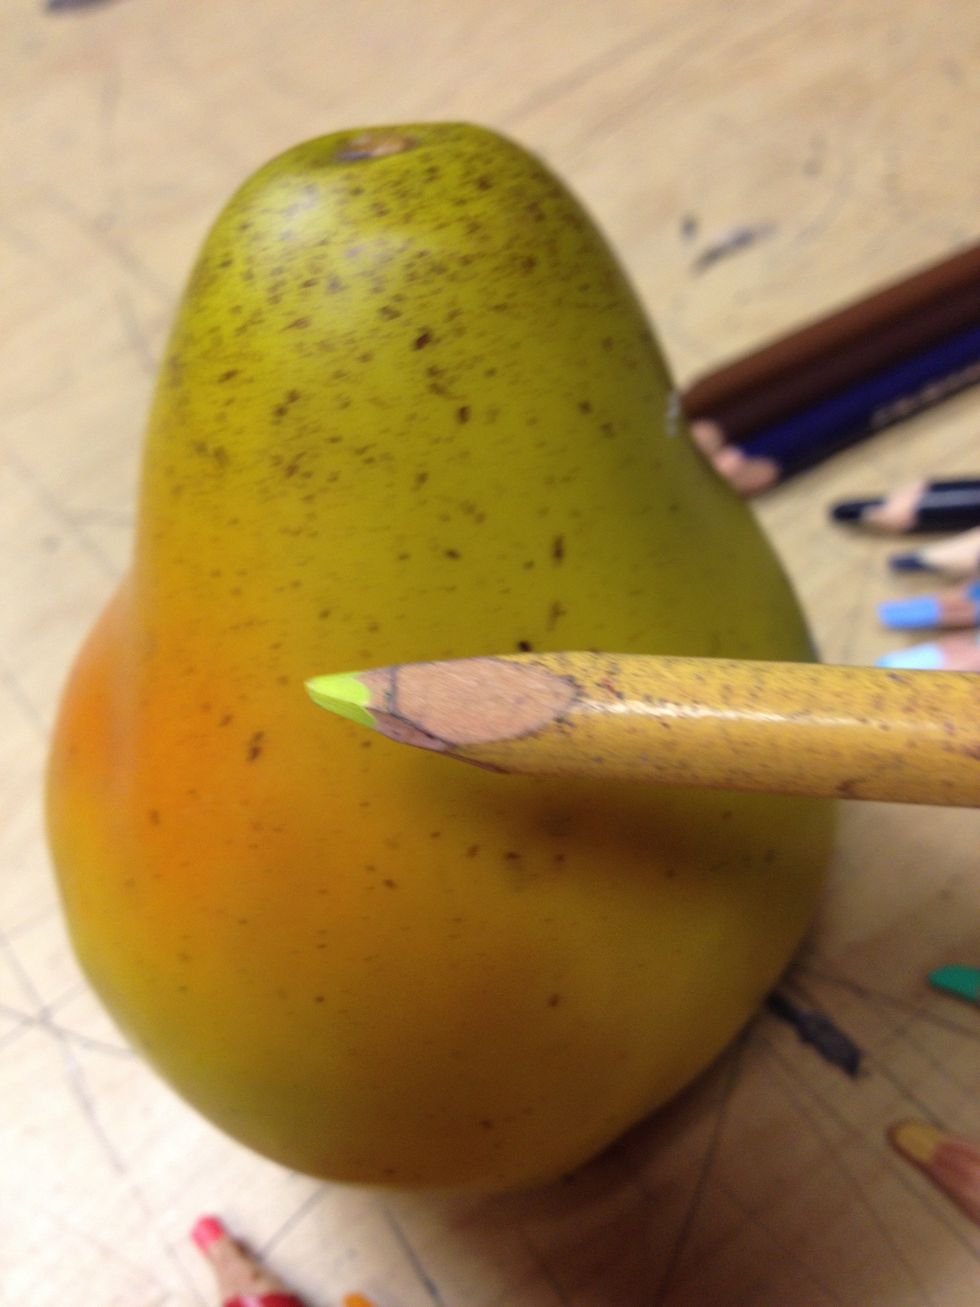
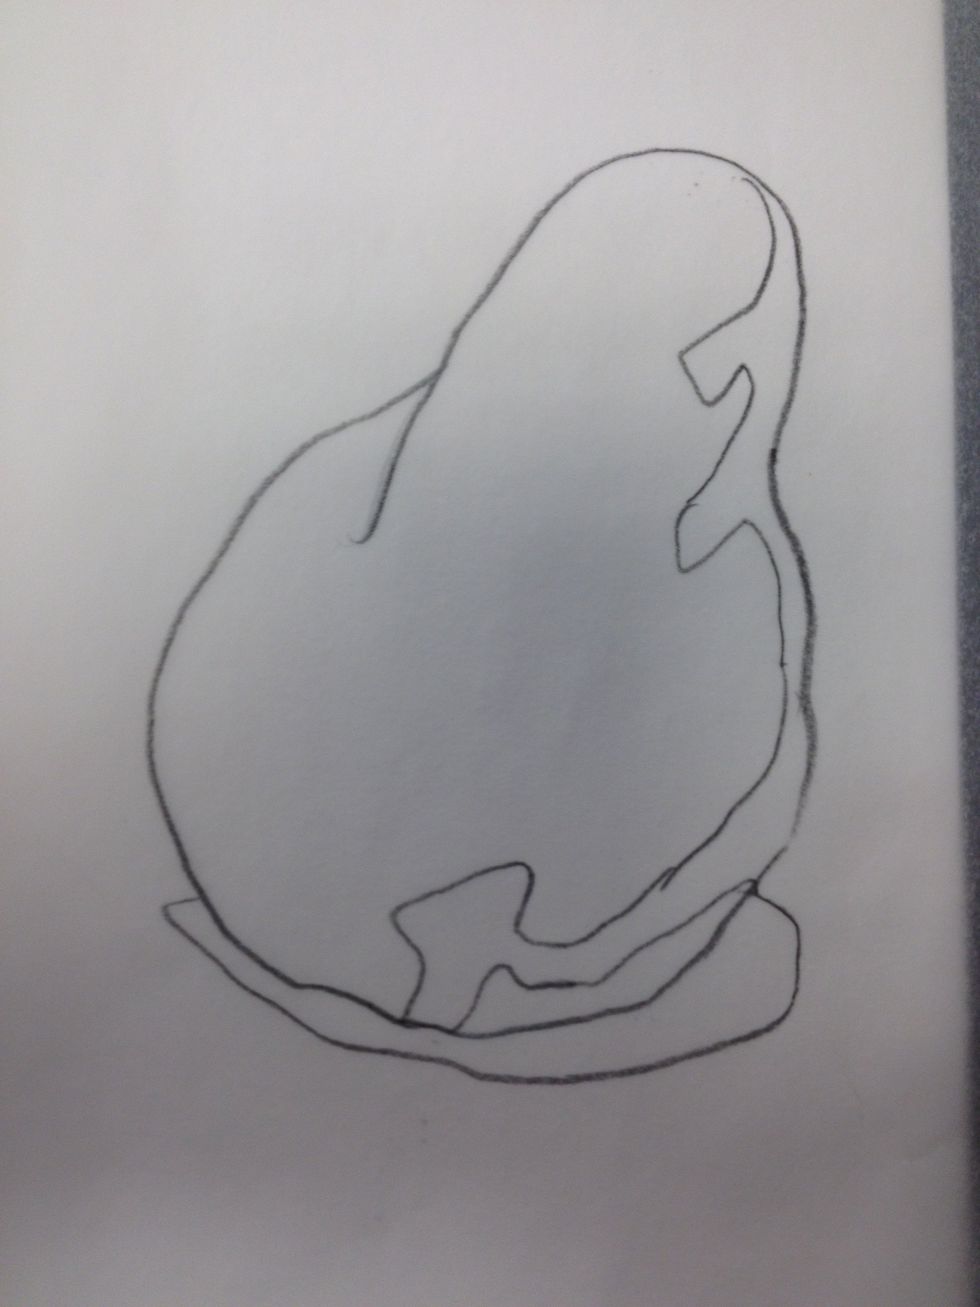
I have my drawing of the pear including the umbra and penumbra. Concentrate on careful observation of the lumps and bumps, the tilt and any other detail but remember, we are not cameras.
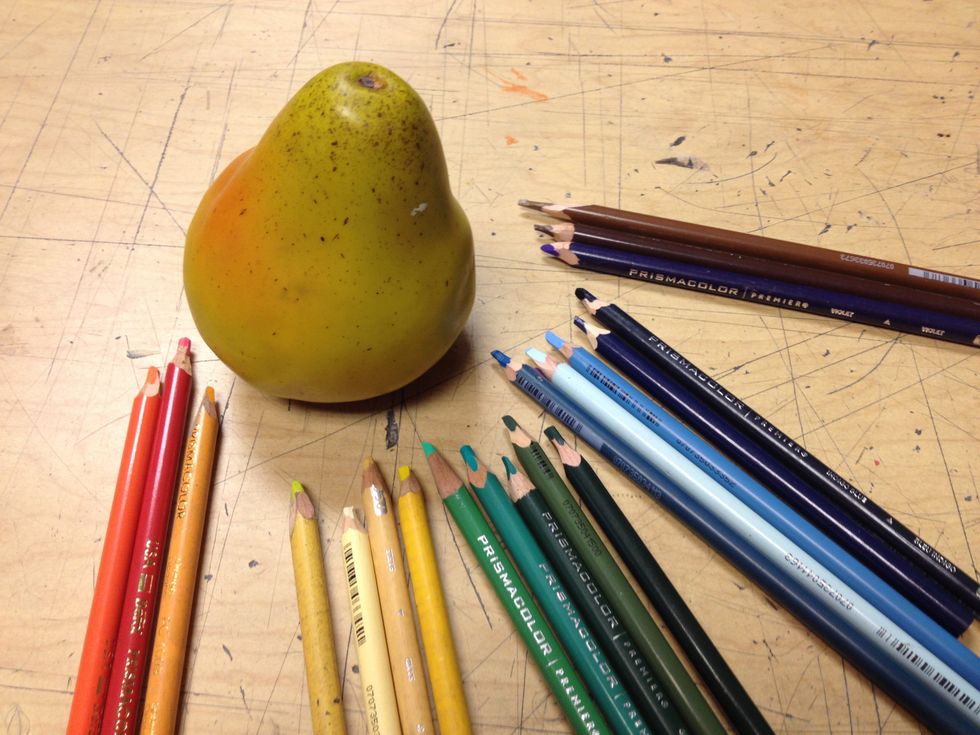
My pear is a strange yellow green color with a red orange area. I pulled a bunch of pencils so I could make the best choice as I go. I won't use all of these.
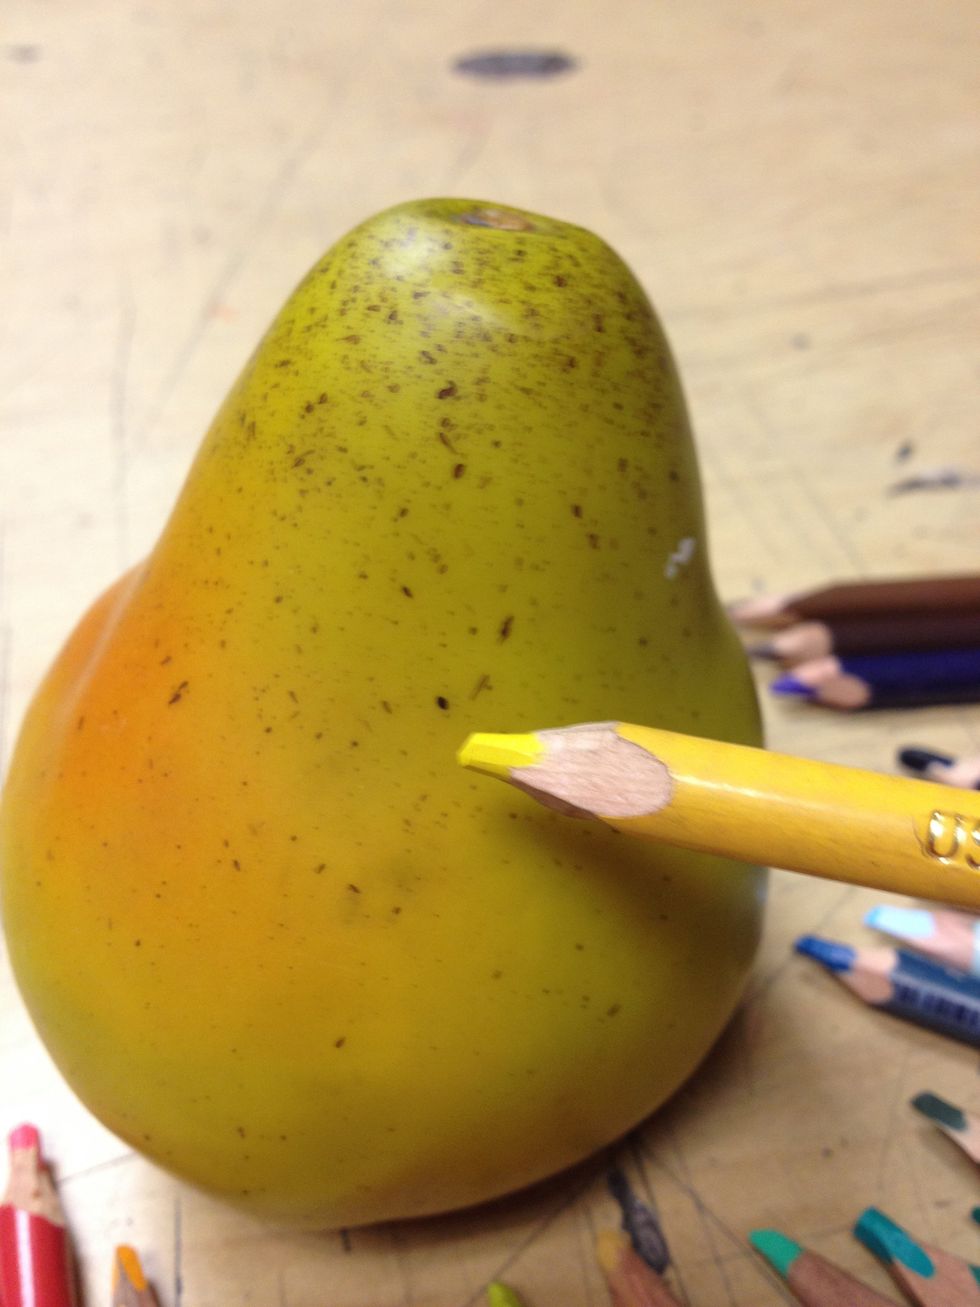
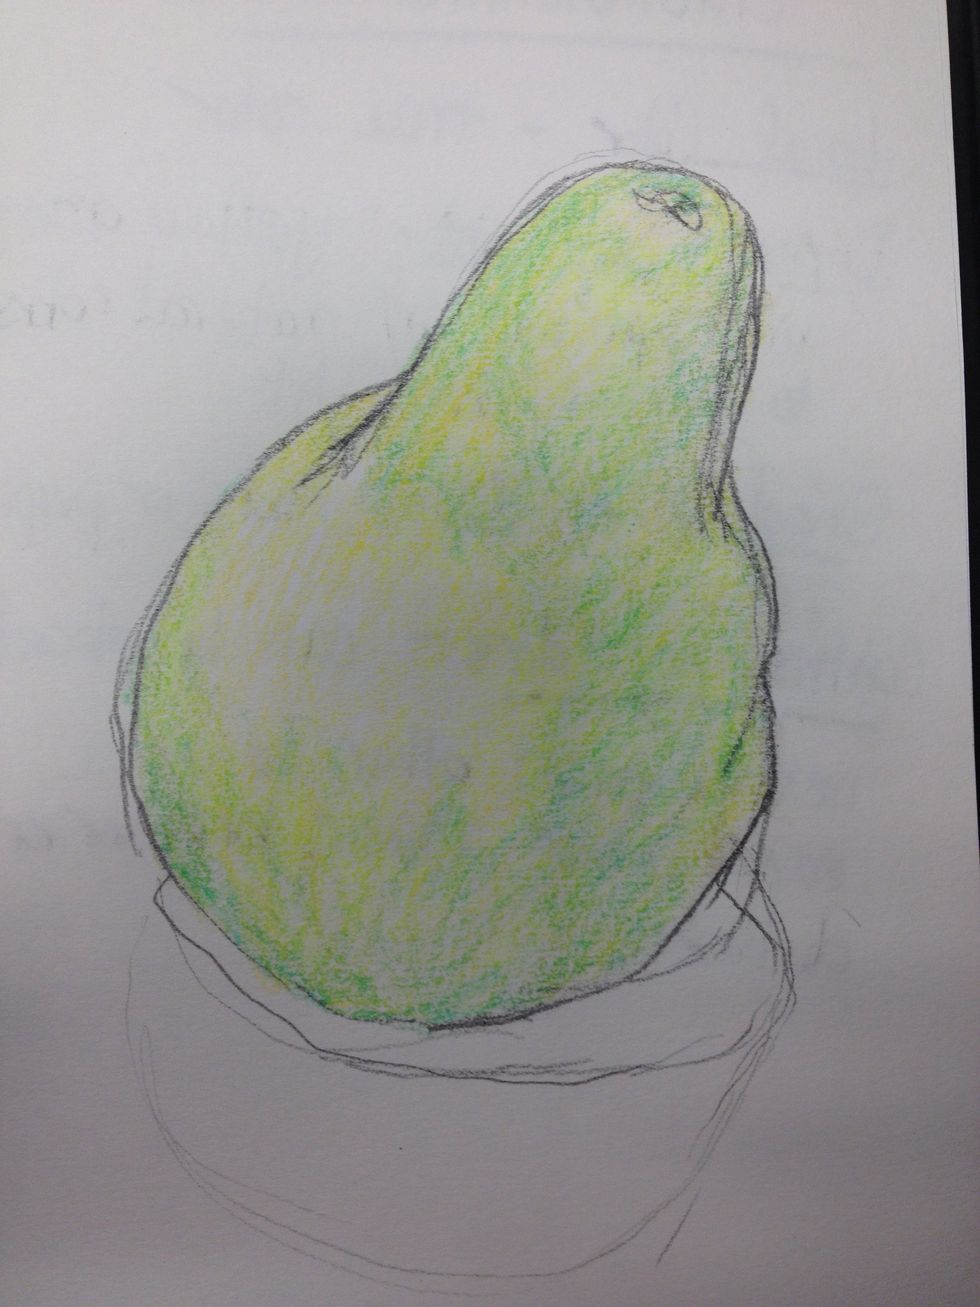
I want to start with the lightest color. I like this medium yellow as a base color as there are no real reflective areas . Using the side of my pencil and a circular stroke I cover the whole pear.
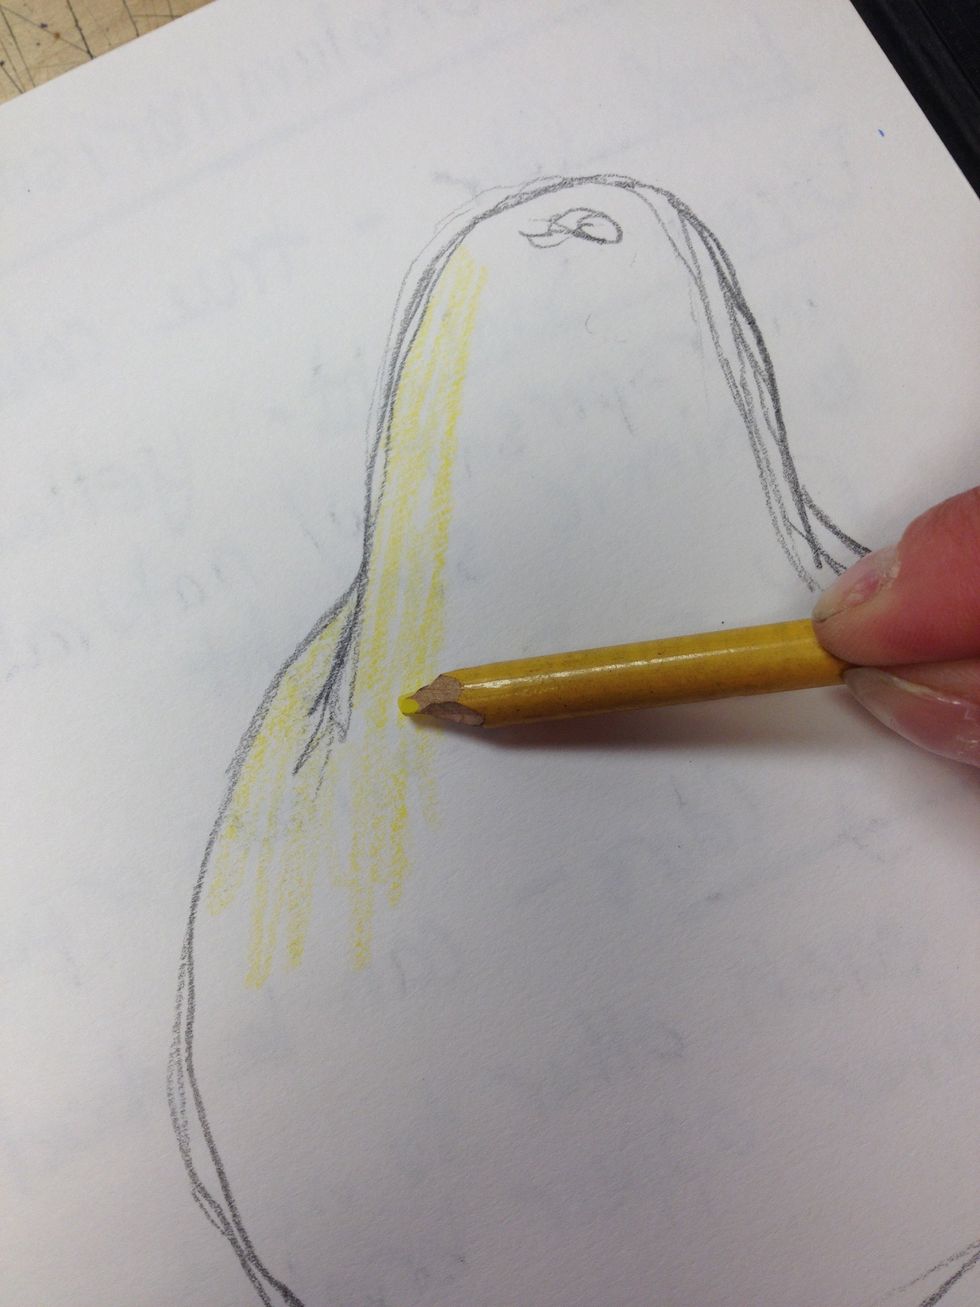
I am not using super firm pressure here. The paper will only hold so much pencil before its full and I won't be able to add more layers. The white of the paper will also add a glow to the color.
That yellow was nice, but this is a strange yellow green pear. I am adding a layer of this to add richness to the color.
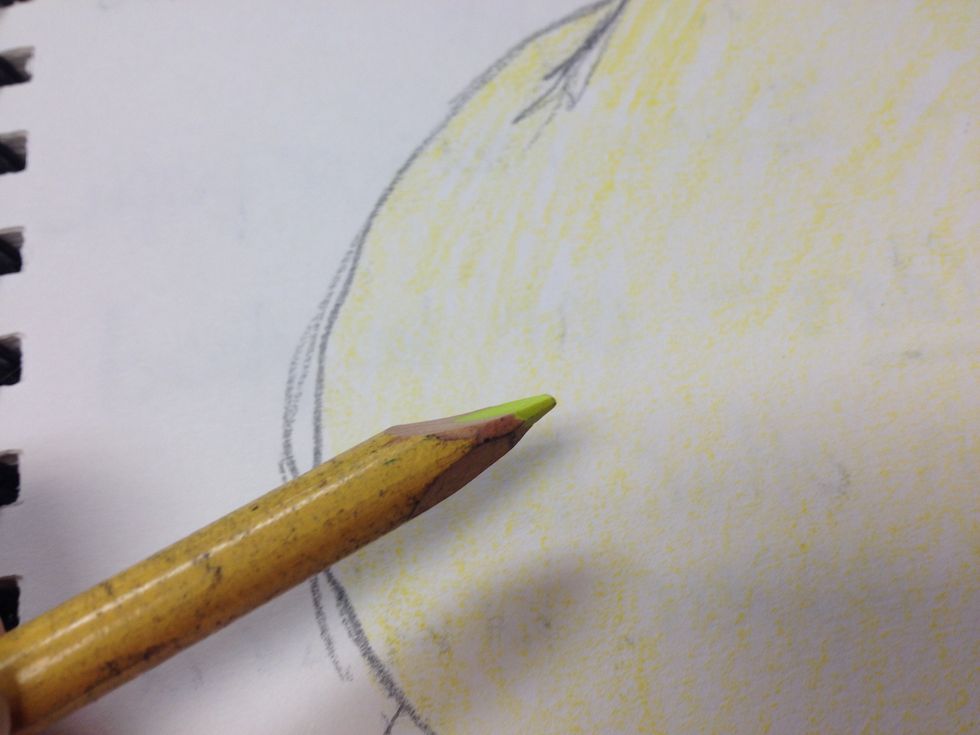
I have sharpened my pencil with a flat spot. Along with a circular stroke, it makes it easier to get a smooth color application
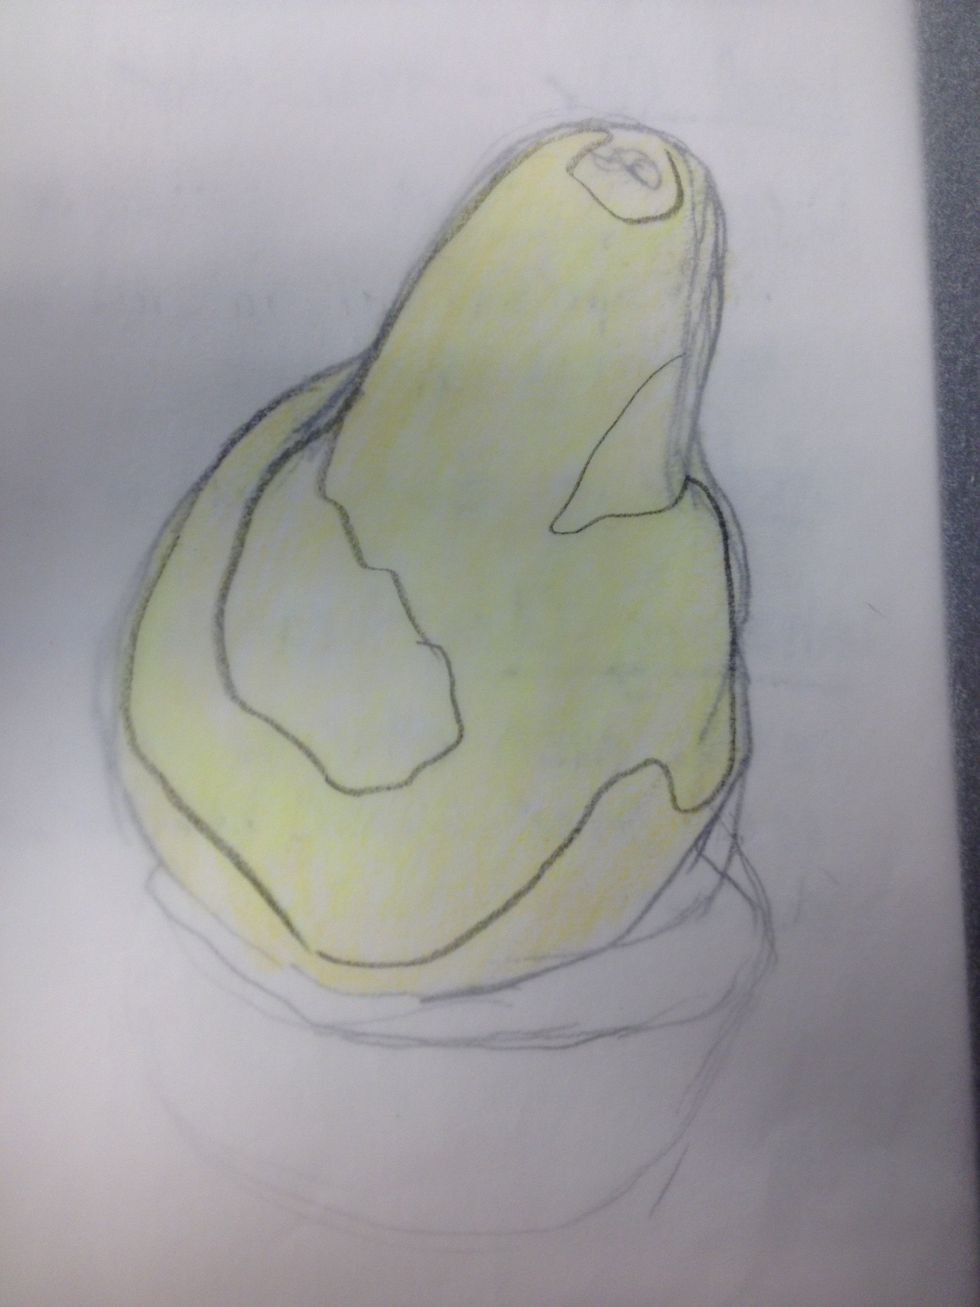
Some areas of the pear are more yellow green than others. I am adding this color to the large outlined areas
I selected a bright green to add to the areas you see. I did not try to make a "blanket" of color but rather a thin broken layer that would still allow the yellow to show. Optical mixing!
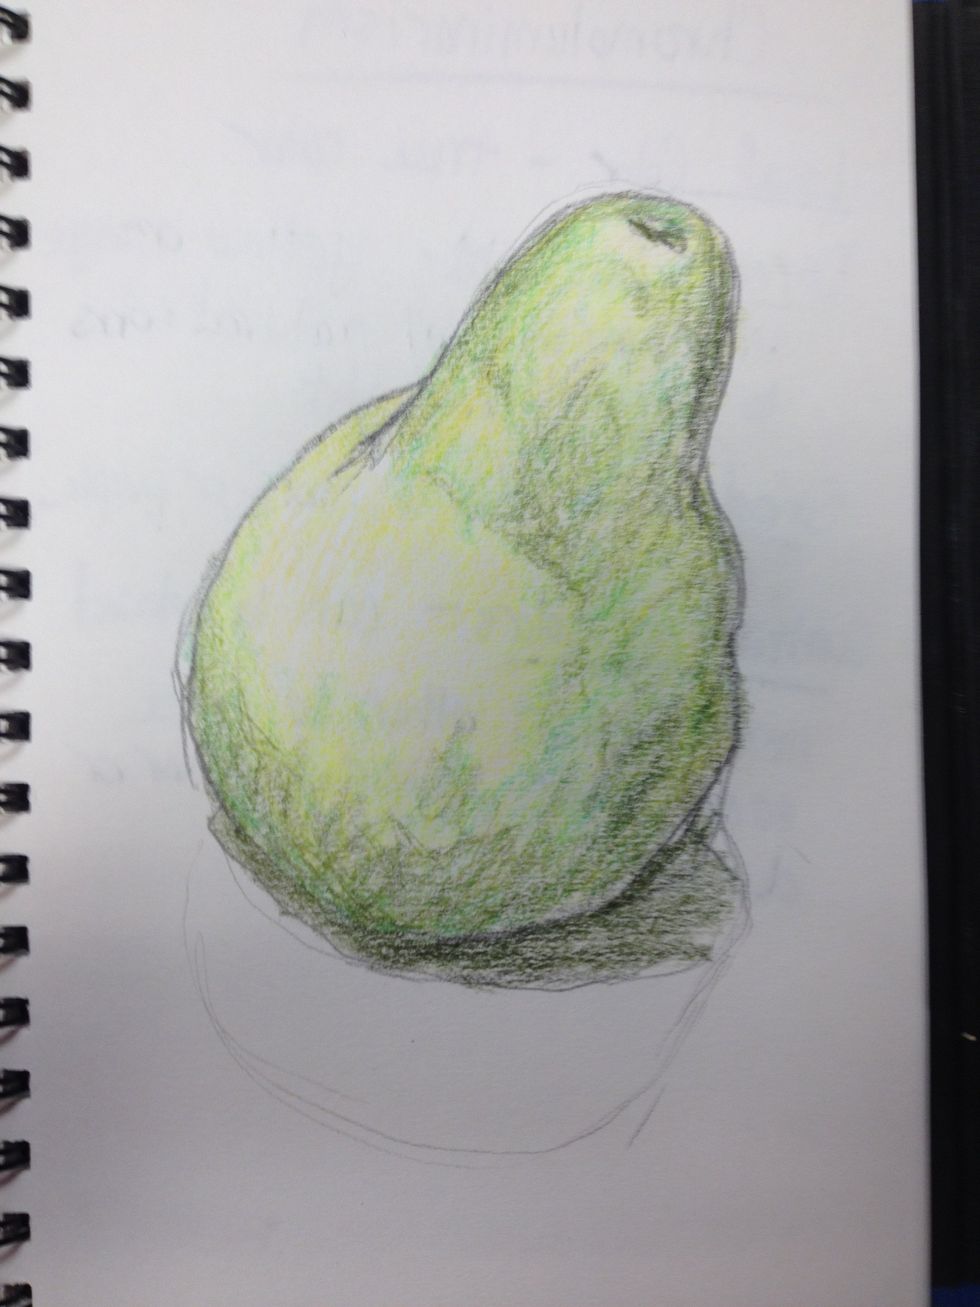
To support the darker areas, I added a layer of an olive green, leaving some yellow alone and some bright green alone. Notice the broken stroke and how there is more color where there is more shadow.
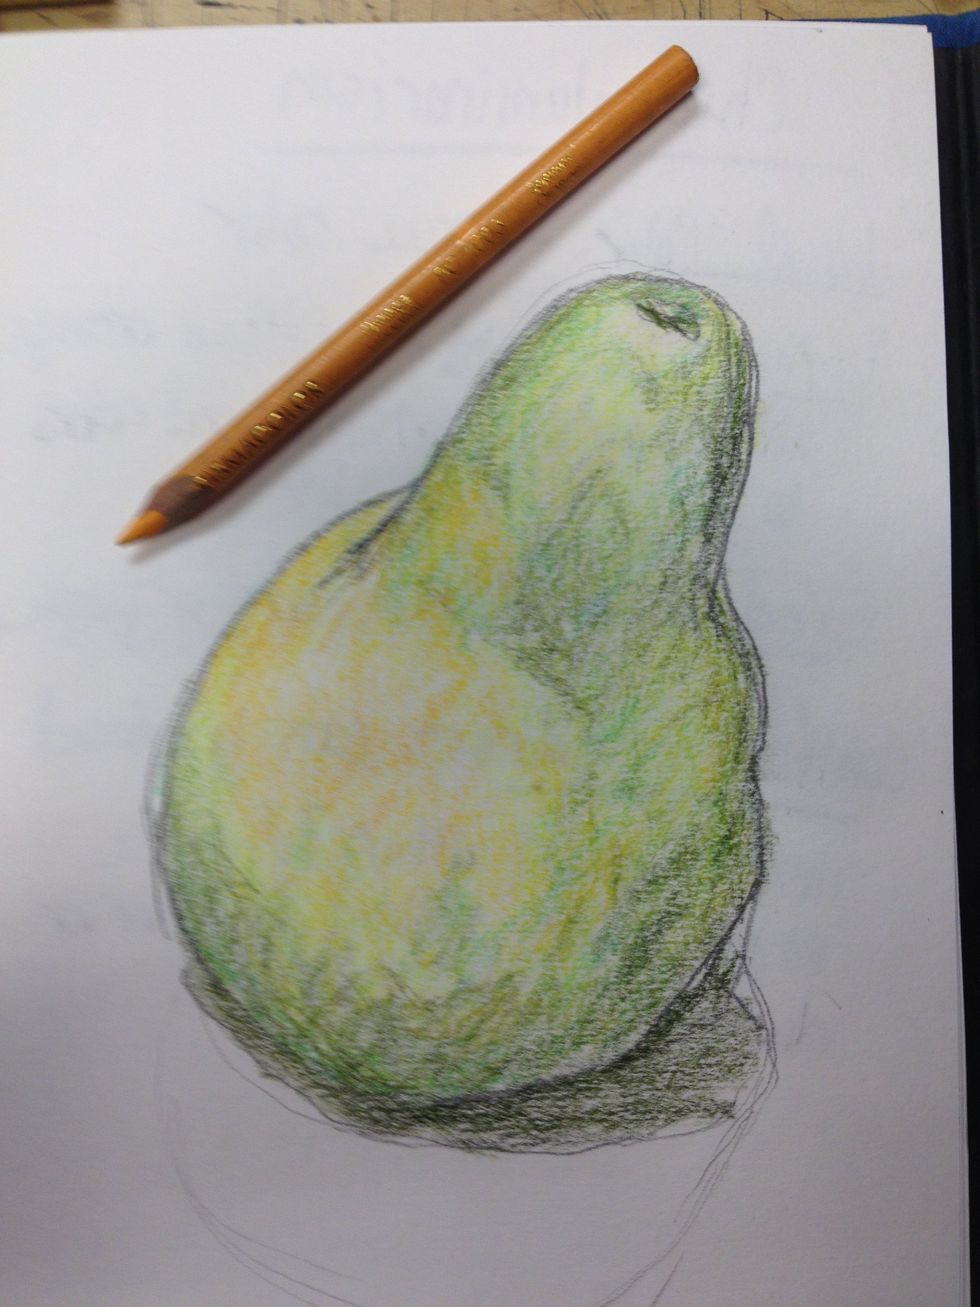
I thought it needed more yellow on the left side. Again, i am not trying to cover the previous layer, but I am trying to let the two layers play together. Remember optical mixing!
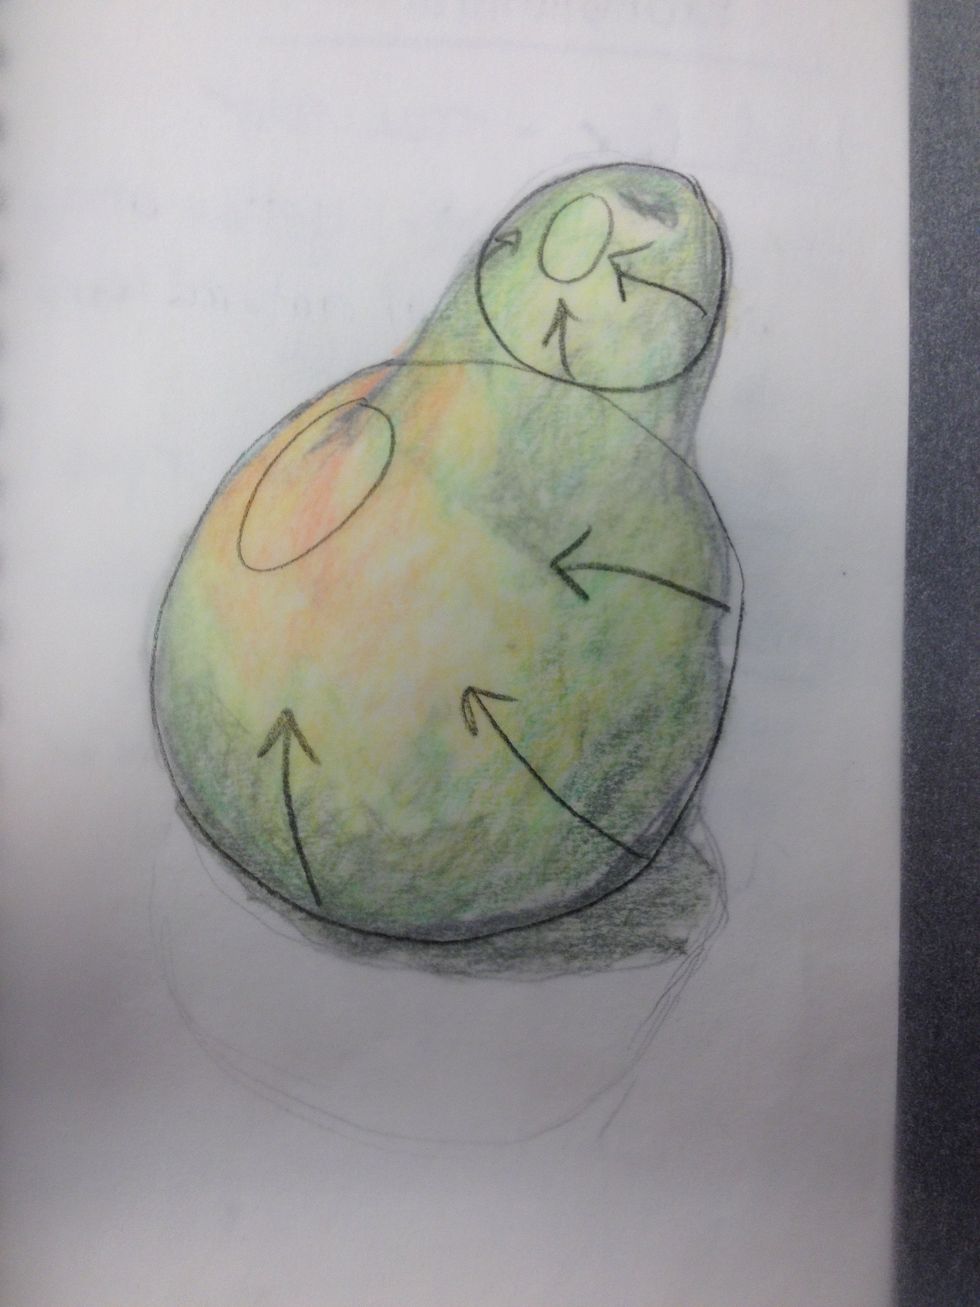
As you add layers, also remember the form of your object. I think of pears as two stacked spheres. You can still shade for form with color.
Time to add that red orange spot. i started with a broken layer of medium orange. Optical mixing! The orange is starting to make the green appear brighter. That's simultaneous contrast.
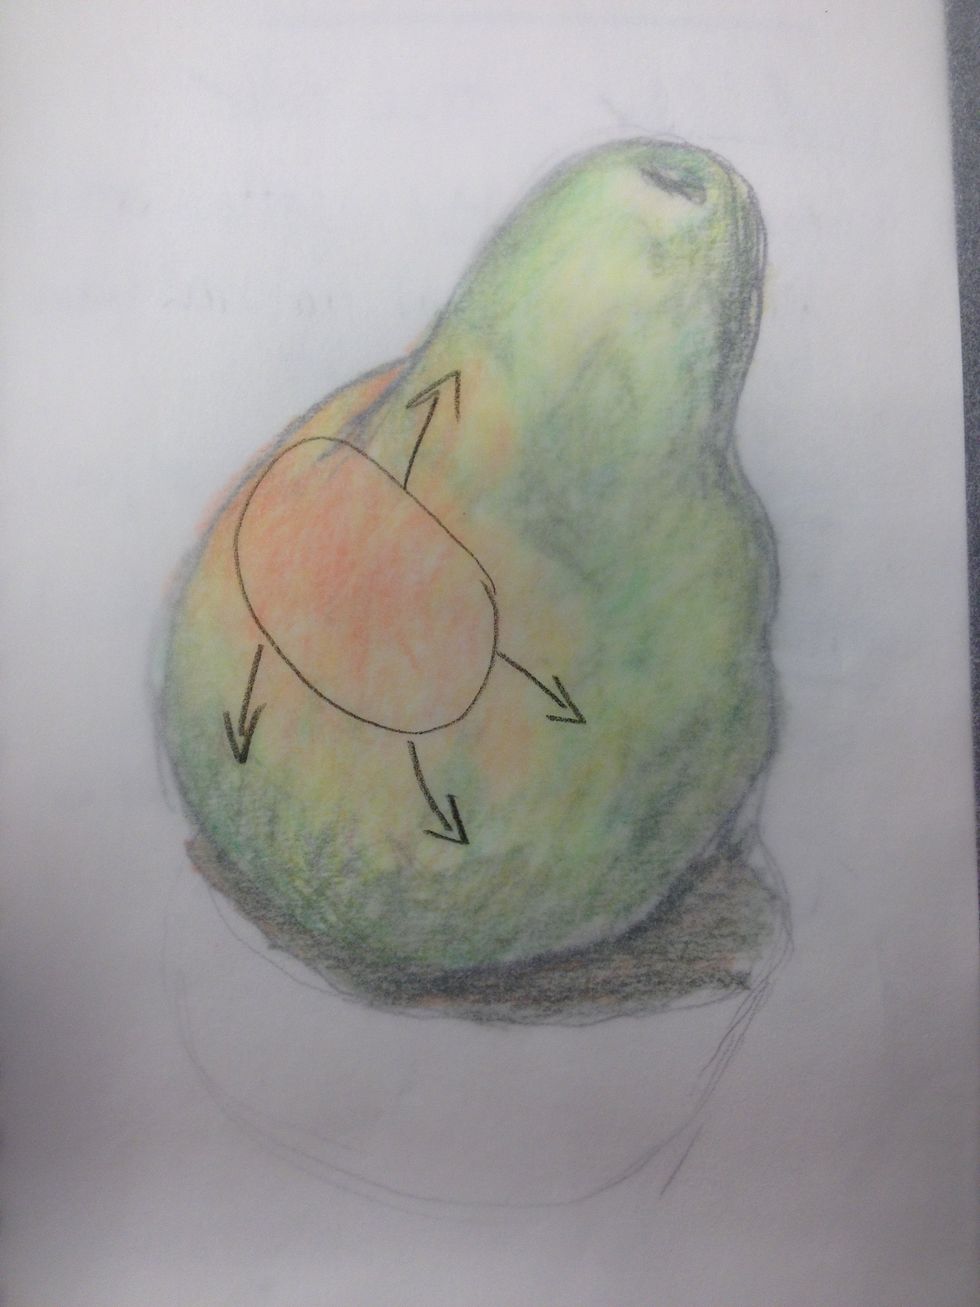
Again, this orange is still on a sphere and it fades out at the edges. Don't forget small details.
I am adding a bright red in the center of the spot for richness.
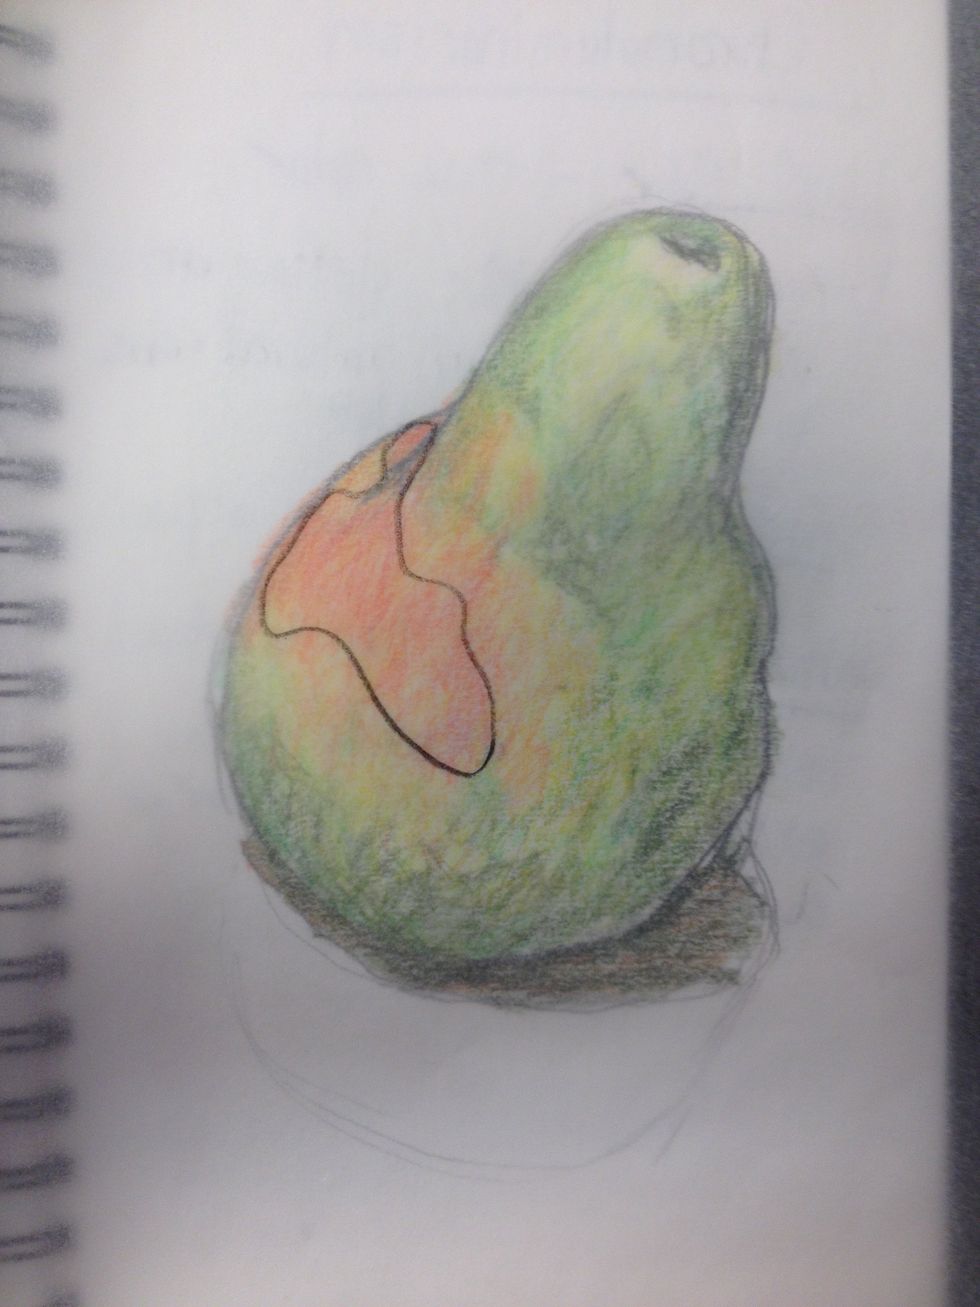
This is where I added the red.
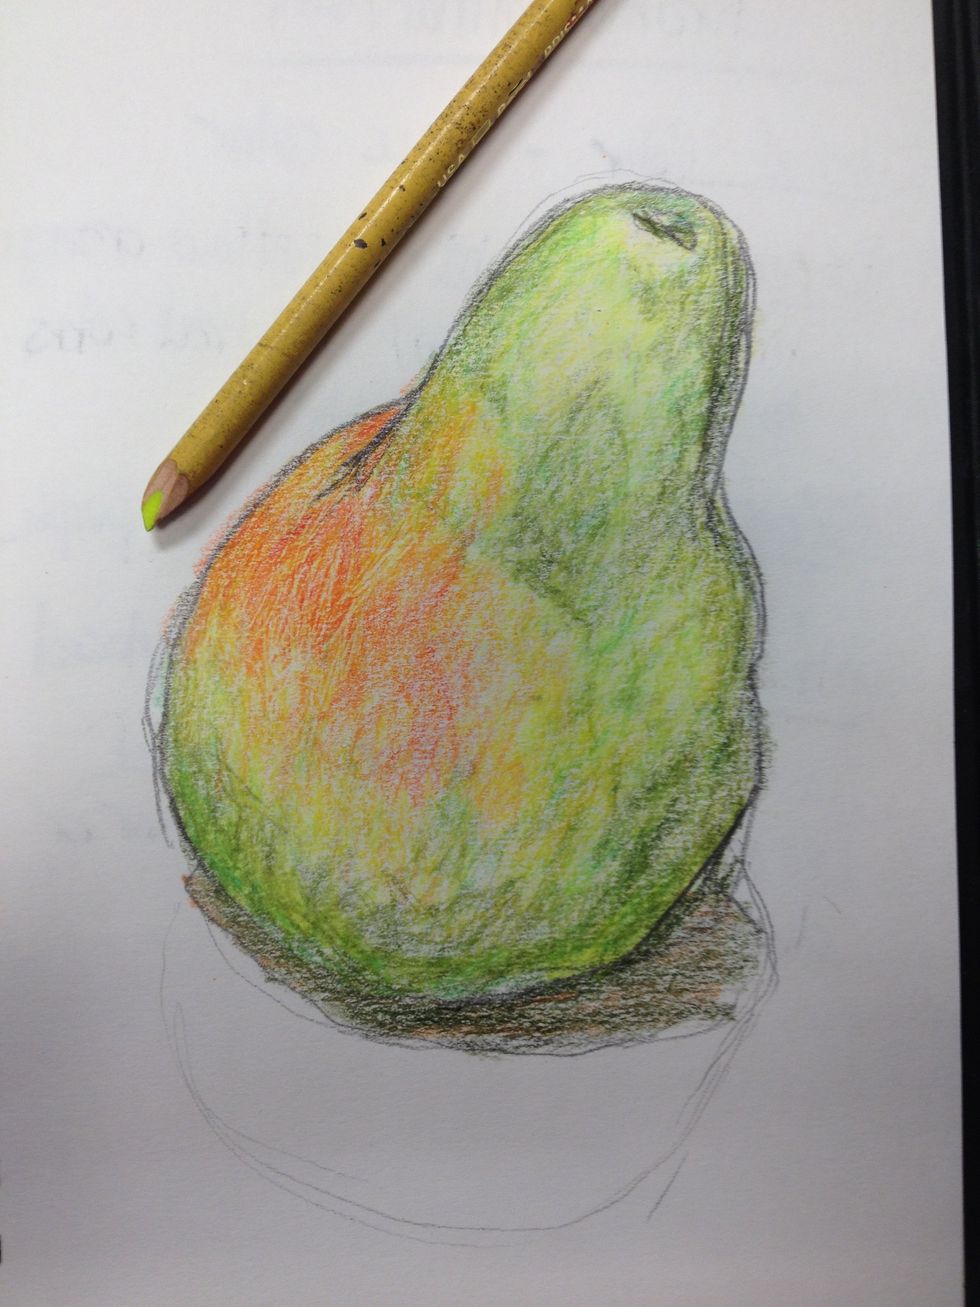
I thought it needed more yellow green outside the red area. This addition plays with simultaneous contrast and makes each other appear brighter.
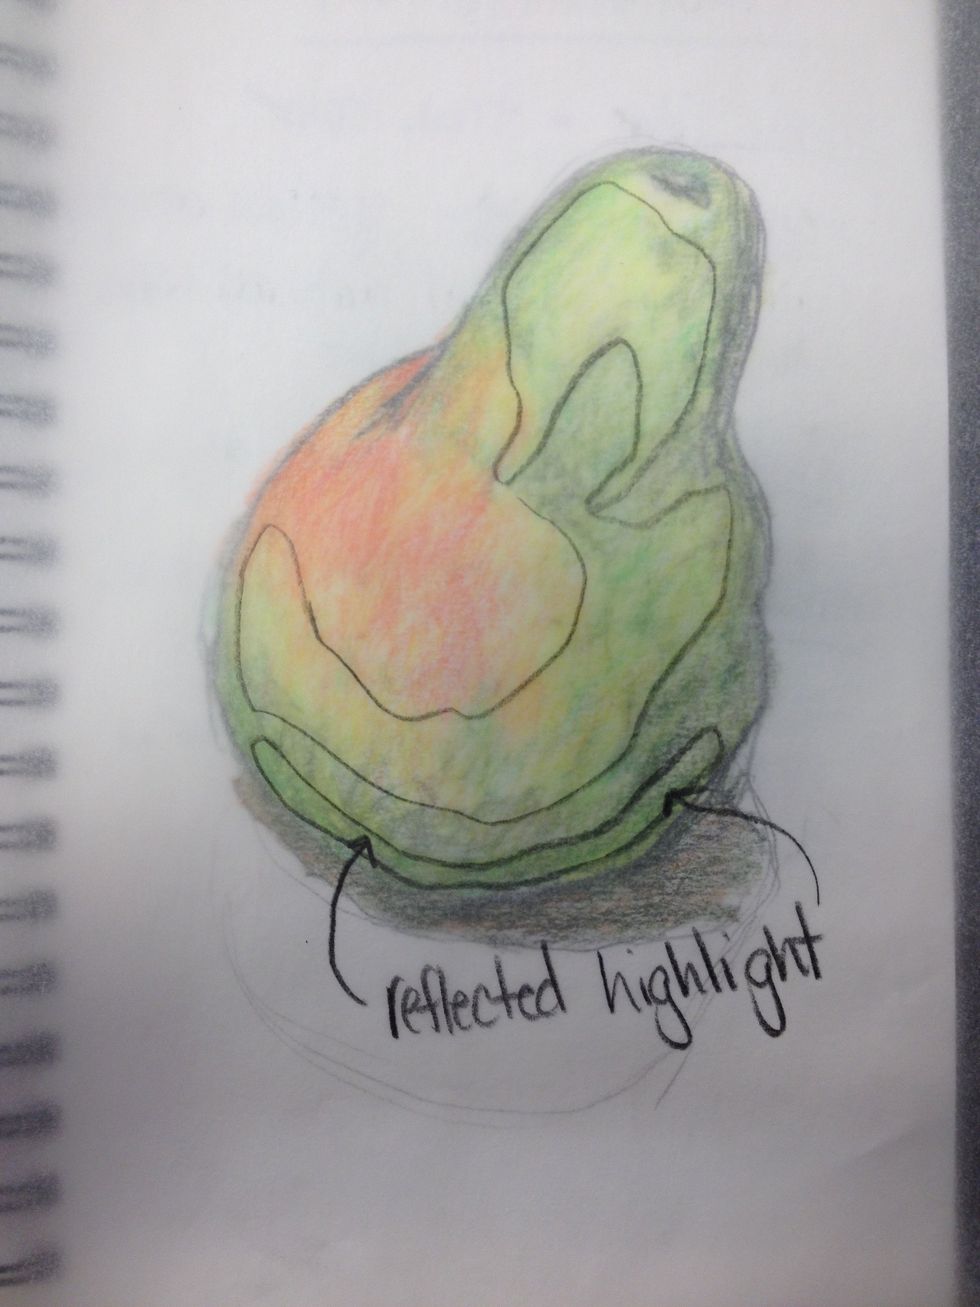
I also added the yellow green to account for the area where the table bounces light back on the pear. This is called a reflected highlight.
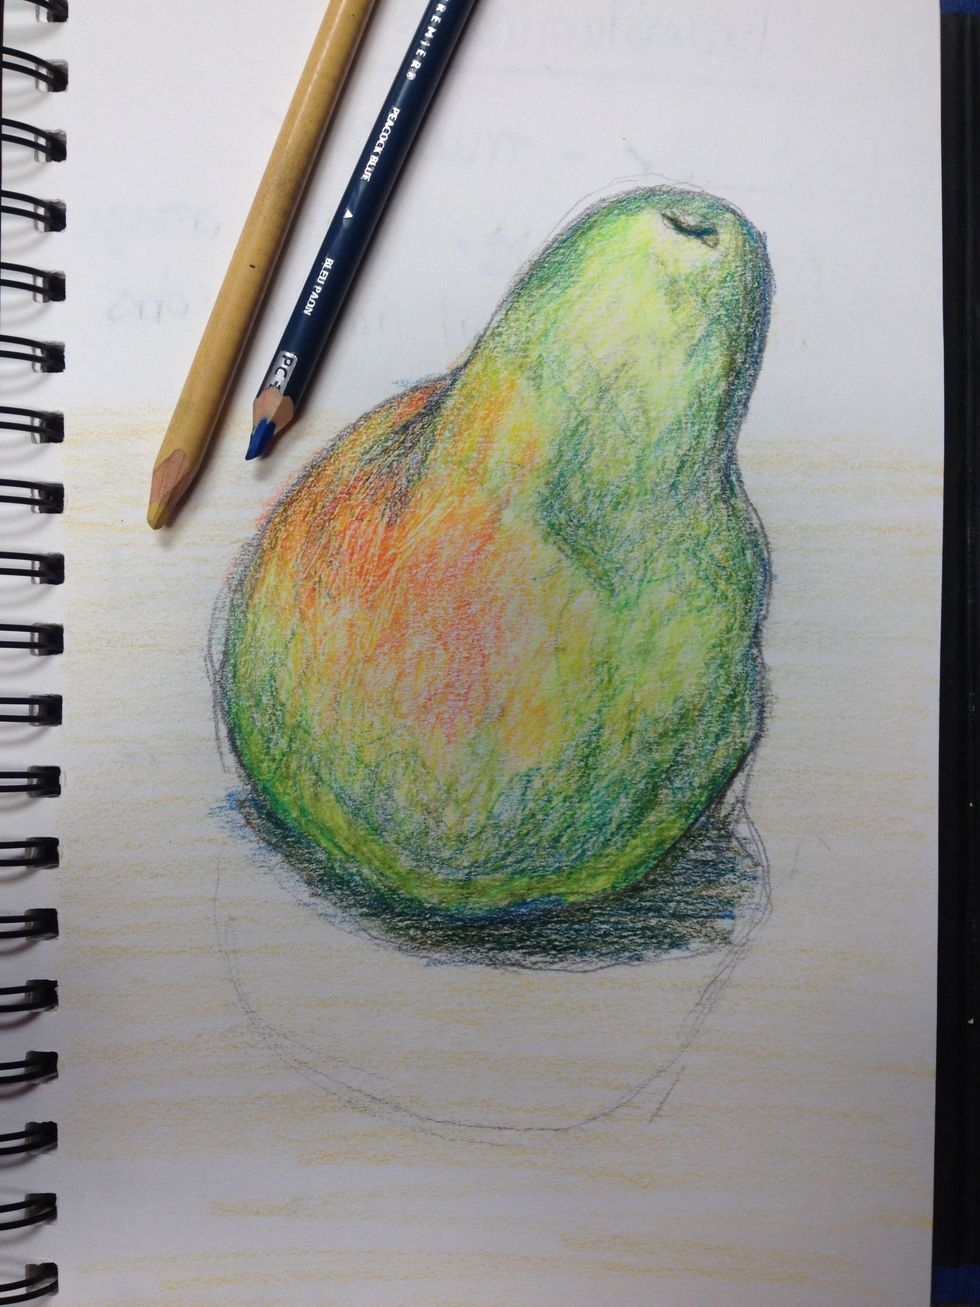
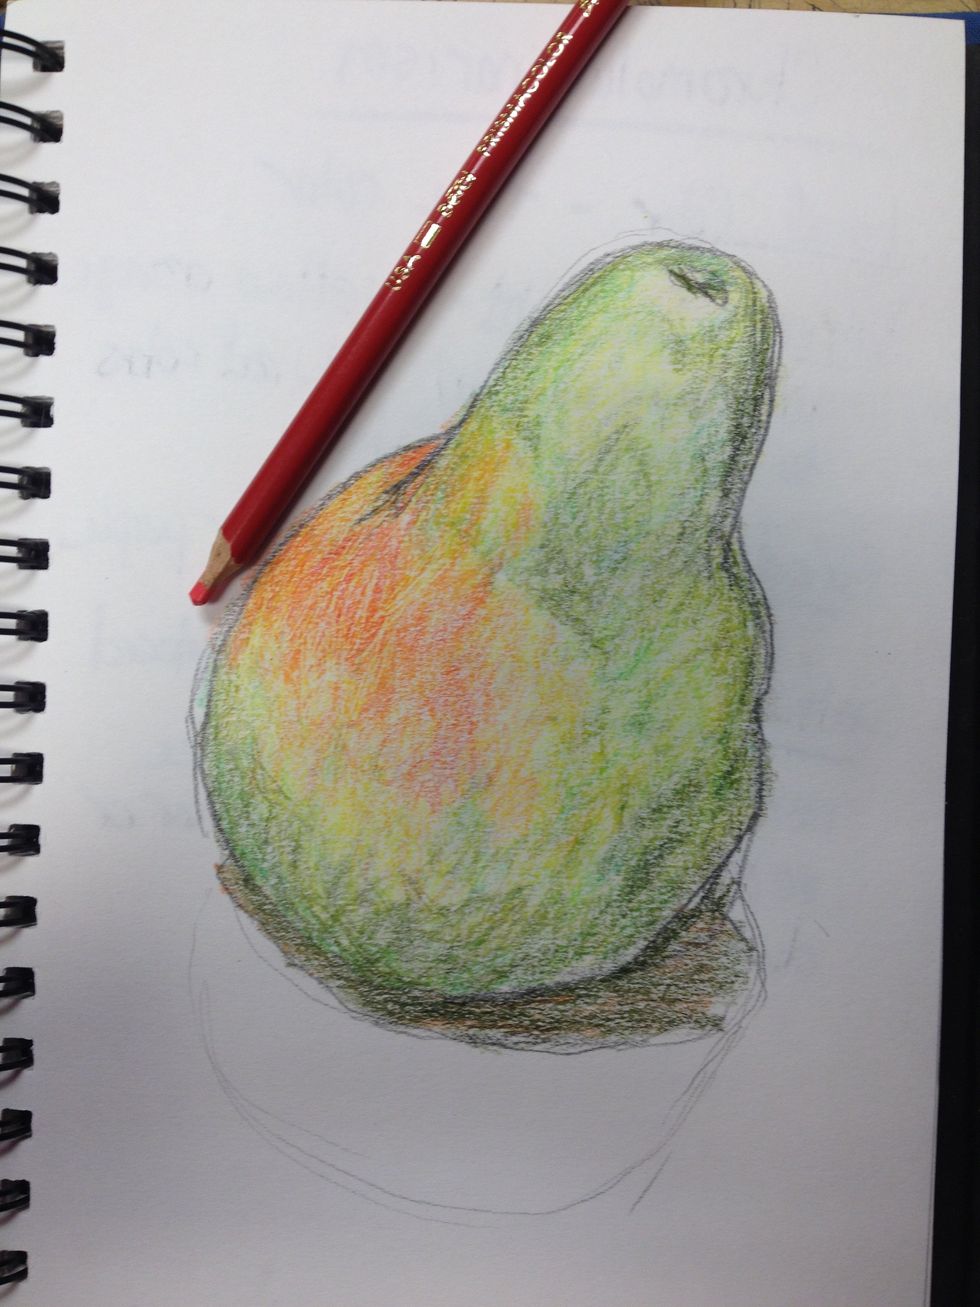
Some medium blue for shadows and some gold for the table top. The gold fades toward the top of the page. My pencil stroke does not tend to be smooth. Remember, we are not trying to be cameras!
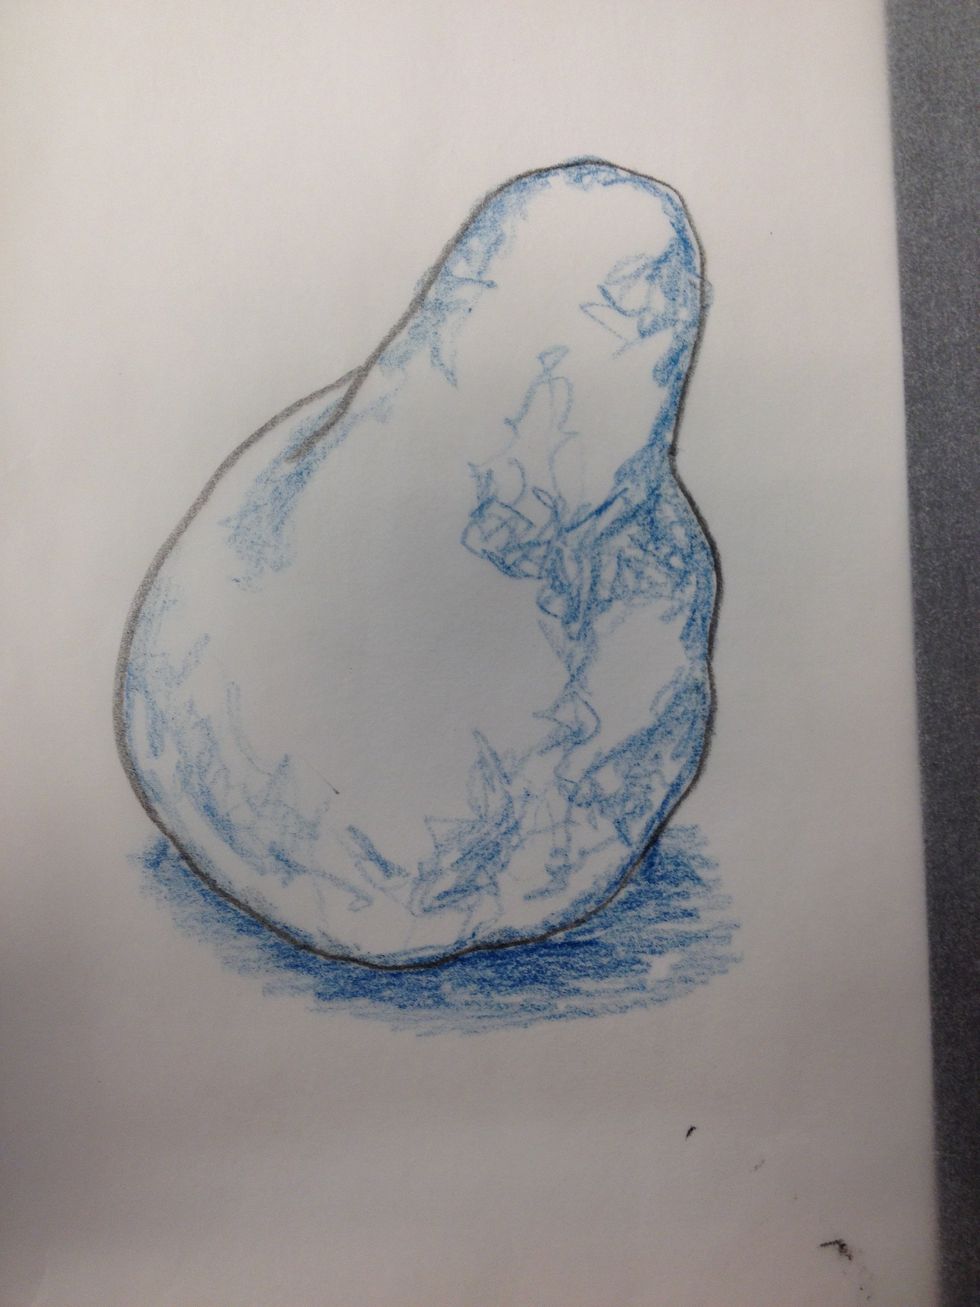
This gives you an idea of where I put the blue and my wiggly pencil stroke. The wiggle allows the layers underneath to show through and gives my drawing character.
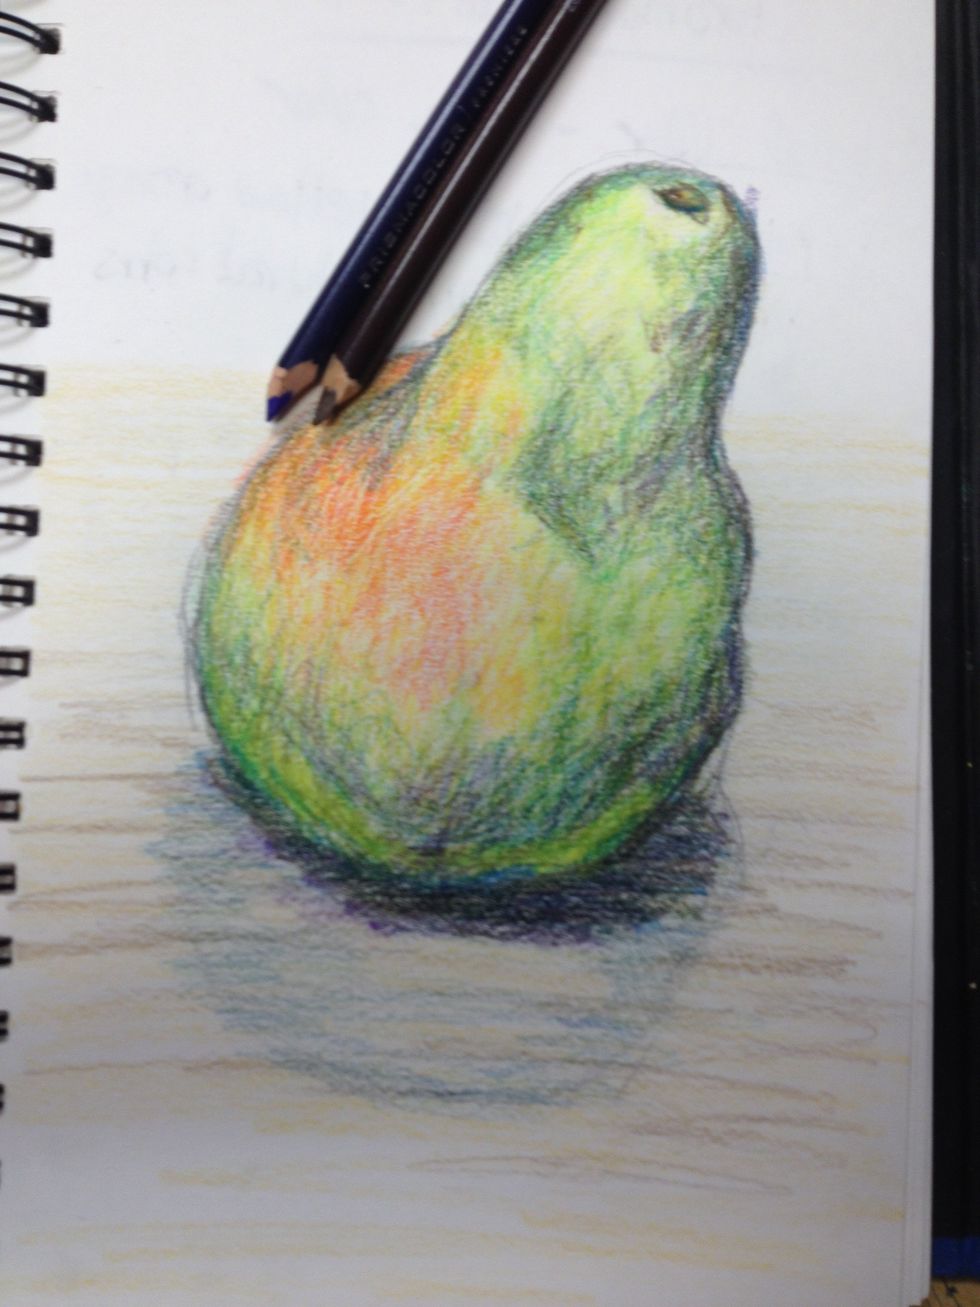
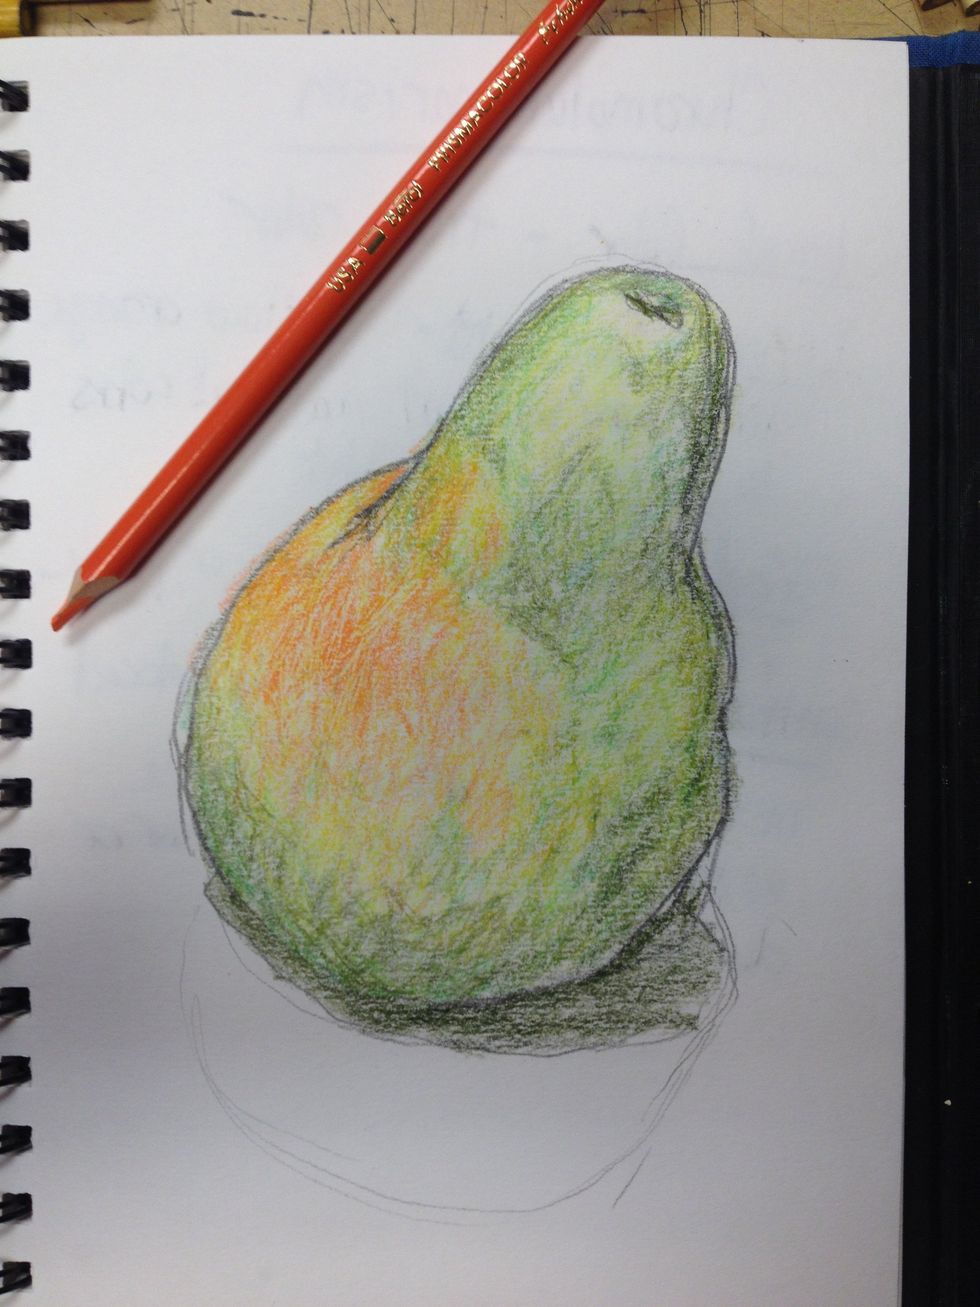
Some purple for the darkest shadows on the pear and on the table and a little brown for the stem scar, the darkest areas and the wood grain in the table.
This is where I added purple and a smaller amount of brown on top of the purple.
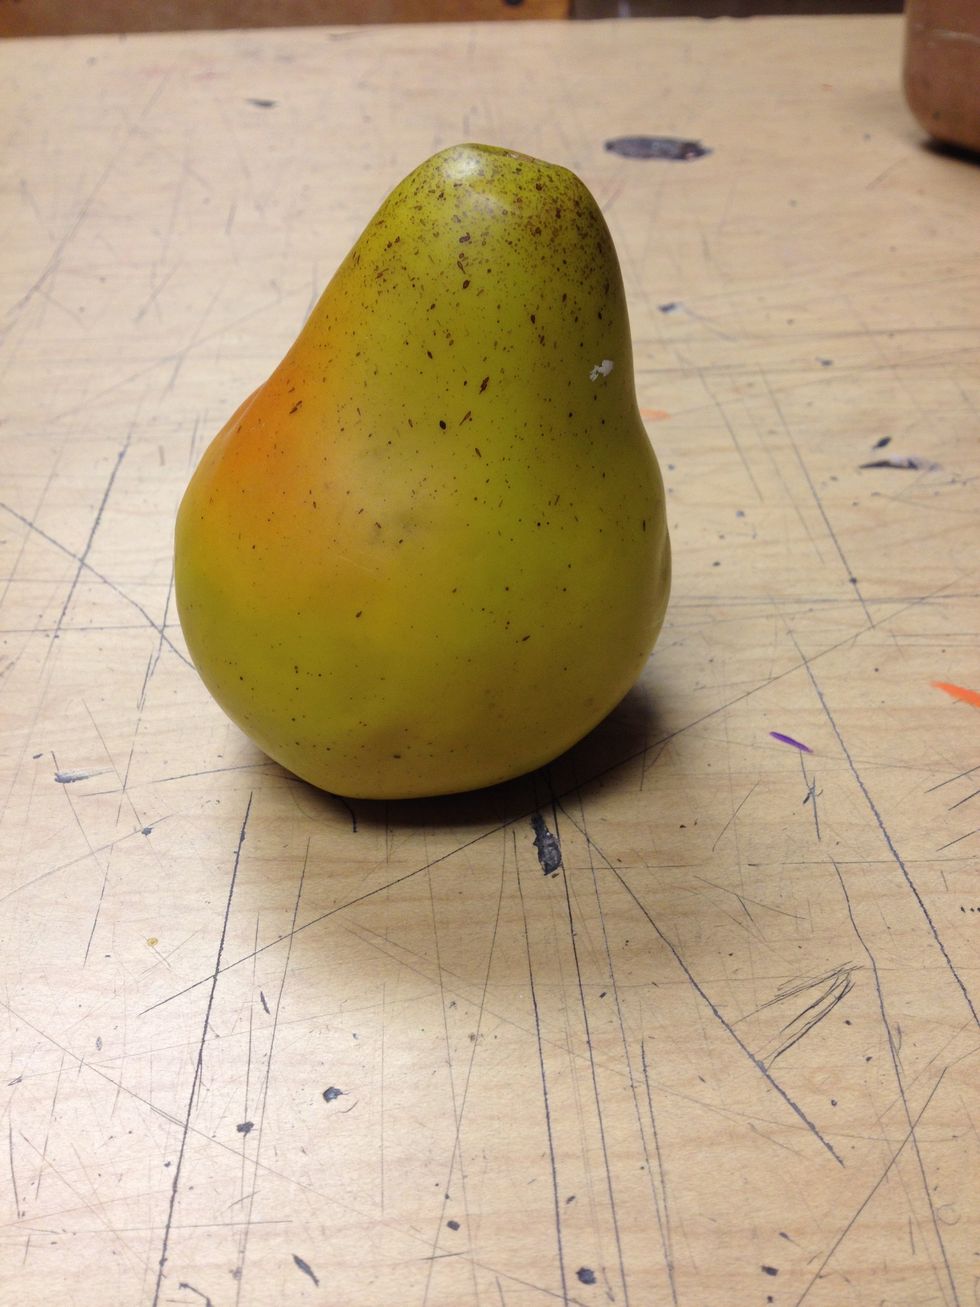
My original pear to compare. Keep in mind that it doesn't matter if your drawing matches exactly. Your drawings need to be able to stand on their own as something of interest. Make it interesting!
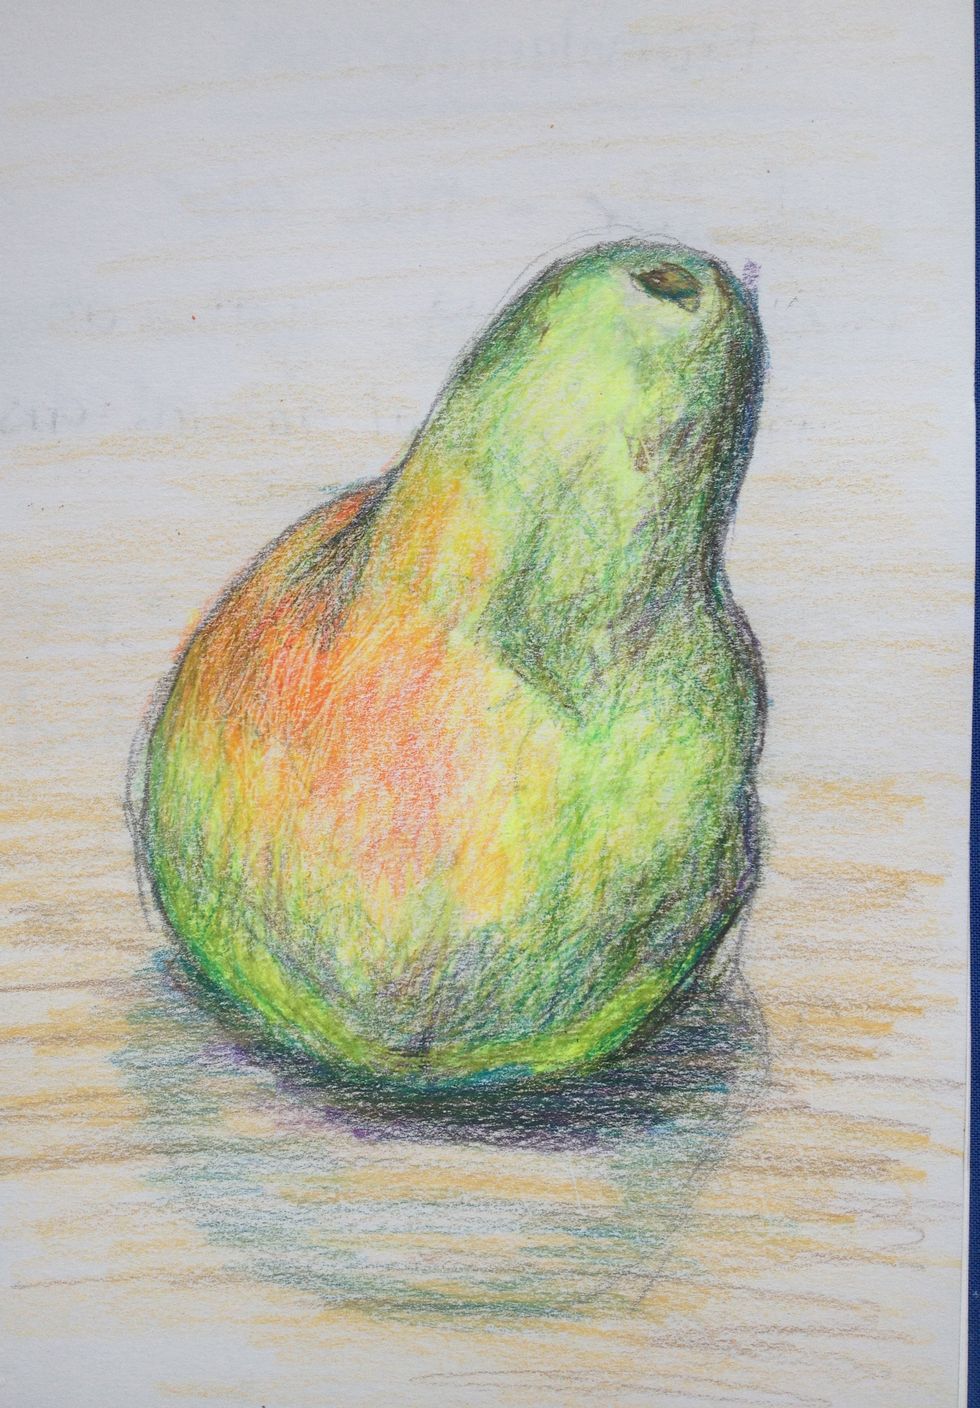
My finished drawing. It may not be exactly like the photo but I think looks like the pear and its interesting. Remember to use layers of color and don't be afraid to use interesting marks.