The Conversation (0)
Sign Up
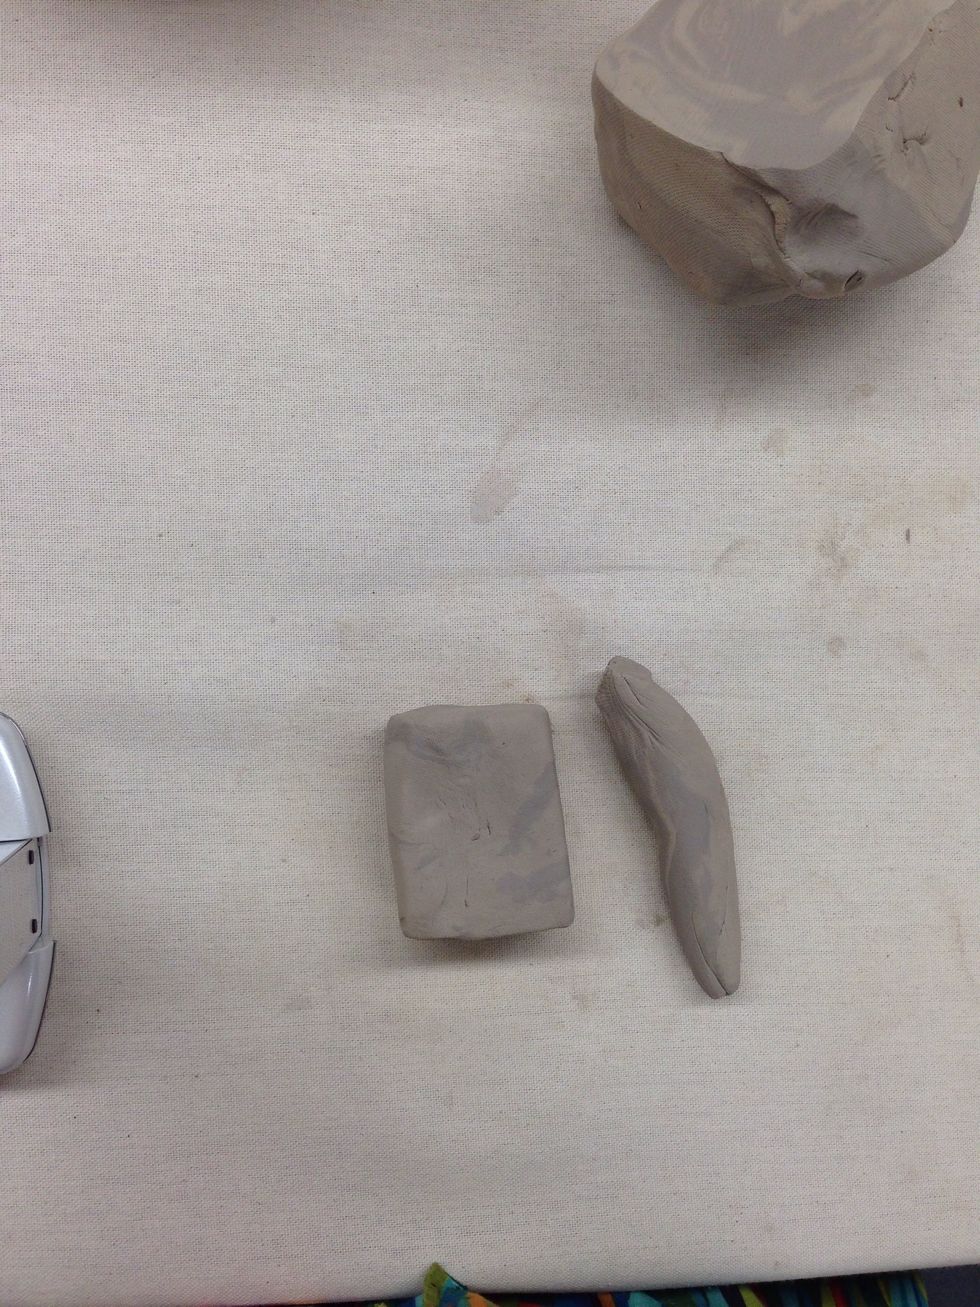
To join 2 pieces together, create the pieces separately.
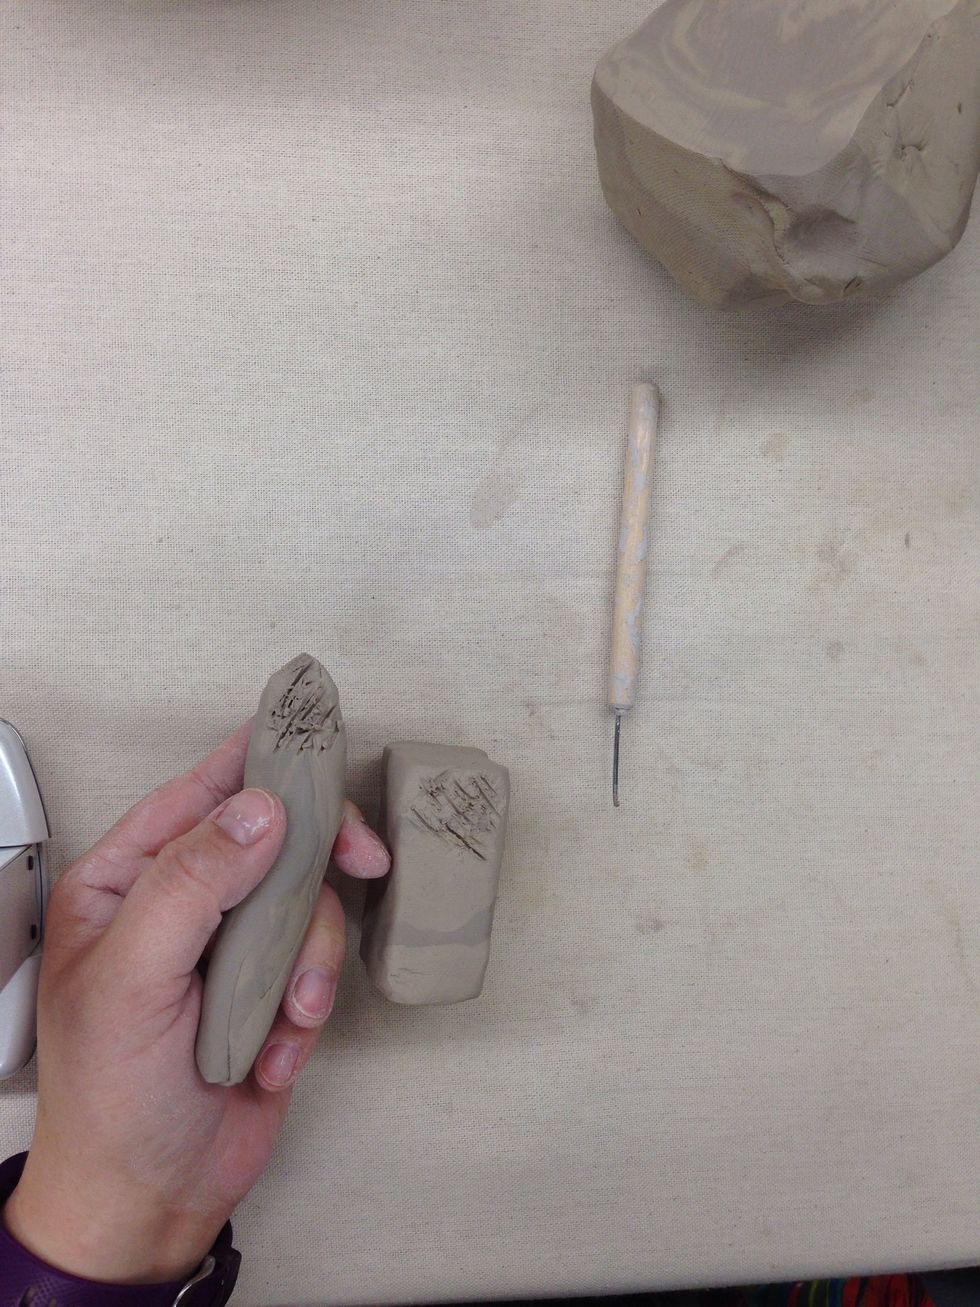
Scratch or SCORE the area where the 2 pieces of clay will be attached together, using a tool.

Using a little bit of water on your fingers or SLIP (diluted clay). Wet the scored areas.
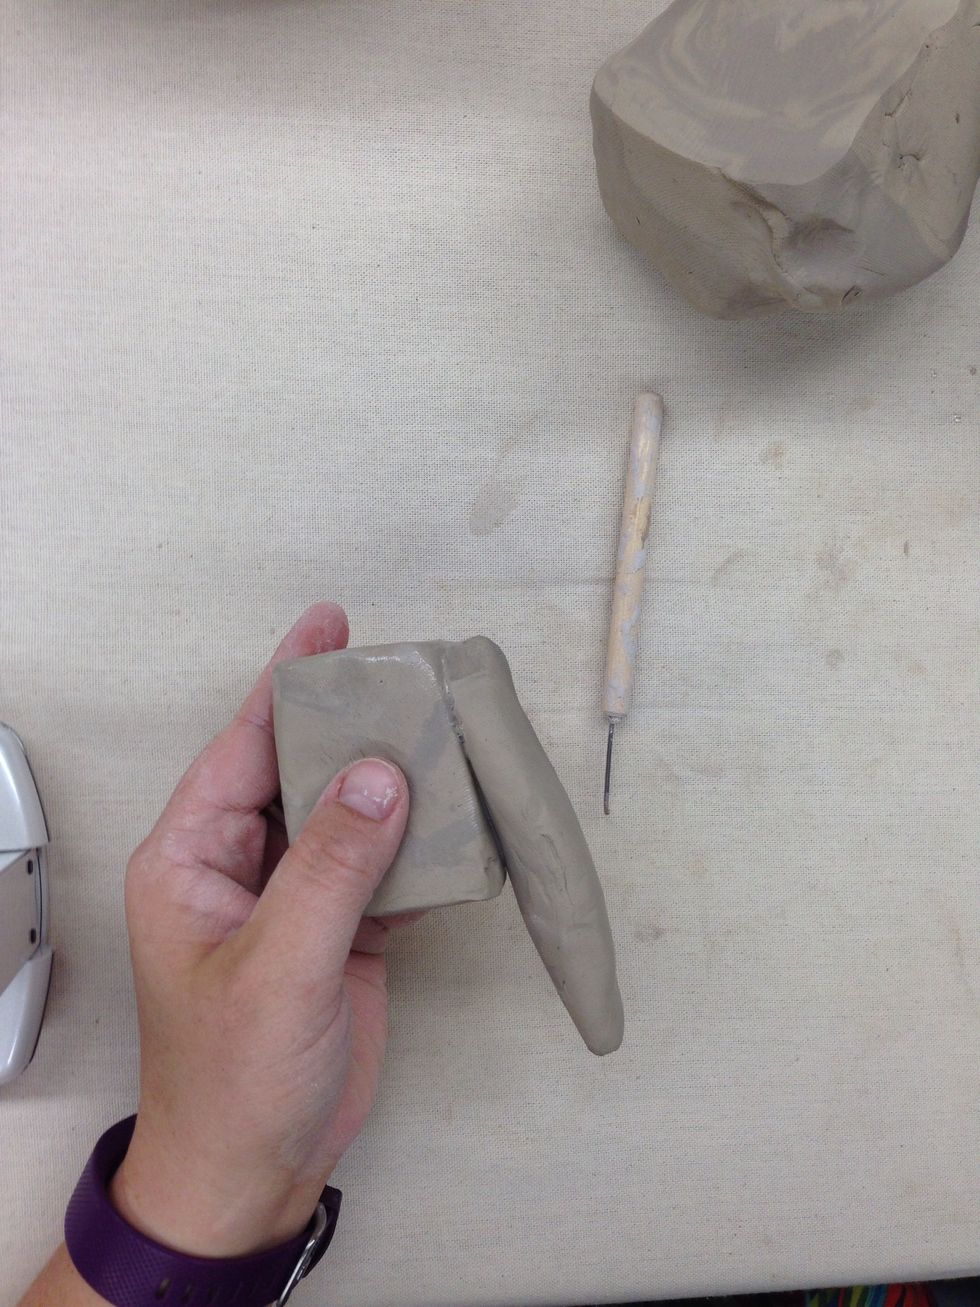
connect the 2 pieces together
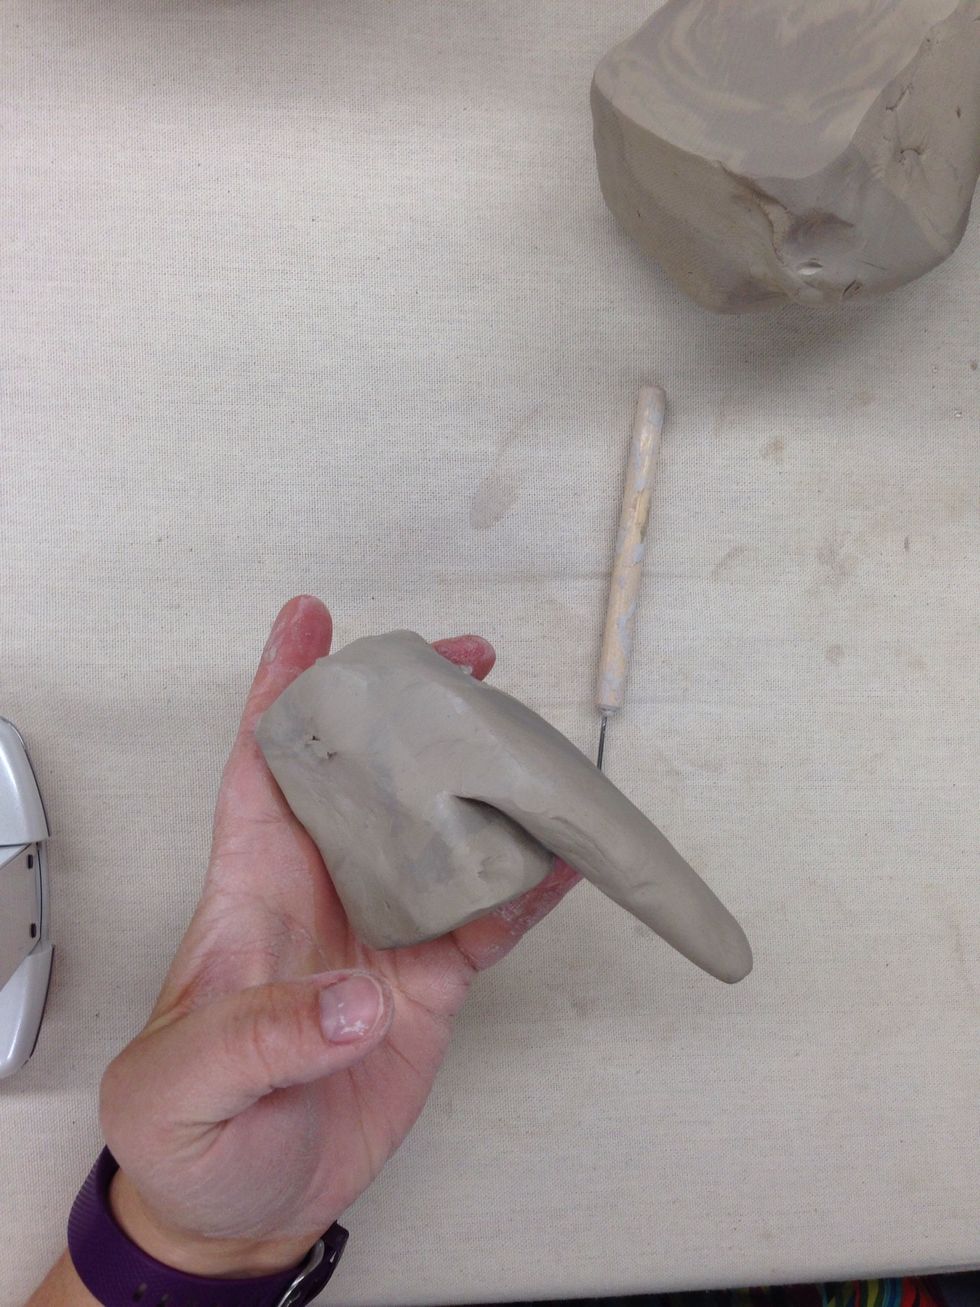
Smooth over the connections to create a better bond
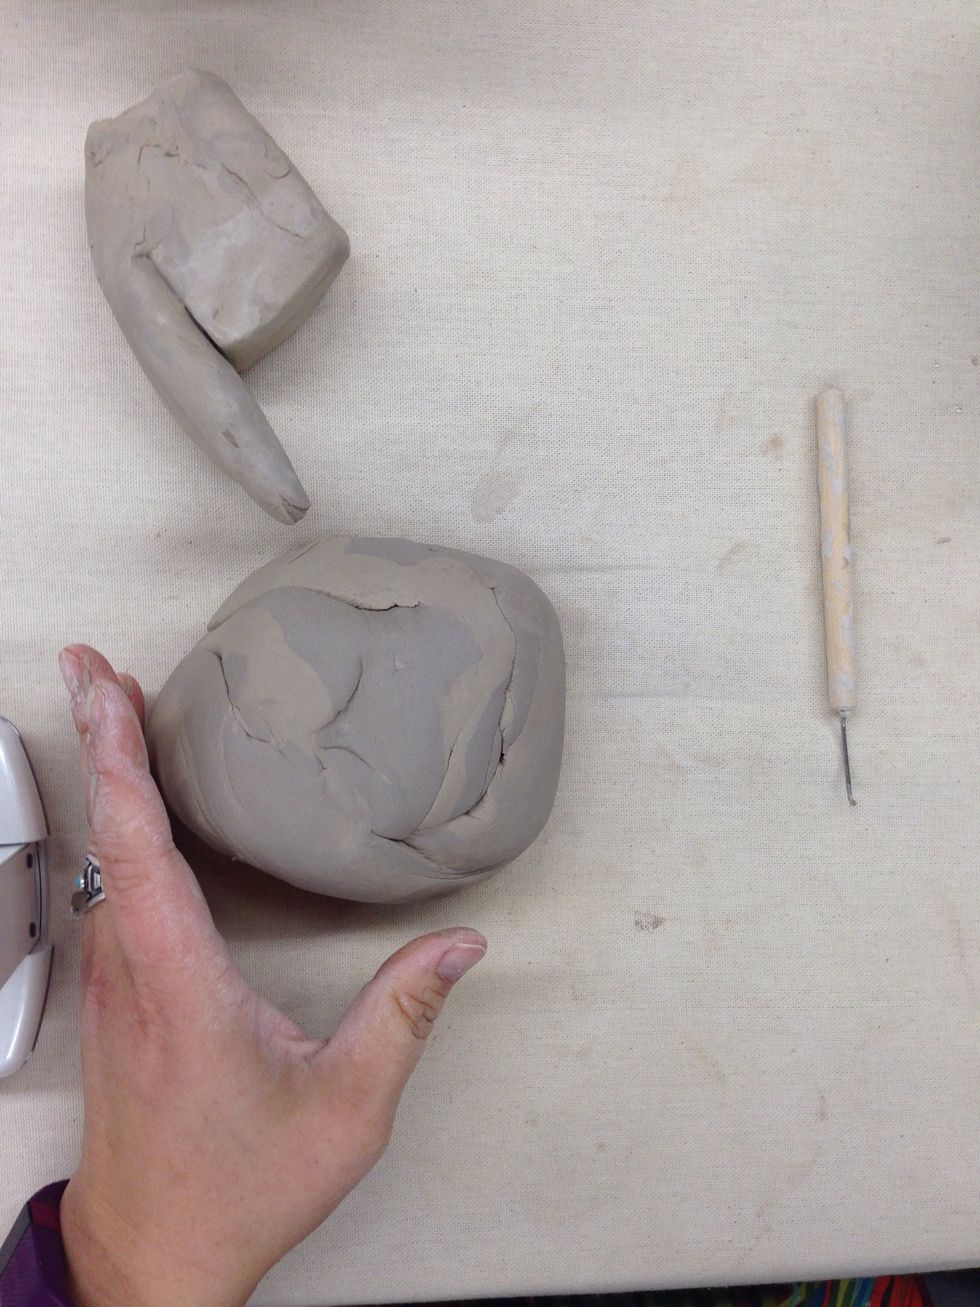
When using a large amount of clay it is best to hollow it out leaving about a half to quarter inch walls.
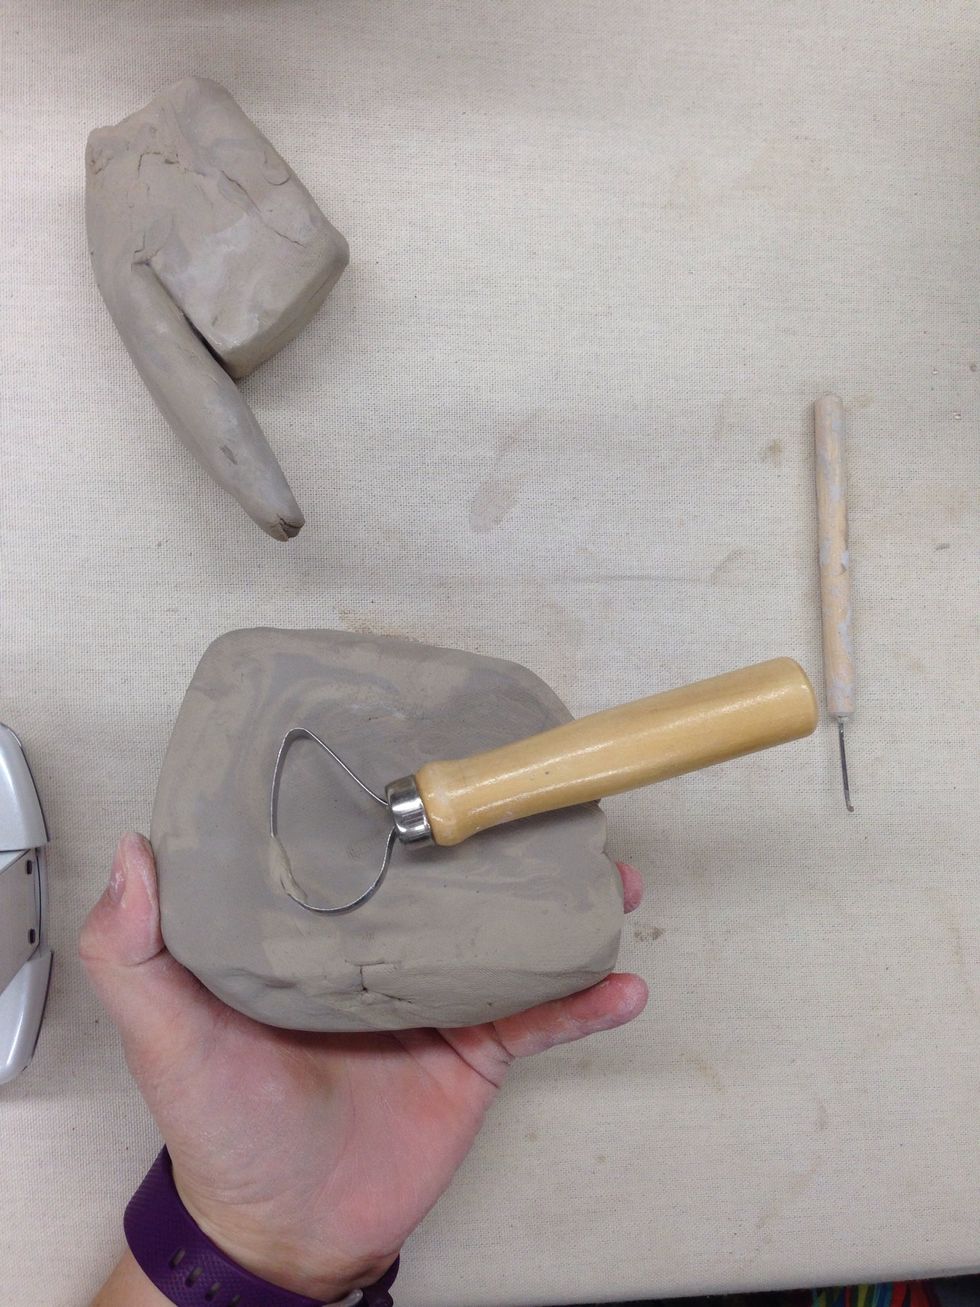
I am using a loop tool to hallow this ball of clay. This ball of clay I'm using as a base.

To use the loop tool dig it into the clay with a circular motion, twisting the wrist.
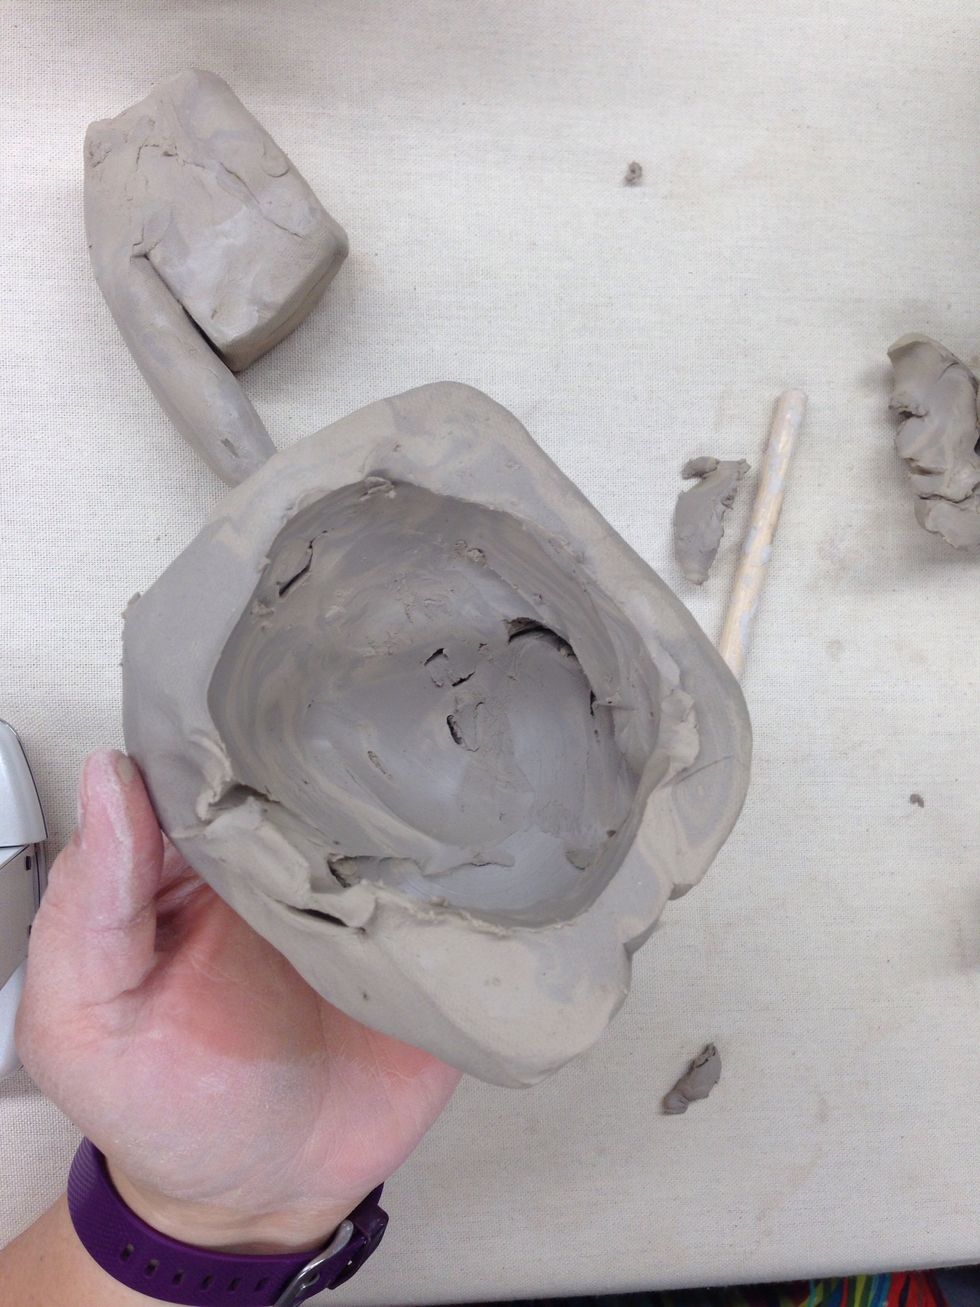
This is a pretty good edge width.
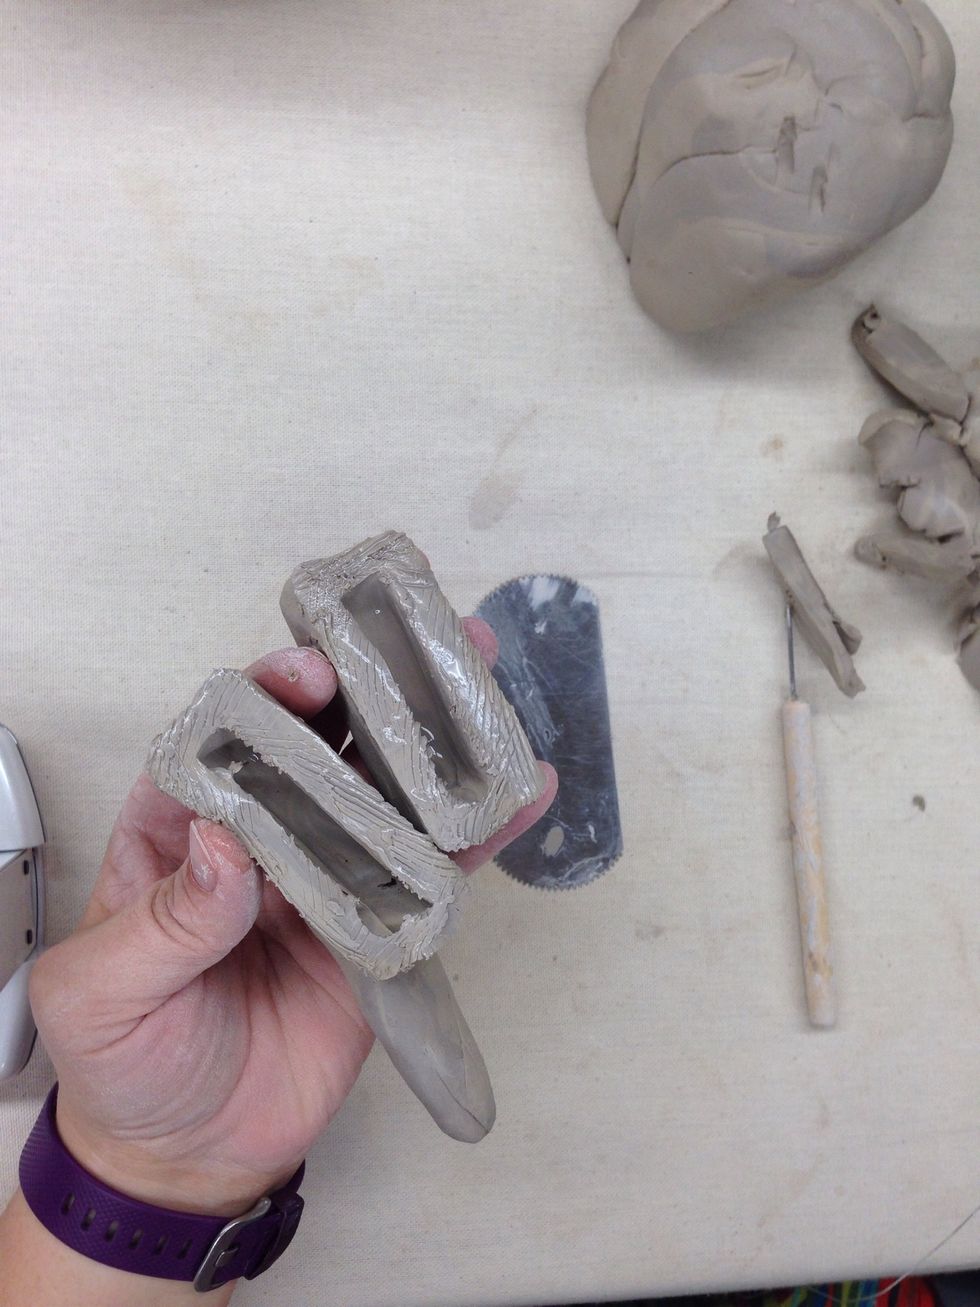
If your sculpture is thick, it too will need to be hallowed out. Use the Wire Cutter to make a clean cut through the center of the sculpture or where ever you feel it will be easiest.
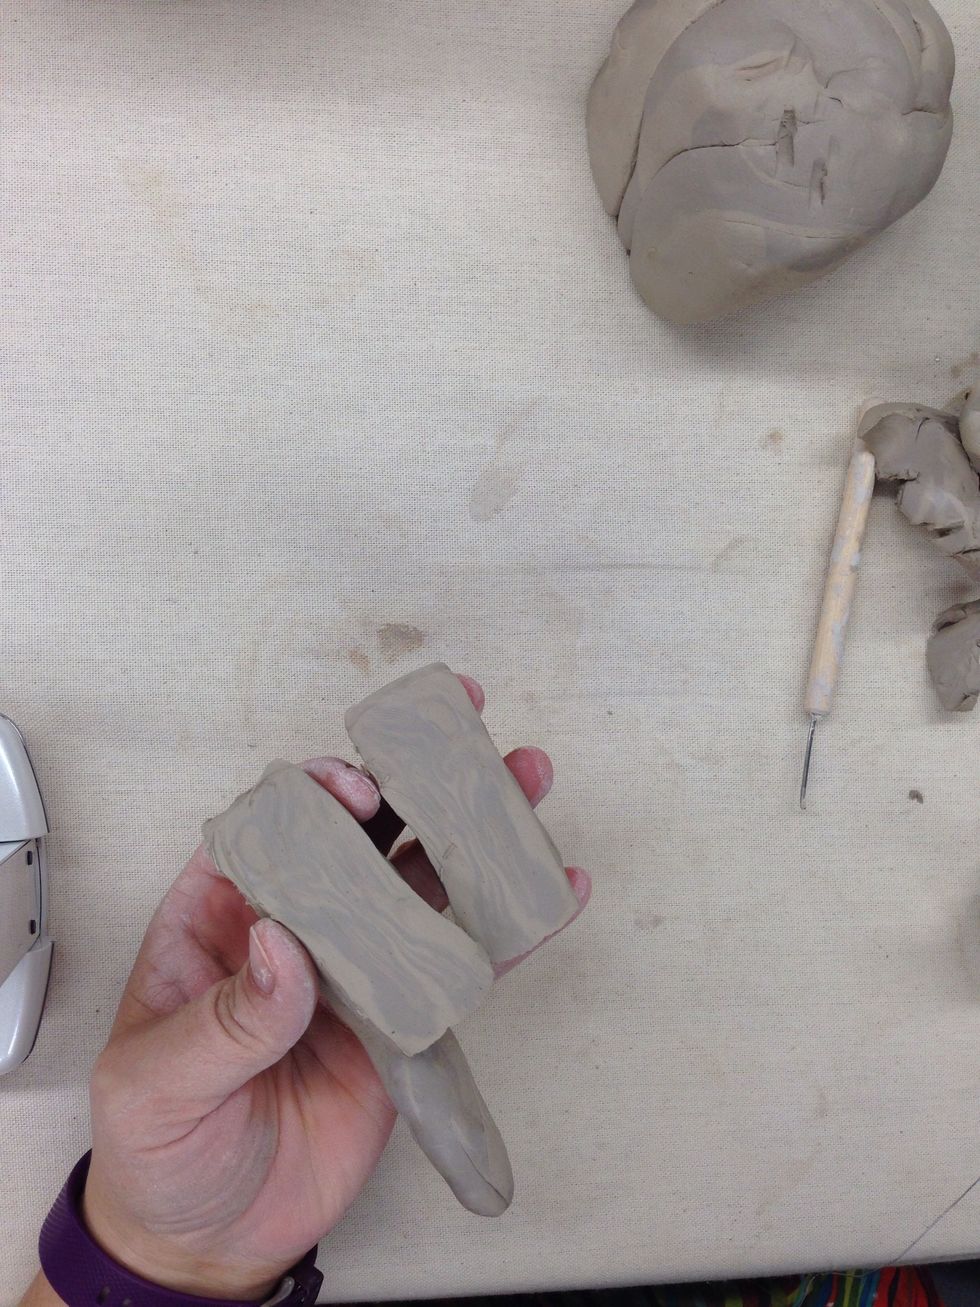
Open the piece
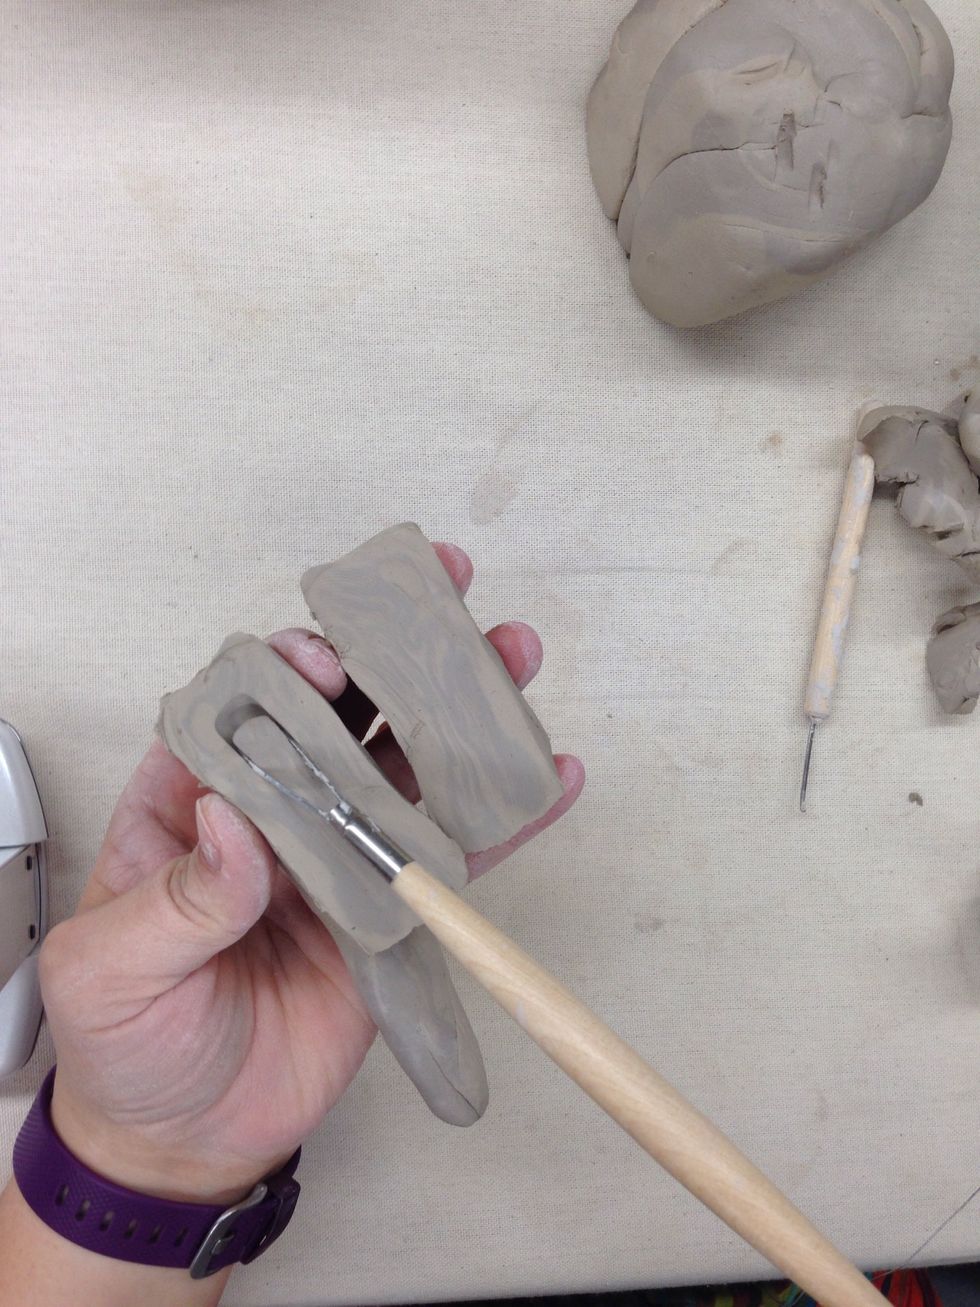
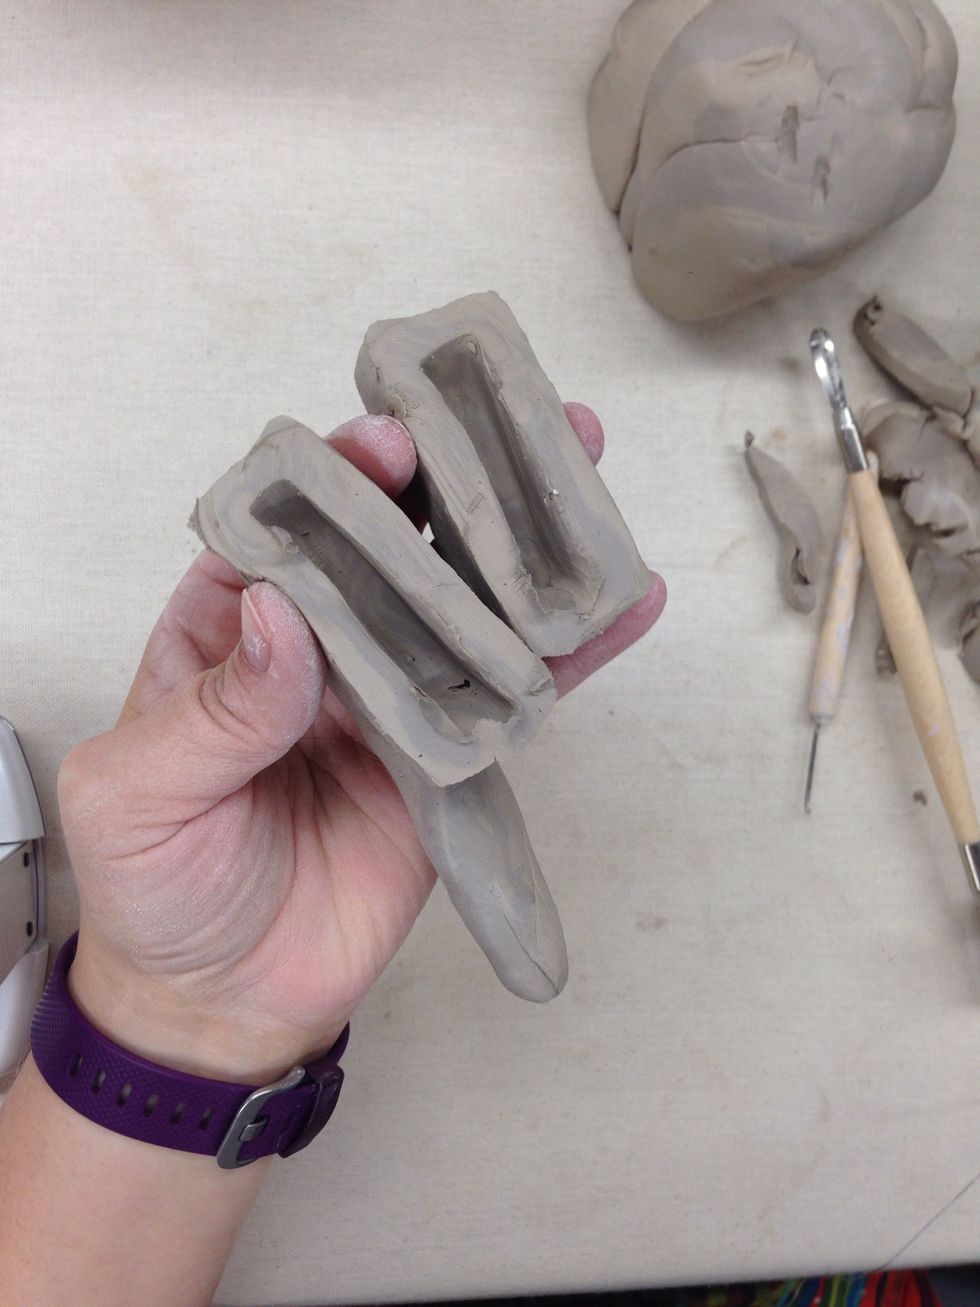
Scoop out the center using a small loop tool.
If you need to add support to the center, I some times use paper towels or any paper and roll it up and put it inside. This will turn to ashes in the kiln.
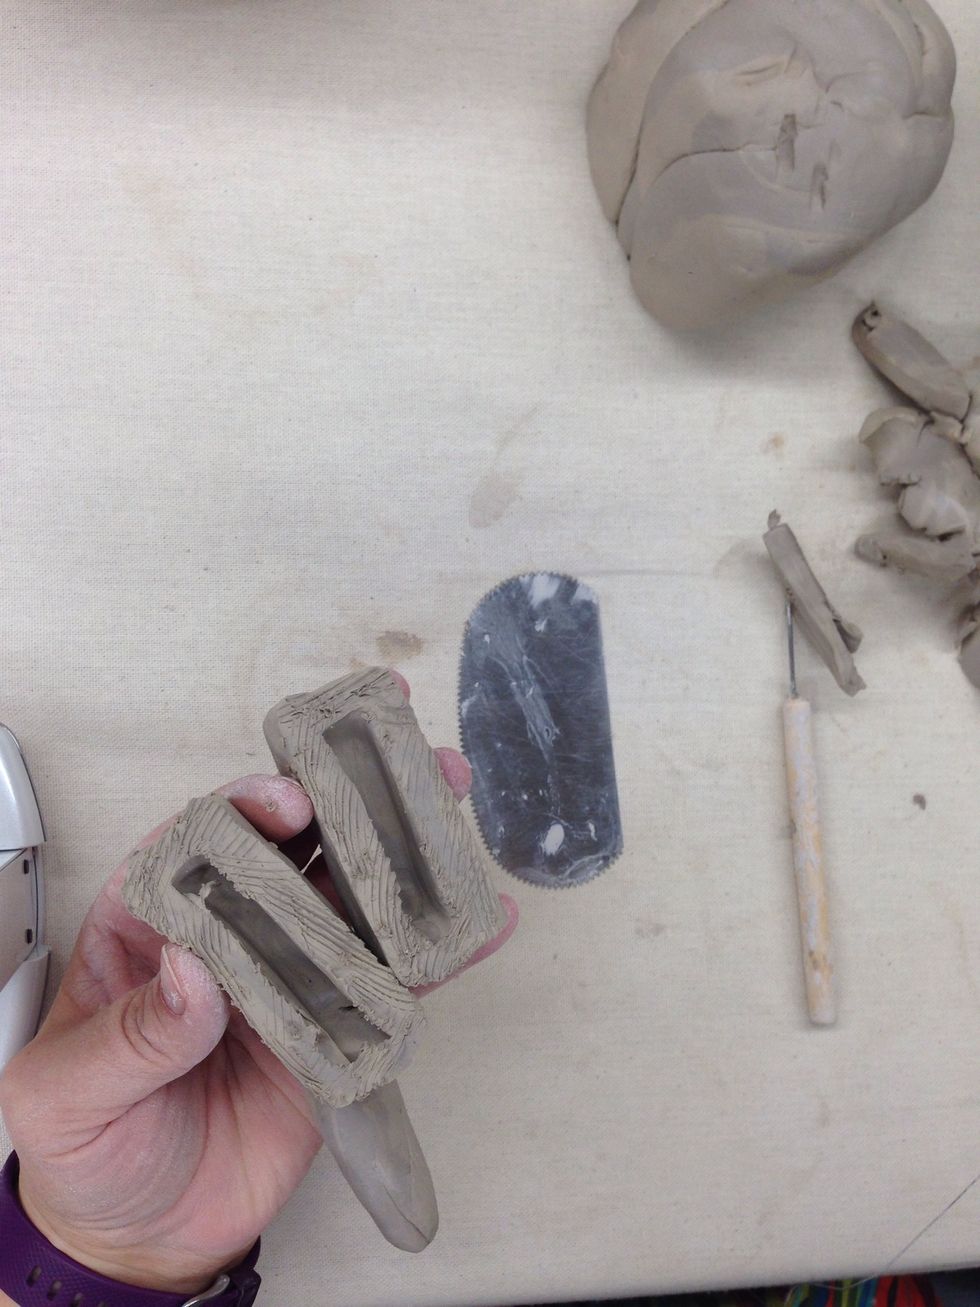
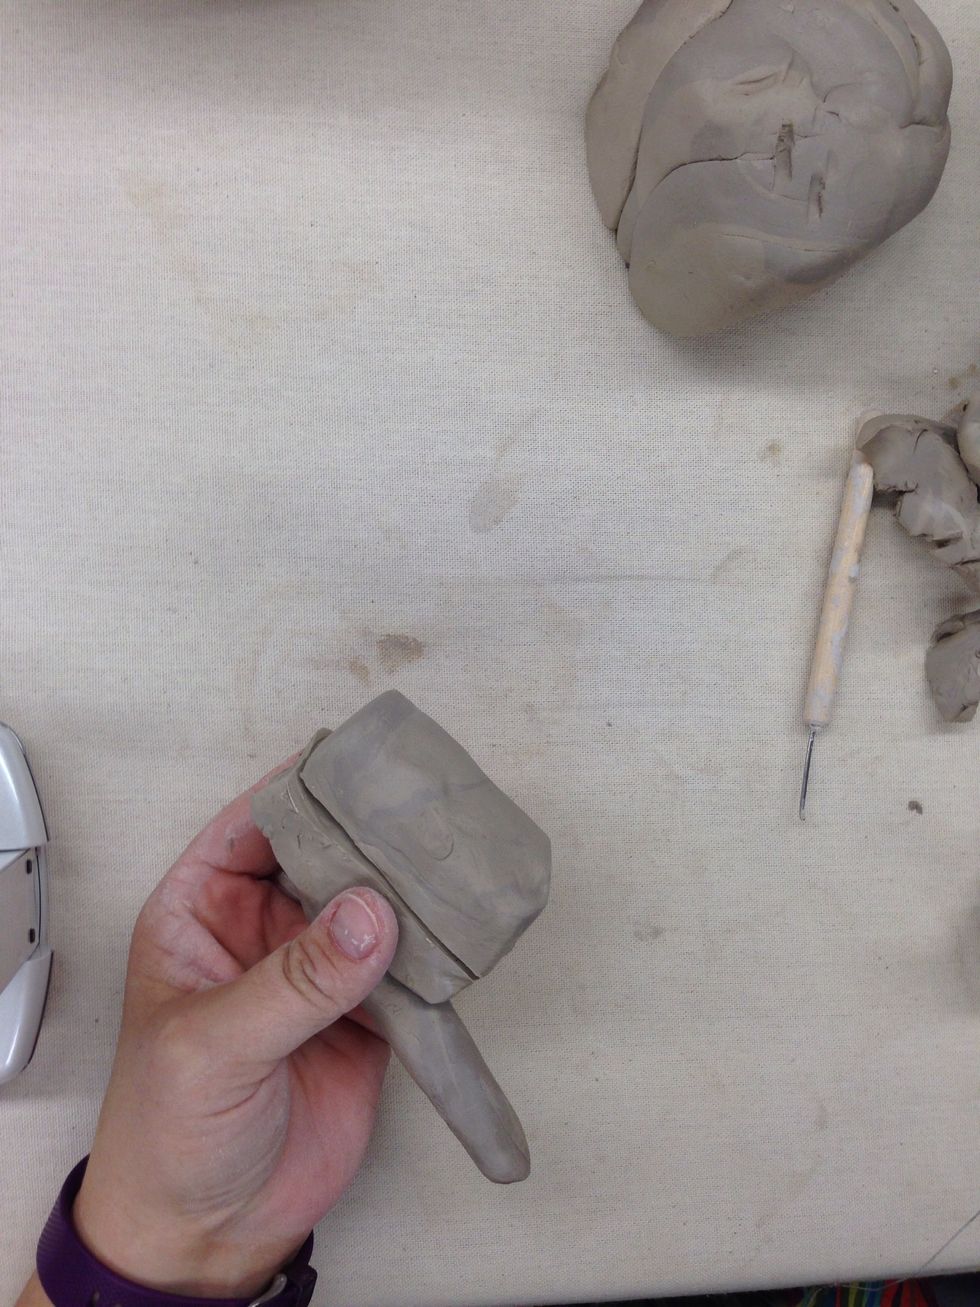
SCORE the sides, to put the pieces back together.
Add water or slip to the scored sides.
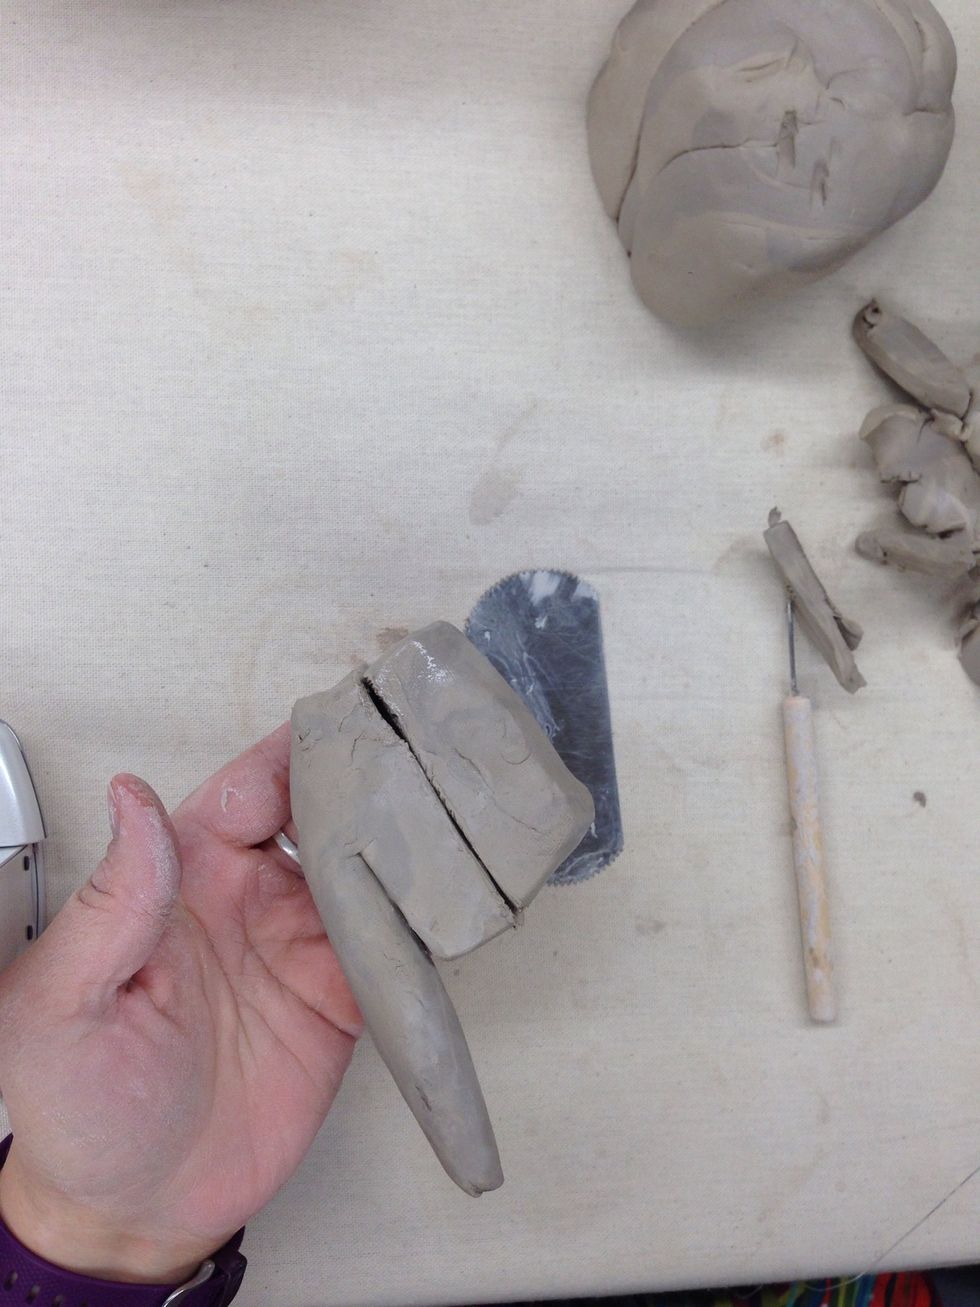
place the pieces back together lining them up.
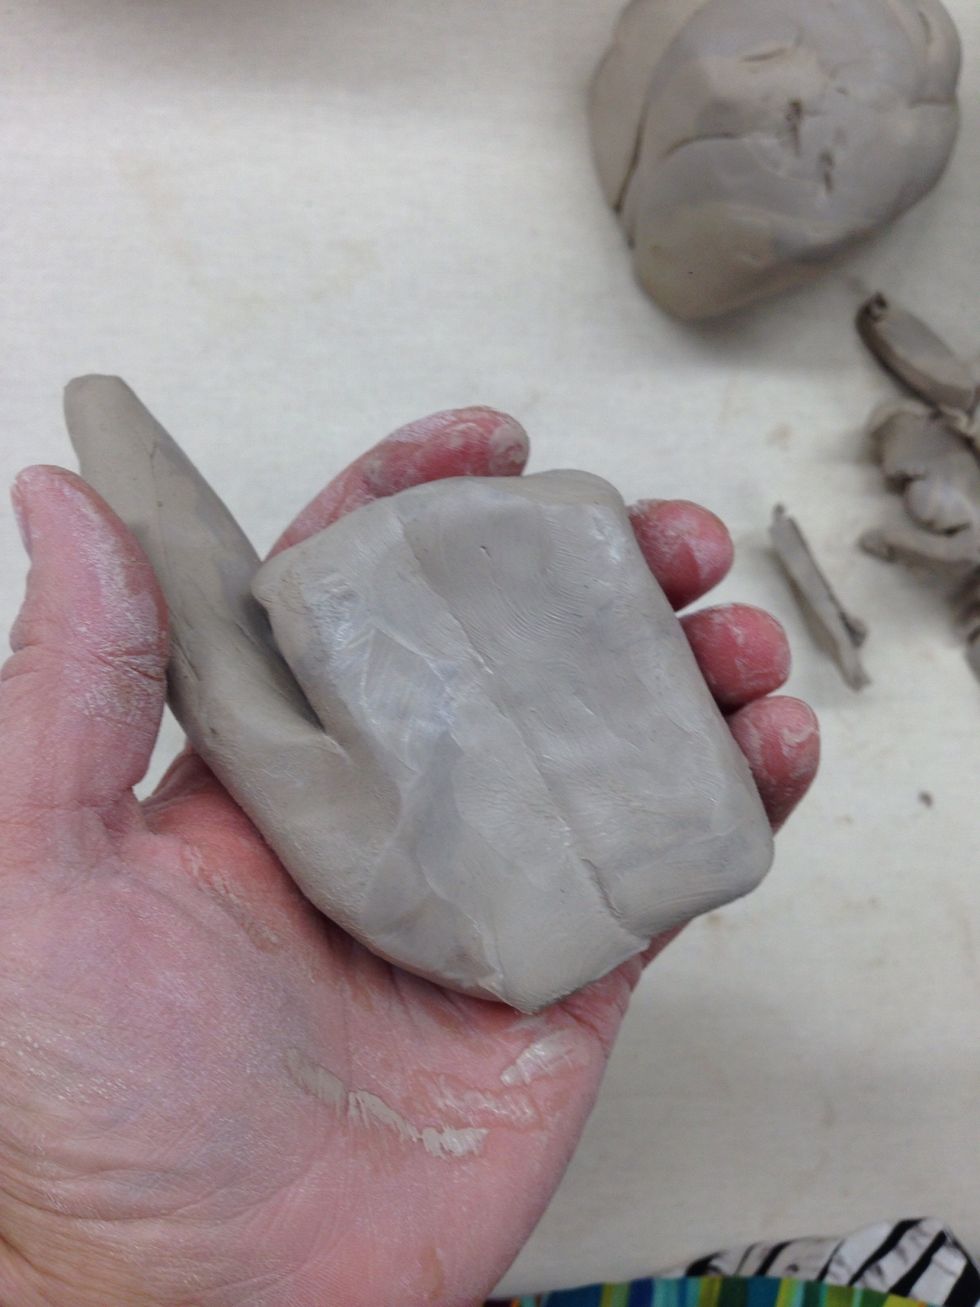
Smooth over the edges for a good connection.
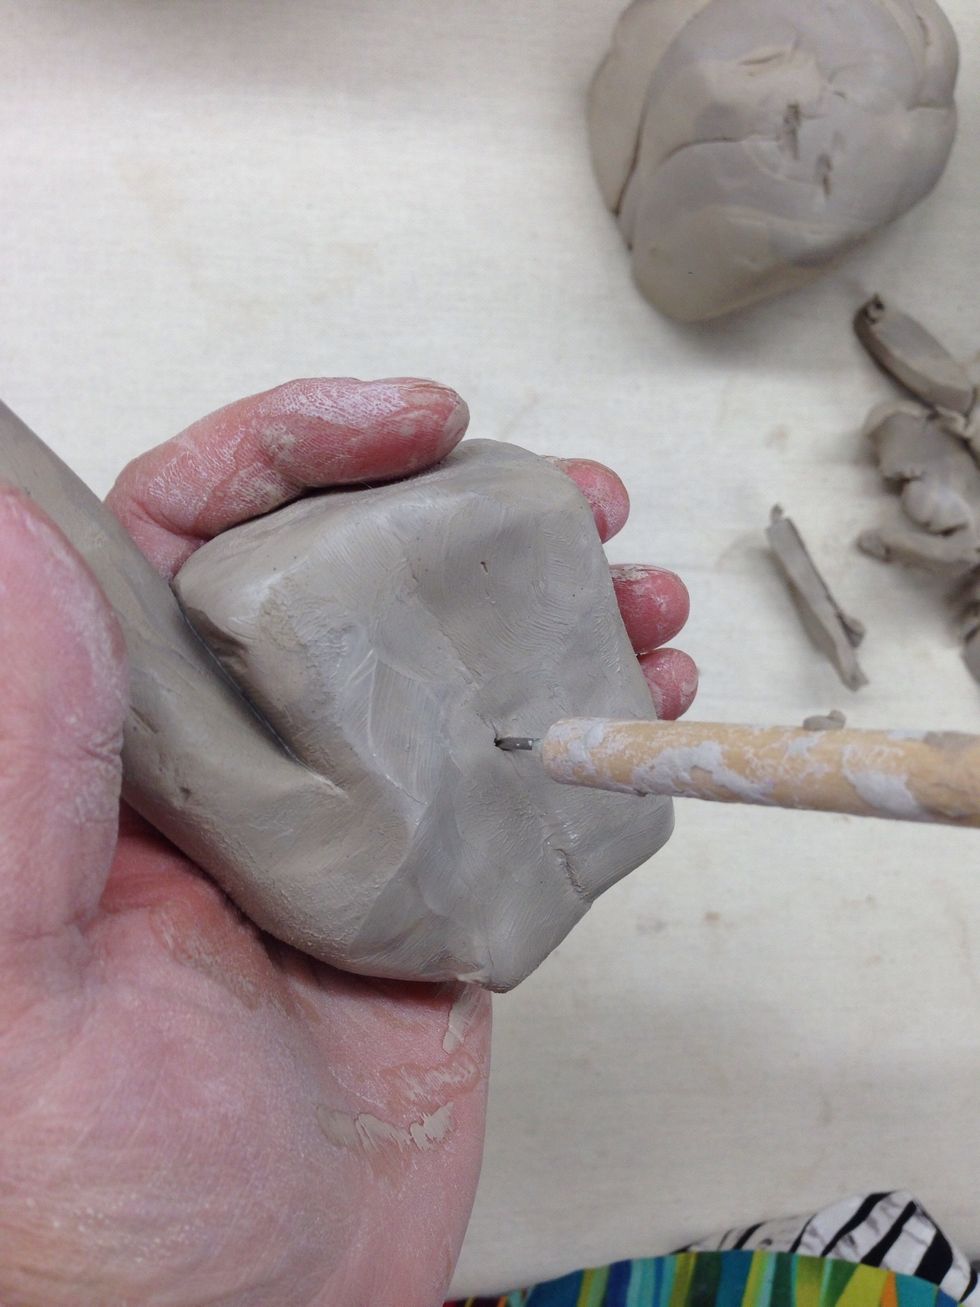
IMPORTANT: Poke a hole some where, (not to noticeable) to allow air to escape from the hollow area in the body. If you do not do this, your piece will explode in the kiln.
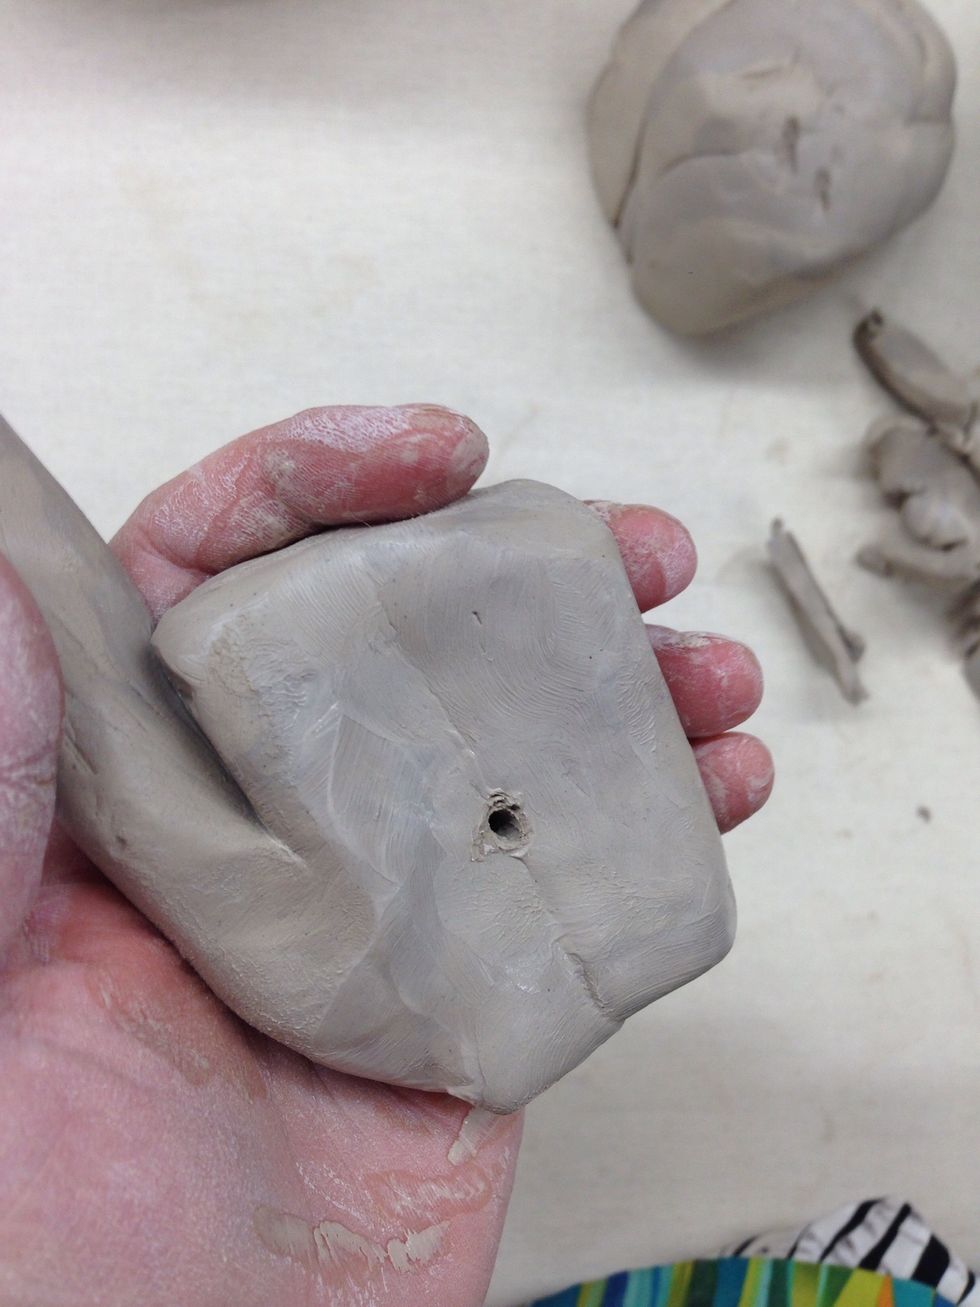
the hole doesn't have to be too big.
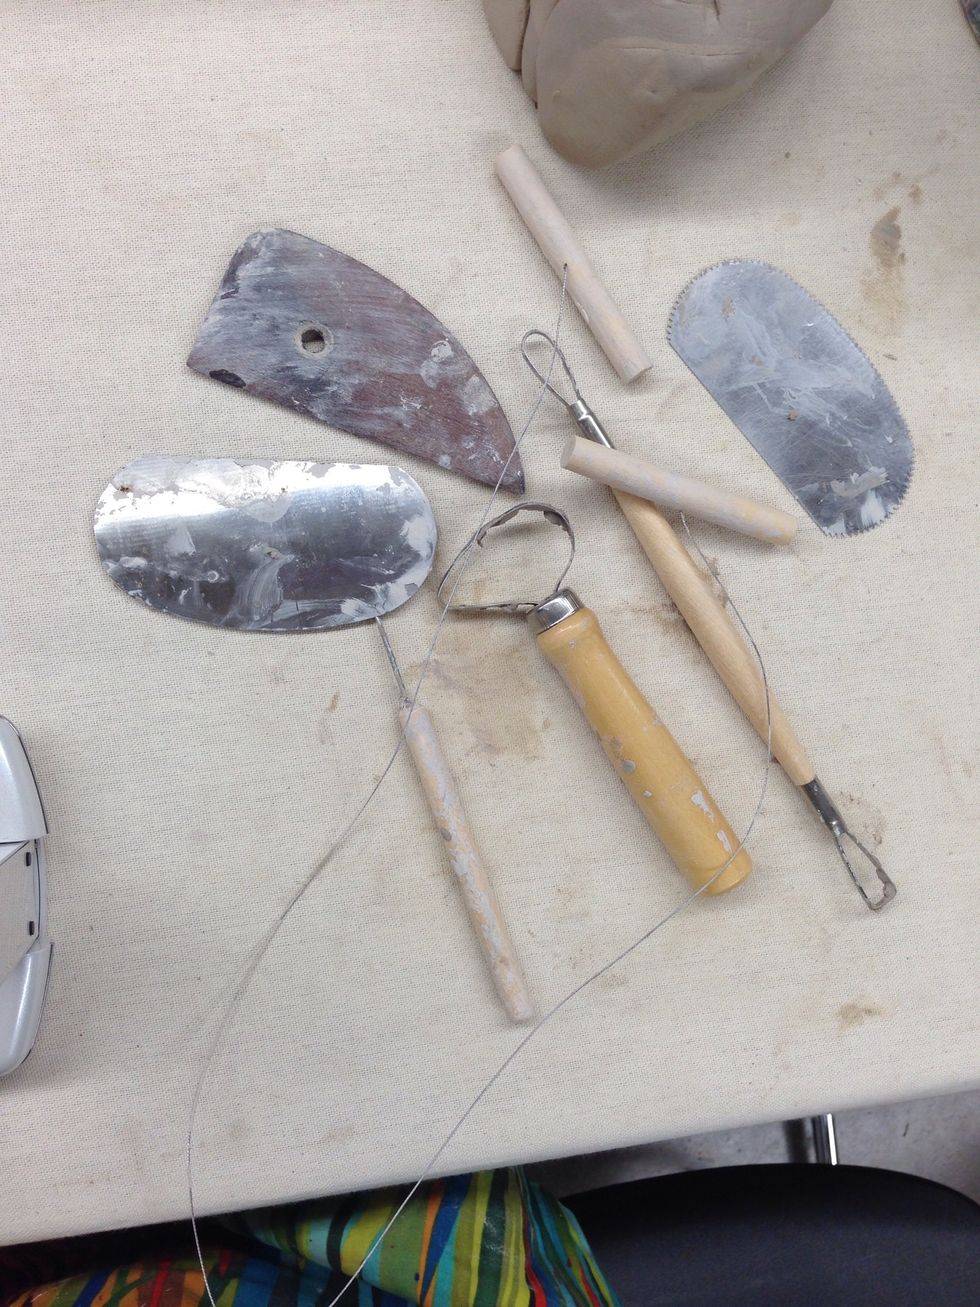
Here are some of the tools you may use. They include: the wire cutter, smoothers,and 2 loop tools
When you are done sculpting for the class you will need to place your sculpture on a board and cover it with a damp paper towel. Be sure there are no holes in your plastic bag.
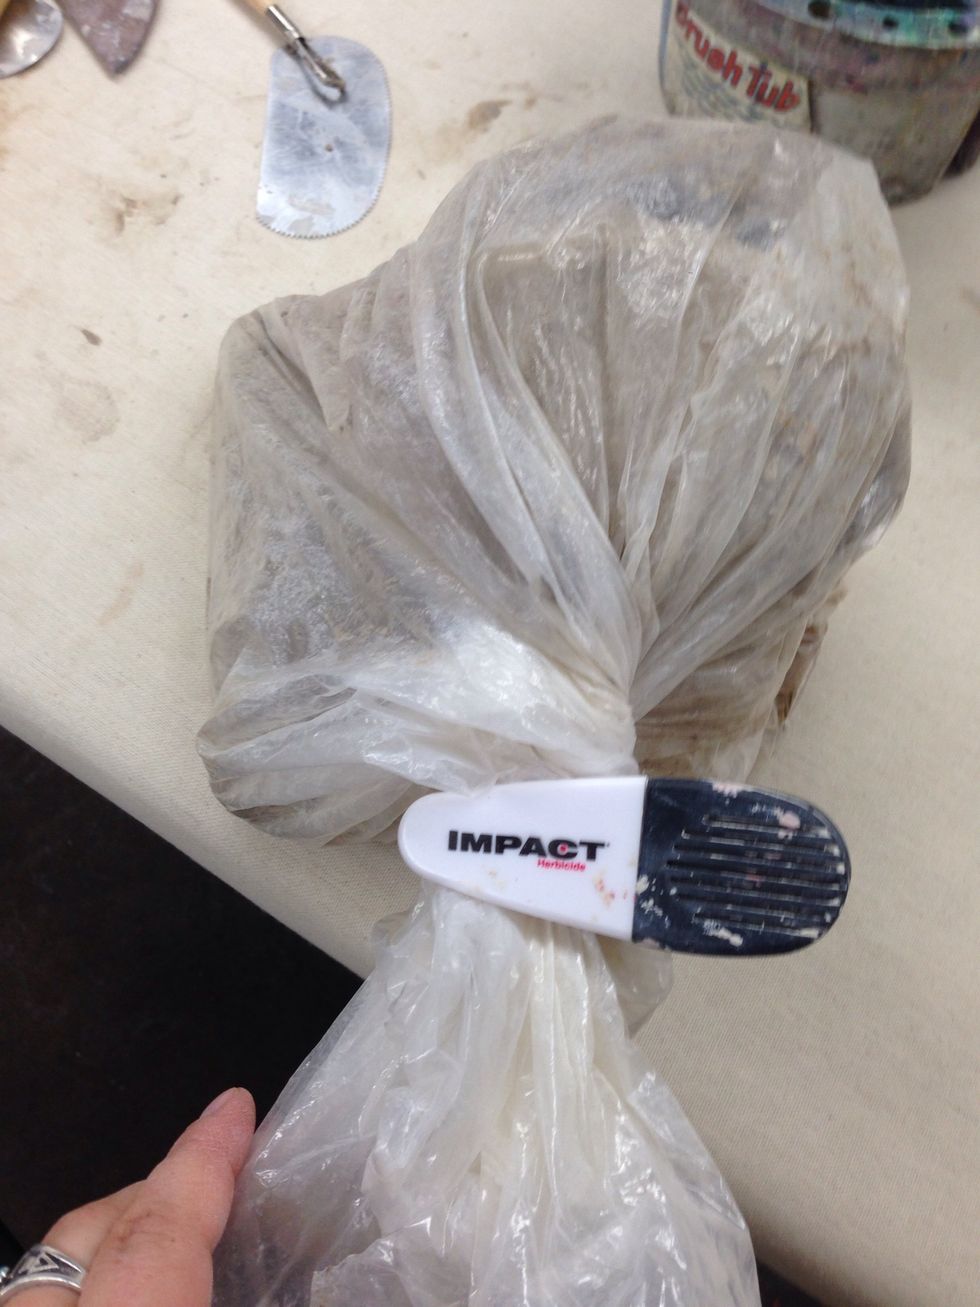
Close it tightly, any air in the bag will make the clay and your sculpture dry out.
Most clay sculptures will need to dry for 1-2 weeks depending on thickness of clay. They will then be put in the KILN to be baked to get all the remaining moisture out.
If you wish to GLAZE or paint your sculpture, it will first need to go through the kiln. With Glaze you will need to again return it to the kiln a second time.