The Conversation (0)
Sign Up
I'd imagine camera roll is one of the most widely used features on iPhone. But if anyone is new to iPhone I hope this guide will help you become familiar with the camera roll feature.

First let's cover the basics. We'll delete an individual photo from camera roll. Go to the photo you want to delete. If you don't see the menu tap the image to open the menu.

See the garbage can at the lower right?

Tap the garbage can.

Confirm that you want to delete it.

The photo will get sucked right into the garbage can.
To delete or manipulate multiple images at once. Tap the icon in the top right corner.
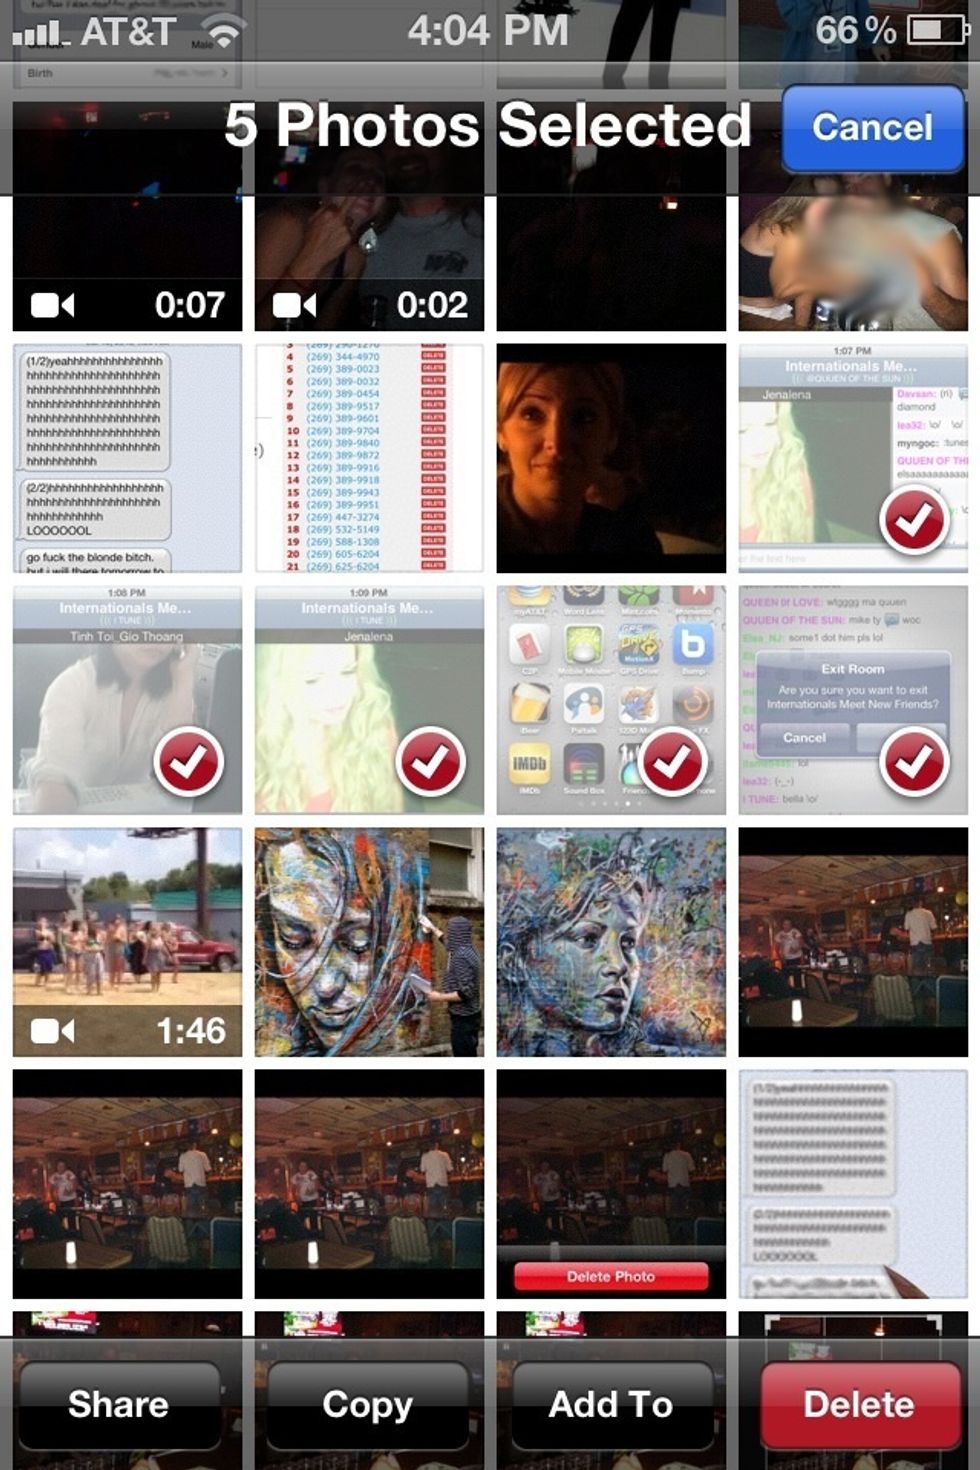
Select the images you want to delete or manipulate by tapping them.
Hit the send icon at bottom left to see the sending options.
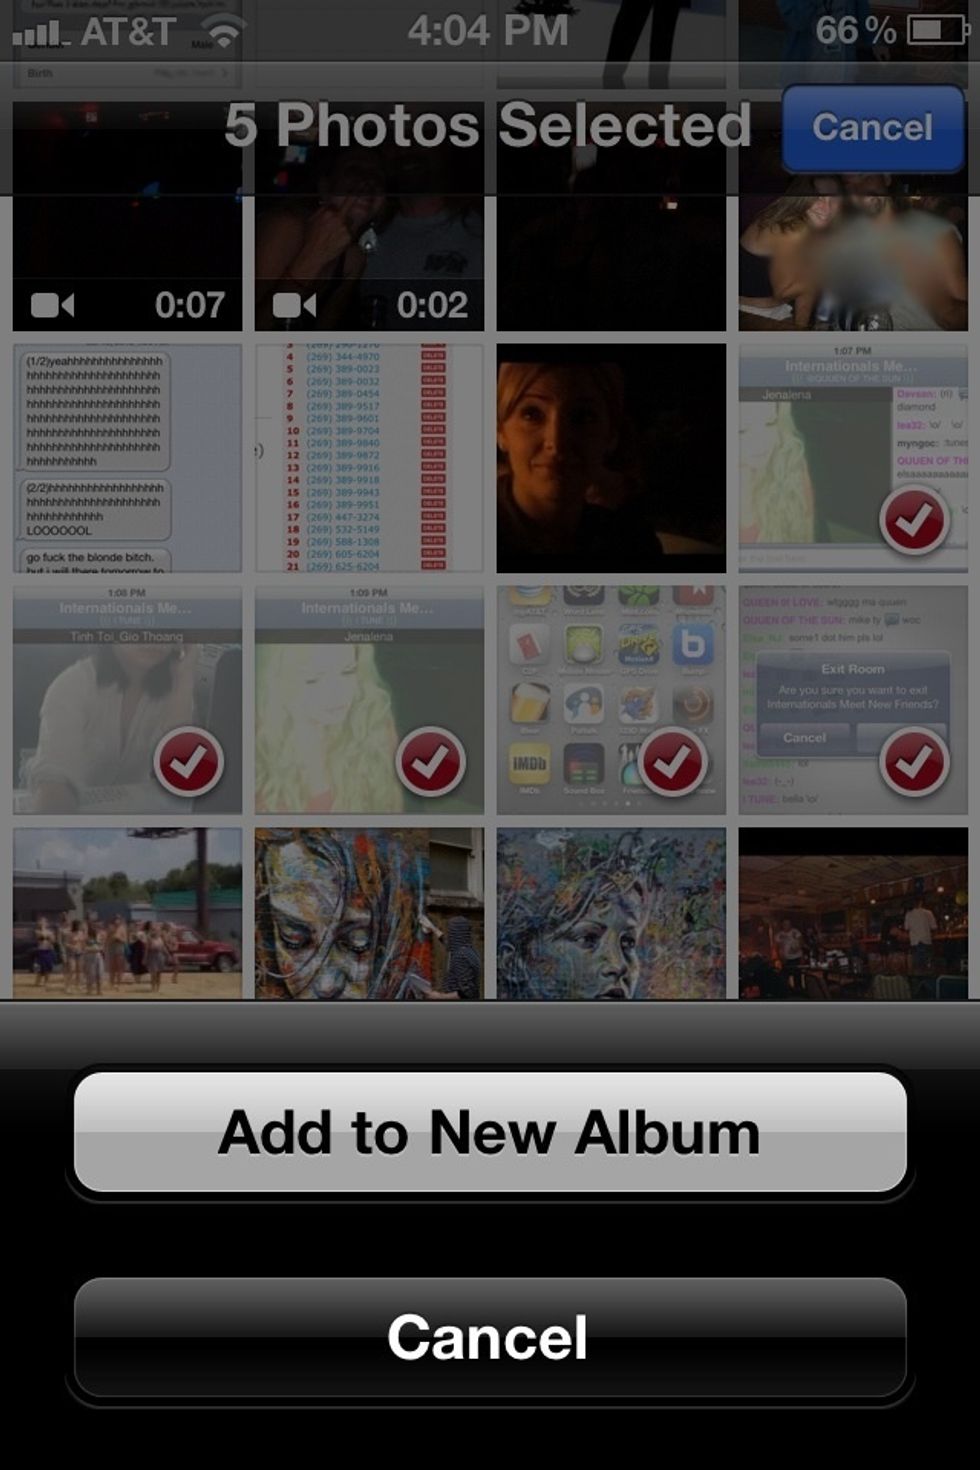
Tap the Add to link to add the selected photos to a new album.
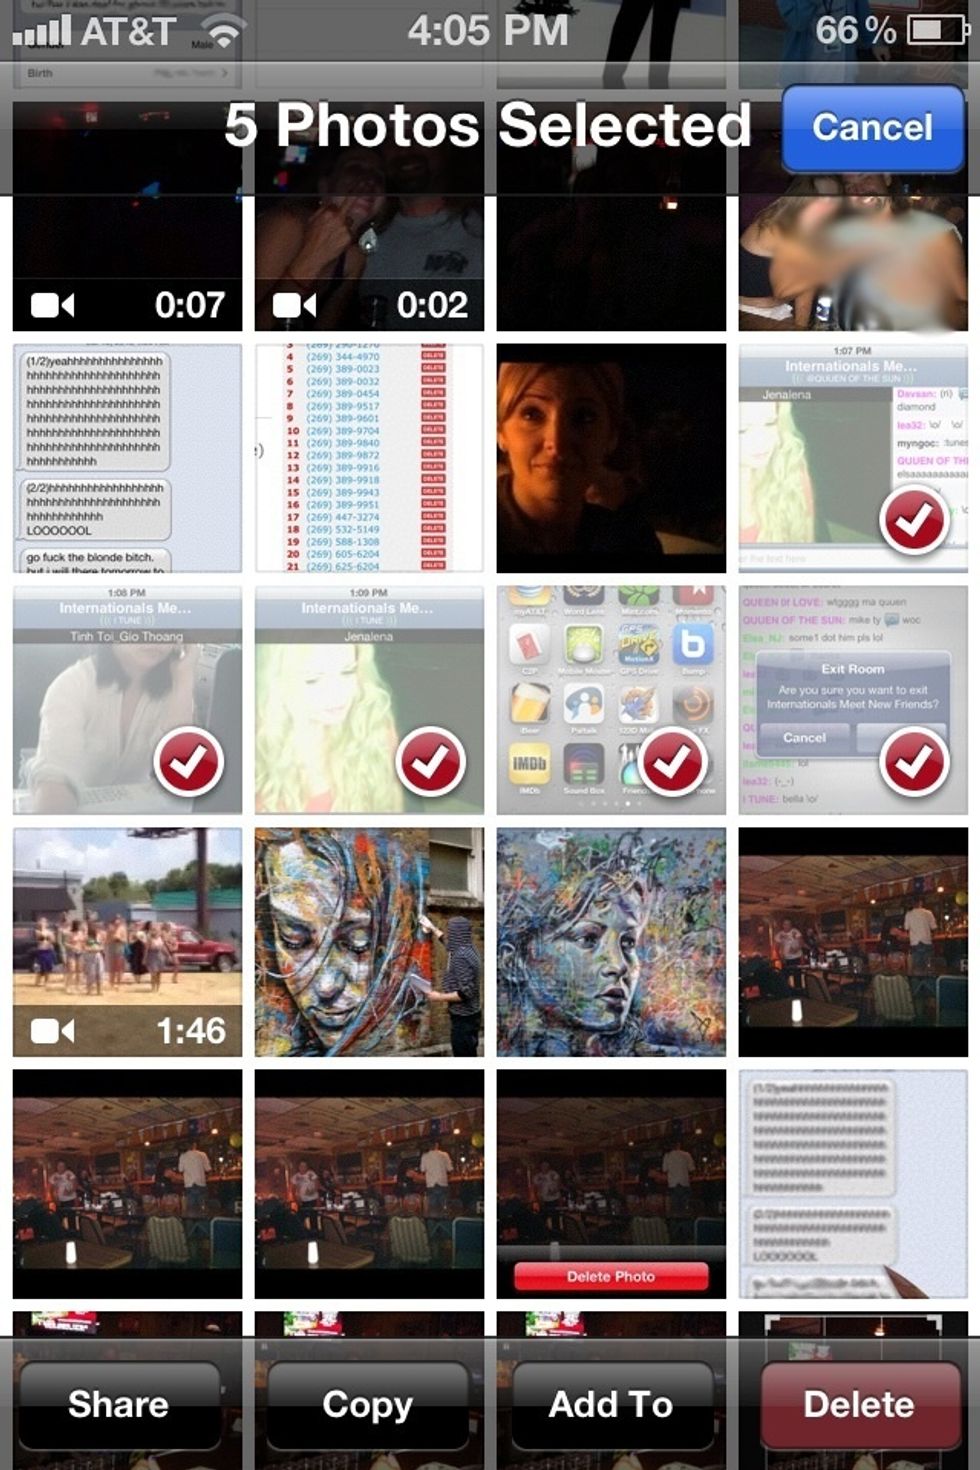
Or of course you can delete all the selected photos at once as well.
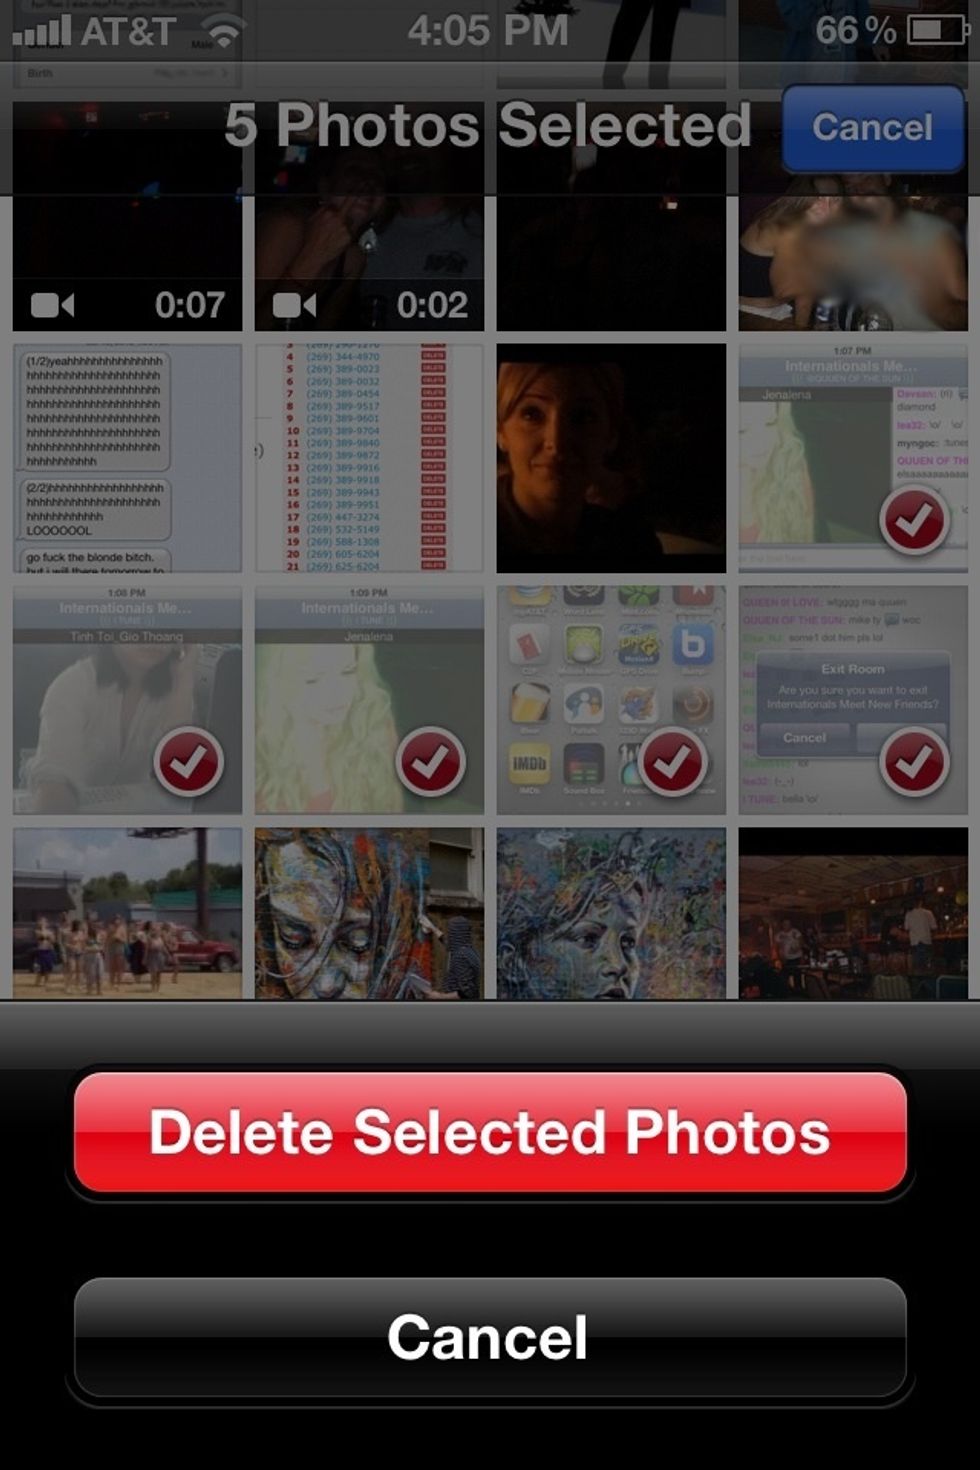
It always asks to make sure your sure you want to delete them. Deleting is permanent.

Now let's go over the photo editing tools in camera roll. Tap "Edit" in the top right corner.

The editing tool menu will appear below.
Let's crop the image. Select the crop icon at bottom right.
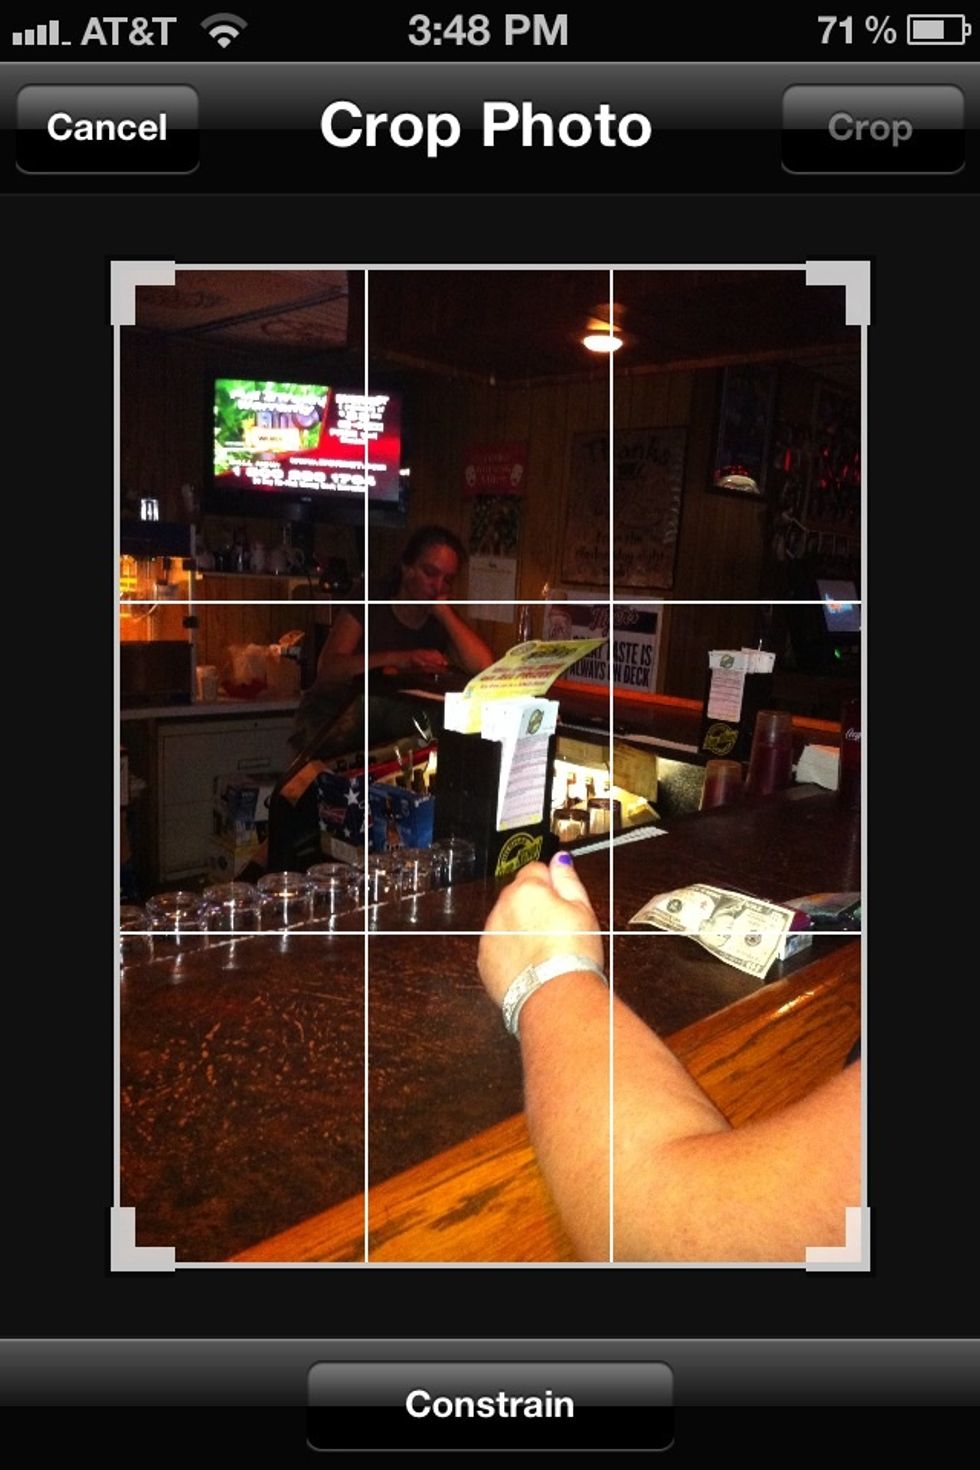
The cropping grid will appear.
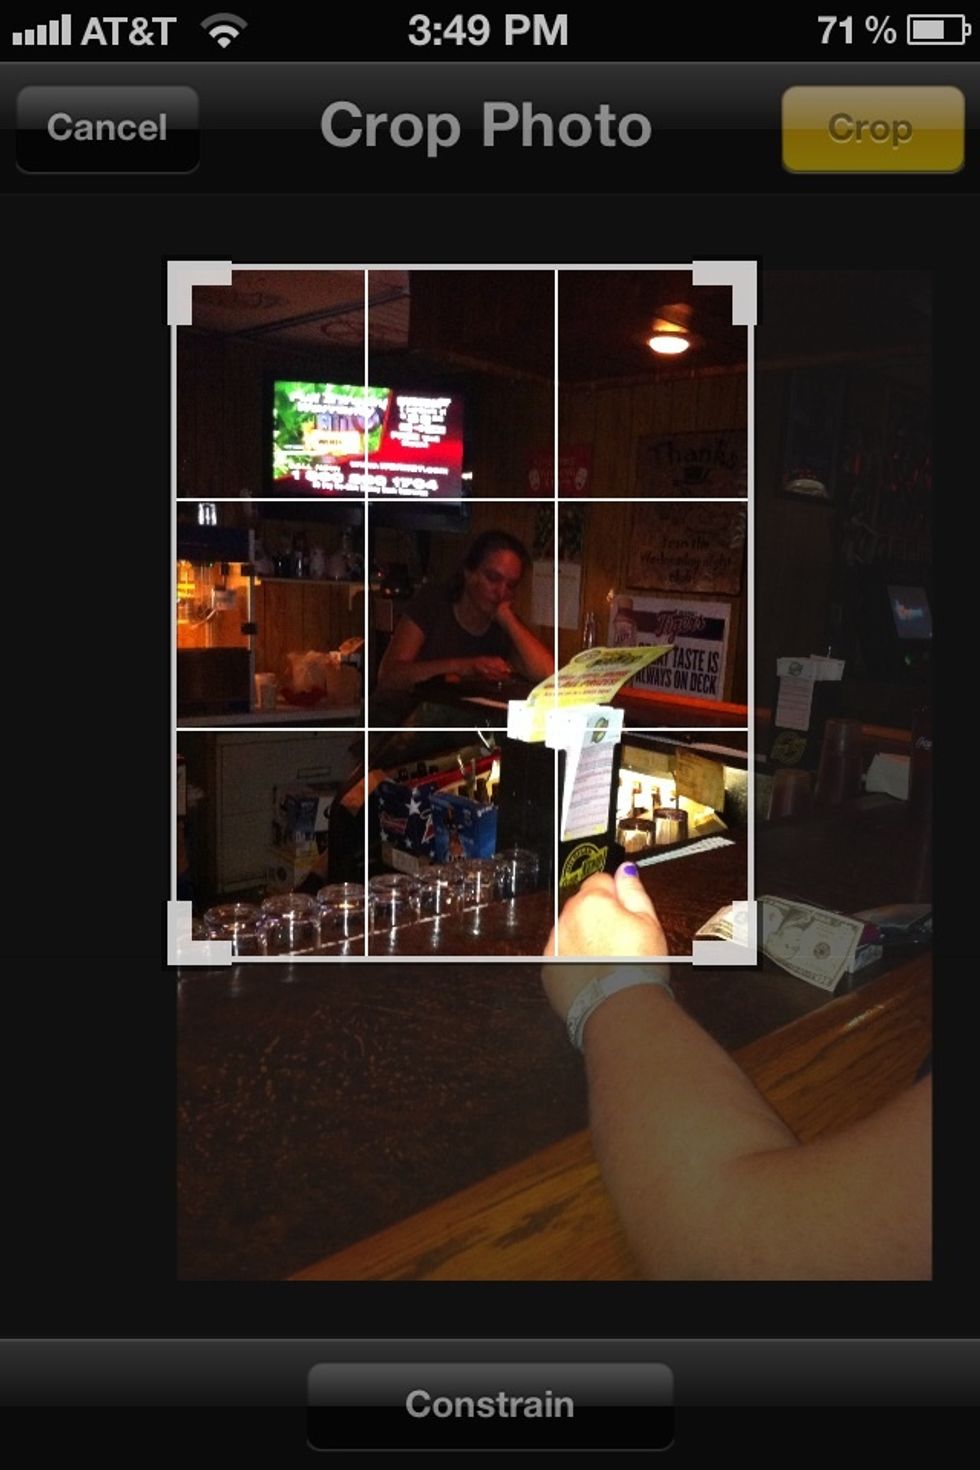
Drag the corners to center the grid over the area you want to keep. Anything outside the grid will be deleted. When done tap "Crop" at top right corner.

The magic wand is the auto enhance. Tap it to enhance the photo.

It'll adjust the lighting. The auto enhance is kinda touch and go for me. Sometimes it does improve an image but sometimes it doesn't. You can always undo by clicking cancel.
The rotate icon rotates the image 90 degrees every time you tap it. This is one tap.

Another tap…

Two more taps brings it back where you started.
When done editing tap Save at upper right corner. Next we'll go over the red eye tool which is the red icon between the magic wand and crop icons.
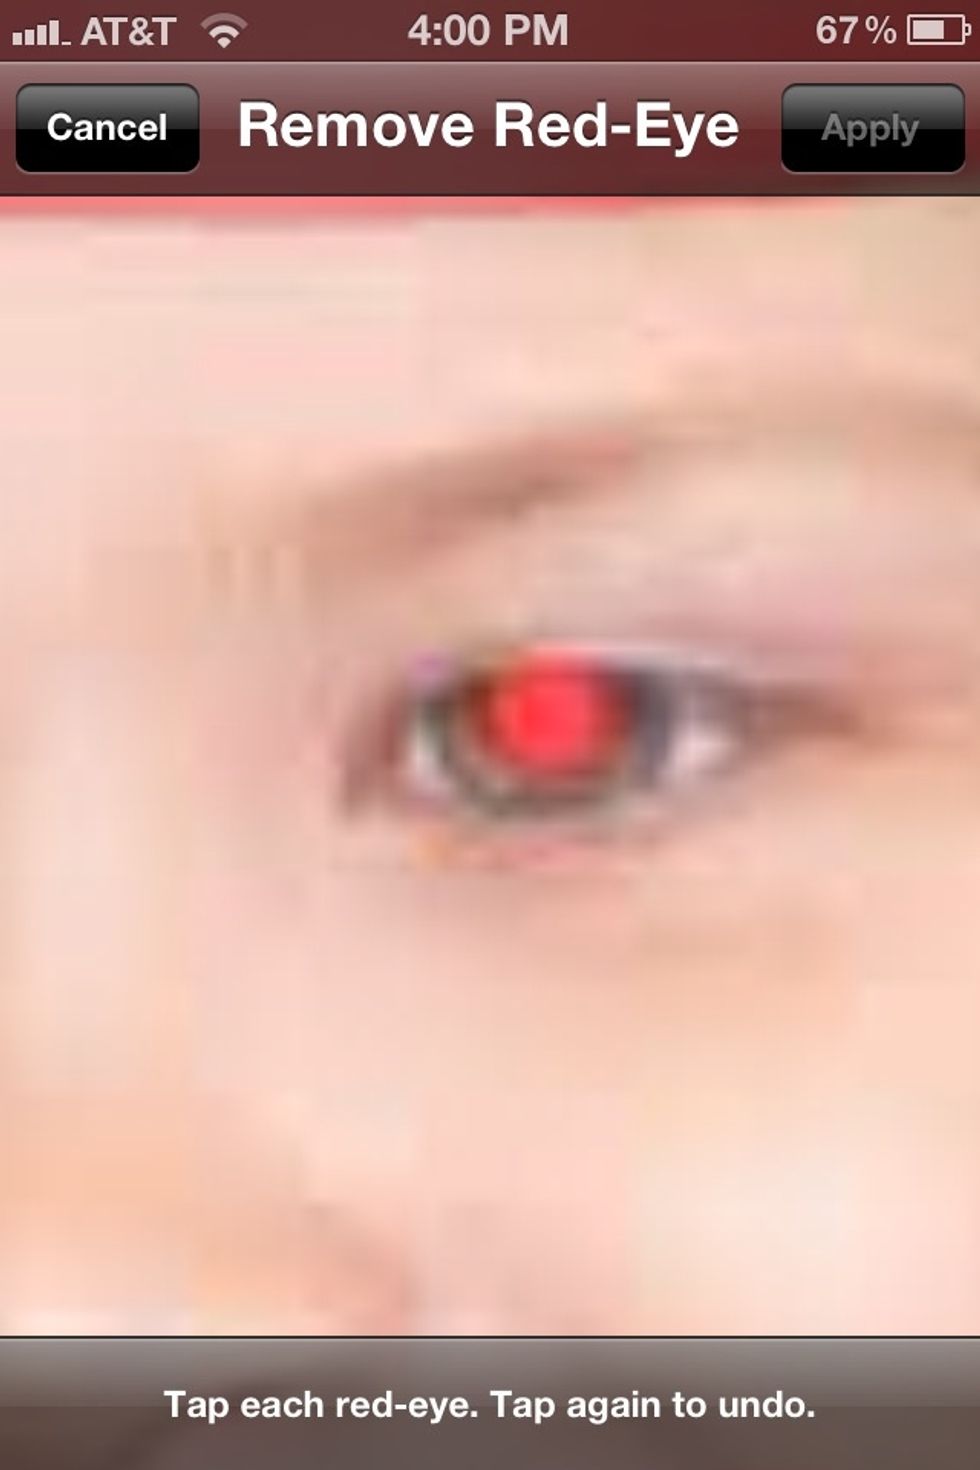
Open an image that has red eye. Open the red eye tool and zoom into the eye.
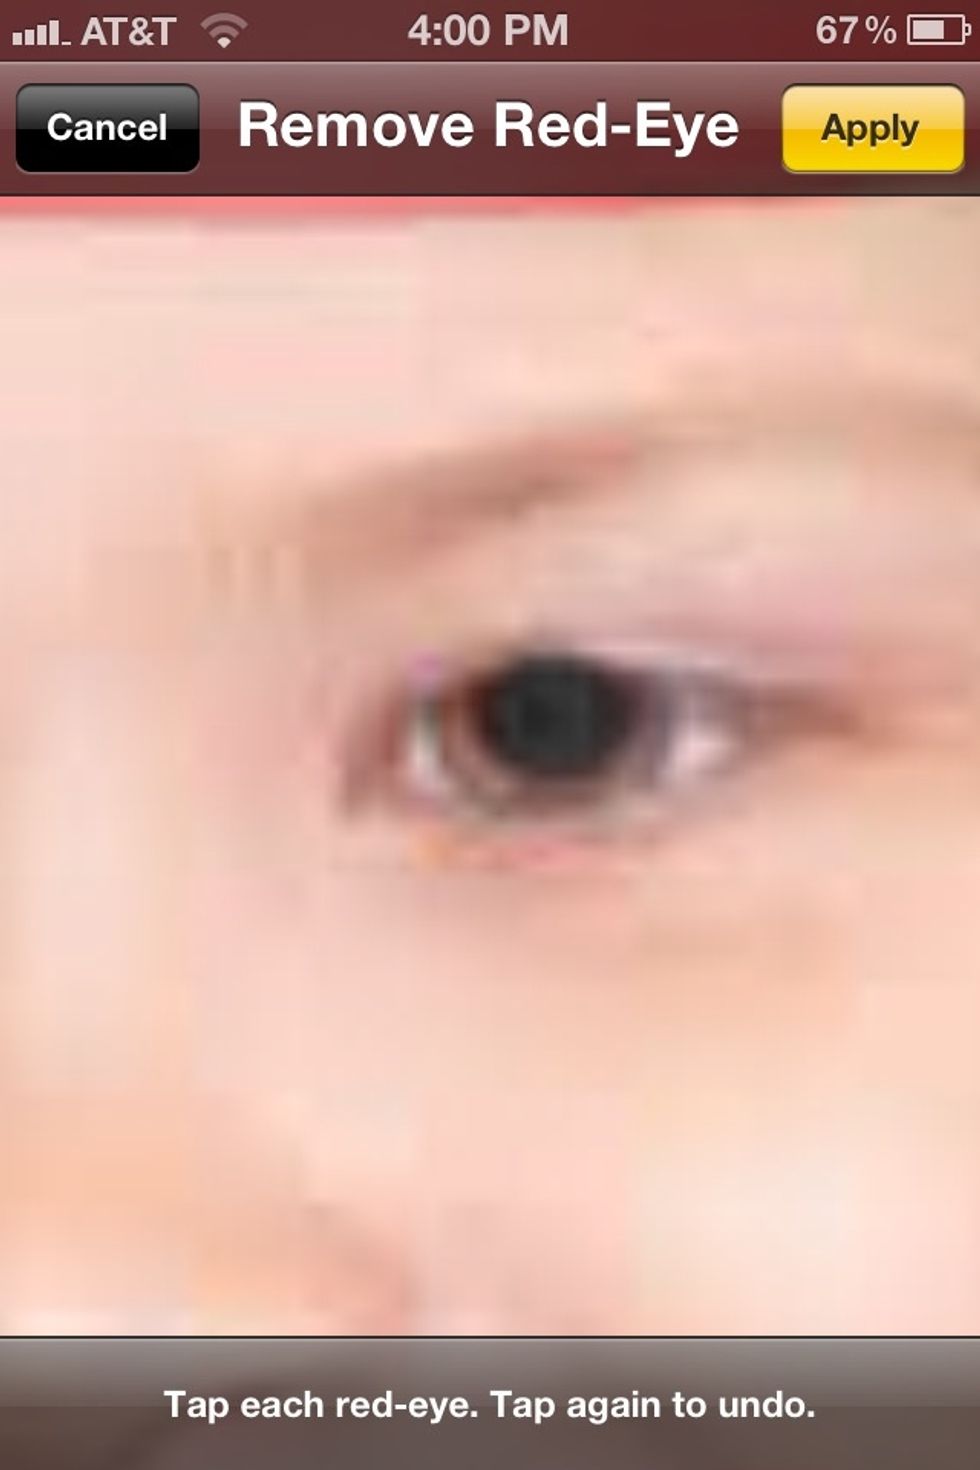
Tap the red portion of the eye. Repeat with the other eye. To undo a tap just tap it again.

Click apply then zoom out.
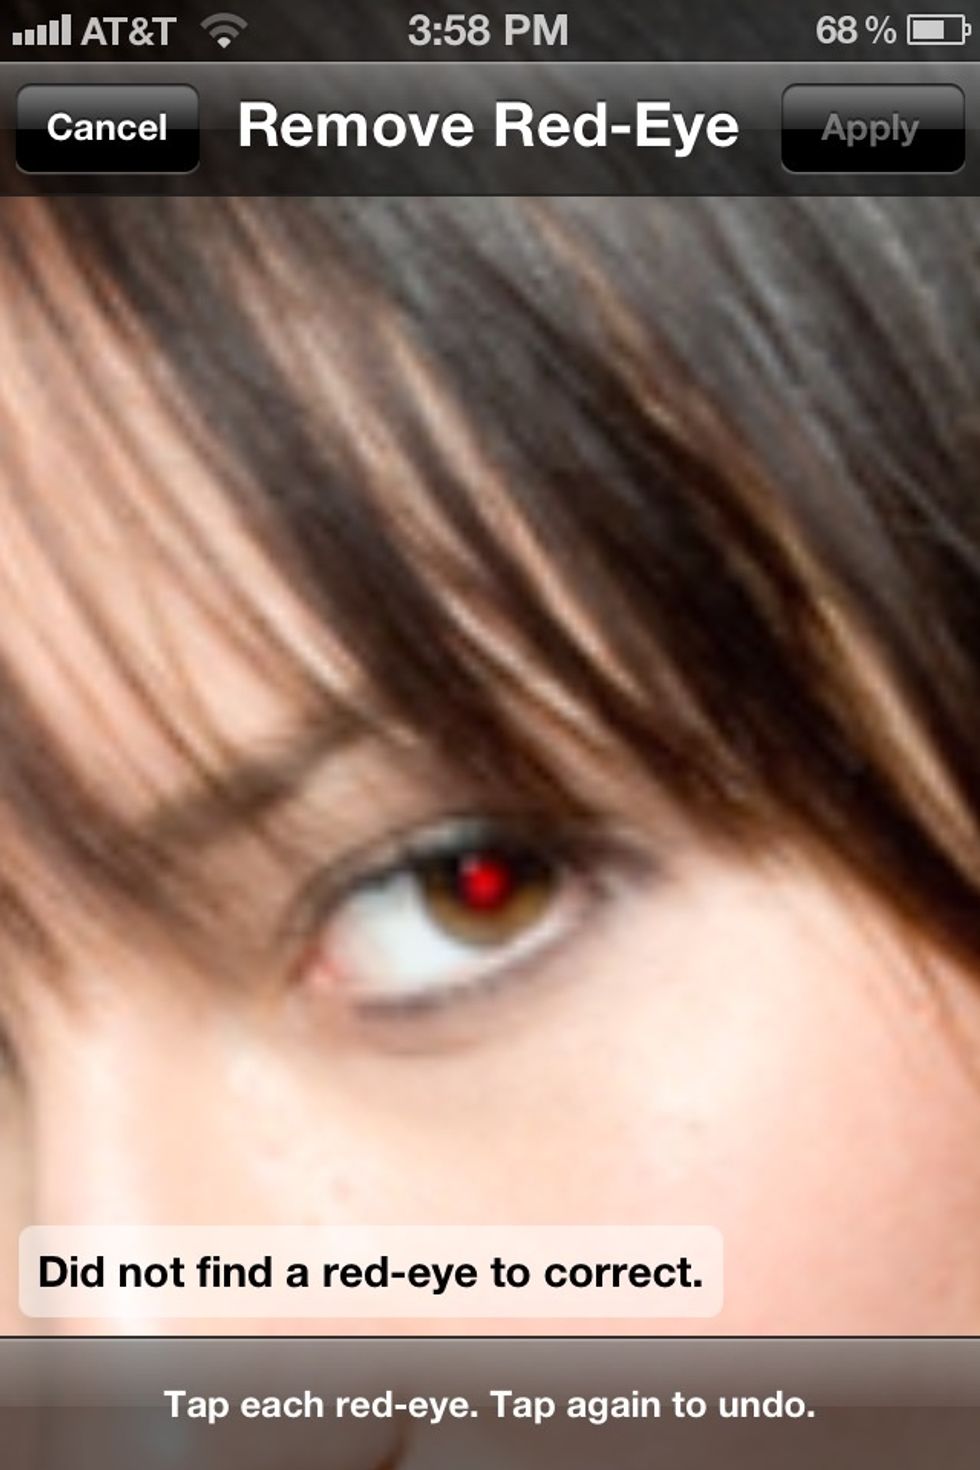
The red eye tool doesn't seem to work very well on all images. But it's worth a try and it's not a bad feature. Just needs improvement in my opinion.

The final feature is the send feature located at bottom left.
Tap the send icon you'll be presented with this menu of options.
Also notice the play icon below each photo. This is to play all your photos in a slide show. Here you can adjust the transitions between each photo and play music from your music library.
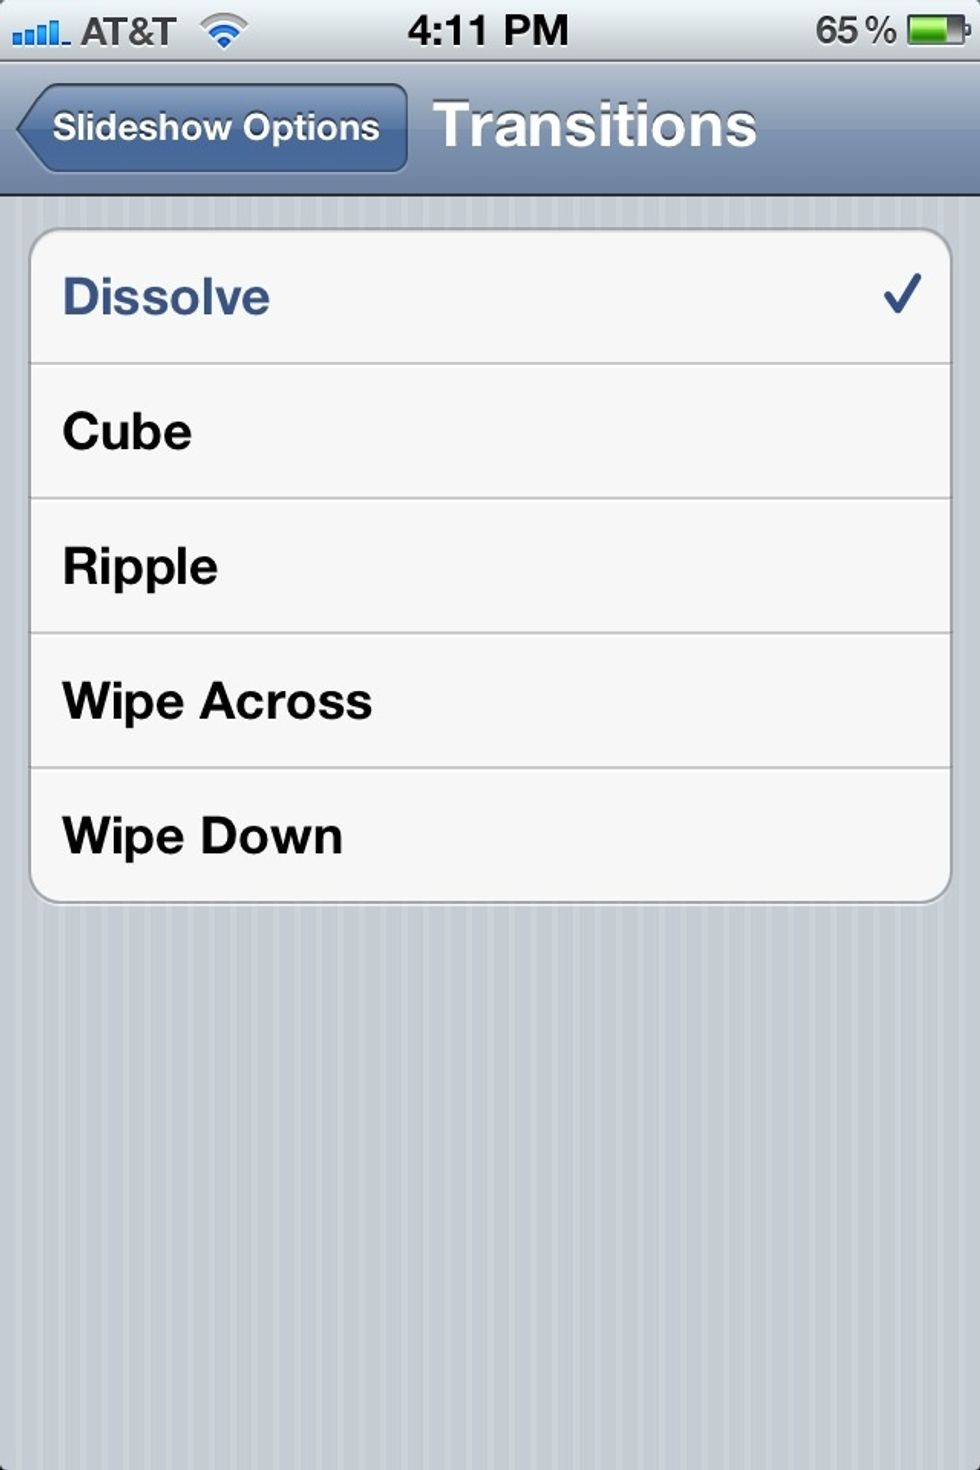
Here are the transition options.
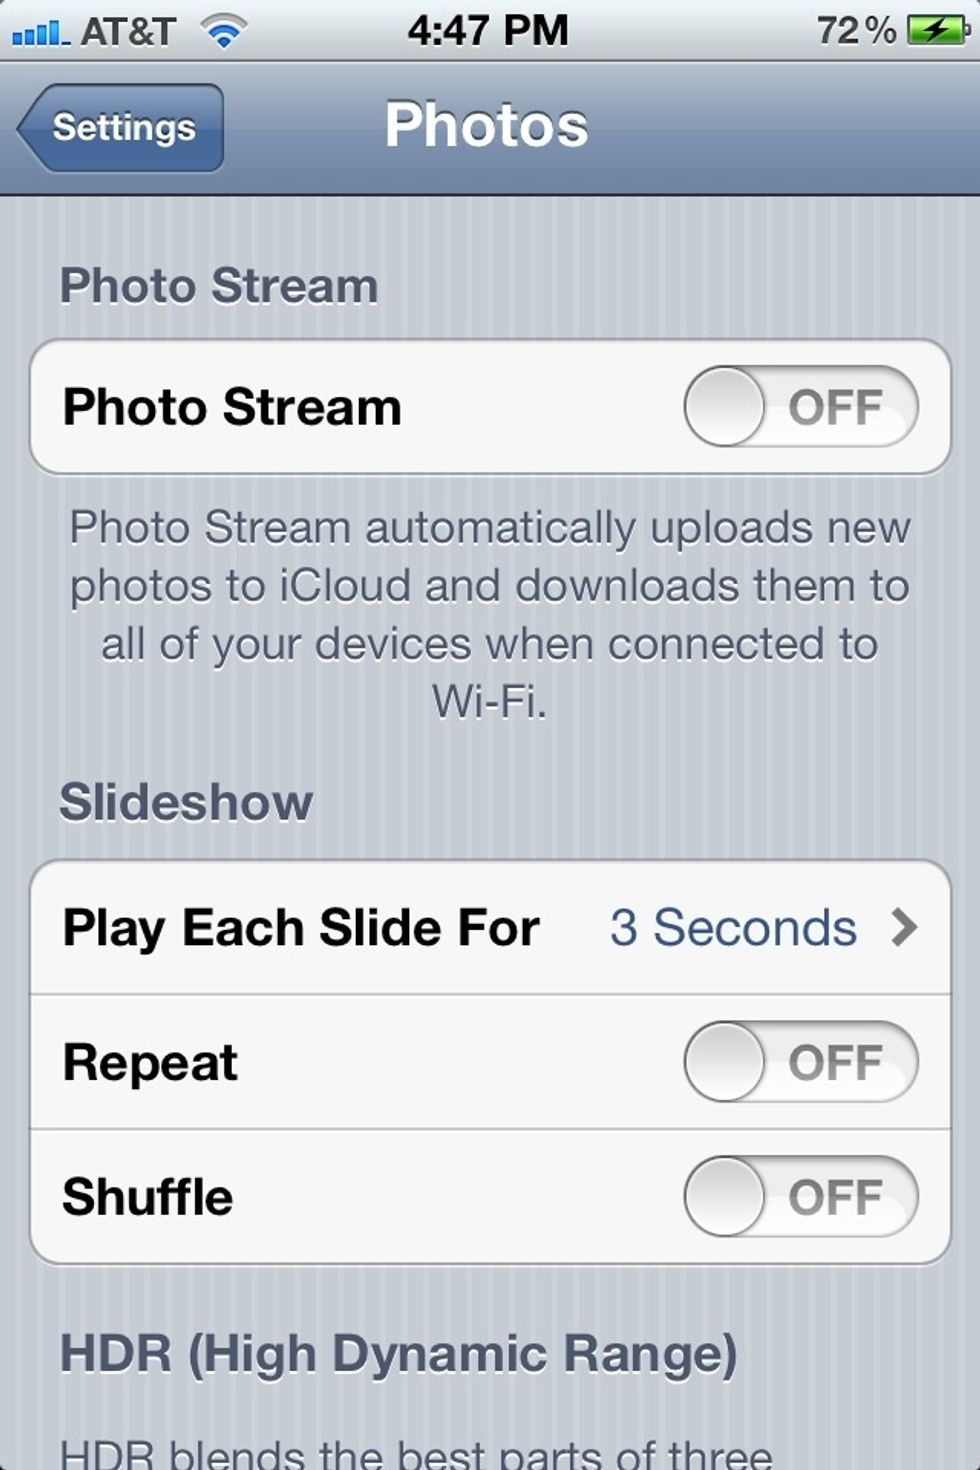
You should also look in Your iPhone setting/photos for more camera roll options. Including backing up your photos in iCloud and setting the duration of your slides how.
Well I hope this is helpful to someone. I'd imagine most of you would already know most of this. But who knows. If this guide showed one feature you didn't know then it was worth my time making it.