STEPS
TOOLS

Open Adobe PS Touch.
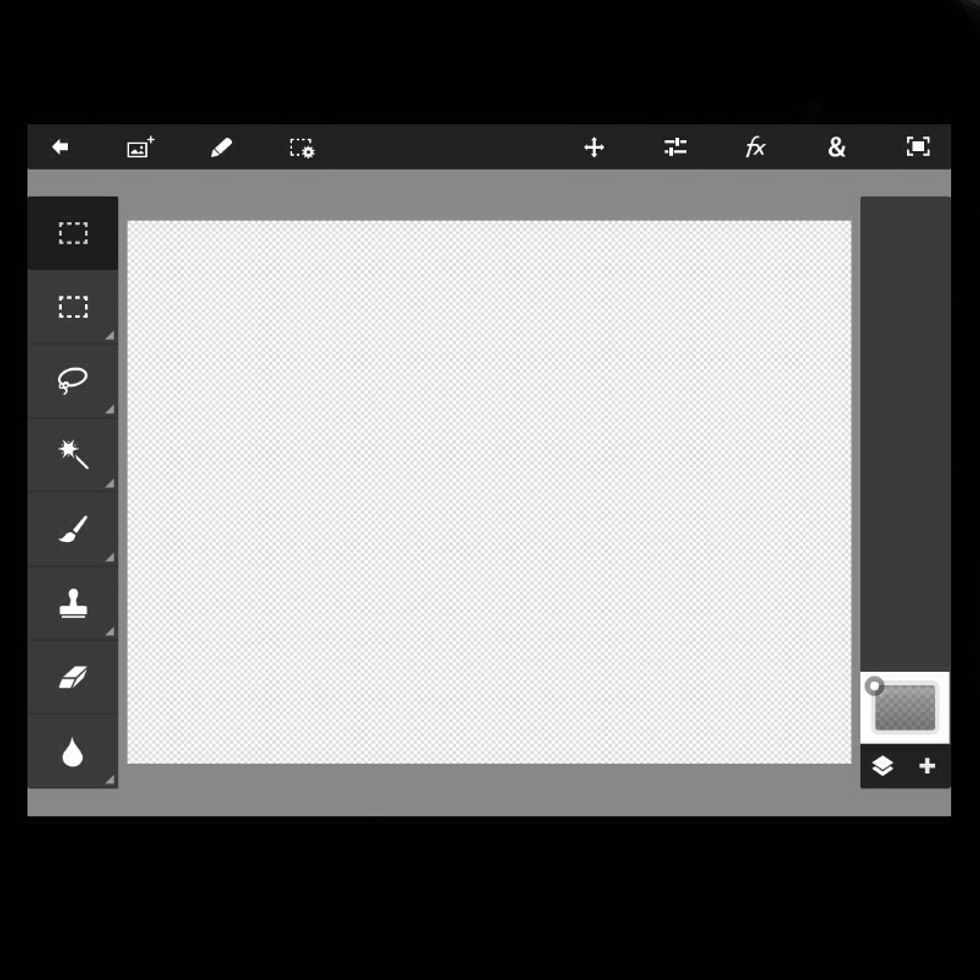
Import a photo layer.
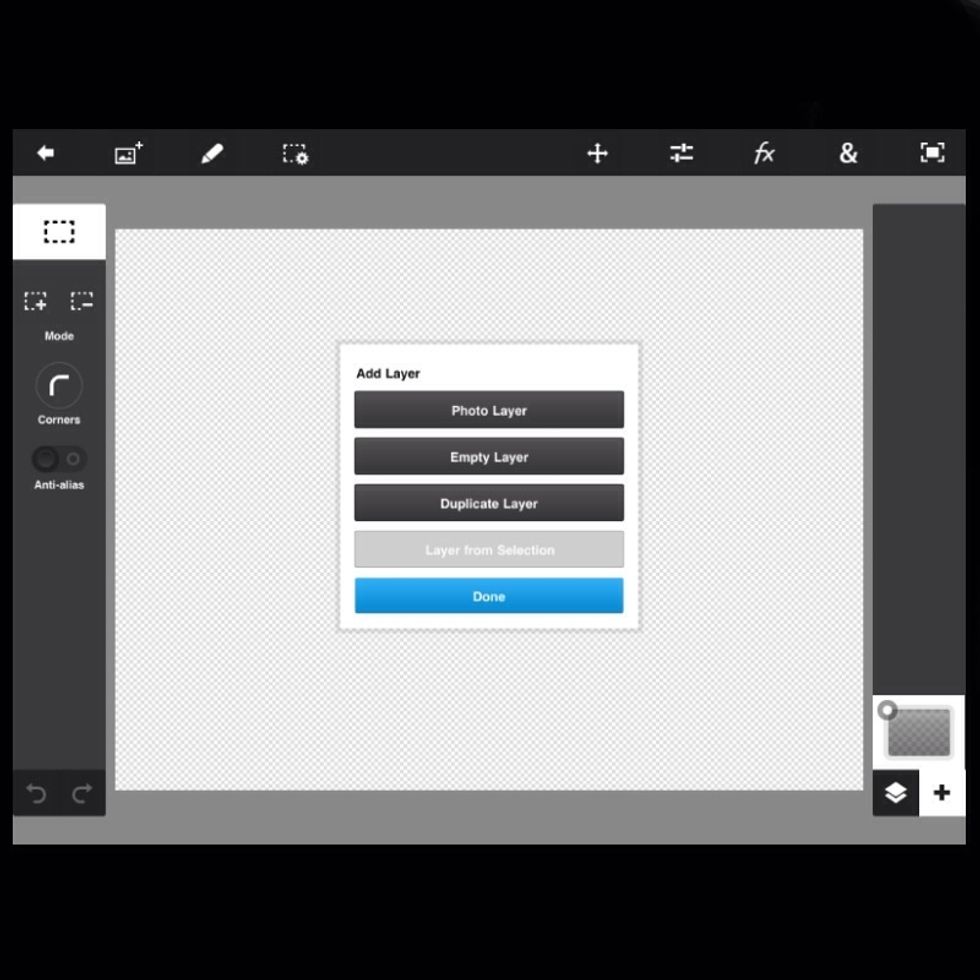
Tap the + sign (bottom right) and select photo layer.
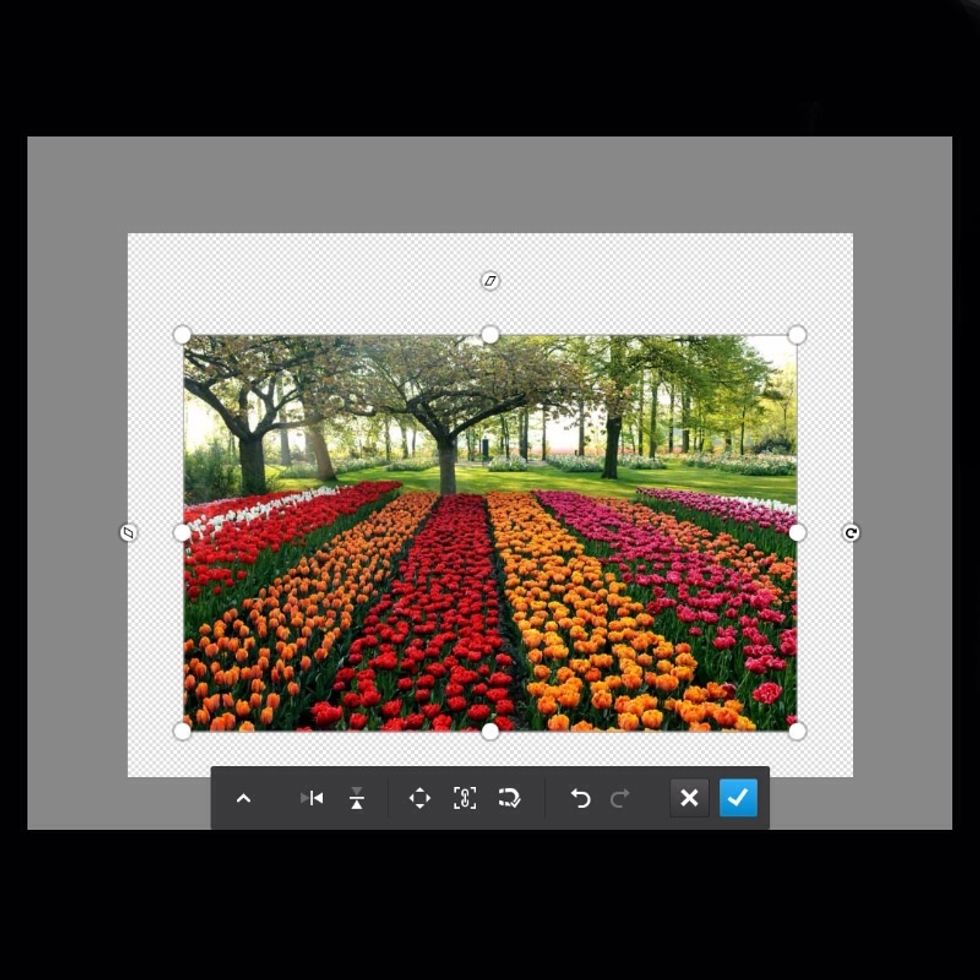
After you position the photo, select the check mark (bottom right).
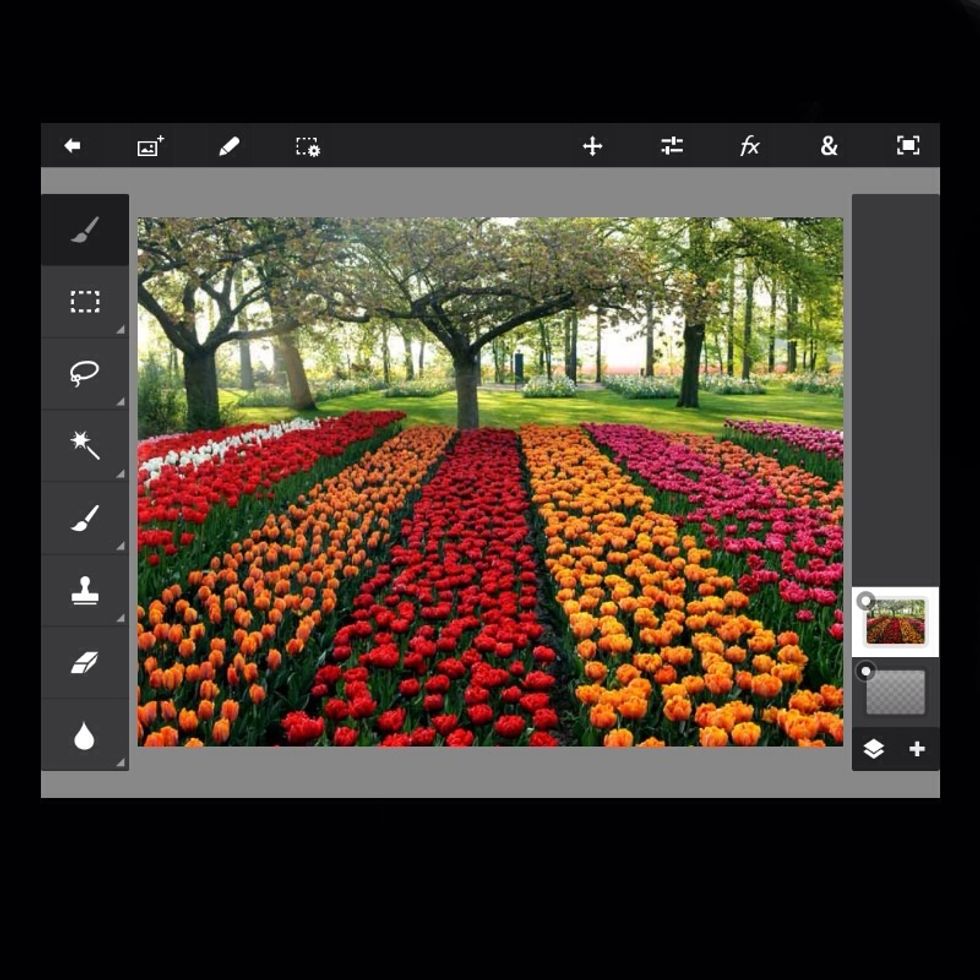
Import another photo layer.
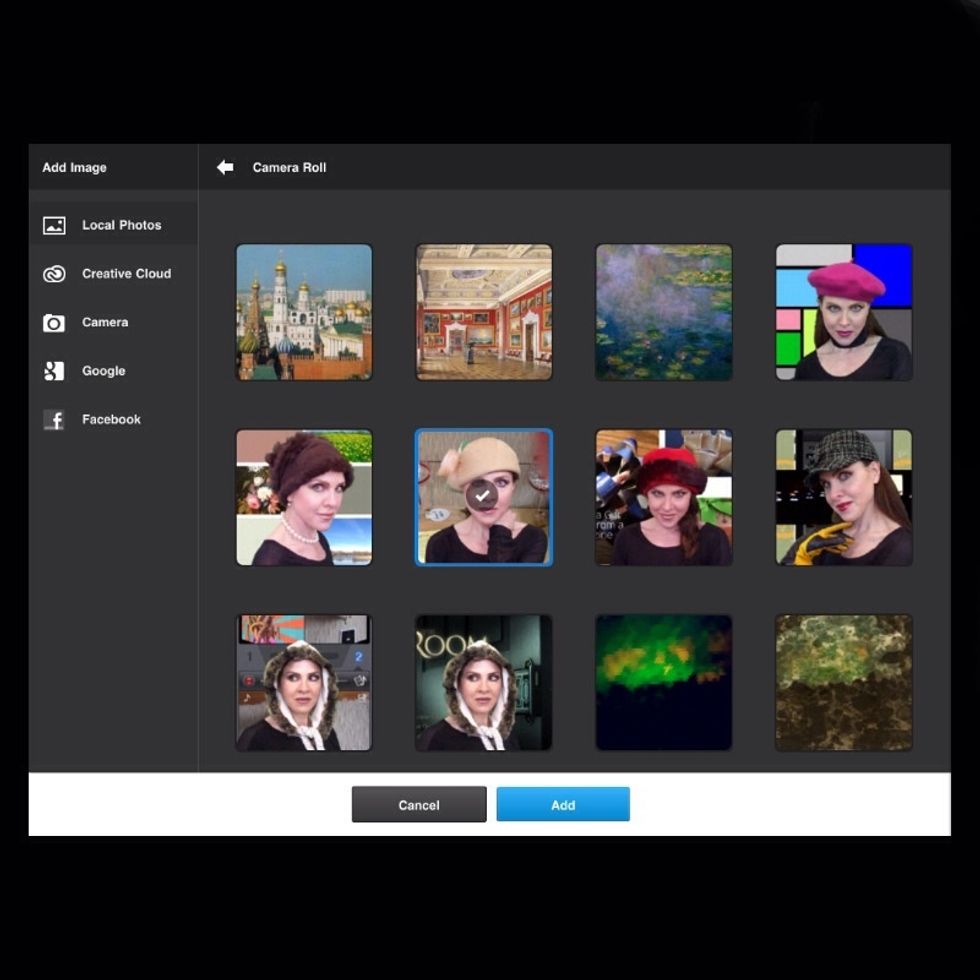
Select a photo from the camera roll, and click "add" (bottom right).
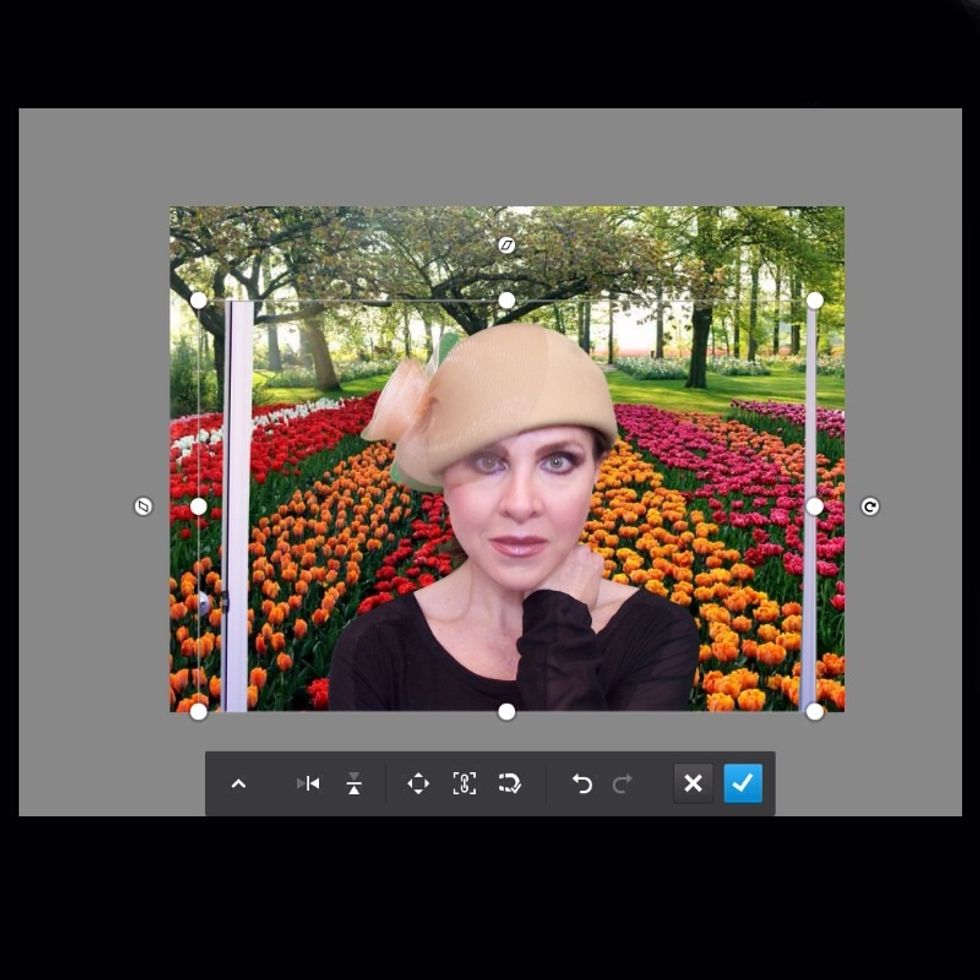
I took steps to prepare this image ahead of time, but I still need to clean up the edges, so the background is completely transparent.
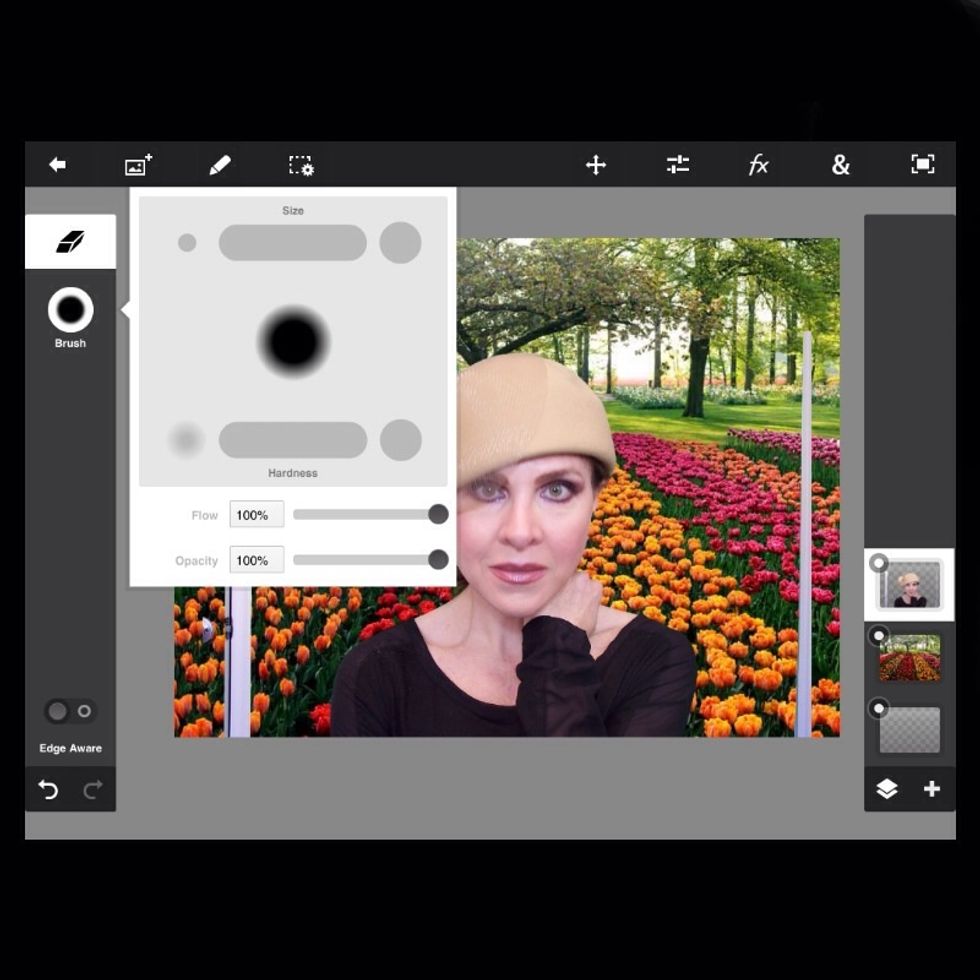
Select the eraser tool on toolbar located on the left, adjust the size and opacity, and clean up your photo.
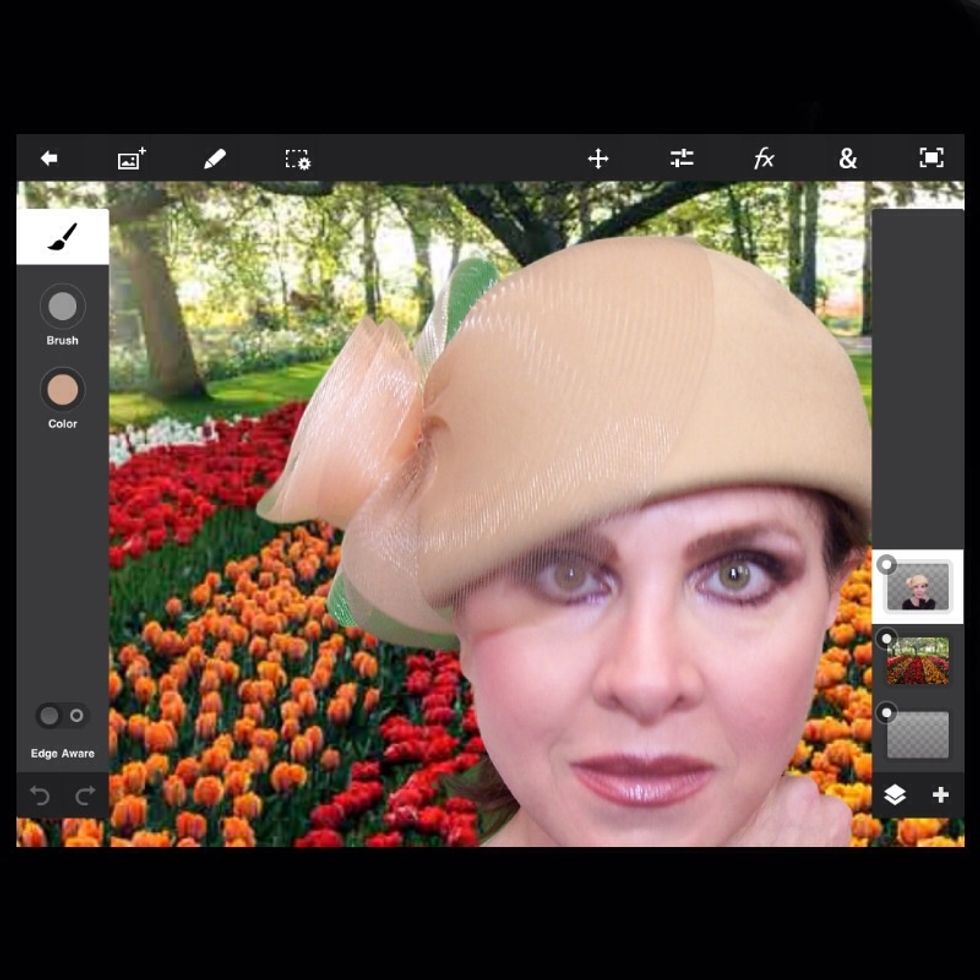
I have some green coming through parts of the hat, so I'm going to use the paint brush and eye drop tools to make those areas appear natural.
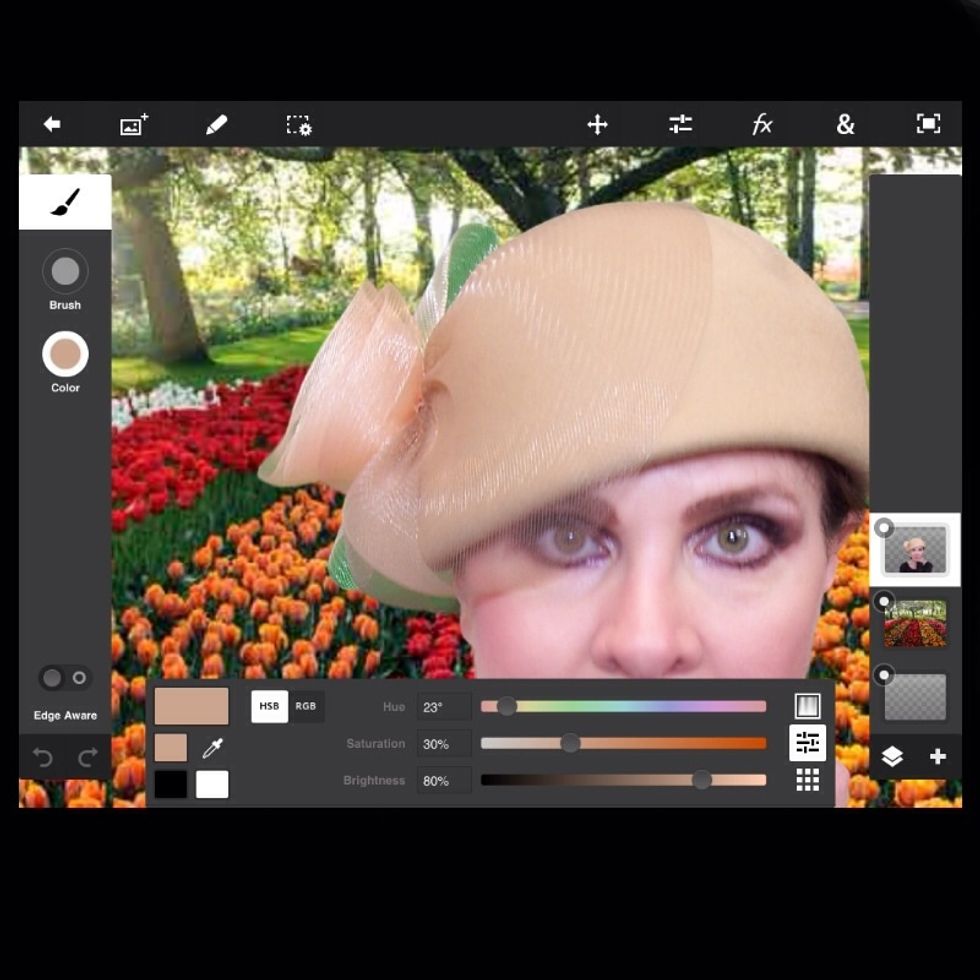
You can drag the eyedrop tool to an area of your photo, and match the local color. You can control the opacity of the color to fine-tune your application. (Tap or tilt vertically).
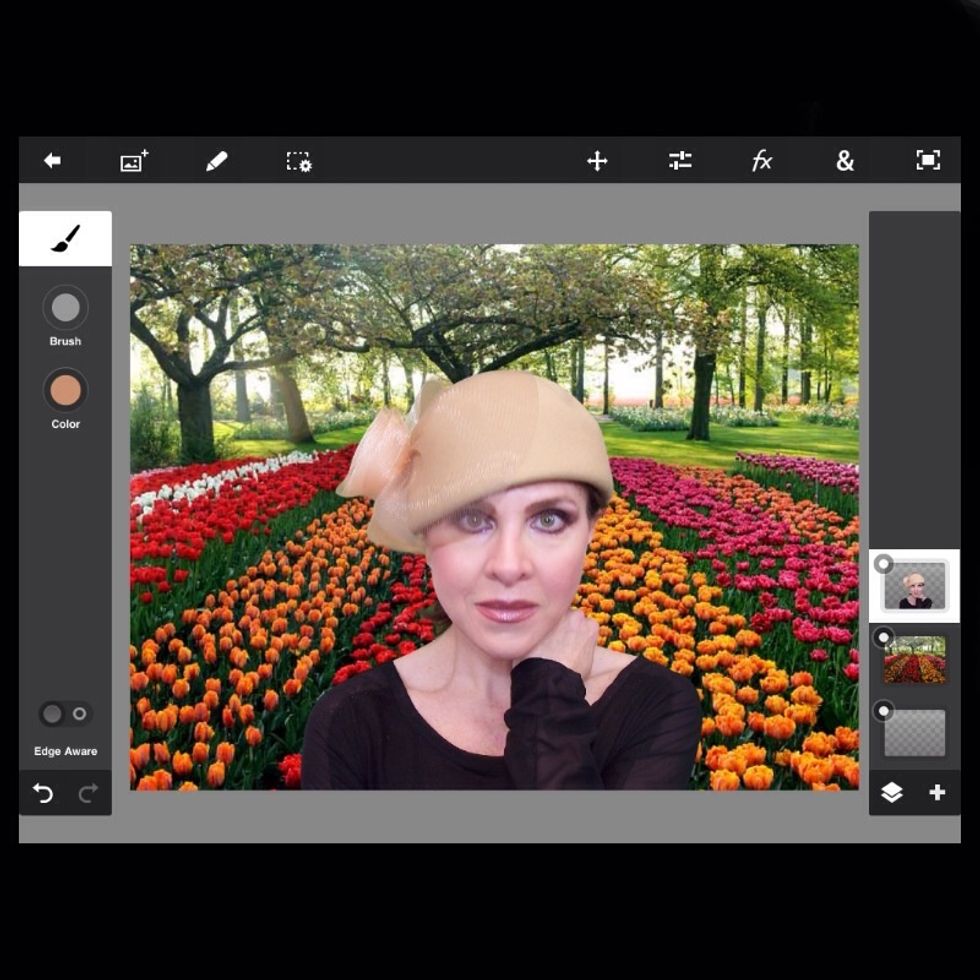
Next, I will add a drop shadow.
Tap on FX at the top and select "Drop Shadow" from the menu of icons.
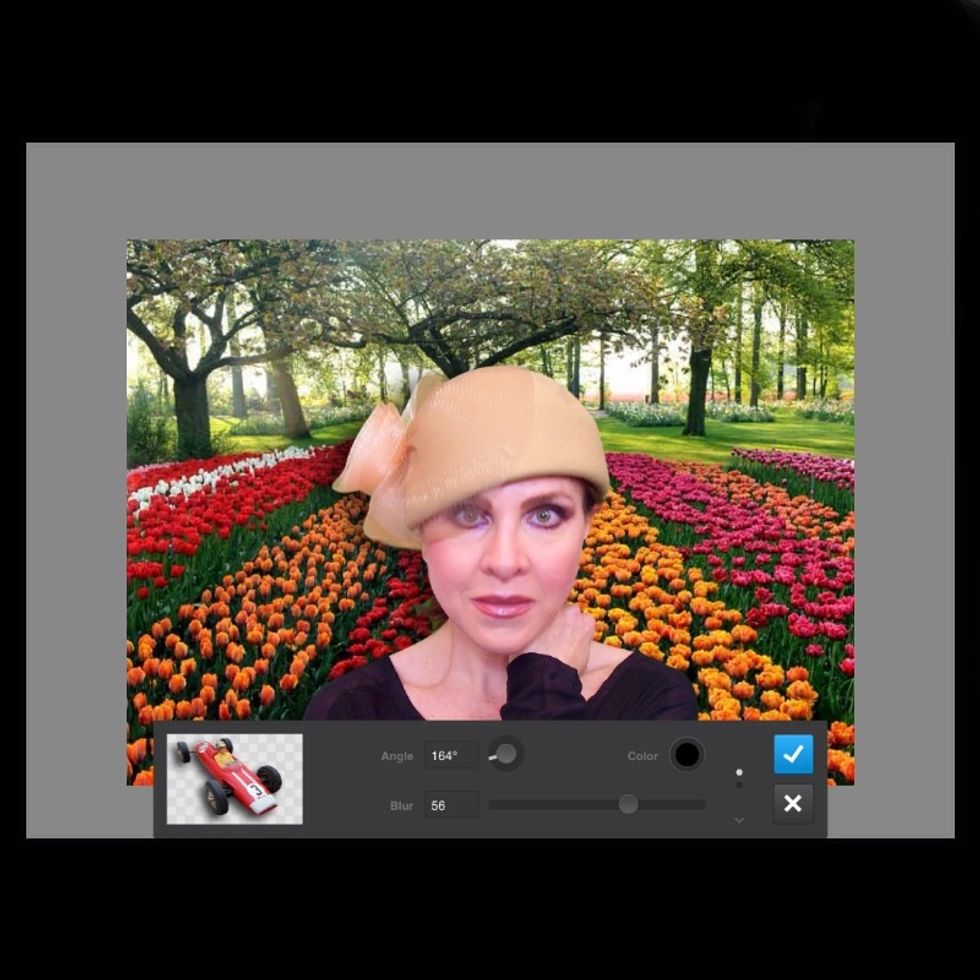
You can control the direction and blur of your drop shadow. (Press to view full-screen or tilt vertically if on an iPad).
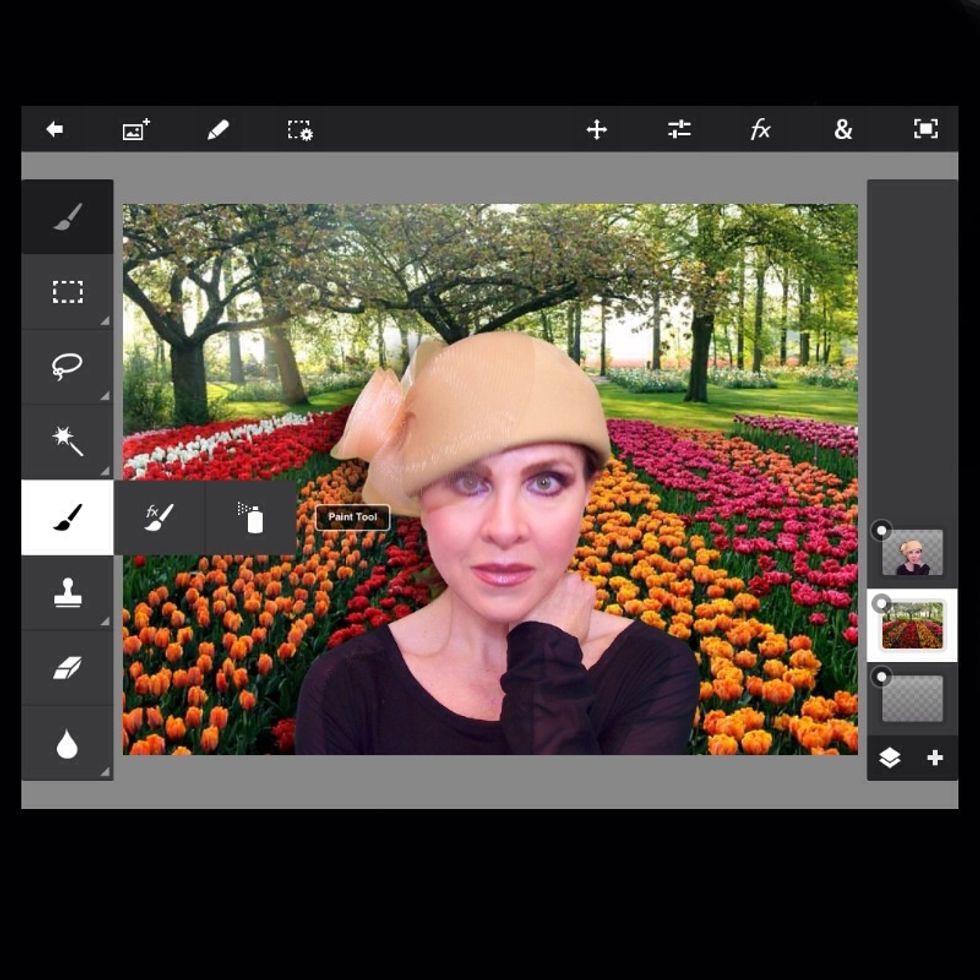
Next, I want to apply a filter. Choose the paint brush tool and then select the FX brush tool. This enables you to paint on an effect.
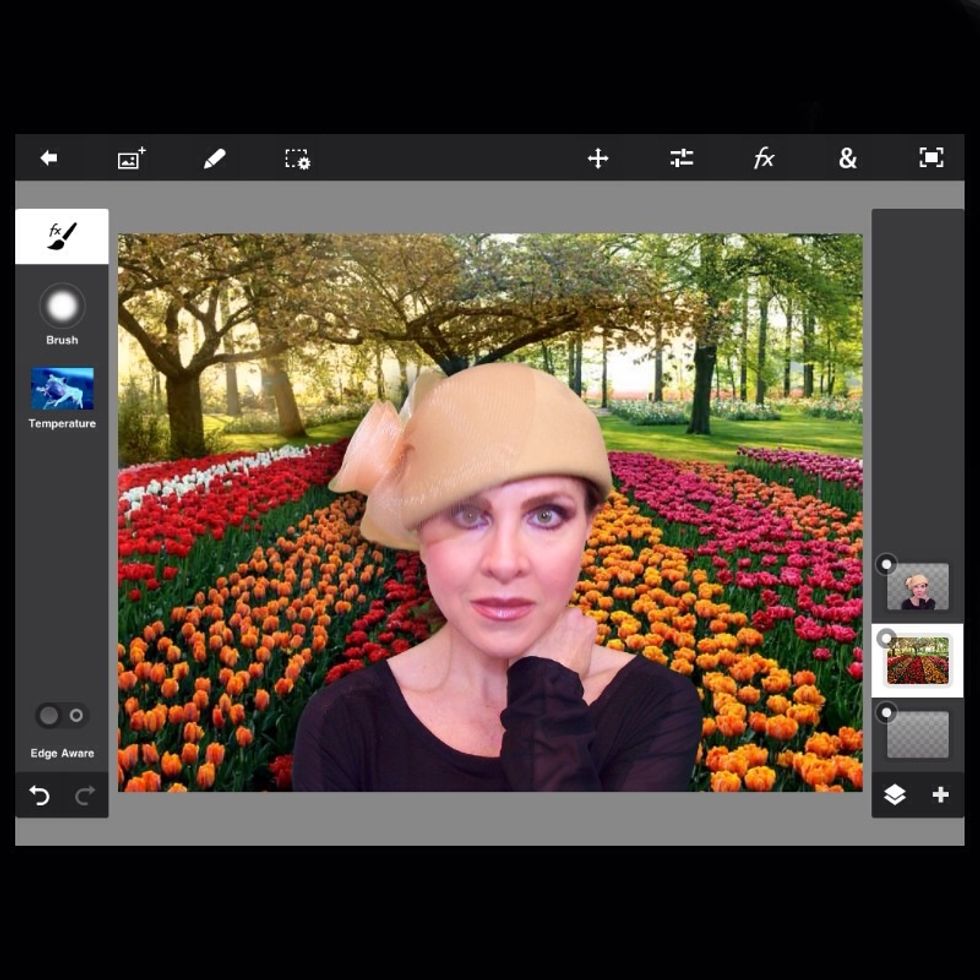
I chose the temperature filter to warm up the upper section of the photo. You just paint it on with yor finger.
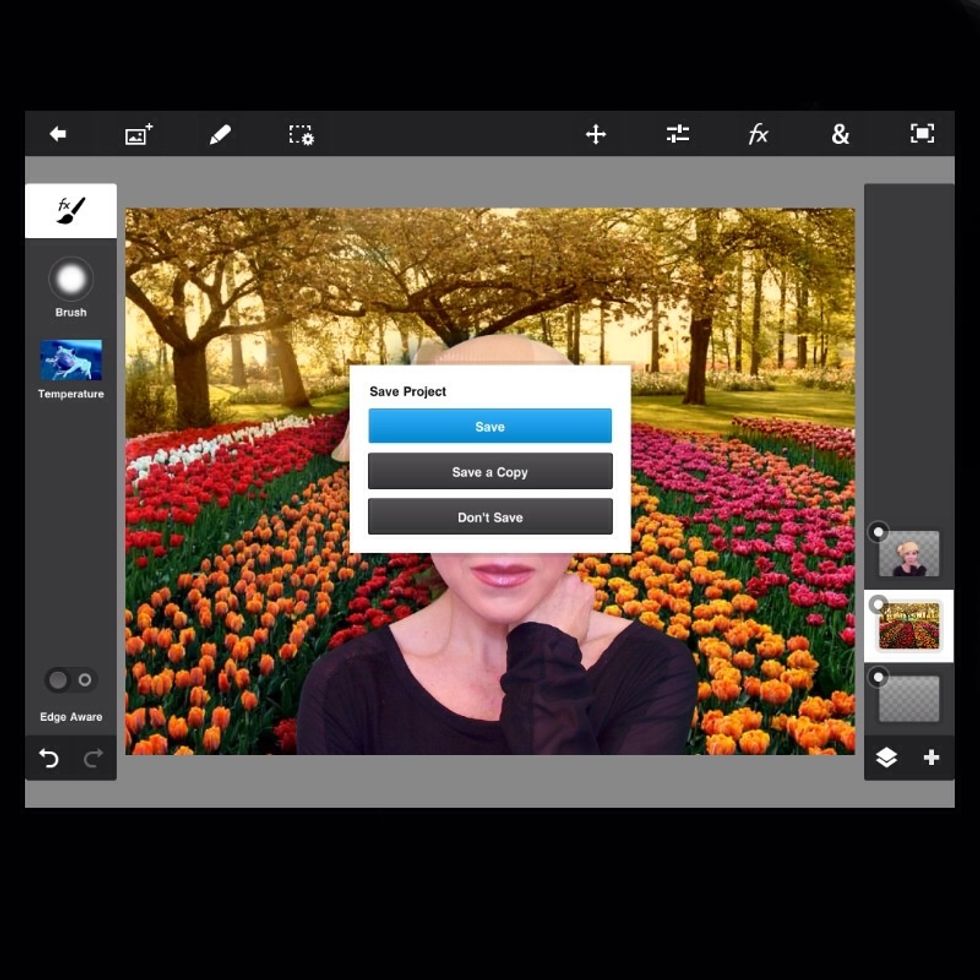
Click the arrow located at the top-left and click save.
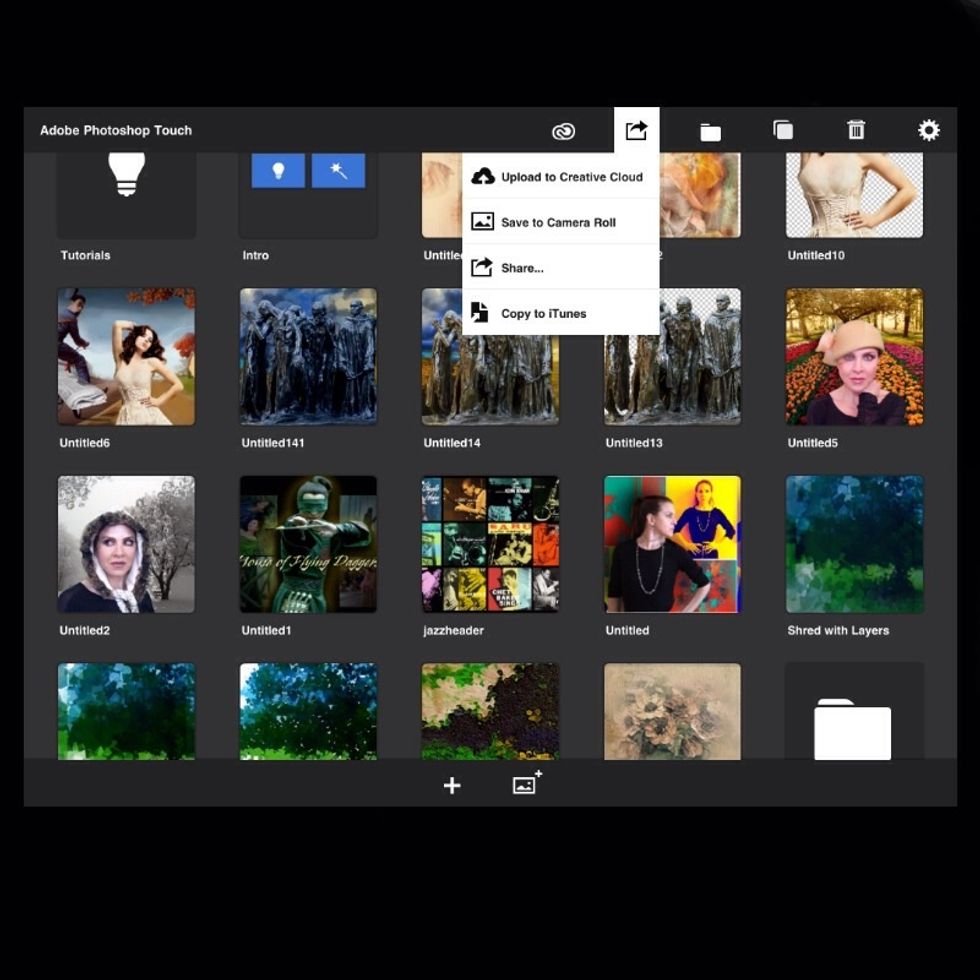
Select the return arrow at the top, and then select "save to camera roll."
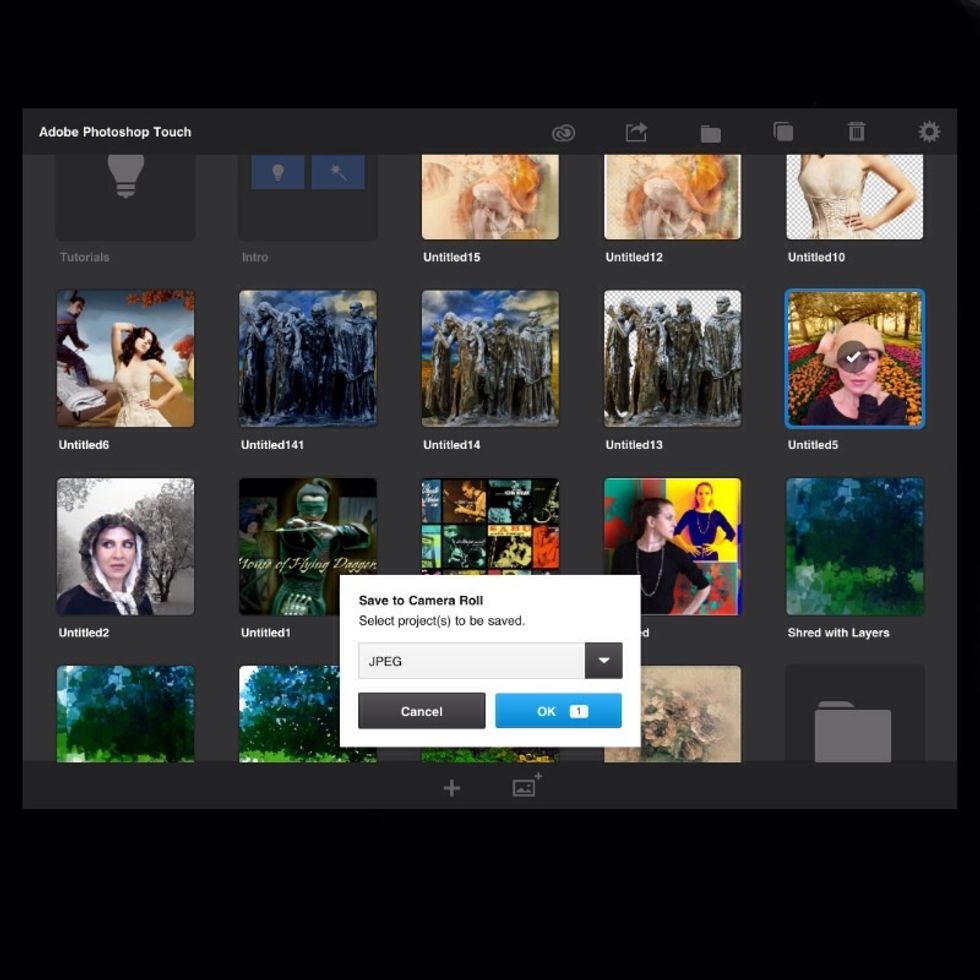
Select your final project and choose the file type (jpeg or png). Click OK.

I demonstrated some basic steps to using Adobe PS Touch, but there are many features that come with this application. This is one of the more high-end photo editors. The app is $9.99. Enjoy!
- 1.0 Adobe PS Touch
- 1.0 IPad
- 1.0 Android tablet