STEPS
TOOLS
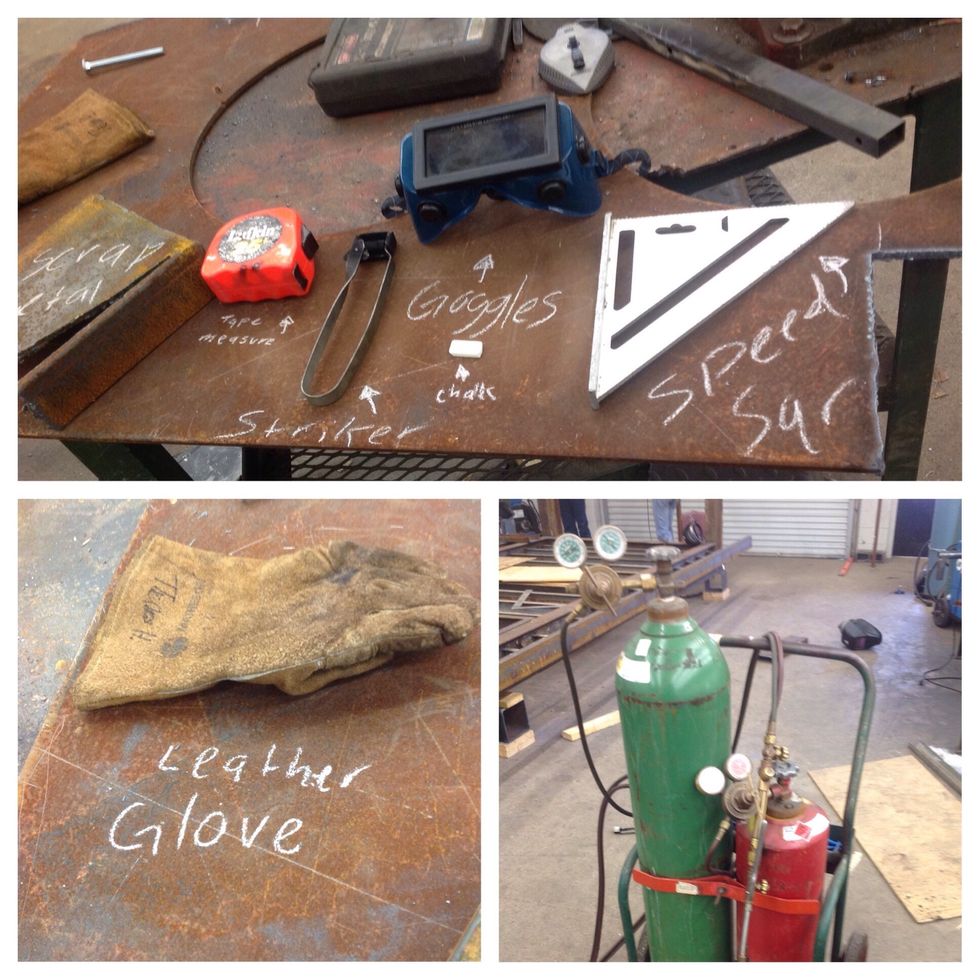
Gather your supplies.

Measure and mark your cutting path.
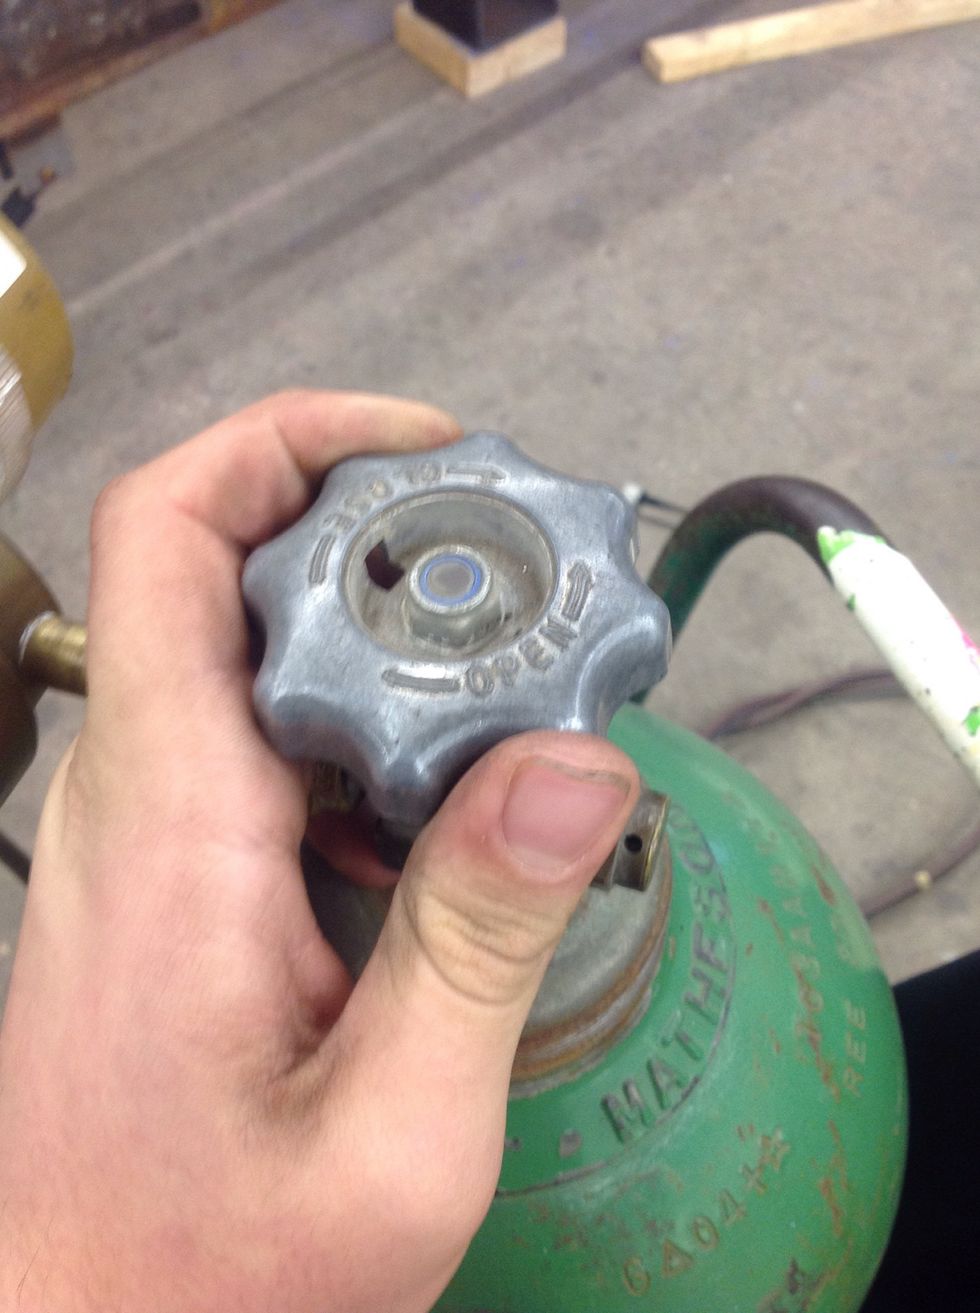
Open your oxygen bottle all the way.
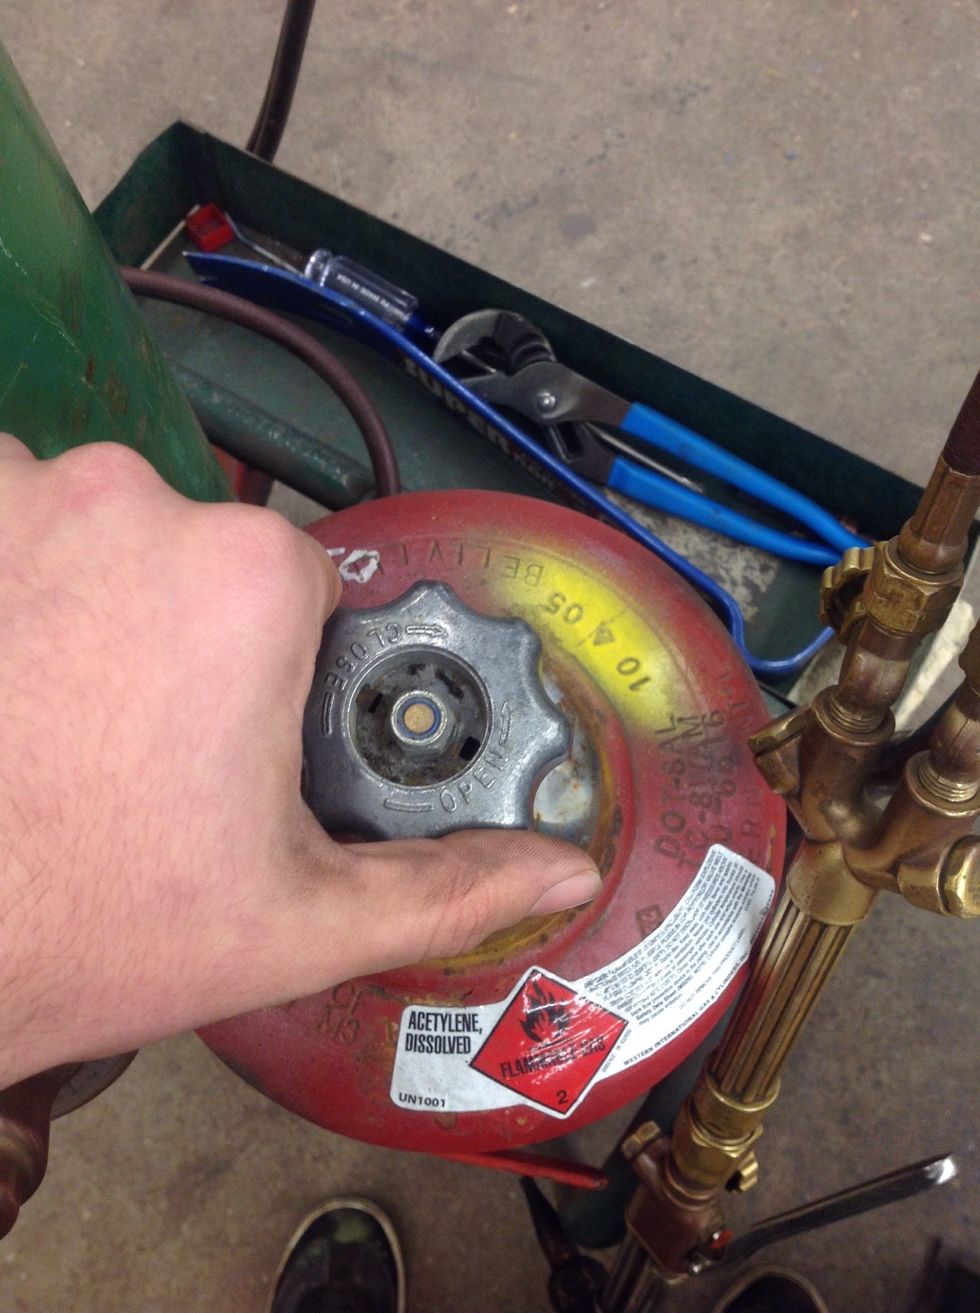
Open your acetylene bottle a quarter of a turn.
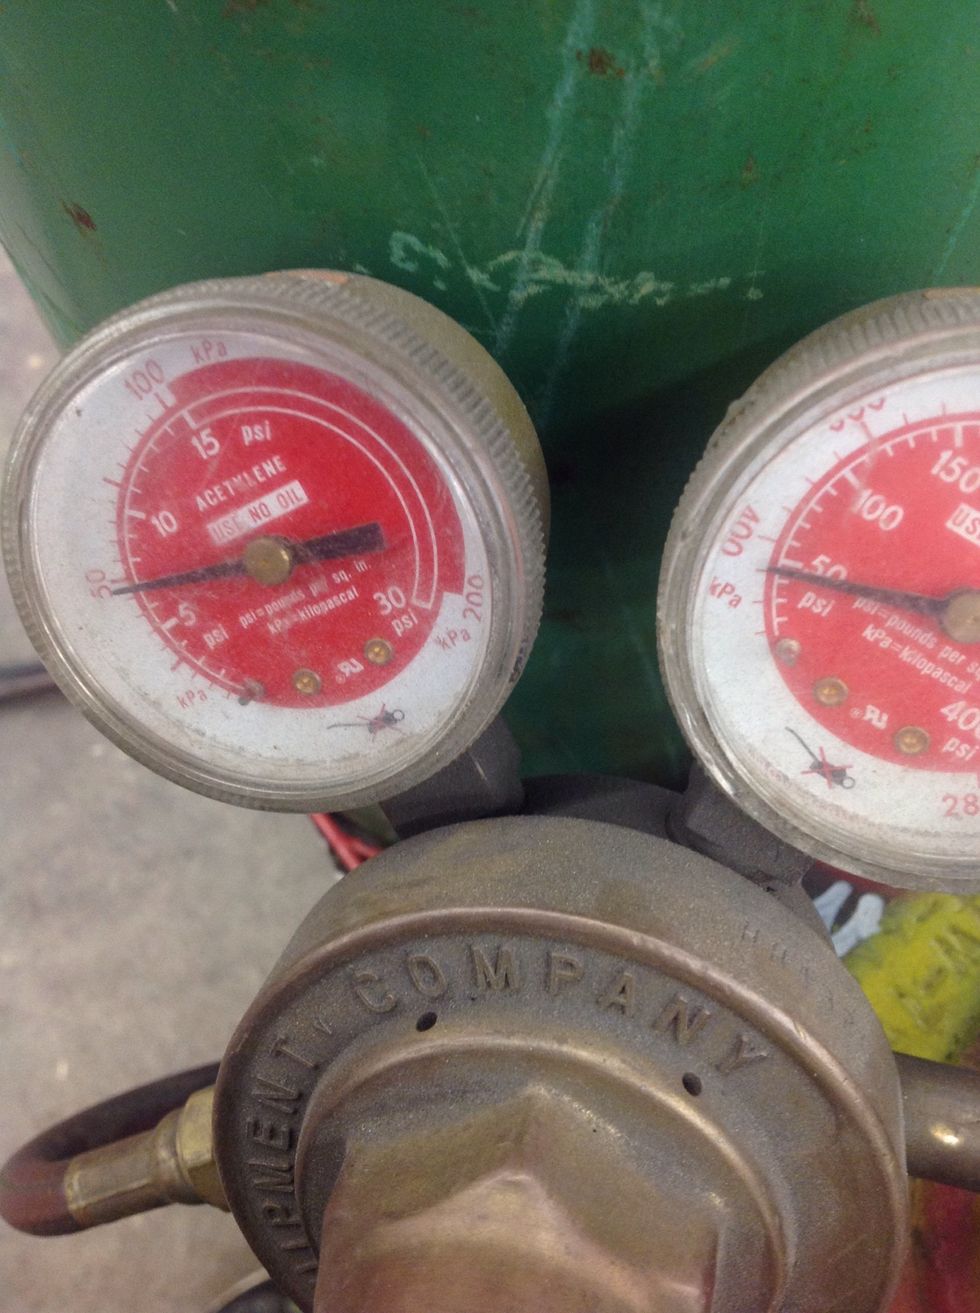
Set your acetylene to between 5-7 psi (pounds per square inch).
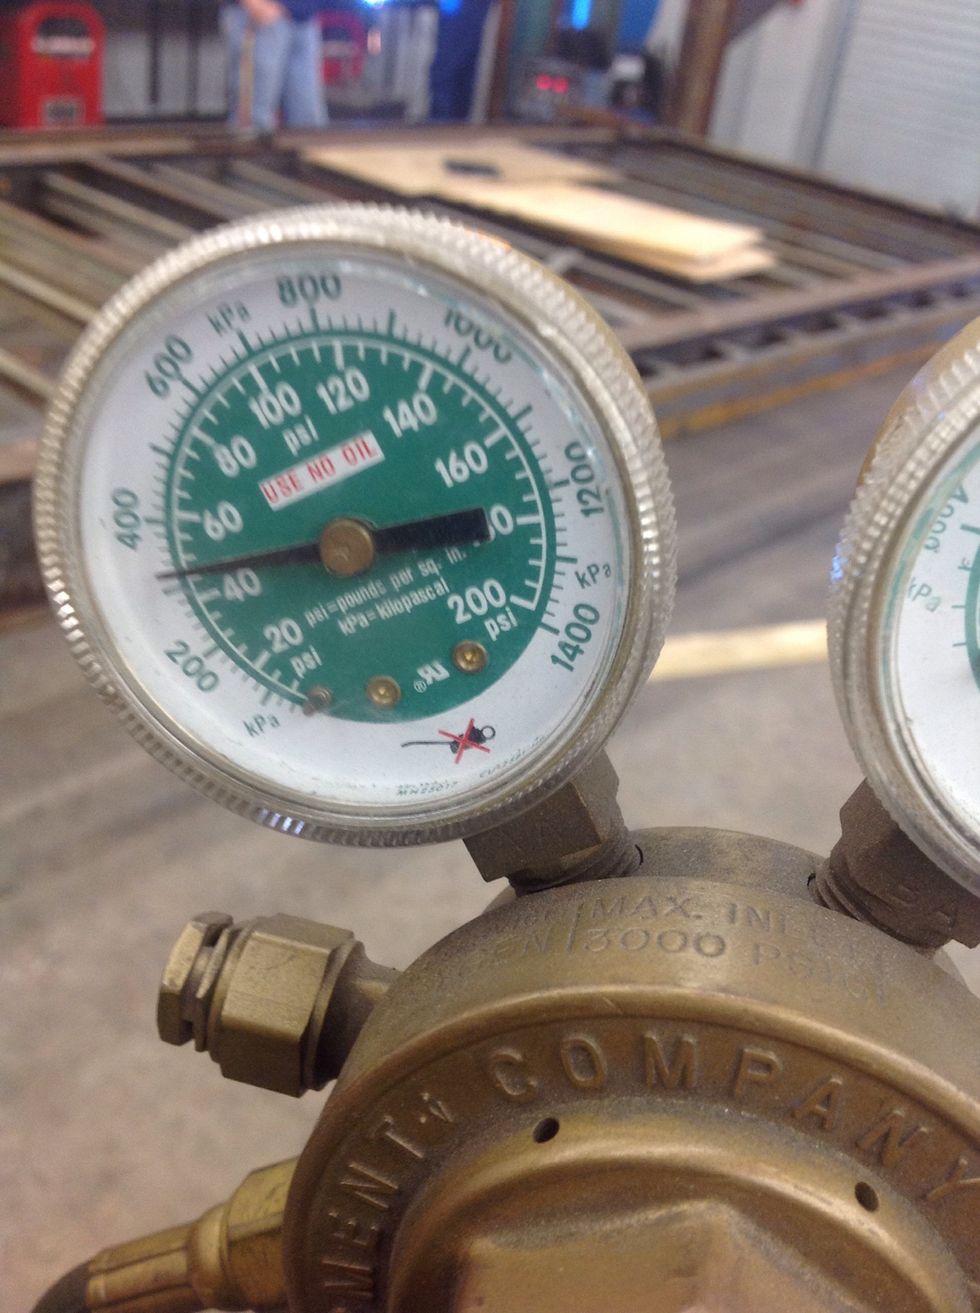
Set your oxygen to 40-50 psi.
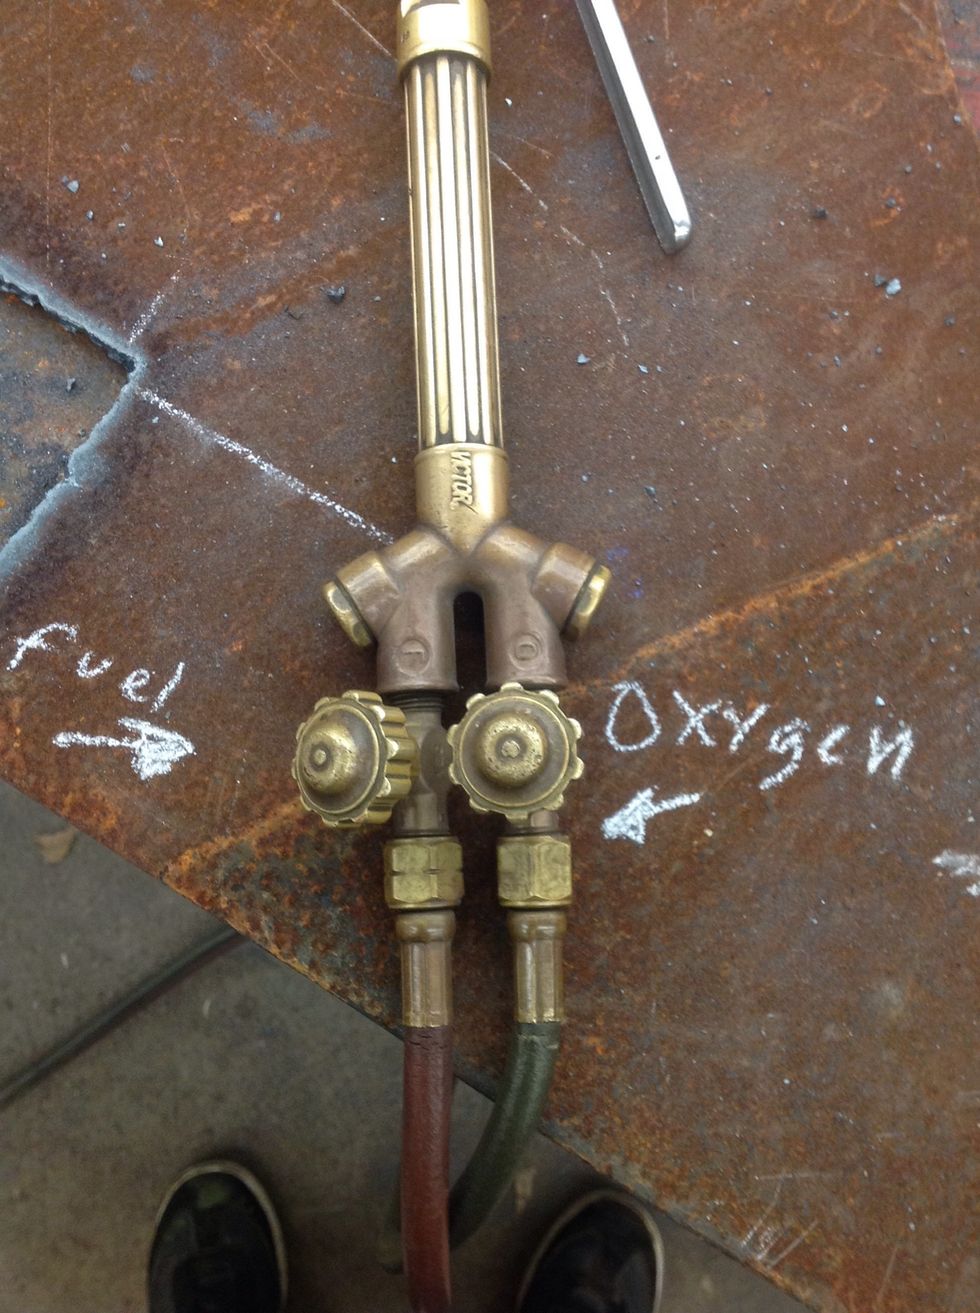
Turn your oxygen valve on all the way, then turn your acetylene valve a 1/6-1/5 of a turn.
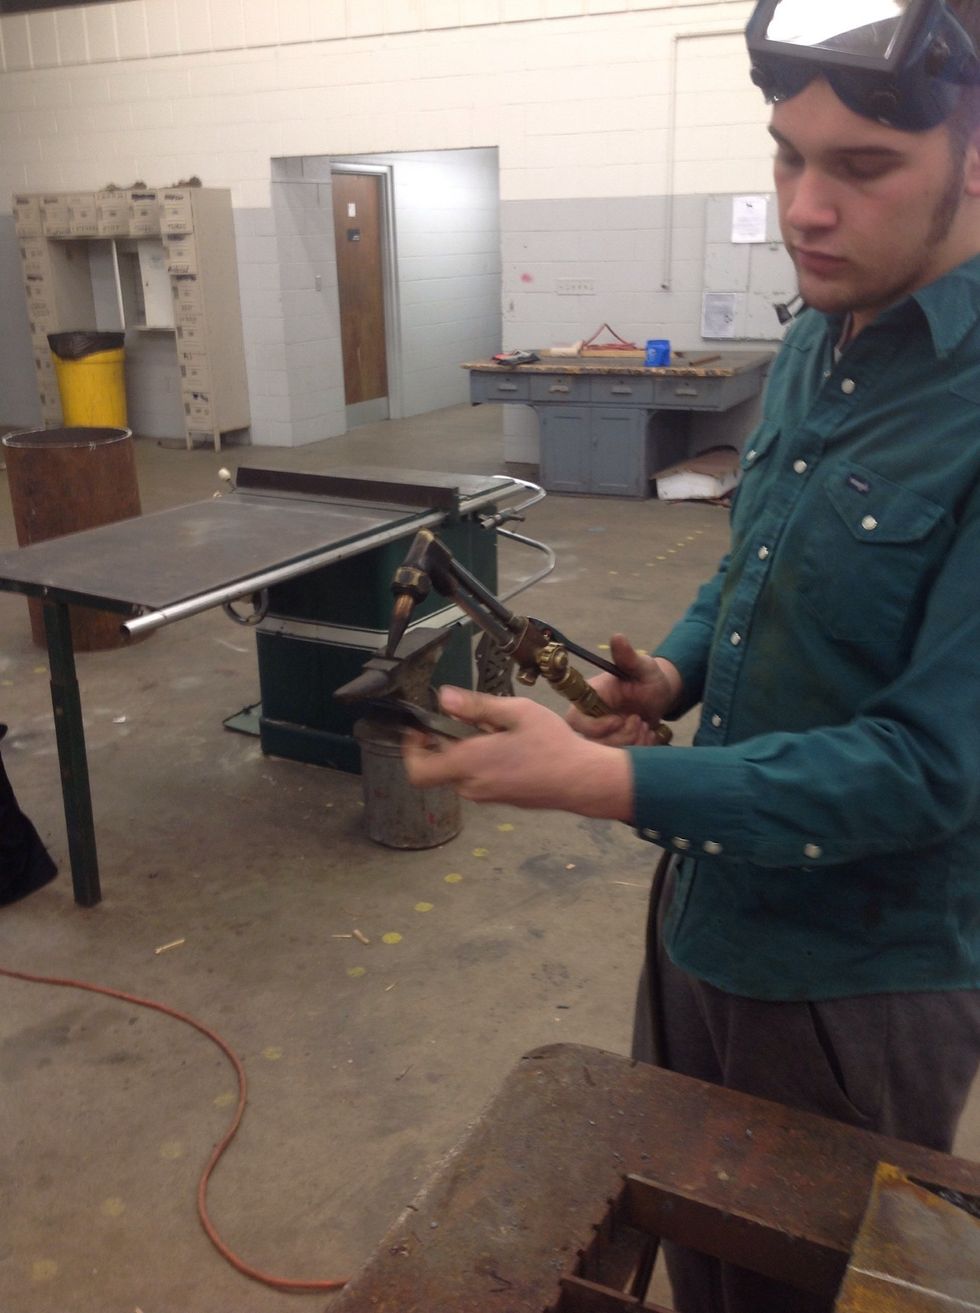
Using your striker light the torch facing away from you and the bottles.

Adjust the acetylene valve to where the flame is touching the tip of the torch, but is not giving off black smoke.

Turn your oxygen valve located to the top of the torch, you want to see sharp small white cones.
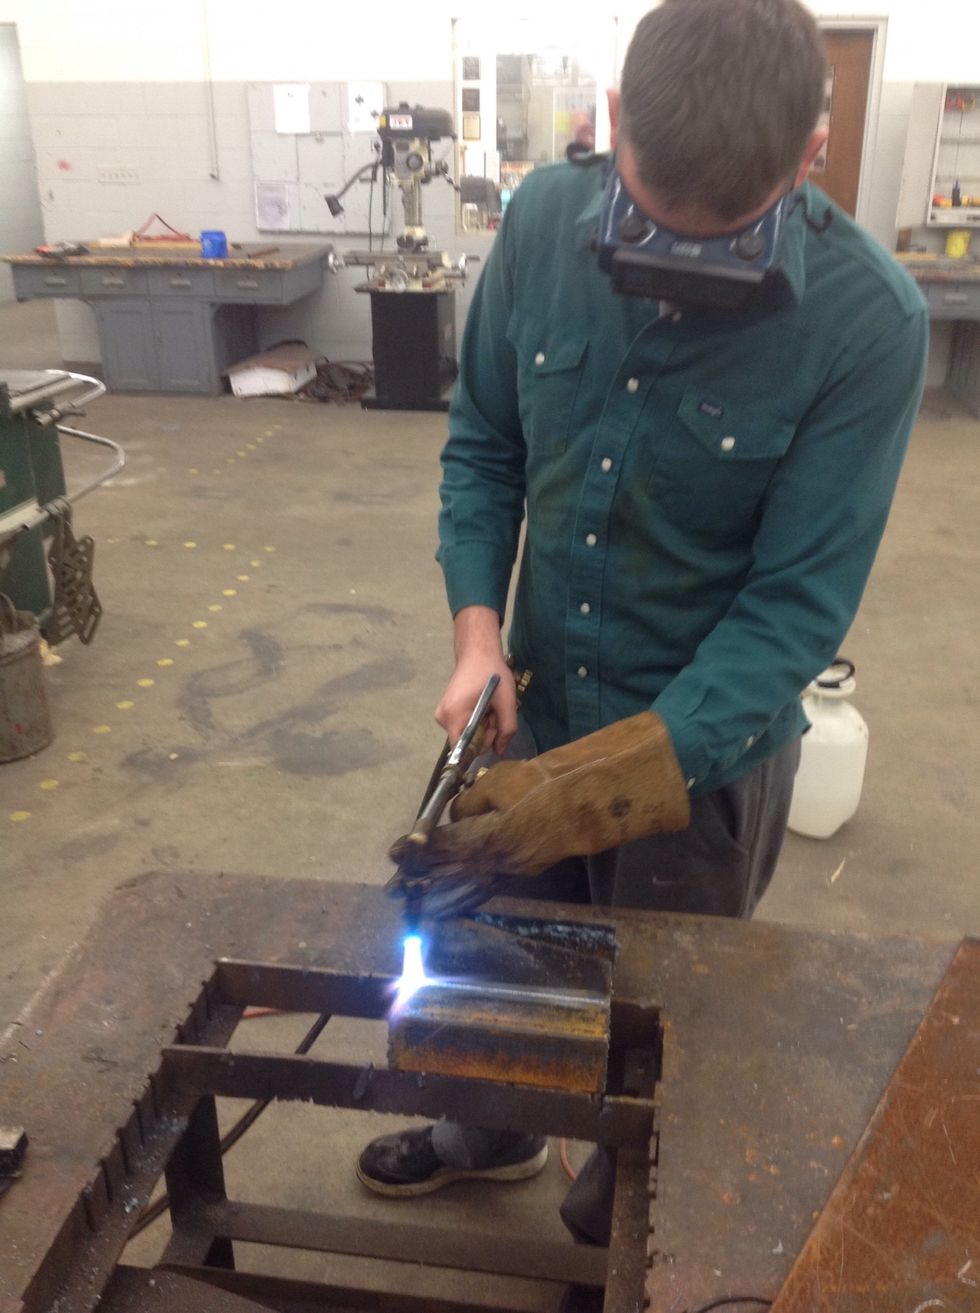
Pre-heat your metal, where you plan on cutting.
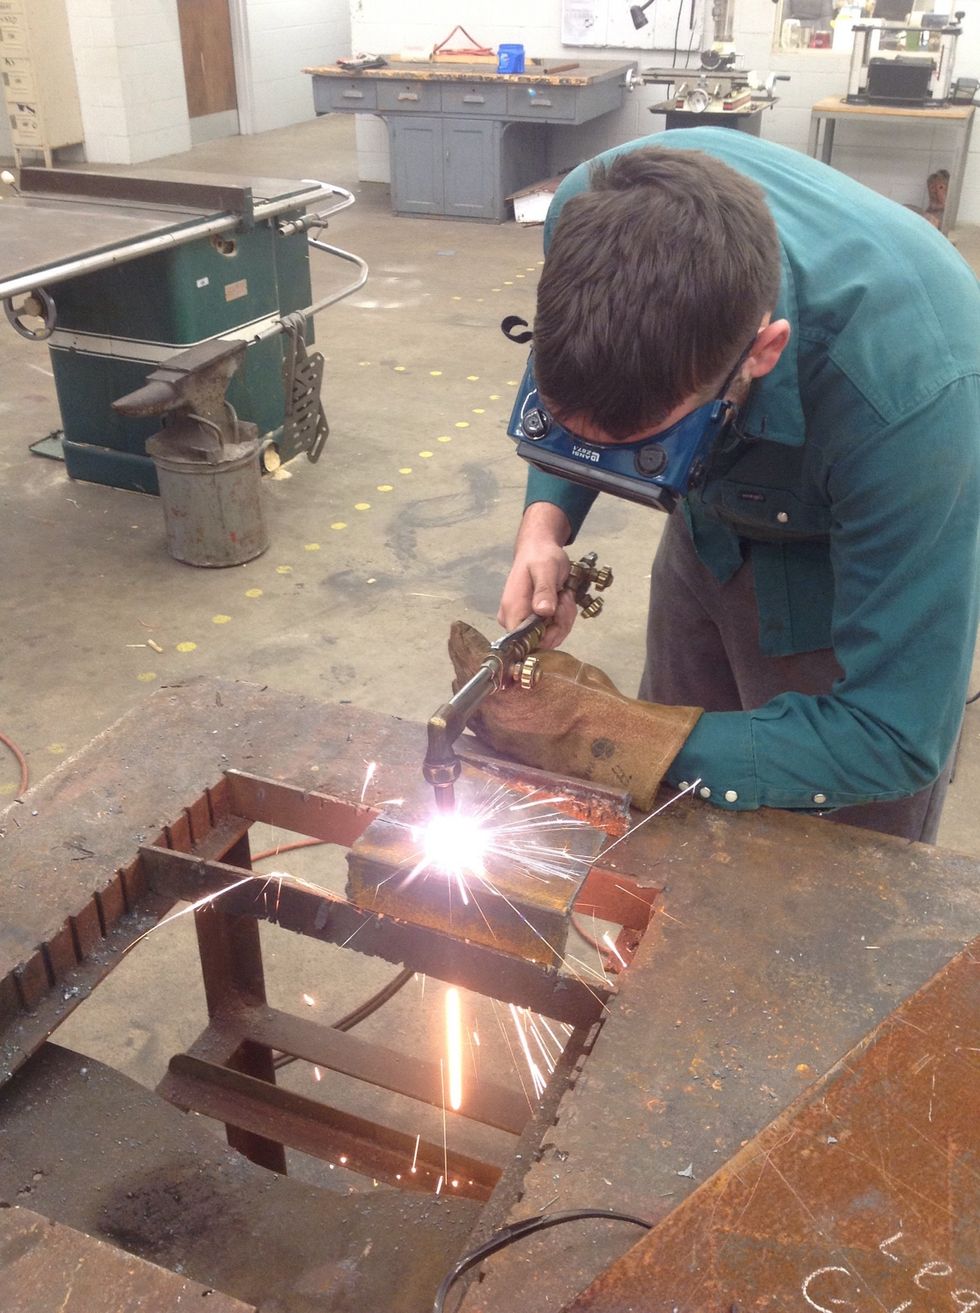
You are going to start at the edge of your meal, heat it up I tell it is glowing, then press the lever and slowly drag your torch along the marked path.
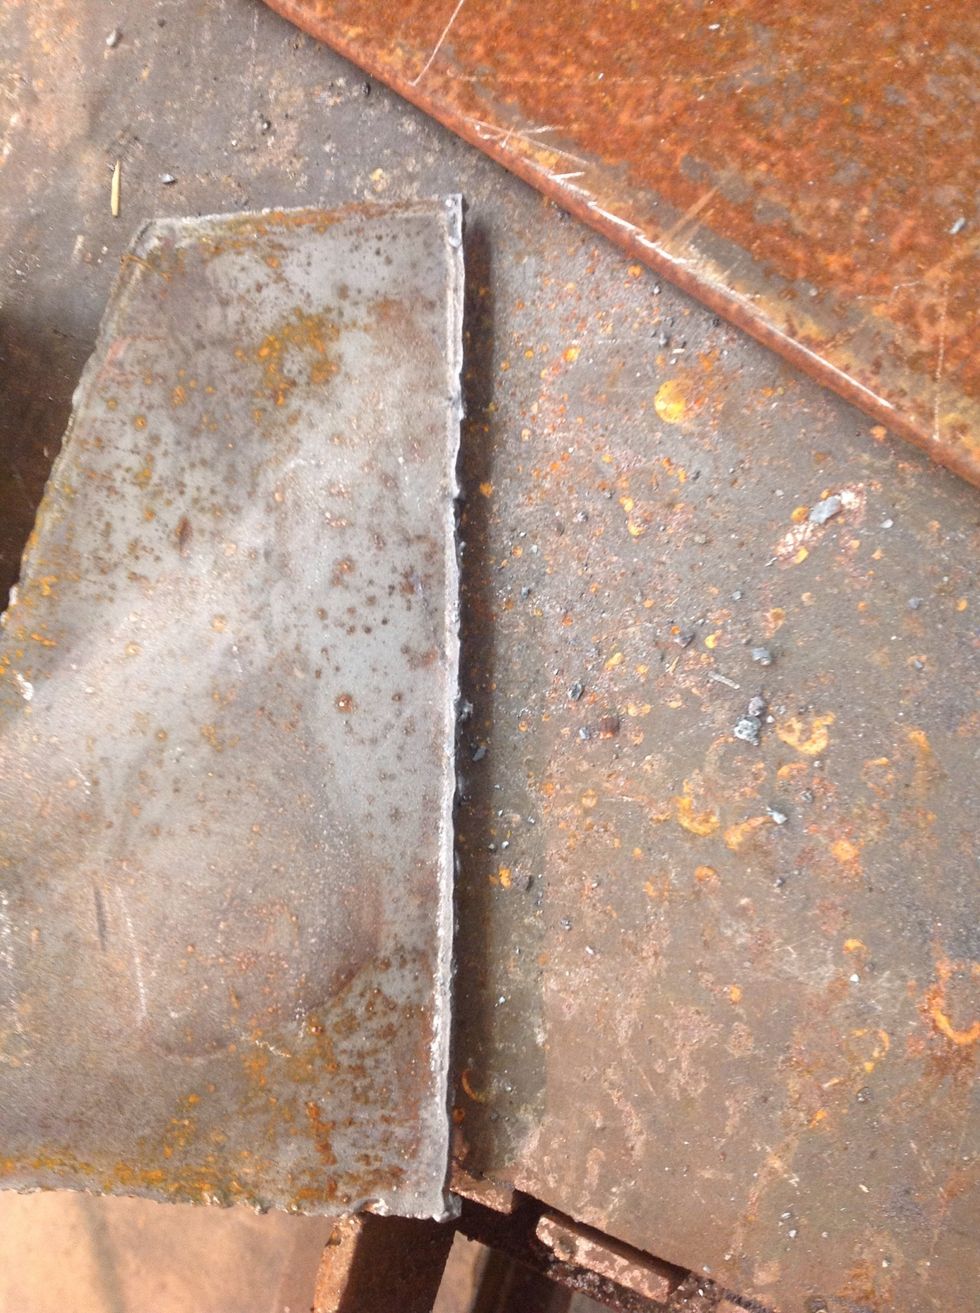
This is what your cut should look like, let the metal cool before handling it.
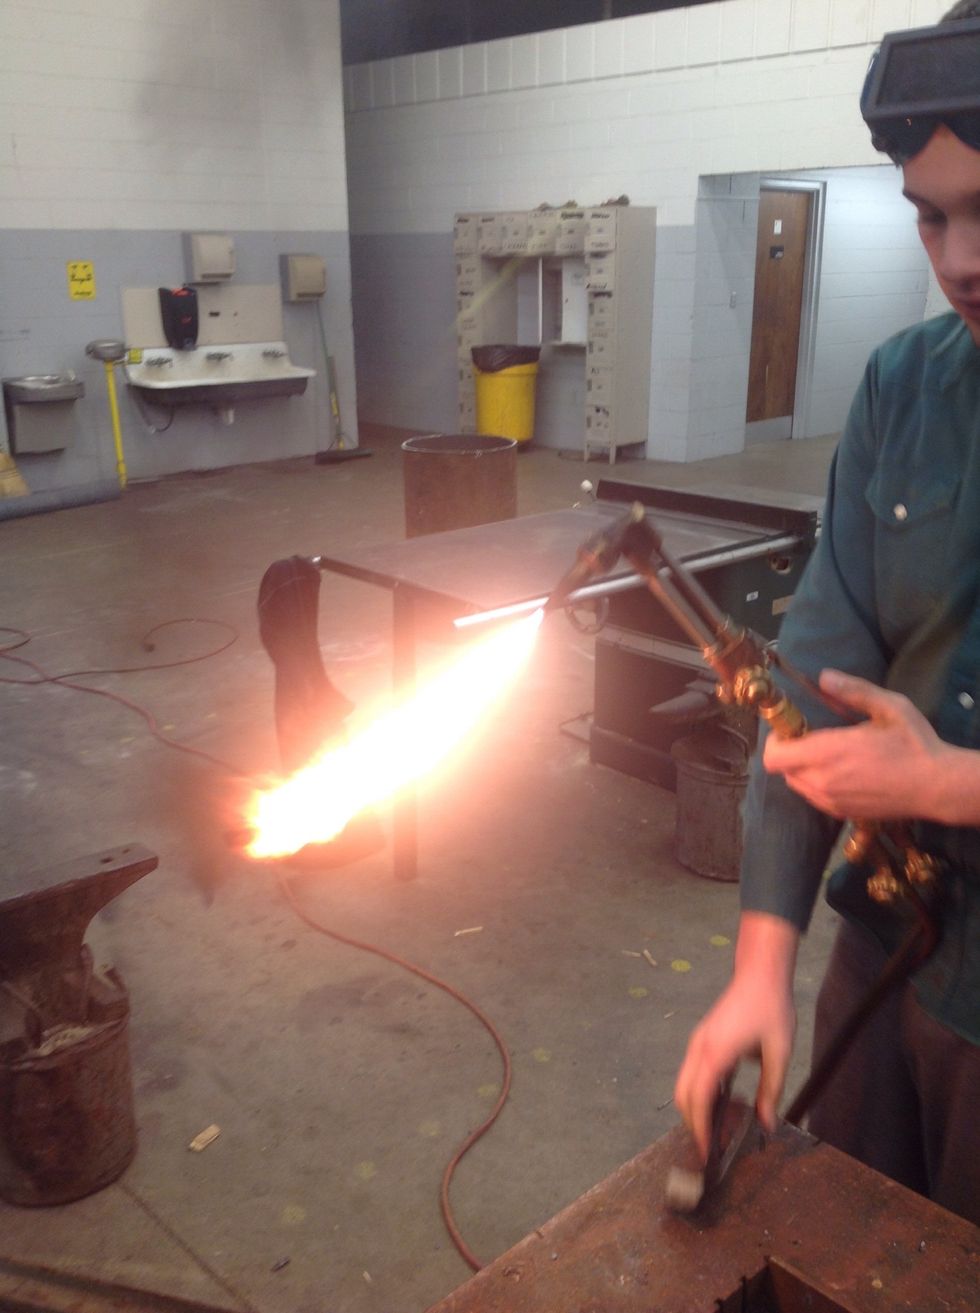
Close your top oxygen valve completely.
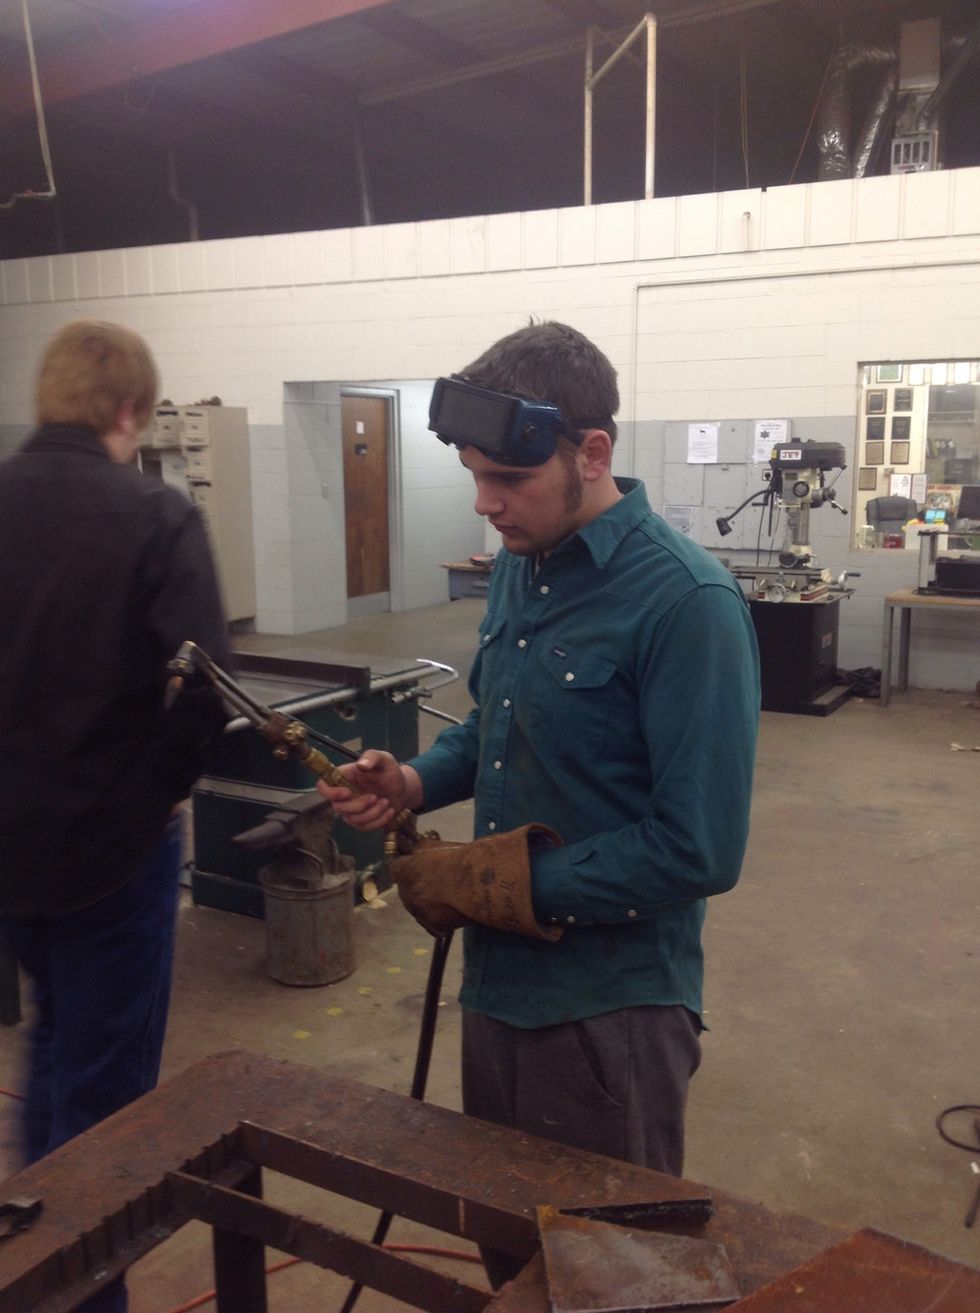
Close your acetylene valve completely.
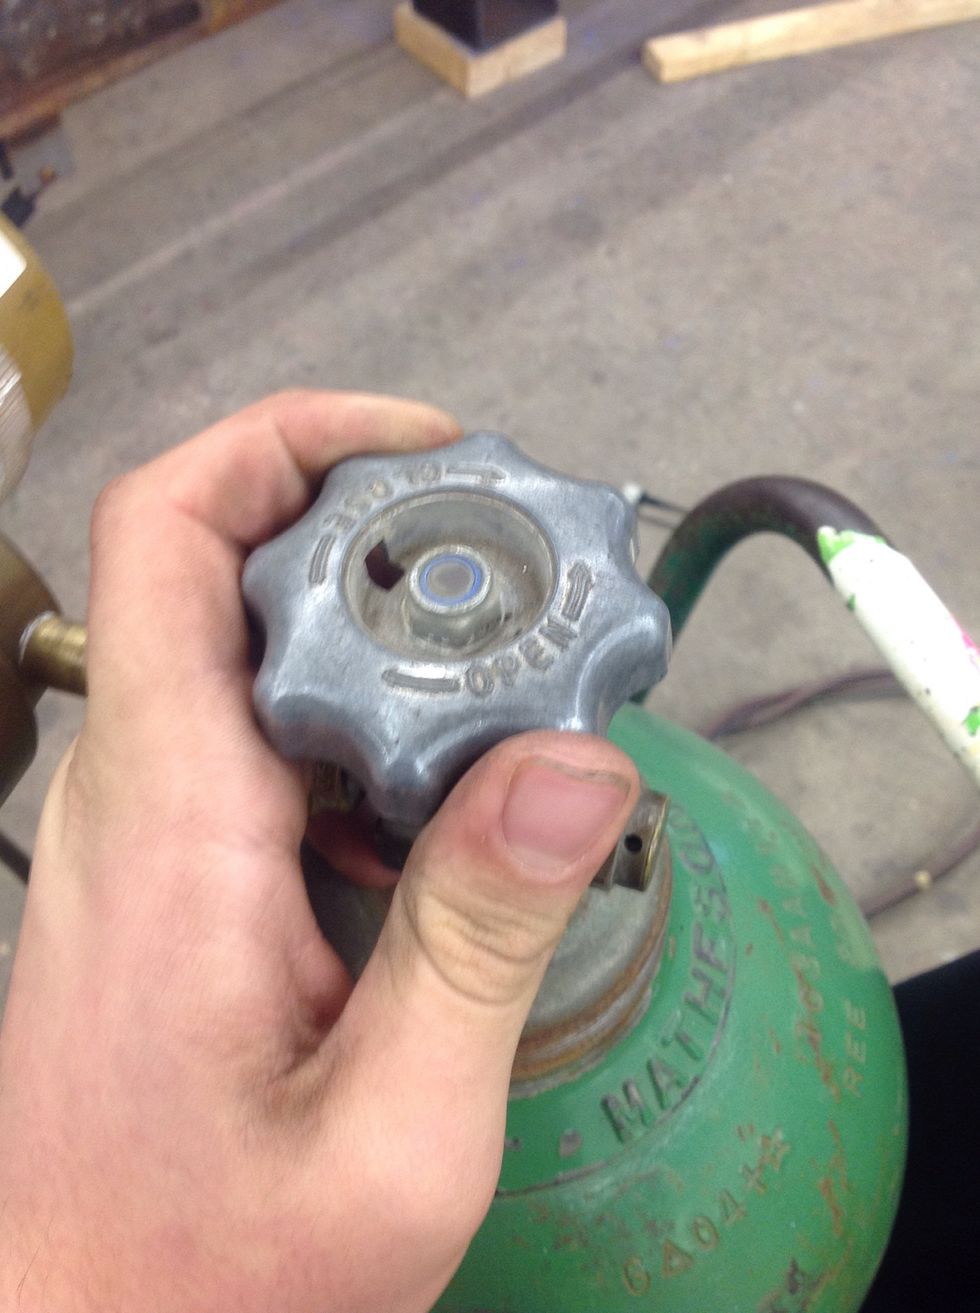
Close both bottle valves completely.
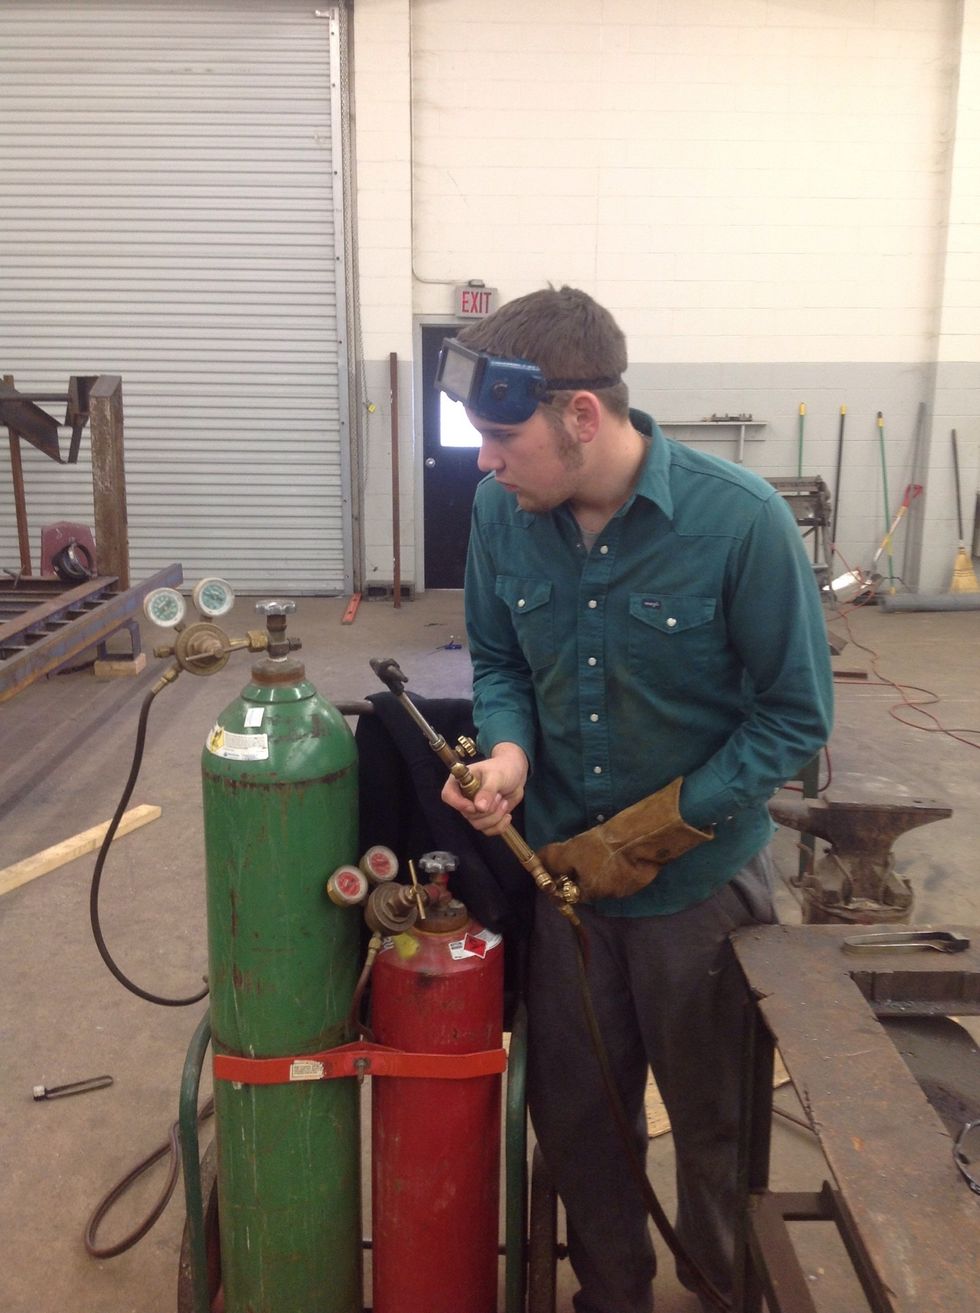
Open your torch valves and watch the gauges intel the both read 0 psi. Then close your valves.
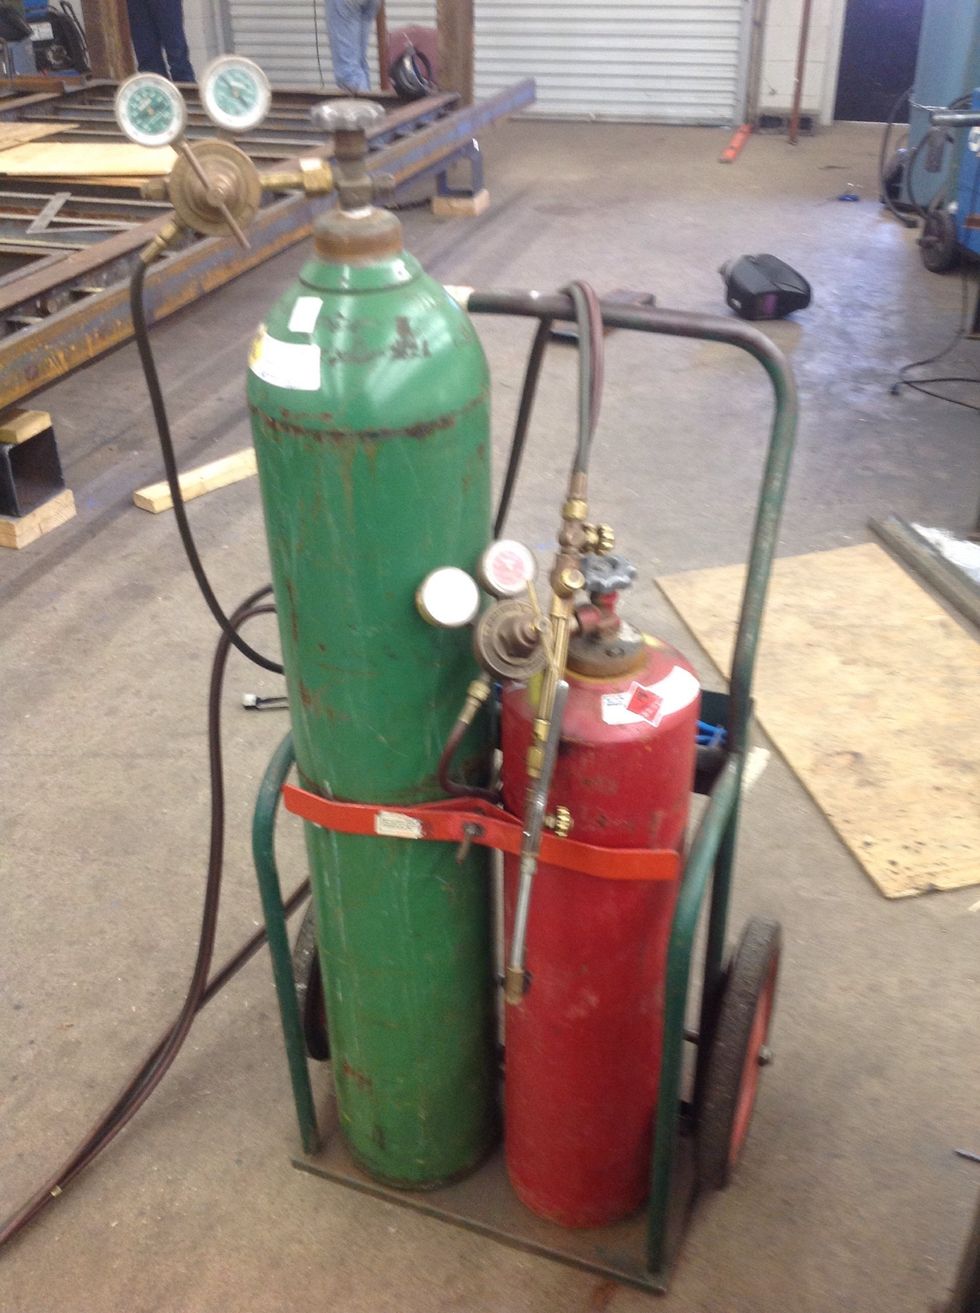
That is how to use a oxygen-acetylene cutting torch.
- Audience- young adults
- Oxygen acetylene cutting torch
- Leather gloves
- Safety goggles
- Flame resistant long sleeve shirt
- Starched blue jeans
- Boots or closed toe shoes
- Chalk
- Speed square
- Measuring tape
- Striker
The Conversation (0)
Sign Up