The Conversation (0)
Sign Up
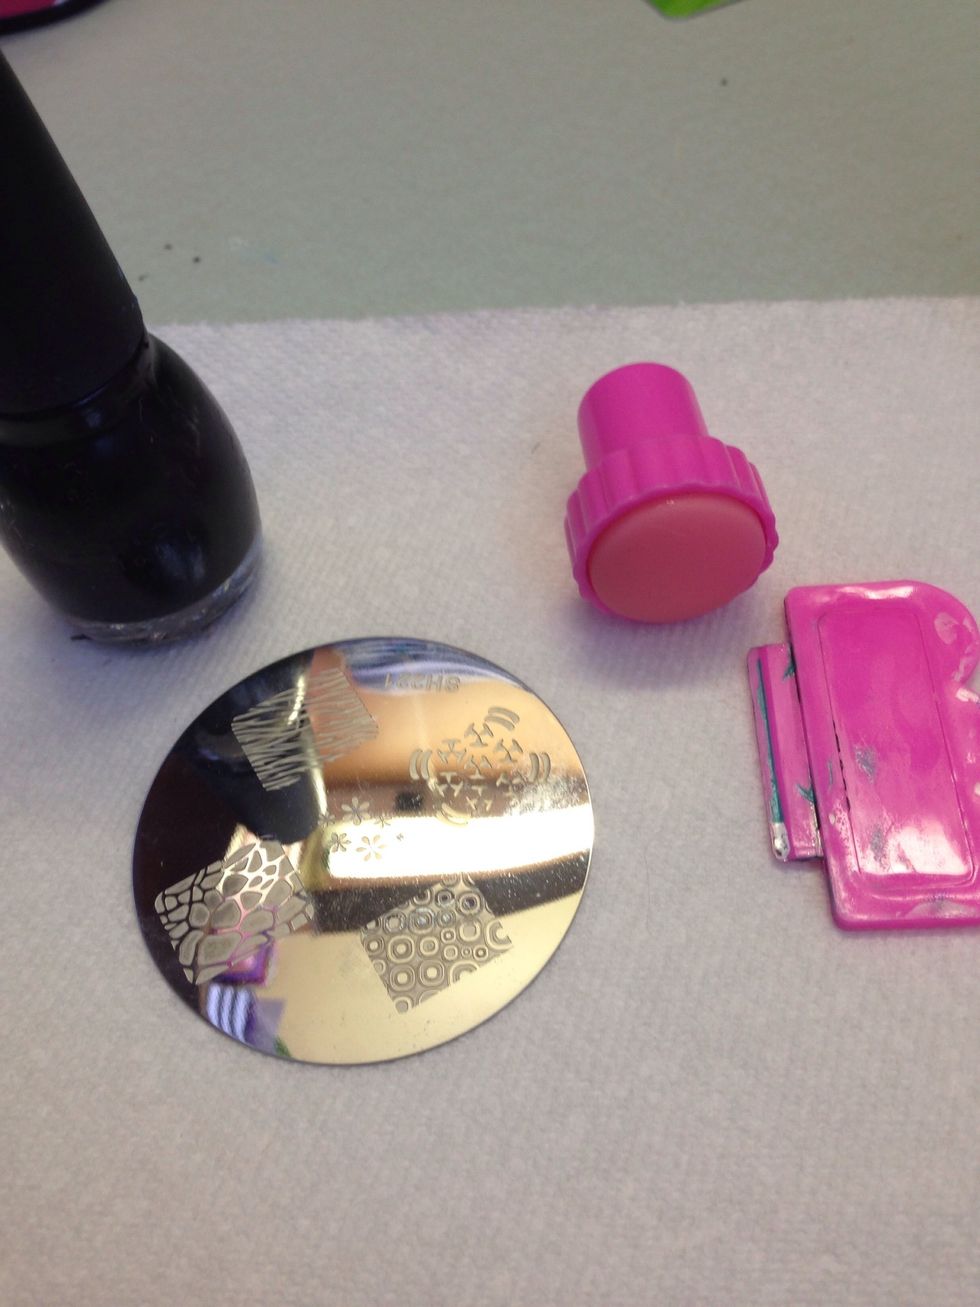
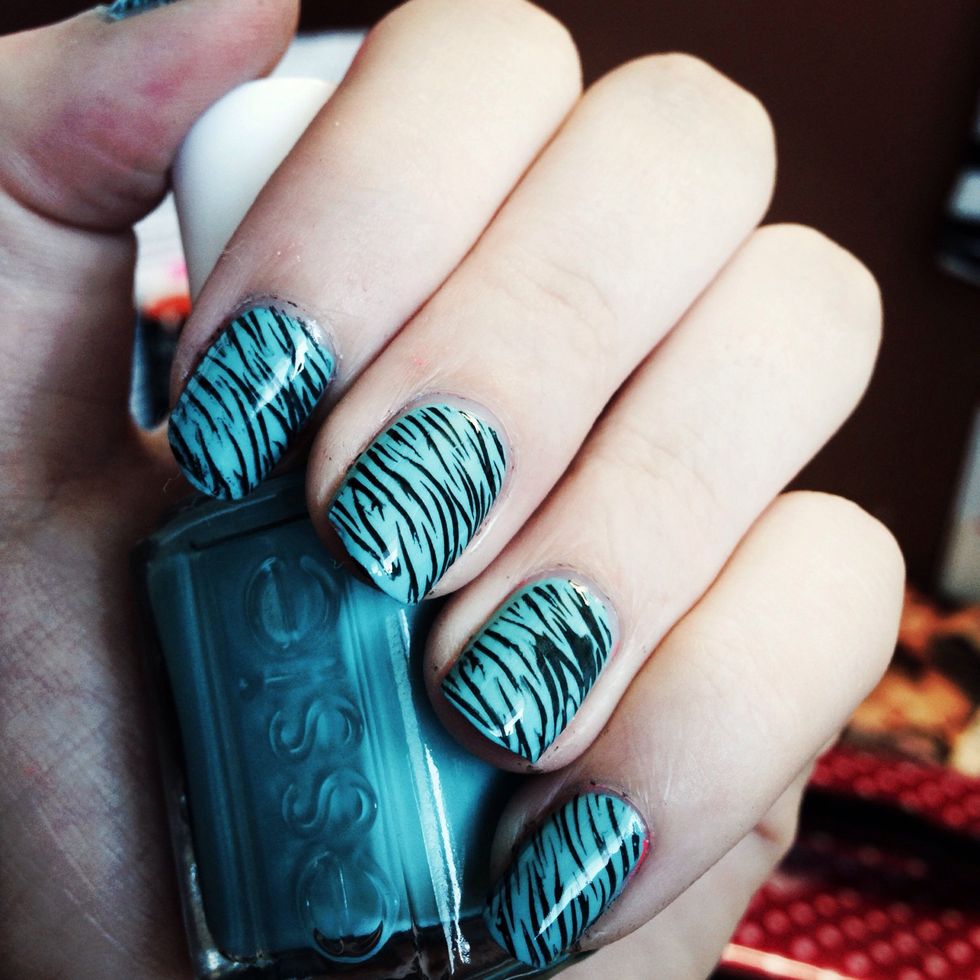
Get a nail stamping kit. You can find them in beauty stores, Walmart or online. I get all my image plates really cheap on amazon. For your stamping color, try to pick something that contrasts the base
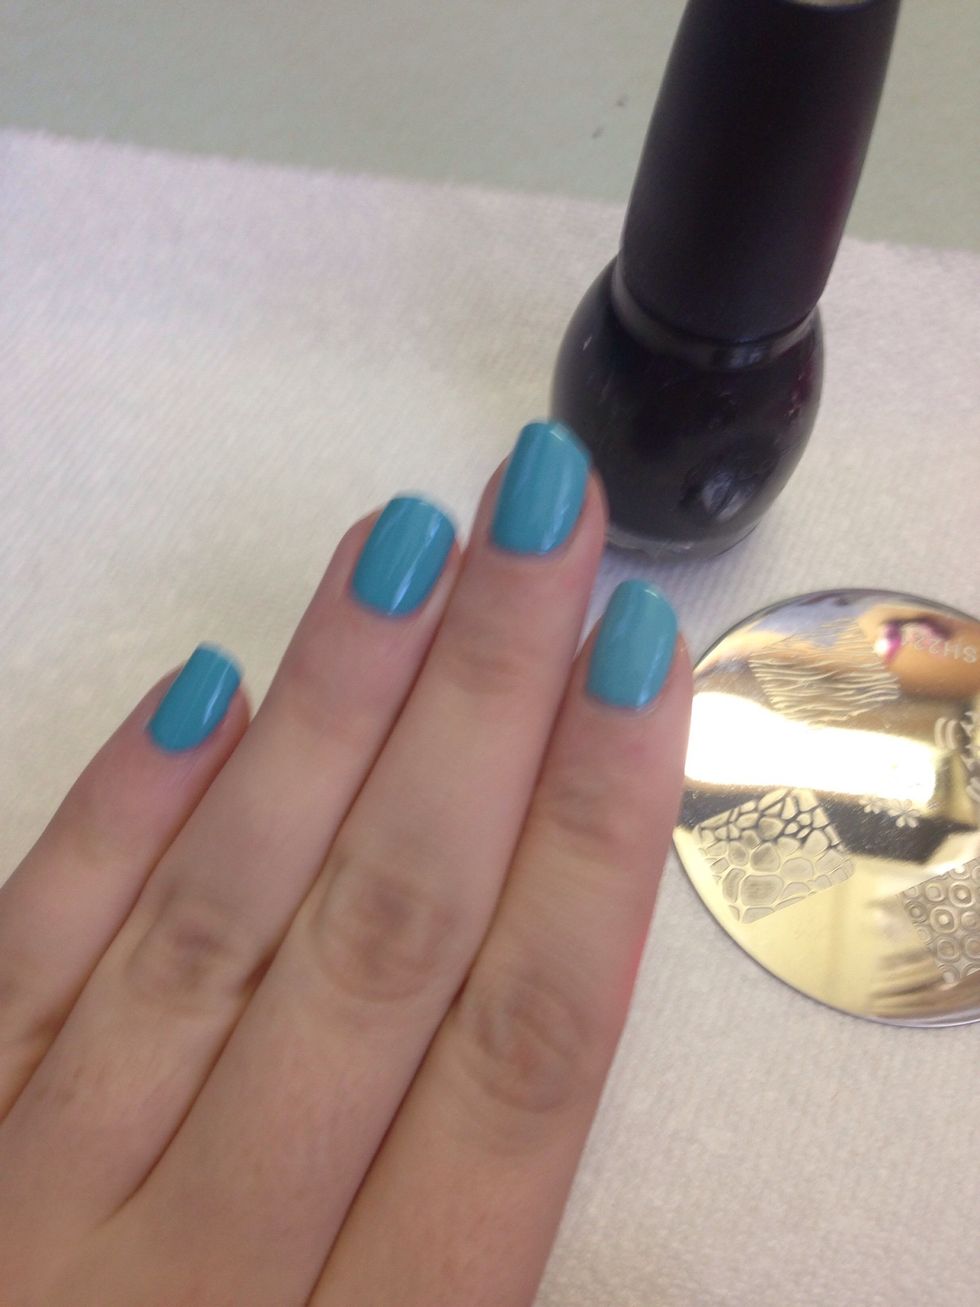
Paint your base color on and let it dry completely. If you want, use two similar shades of the base and make a gradient before you stamp.
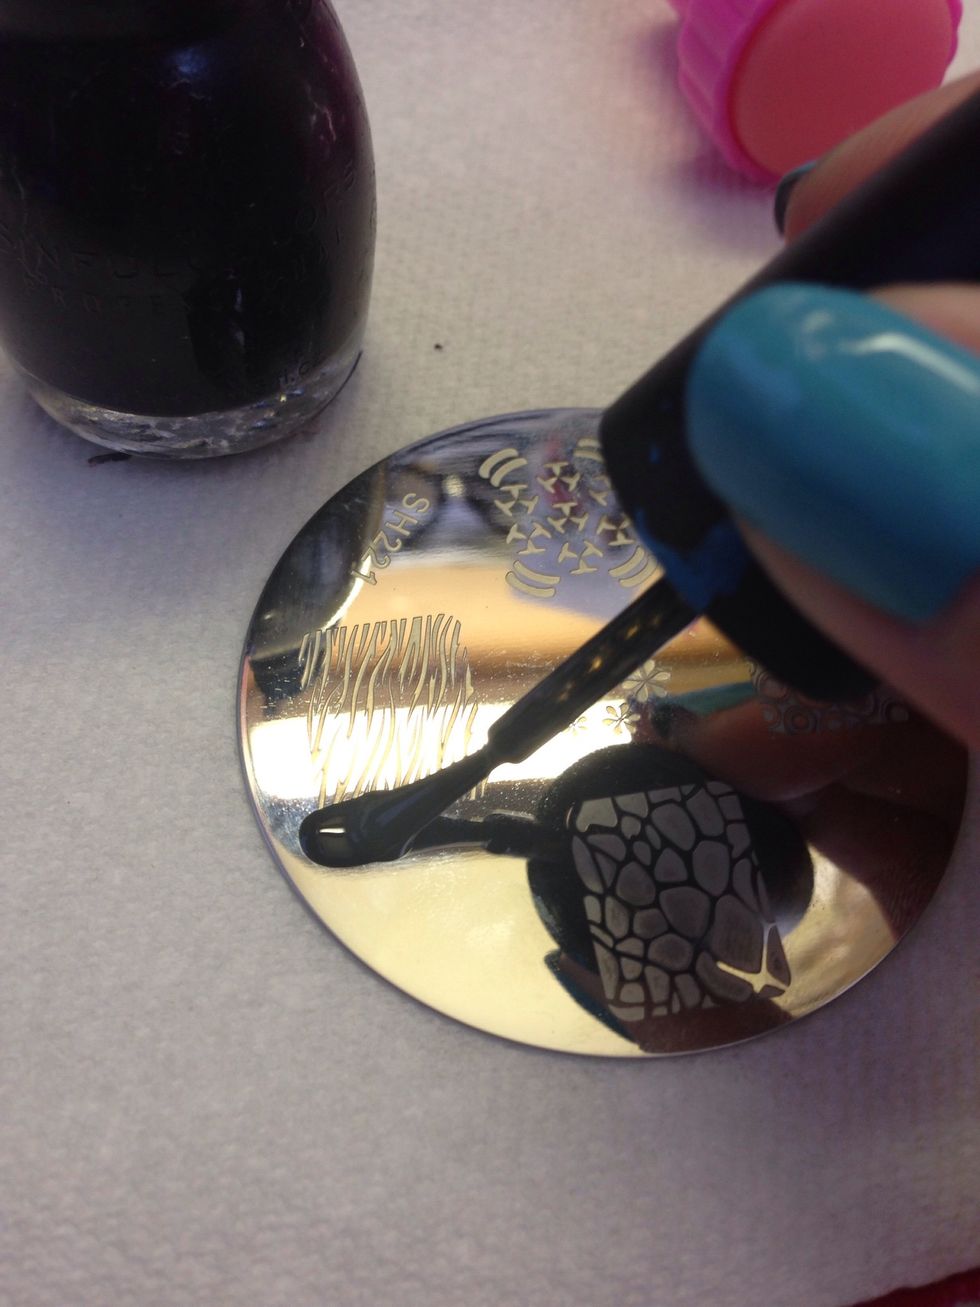
This will take practice. Paint a thick line of polish at the base of your design. Smaller designs can be done the same way. Pick a spot that will cover the whole engraving when you scrape.
You don't really have to paint over the entire design. Just a spot with plenty of polish at one end will be enough.
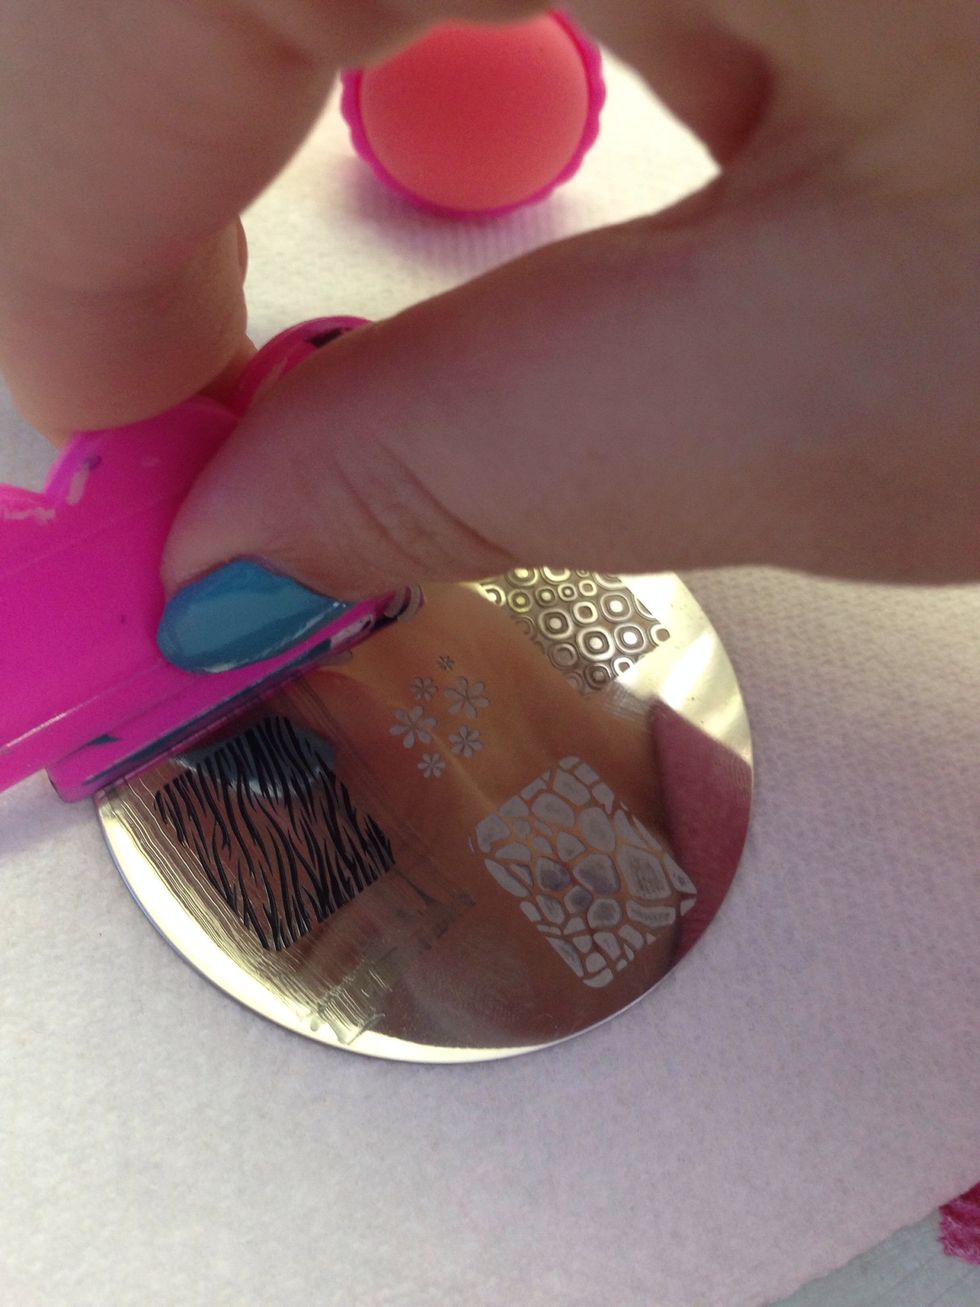
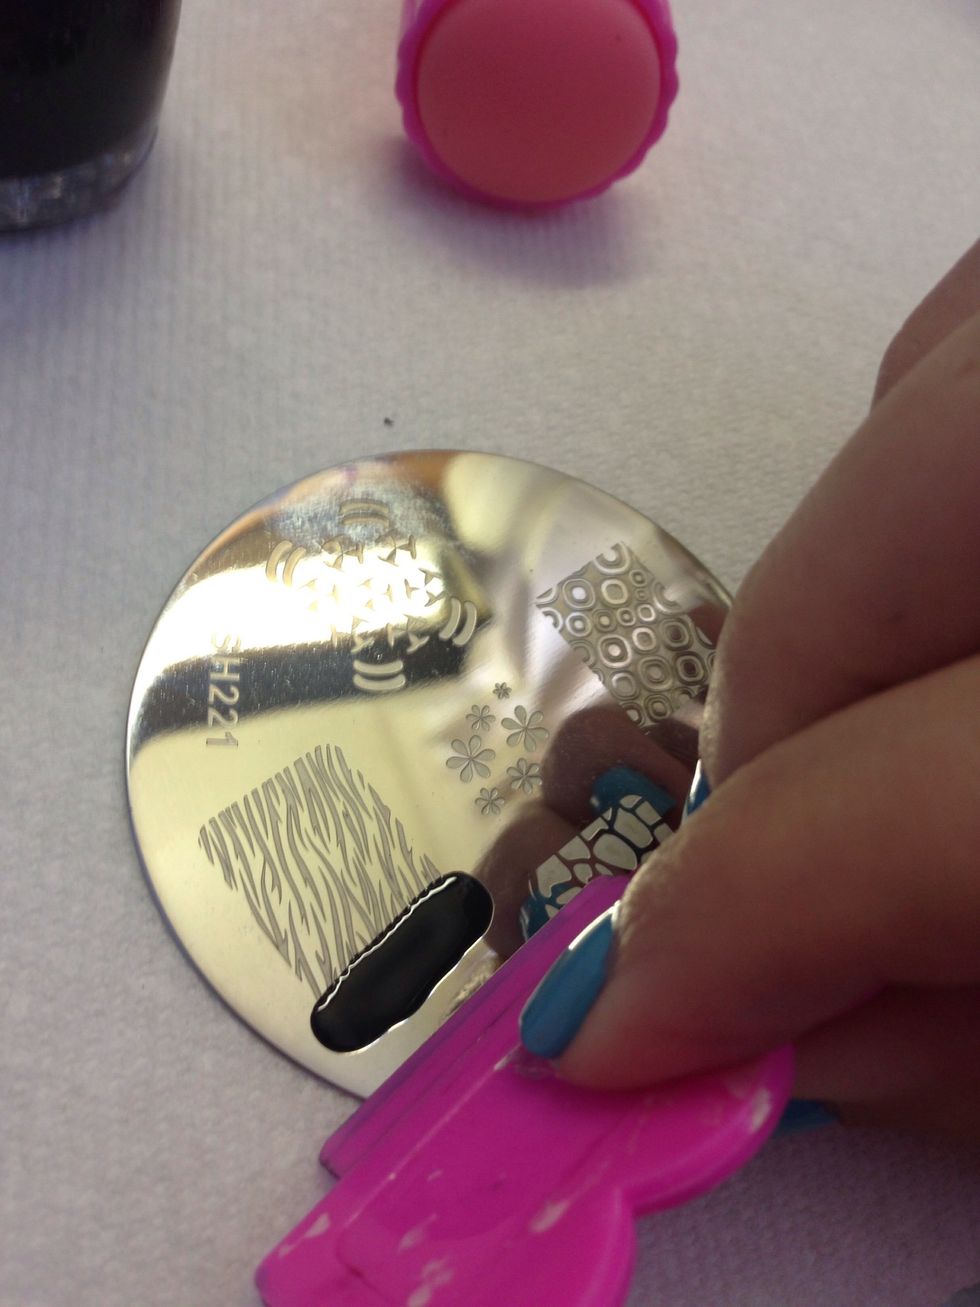
Press the scraper down hard and push across the design. Every crevice of the picture should fill with polish.
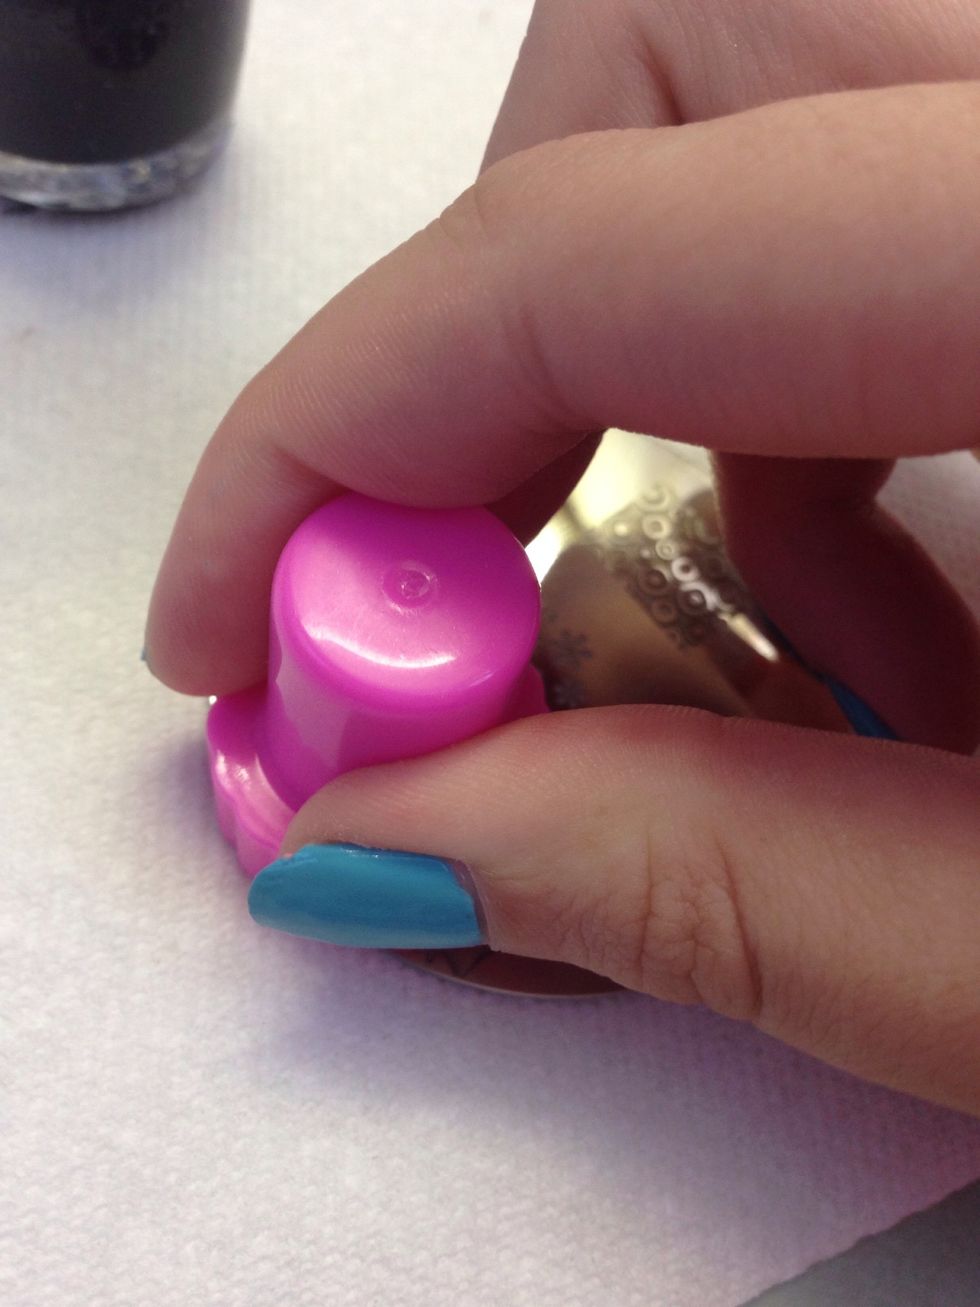
It is very important to do this step as fast as possible. Push the stamper hard onto the design SECONDS after you scrape. You could hold the polish brush and stamp in the same hand to make it easier.
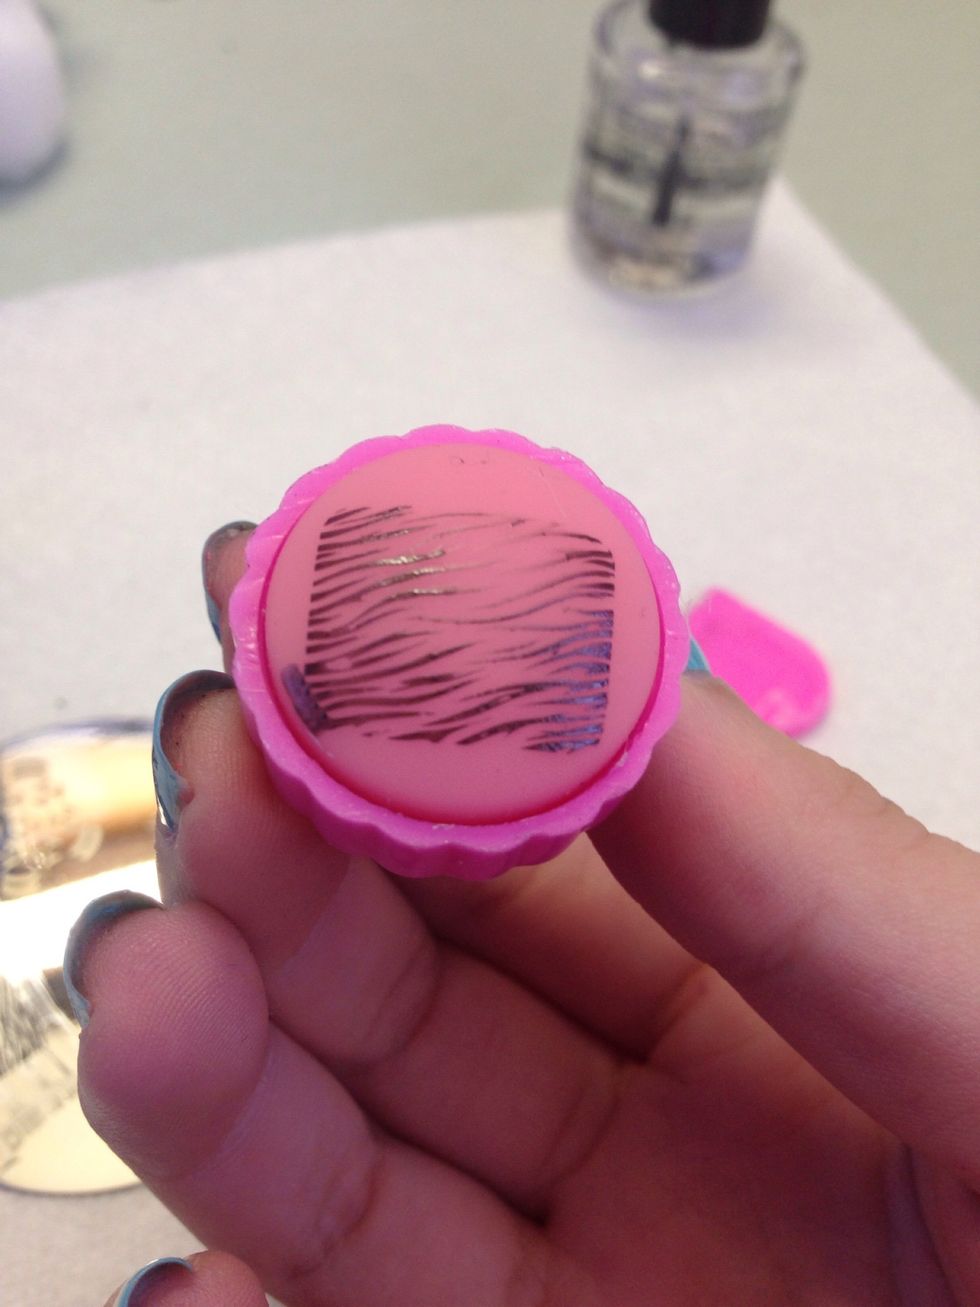
Don't hold it down for too long, but push hard. This should be what you see when you lift the stamper: a complete design.
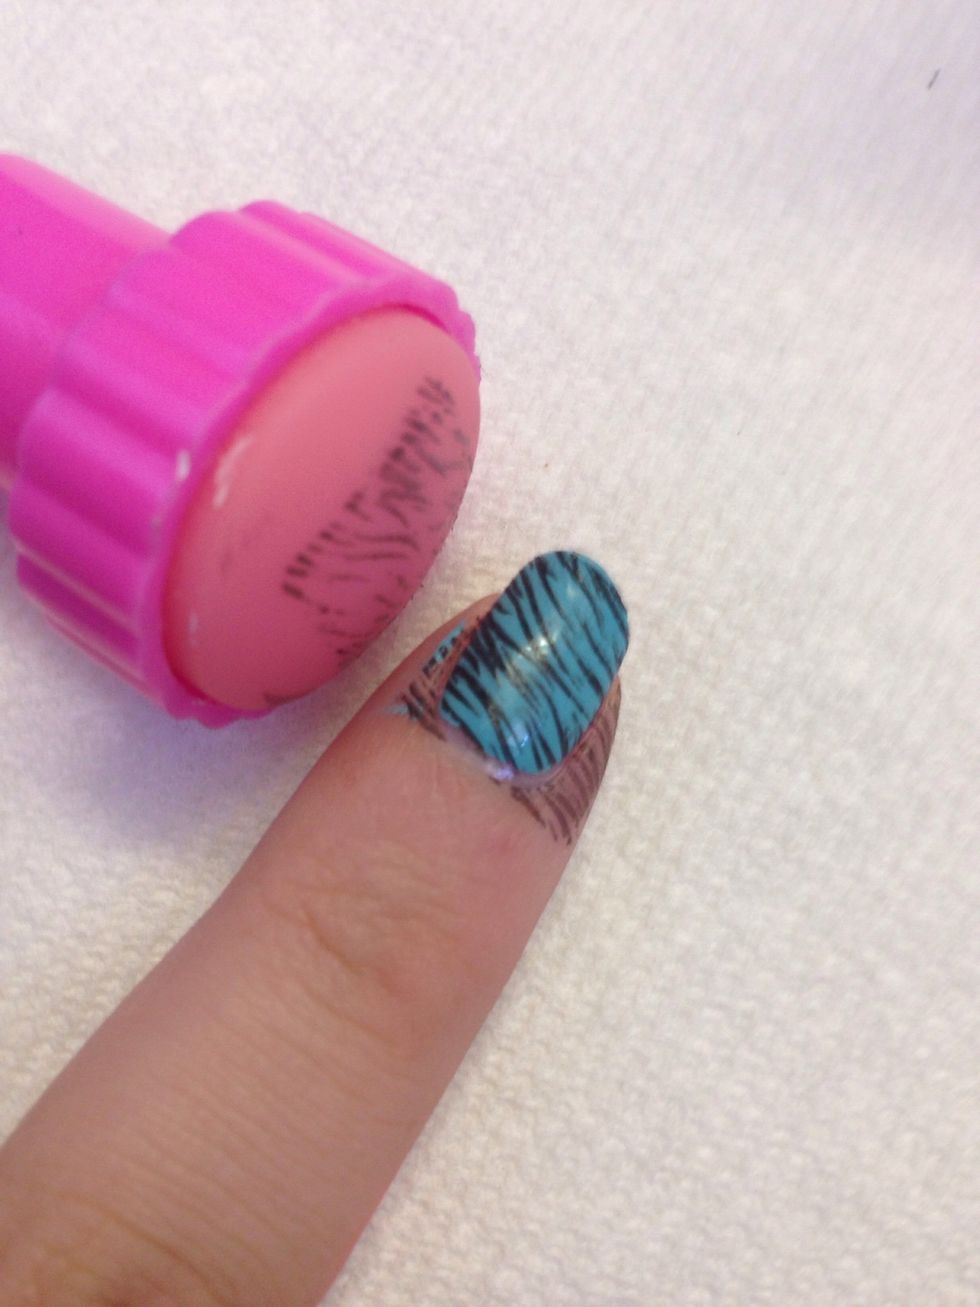
When you press the stamp onto the plate to pick up the design, press flat and fast. When you're putting it on your nail, ROLL the stamp over the nail slowly. Start from one side of the nail then roll.
That's it! Do each nail and clean up the edges (or tape beforehand if you want), then topcoat! There are thousands of plates and endless looks to create!