The Conversation (0)
Sign Up
You will need to have a design, preferably in vectors. The PC has illustrator so an EPS file is best.
Double check that your design is correct. The laser cutter can do many things. It can mark, cut and engrave.
To make a mark, create a blue line 0.0001cm. It must be 0,0,255 in RGB.
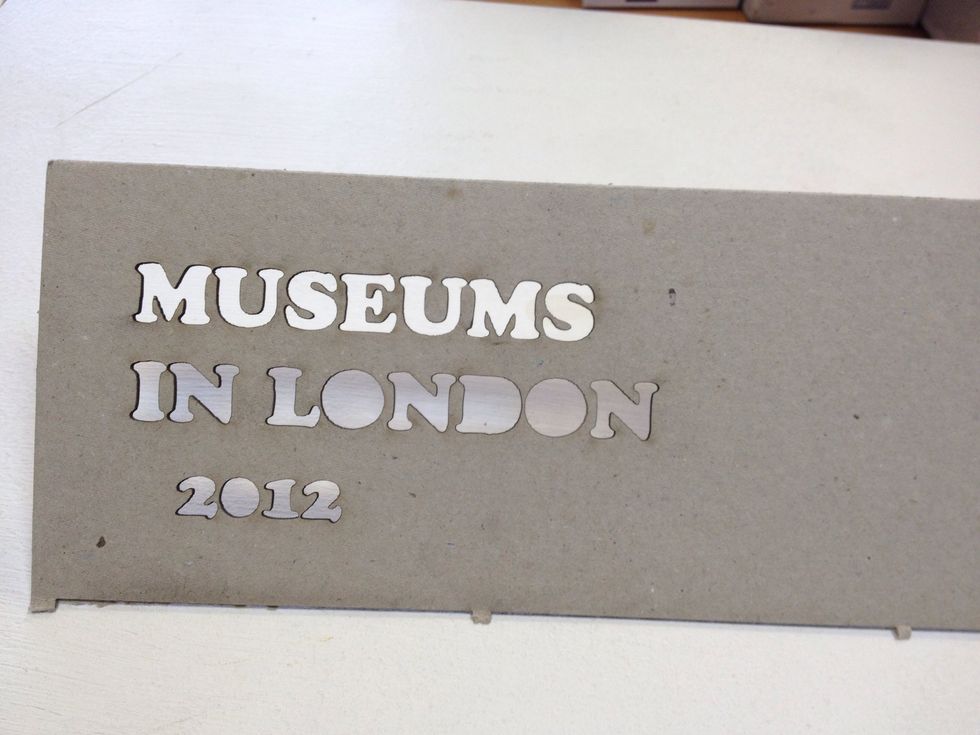
Cutting is similar to marking. It is a line stroke at 0.0001cm but the colour is red, 255,0,0 RGB.
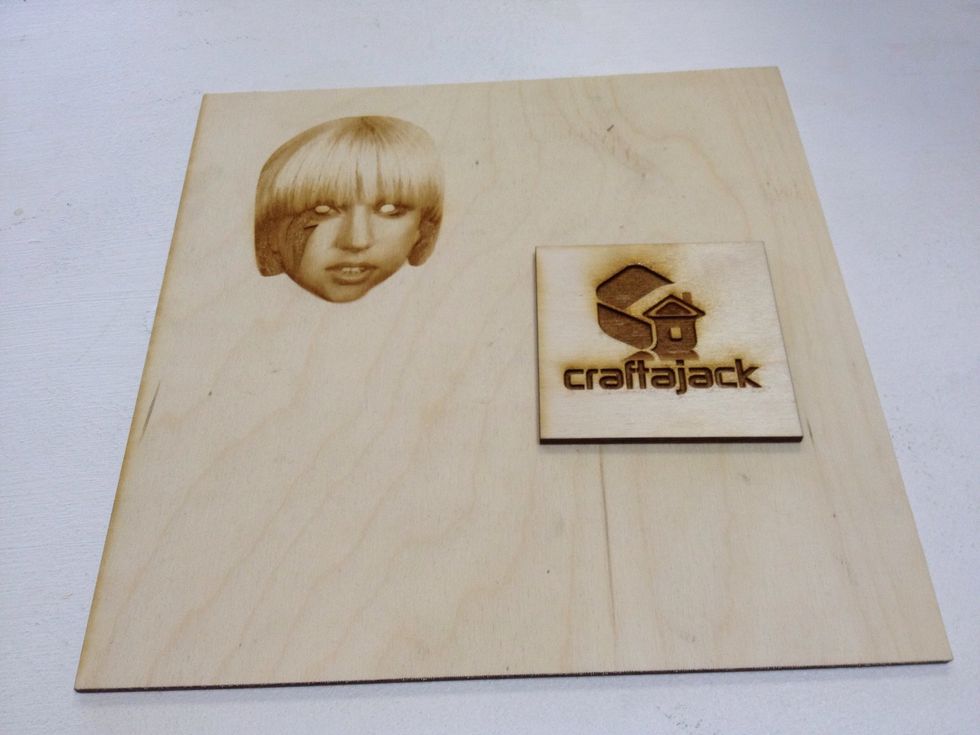
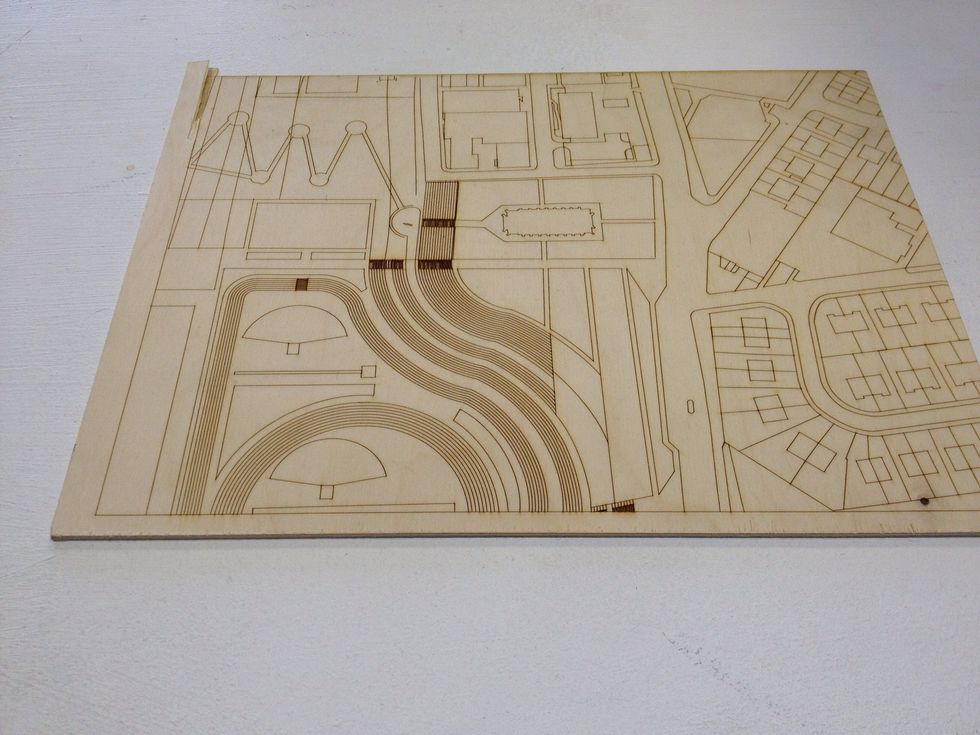
To engrave, you can use a variety of colours. Different colours give different depths. Try out a few small patches on your material to see what you like.
When you are ready to laser cut, simply print the image. You do not need to Change any settings here.
To open the laser cutter utility, click on the red and yellow logo down on the bottom right of the screen next to the clock.
Click on the settings and choose your material. Then input the depth of your material.
Place your material on the bed of the laser cutter. Position it where you want it and make sure it is within the ranges of the picture.
Turn the cutter on. It will take about a minute or two to be ready.
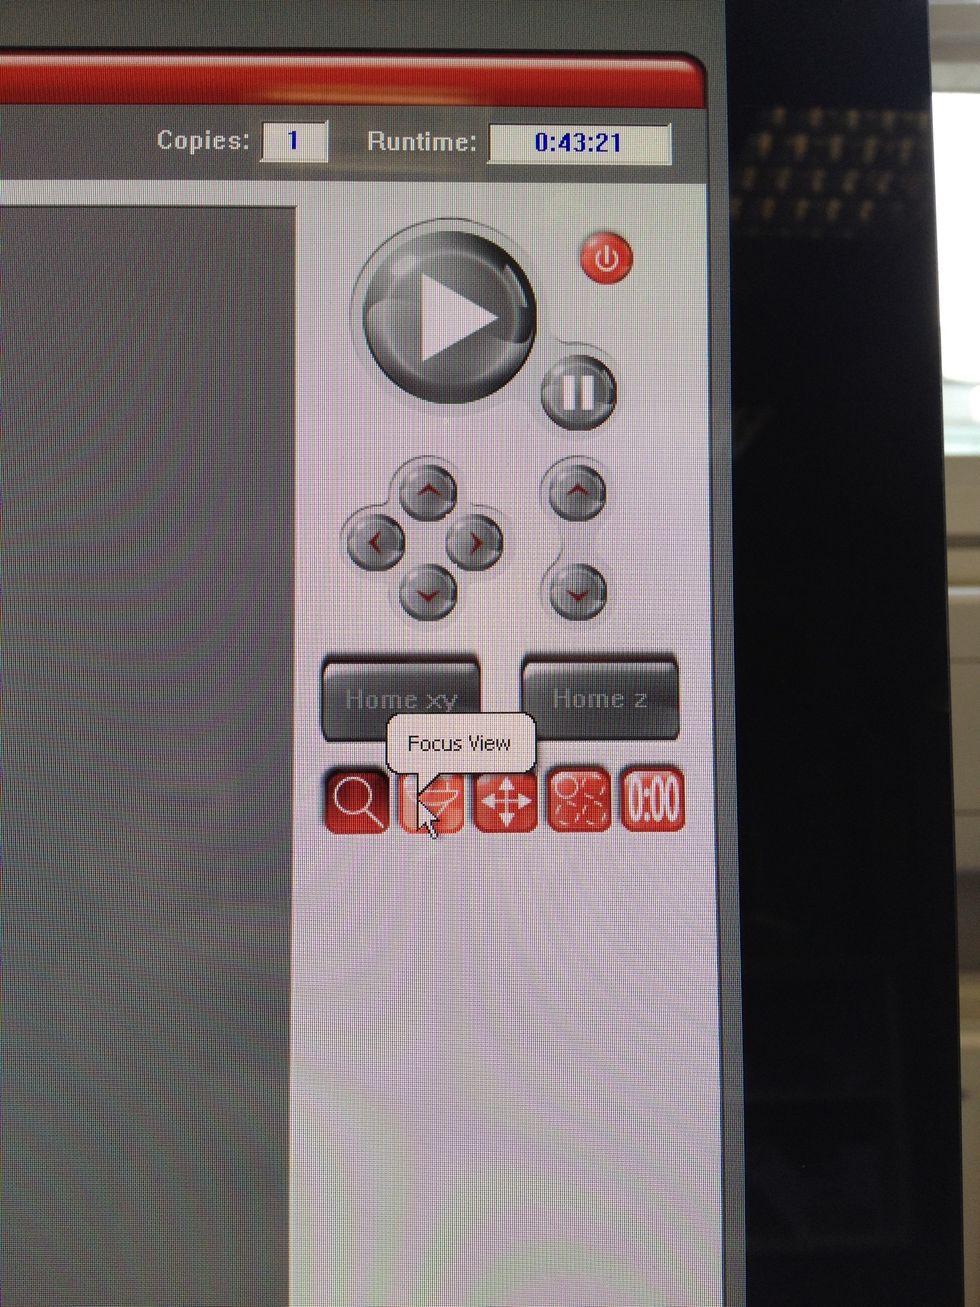
You can use focus view to move the laser to points on the image. When the lid is open, a visible light will be on. Do not obstruct any of the moving mechanisms.
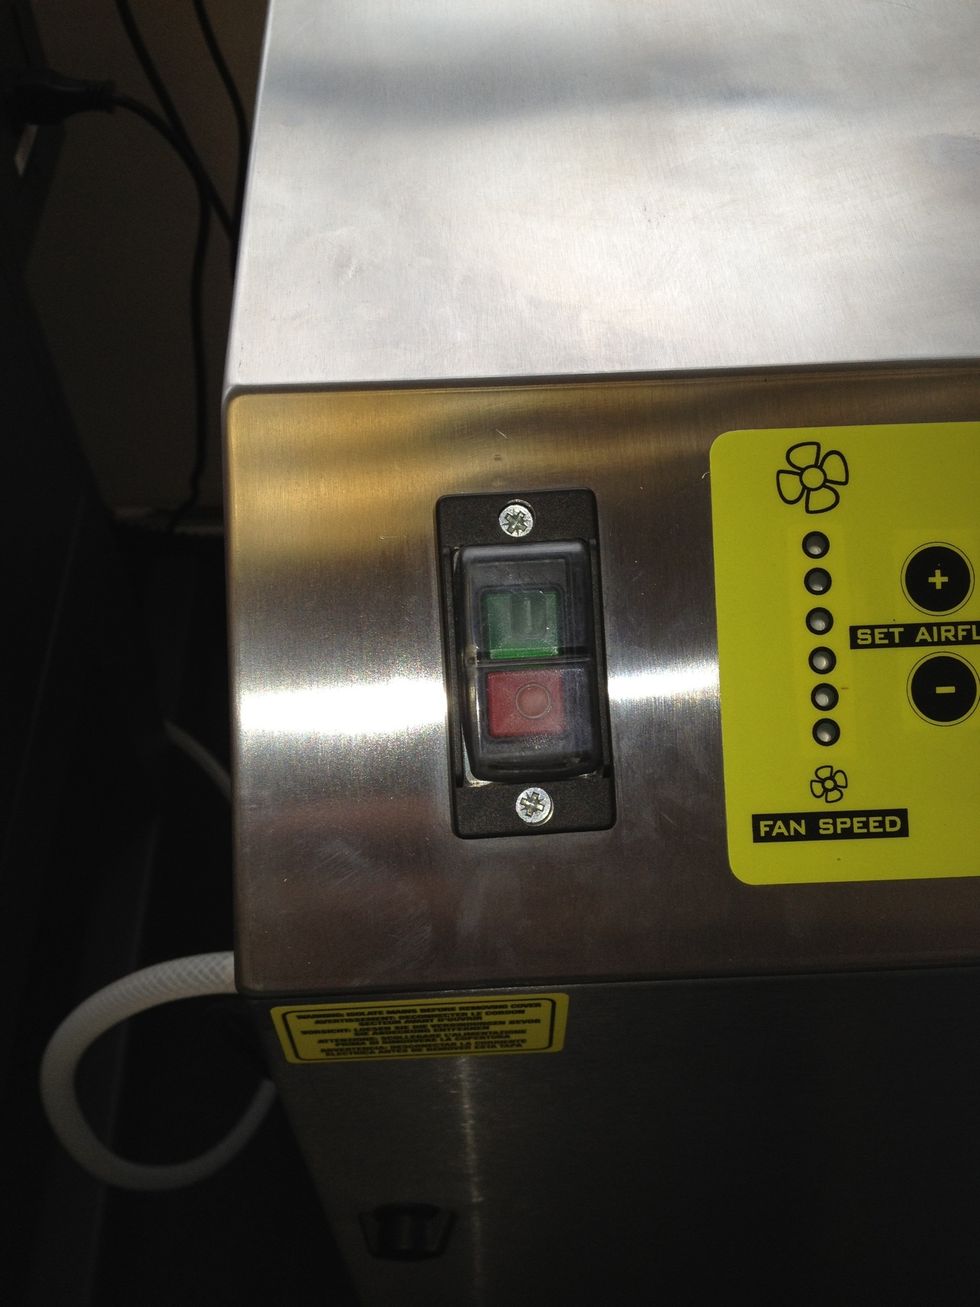
When you are ready, switch on the extractor.
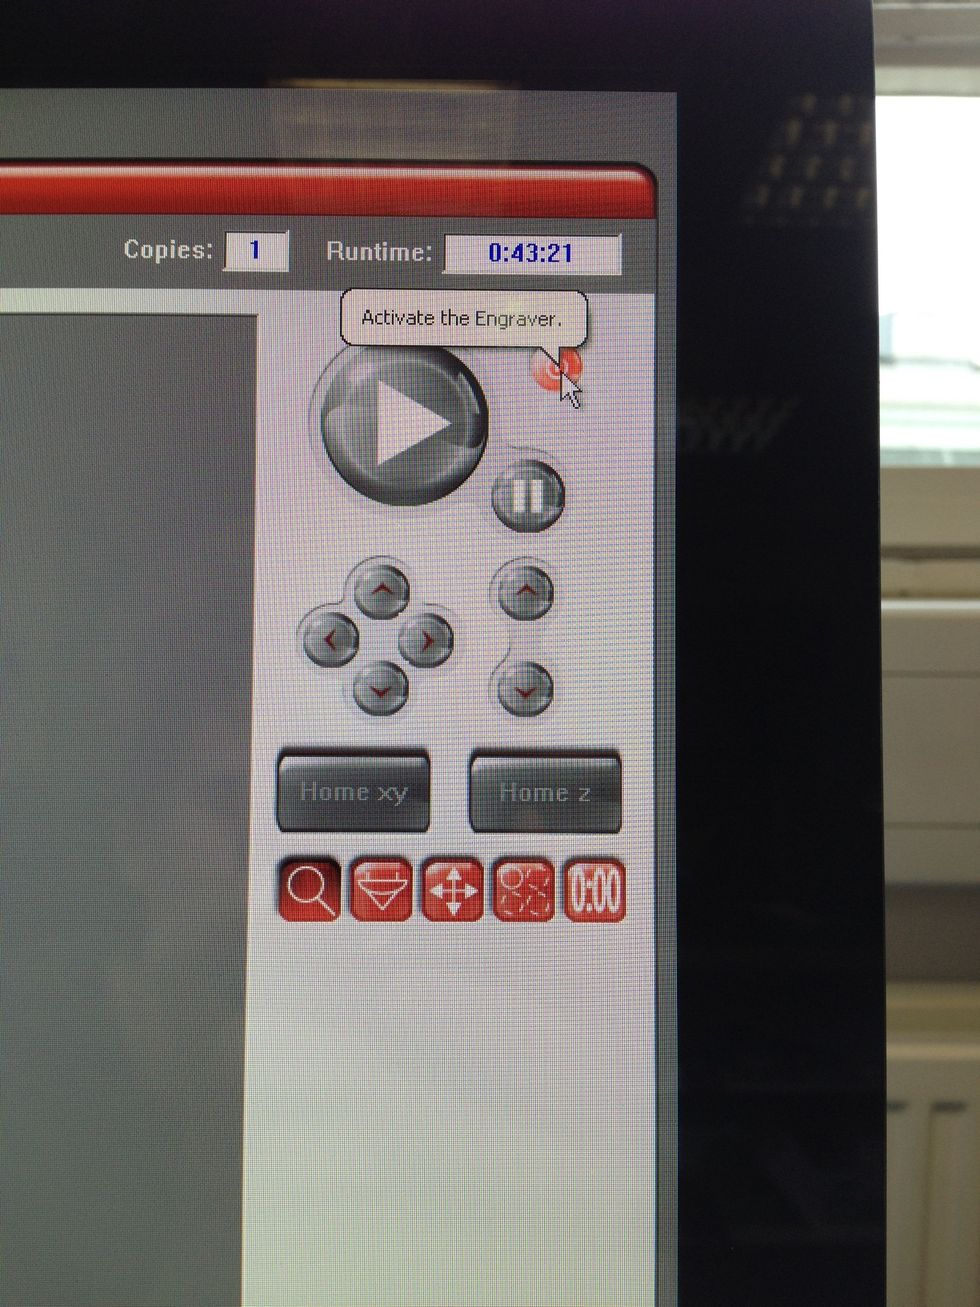
The final step is to press the play button. You can use the one on the computer or the one on the front of the machine. Keep a close eye on it as it starts to make sure it is positioned right.
Please note that when the machine is running, you have to be present at all times as it is a supervised machine. Also keep an eye on the image coming out. Engraving in particular can take a long time.