The Conversation (0)
Sign Up

The SD card slides into the reader at the bottom of the recorder. You should hear a click when it is pushed in place.
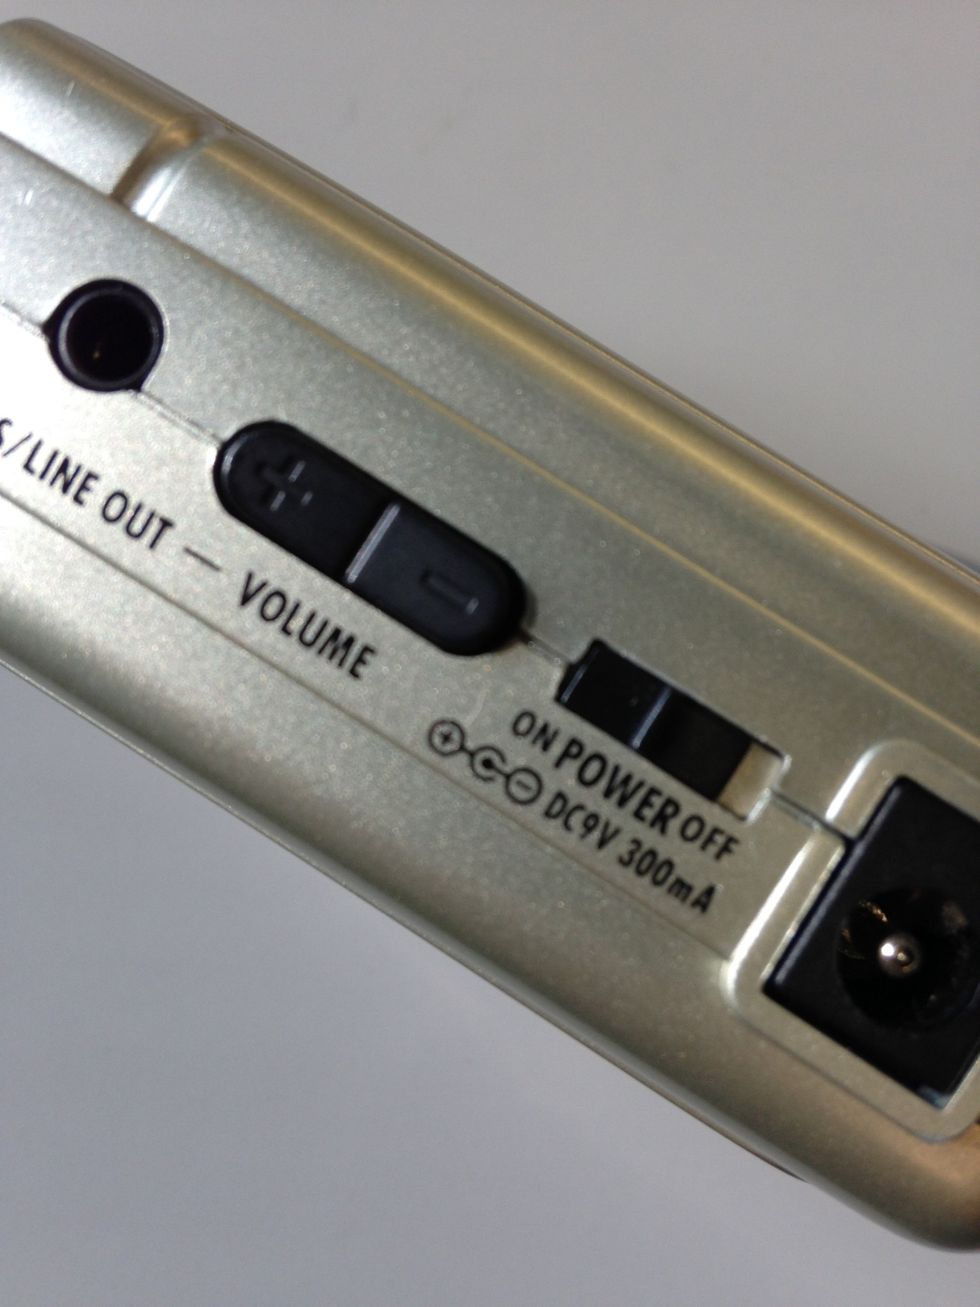
Slide the Power switch to on.
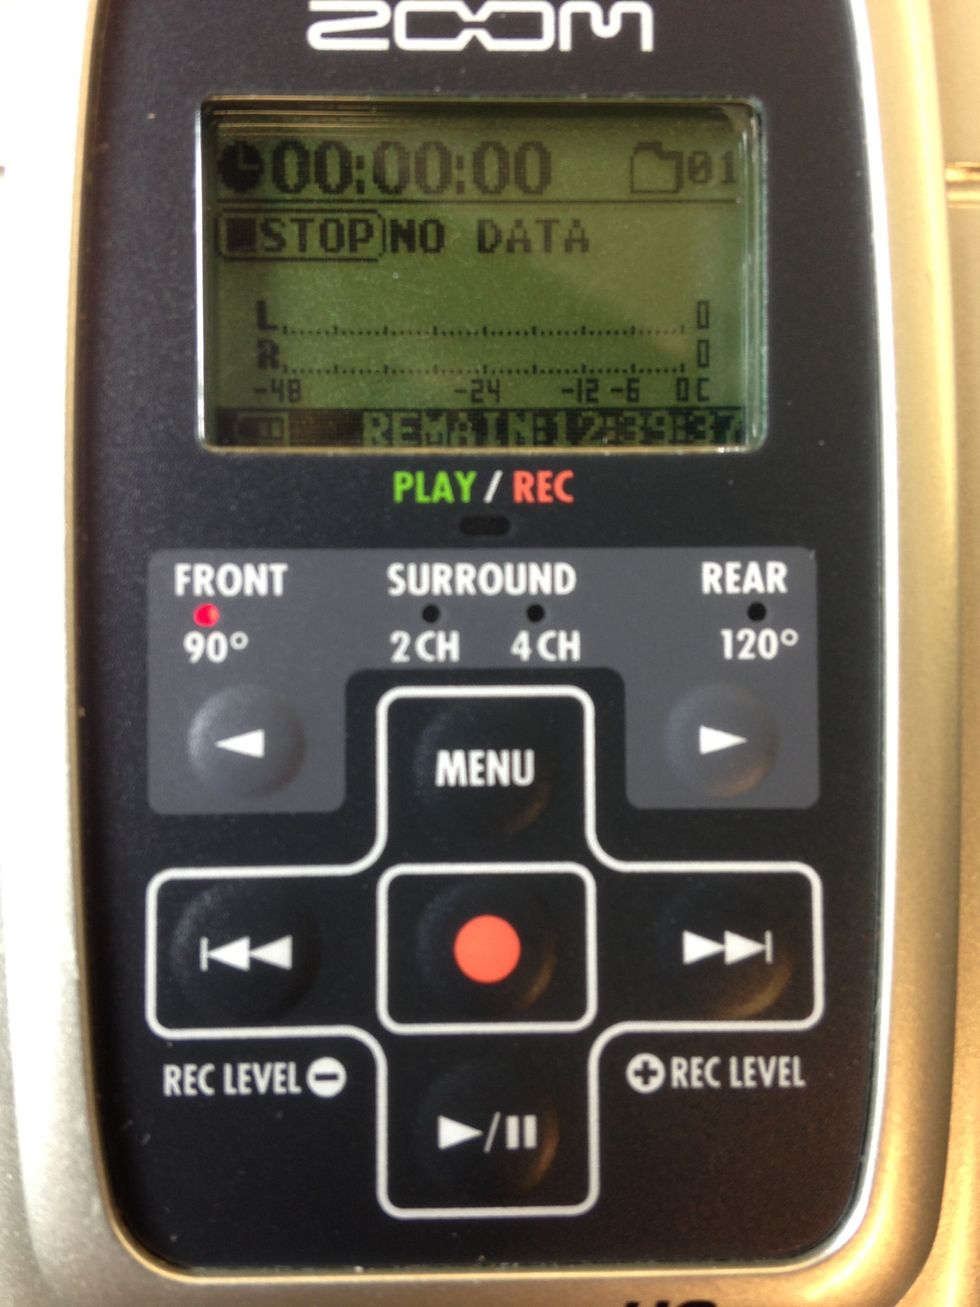
Choose which of the four Mic pattern settings will best suit your project: Front 90, Surround 2CH, Surround 4CH, or Rear 120.
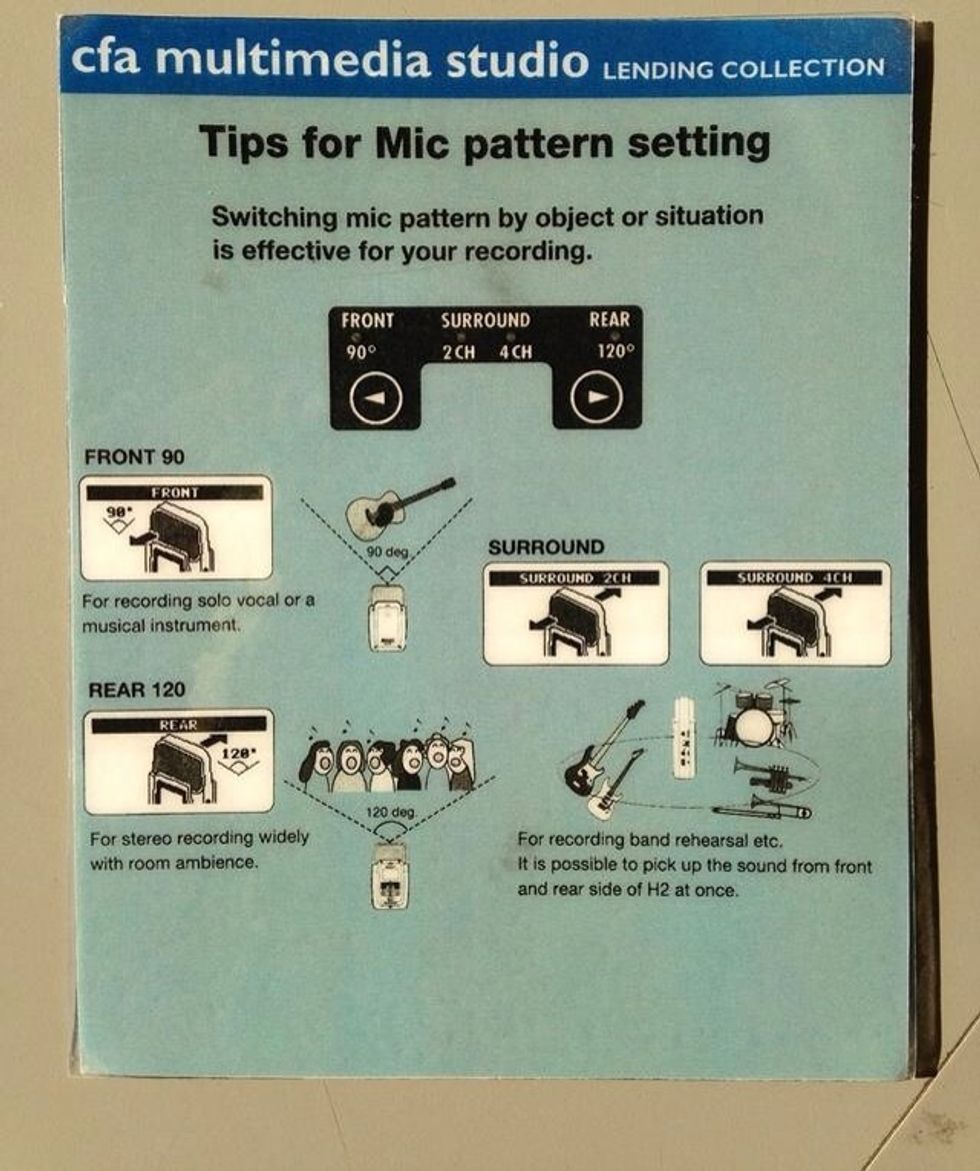
Here's a helpful guide on how to choose a suitable Mic pattern setting!
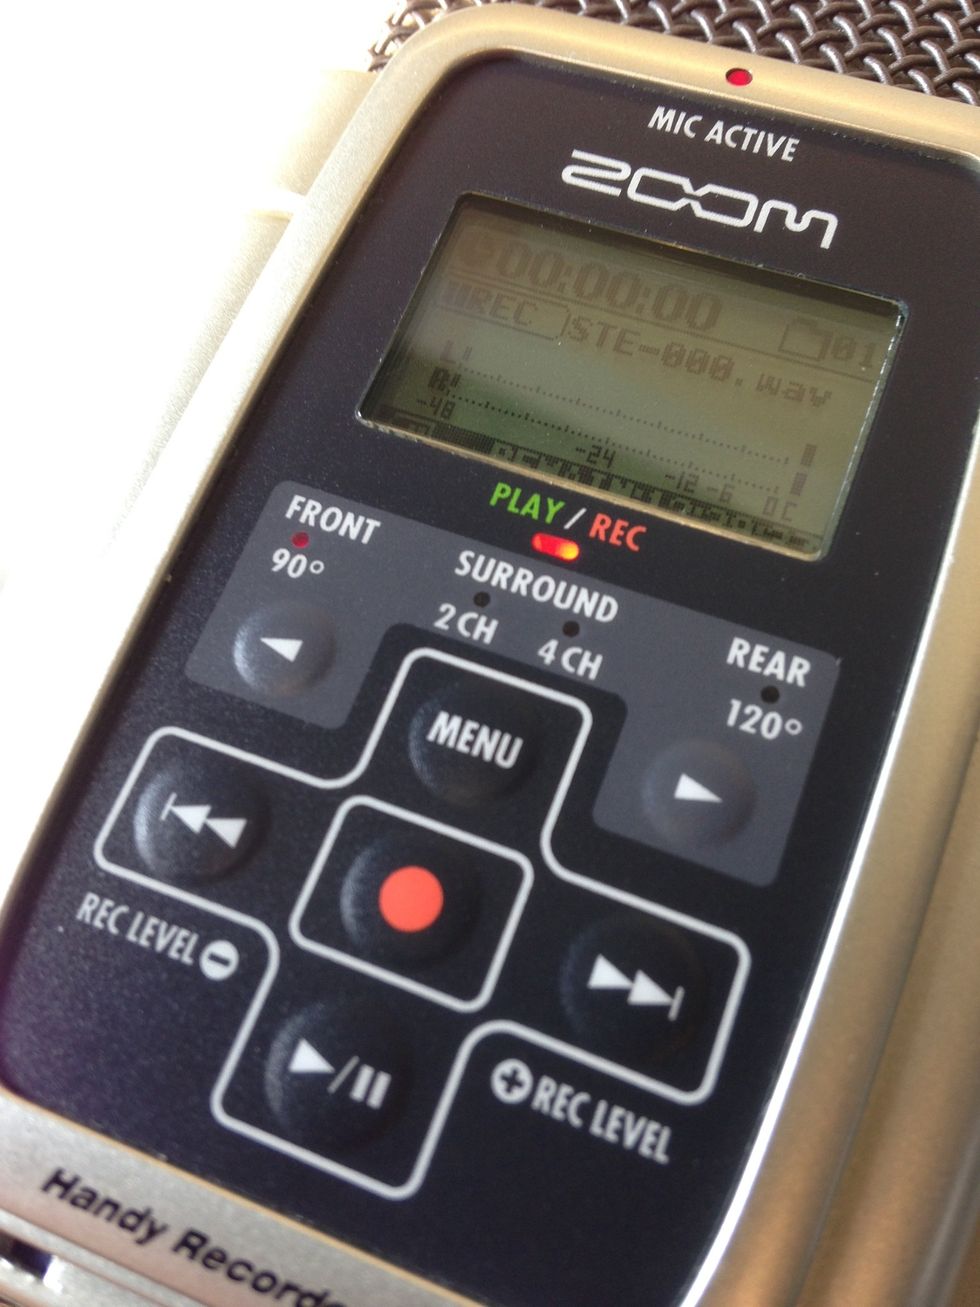
To test audio levels, first put the recorder in Standby mode by pressing the red Record button once. There should now be a blinking red light. Adjust the levels using the Rewind and Fast-forward keys.
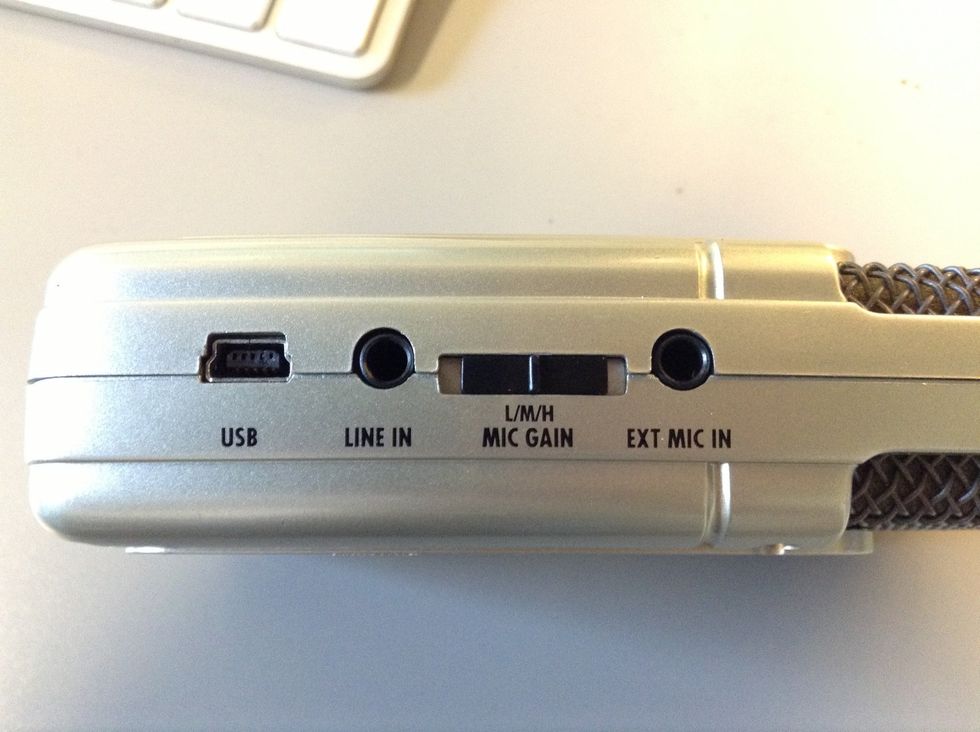
Tip: Use the Mic Gain switch on the side to change the gain on the microphone.
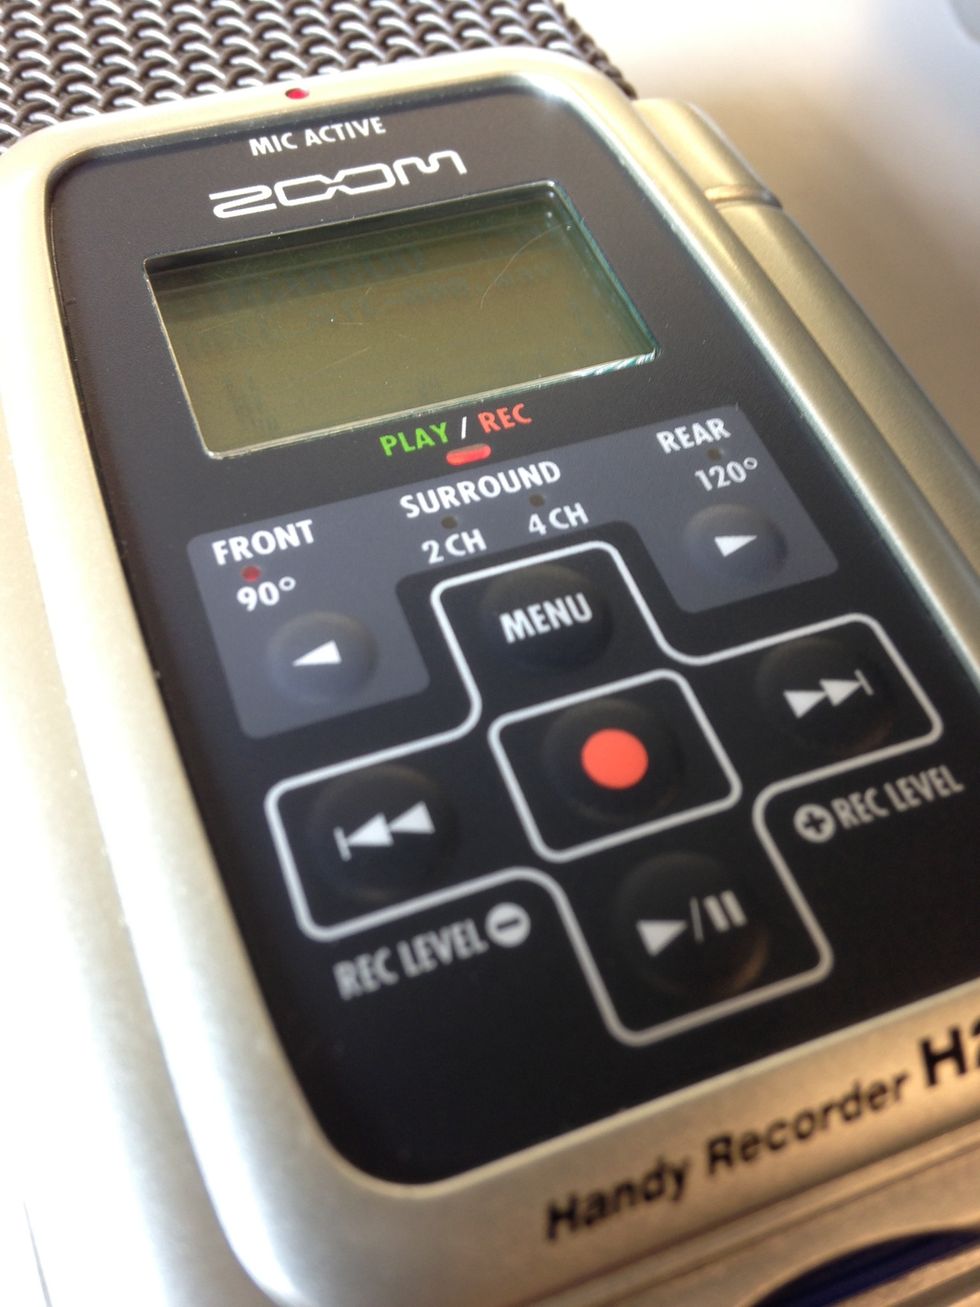
To record, hit the red Record button a second time. There will be a solid red light while recording. Hit the Record button again to stop recording.
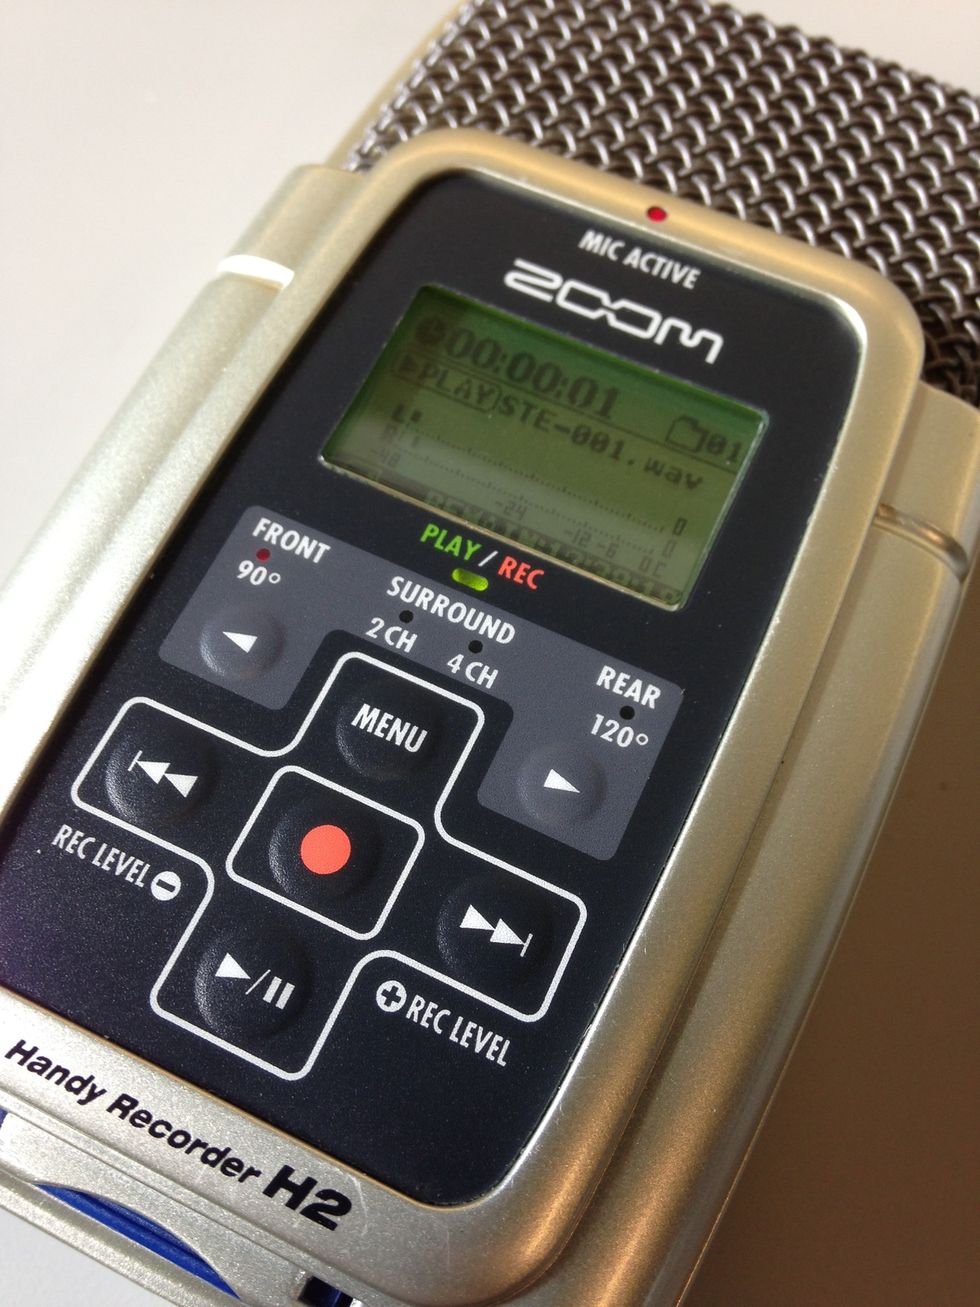
Press the Play/Pause button to play back your recording. There should be a solid green light during playback. Press the Play/Pause button again to stop playback.

Now you're ready to start recording!