The Conversation (0)
Sign Up
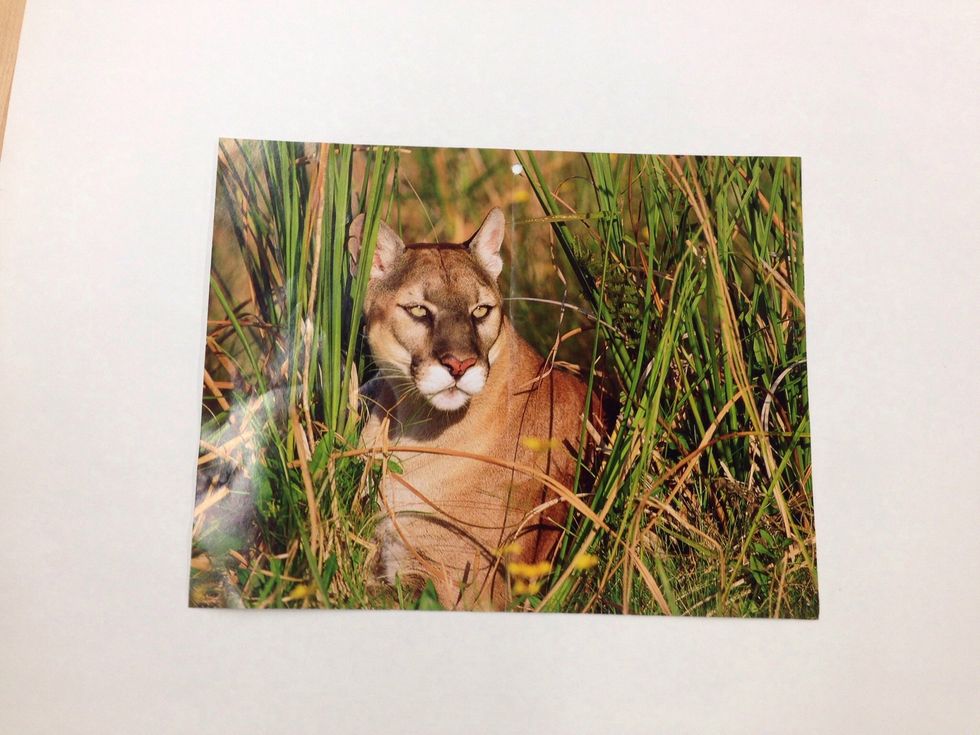
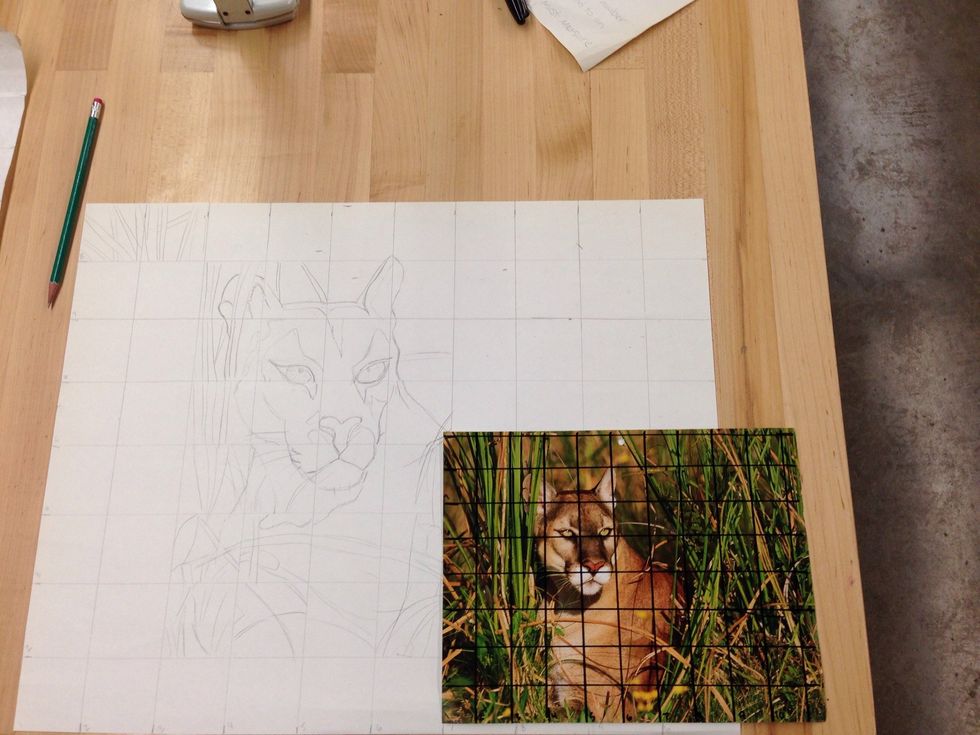
This is the picture I want to draw.
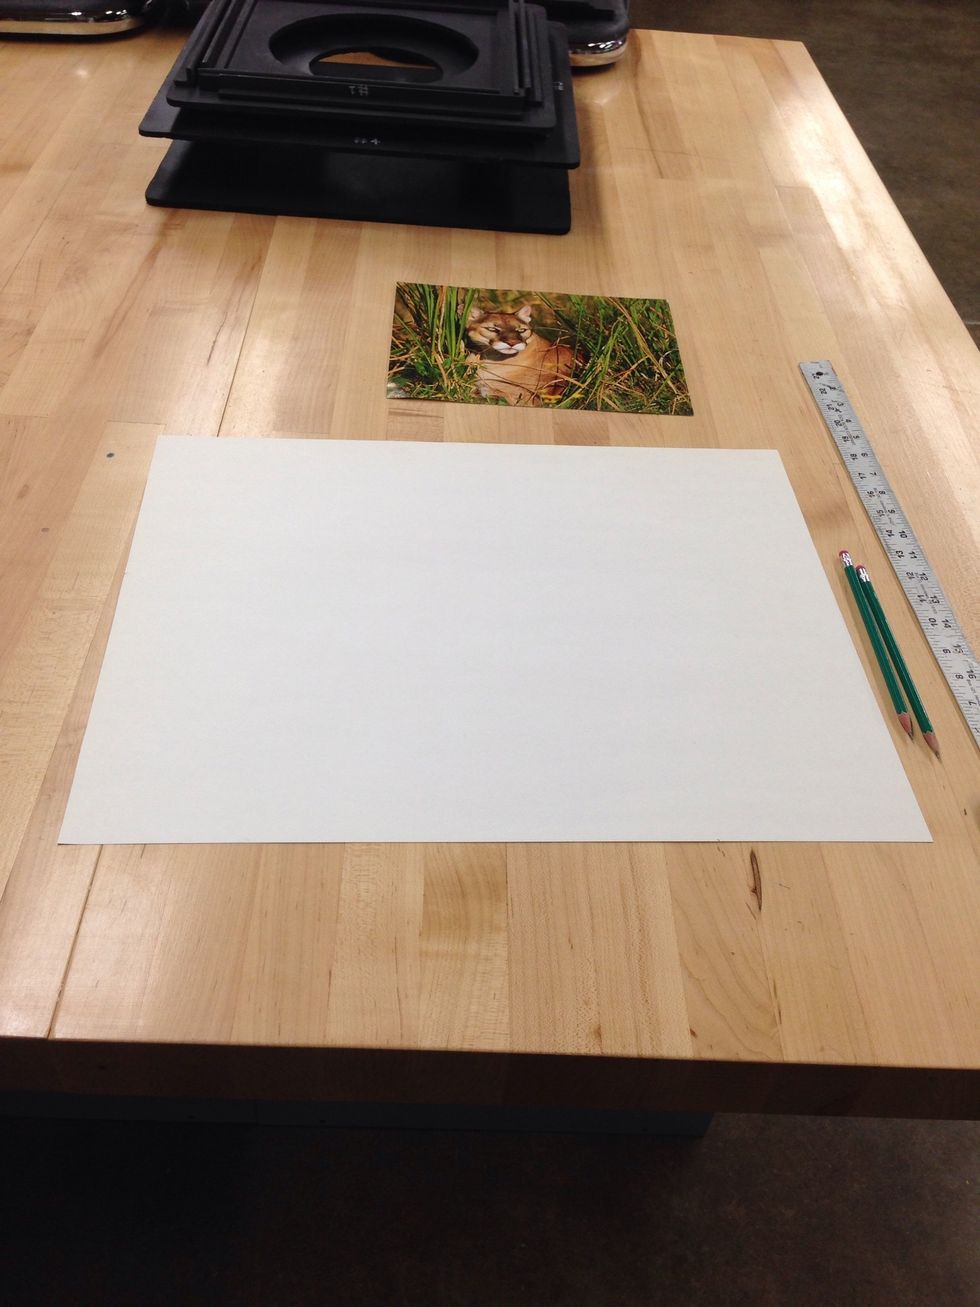
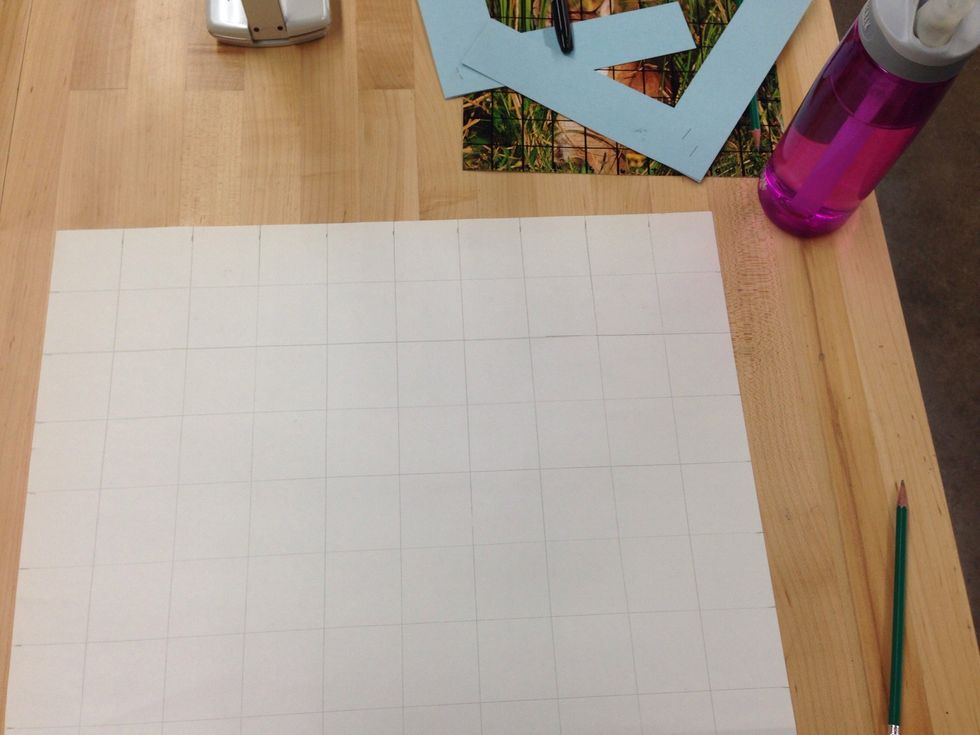
This is the paper I want to draw it on and enlarge it. With my supplies.
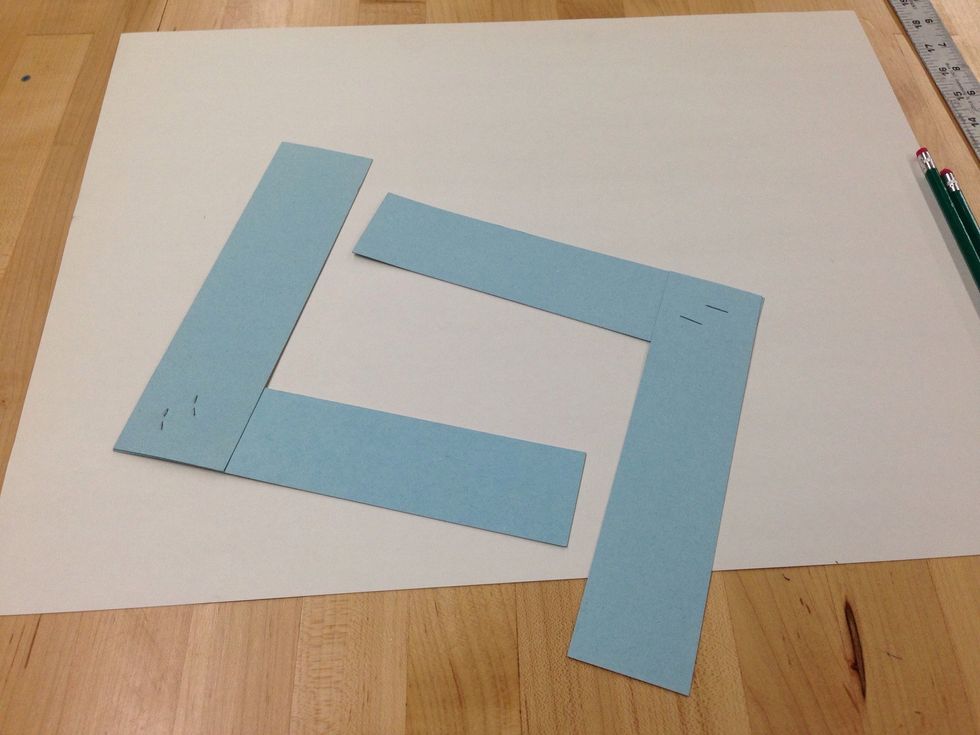
These are corners to be used later. 2 scrap pieces of poster board stapled together to create a 90• angle. You will use 2 of them.
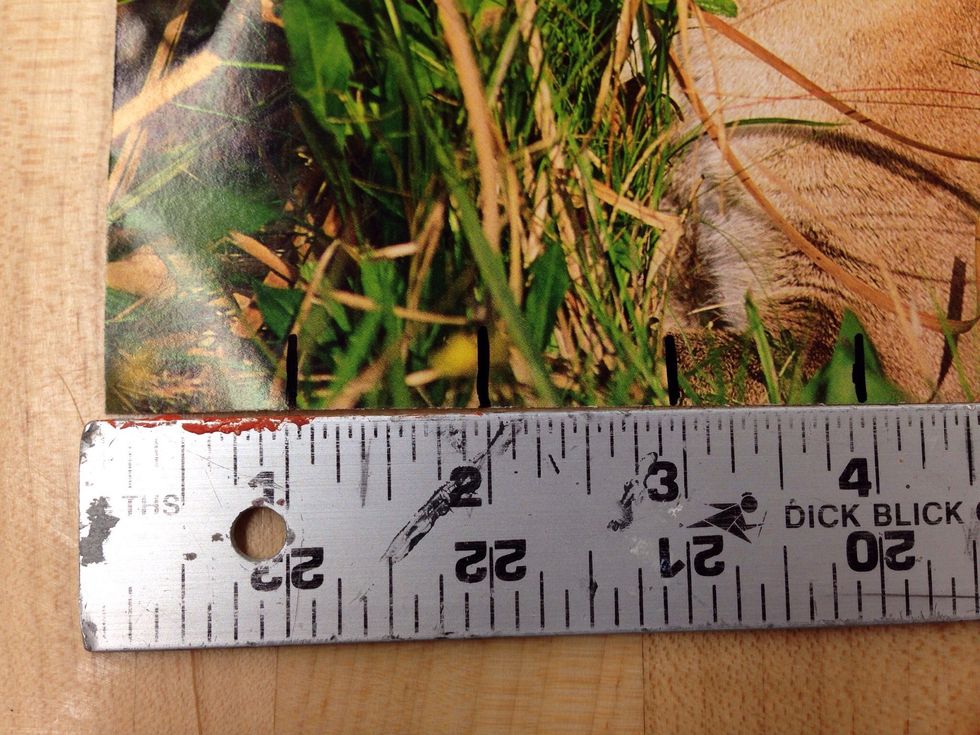
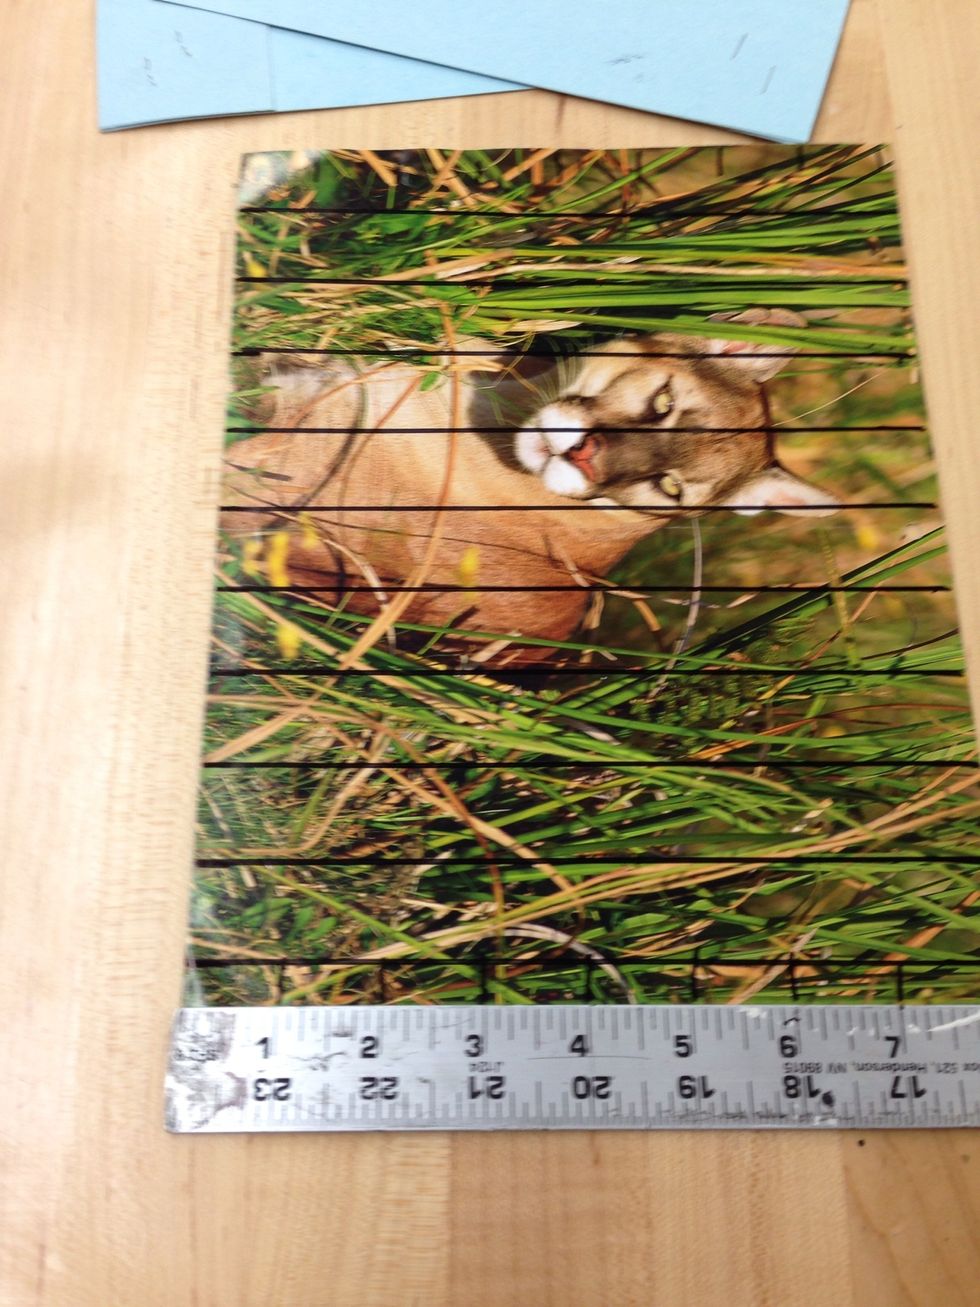
I've decided to make 1" squares because of the size of my picture. If your picture is small you will have to choose a smaller size for your squares in the grid you are making.
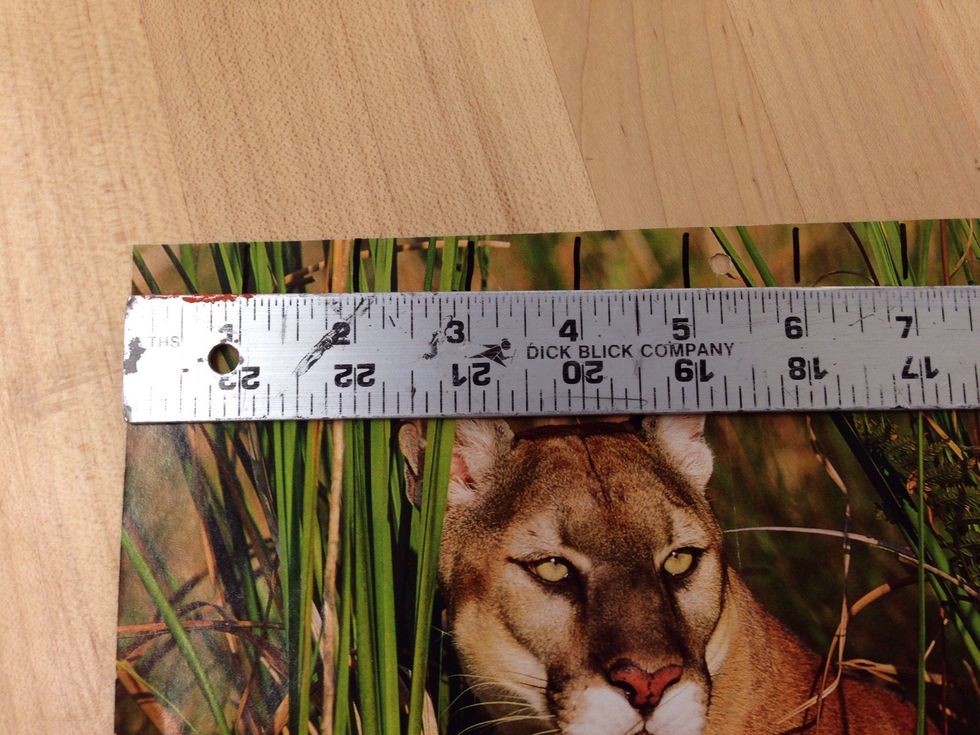
Make sure when you are measuring you start from the same side of the picture at both the top and bottom.

Connect your 1" apart marks using a ruler.

One side done now turn your picture and do the same on the other sides.
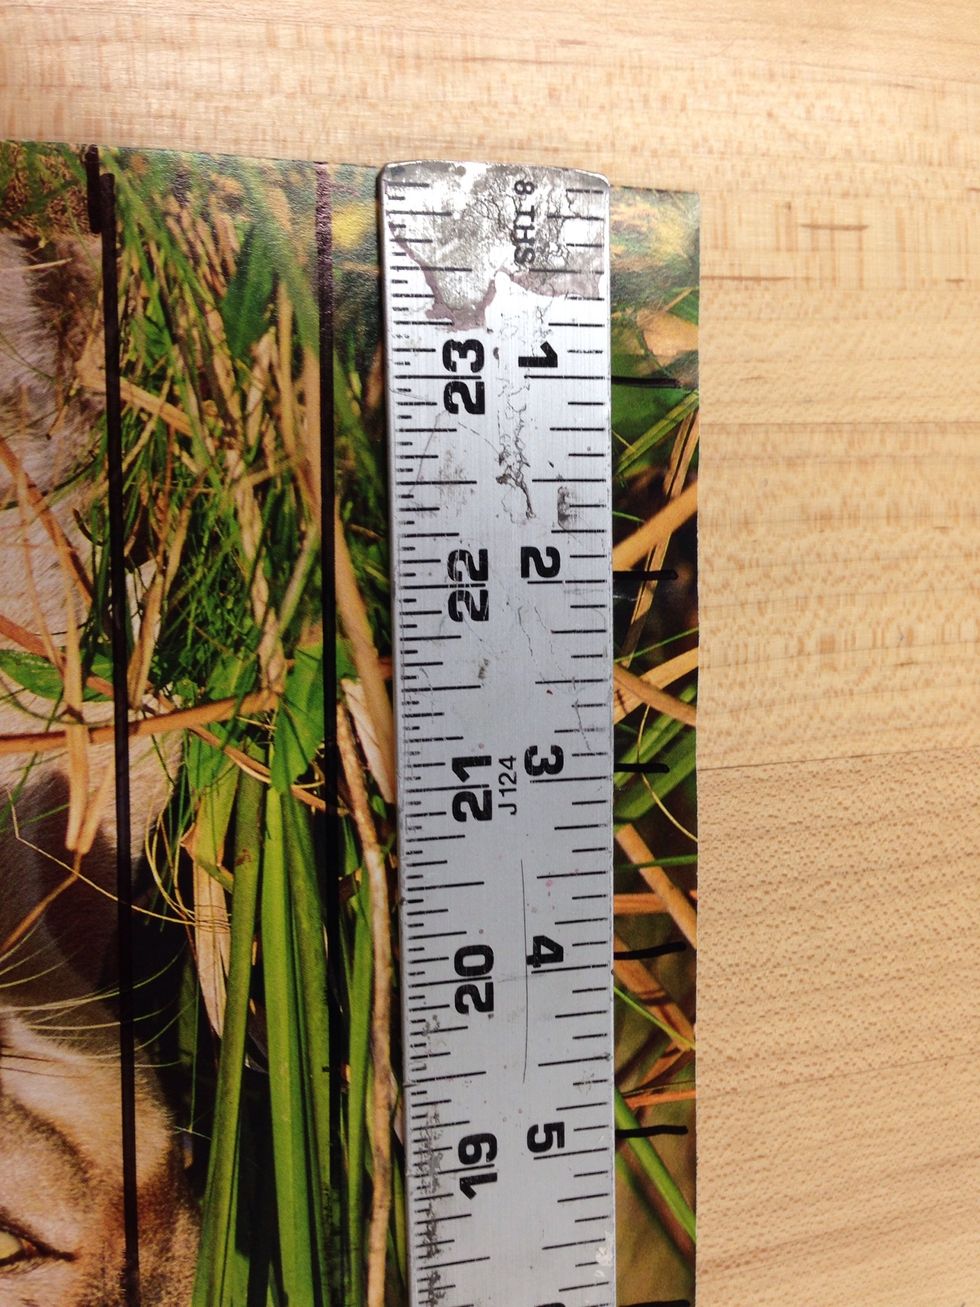
1" marks on both ends.

Connect your marks and you now have a grid!
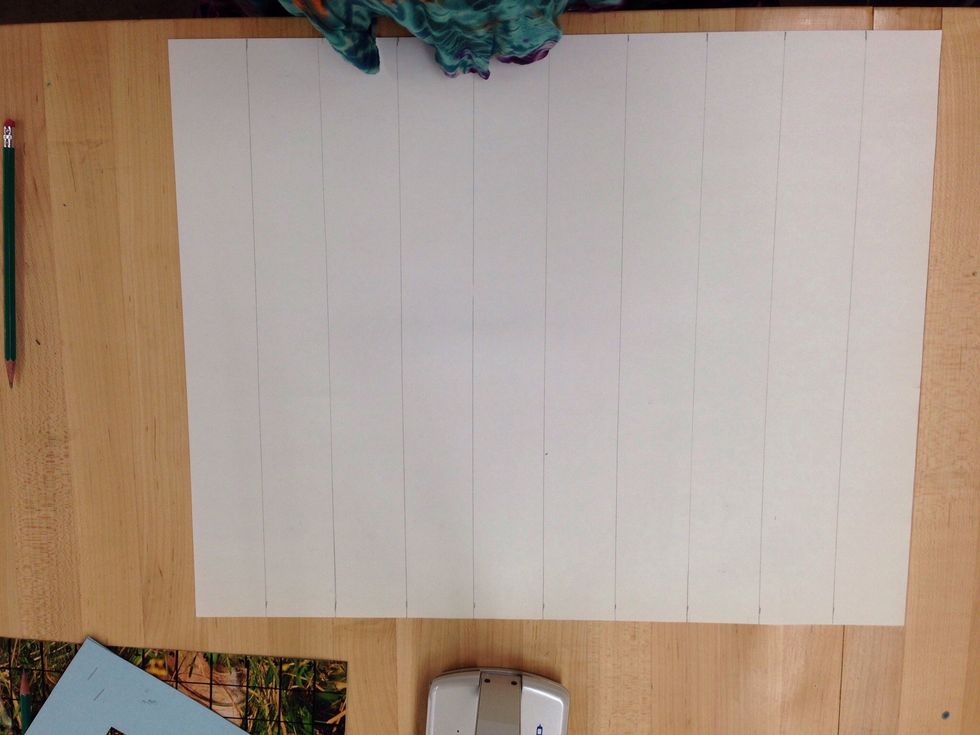
2 inch spaced vertical lines
2"x 2" squares complete.

To make things easier you can number the squares lightly on both the side and bottom of your paper and picture.
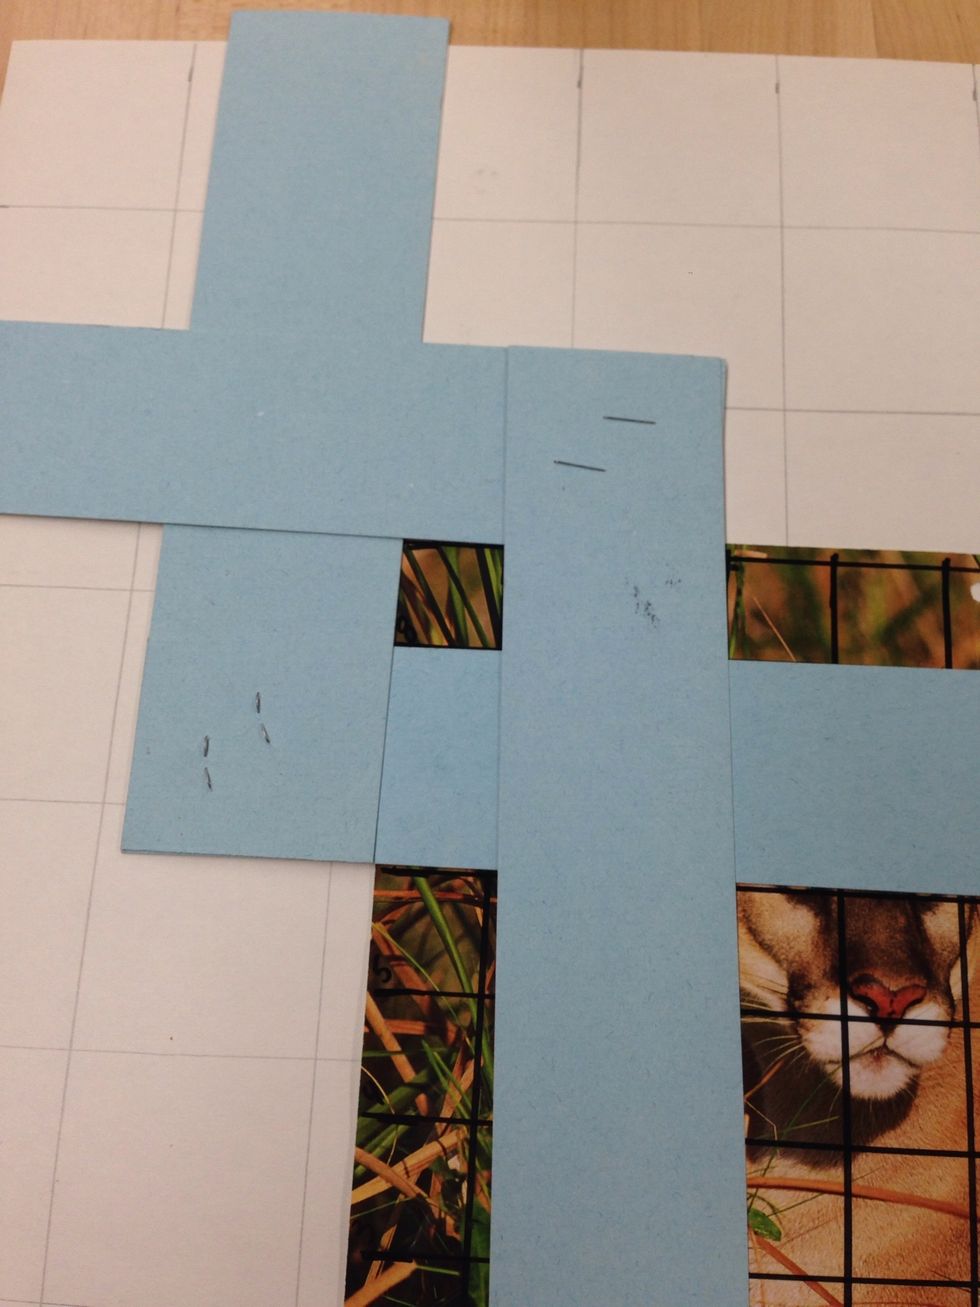
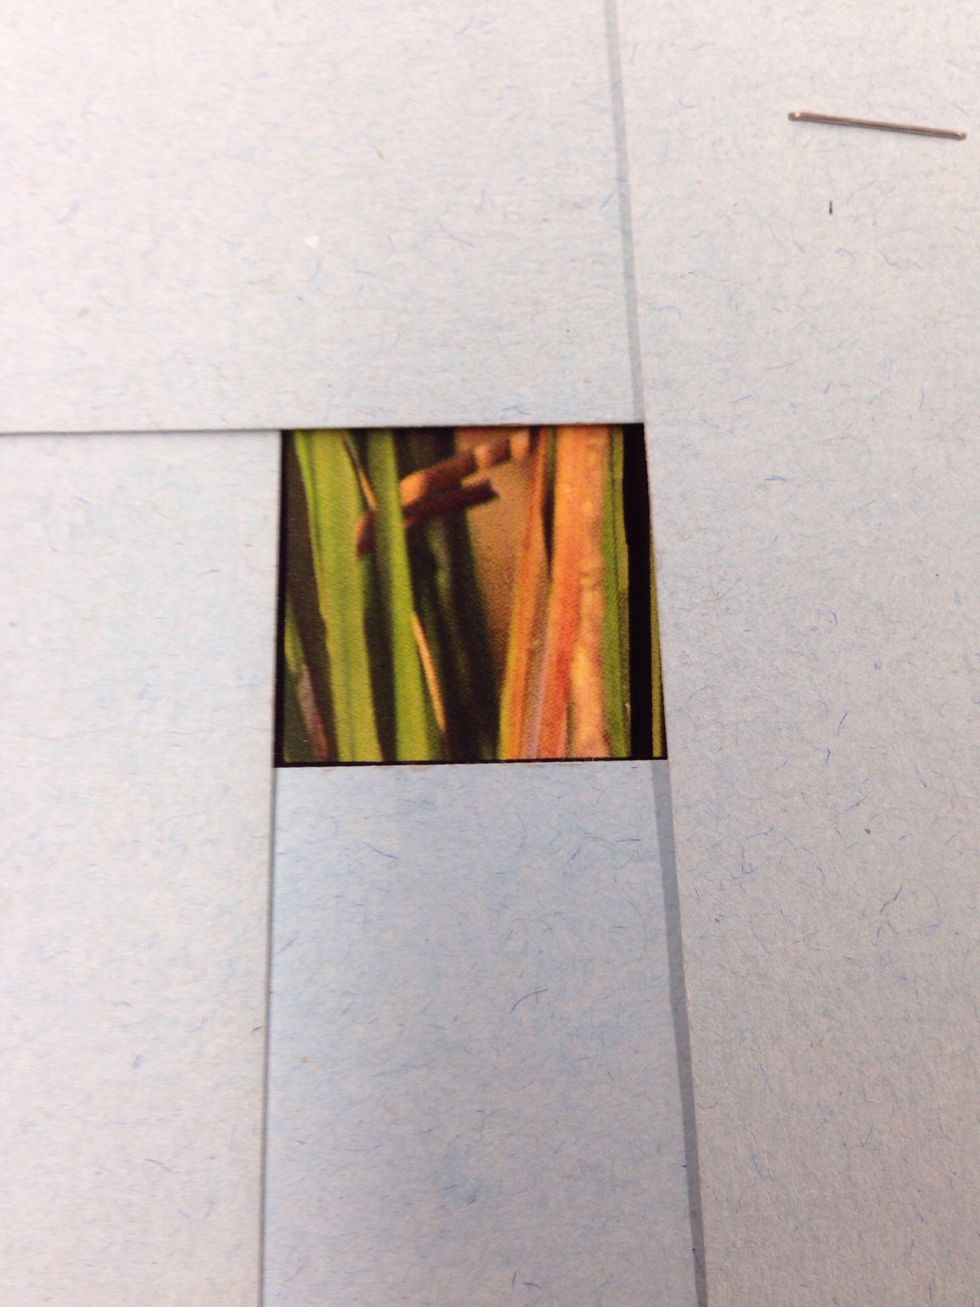
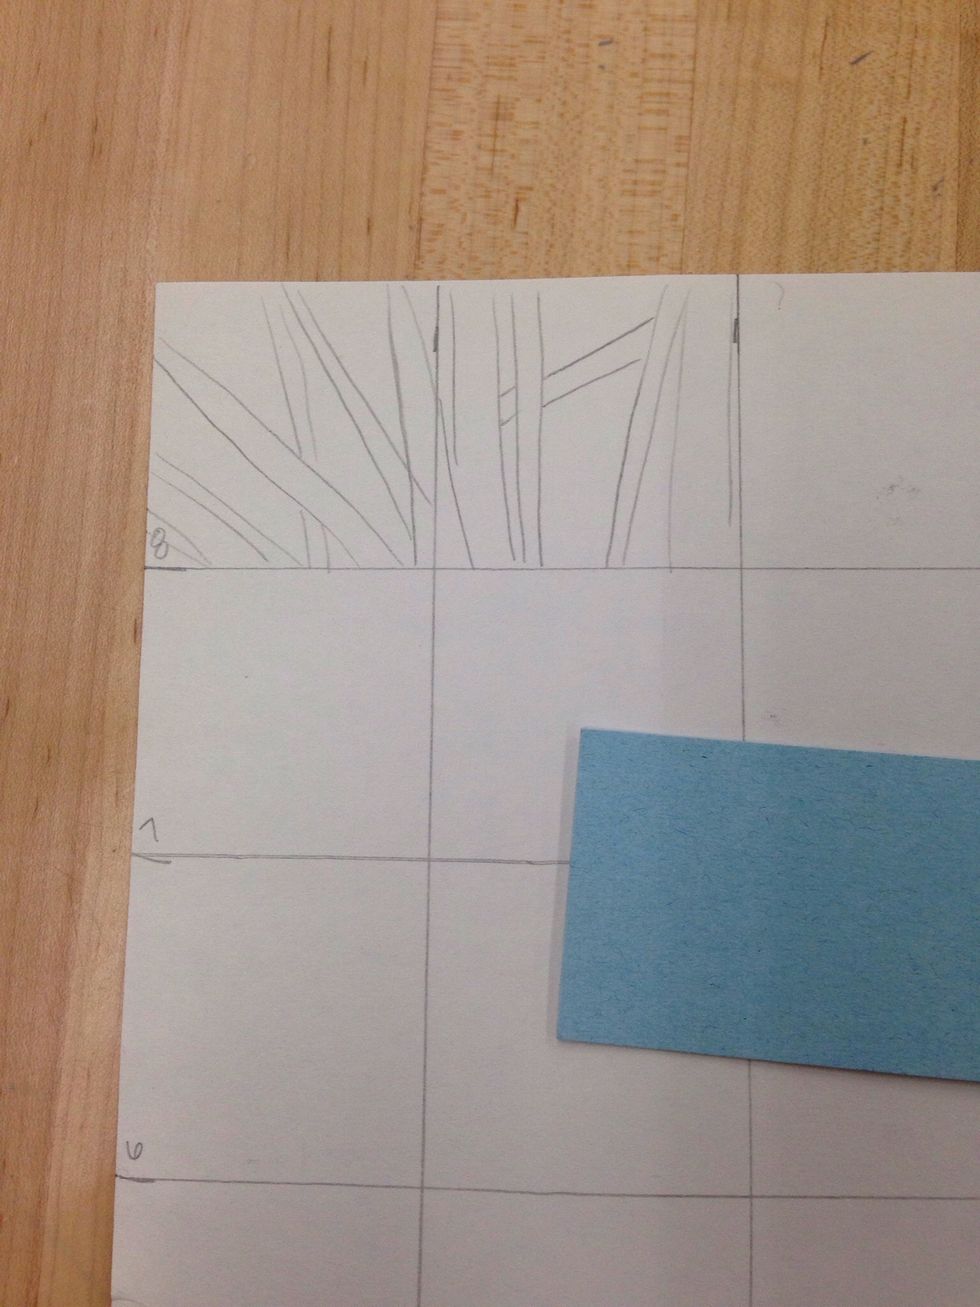
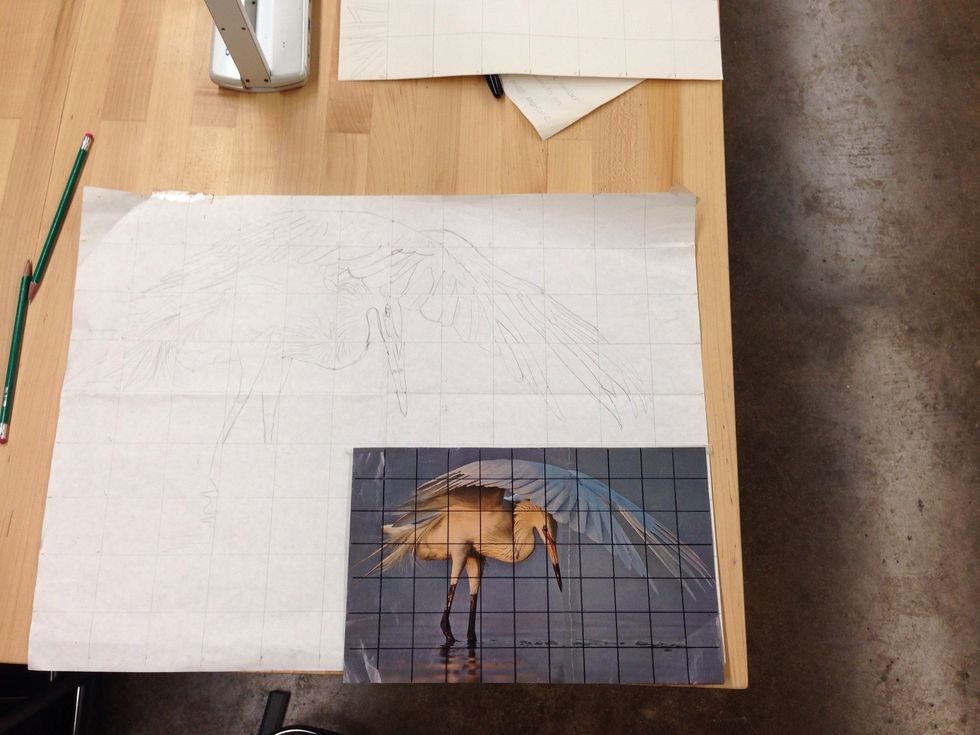
Use your corners to hide all but one square of your picture.
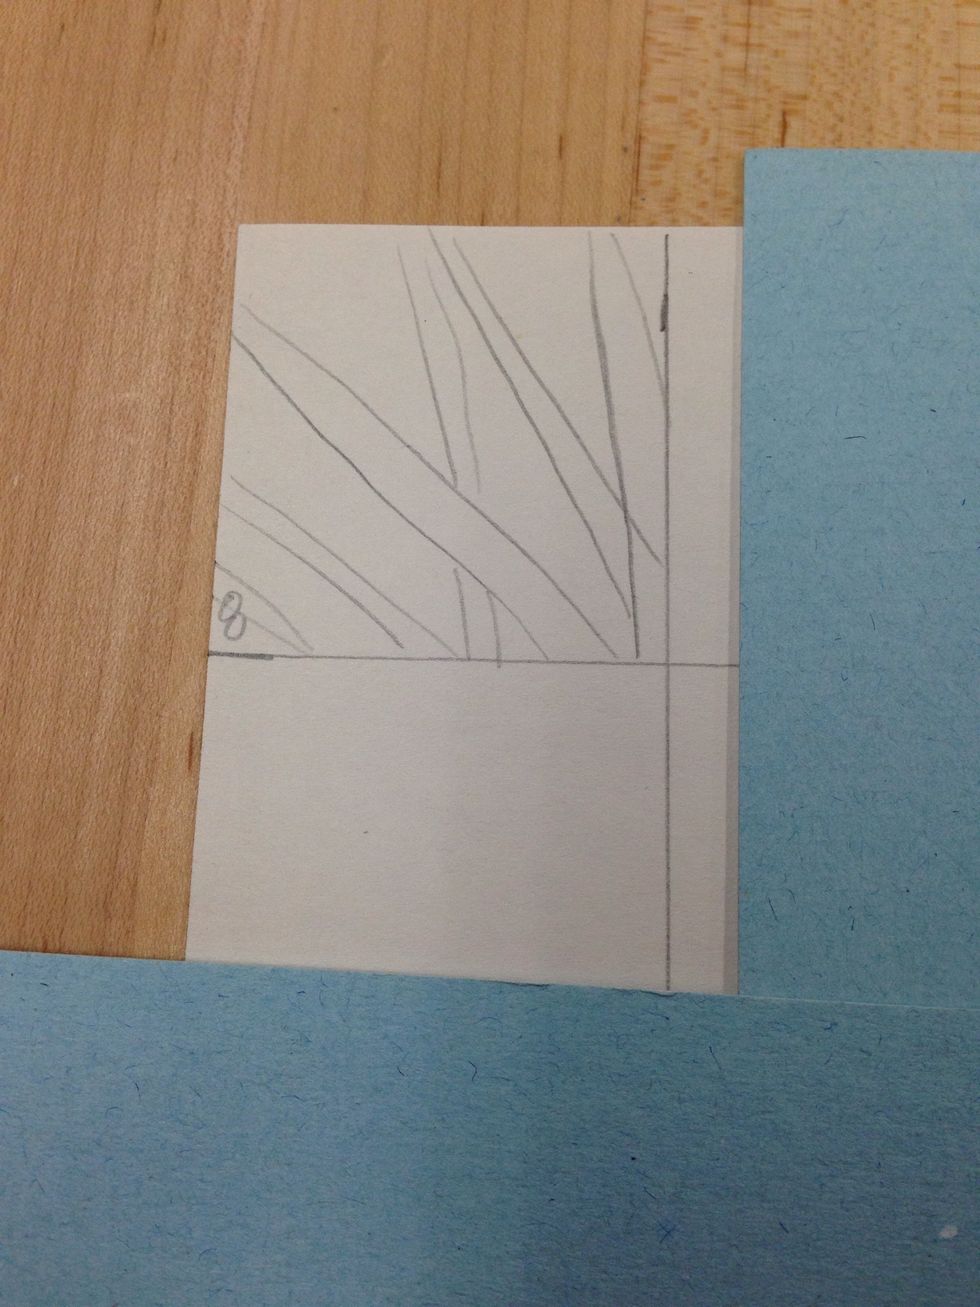
Draw only the lines and shapes you see in that corner. Consider different shades and tones as shapes and lines.

Box 2. Don't connect to the previous box, just draw lines and shapes.
Box2
Square 1& 2
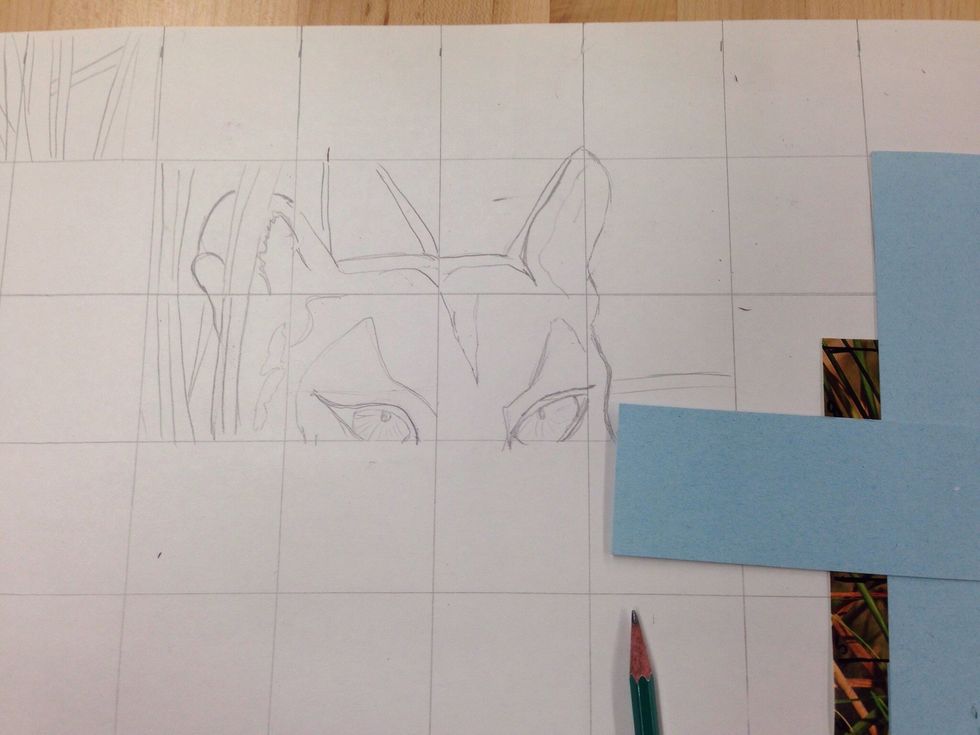
Continue drawing all the squares.
Continue square by square
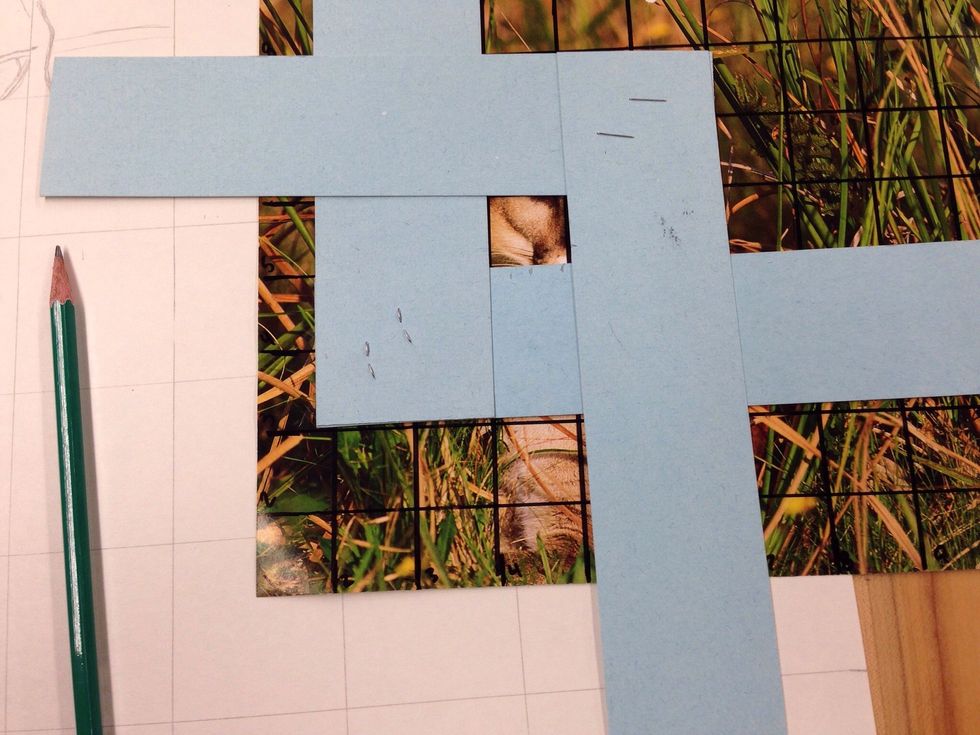
Before connecting lines
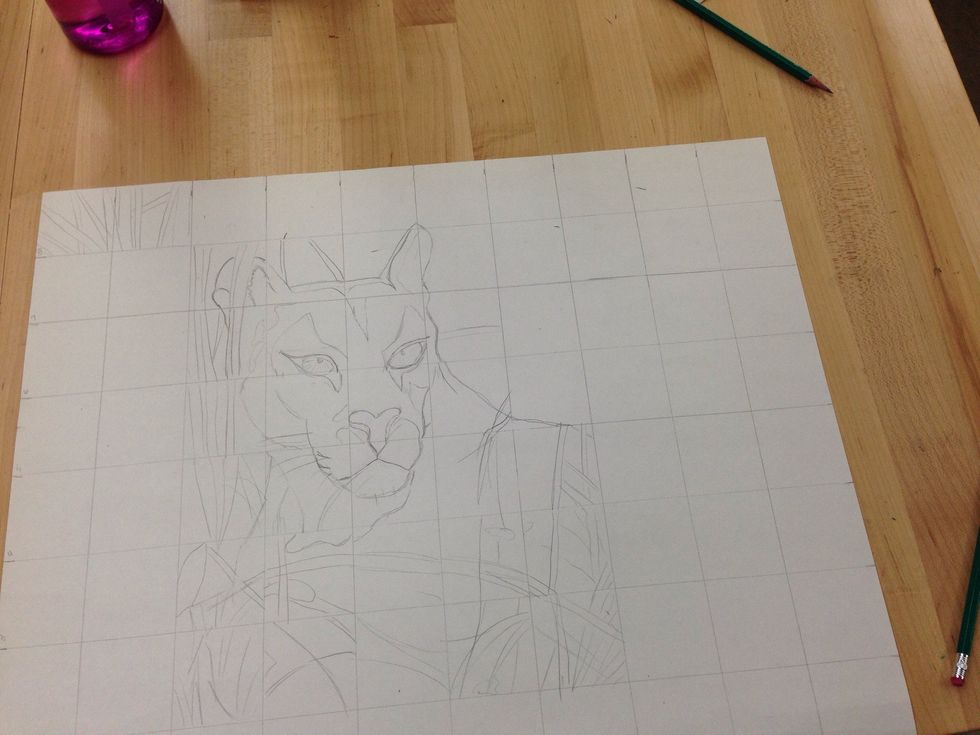
Almost finished
Hard pictures can be duplicated easily then shaded, colored or transferred to a canvas for painting.