The Conversation (0)
Sign Up
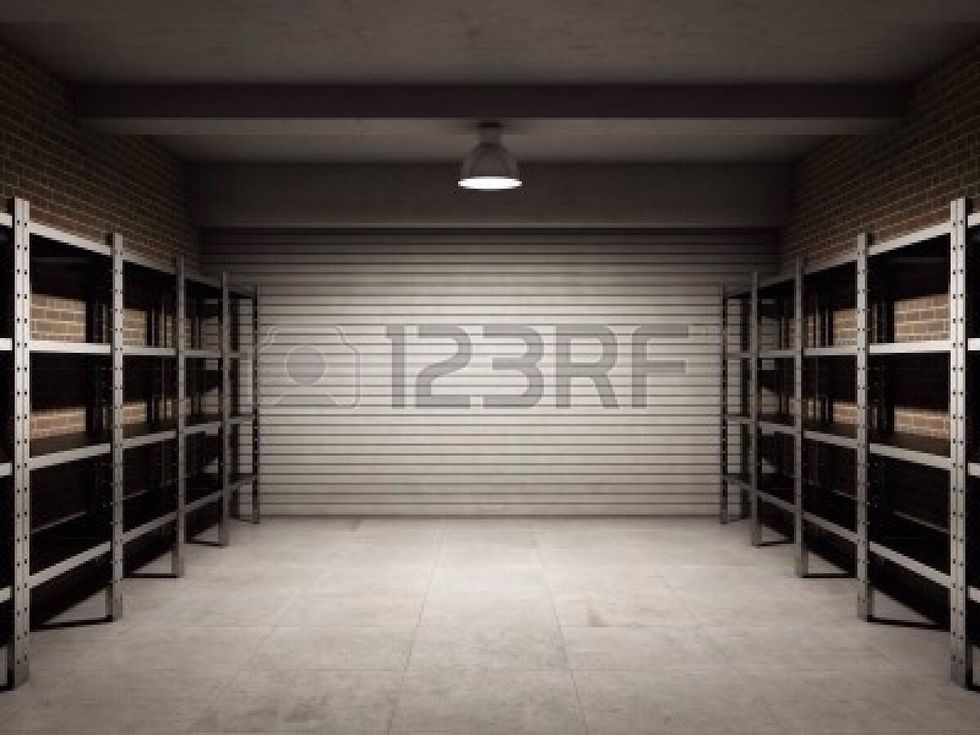
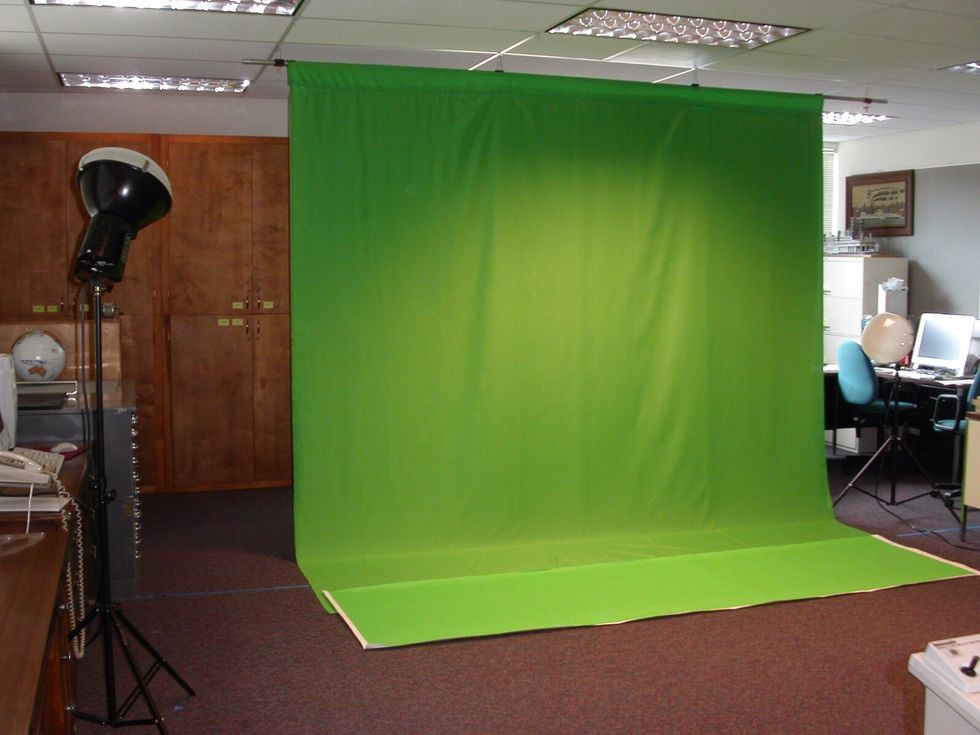
Set up your filming area with adequate lighting for your camcorder. If you don't have a large room, your garage will do nicely.
Arrange lighting with three lights.
Make sure that your subject or talent, as the individual is called, is a minimum of three feet from the screen.
Position your camcorder far enough from the talent to attain the desired view
Film ten seconds or more of your blue/green background without the talent in the frame
Move your talent into the desired position and start shooting

Begin shooting your video, making sure to shoot a few seconds past where you will end in editing.
After you have captured the video onto your camcorder, connect your camcorder to your PC via a fire-wire connection
Switch your camcorder to VTR or VCR mode.
Launch your software.
Advance your film clip into the area where you have the blue/green screen without the talent
Select the static background scene or virtual set you would like to have your talent viewed in
Select the compression or Codec you will be using
Select the output format you would like to use, like the .avi format as it is acceptable to most replay software.
Allow the software to render the video. This could take some time depending on the length of the video and the speed of your computer and the resolution you have selected
Save the output and you are finished.
You can then take the finished video to an editor such as Pinnacle Studio, Adobe Premiere, or Premiere Elements