The Conversation (0)
Sign Up
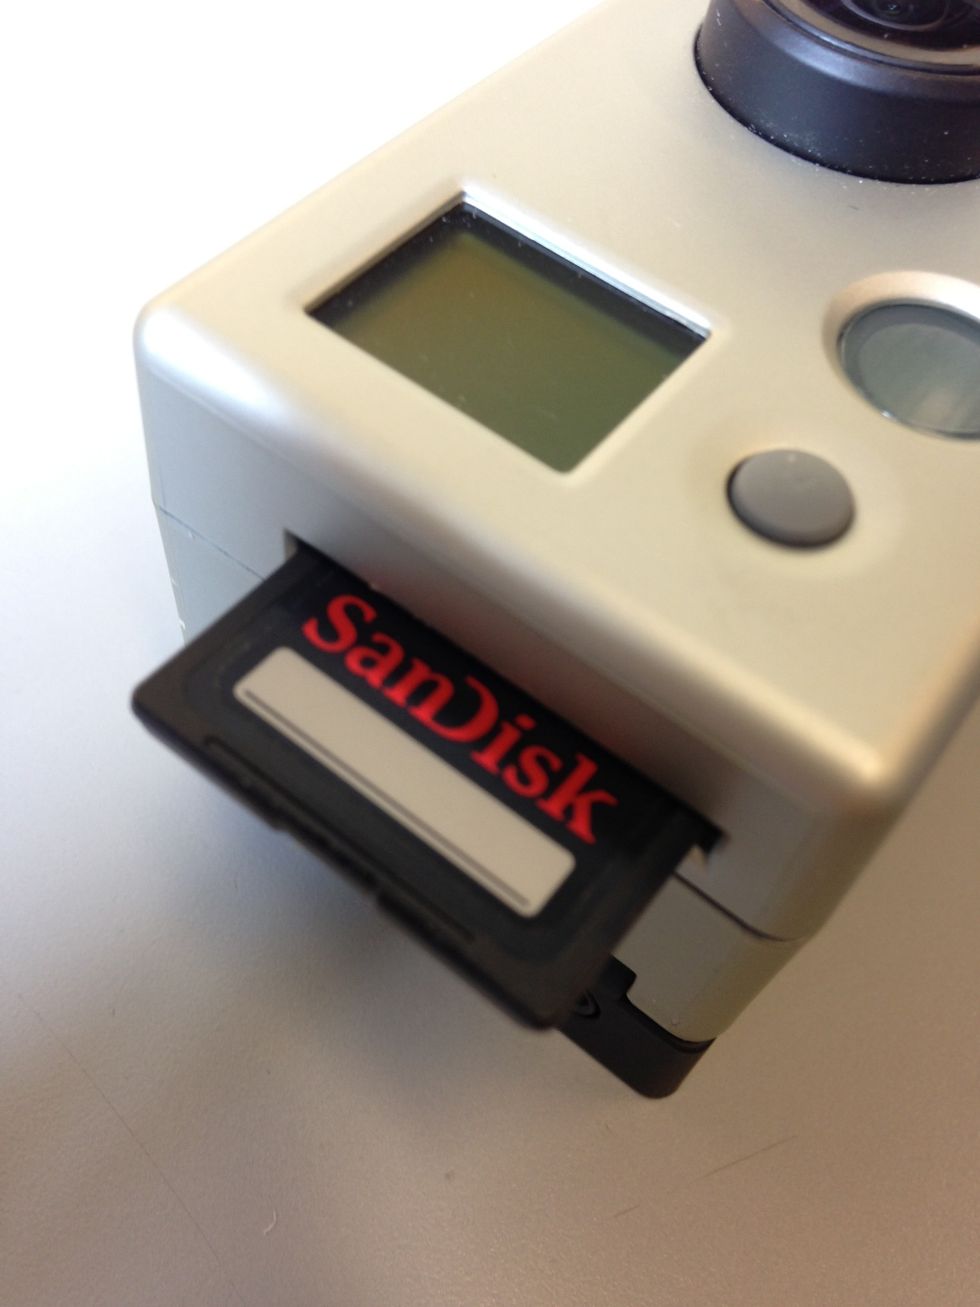
The SD card should slide into the side of the camera. You should hear a click once it is in place.
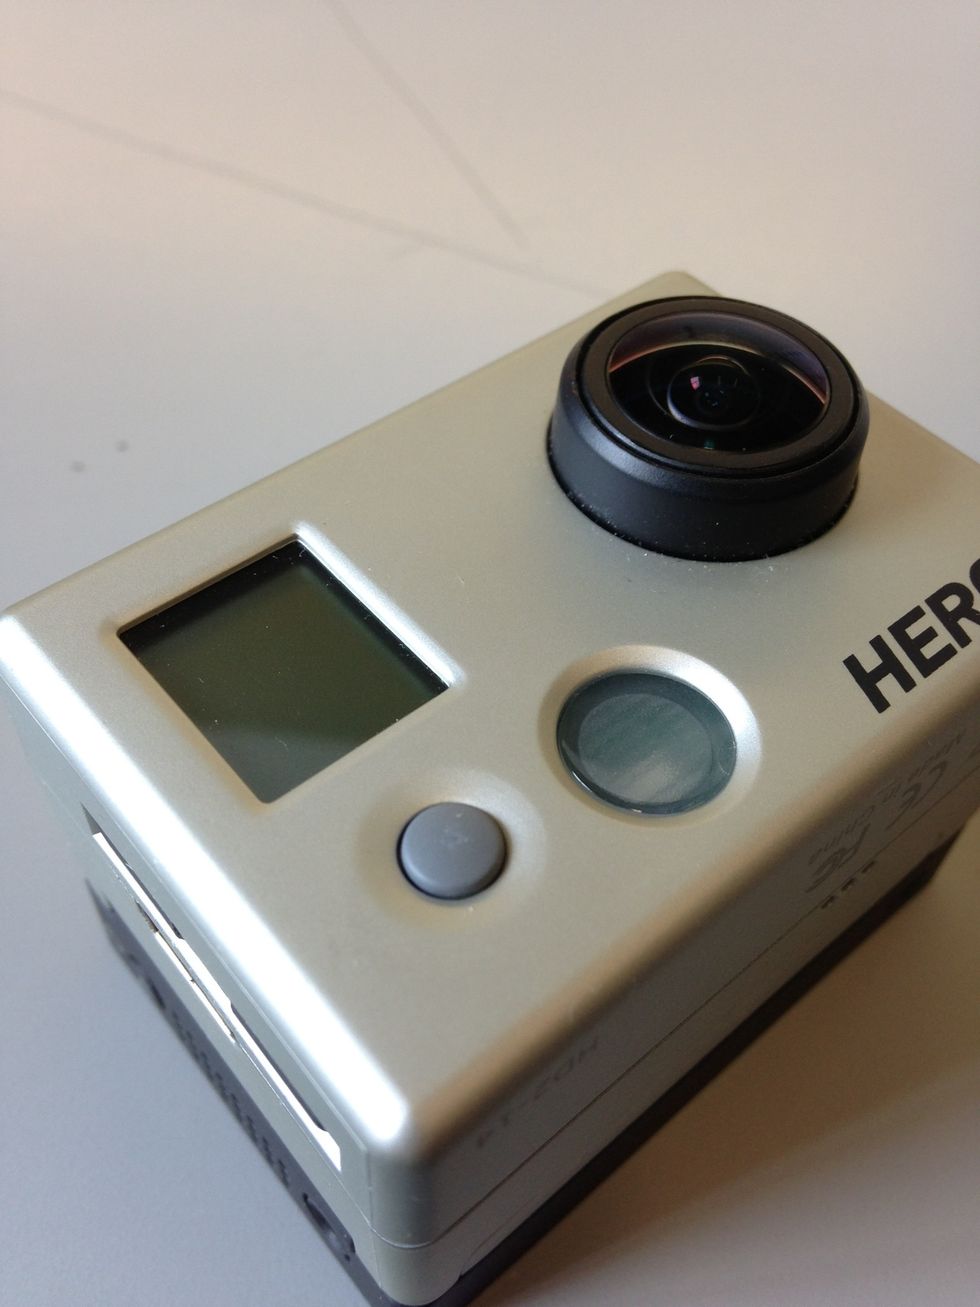
To turn on the camera, press and hold the Mode button to the left of the lens. Use the Mode button to swap different modes.
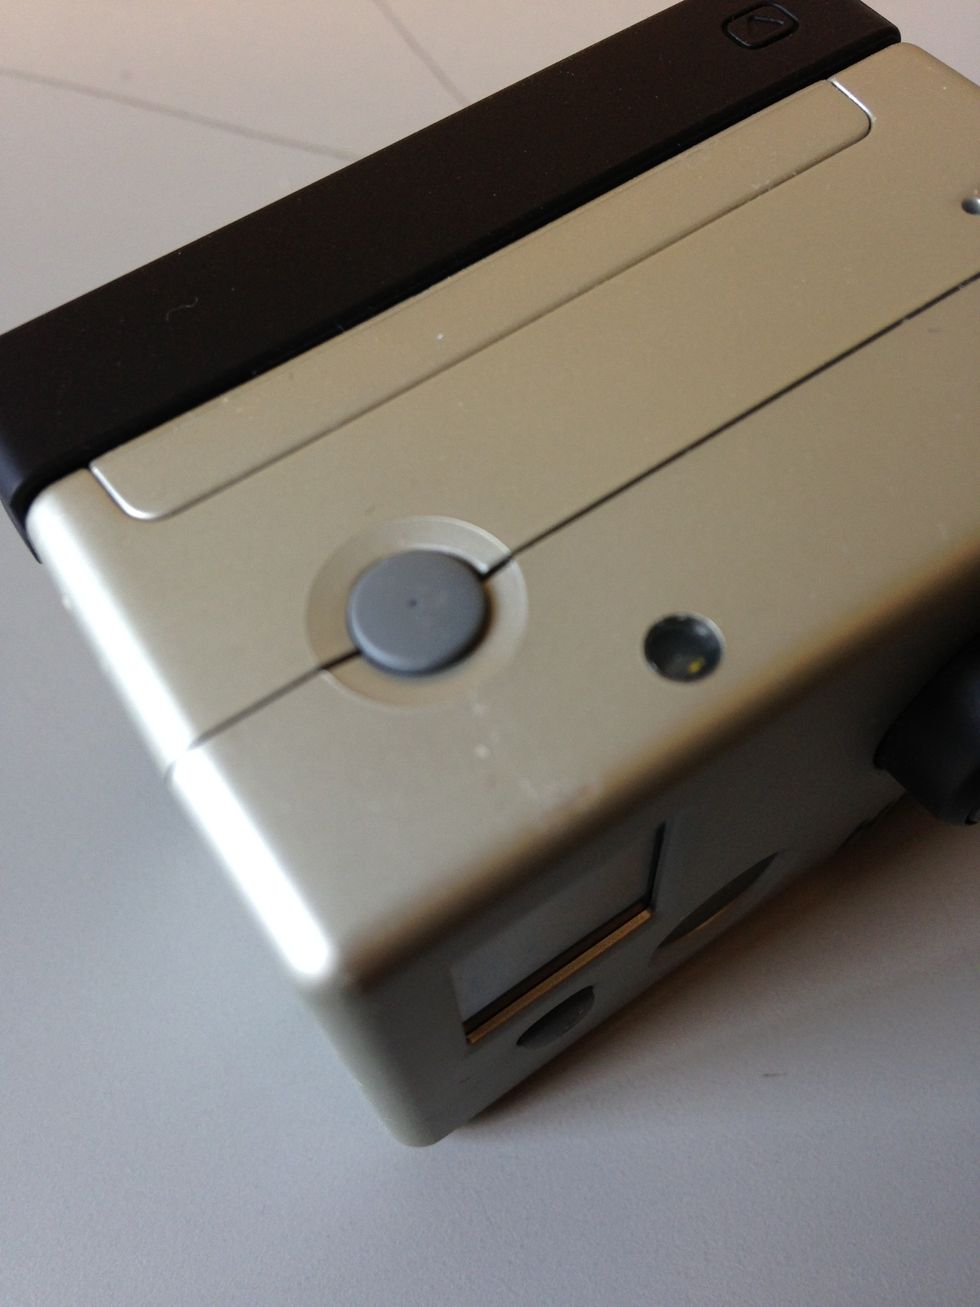
To begin filming, make sure you are in Video mode and then press the Shutter button at the top of the camera. Press the Shutter button again to stop filming.
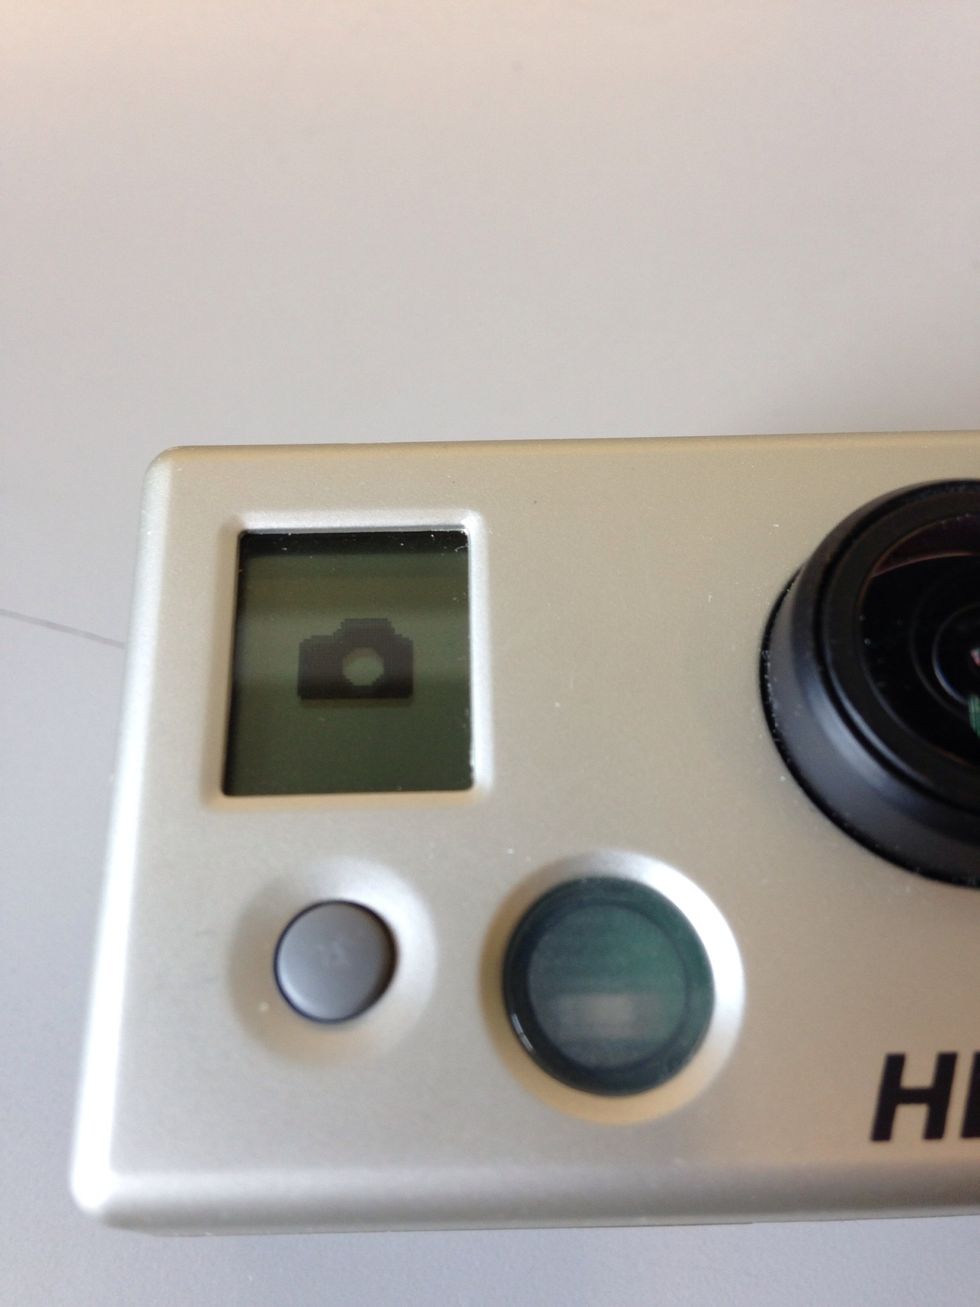
To take a photo, first press the Mode button until you reach the Photo mode.

Then press shutter button to take a picture.
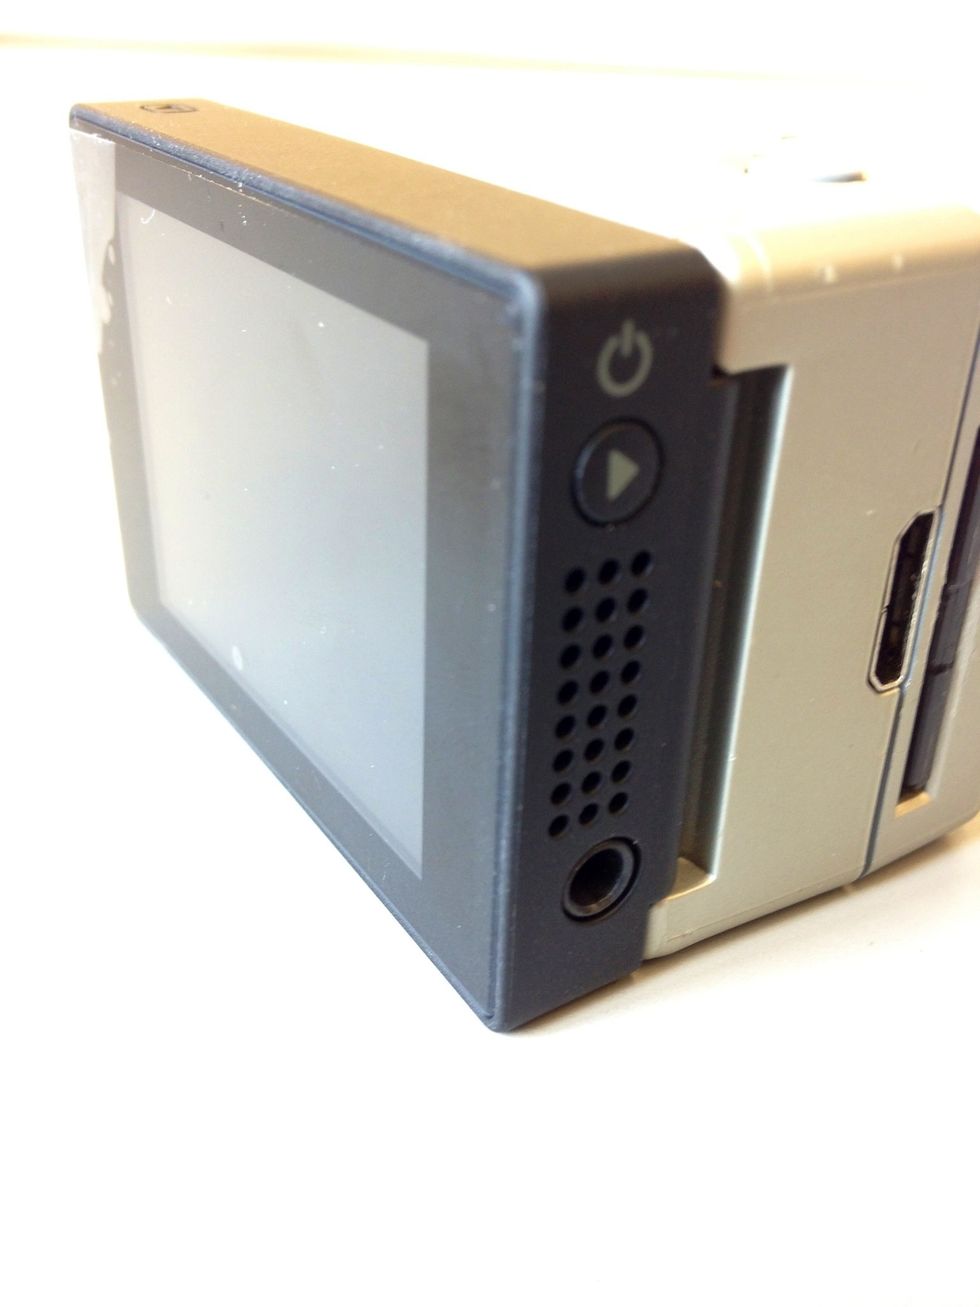
You can turn the LCD screen on and off by pressing the small Power button on the side of the screen. Tip: Turn the LCD off to conserve battery.
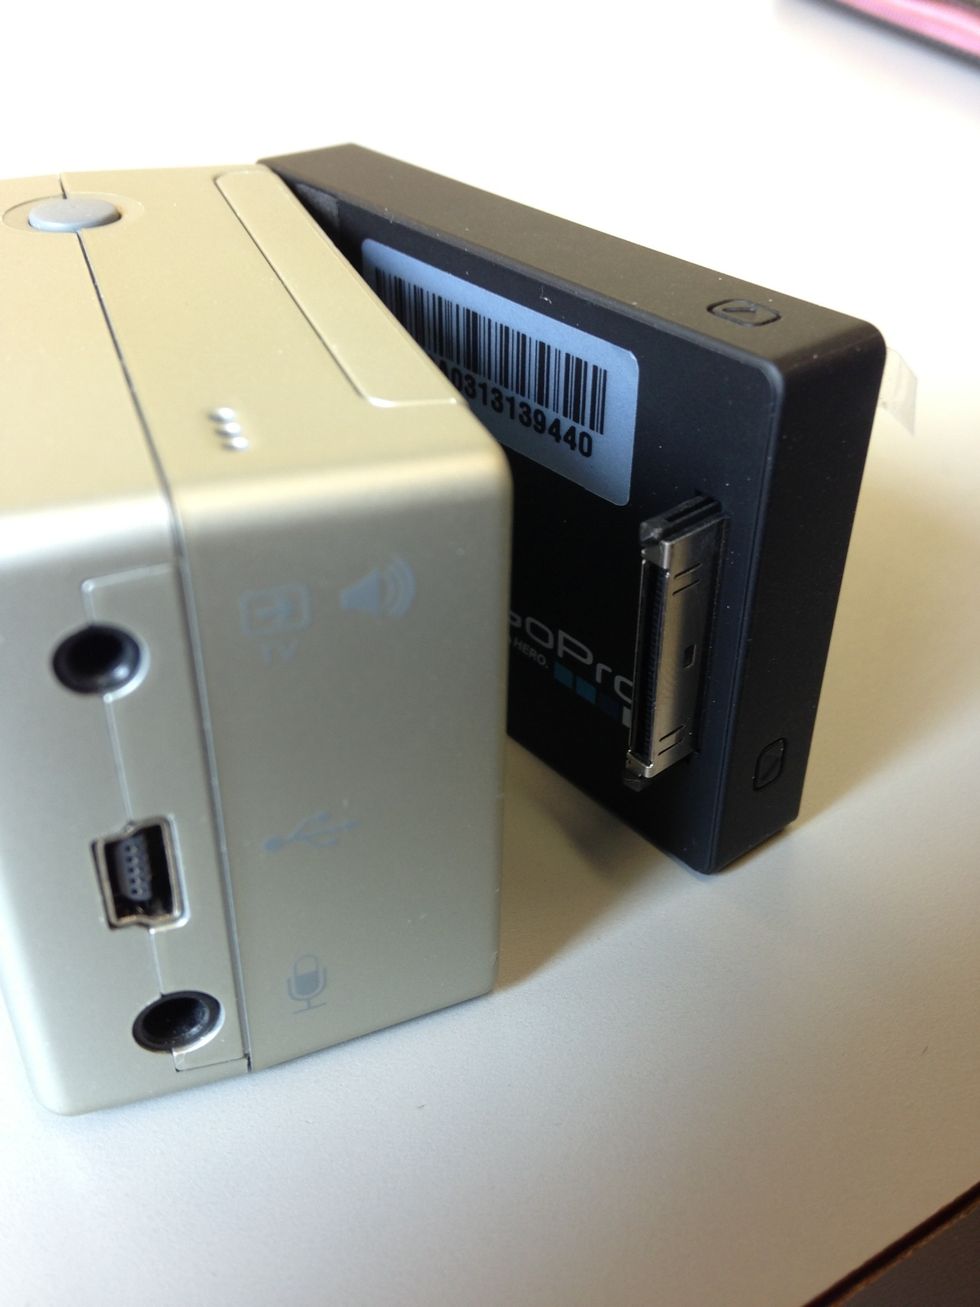
To separate the LCD screen from the camera, hold the camera while pulling the screen gently outwards from the side of the camera with the audio, USB, and mic connections.

To connect the screen back to the camera, first hook the screen to the side of the camera with the SD card reader. Then, push the screen gently into the camera where you first took it apart.
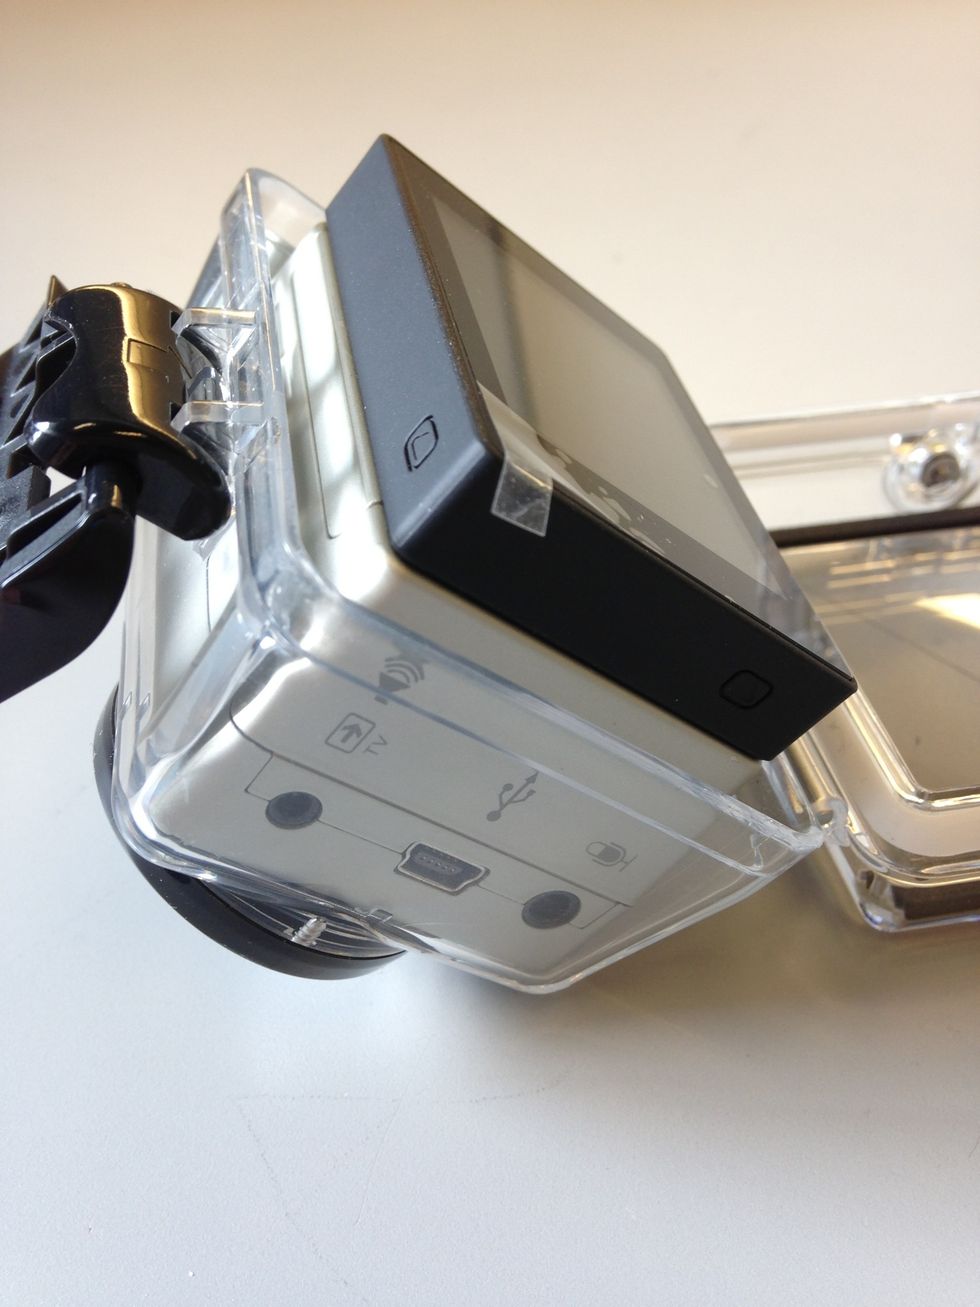
To put the camera in the waterproof case, place the camera lens side first into the case. Make sure the lens is lined up with the lens protector.
Close the back of the case, flip the black latch over both cases and push the black tab with the arrow down. You should heard a snap when the case is secure.
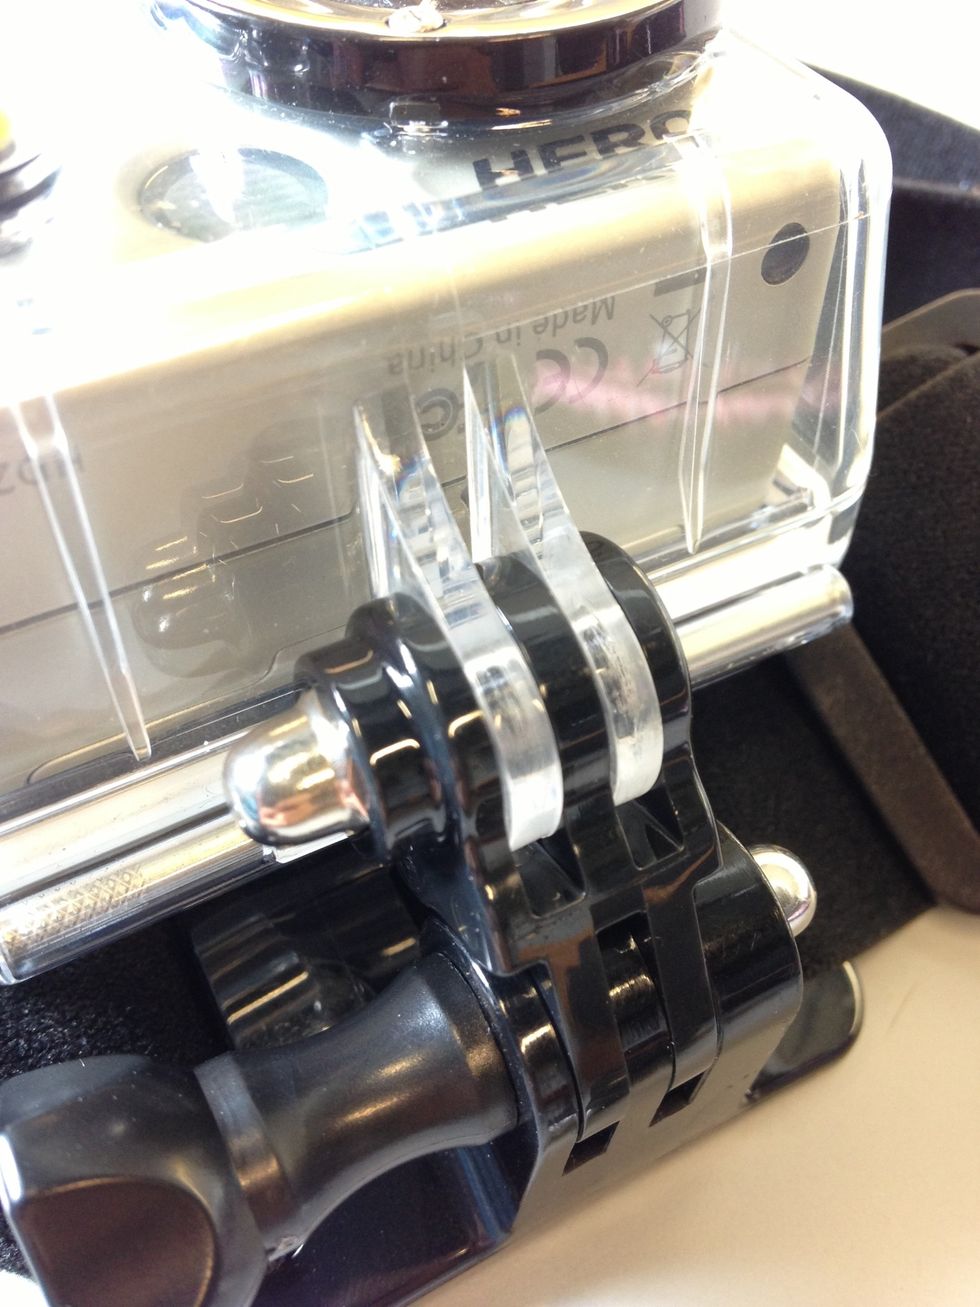
To attach the camera to a GoPro Head Strap mount, slide the two legs of the camera cover into the head strap plastic slots. You will have to twist out the screw beforehand if it is in the slots.
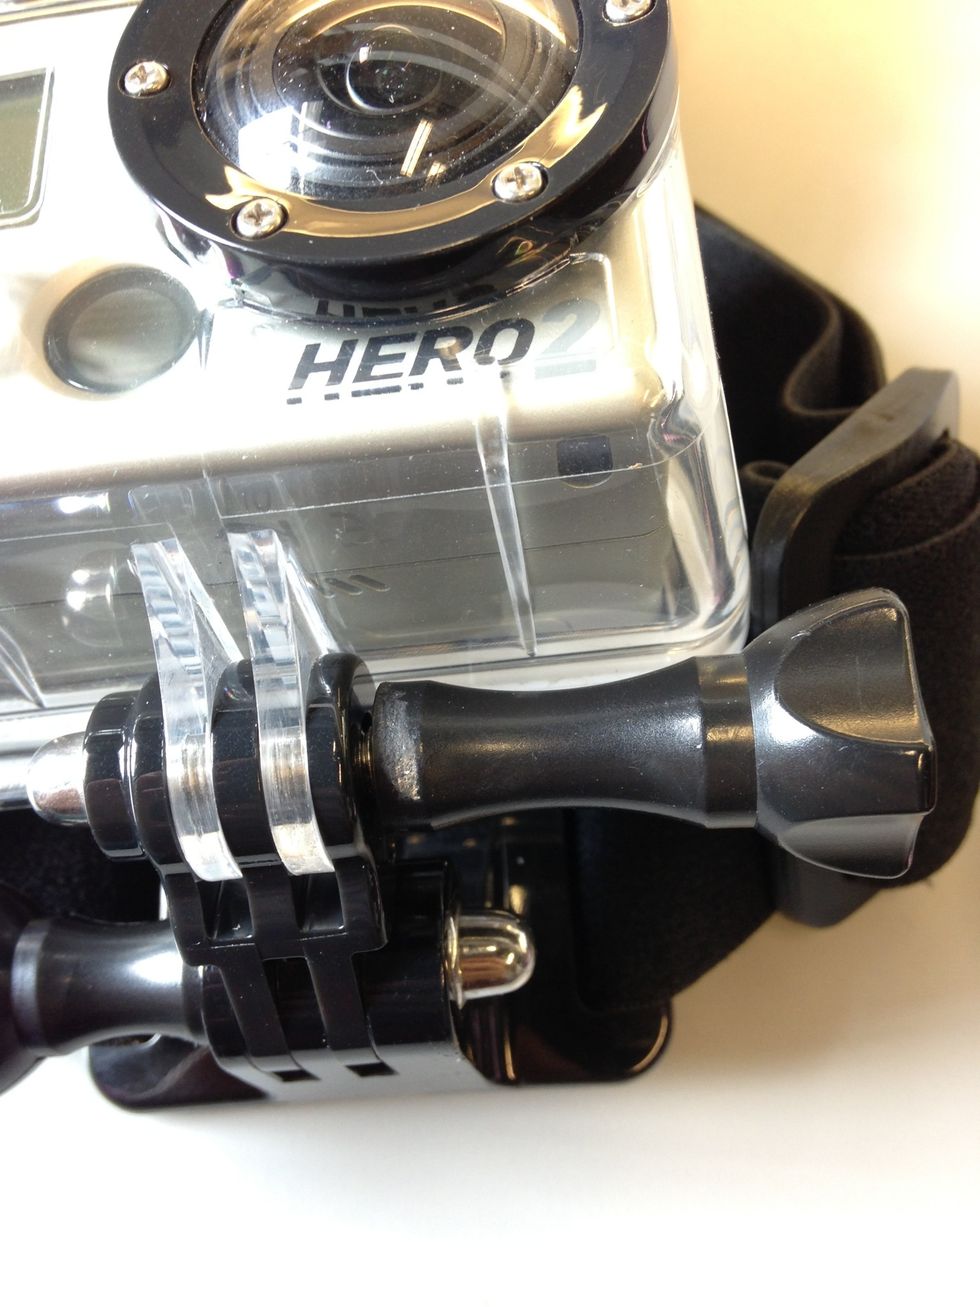
Twist the screw back in. Check the the camera case is securely fastened to the Head Mount.
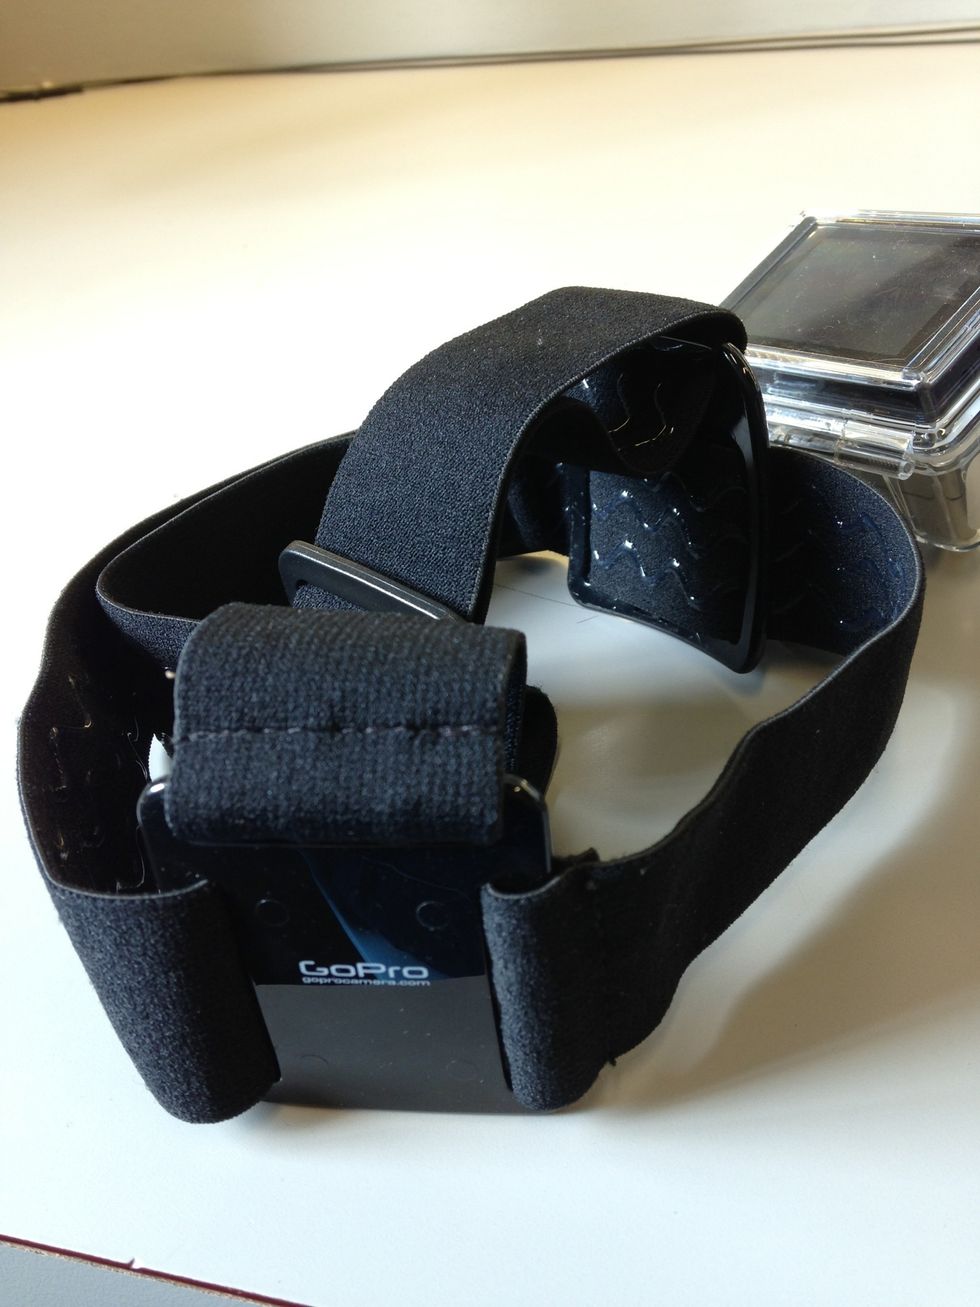
There are three straps on the Head Mount. The side straps go on the sides of your head and the middle strap goes on the top of your head. Adjust the length of the straps accordingly.
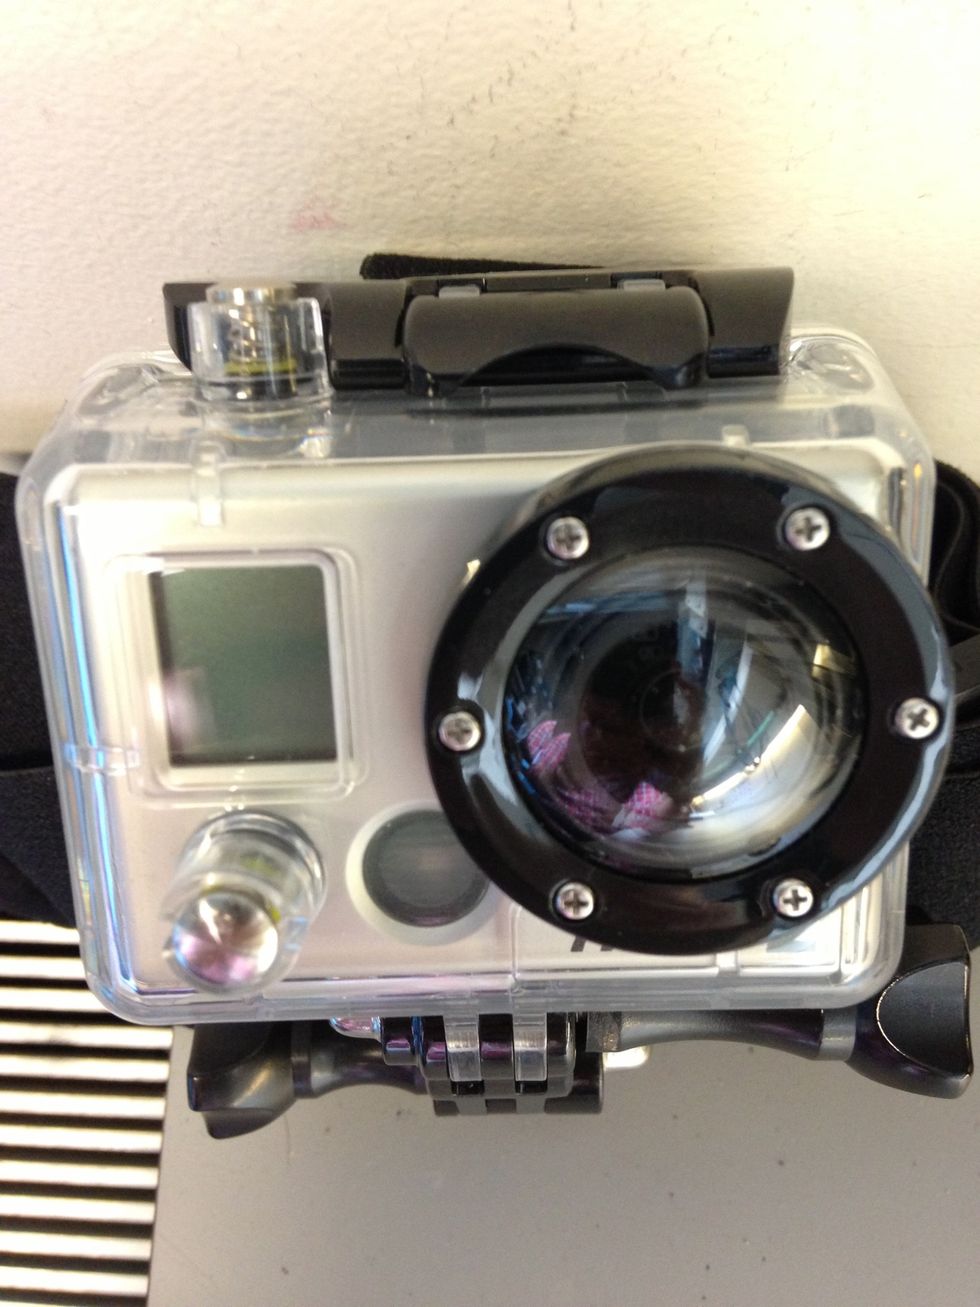
Now you're ready to start shooting!