The Conversation (0)
Sign Up

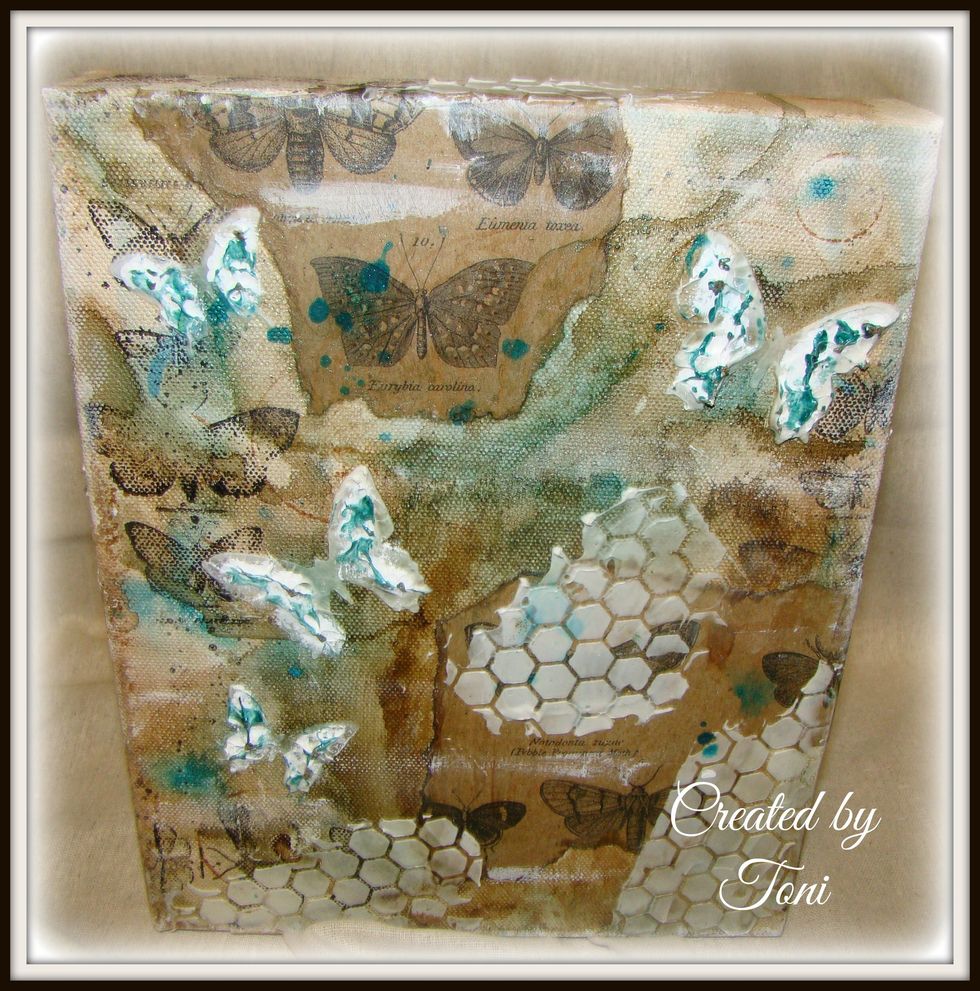
The canvas I chose is 8x10 with a deep pocket in the back. It's prepped already so no need for gesso.

The back allows for plenty of room to put all kinds of fun things in your shadow box. With this project you get two in one... you have the back as a project and the front as one... can't beat that !
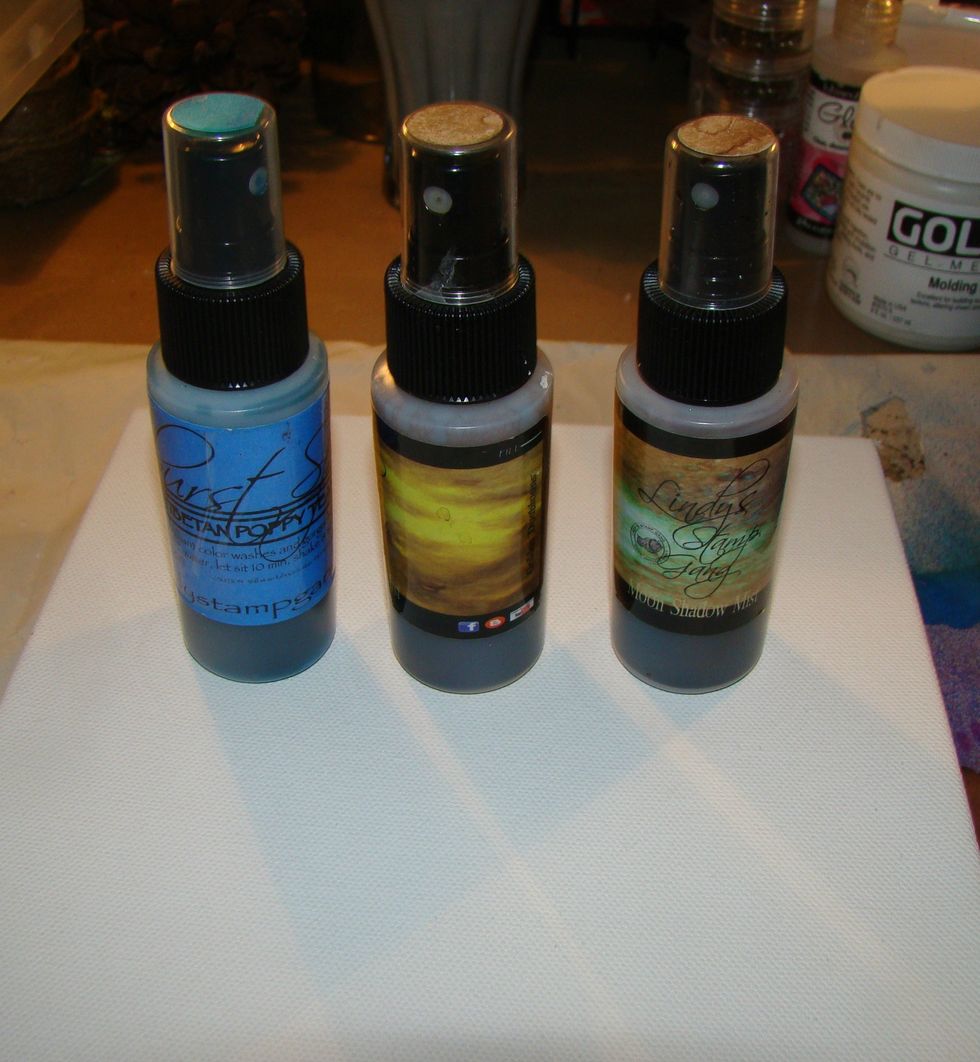
The colors of my choice were... Tibetan Poppy Teal, Golden Doubloons & Treasure Island Turquoise
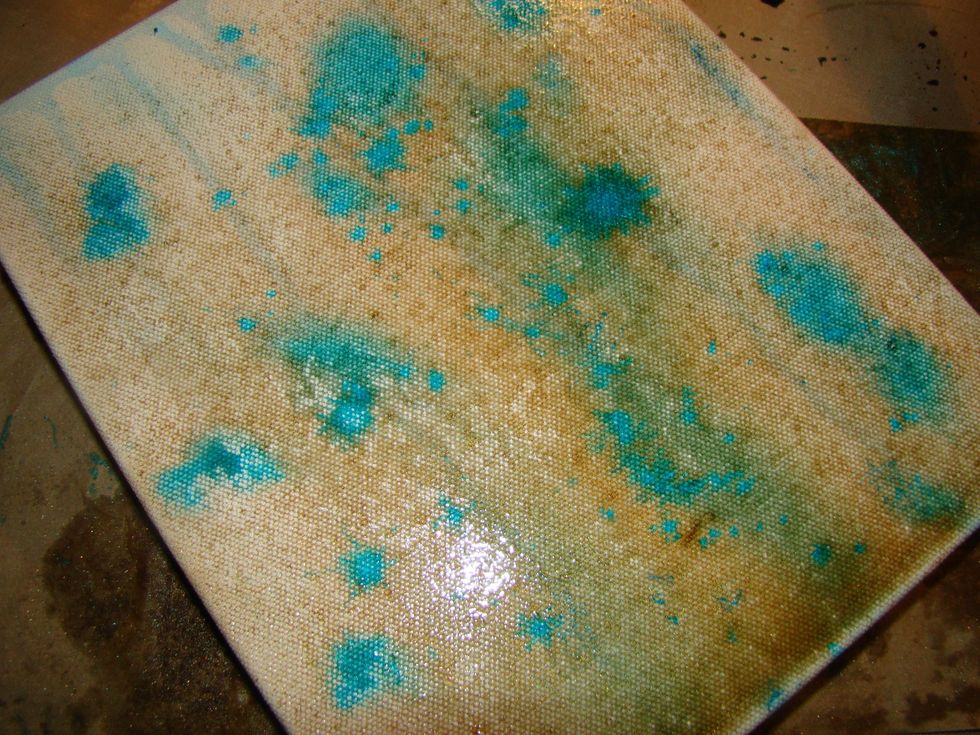
Spray away til you achieve the look you are going for. I then took a paint brush and flicked the Tibetan Poppy Teal on the canvas for splatter effect. Dry completely.
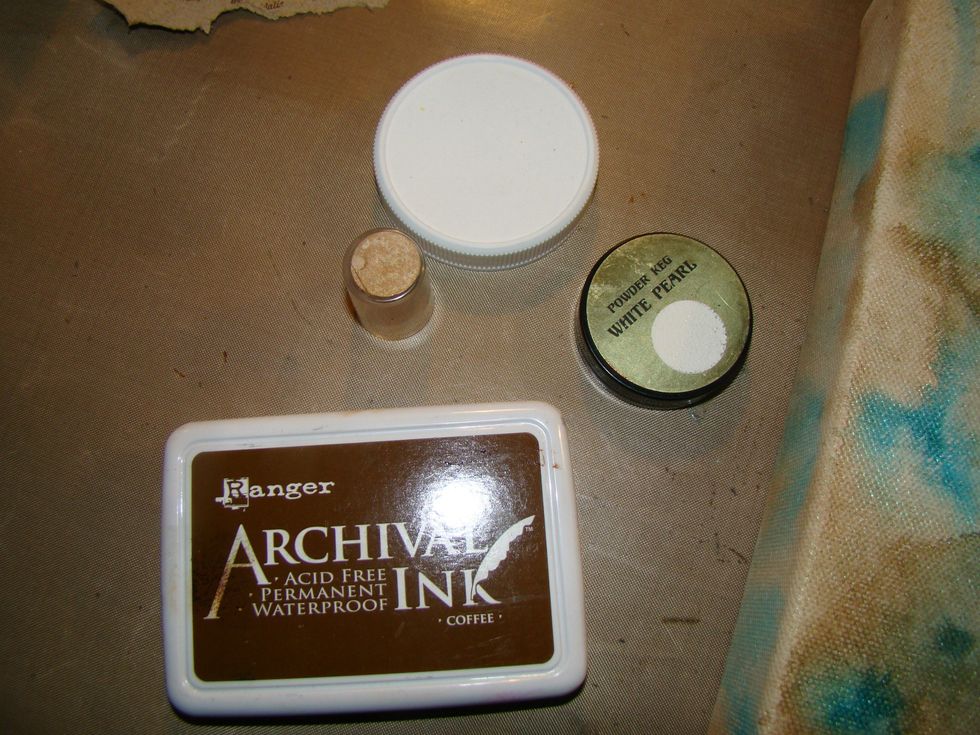
Stamp using different size lids that you have laying around your craft room in brown arcival ink
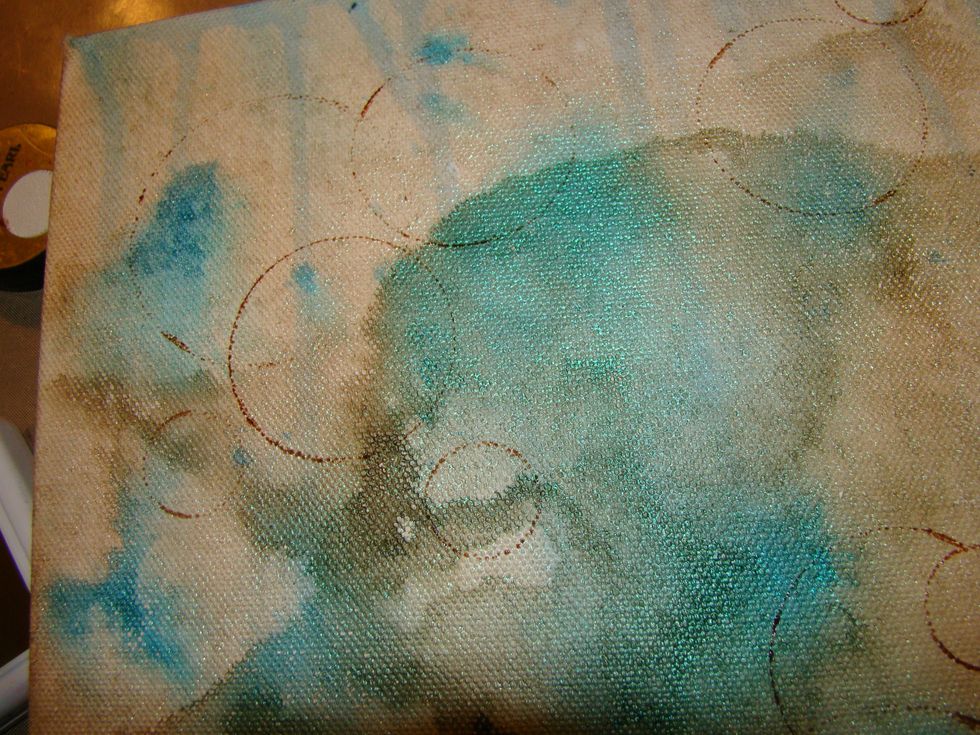
This is an easy way to add interest to your projects.
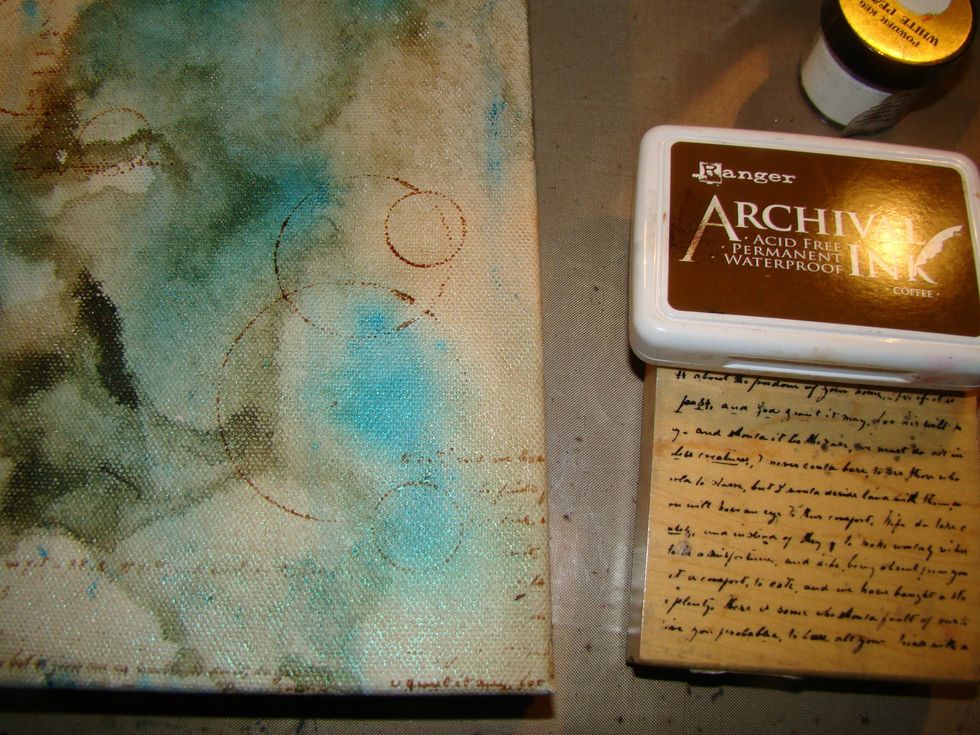
Once again, using my brown archival ink I randomly stamped my script stamp.
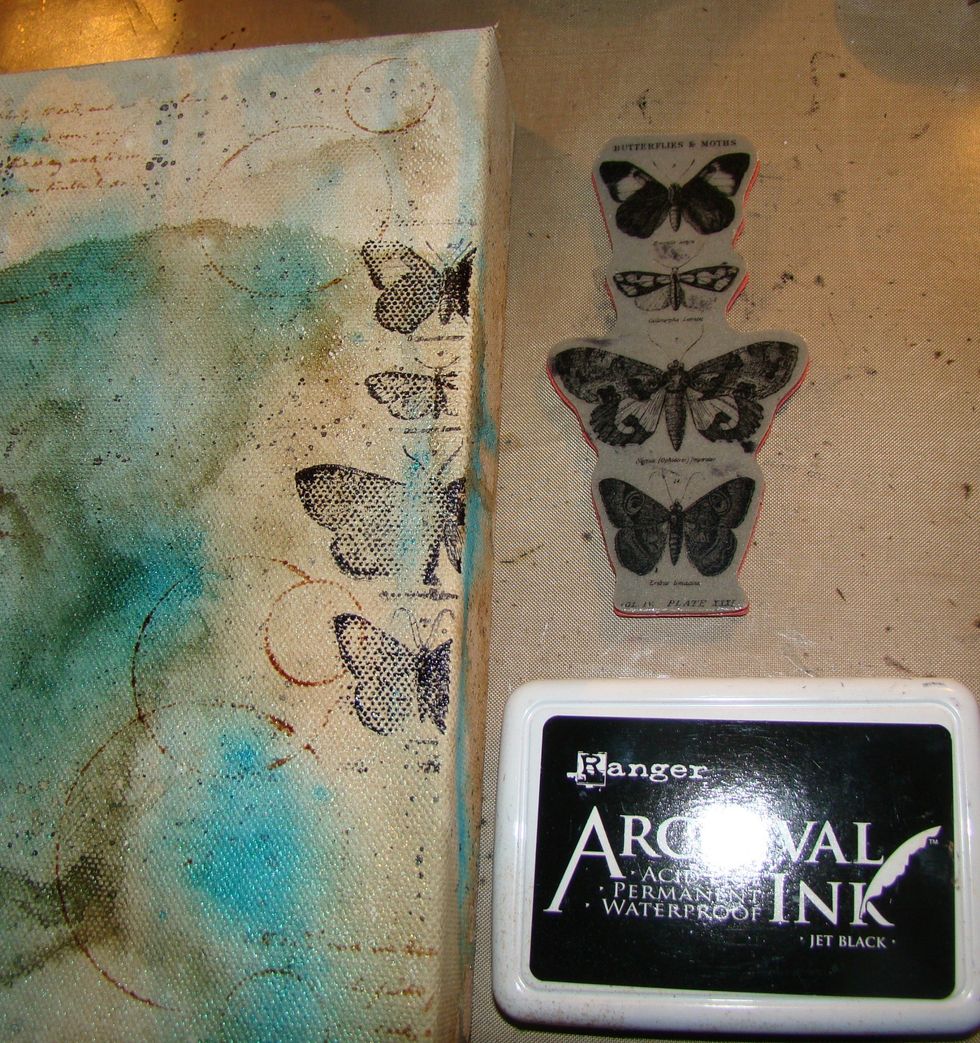
These are Tim Holtz "Papillion" and I used black archival this time to add a little depth.
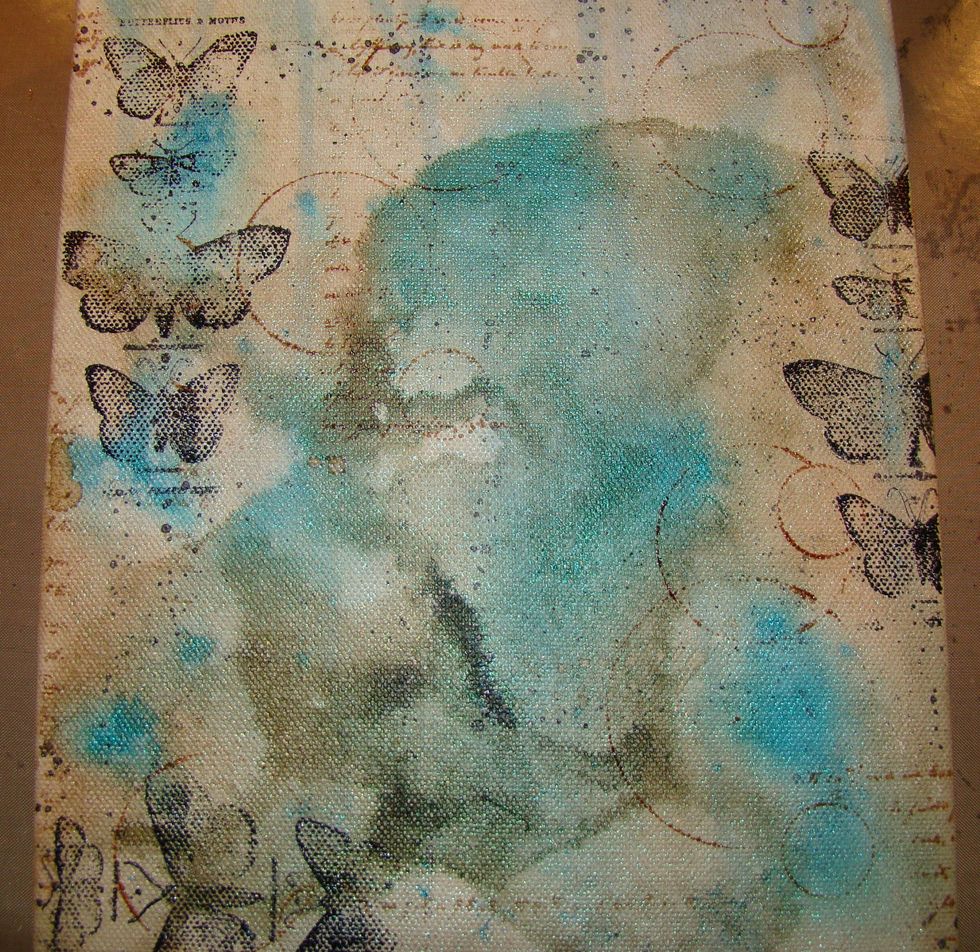
We're off to a nice start
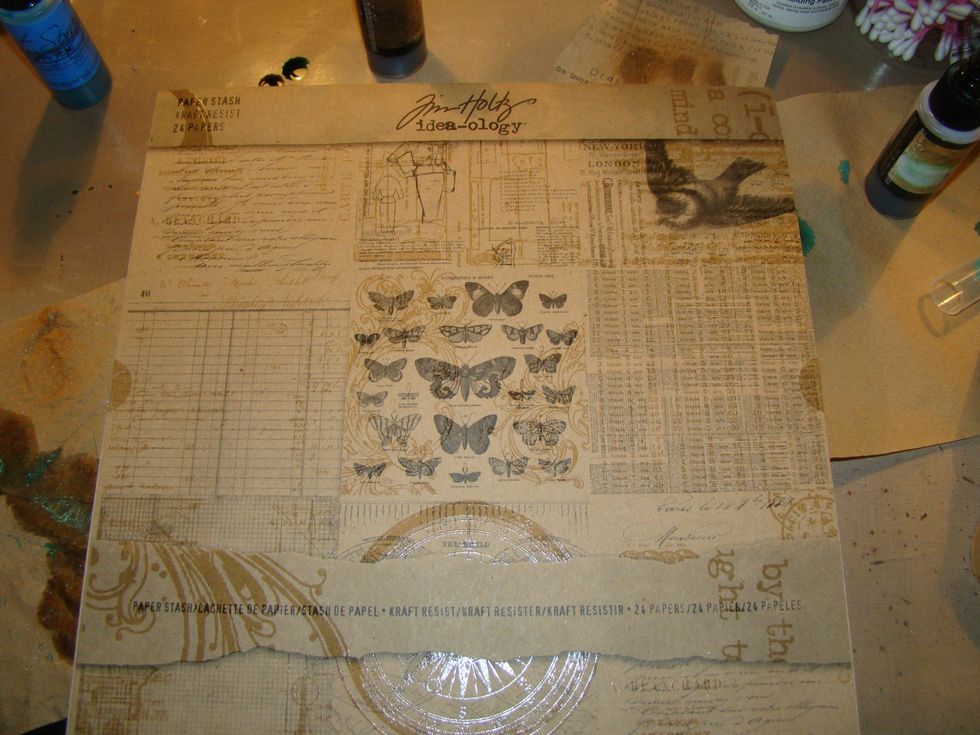
One of my all time favorite paper lines...
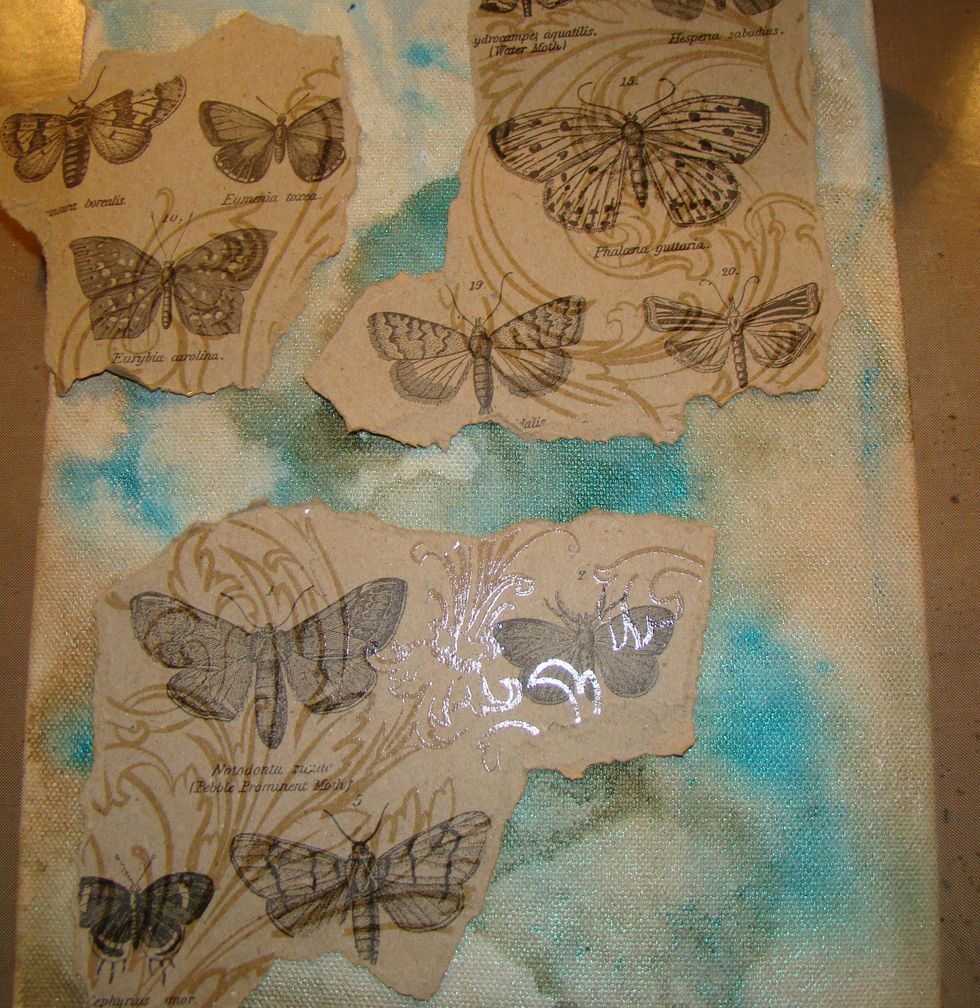
Randomly tear pieces and decided where you want them on your canvas.
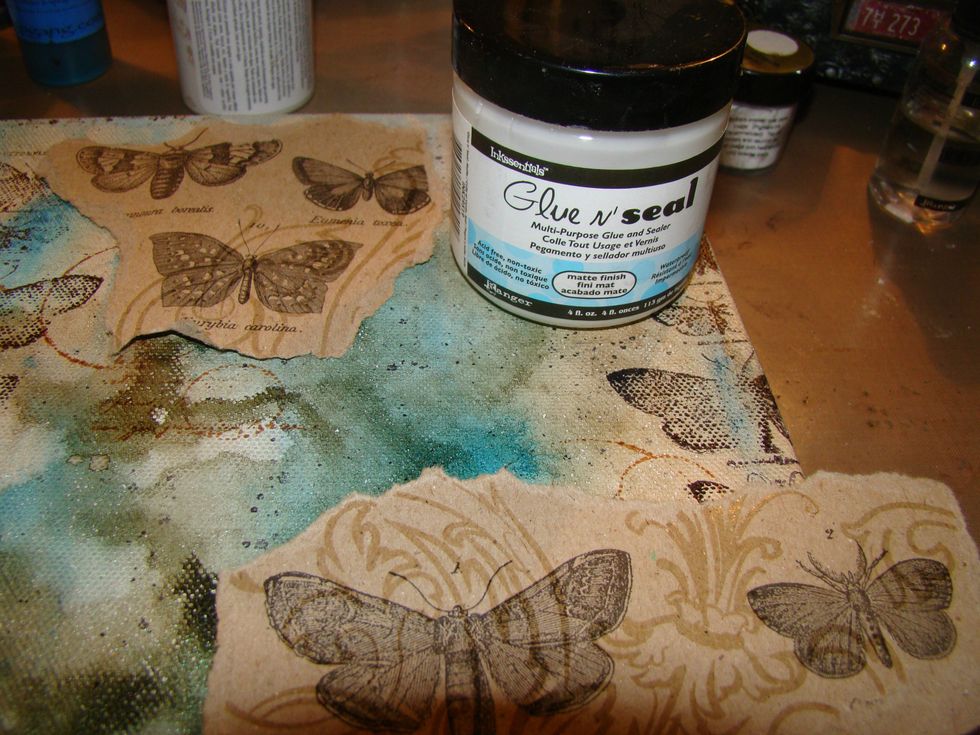
Apply your ripped sheets with Glue N Seal. You can also use Mod Podge. Don't forget to let some of the papers run over the edge of the canvas. We don't want to forget to decorate the edges.
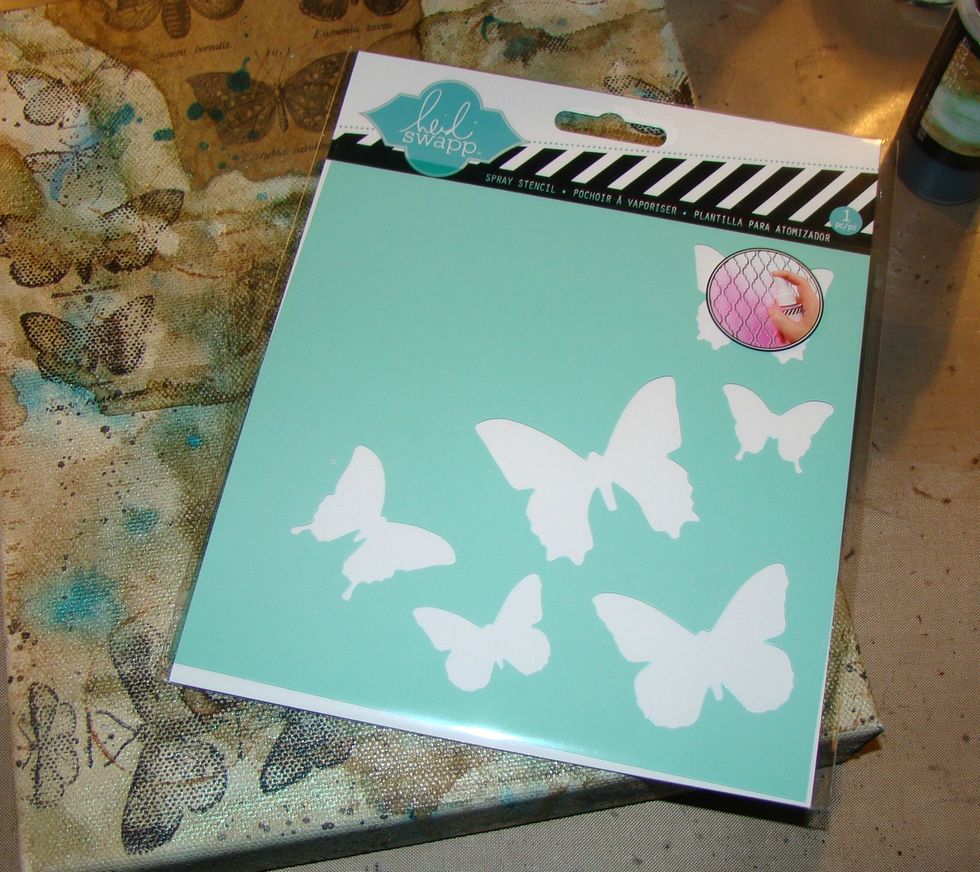
Using modeling paste and my Heidi Swapp butterfly stencil, apply butterflies randomly throughout your canvas. After stenciling I went back and added more paste to wings for dimension. Dry completely.

When this is dry it adds such a pretty look to your canvas.

As you can see I had also used my honeycomb stencil on the canvas. I failed to photograph that step. :-(
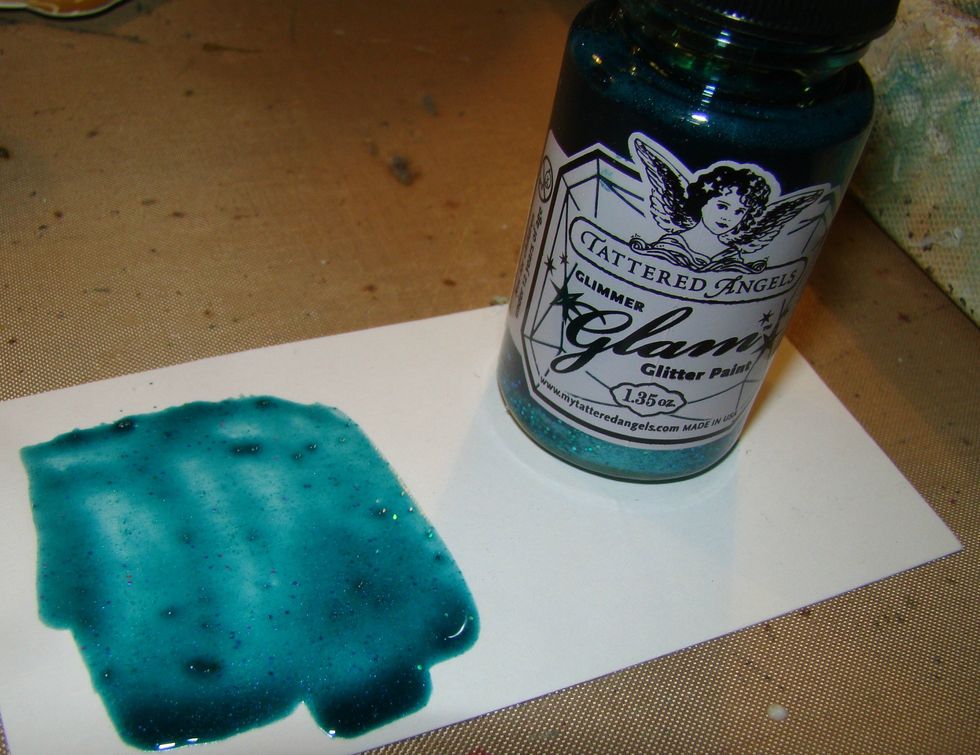
Tattered Angels Glitter Glam is gorgeous !!! Vivid, glaze-like, and is so versatile. I used Caspian Sea and brushed a bit on top of the butterfly wings.
You can go on and on with the back but I felt this was my stopping point and now to go on to create the front.
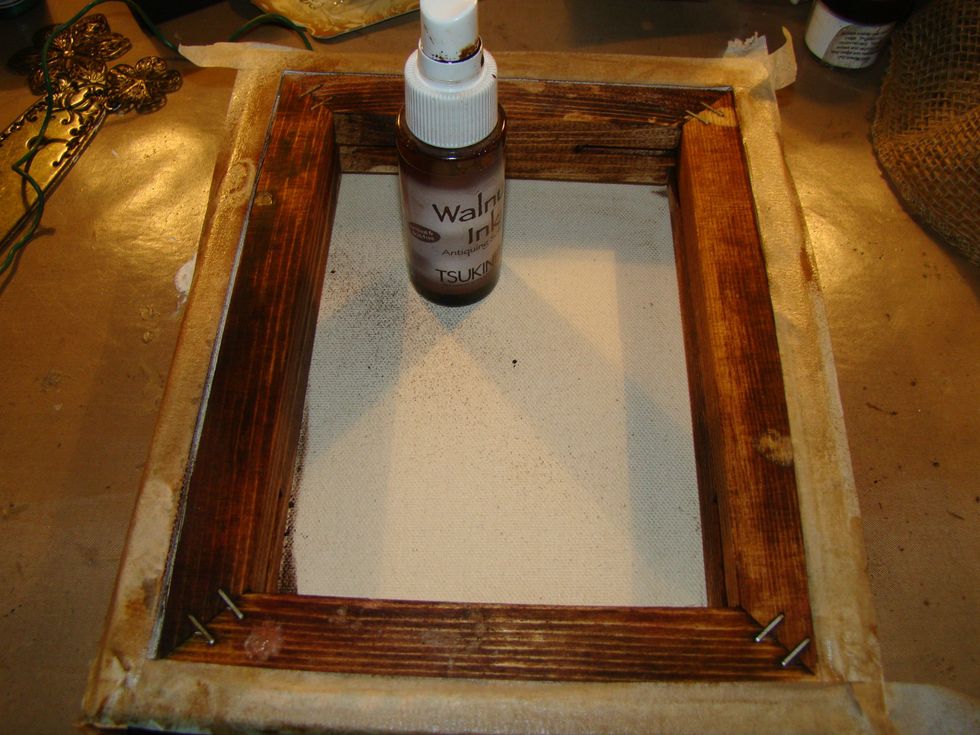
Using Walnut ink, I stained the wood on the inside of the canvas. Be sure to lay a paper towel down inside the canvas so the ink will not seep through to your beautiful back of the canvas.
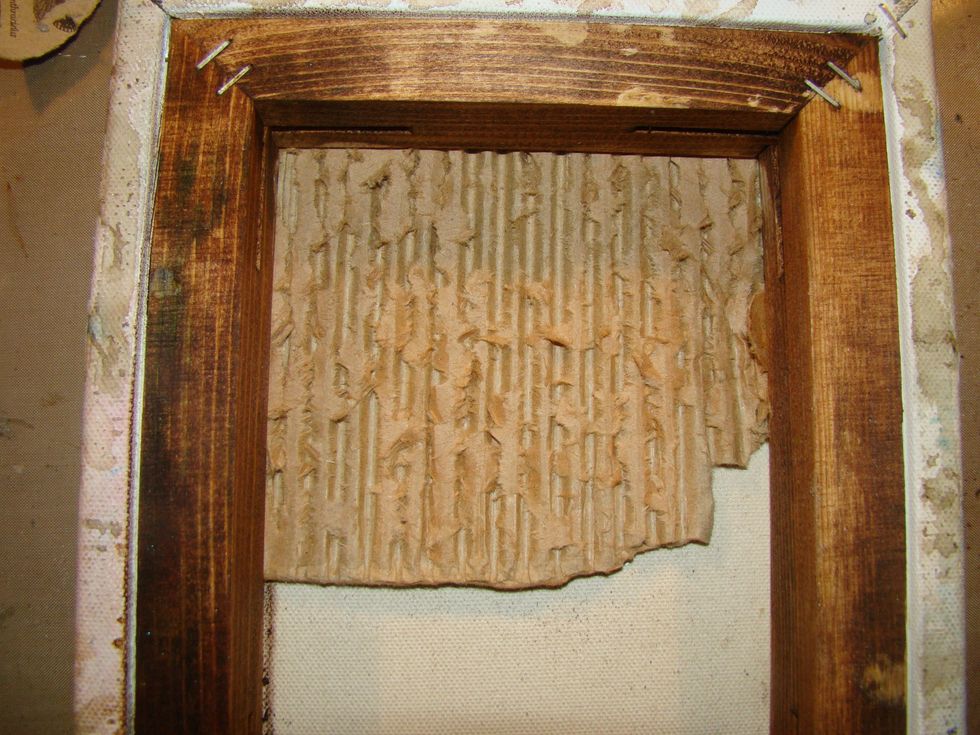
Take a piece of cardboard box and peel away at the corrugation on the cardboard. The grungier the better. Glue this is one corner of your shadow box.
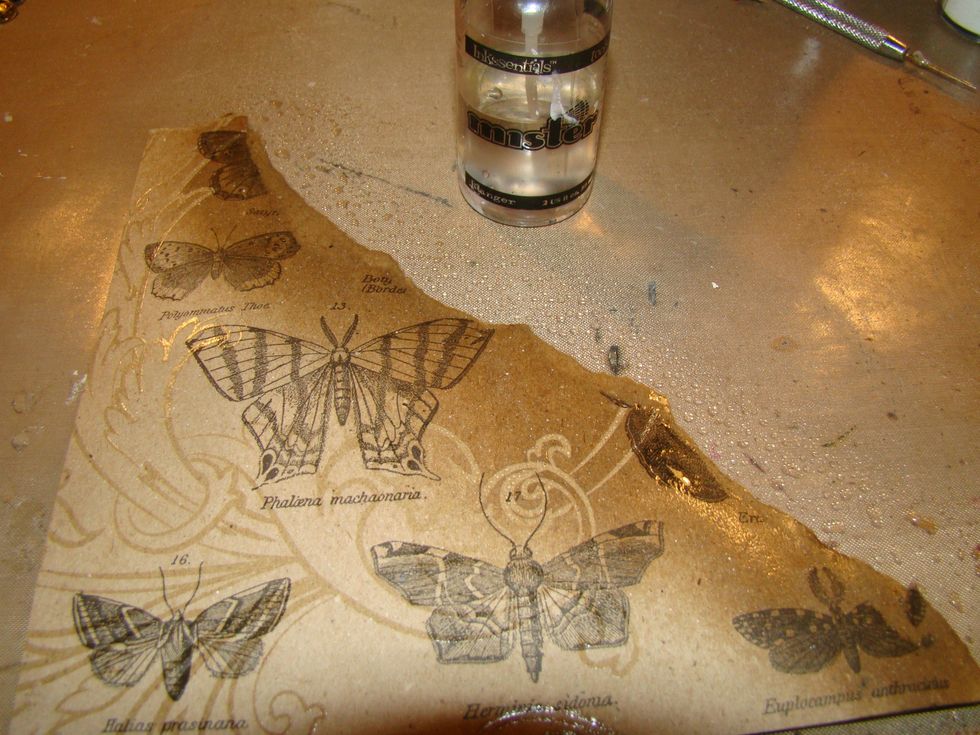
Rip a piece of your "Paper Stash" for the bottom corner of your canvas. Mist your paper with water to break down the fibers a bit so you can rip and roll the edges easier.
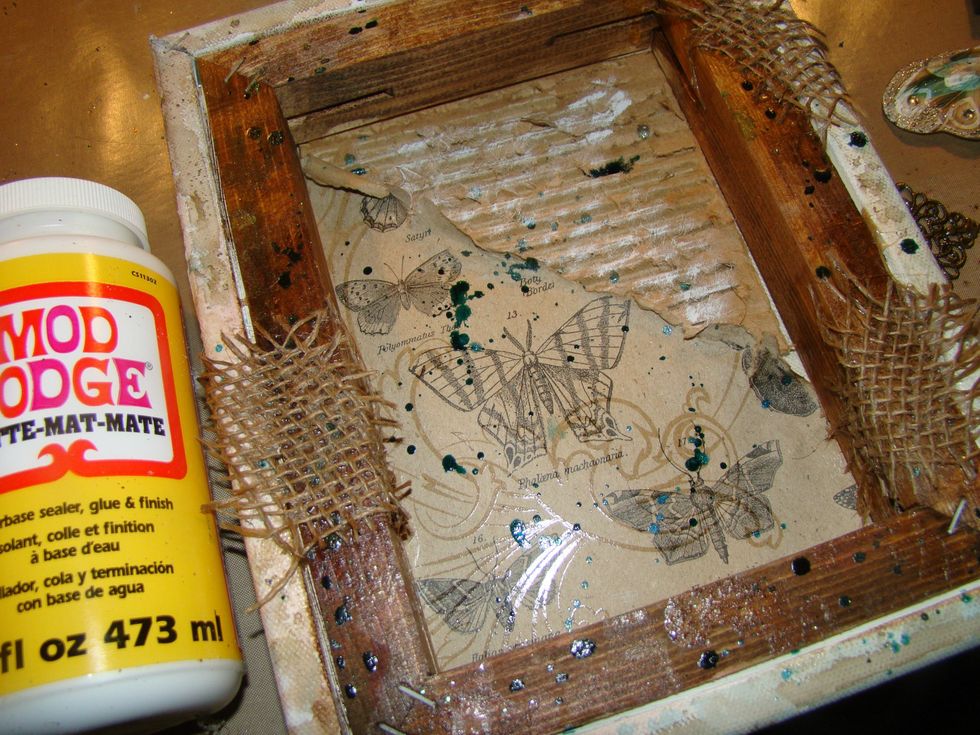
Take burlap and randomly apply to your creation using Mod Podge. Allow to dry. I also took the Glitter Glam and splattered it on the piece and dry brushed with acrylic white paint over the top.
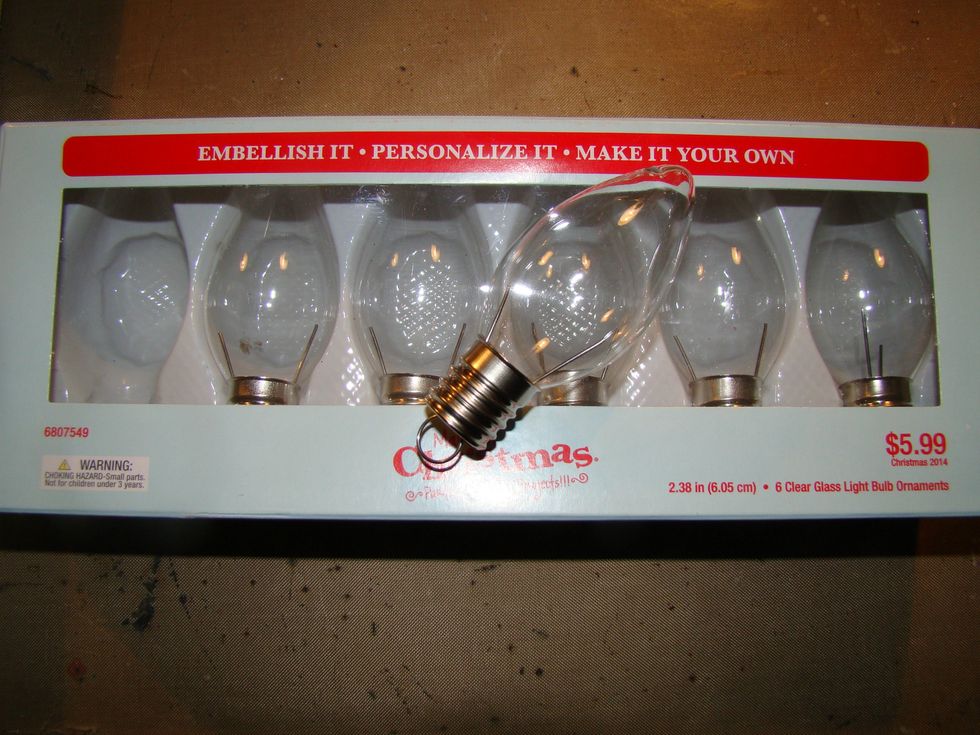
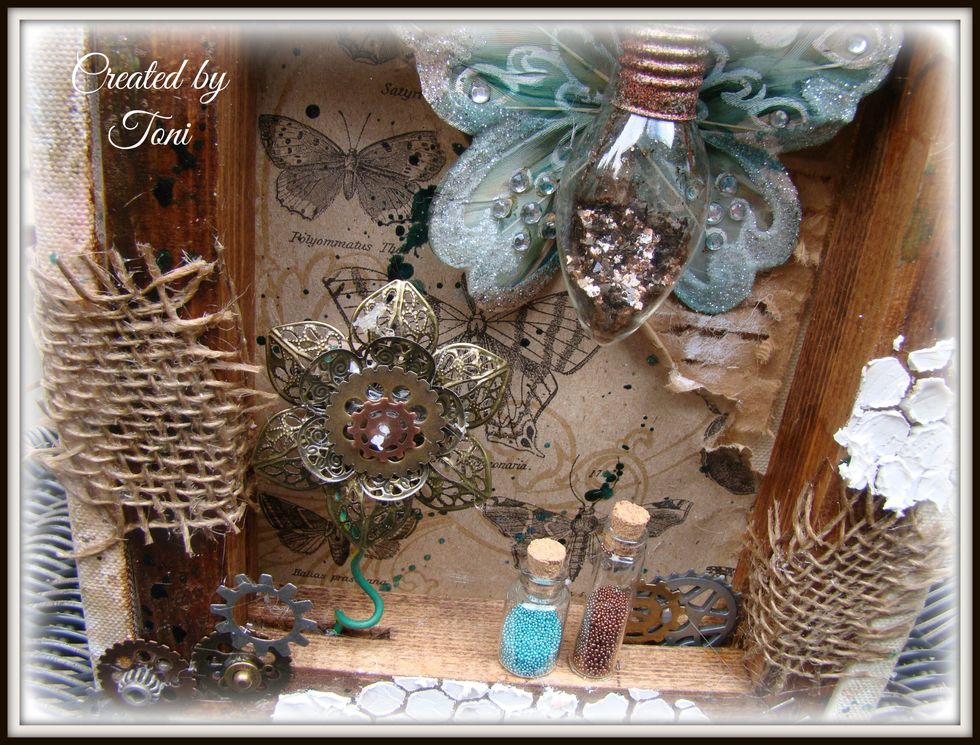
I purchased these light bulb ornaments at Hobby Lobby... Aren't they cute, great for steampunk projects !
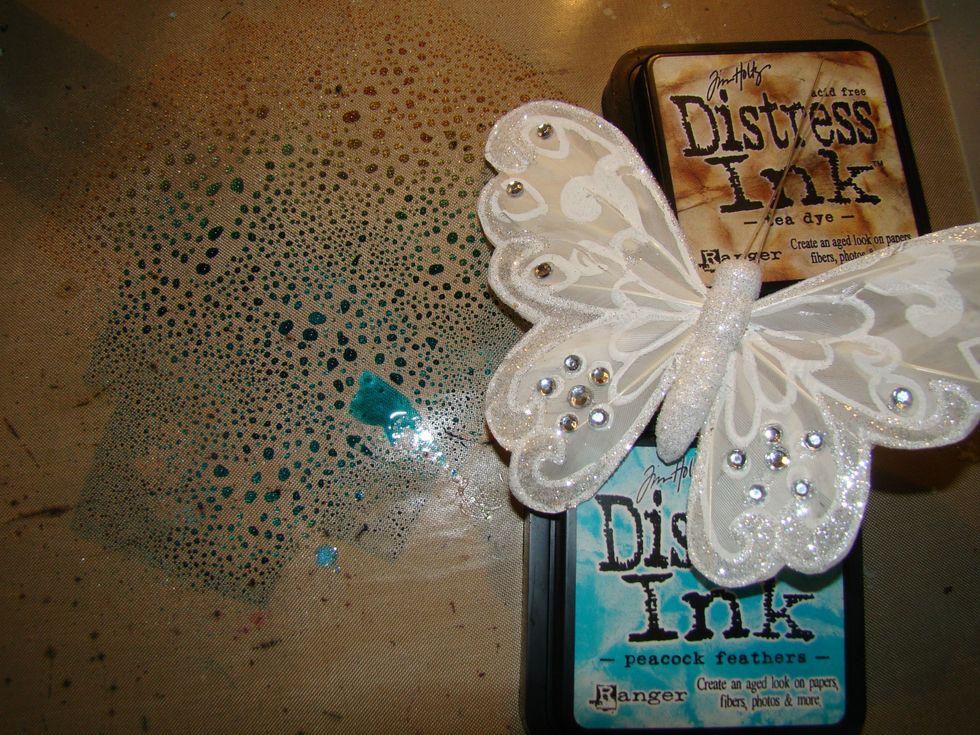
This butterfly I had in my stash, I cut the wings of the body. I swipped the DI in Tea Dye & Peacock Feather and misted water and then pounced my wings on top of the dyes. Allow to dry.
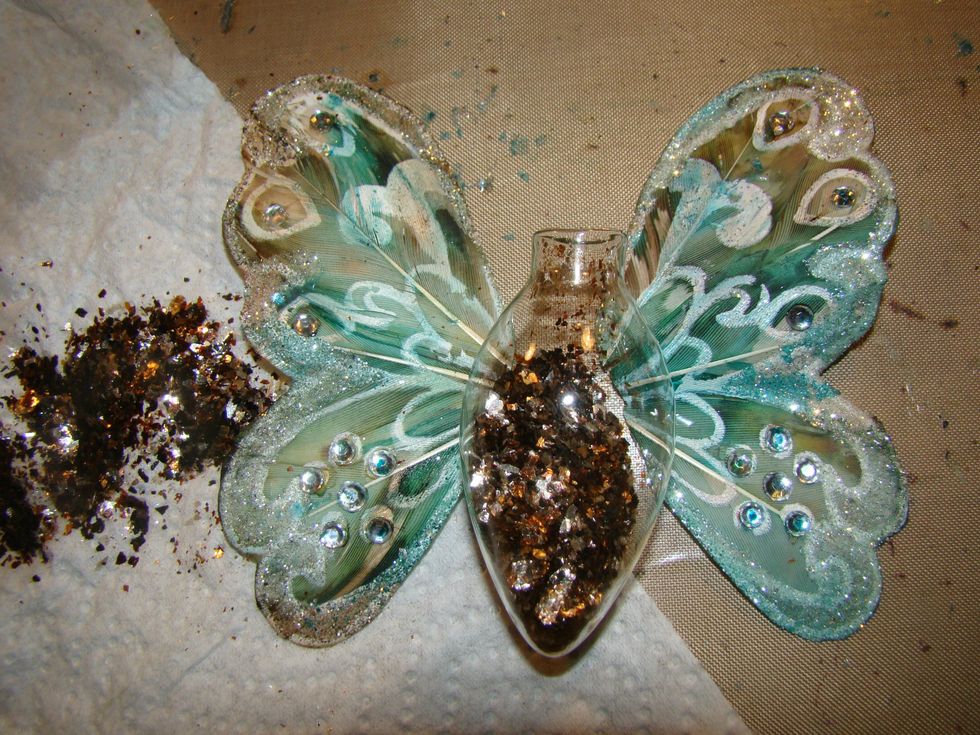
Add mica flakes to the light bulb ornament and attach your wings using a glue gun.
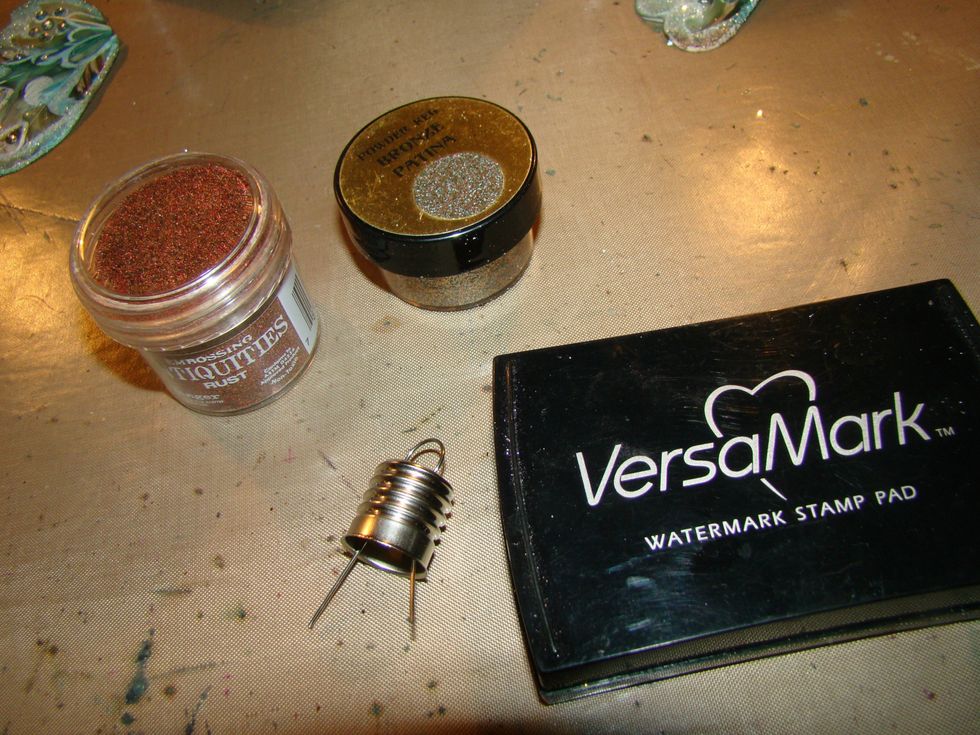
I wanted the cap to look rusty and gave a patina look, so i rubbed VersaMark on the lid and applied Antiquities Rust and Pk Glitz Patina embossing powders, heat set. Be careful the metal gets real hot
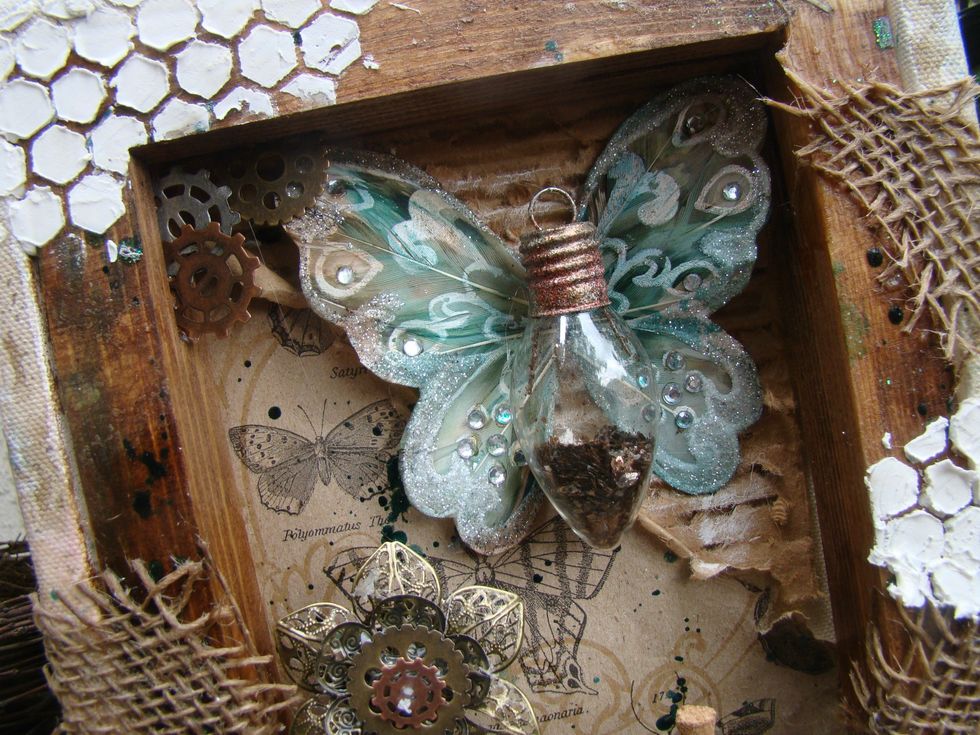
I love how the butterfly came together, if you notice I also used my honeycomb stencil and modeling paste on the of frame. And the embossing powders on the lid gave it that little rust appeal.
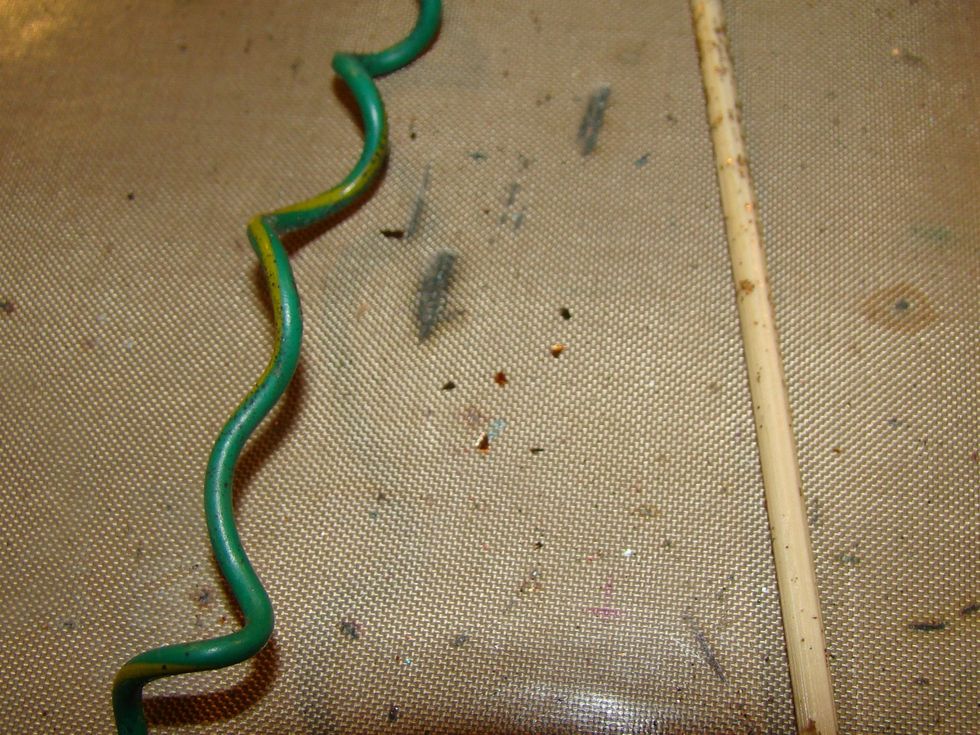
Using an old piece of wire, wrap it around a skewer to create your stem for your steampunk flower.
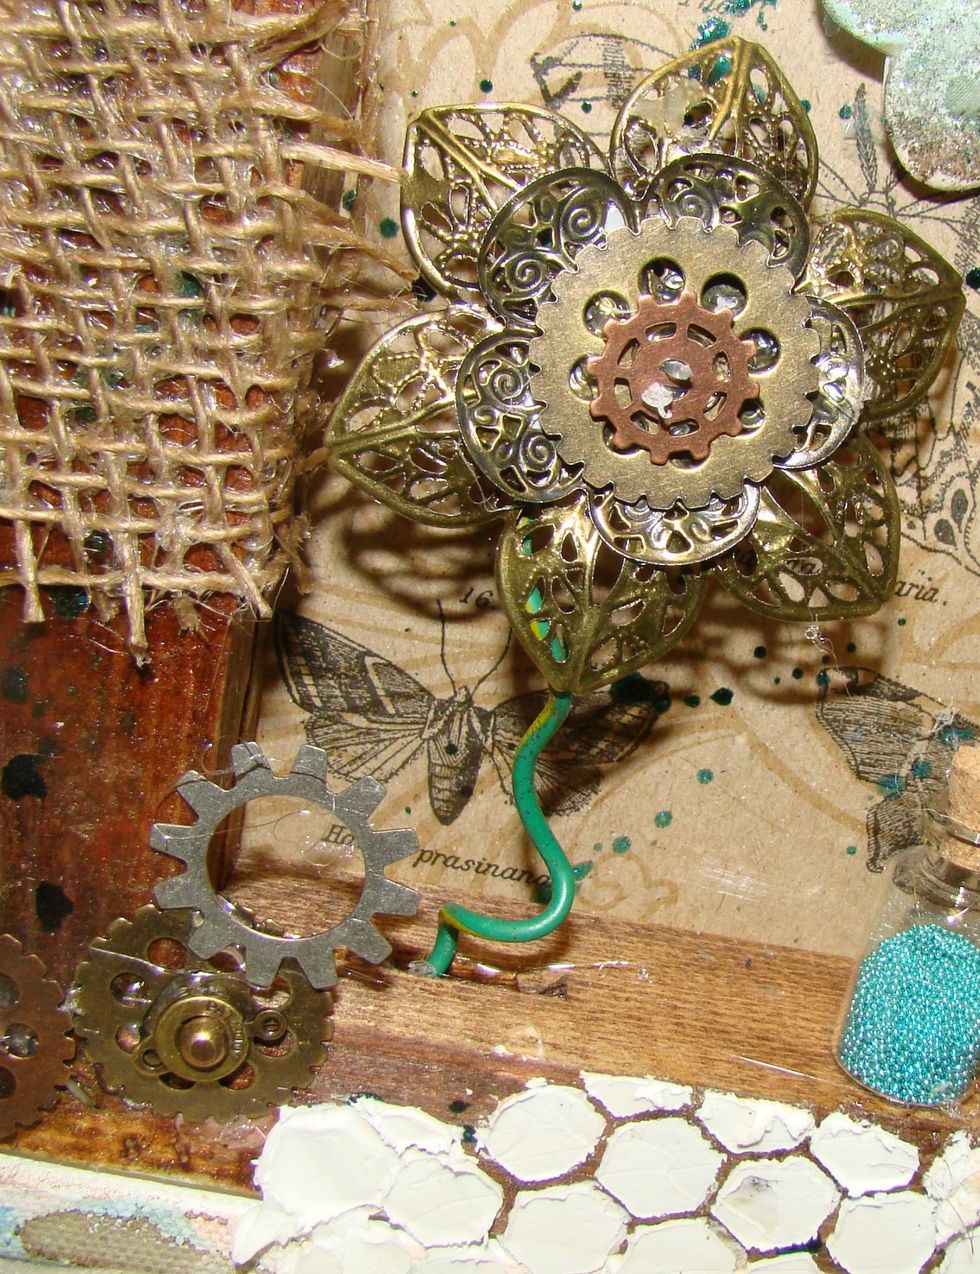
Layer different metal flowers on top of each other and add cogs and gears to create your flower. Glue the stem to the flower and glue to your wood frame portion of the canvas.
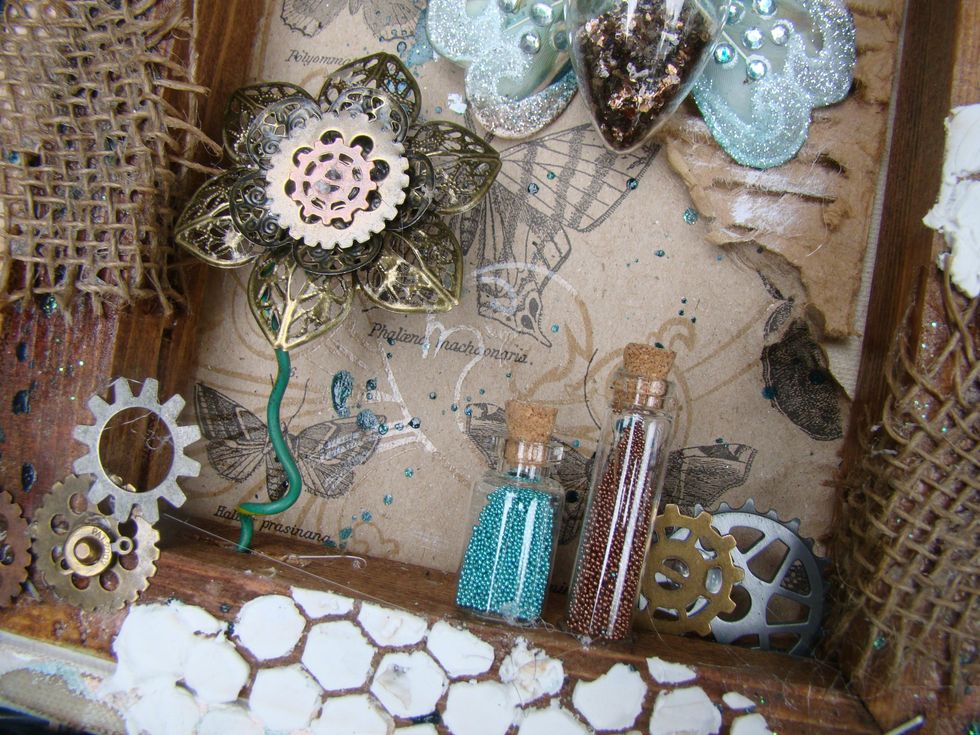
Add different size bottles and fill with seed beads, glue to canvas frame. Tuck more gears and cogs in the corners and edges of your canvas.
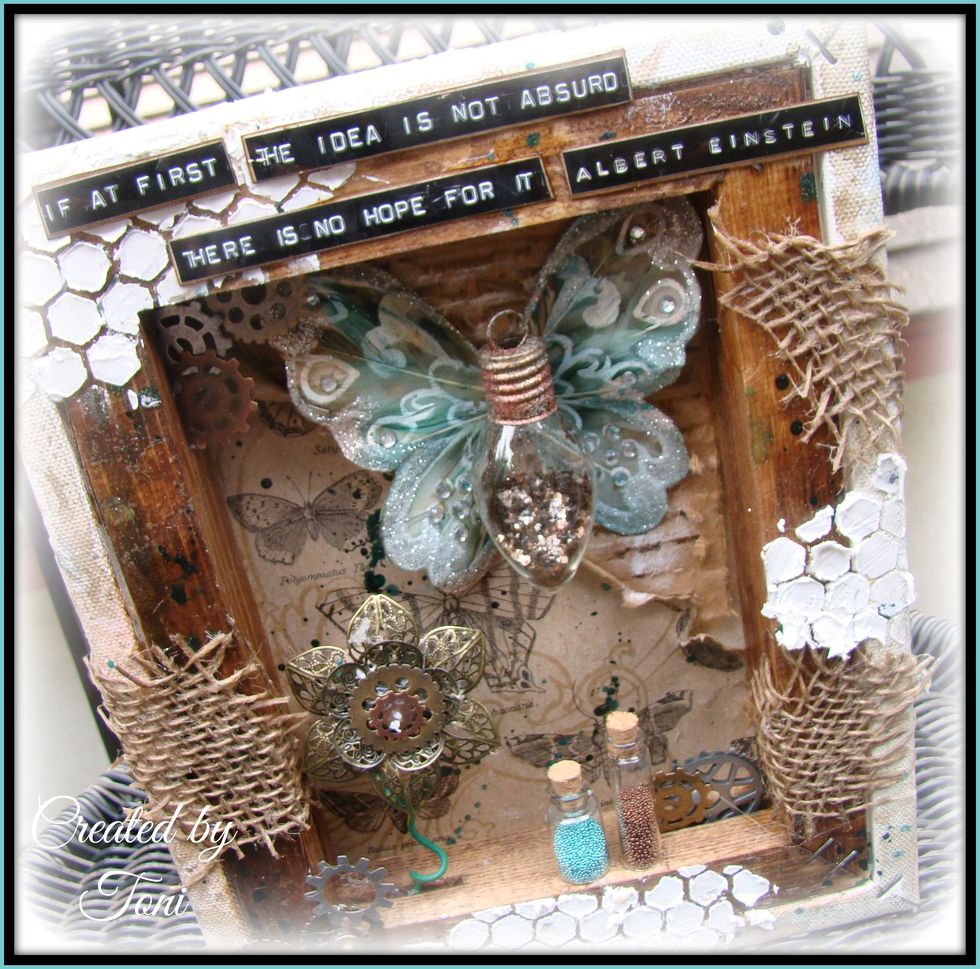
Don't forget your quote for your piece. I actually saw this quote and it inspired me to make this piece. And what's more absurd that steampunk, that's why I ♥ it.
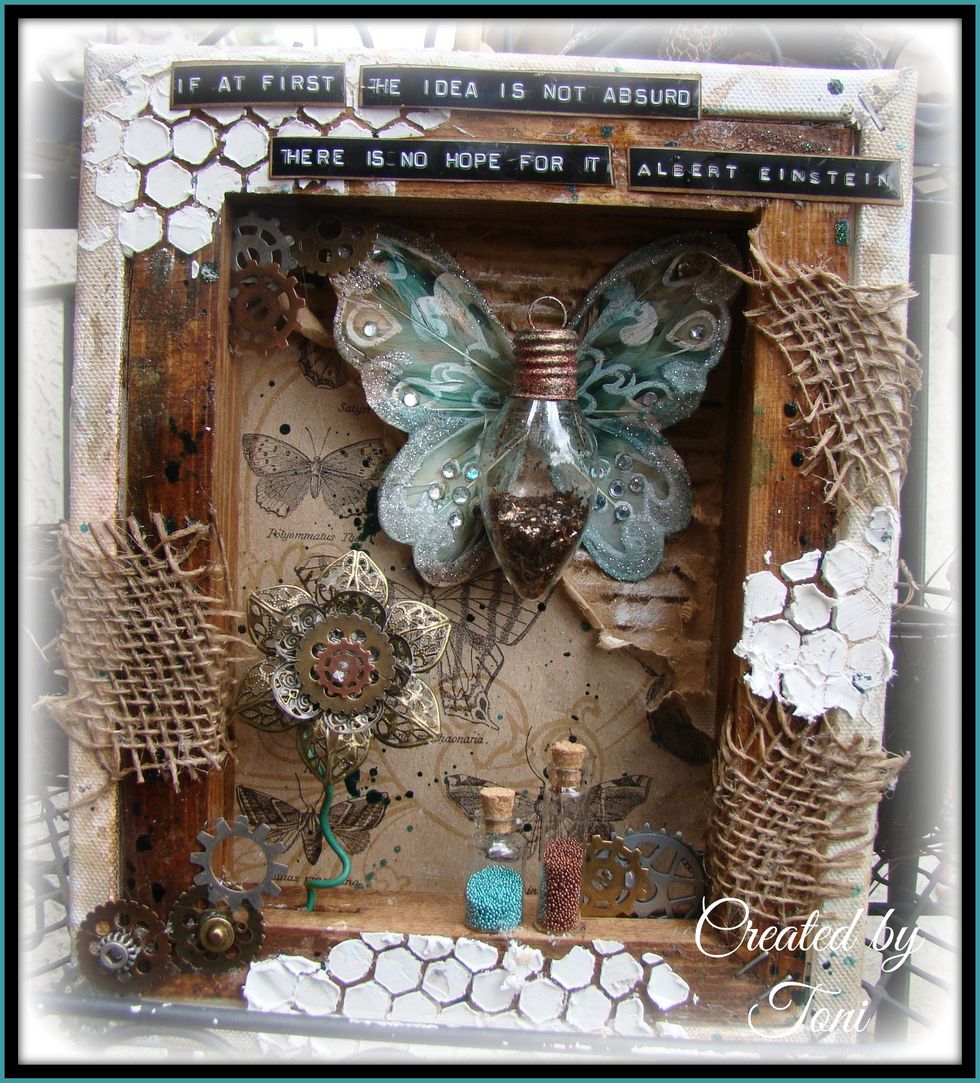
Such a fun project to make... sometimes I don't know when to stop, but that's the beauty of art, it all depends on when you call it quits.
Hope you enjoyed this tutorial... now go get some elements to create with and be absurd .

For more creative inspiration please visit my blog http://www.toni-burks.blogspot.com/