The Conversation (0)
Sign Up
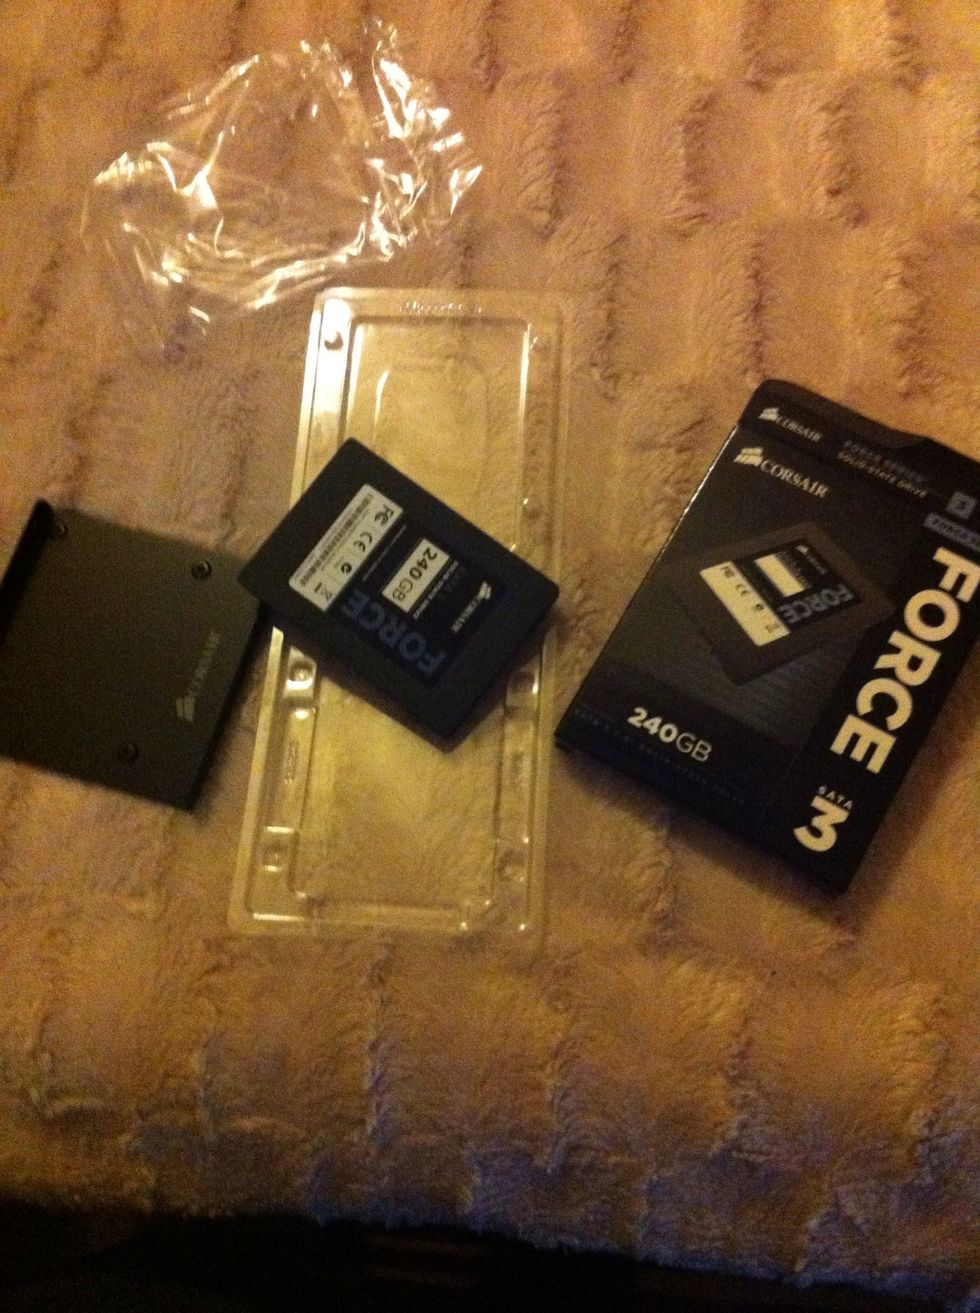
Unpack your new 240gb ssd
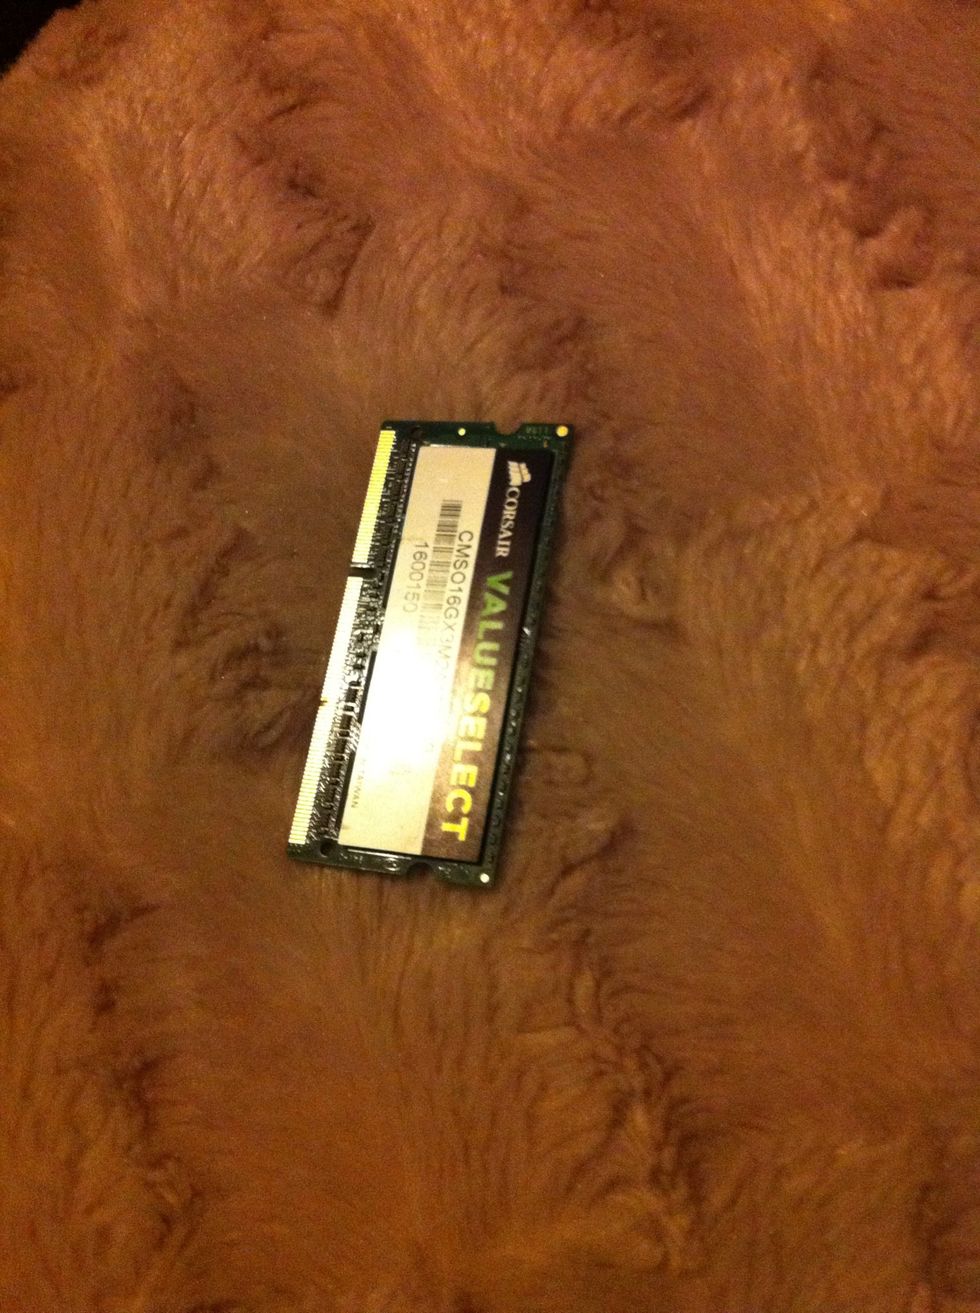
Unpack your new 16gb Ram memory 2x 8gb
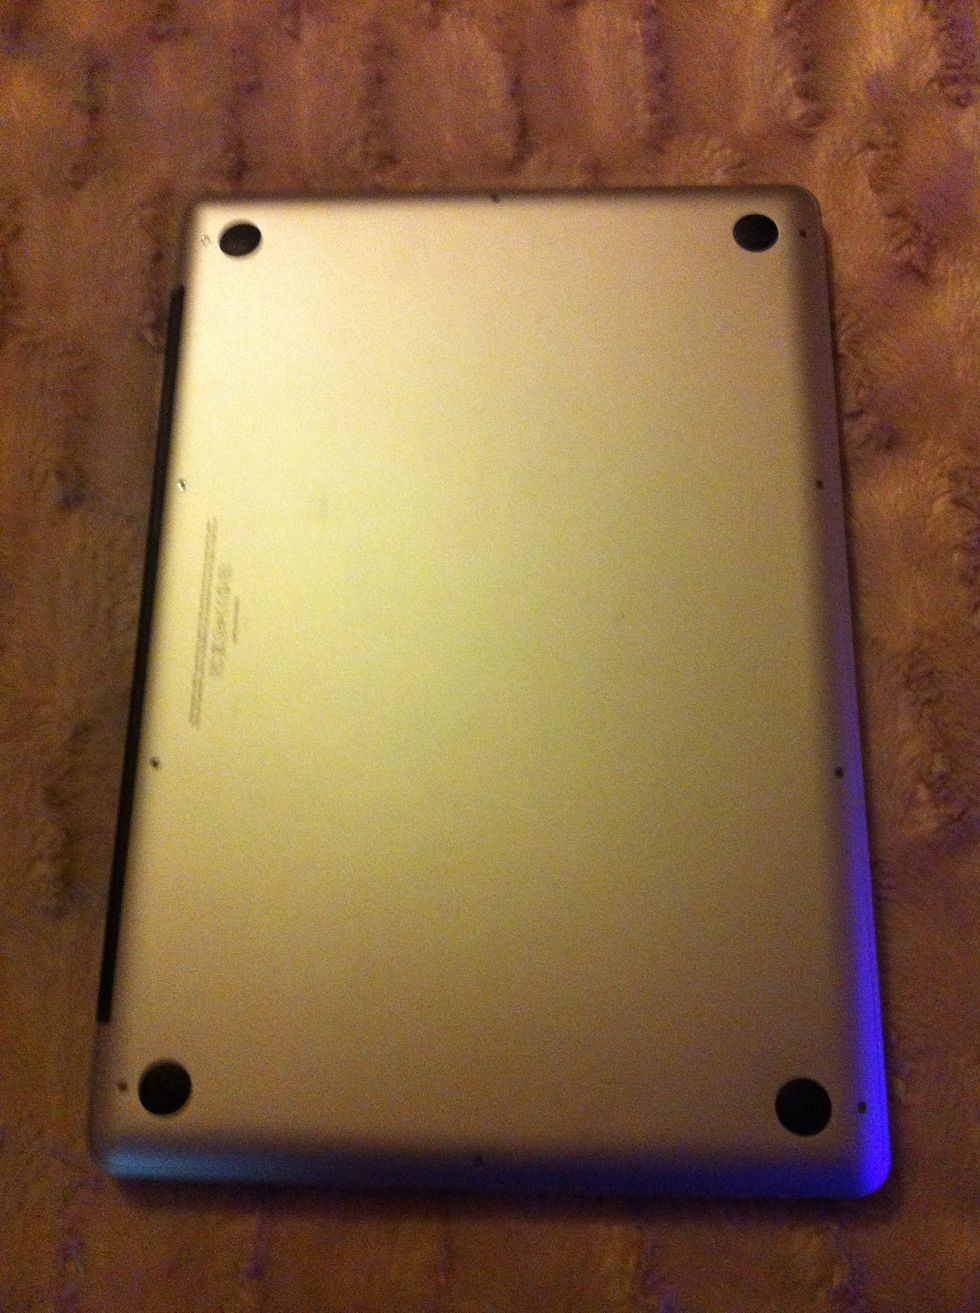
Turn your macbook over and remove all the screws with a plus head screwdriver

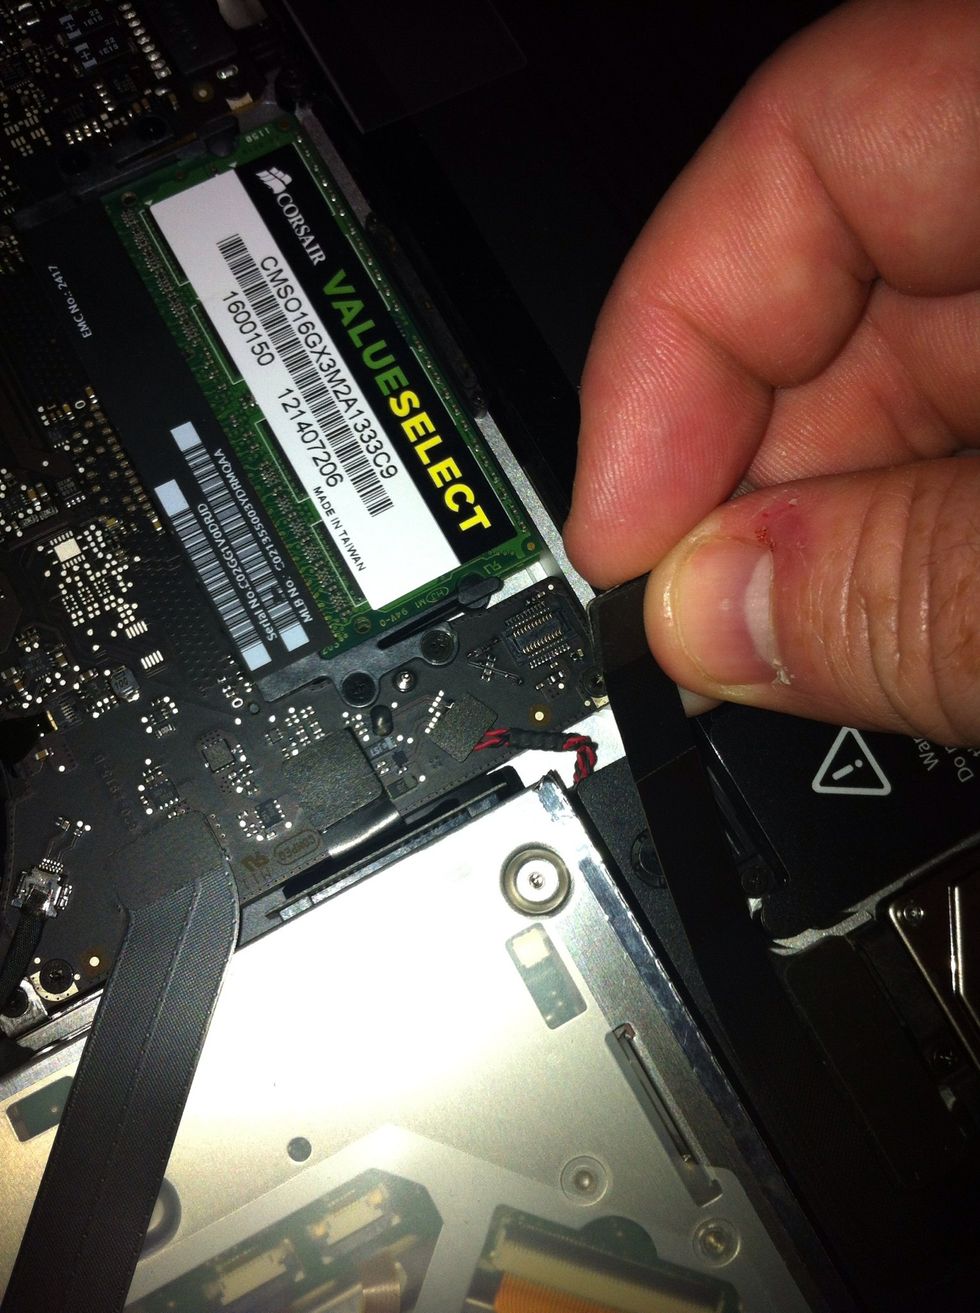
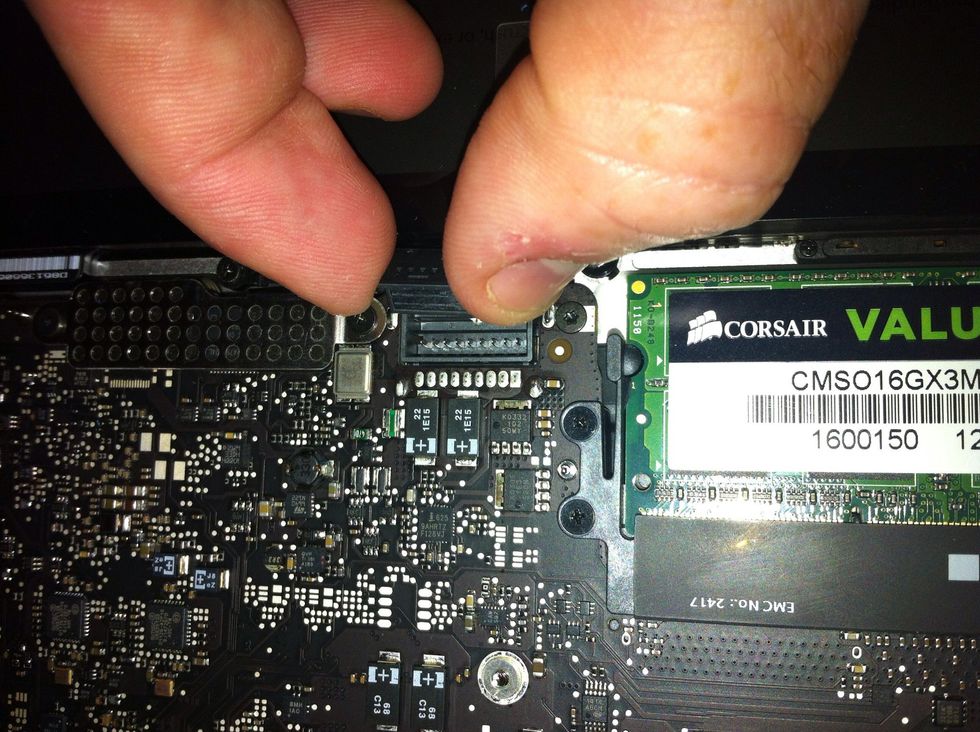
Disconnect battery before replacing any parts in your macbook
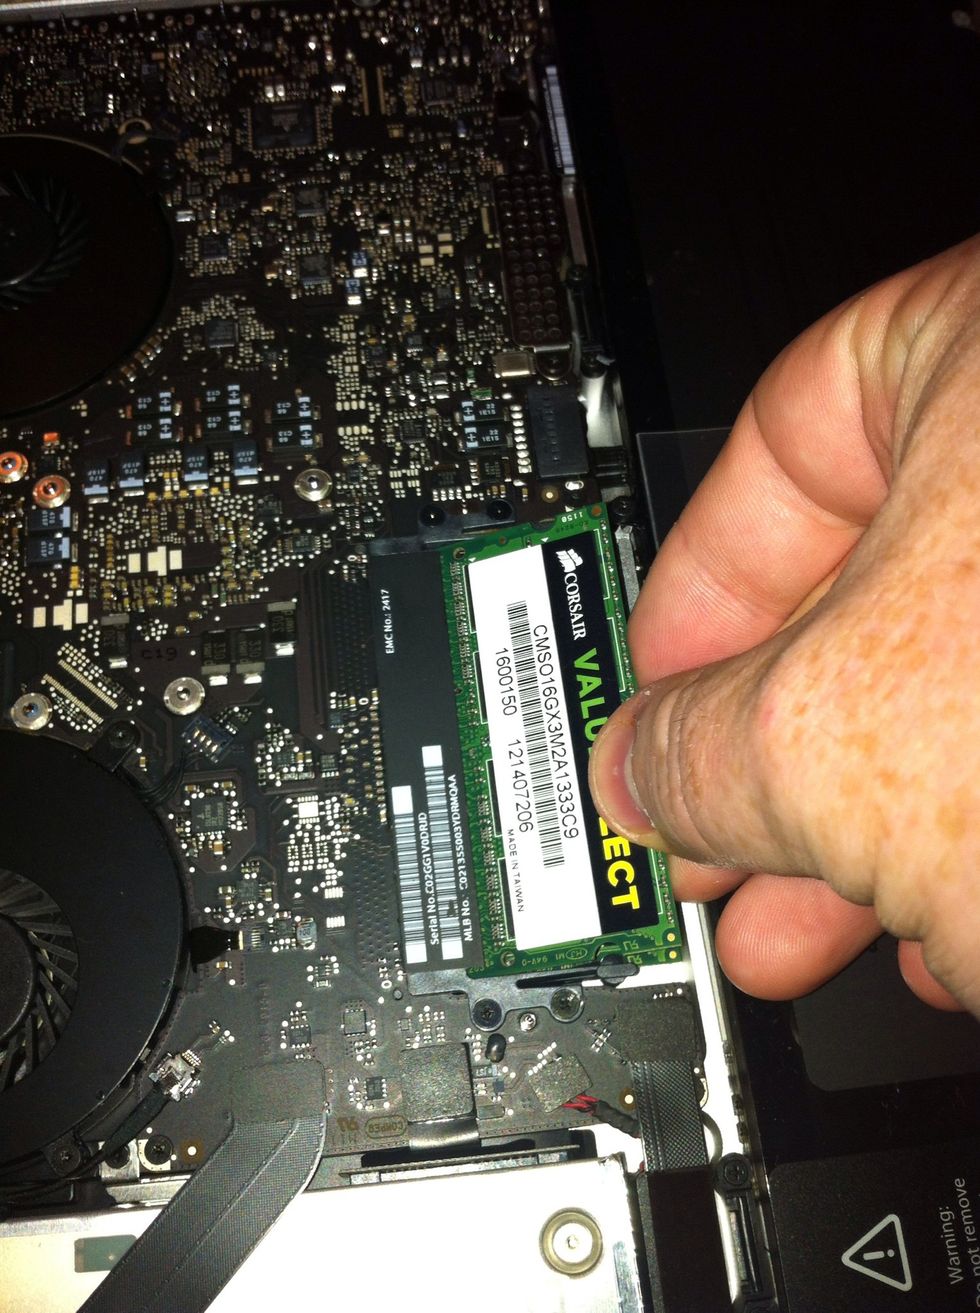
Once disconnected simply remove old memory and slot in the new memory. First push memory in slot then push down to clip into place
Disconnect the hard drive from motherboard

Use plus head screwdriver to remove screws from bracket holding hard drive in place
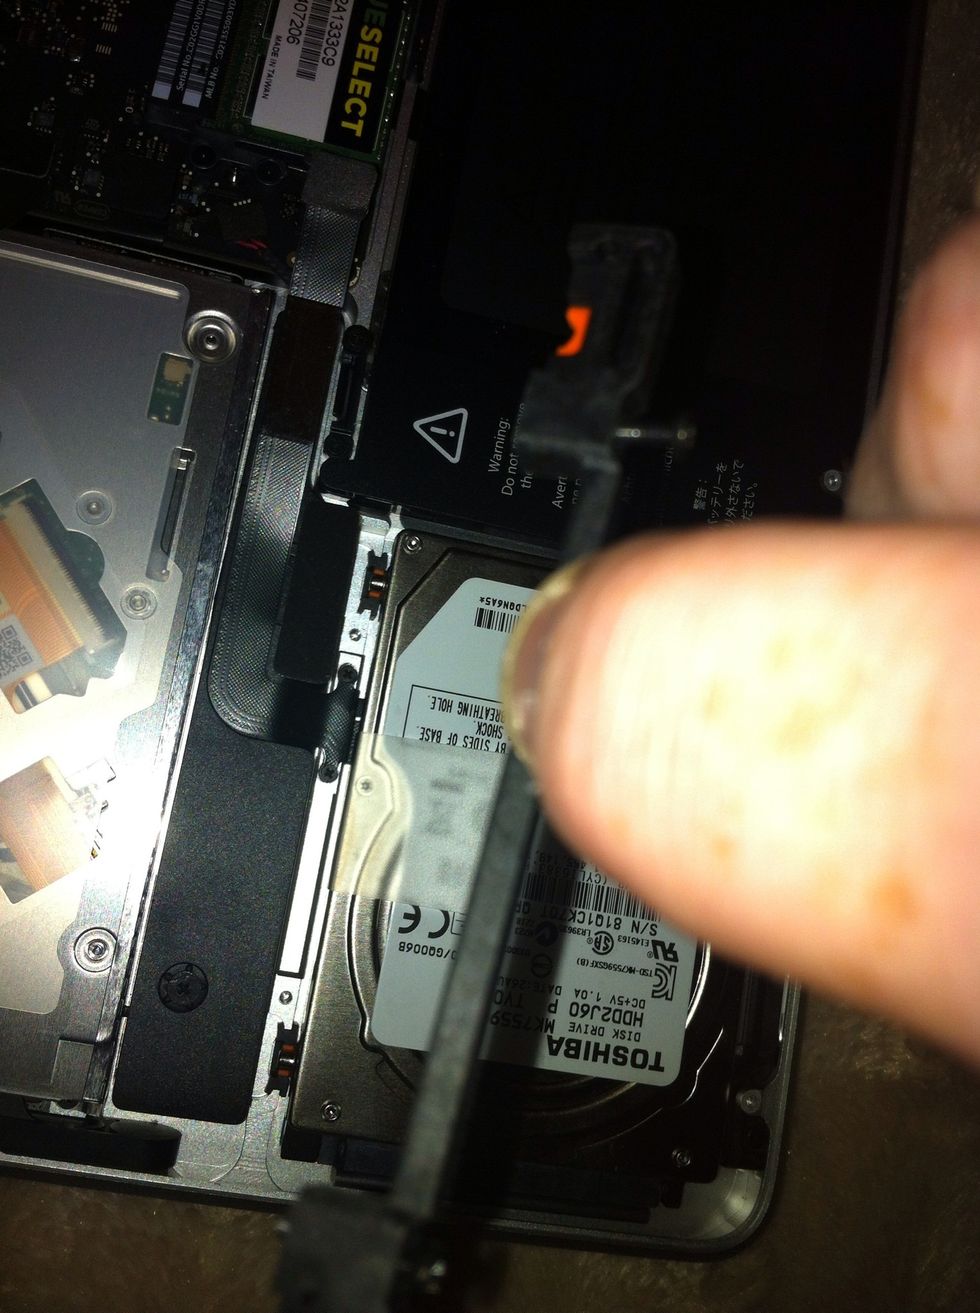
Remove bracket on left of hard drive. Bracket on right jus unscrew to release this bracket stays in place
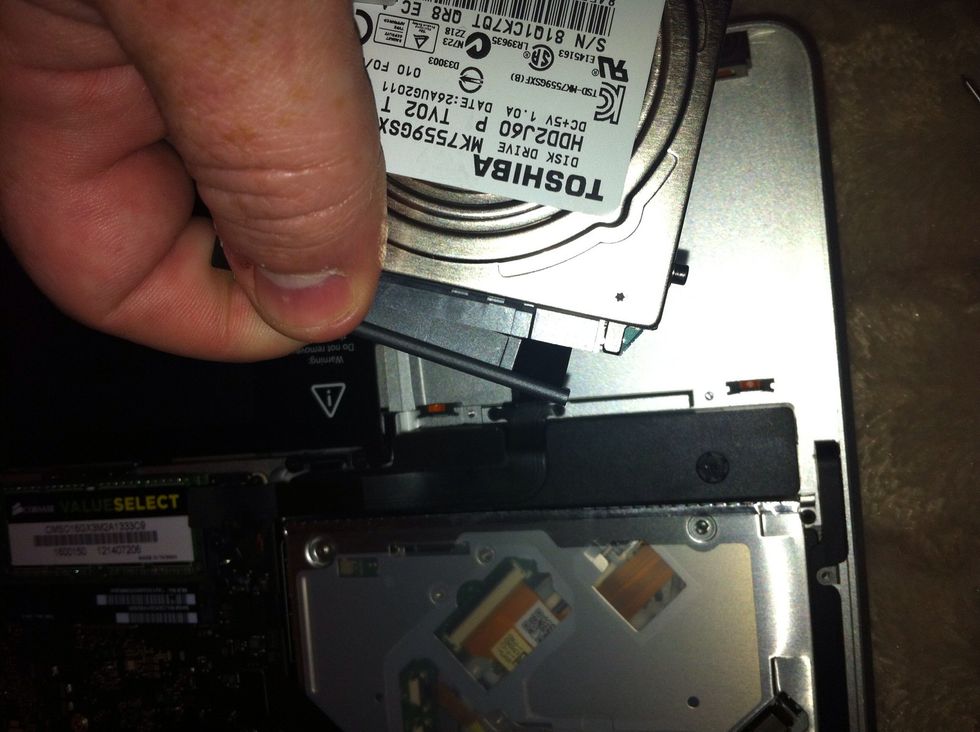
Now lift hard drive out from left and disconnect
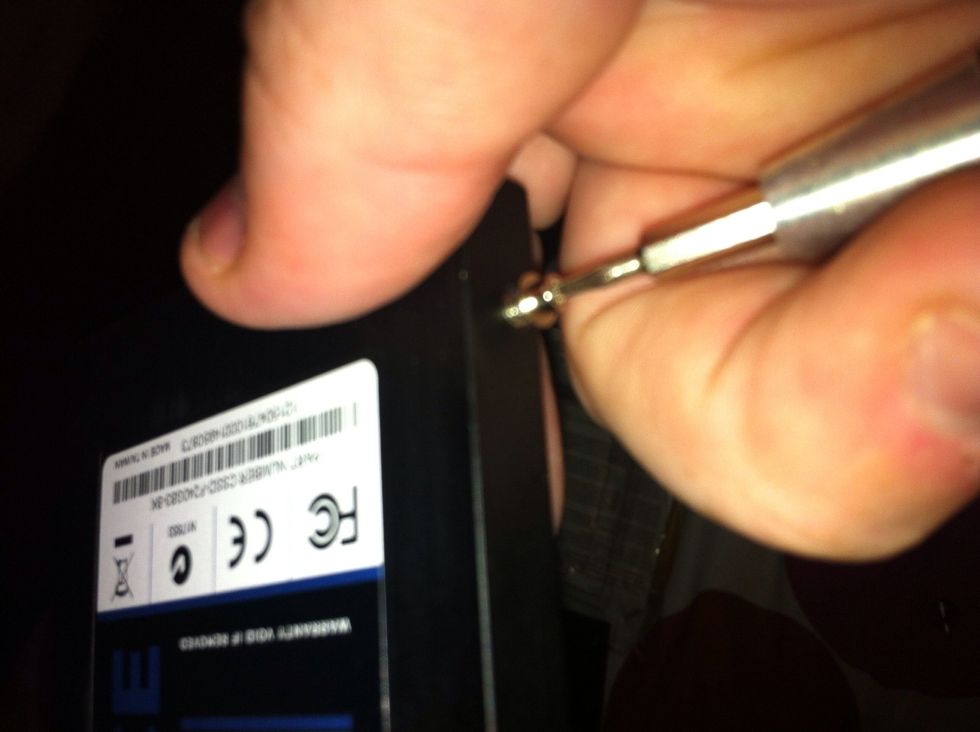
Remove torx screws with torx 6 screw driver 2 each side of hard drive and put them in your new 240gb ssd
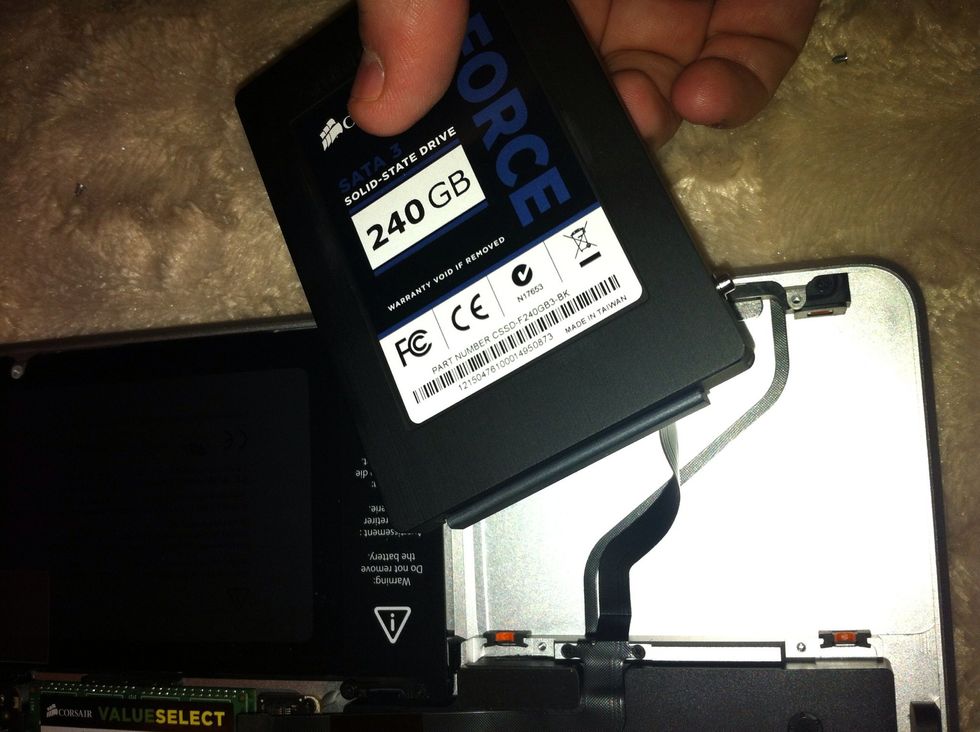
Now connect your new drive and put in place right edge first

Replace your bracket and tighten all 4 screws to hold your new drive in place
Re connect hard drive cable and battery cable

Replace bottom cover and tighten all screws you now have an upgraded macbook pro free to install whichever version of mac os x you wish