The Conversation (0)
Sign Up
Measure your dog: around neck, around chest, down back (from neck to butt), down underside (from neck to mid-stomach) - can't be too long or it will get messy.
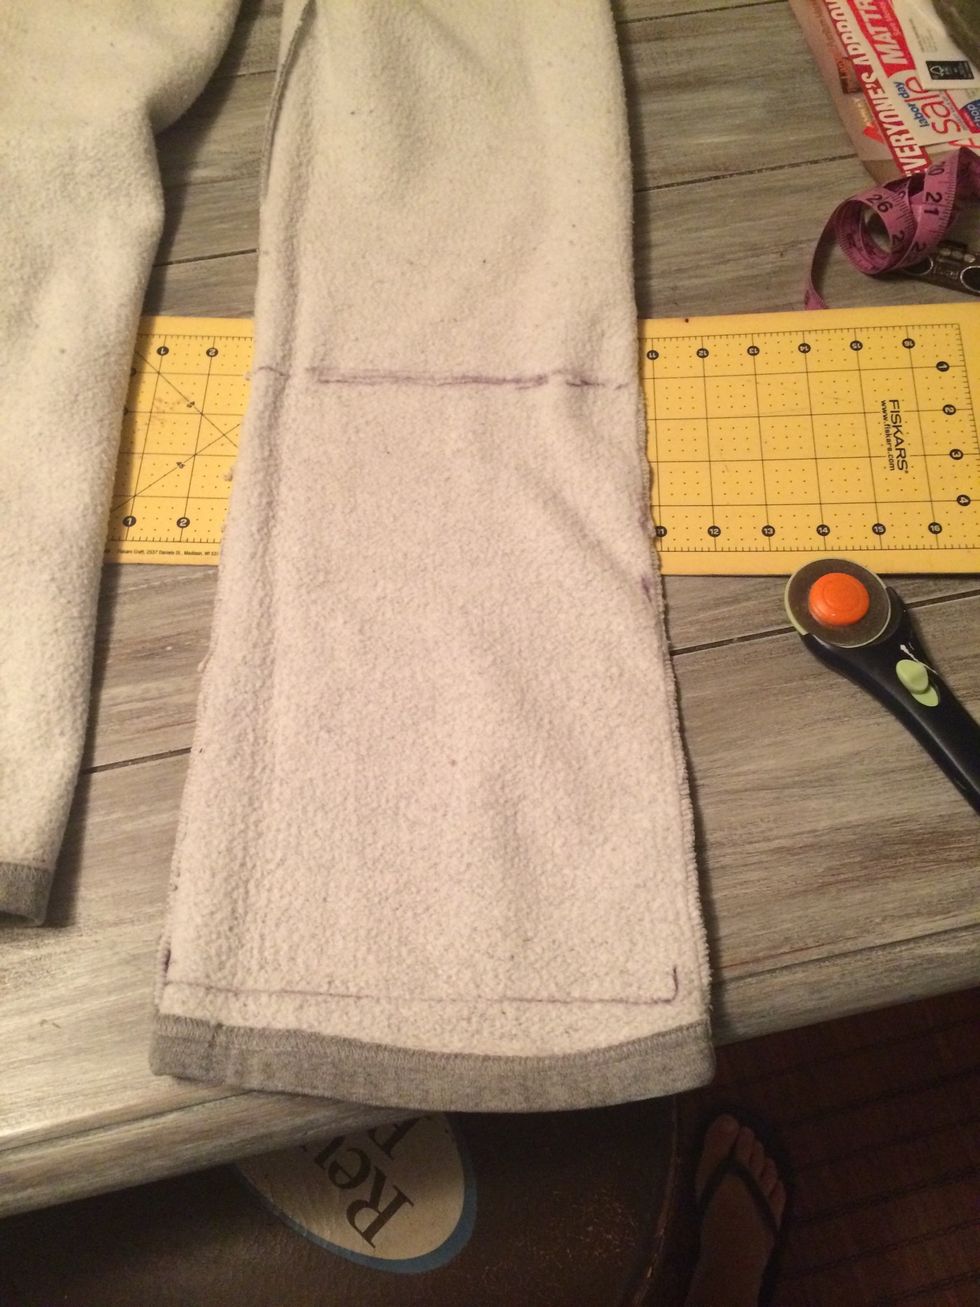
Cut pant leg with enough material to cover your measurements. Cut along seem to get 2 pieces from each leg. You can hem pants- which are now capris, use them for more projects or leave them as is.
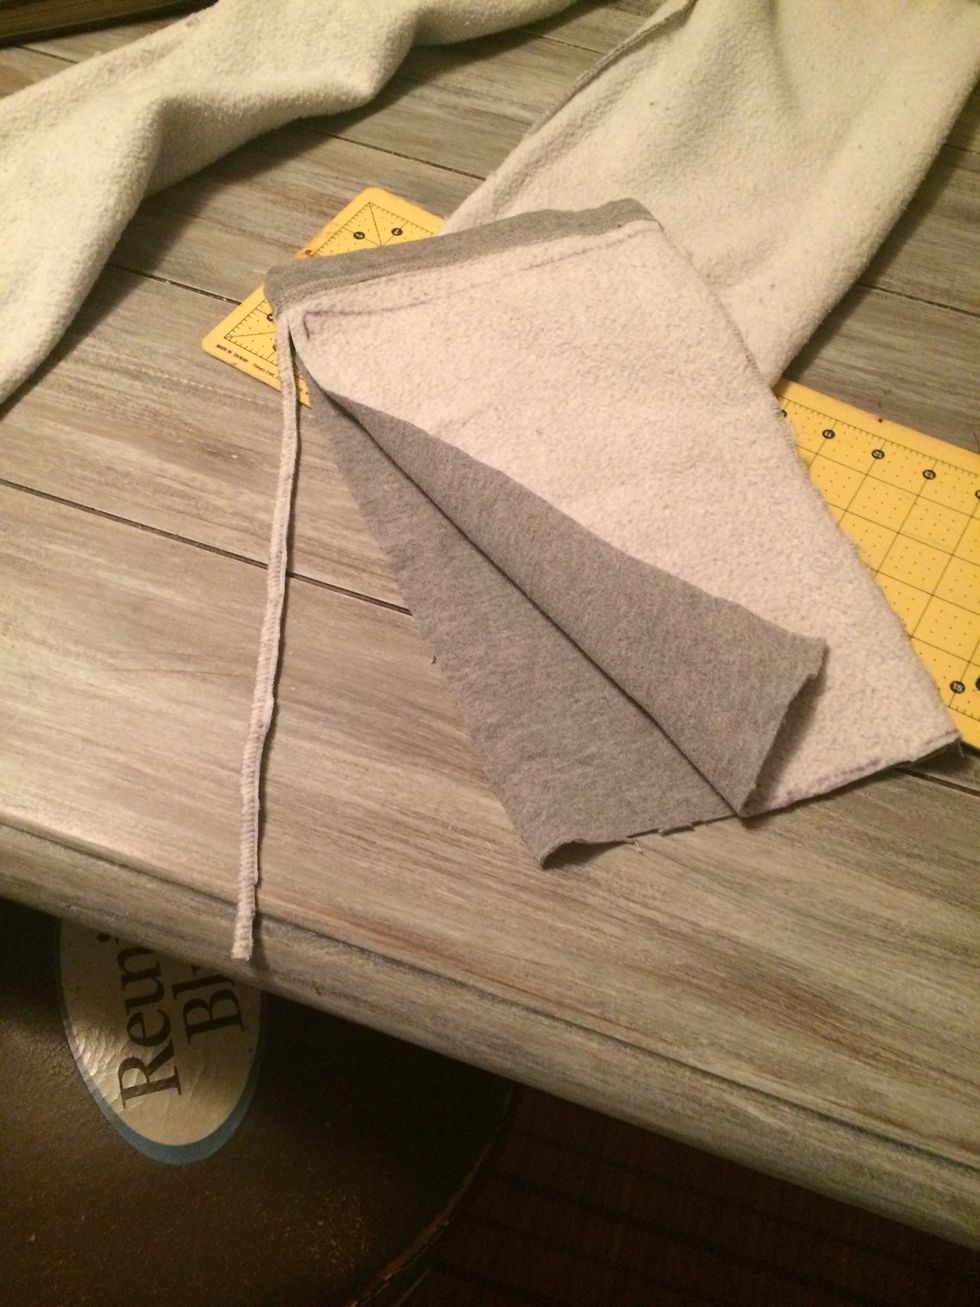
Seem cut off
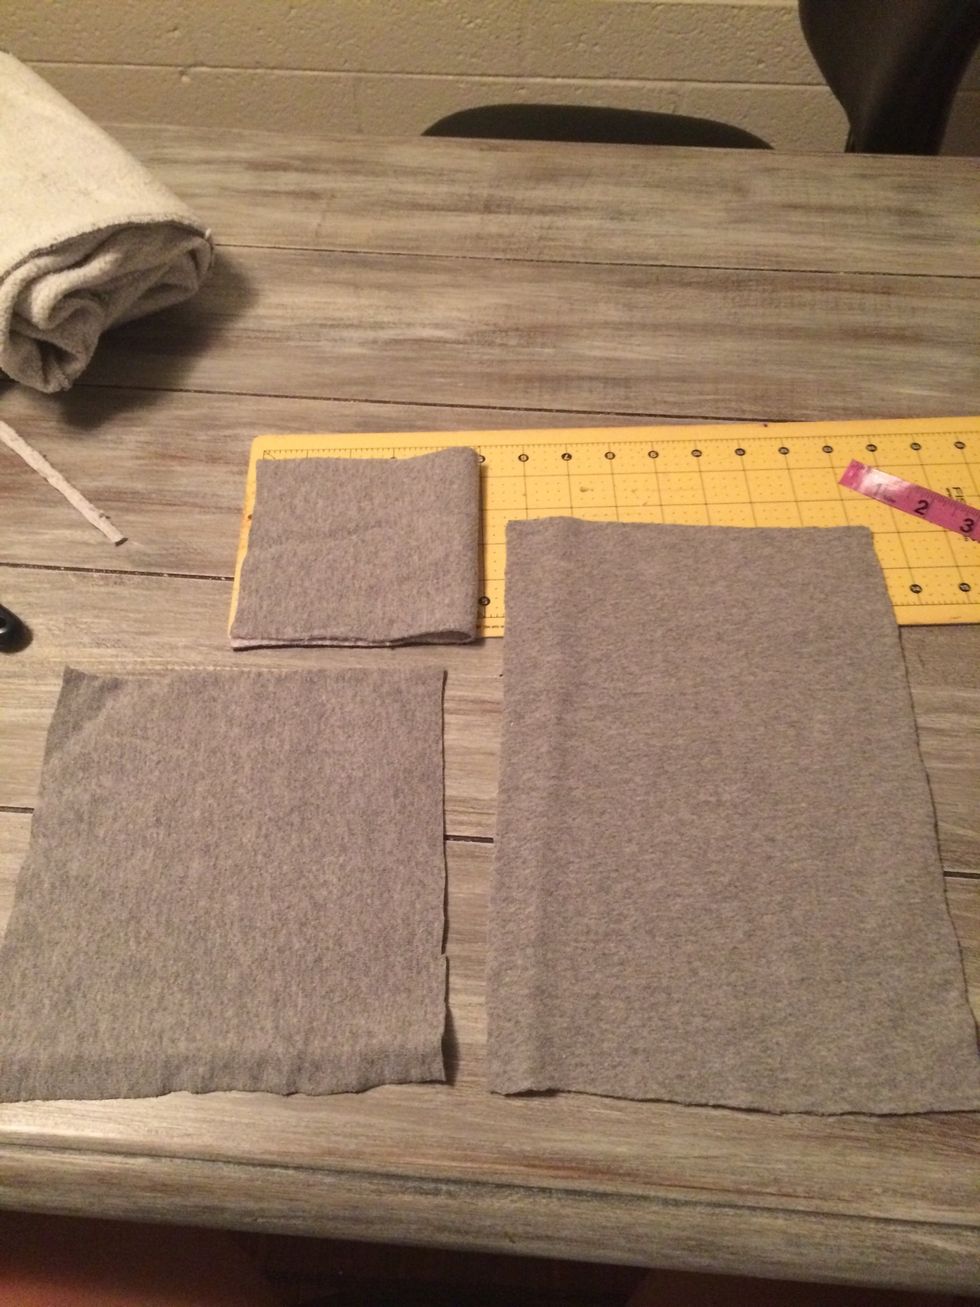
Top piece will be length of dog back by 55% of chest width. Bottom will be length of belly with 45% of chest width. Plus a piece the length of dog neck, folded in half & cut to make a square.
All cuts should include 1/2" seam allowance. My dog's chest was about 15 " so the top piece was 9" and the bottom was 7". You want the top piece to wrap around the sides a bit to make it fit.
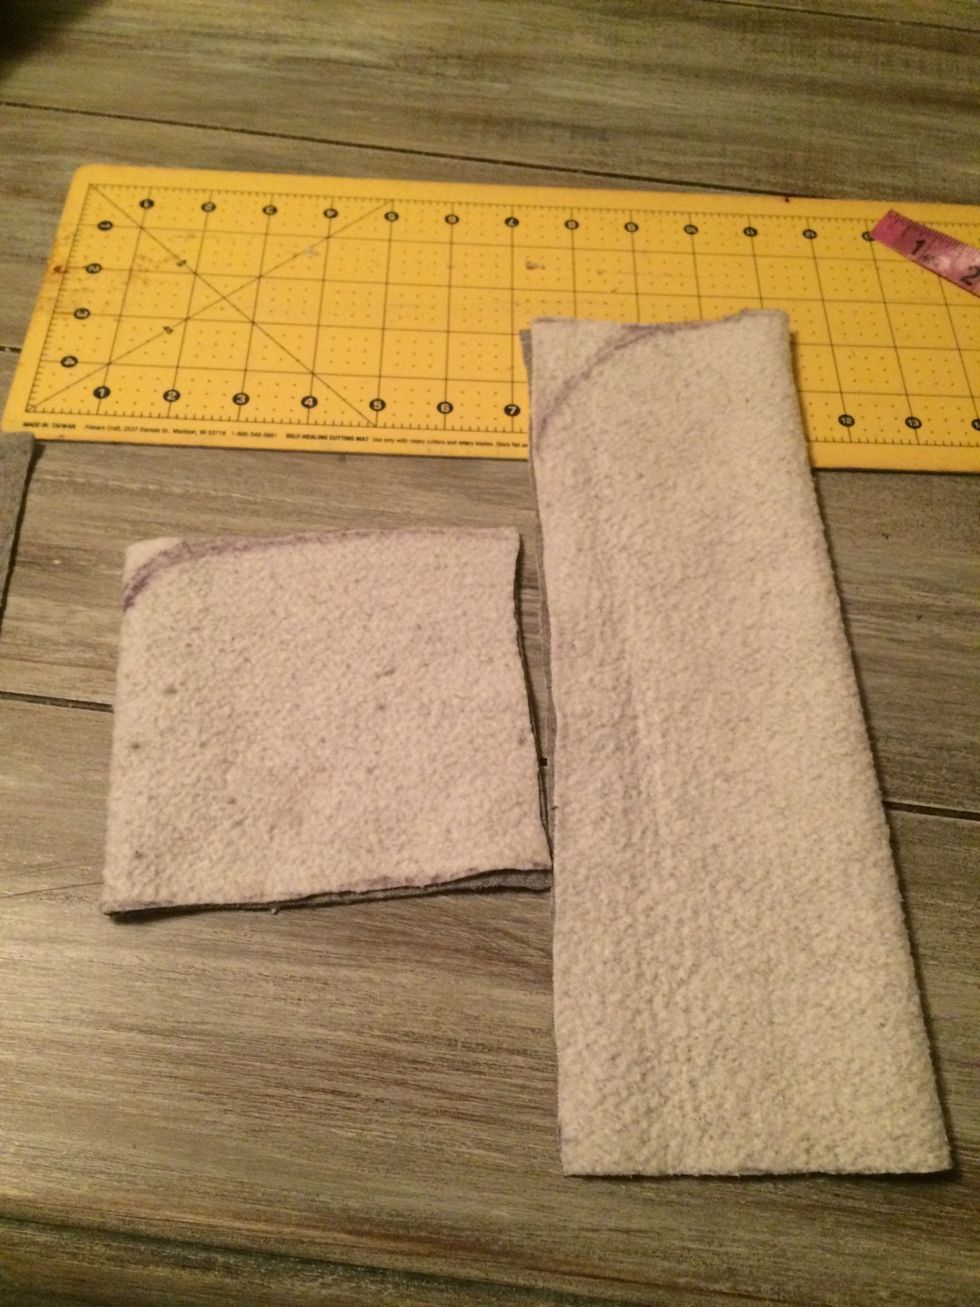
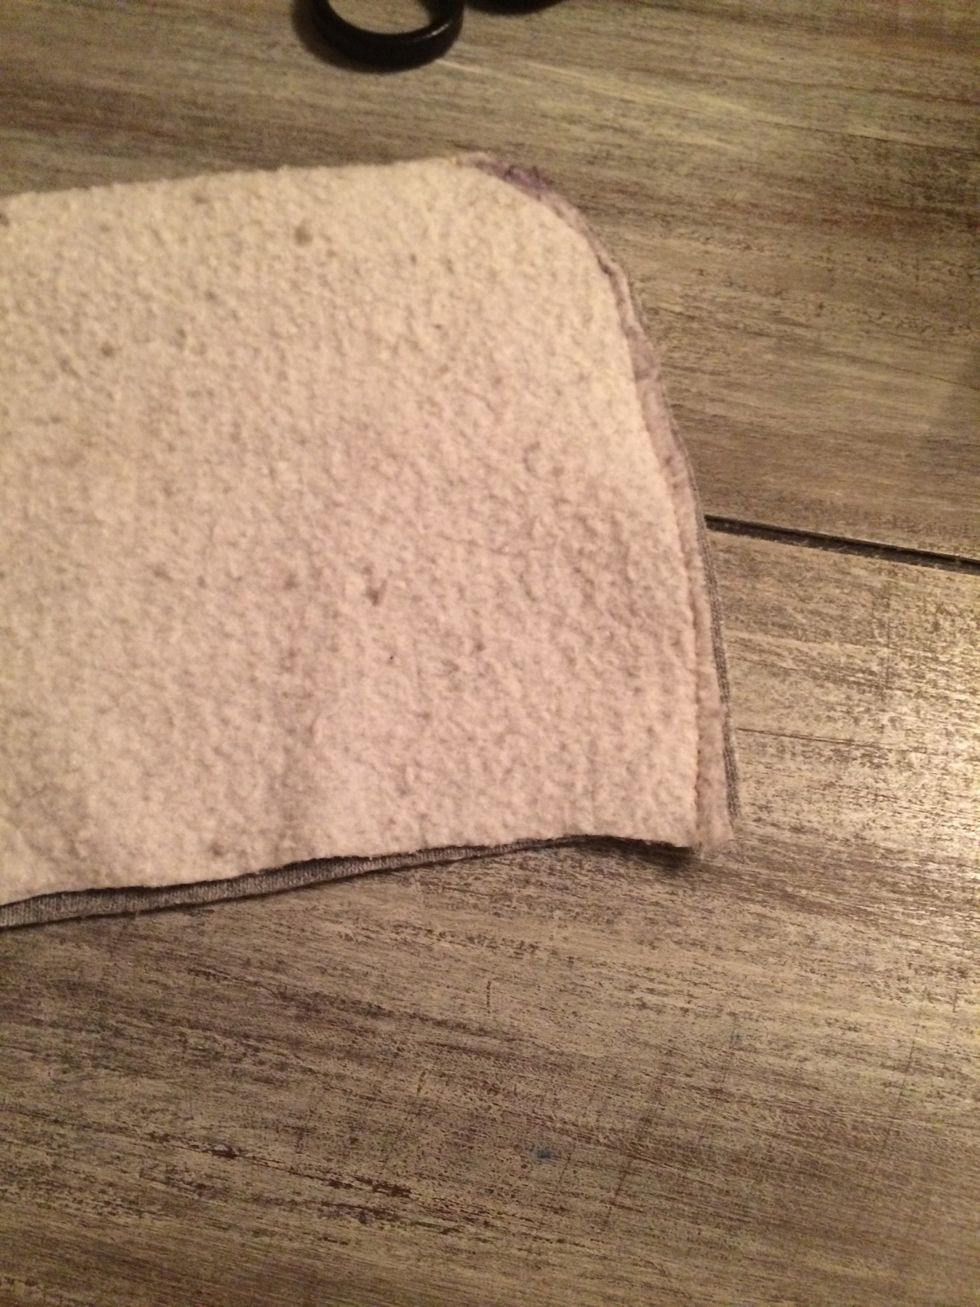
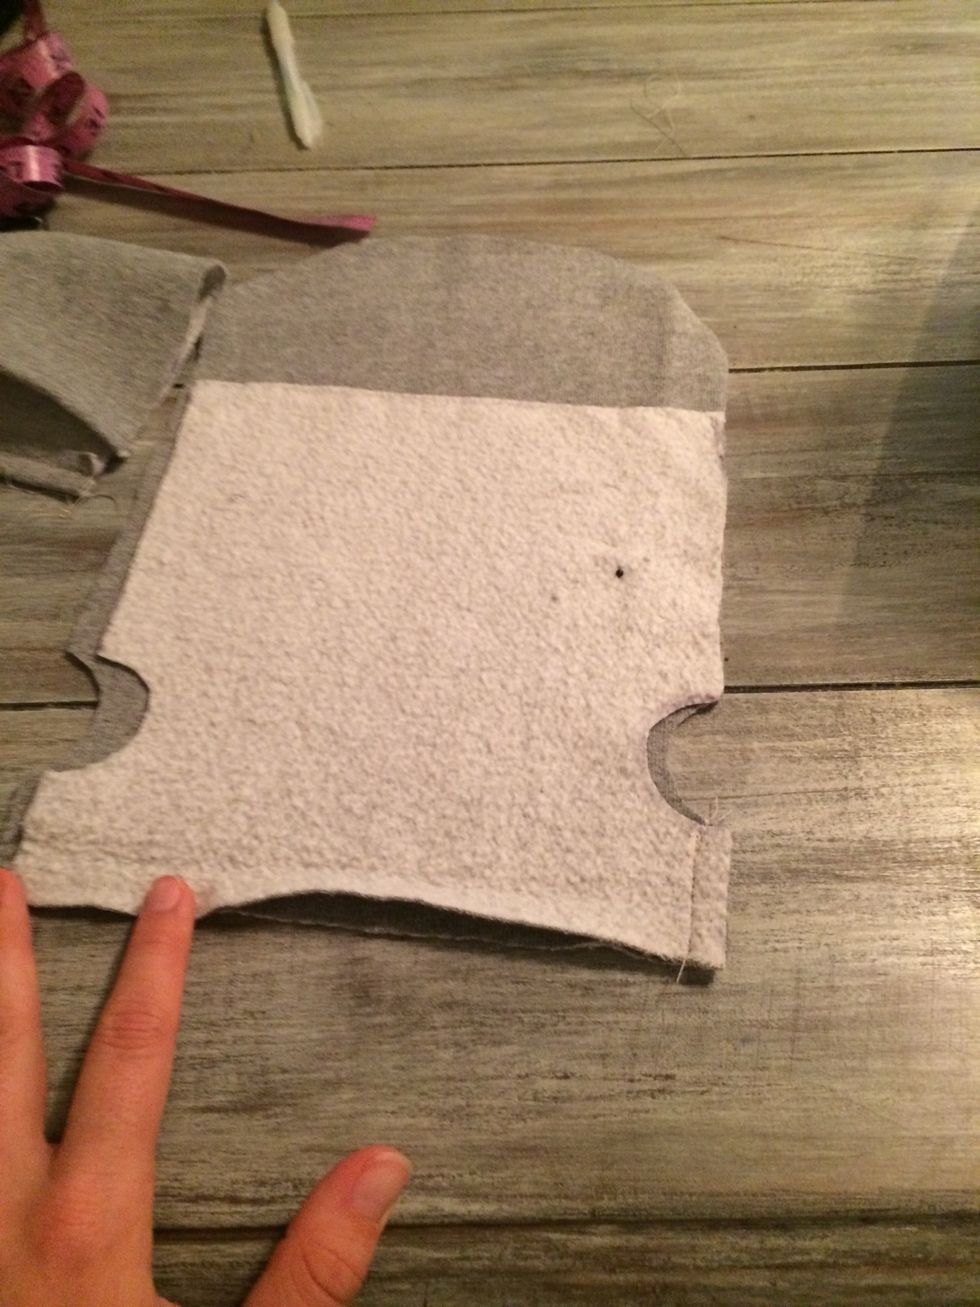
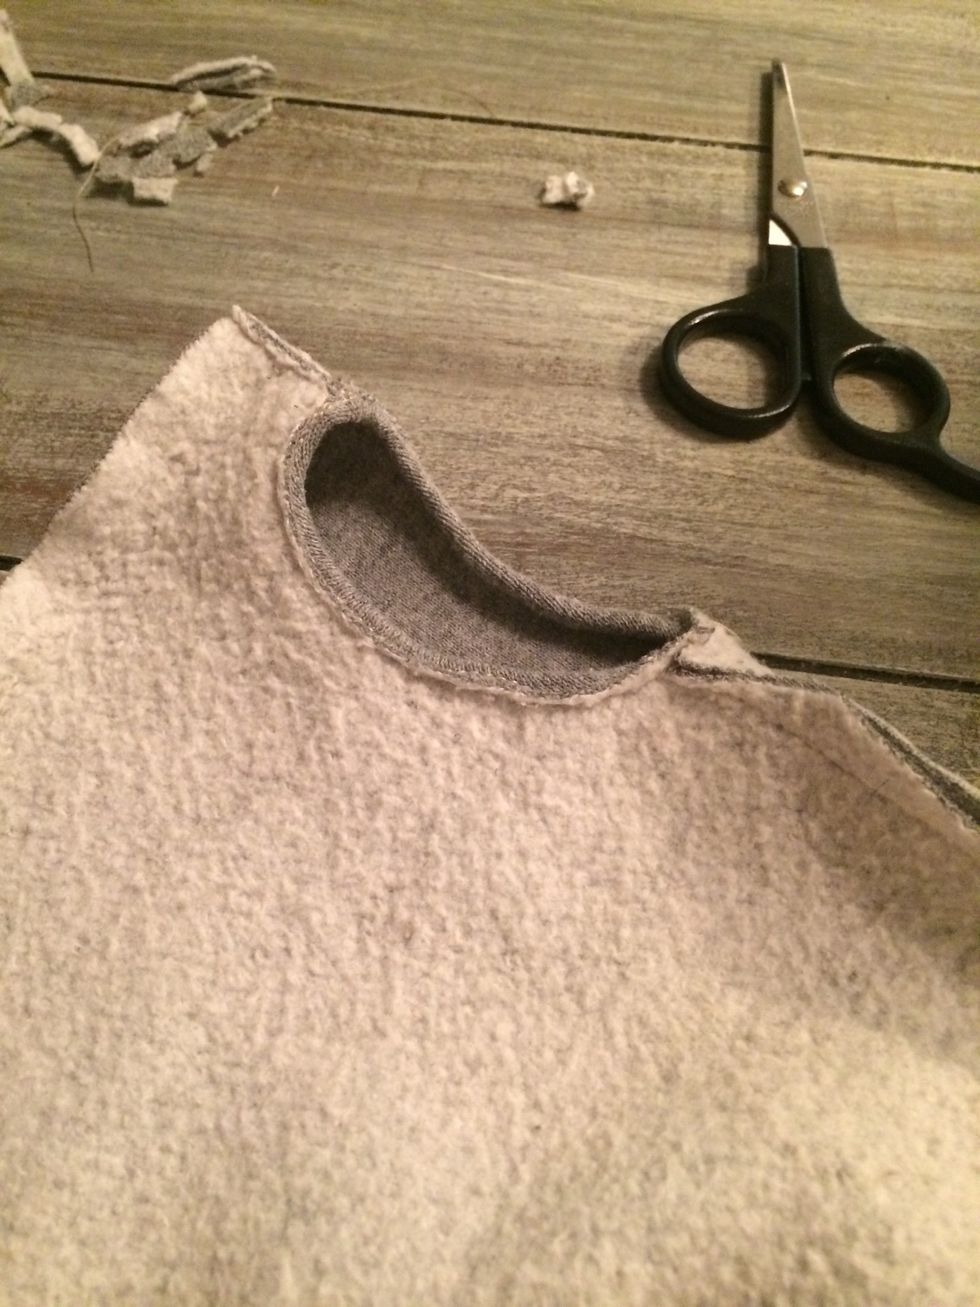
Cut curve into the small hood piece as well as the end of the top.
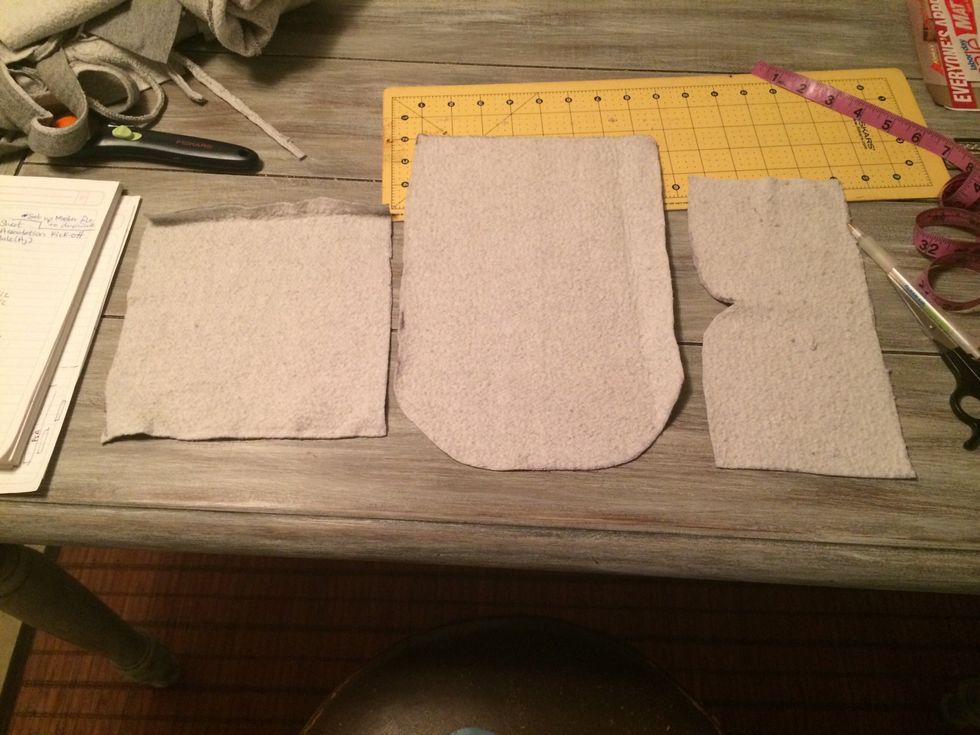
All measured pieces, cut and ready to go.
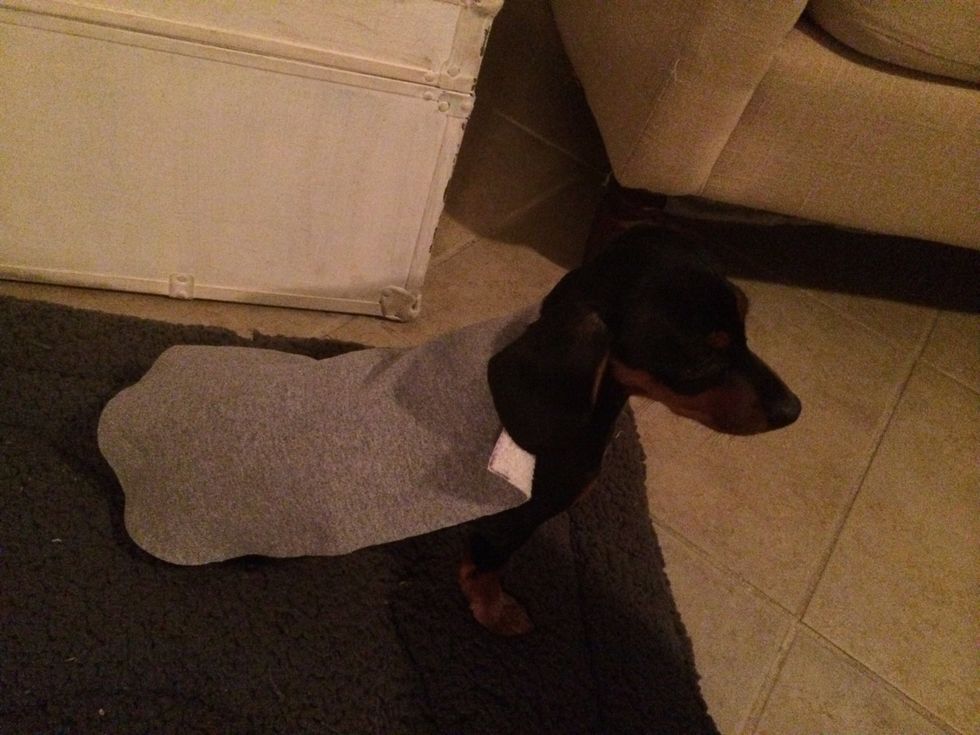
I laid the top piece over him to make sure it was going to fit right.
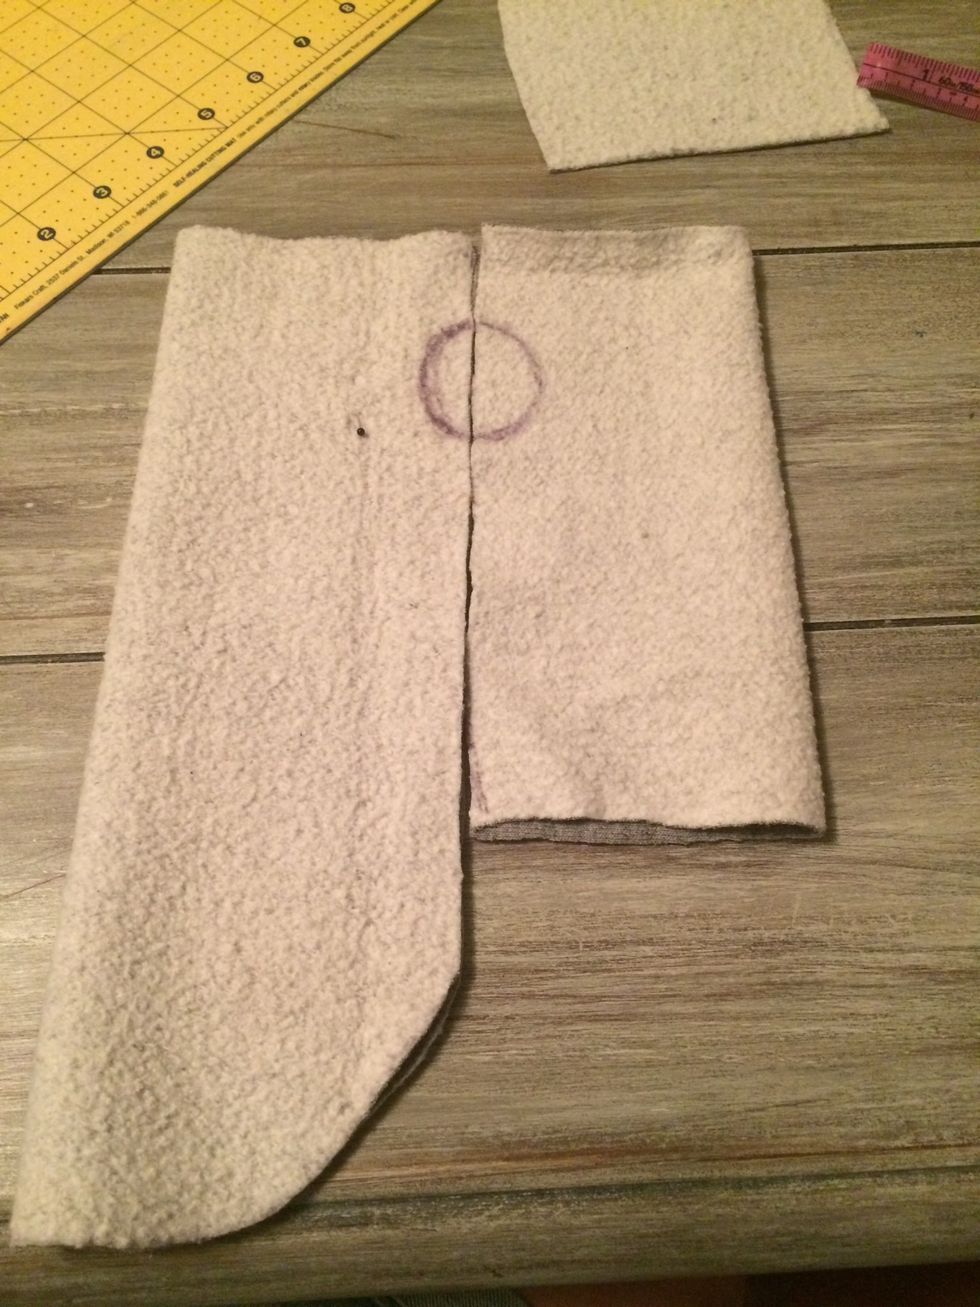
Line up the top and bottom pieces, folded length side and draw a circle between the two for the arm holes. These will get bigger later so done go too big here.
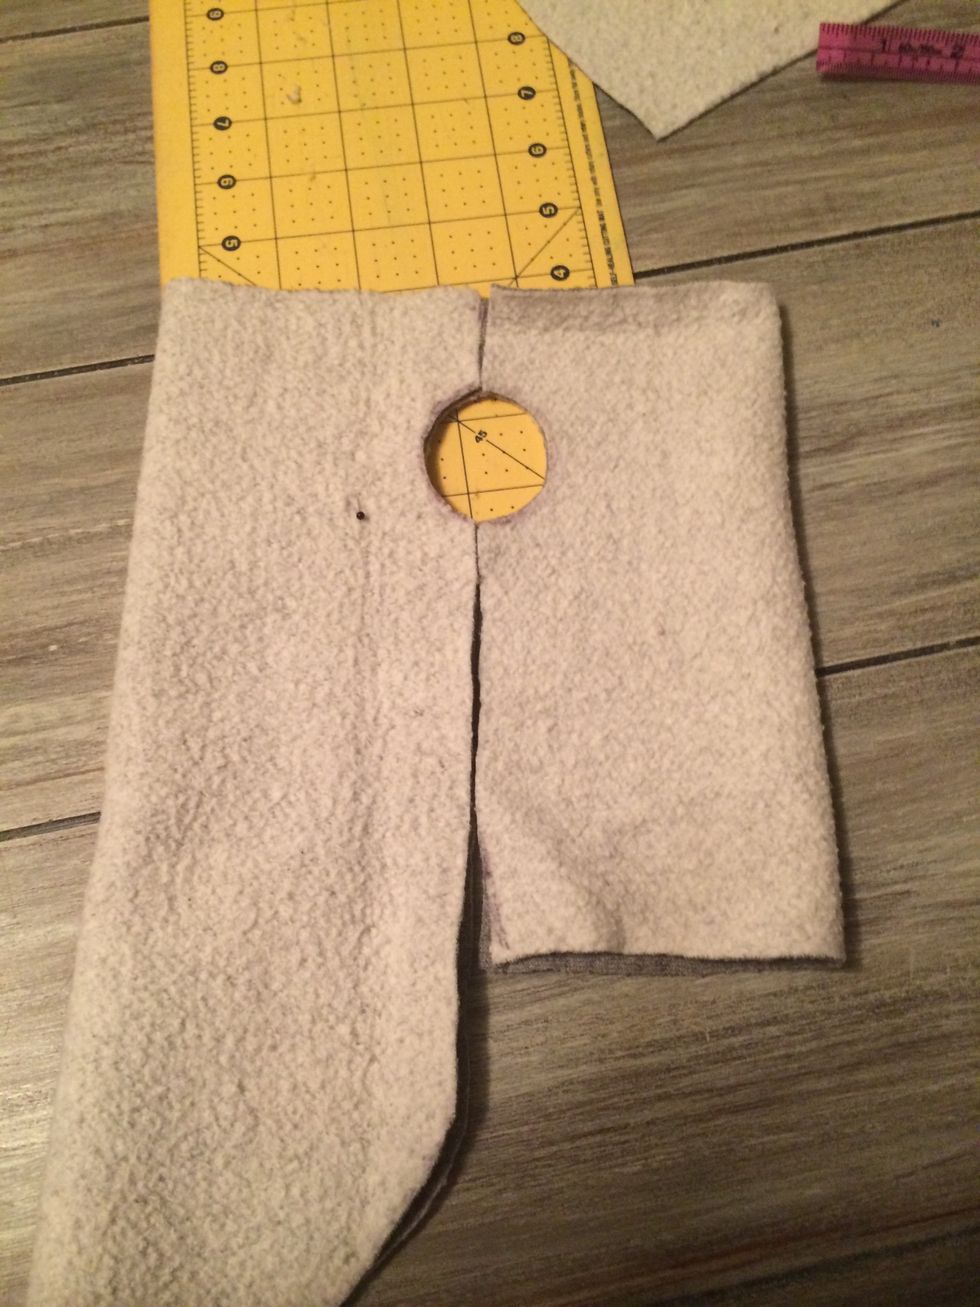
Cut out circle
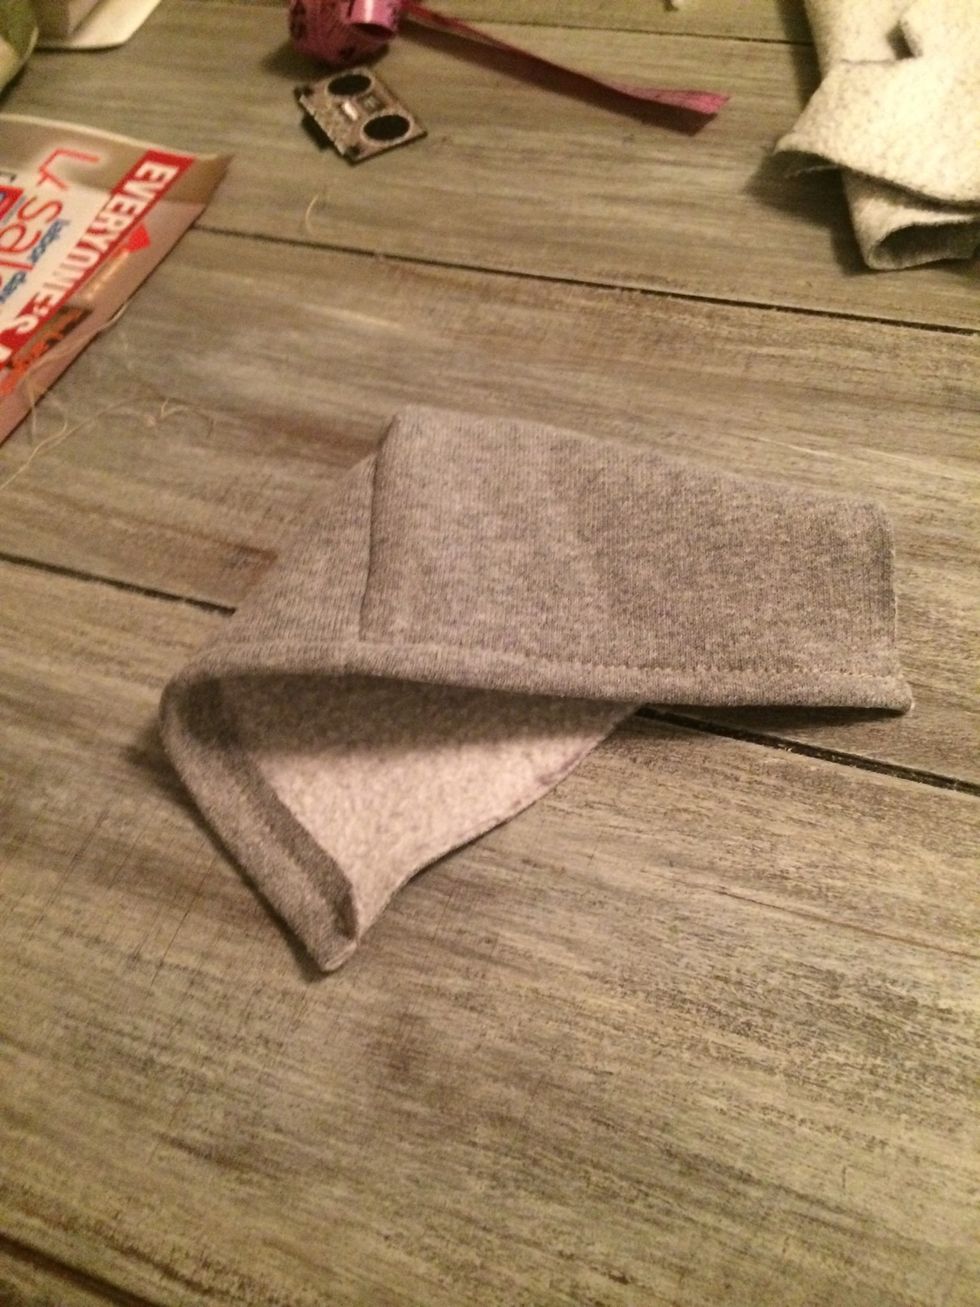
Fold square hood piece and stitch along curve.
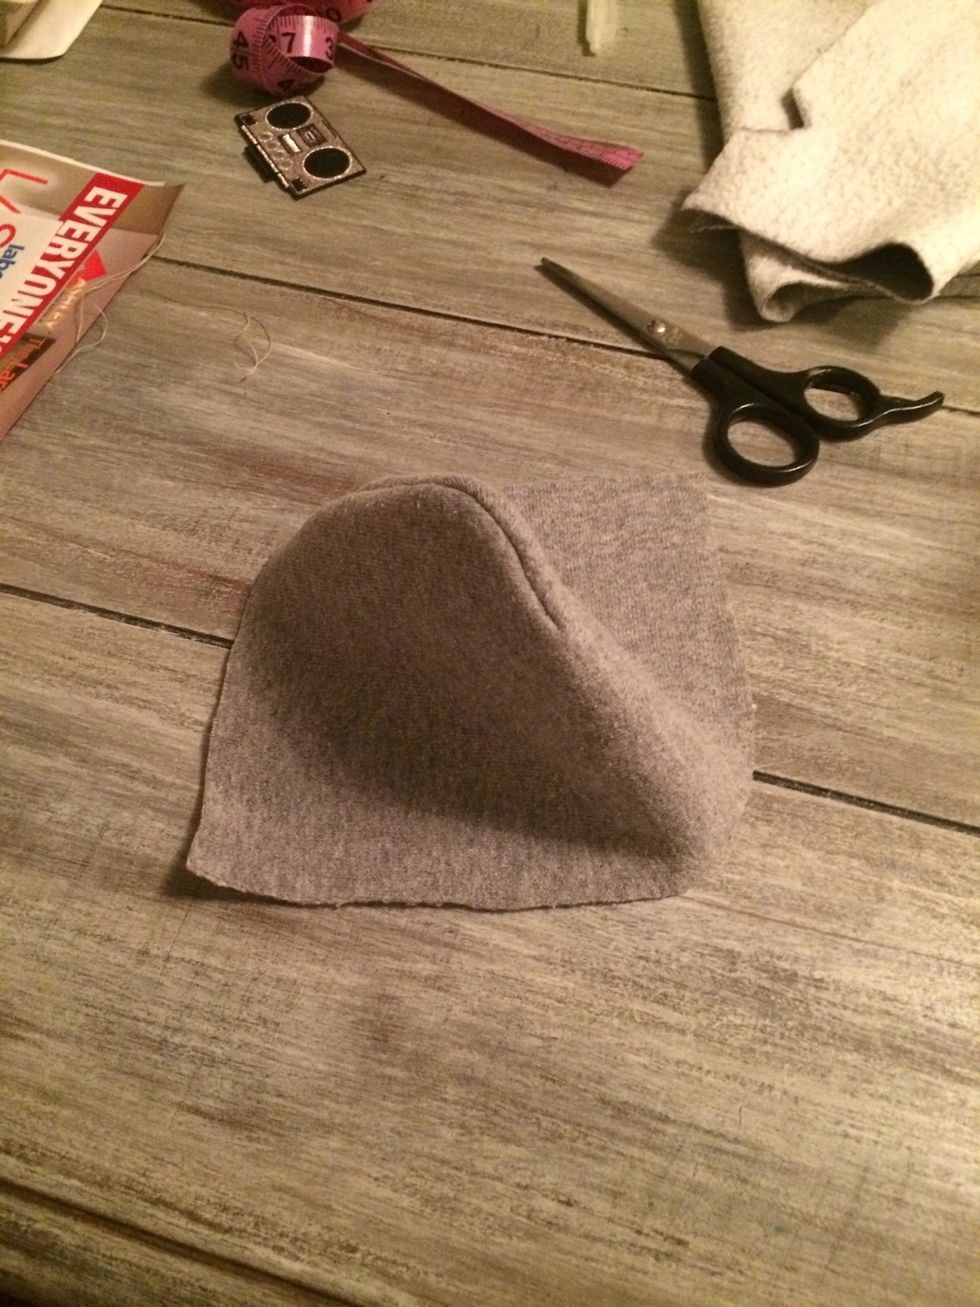
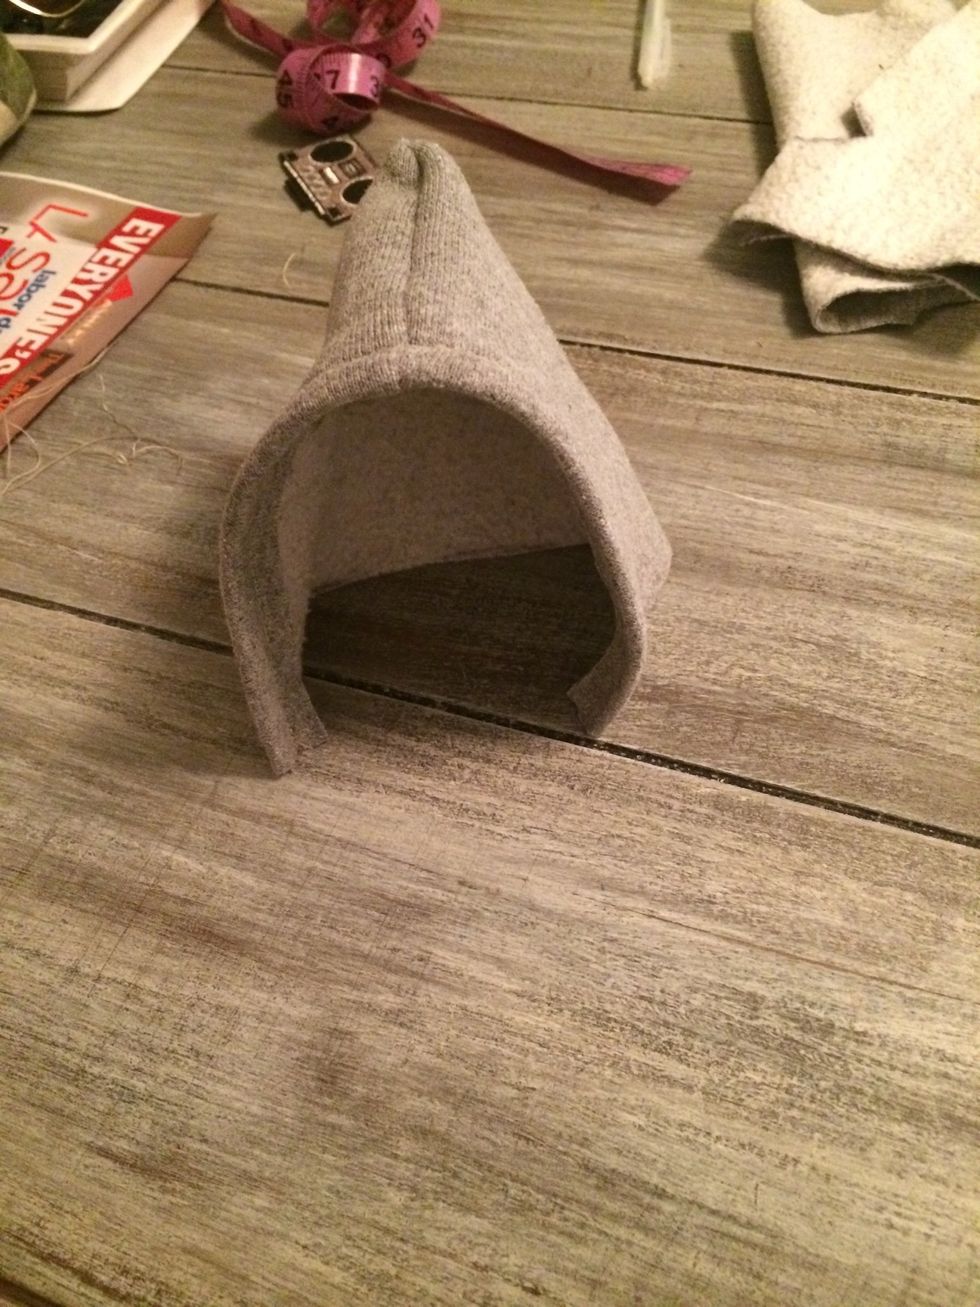
Formed hood
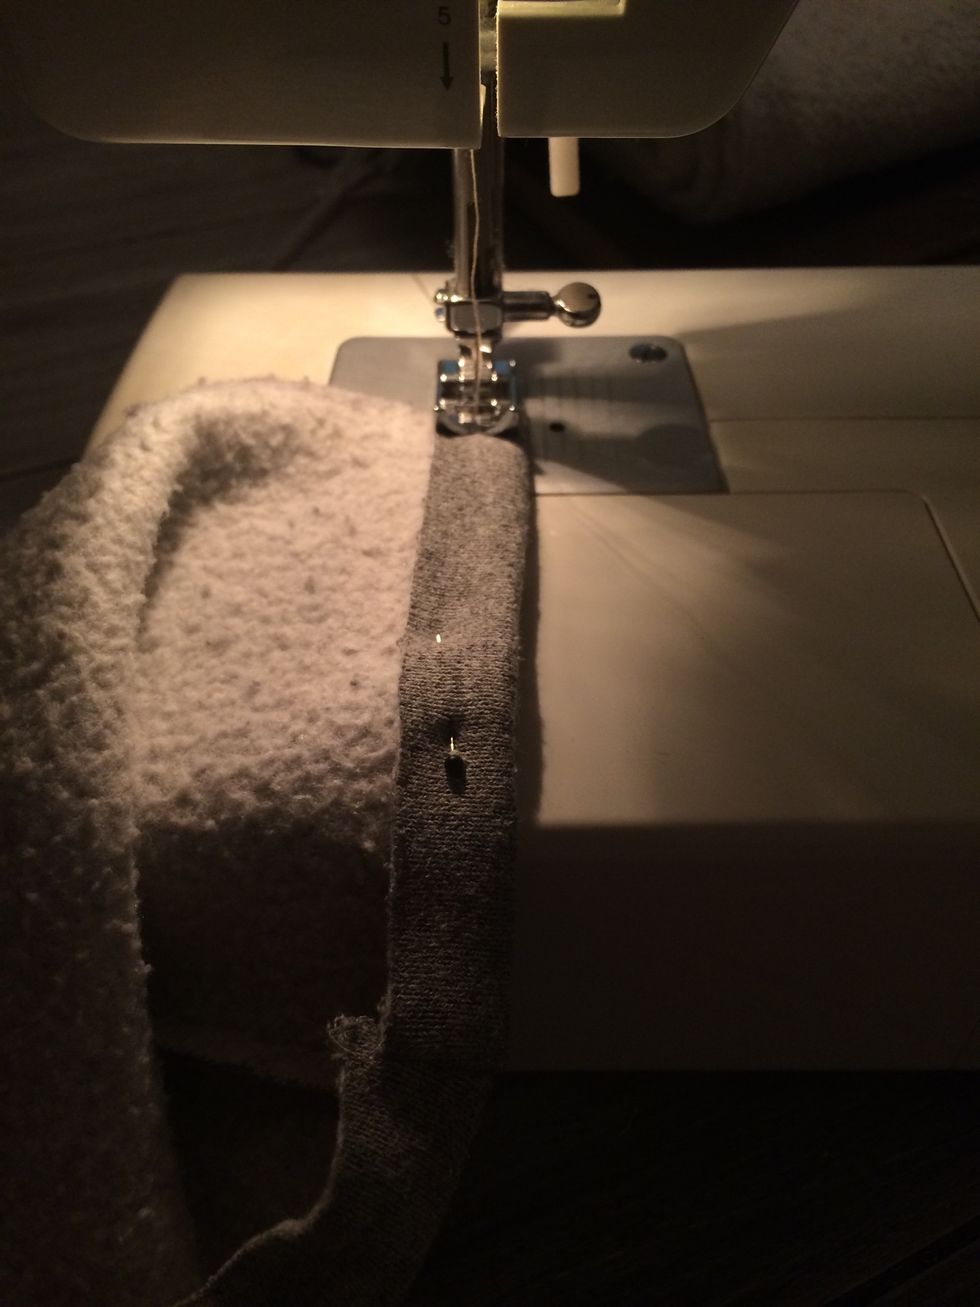
Pin and stitch the inside of the hood to finish off front end.
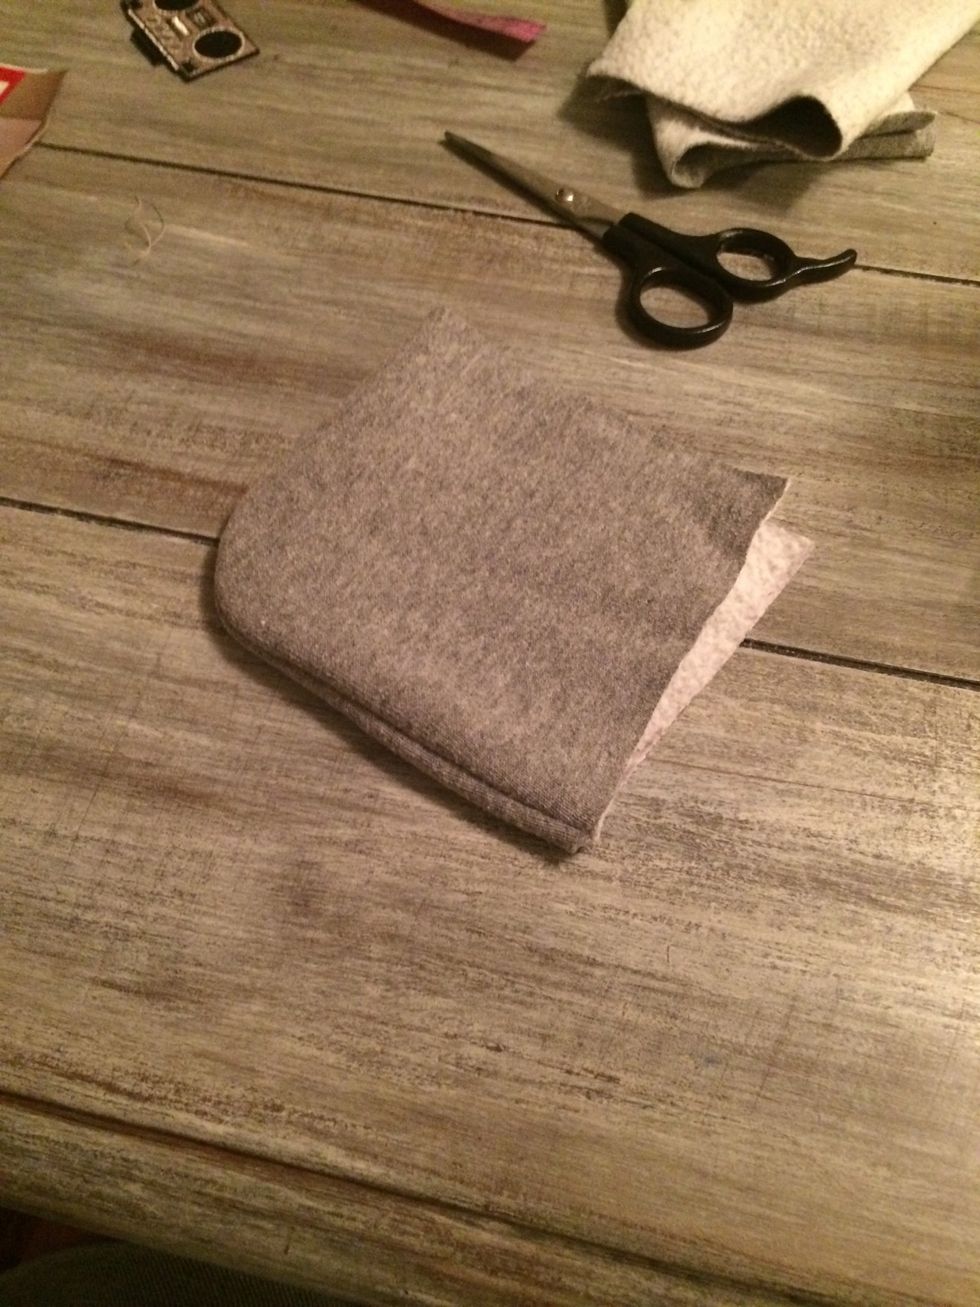
Hood - ready to attach. Our aside until later.
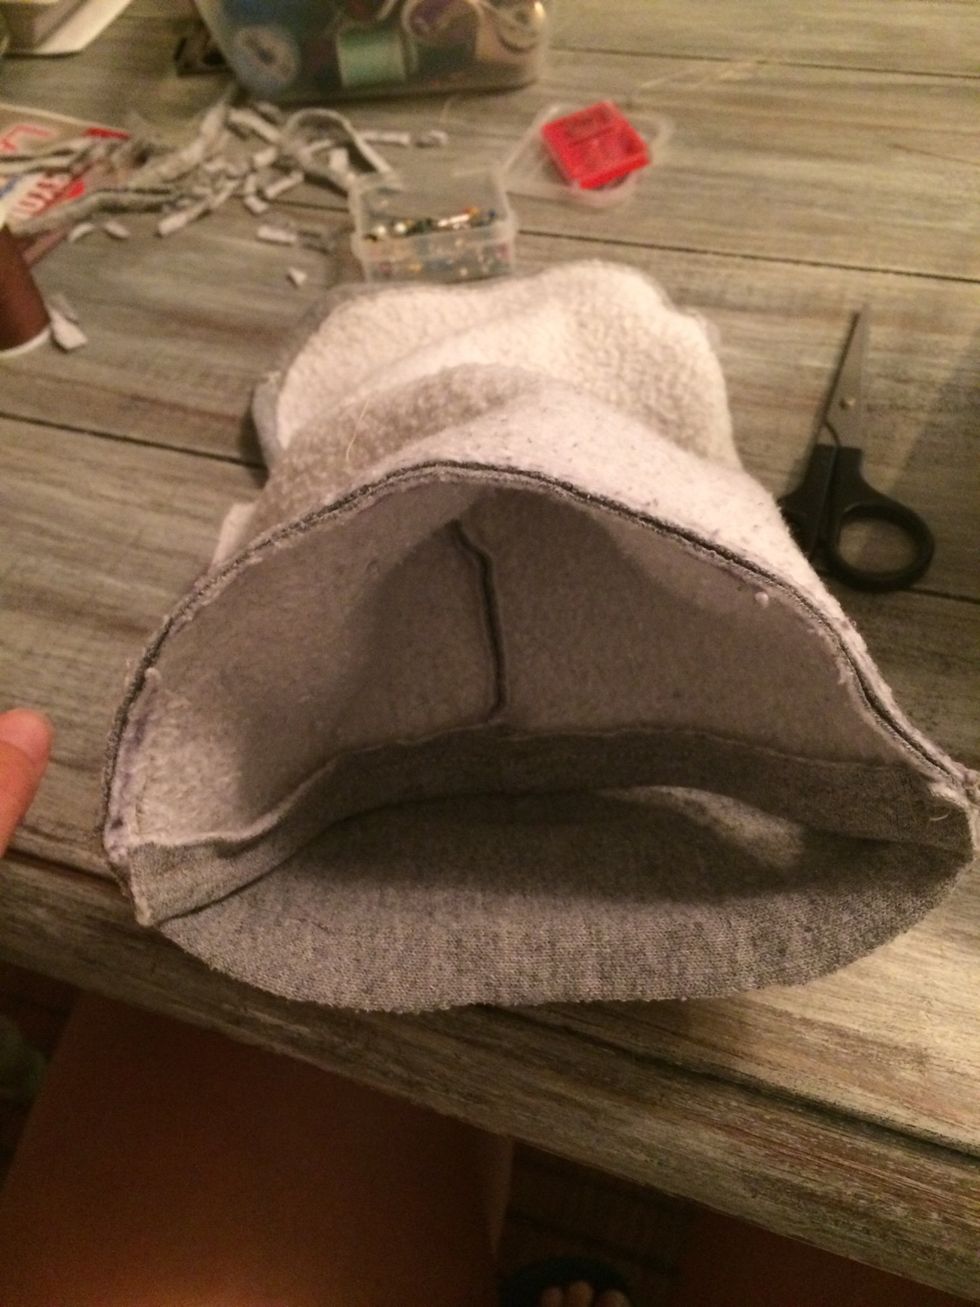
Line up top and bottom, right sides together. (They're different sizes so the won't line up perfectly) Stitch both side together, leaving room near arms.

I tried it on him to make sure it fit. If it doesn't, adjust accordingly.

Cut seam off sides to make next steps easier.

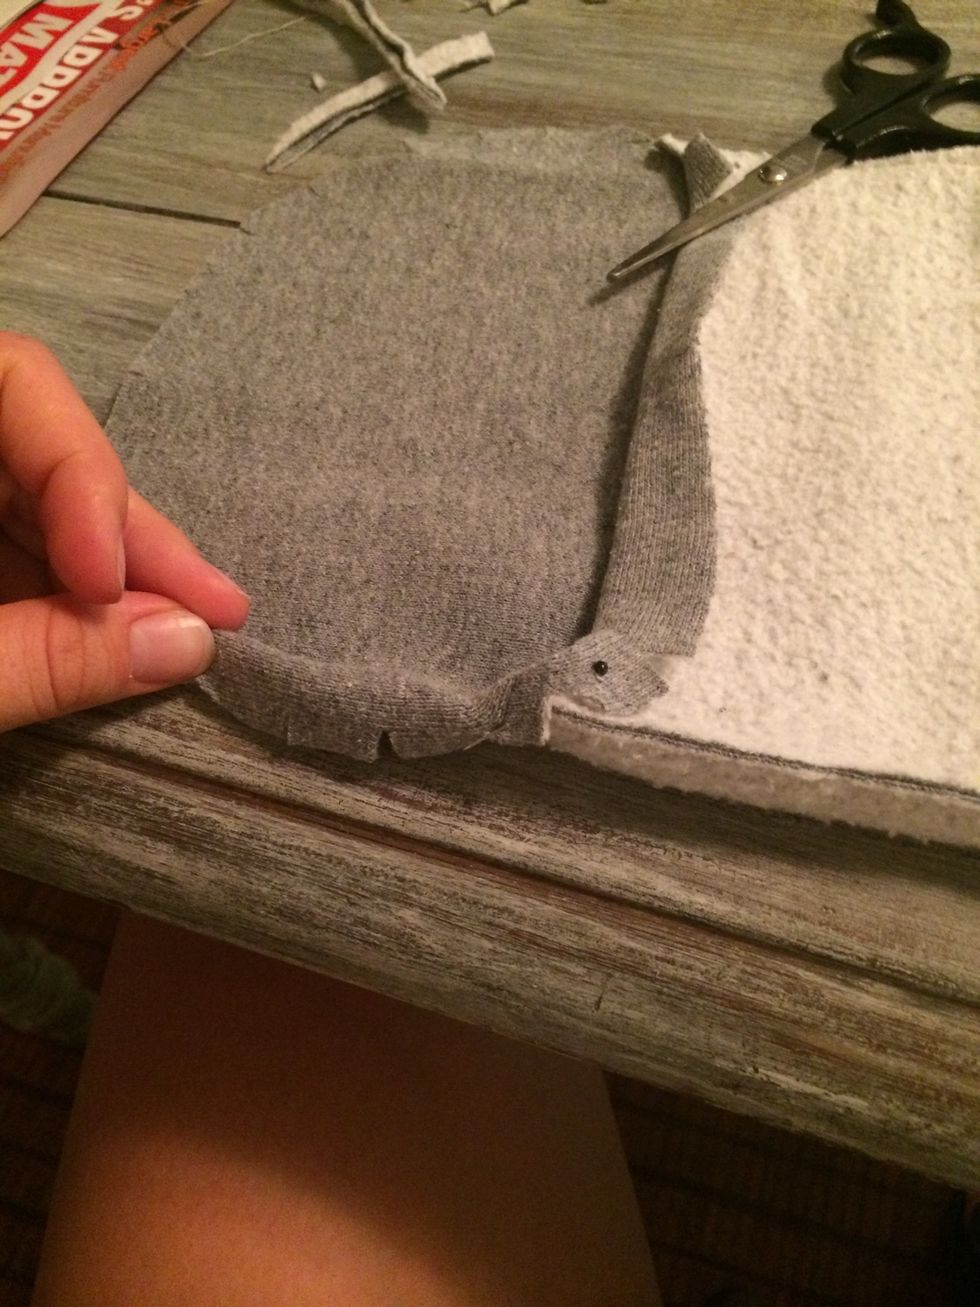
Cut notches into arm holes to be able to hem them.

Sew down and cut off tabs.
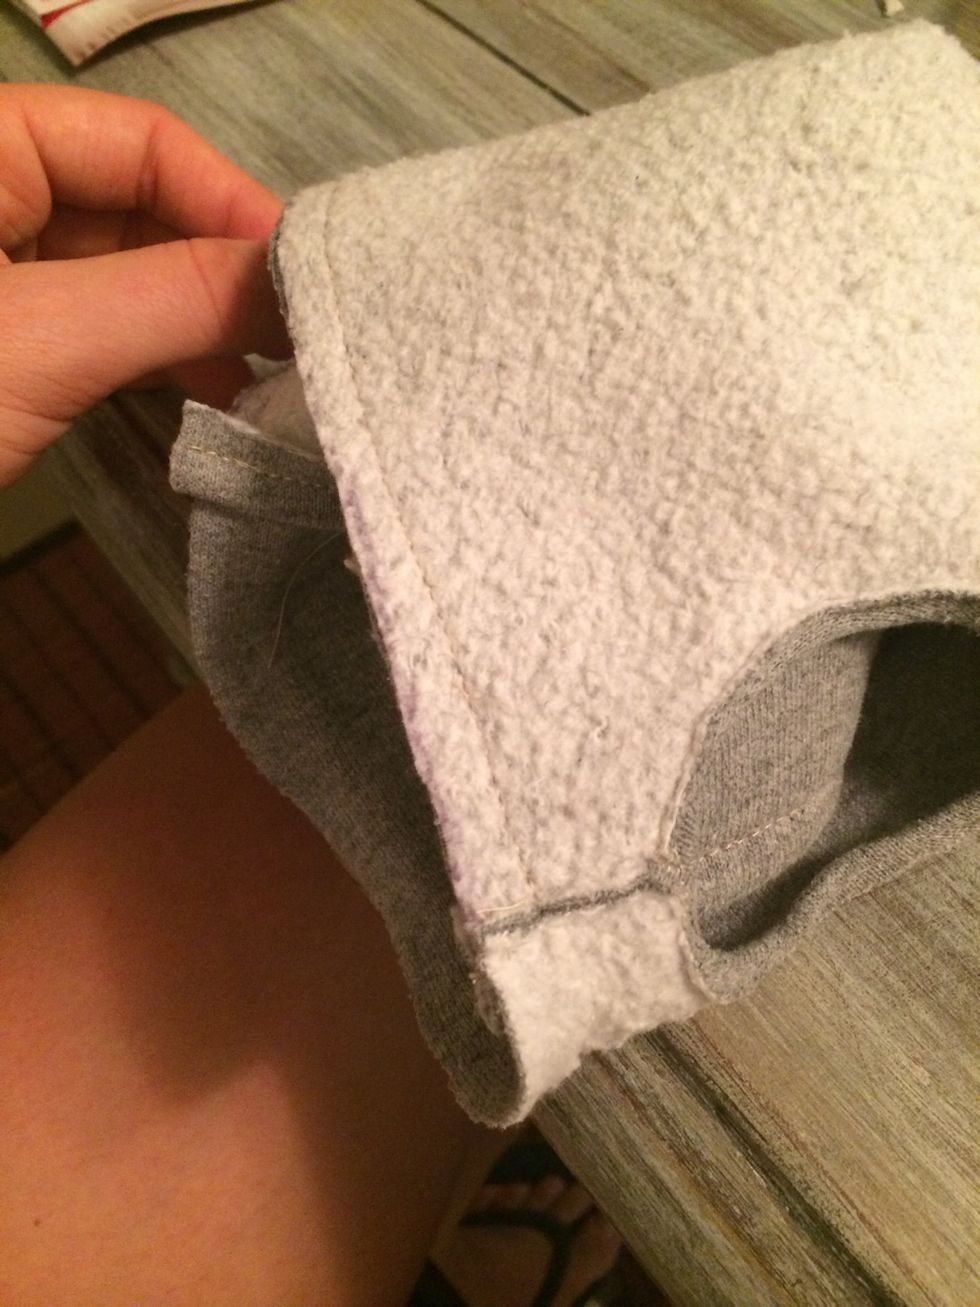
Repeat process with the lower hem to clean ends around top and bottom pieces.
Pin on hood and stitch
Cut off seam
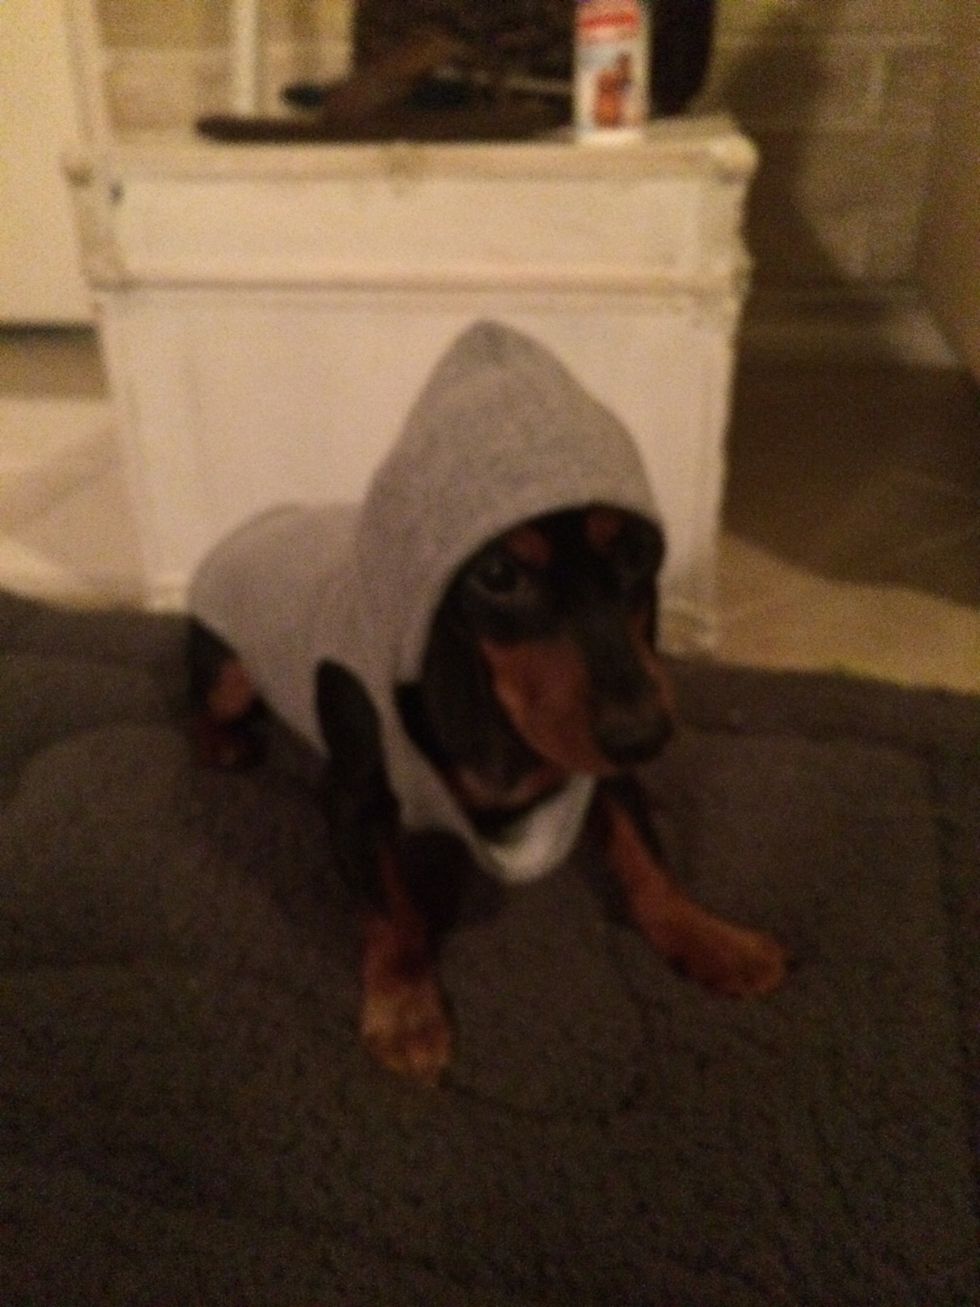
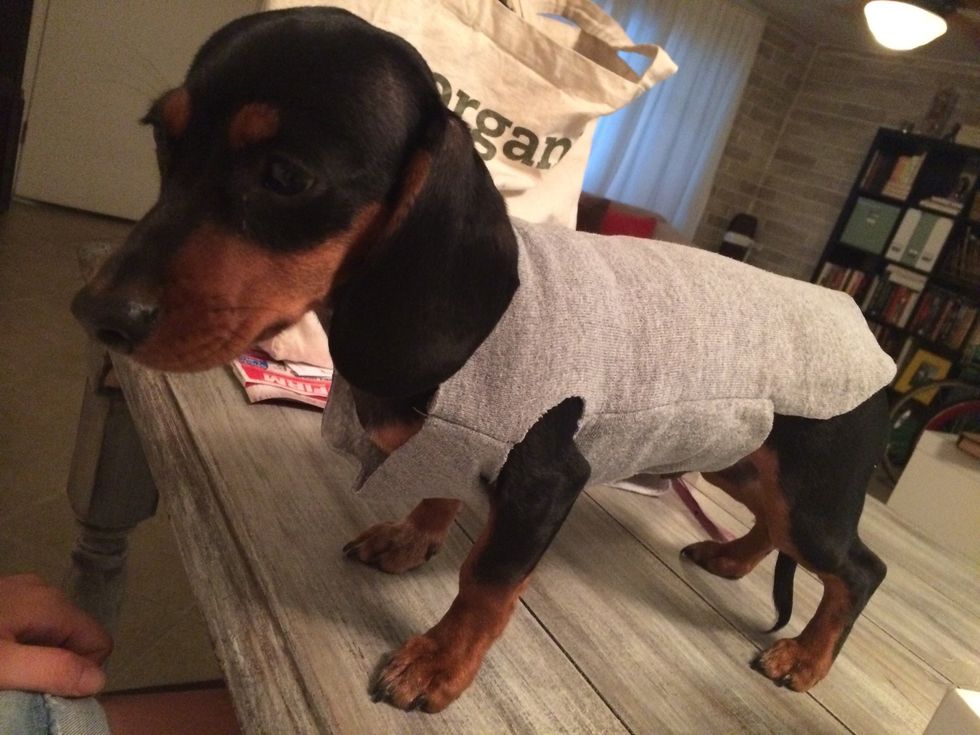
Finished
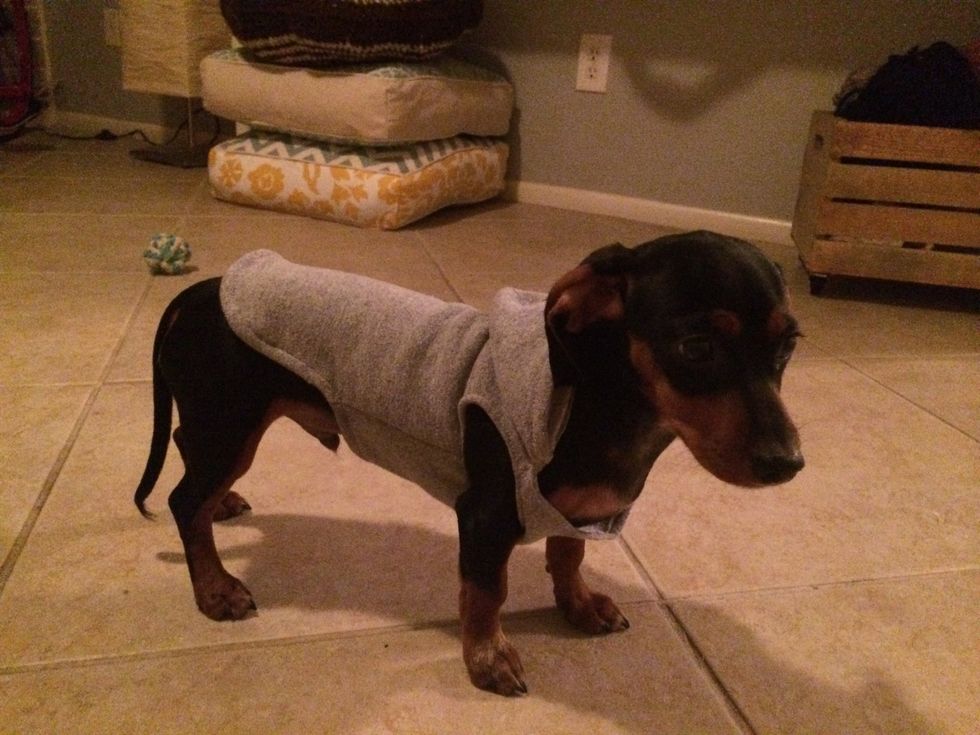
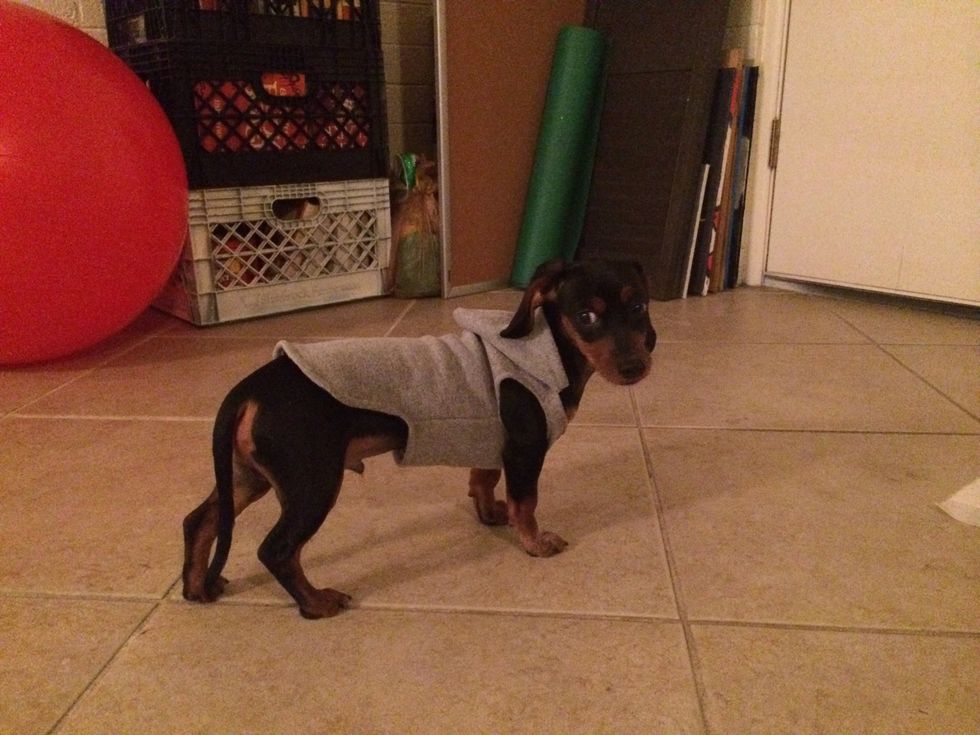
This was my first one but I had quite a few changes to make once it was finished so it would fit him right.

He did great on his first camping trip - but boy did he get dirty!
I pretty much followed the urban threads tutorial here: http://www.urbanthreads.com/tutorials.aspx?t=PRM1022 Check it out for more direction and some of their other cool ideas. Thanks for reading!