The Conversation (0)
Sign Up
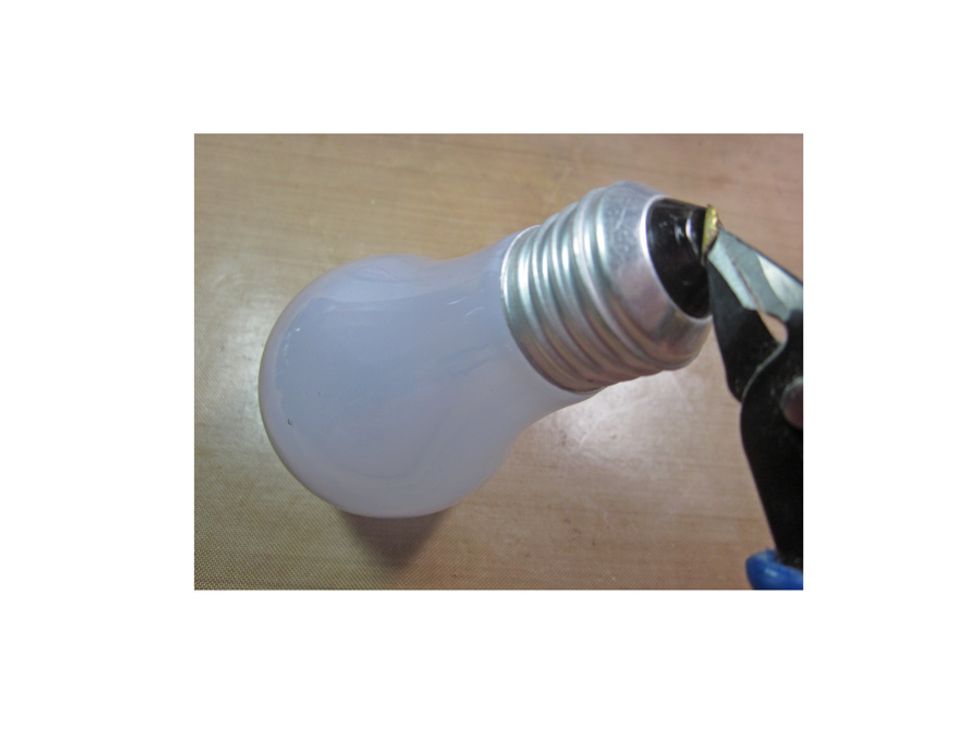
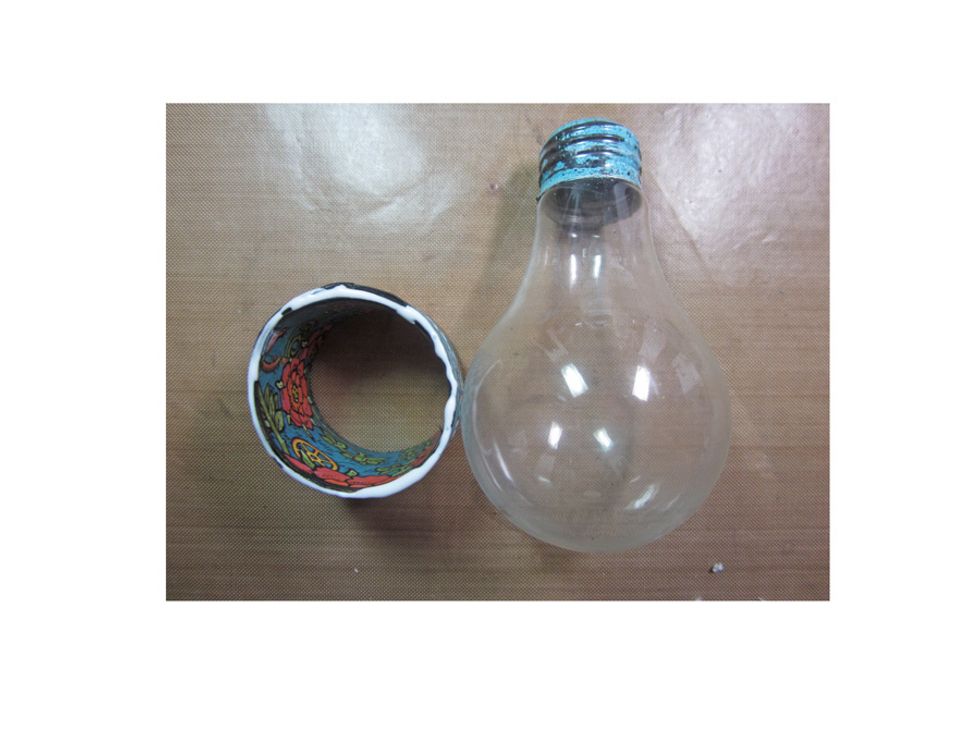
First step is take a pair of pliers and peel off the metal tab on the bottom of the used light blub. Be sure to wear eye goggles during the process of preparing the blub.
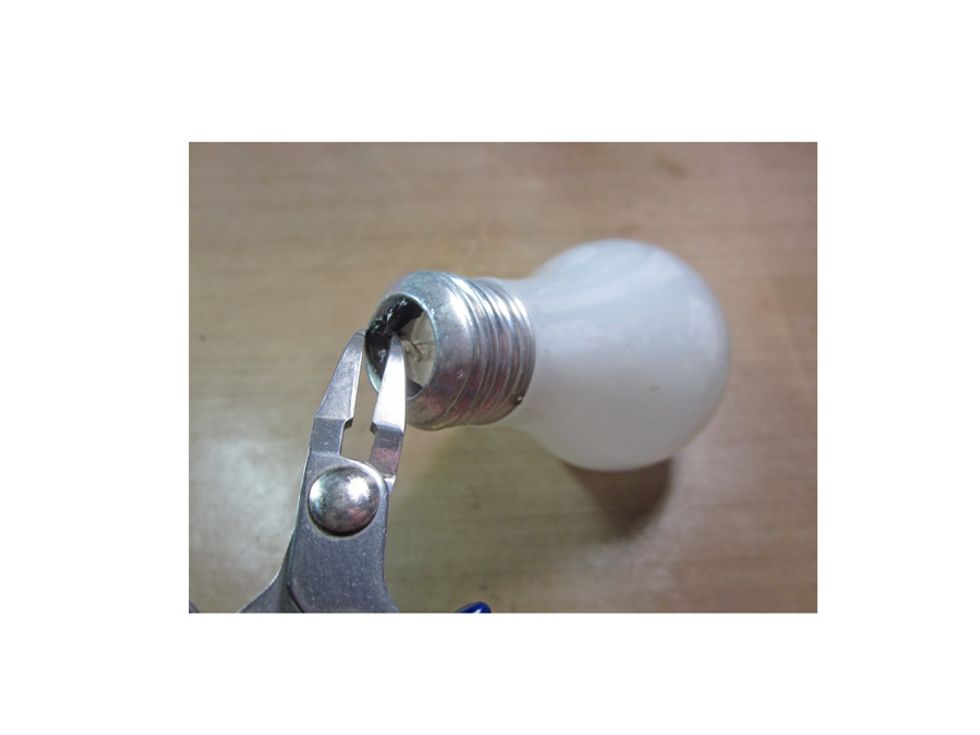
With your pliers break out the dark glass plug in the bottom of the blub. I then took a screwdriver and very carefully broke the glass tube in the center and cleared all the excess glass out.
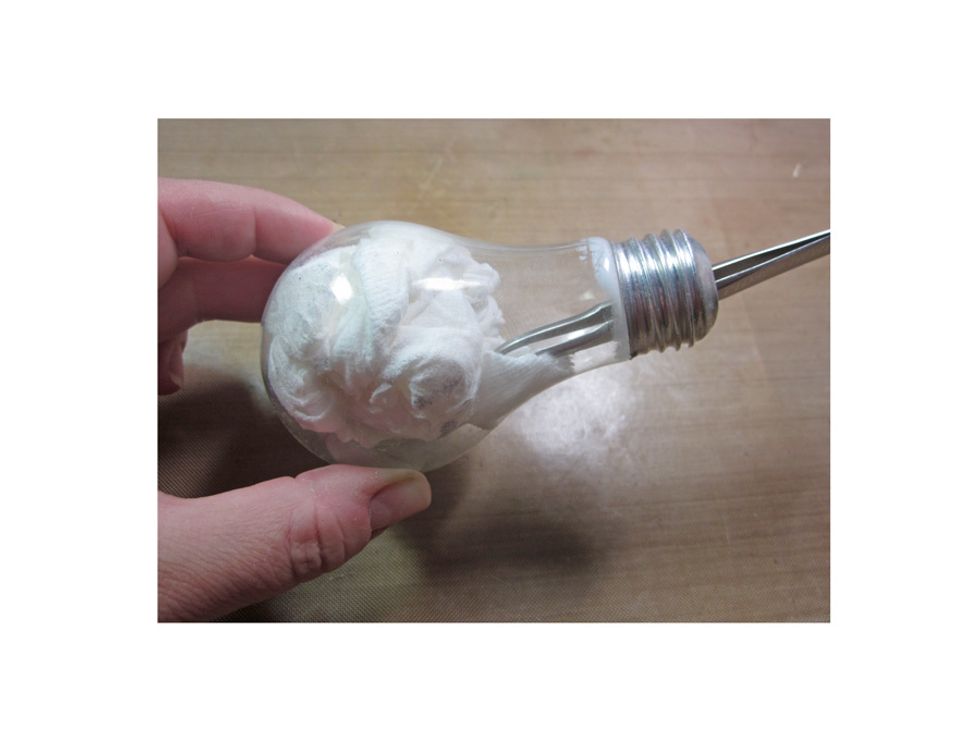
Take a tissue and run around the inside of the blub to remove the white powder layer. Be sure to wash your hands after this and don't get the powder near food or your mouth.
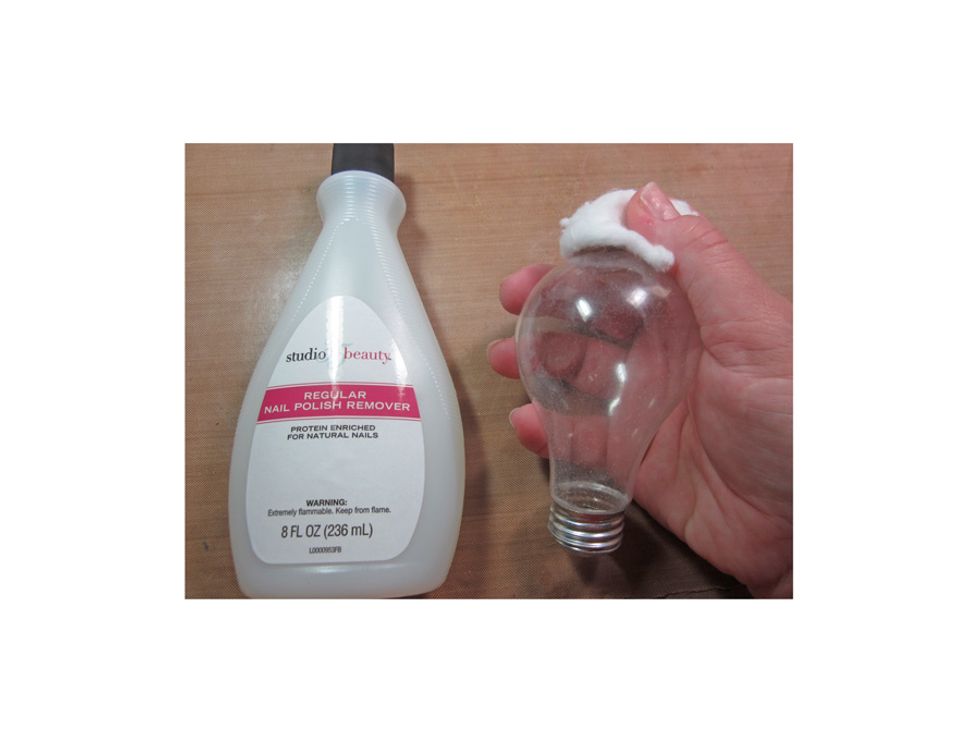
Use nail polish remover to take off the stamp on the top of the blub.
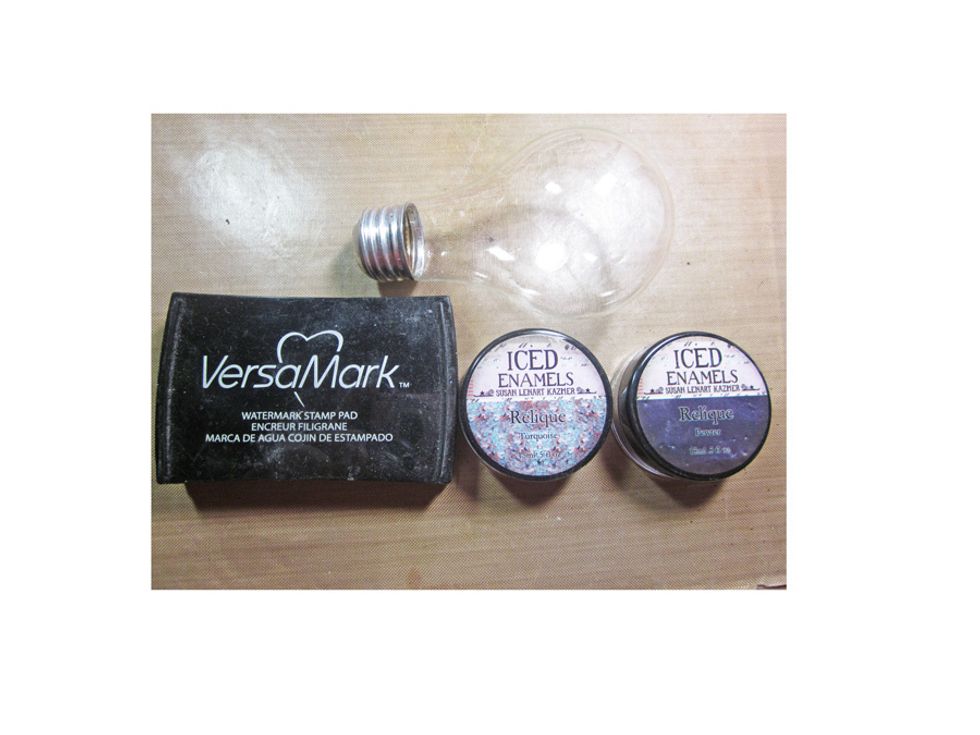
Gather your embossing powders together. I used a mix of pewter and turquoise Relique powders from Ice Enamels.
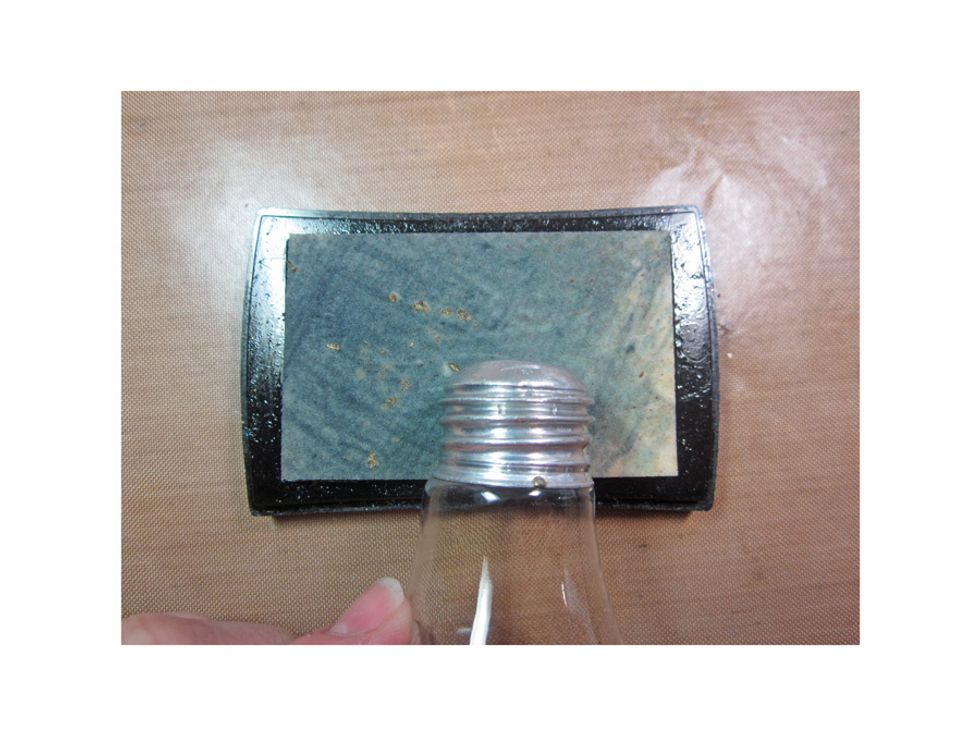
Roll the metal end of the blub in the Versa Mark ink pad (yes I know my is very dirty :)
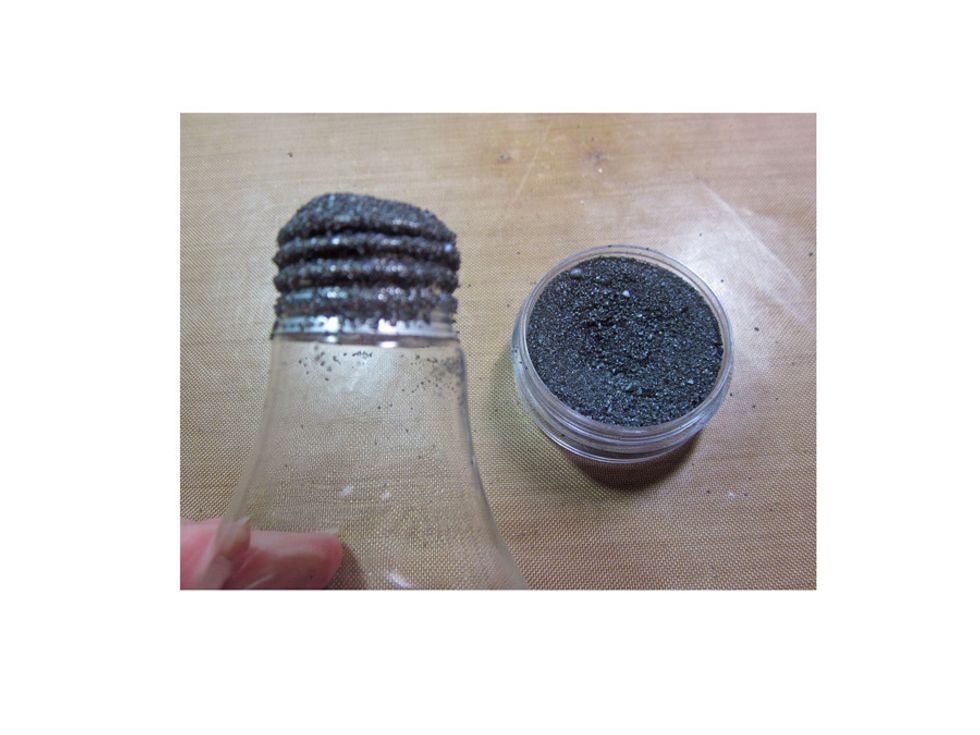
Dip your blub in the embossing powder and heat set. Then repeat with the turquoise to get a mixed look. Be sure to plug the top of your blub with a bit of tissue so you don't get powder inside.
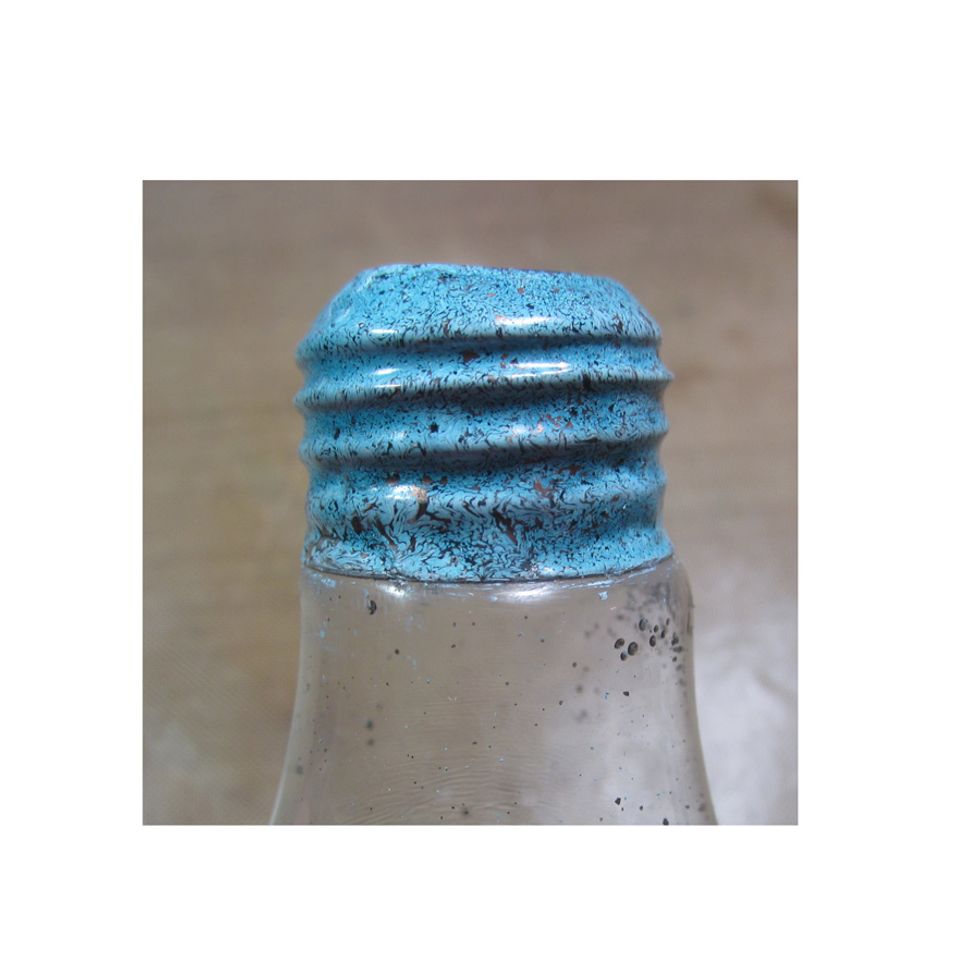
This is how the two mixed together with look. If you get some little flecks of embossing powder on the glass blub just scrap of with a straight edge.
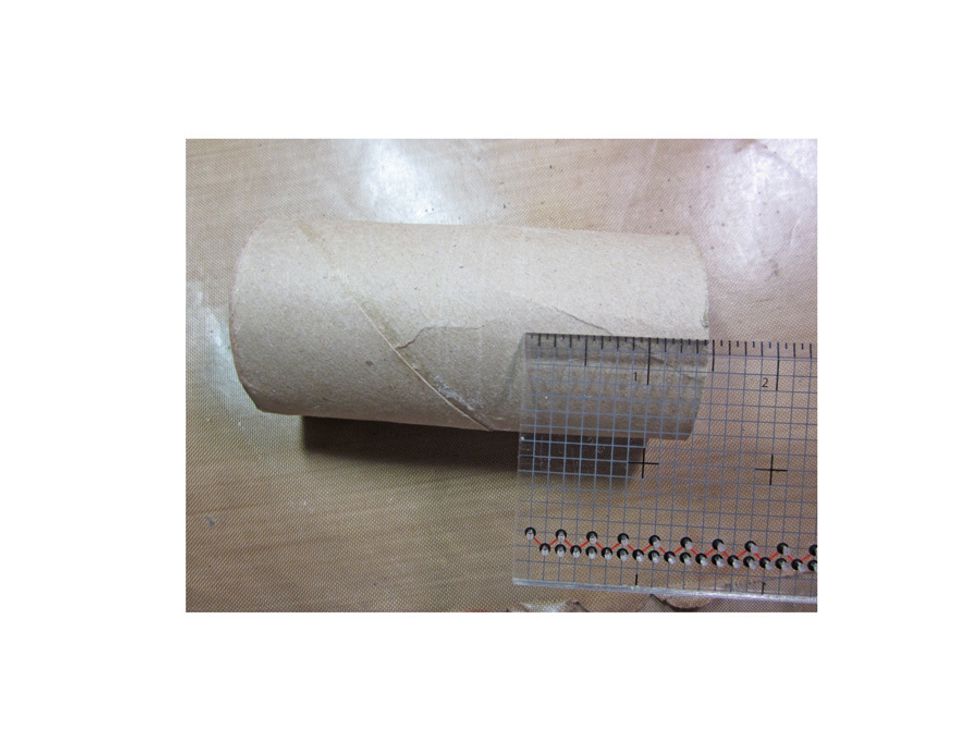
Measure off 1 1/2 inch of a used toilet paper roll. I did three sizes for three different vases and used another one 1" tall and the third 1 1/4" tall for varying heights.
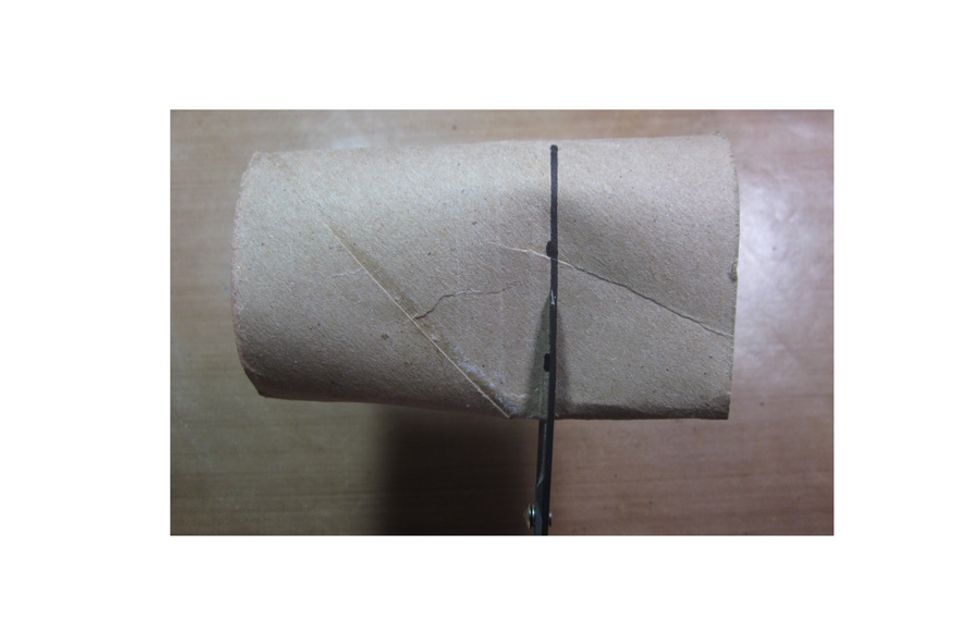
Cut off your measure end.
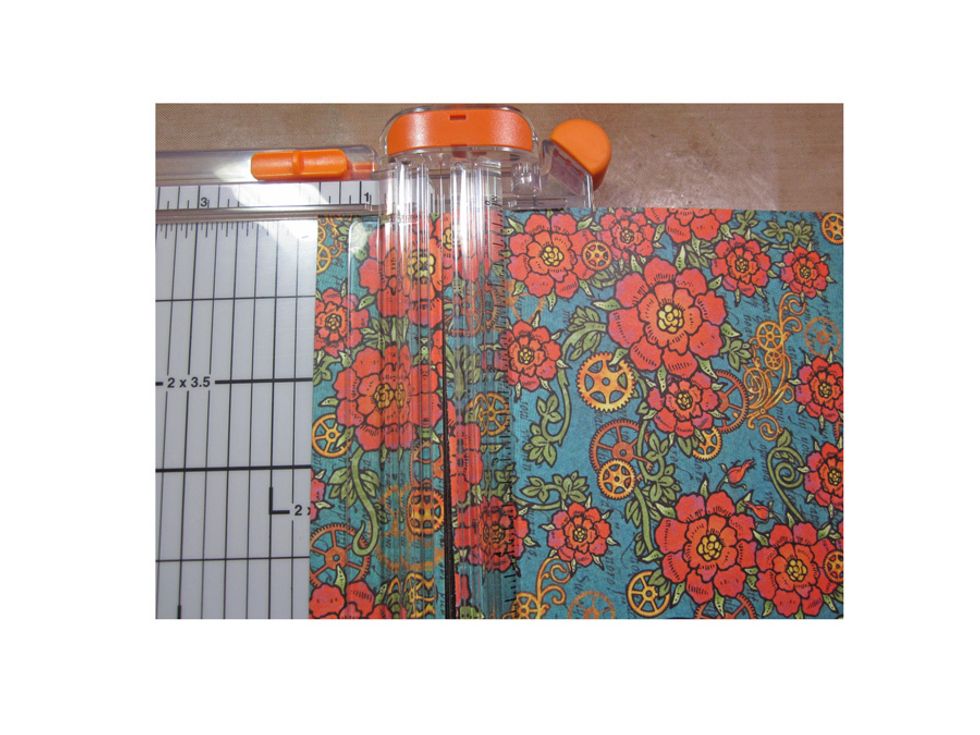
Cut a (2) 1-1/2" strip of Steampunk Spells Graphic 45 paper for the base.
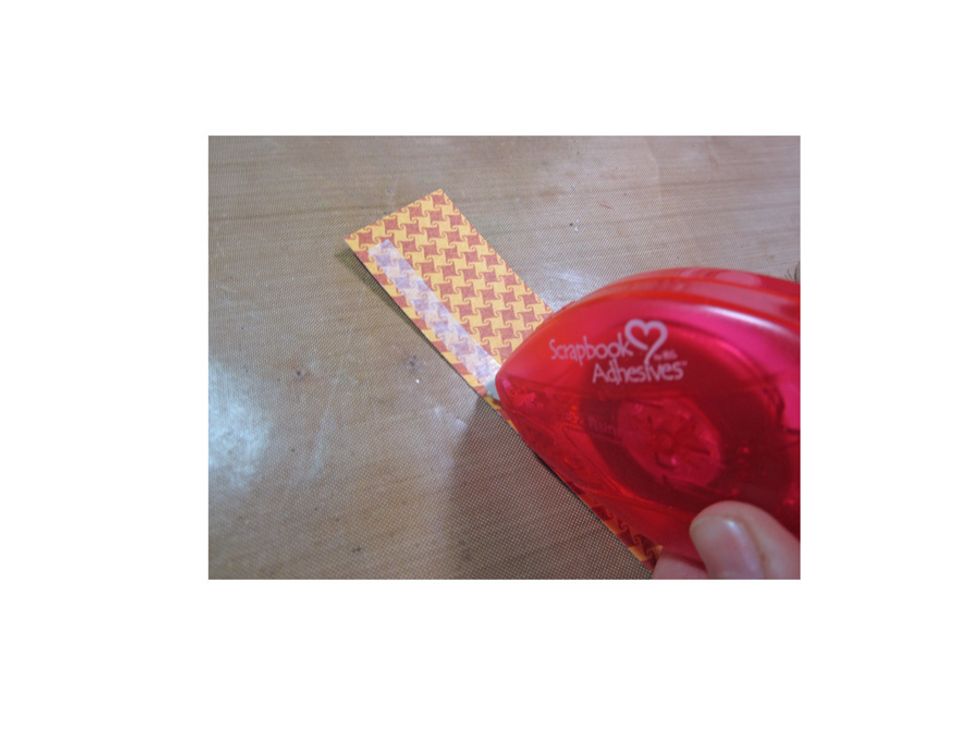
Apply a strong adhesive on the back of the strip.
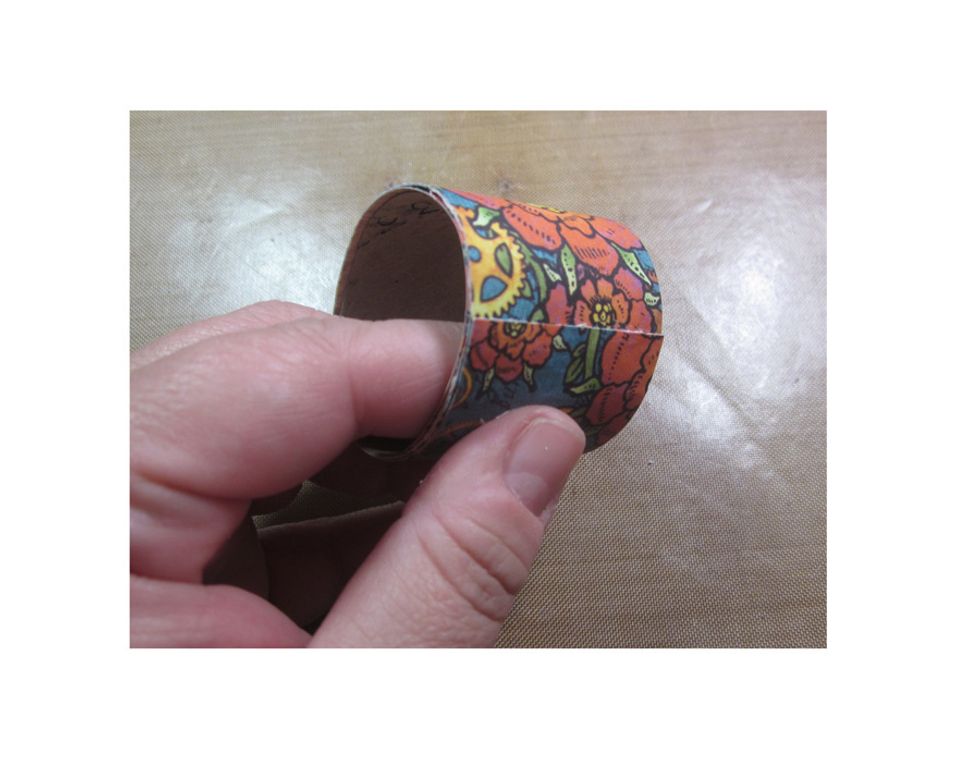
Evenly roll around the tube.
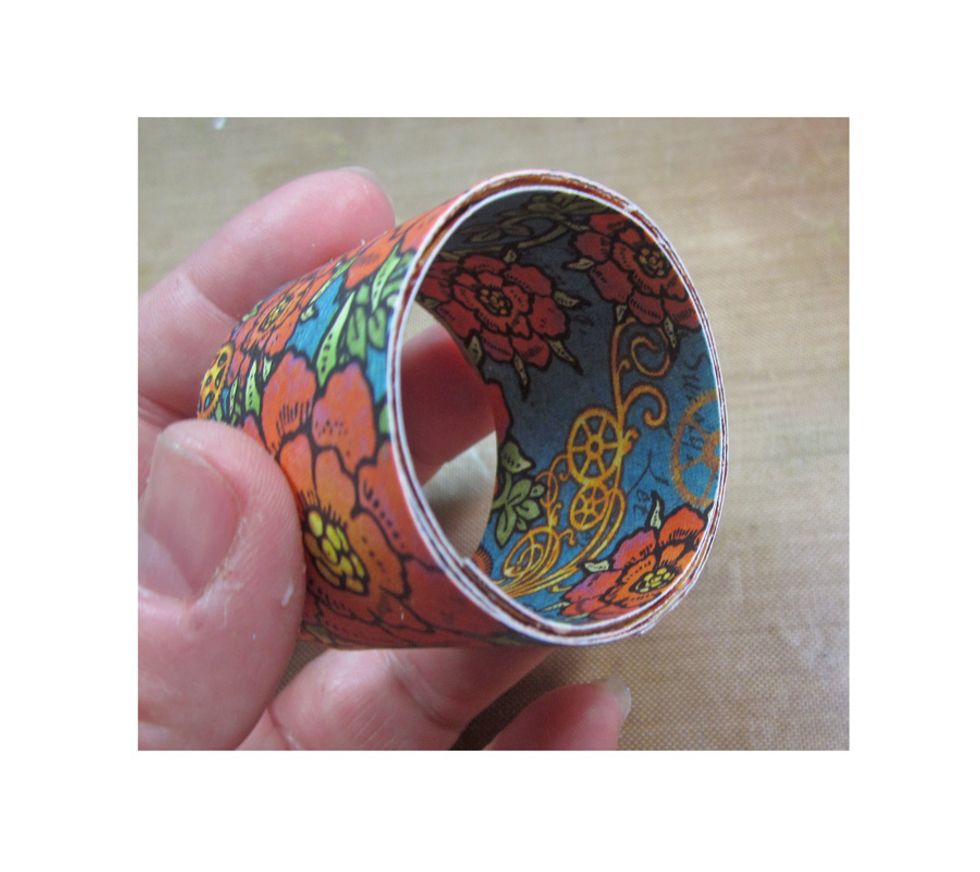
Repeat the same process with the extra strip but adhere it to the inside of the roll.
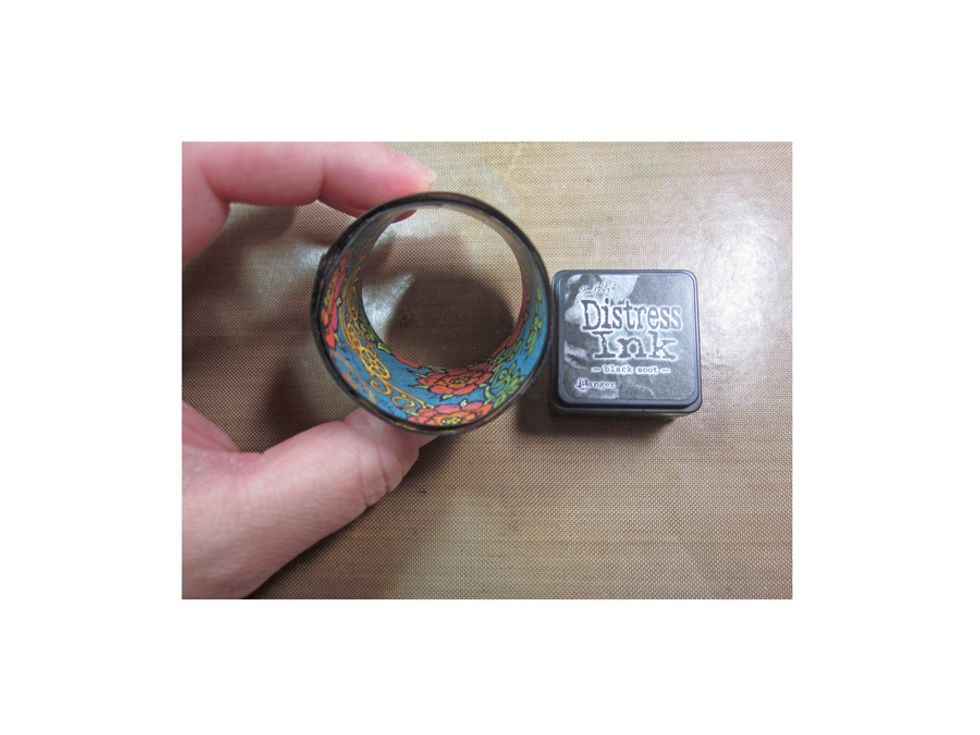
Ink the edges with black ink to blend it all together.
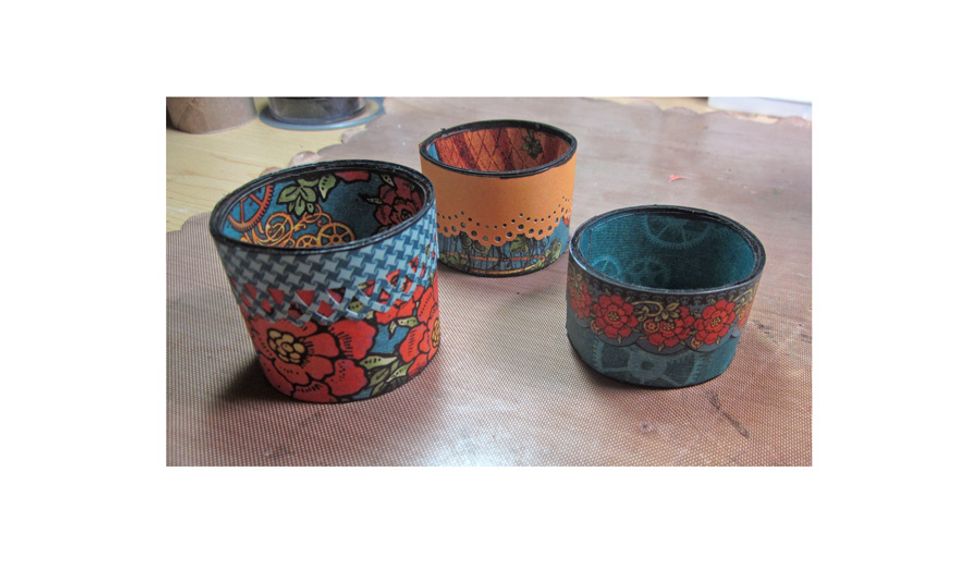
Here are the three different bases I created. I added some decorative edges/borders using either stickers from the G45 collection or paper that has been punched with a Martha Stewart decorative punch.
Apply a thin line of glue around the top edge of the base. Be sure to use strong holding liquid glue.
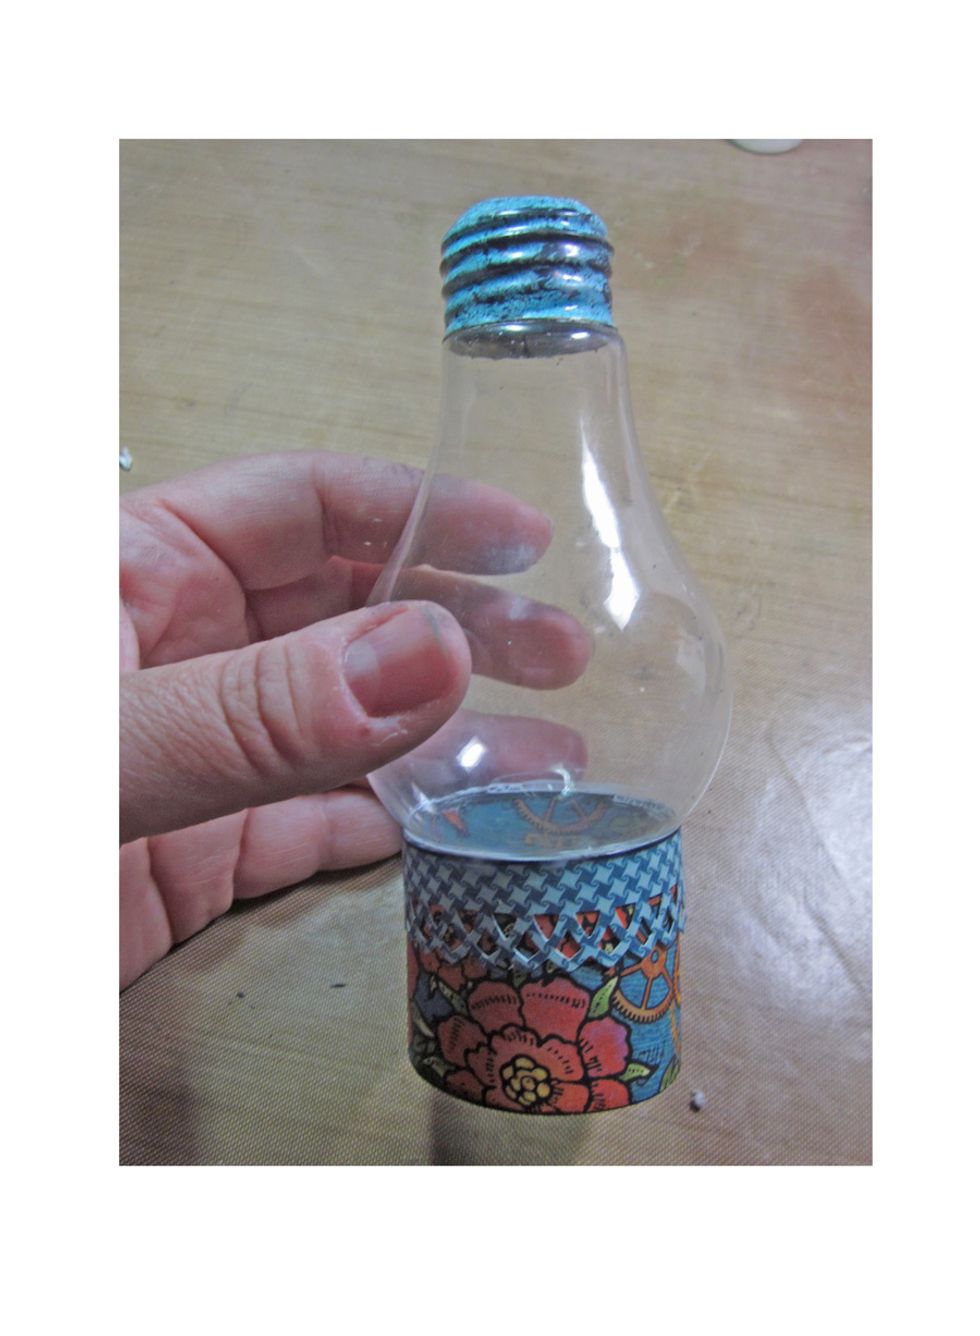
Add your blub to the base and let it dry. Now the fun part...it's time to embellish.
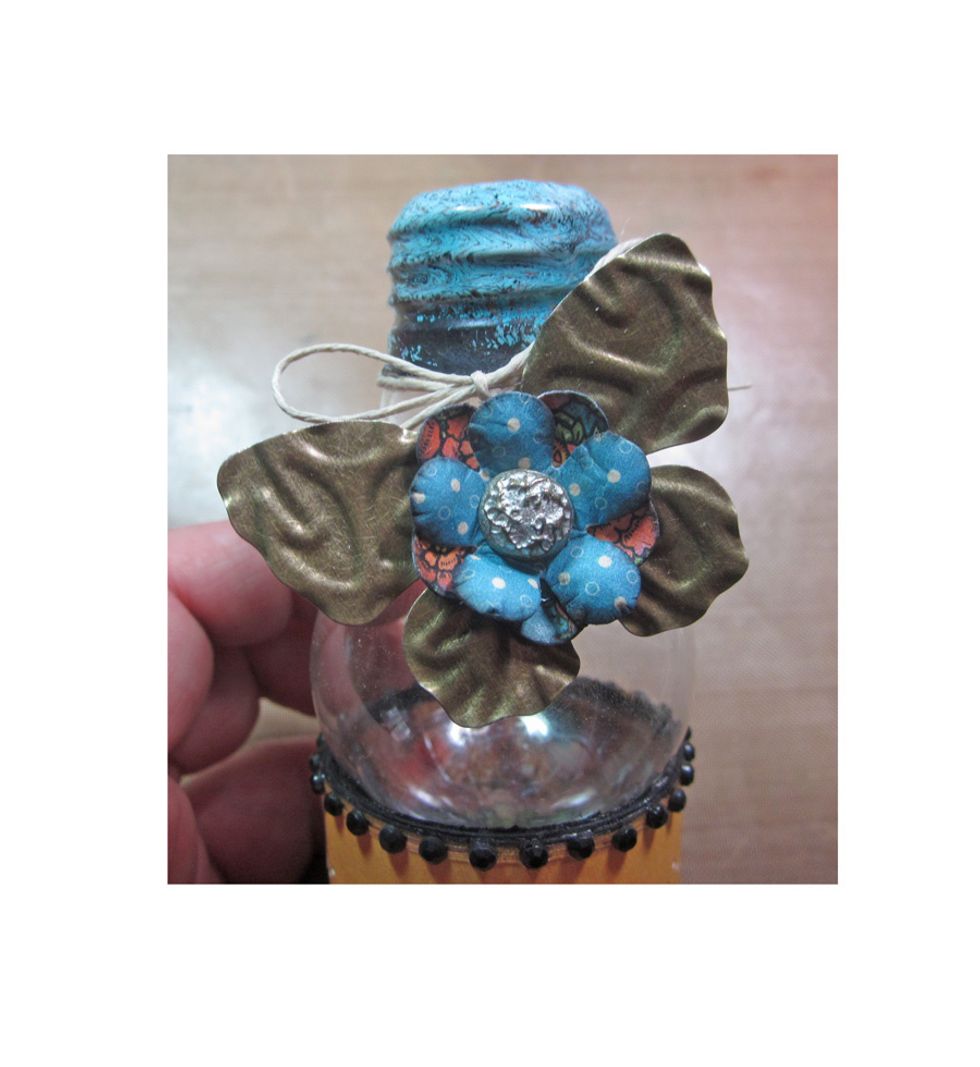
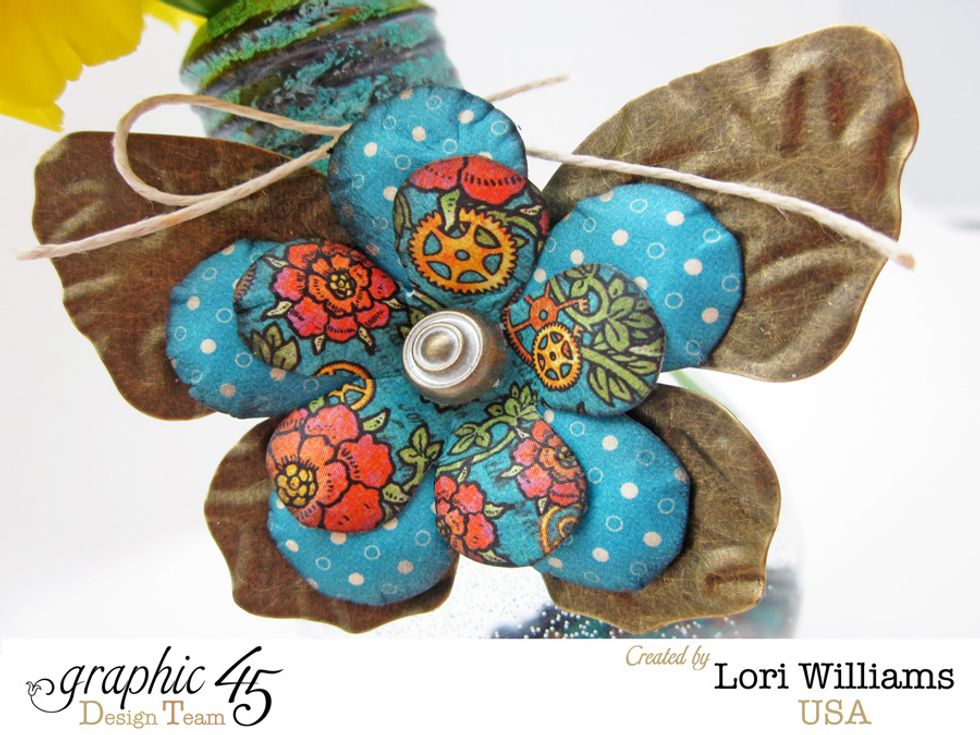
I added some embossed metal butterflies, flowers and brads from the Graphic 45 Staples collection. I also added in some twine and rhinestone strips to pull everything together.

For this mini vase used the Graphic 45 Steampunk Spells stickers, chipboard and flowers to embellish.
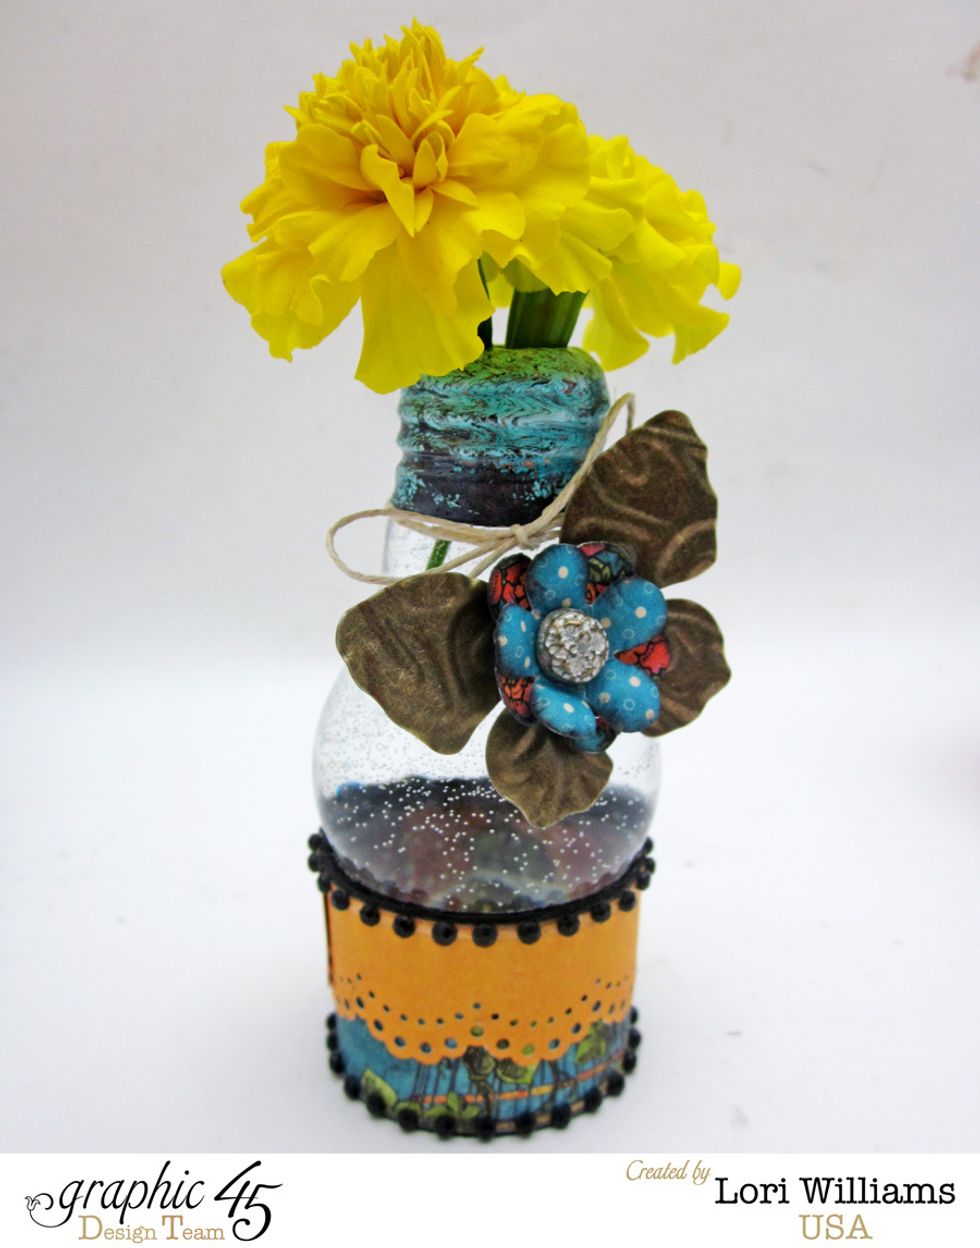
This is one of the finished vases. I love the way it all comes together but is still simple.
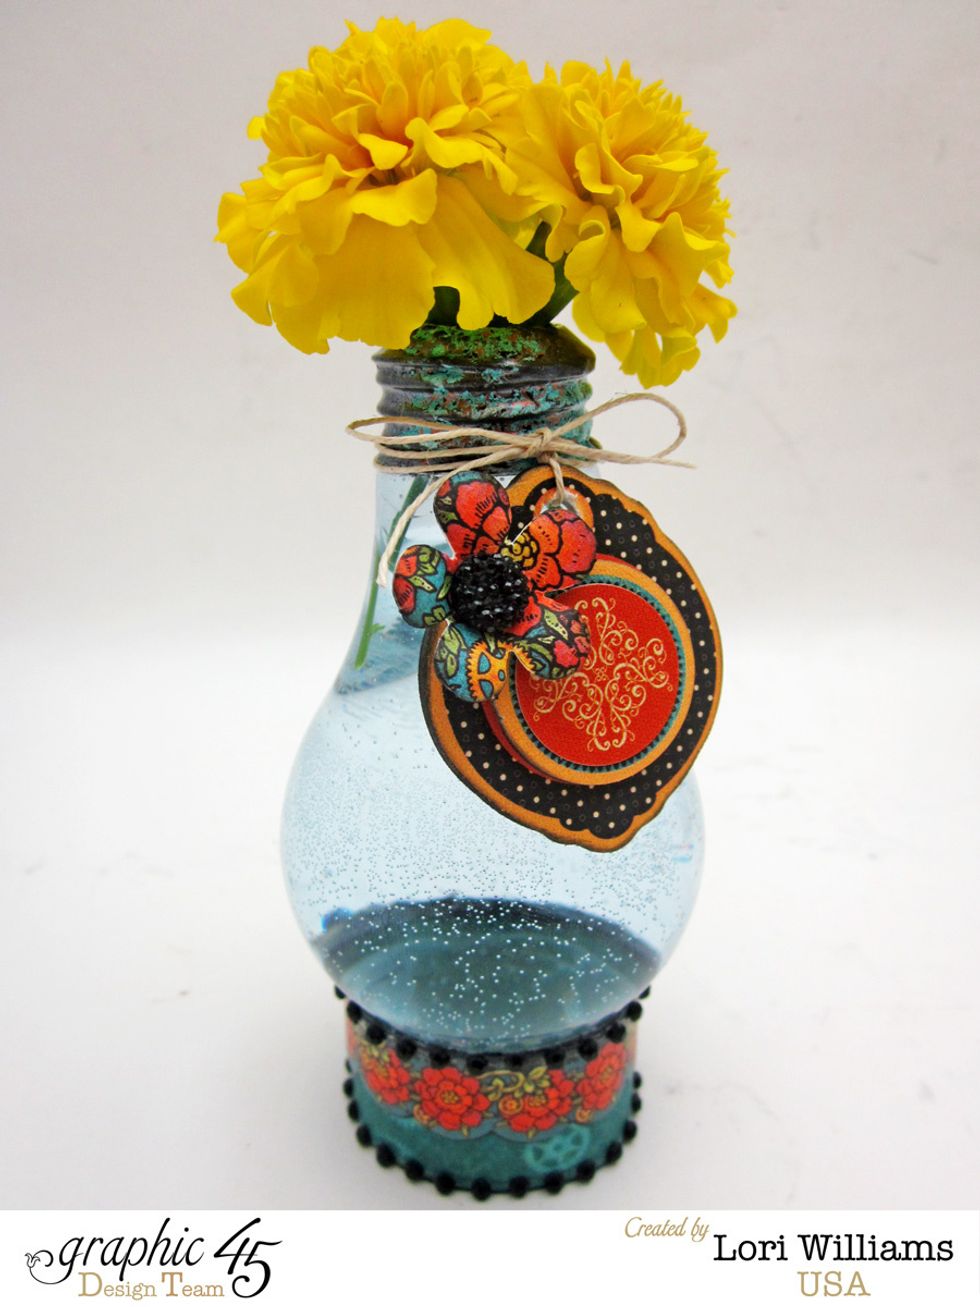

Layers are so important in designing. Be sure to layer lots of different colors, textures and surfaces to create interest to your work.

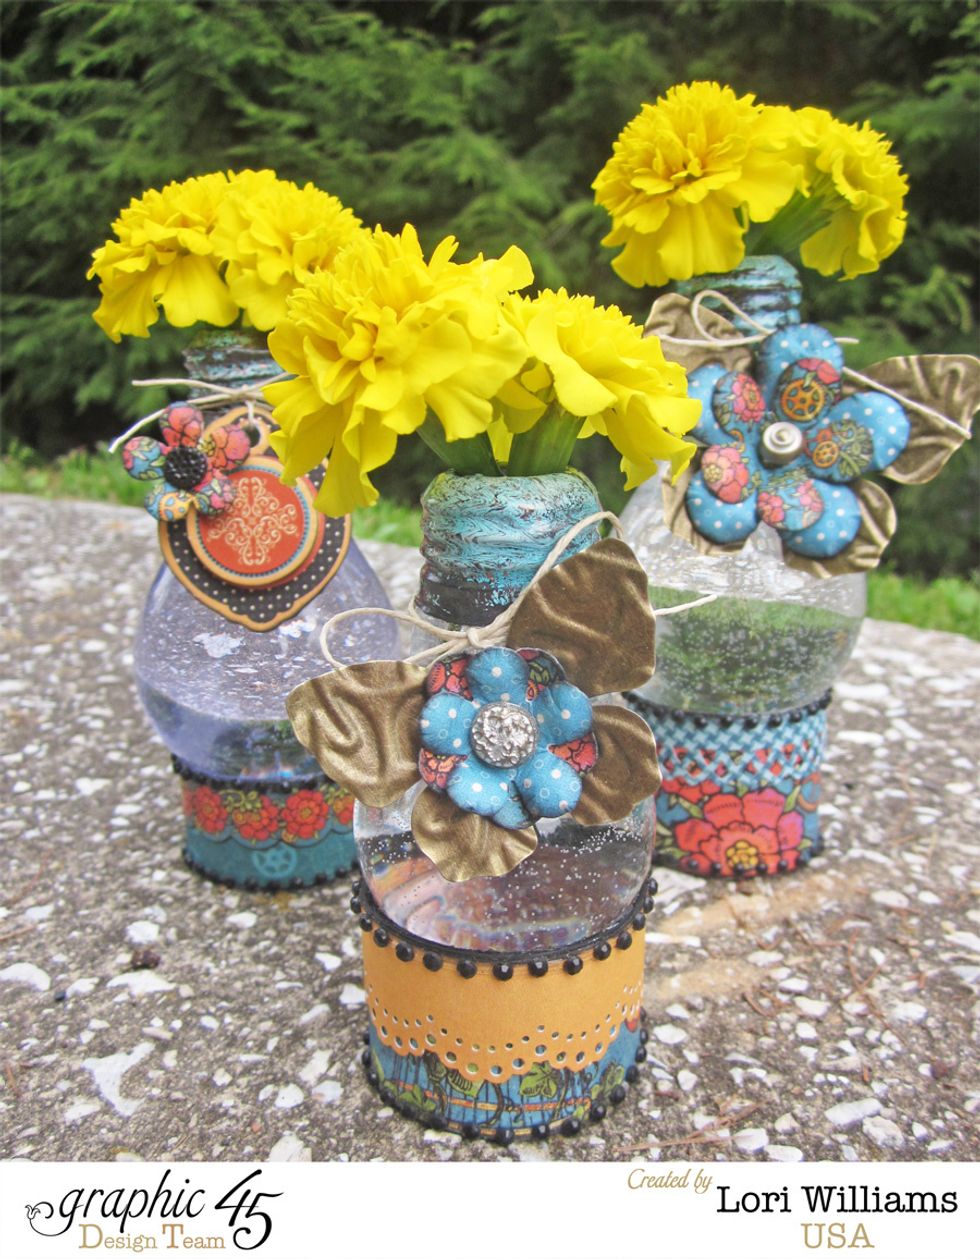
Here is the collection all together.

My name is Lori Williams and I'm a design team member with Graphic 45. You can see more of my work on my blog www.pinkcloudscrappers.blogsp… or on Graphic 45's Blog www.g45papers.typepade.com