The Conversation (0)
Sign Up

Ink the edges with paint. Just the edges. The rest will be covered with paint.
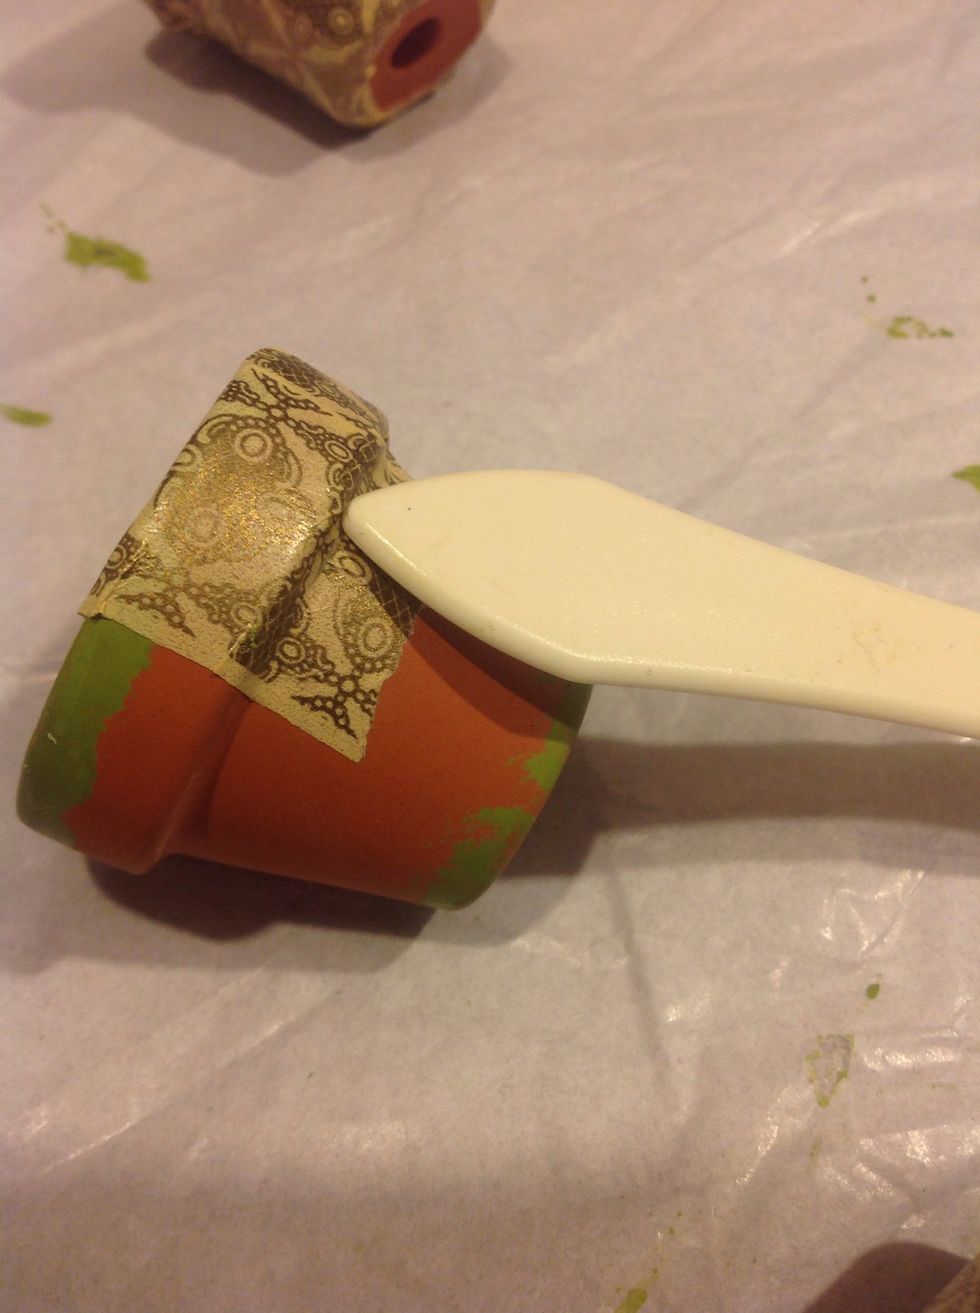
Take your washi tape , I'm using Graphic 45, and start adhering over the top . Use a bone folder to get good contact under the lip of pot.
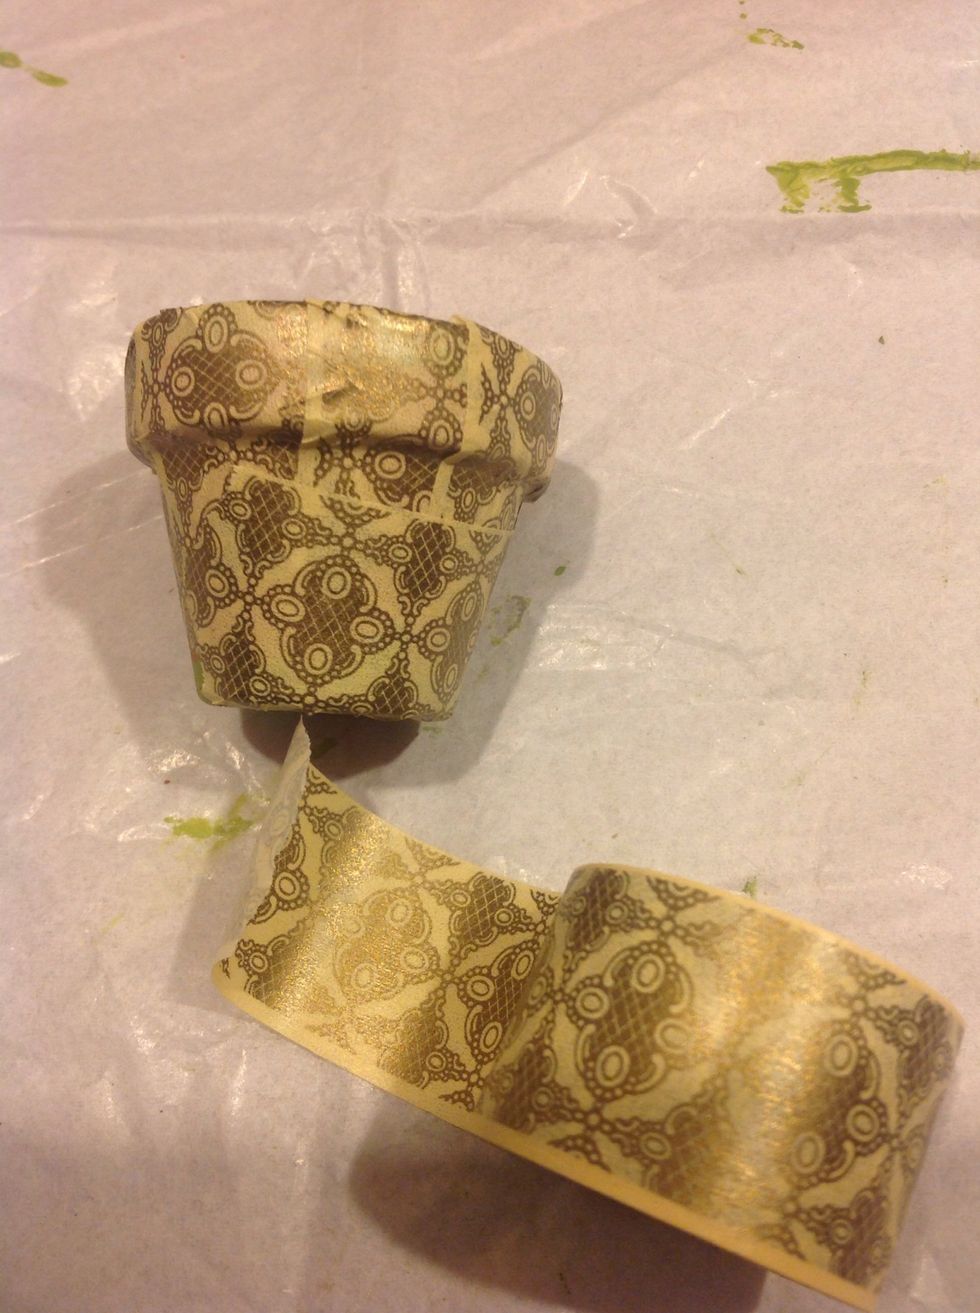
After the top, continue adding washi to the bottom. Again use a home folder for good contact.
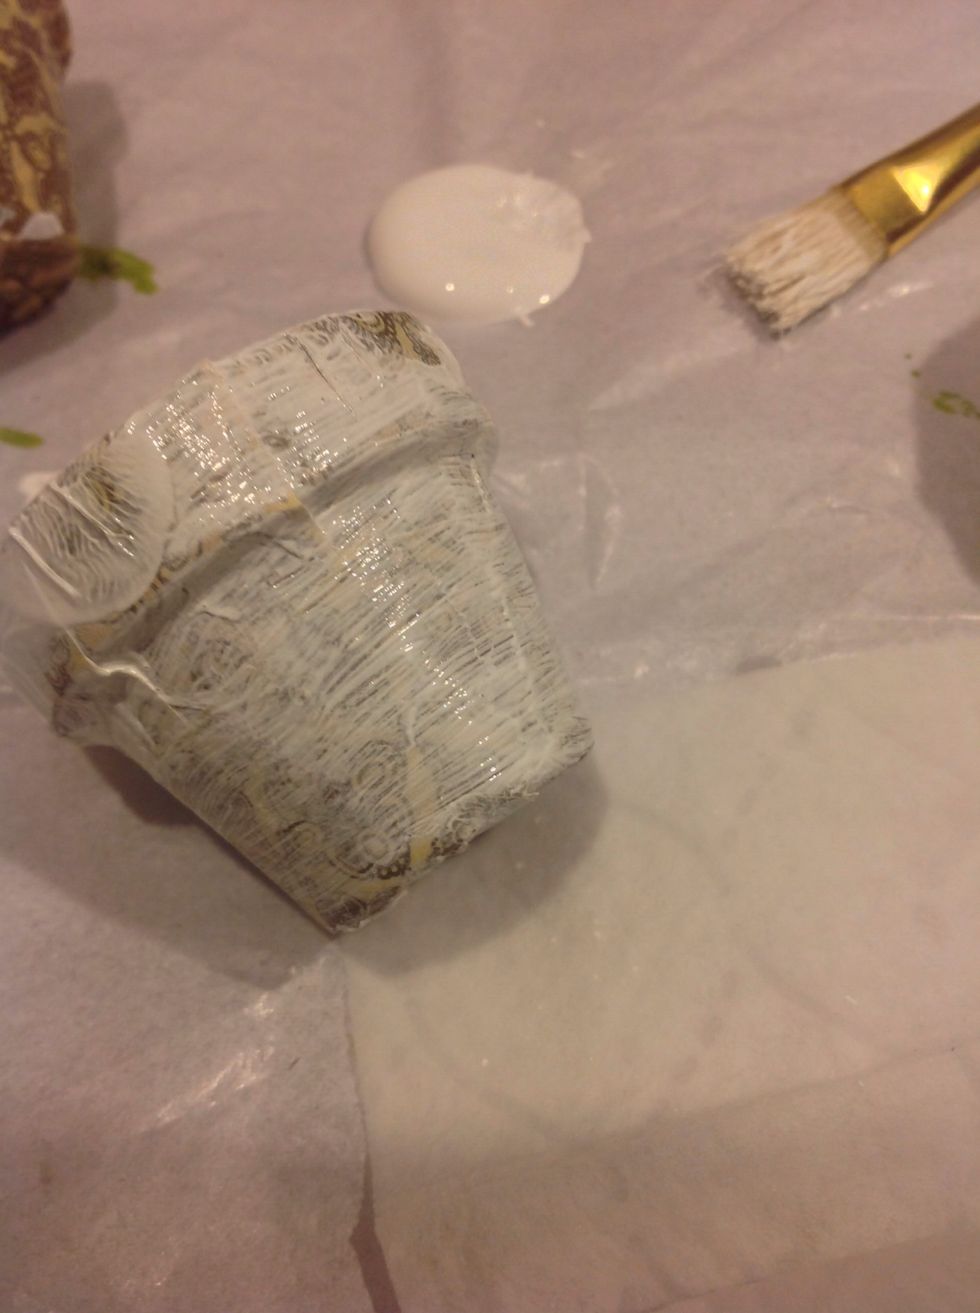
This step is optional , but I like to go over the entire thing with gesso or white paint. And wipe off most of it.

I used a baby wipe to get the bulk of it off. Just makes it more shabby.
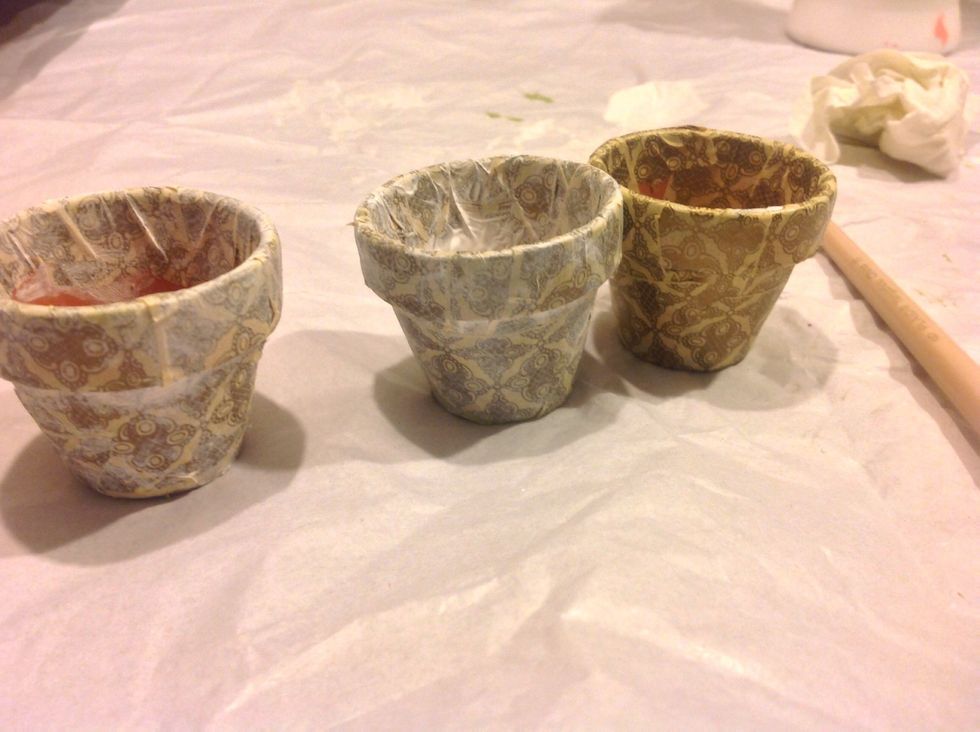
You can see the difference this step makes. Notice I didn't pay attention to the insides of my pot. They will be filled with moss.

Cut strips of designer paper to cover votives. I used Graphic 45 Botanical Tea :)
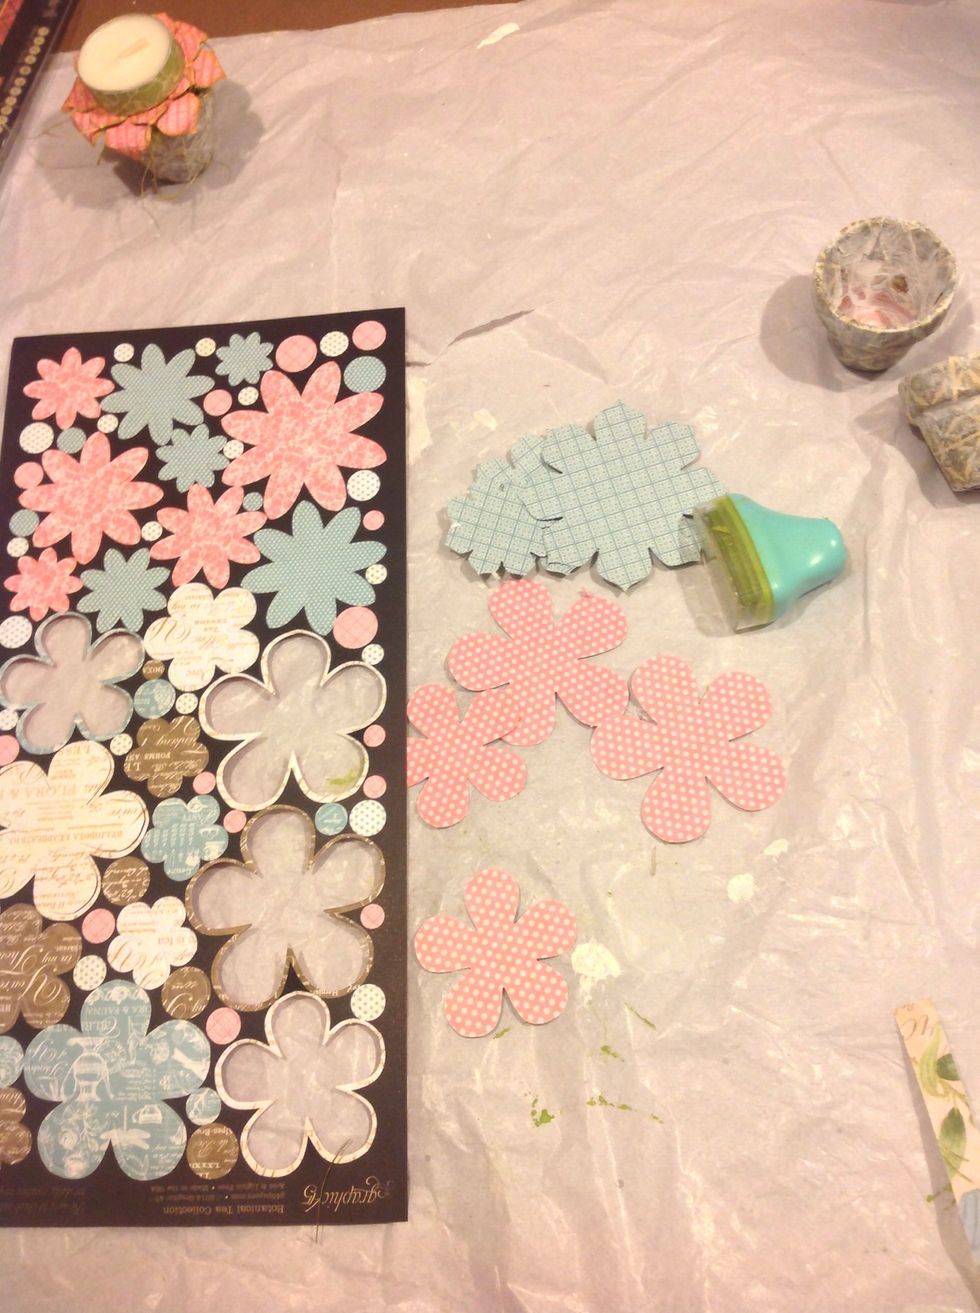
I'm also using the flower cut outs to form my flowers. You can make any paper flowers you would like as long as the votive will rest flat on top. Ink the edges of each flower.

I spritz my paper flowers with water and use a paintbrush to curl the petals. This just gives them much more dimension.
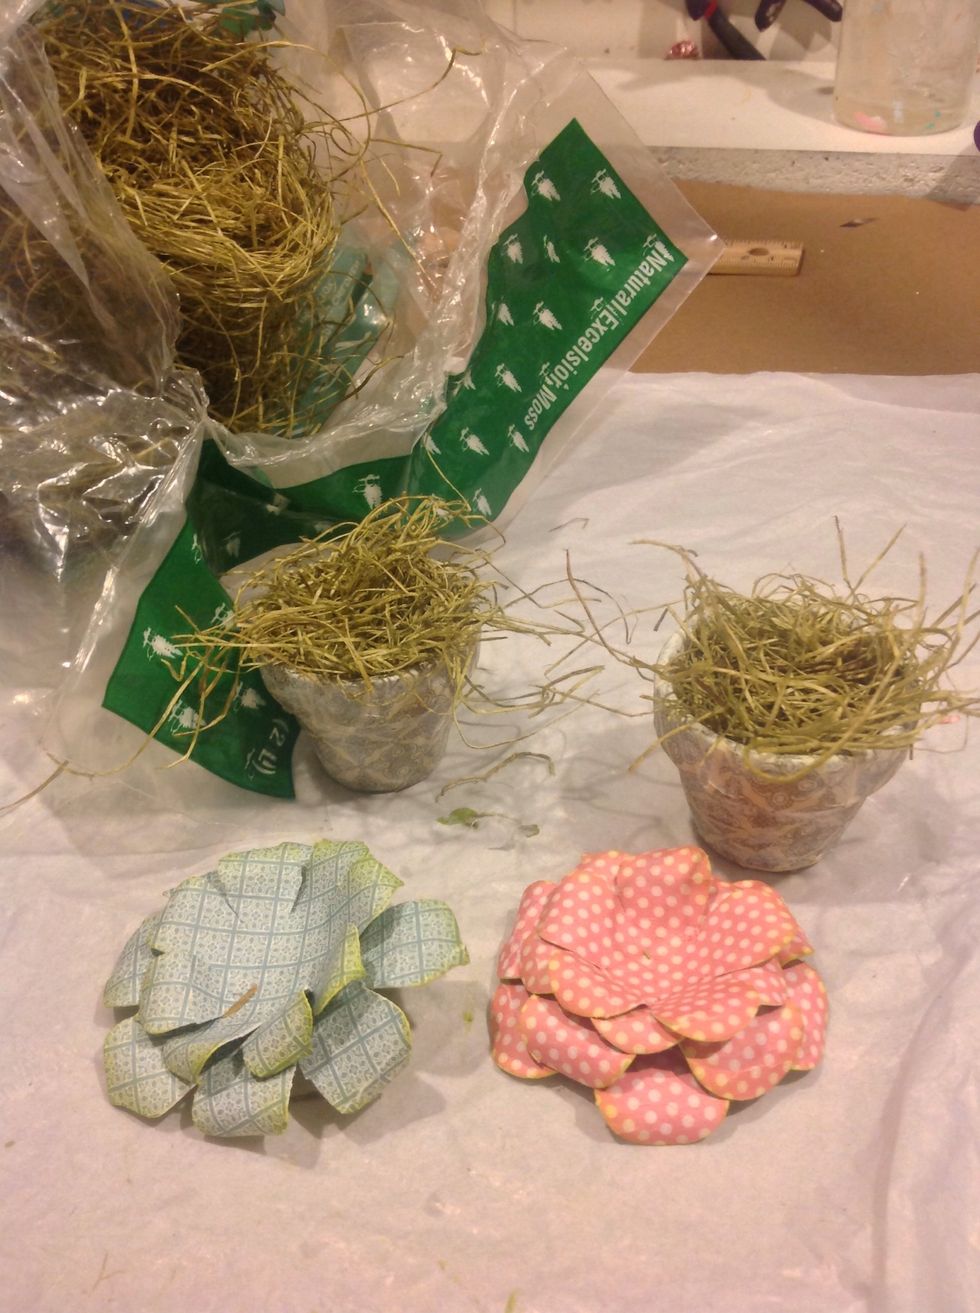
Almost there! Add Spanish moss inside your pots. Make sure there is excess to adhere both the votive to and to have a bit poking out under the flowers.
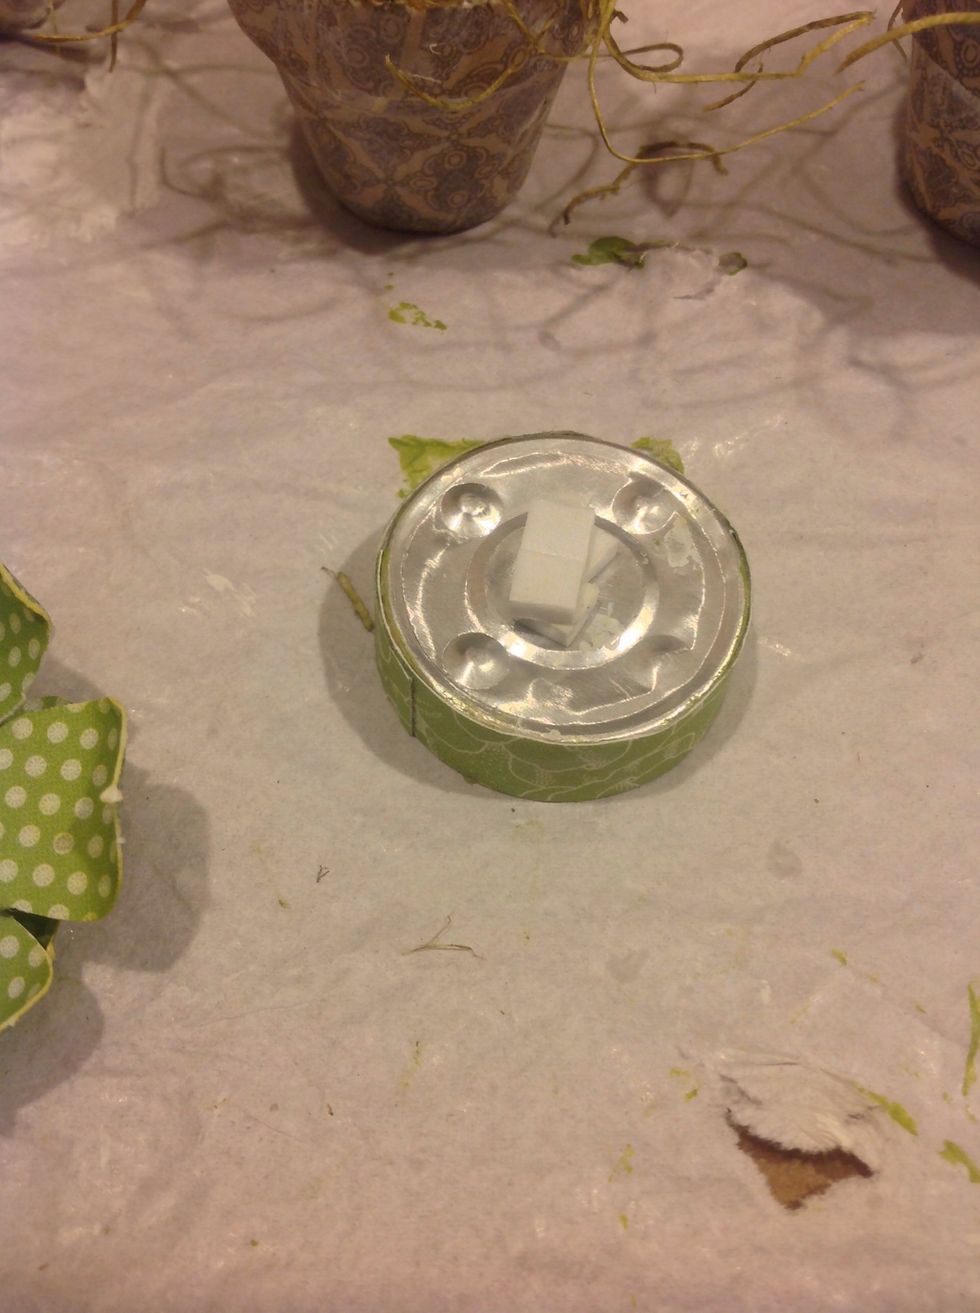
I adhered my votives to the center of my flowers using foam dots.
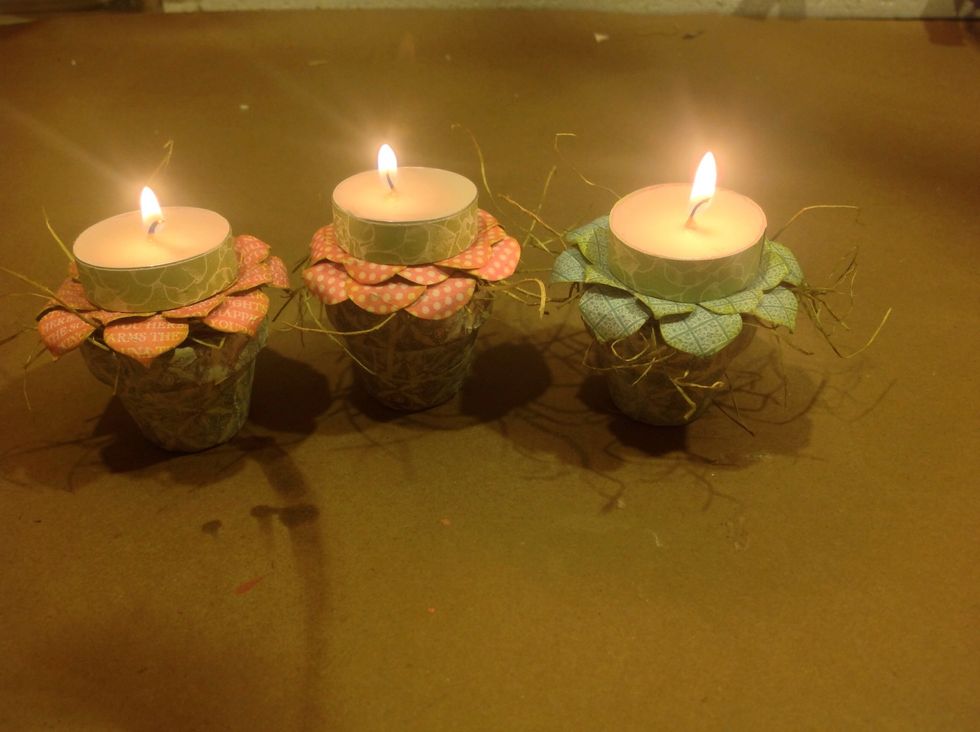
There ya have it. Super cute Easter votives.

This picture does a little more justice. Hope you will give it a try