The Conversation (0)
Sign Up
Sweaters are really easy to upcyle into hats, and even mittens! No hoodies! The sweaters you use can't have hoods, zippers, or pockets. Turtle necks work great! You can use fabric or knit sweaters.
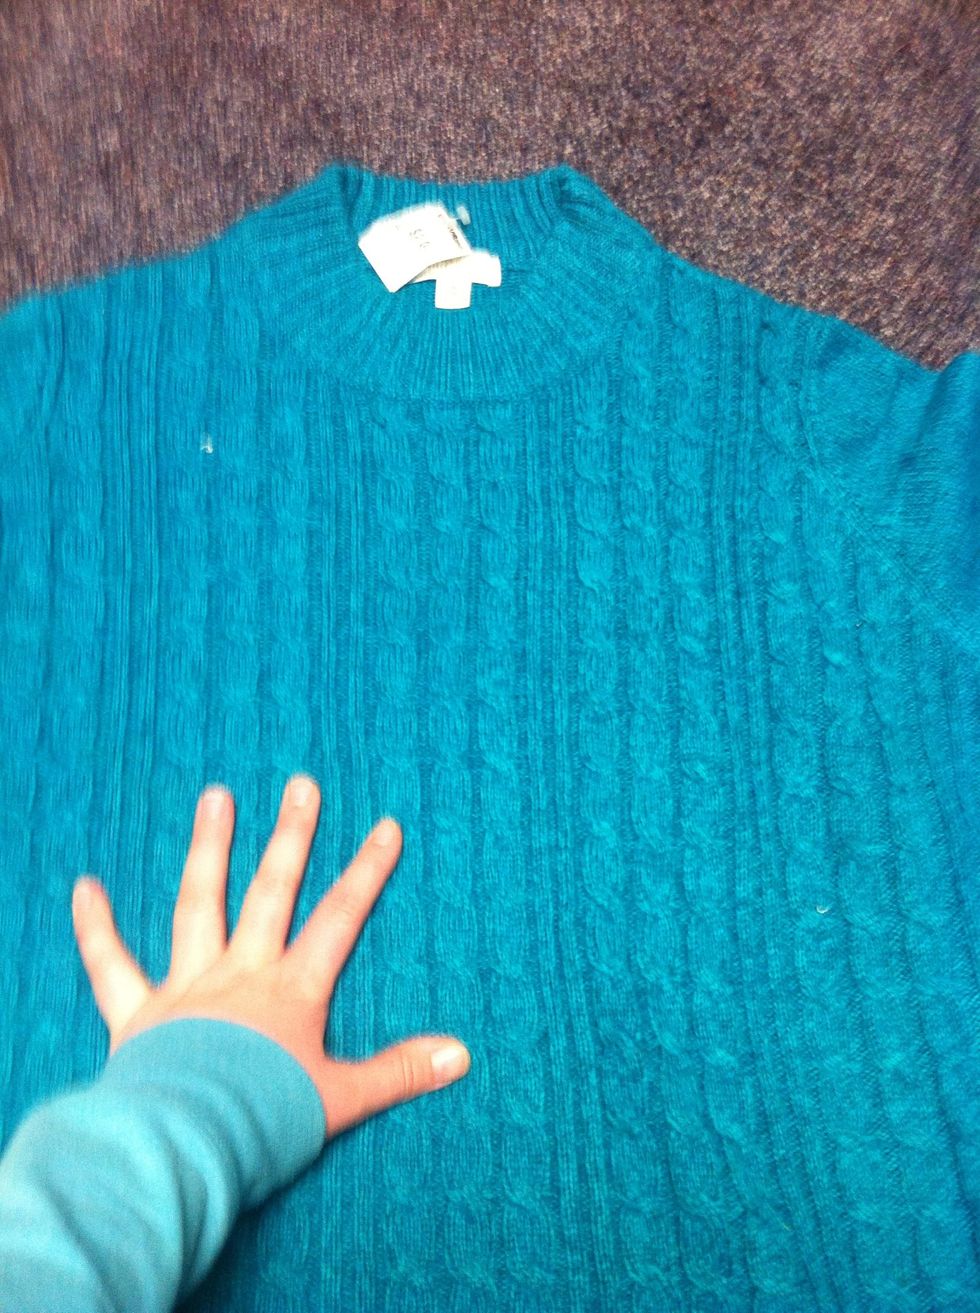
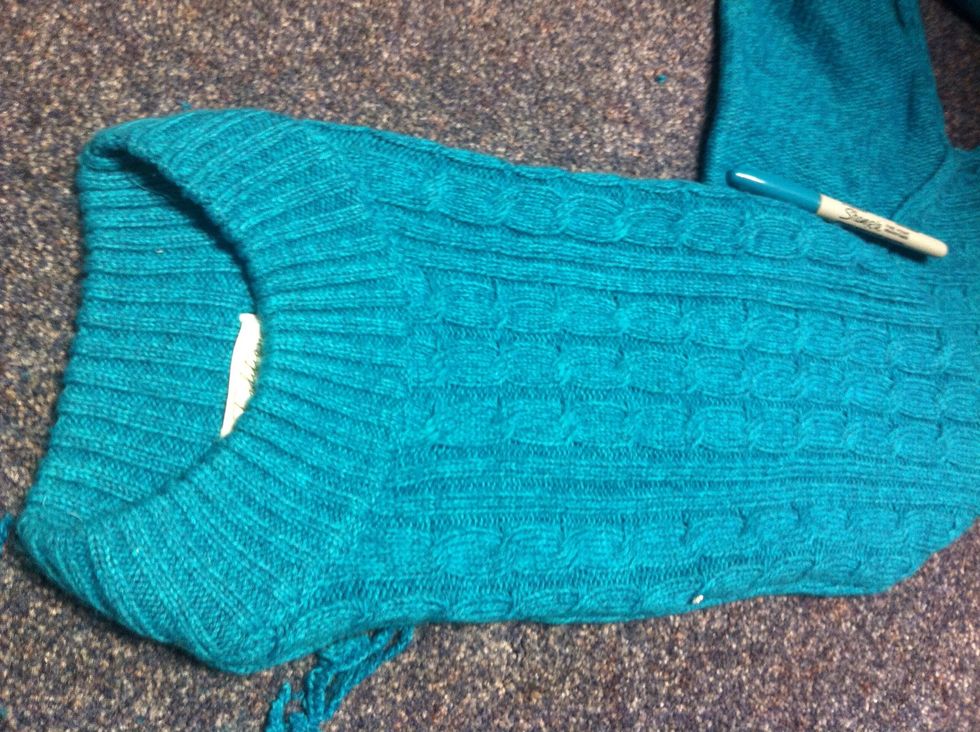
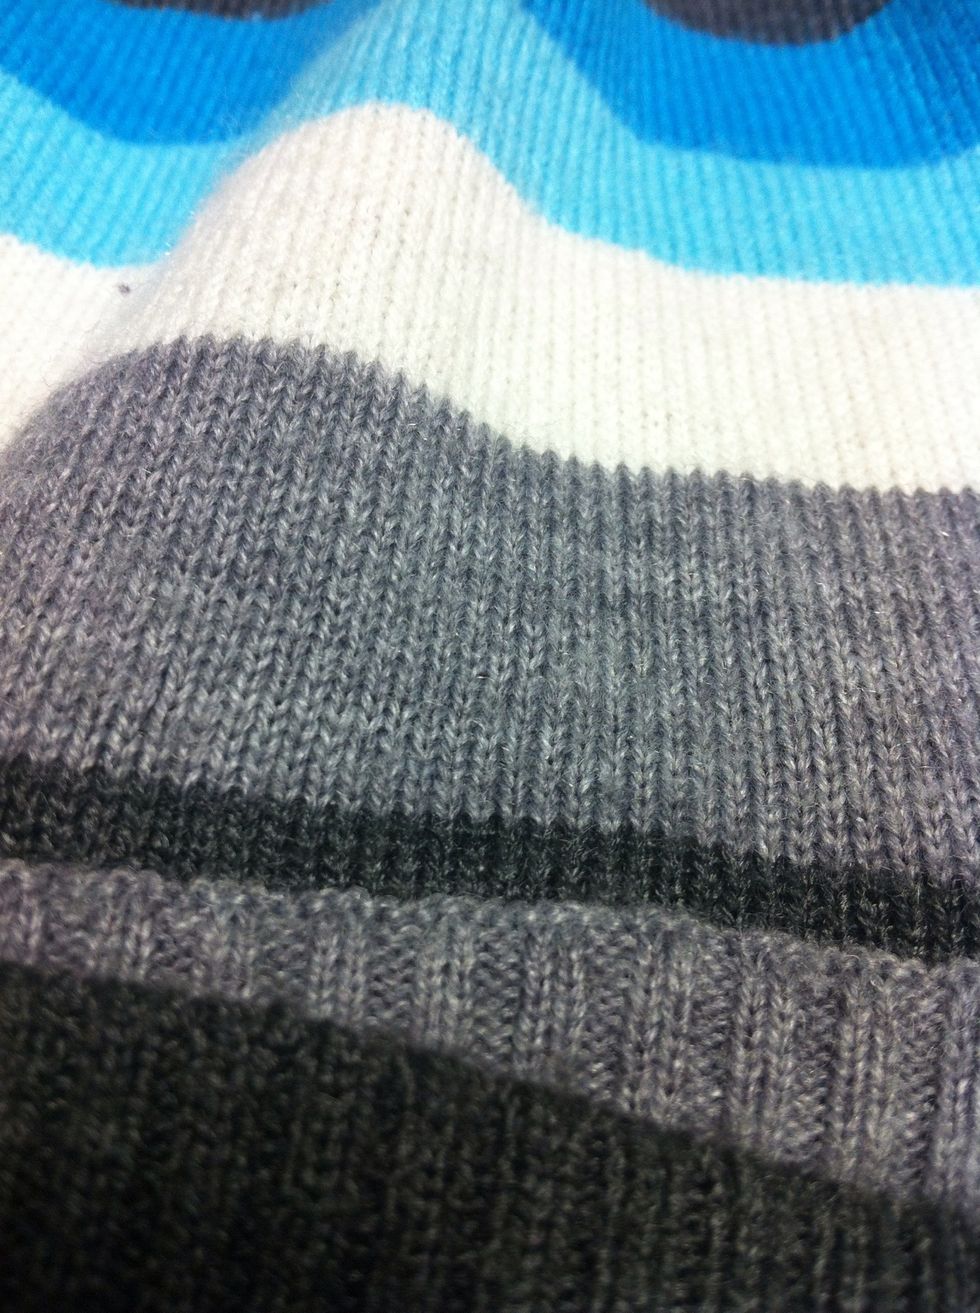
Here's the sweater I'm using. I bought it from a thrift store. Bigger is better here, because you can make more hats from one sweater! Start by turning your sweater inside out.
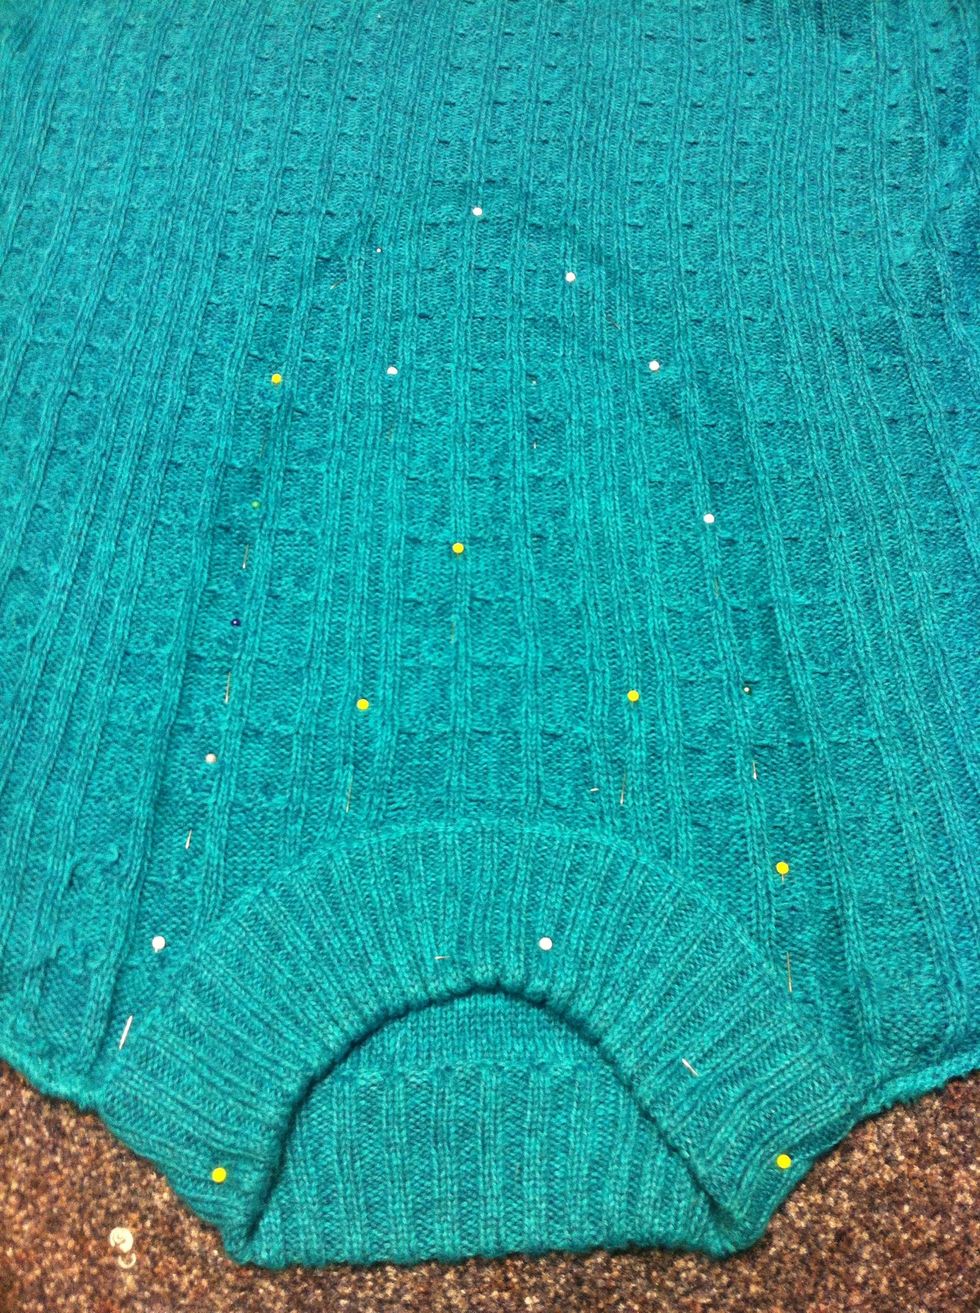
You want to draw an outline for your hat in marker. I'm making a slouchie hat or beanie. The neck makes the perfect rim for your hat, but You can also use the bottom edge.
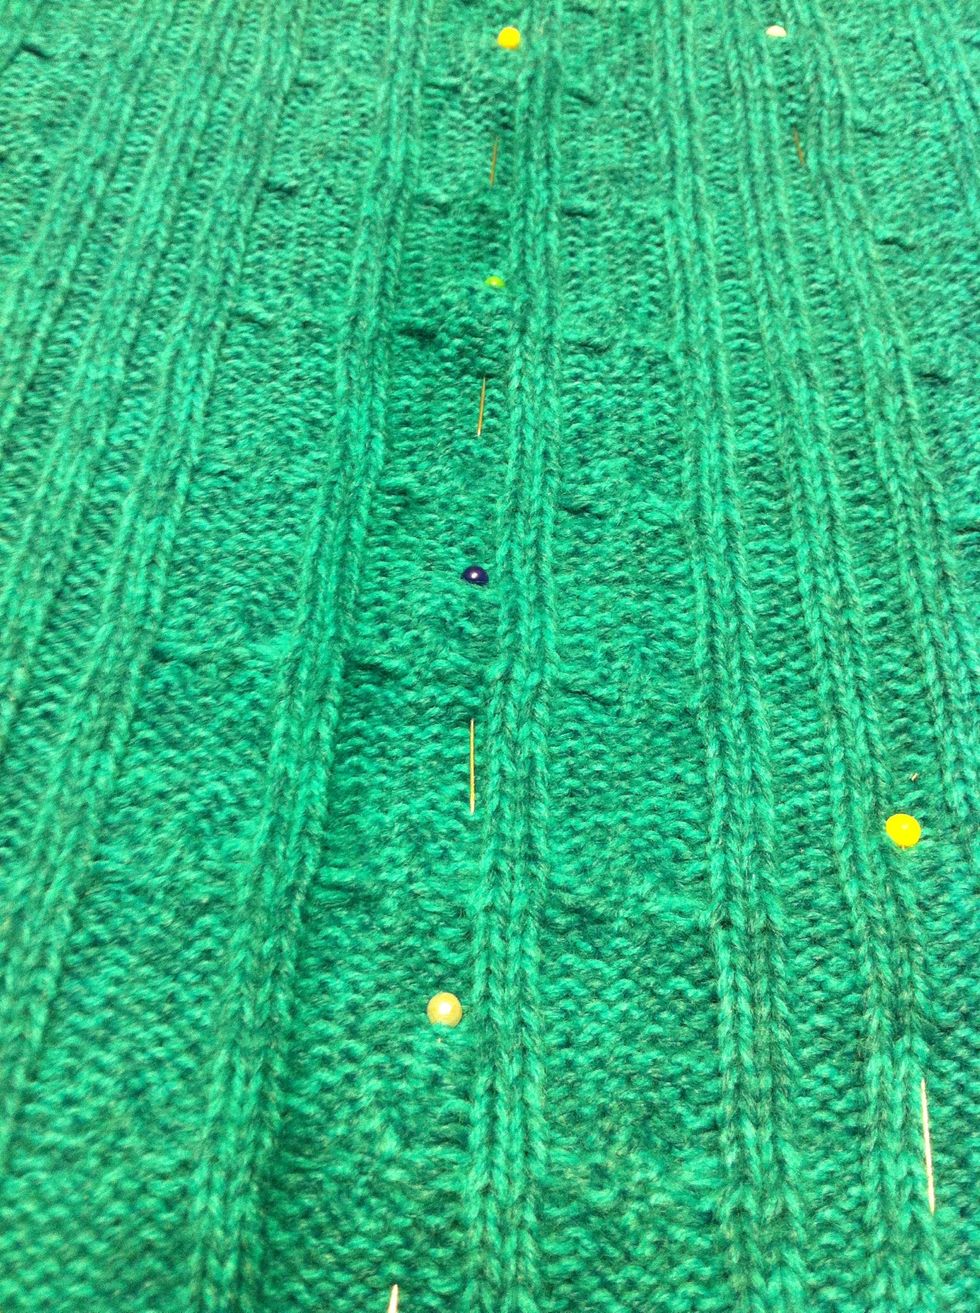
When you're happy with your outline, Pin the two sides of the sweater together. My pins are about half an inch from my outline.
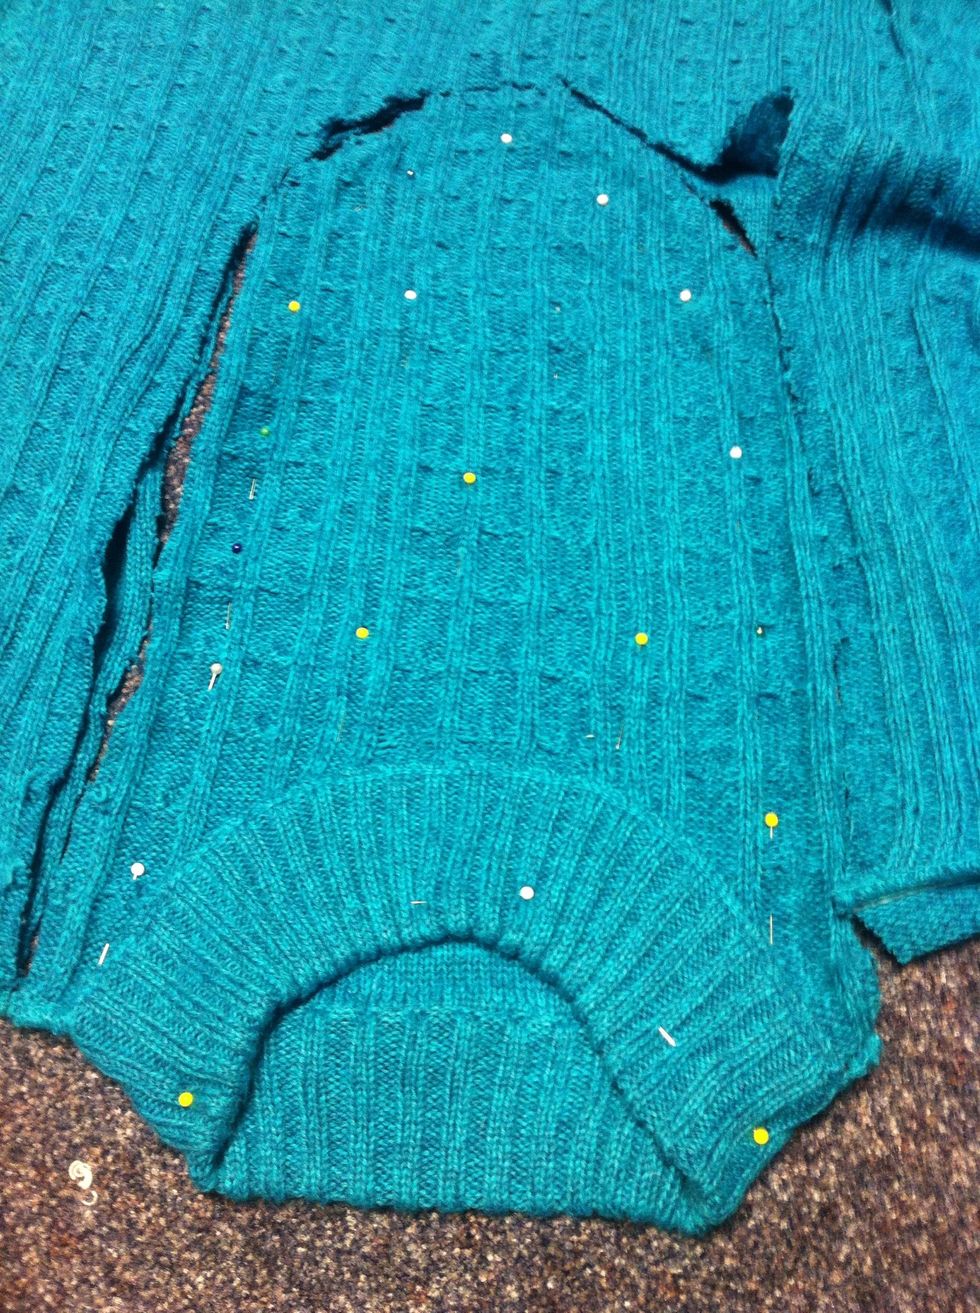
When you're all pinned, cut it out a half inch from the line you drew.
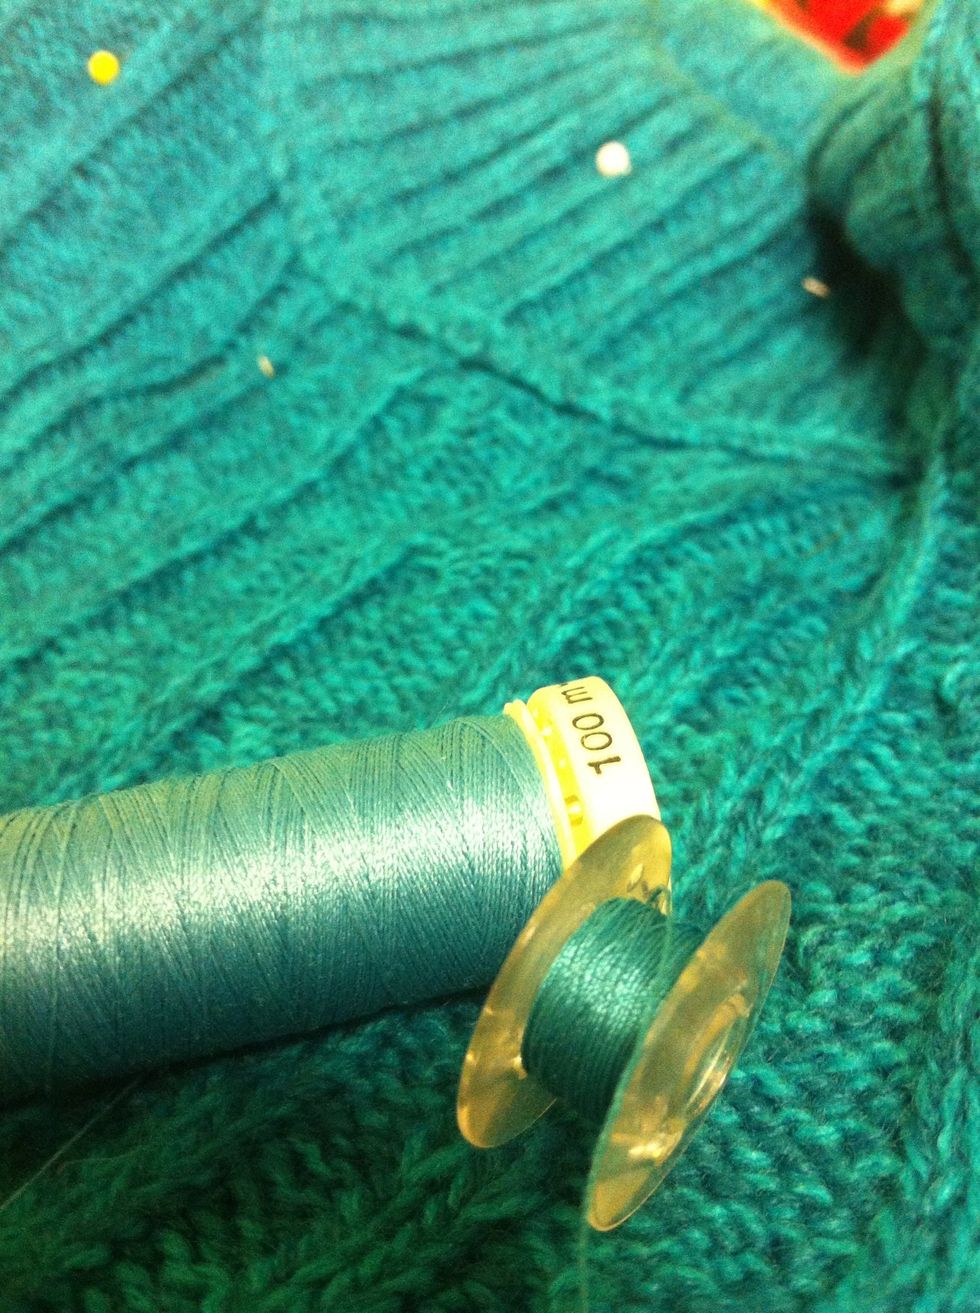
Pick out a thread that matches your sweater. It's ok if it's not exact, because you won't see it much anyway.
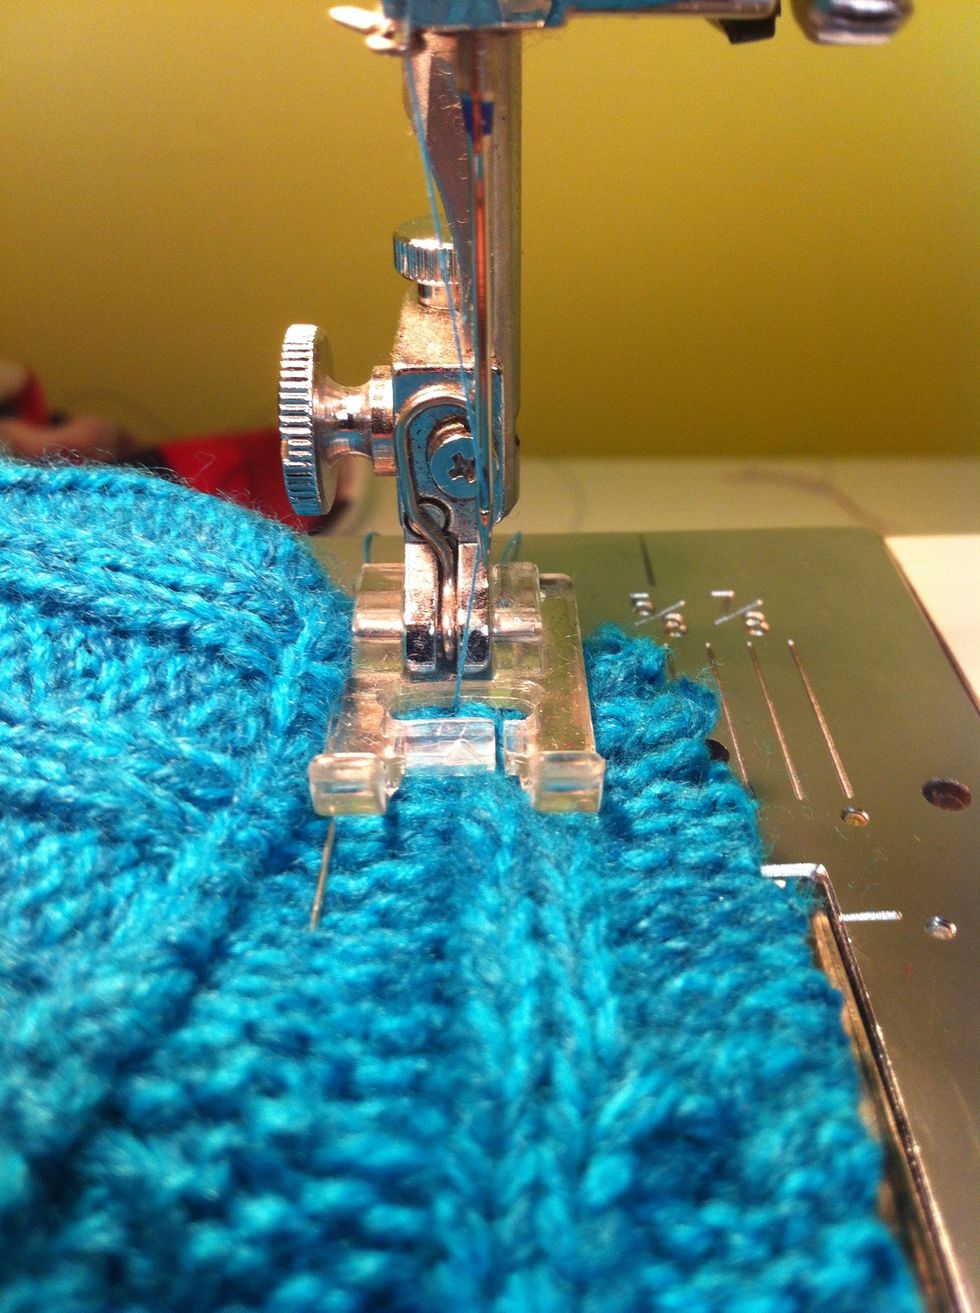
Now sew all the way around the hat on the line you drew. You can also hand sew, but it takes a while.

If you used the neck for your hat, you will need to sew over it so your hat isn't wonky.
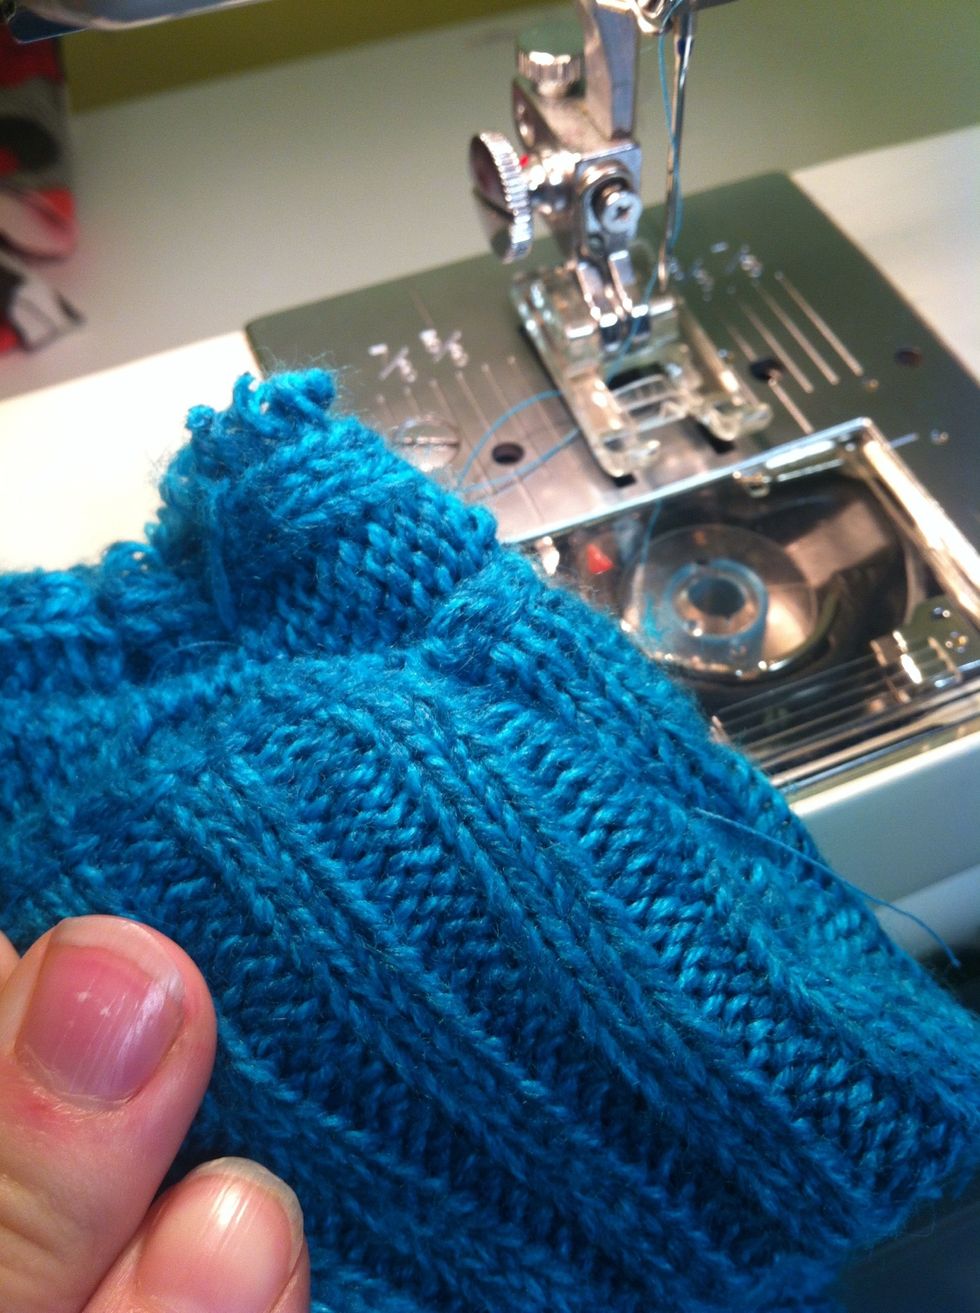
Like this.
This is the side I sewed properly....
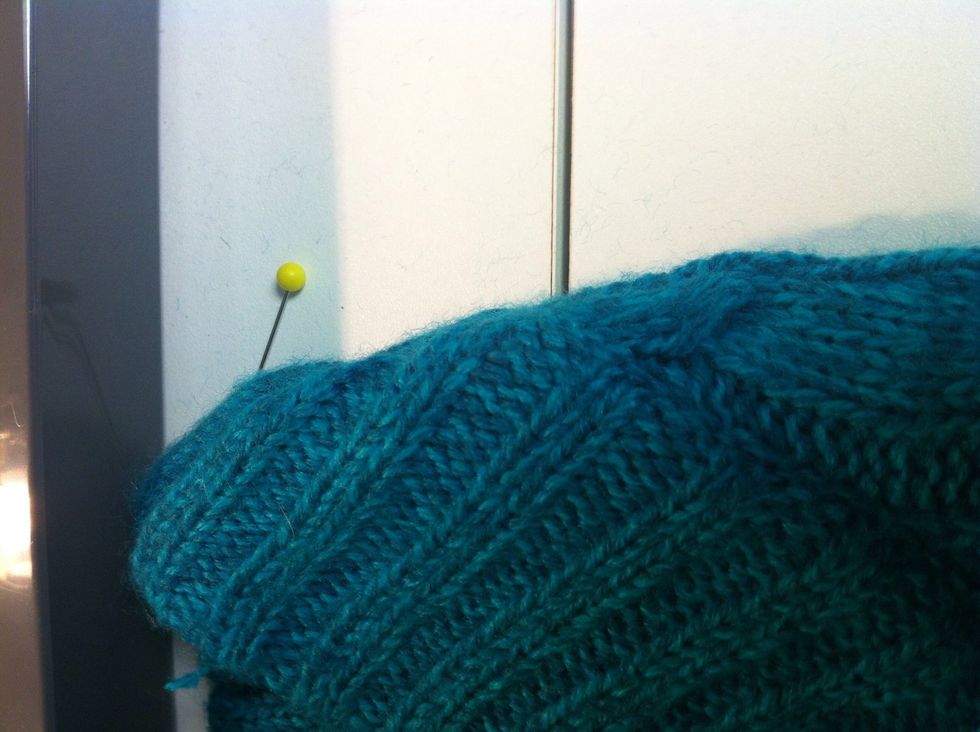
And this one I didn't. You can see how it bumps out and doesn't look as nice.
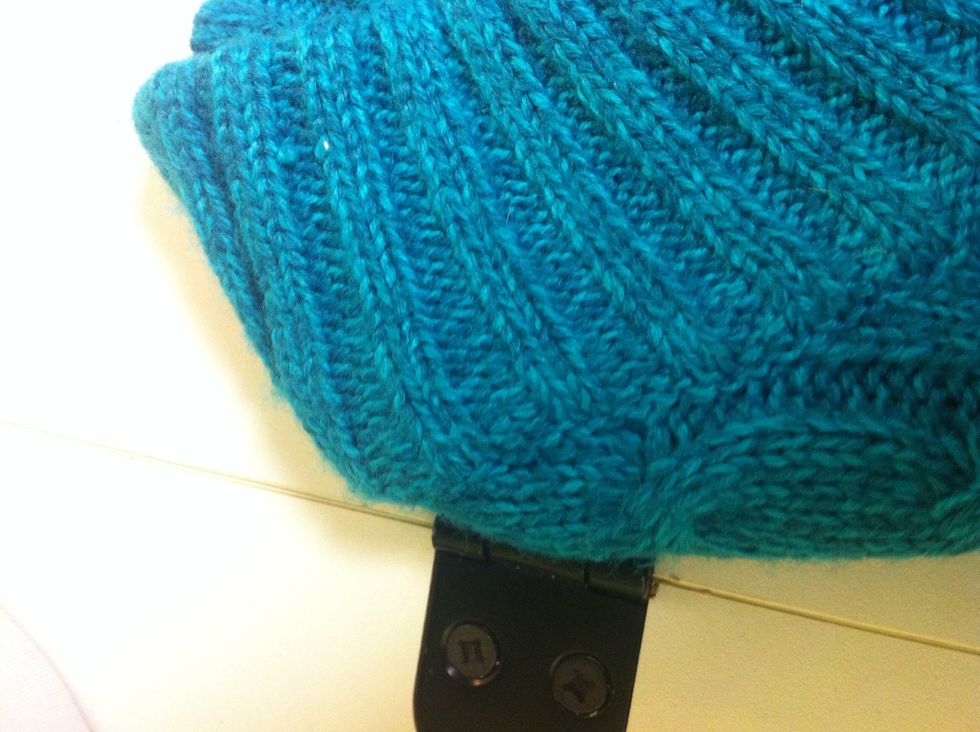
When your happy with the shape and size of your hat, cut all around the outside edge so there is minimal excess fabric arond the seam.
I like to leave the tag on when I'm done but it's your choice.
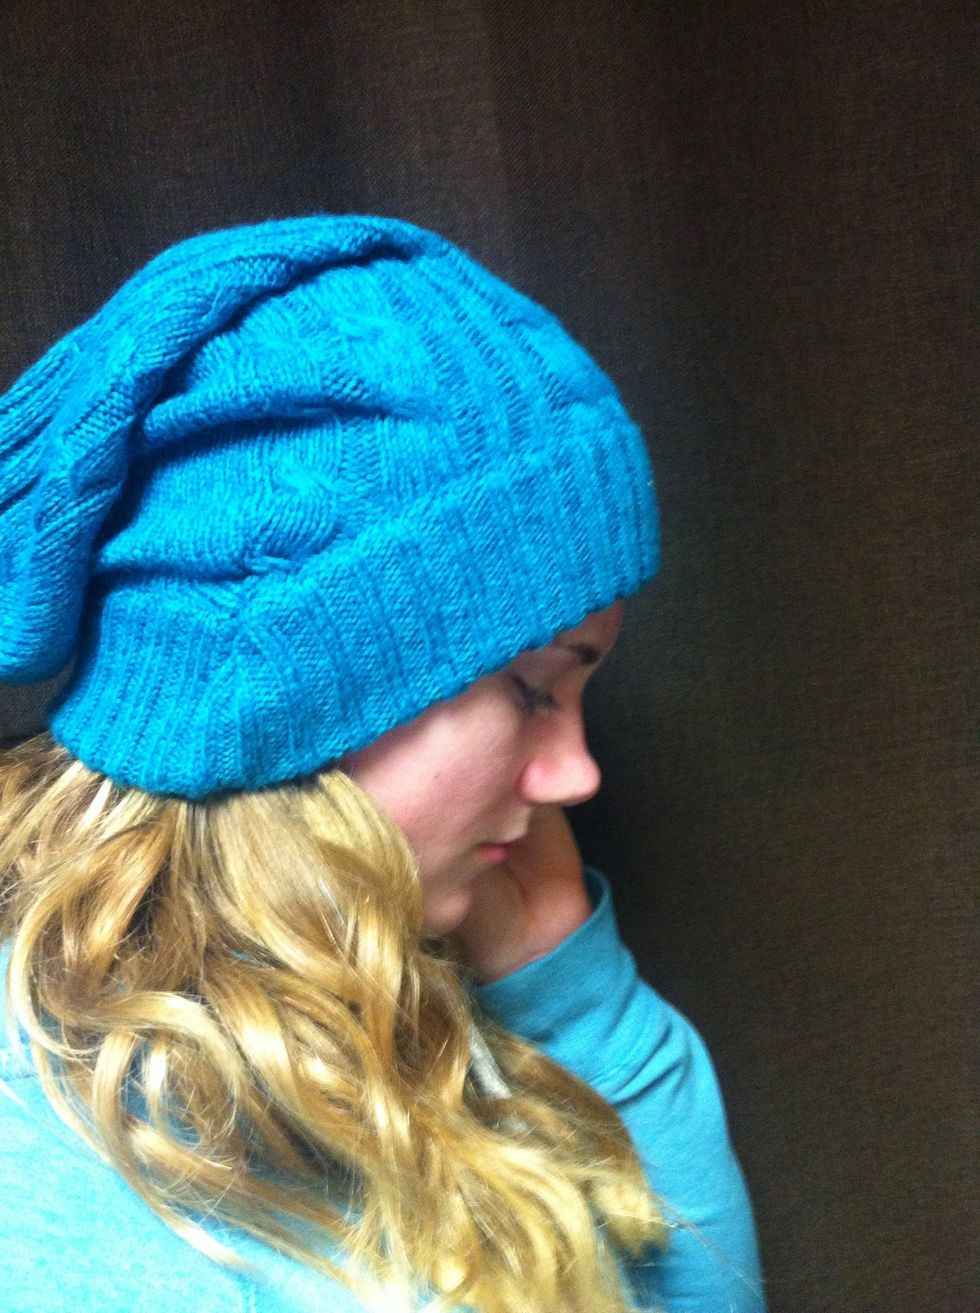
This is how it looks on. I'm thinking of adding a pompom on the end.
I made another hat but with a different kind of fabric. You can see it here. This hat was made from a turtleneck and I really like the folded look here.
To make a pompom, cut about 100 4 - 6" strings of yarn and tie it tightly in a bundle in the middle. Trim the strings to your liking.
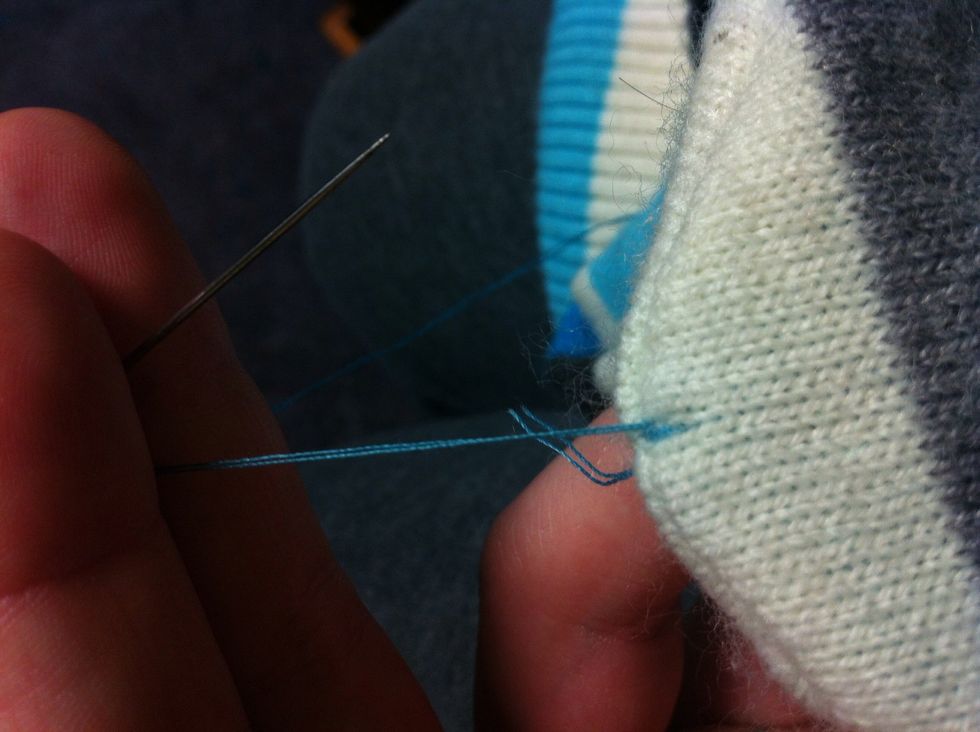
How to sew on your pompom: see through the top of the hat a few times, then stick the needle and thread through the pompom. Pull the pompom tight to the hat, the keep doing this 5 or 6 times.
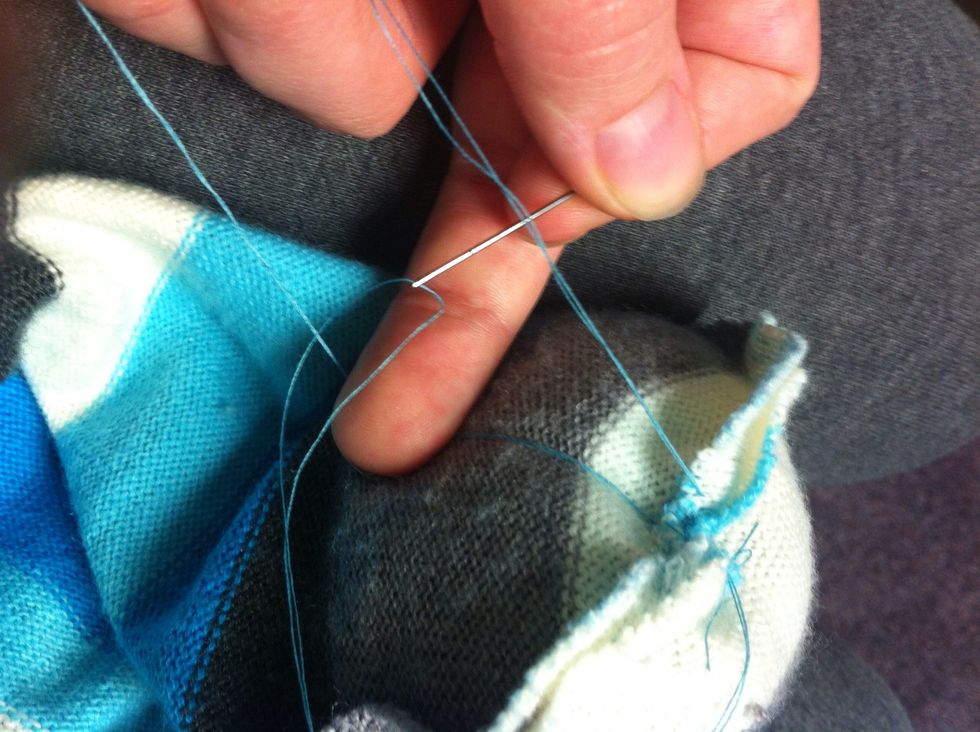
Tie off your thread when you're done and tie it tight!

And there ya go!
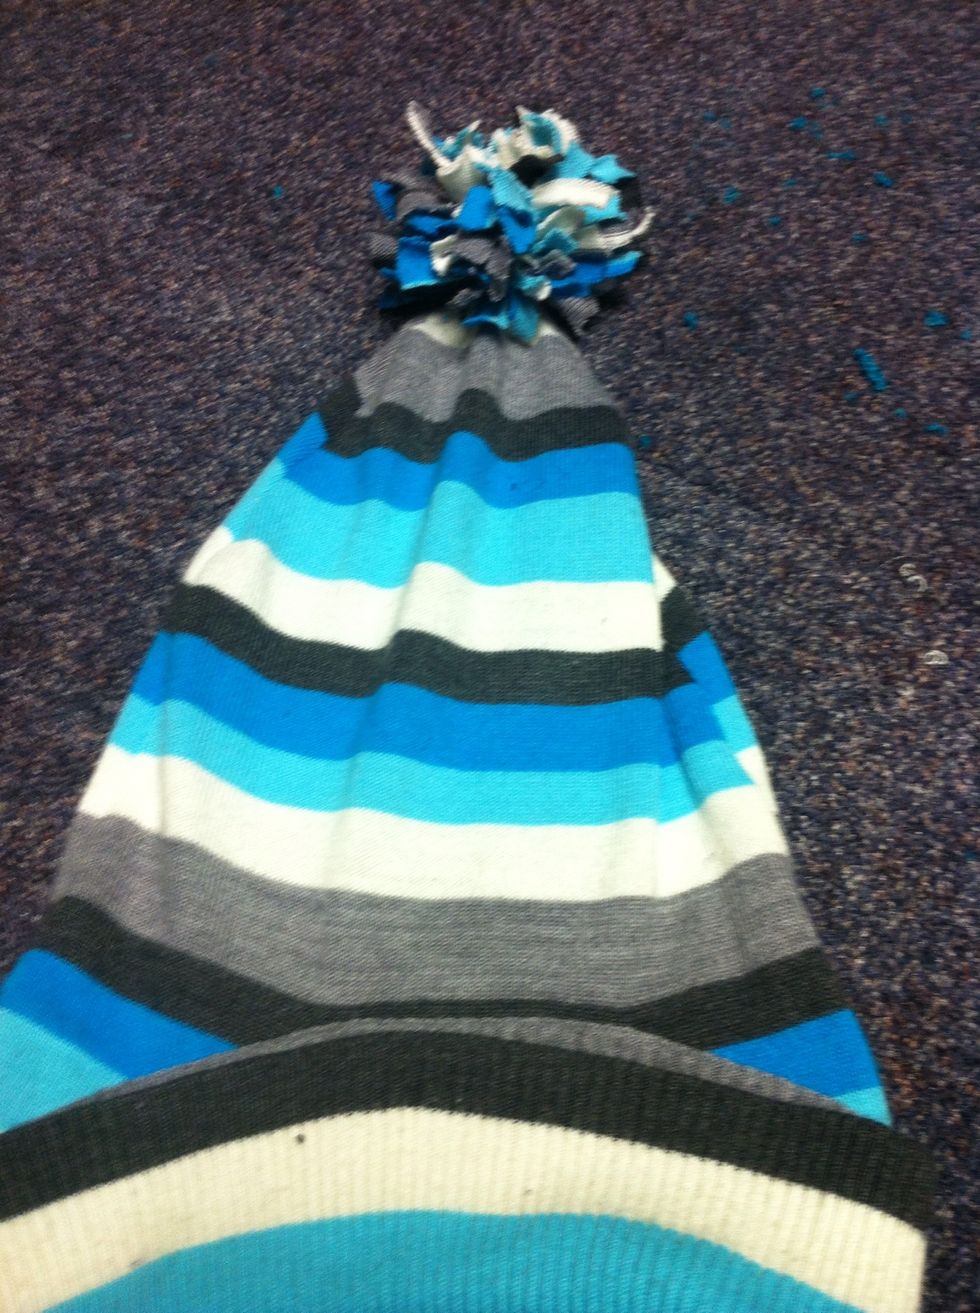
The finished hat. I used strips of sweater for this pompom.

How it looks on!