The Conversation (0)
Sign Up

First find a free baby bootie pattern online. I use Heather Bailey's Bitty Booties pattern. Download it from http://www.heatherbaileydesign.com/BittyBooties.pdf.
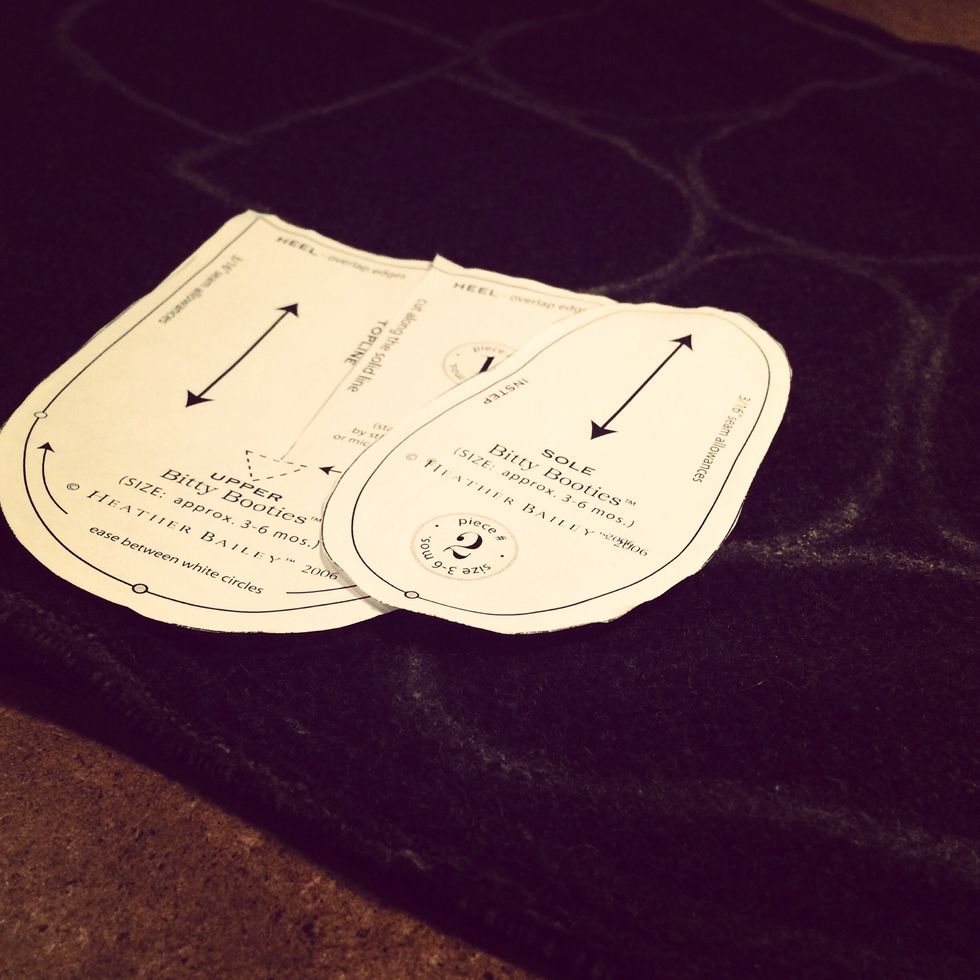
Next print & cut out the pattern. I usually make the booties for ages 3-6 months.
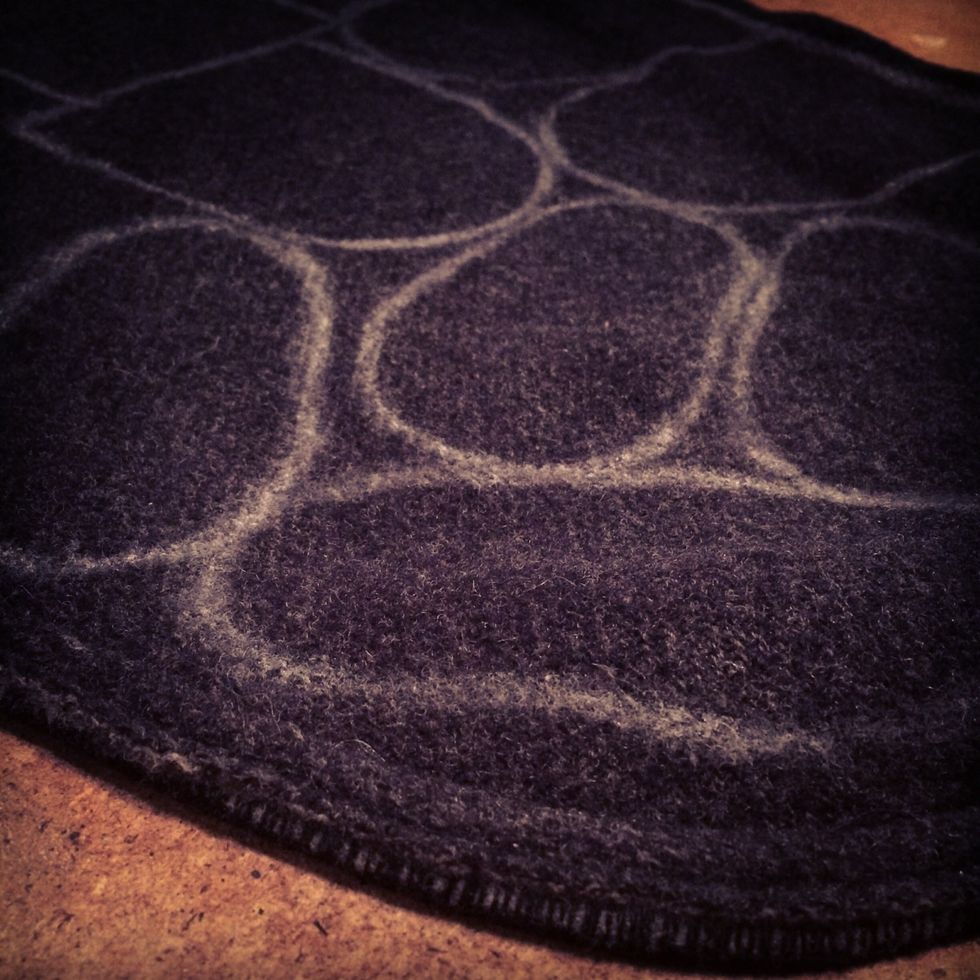
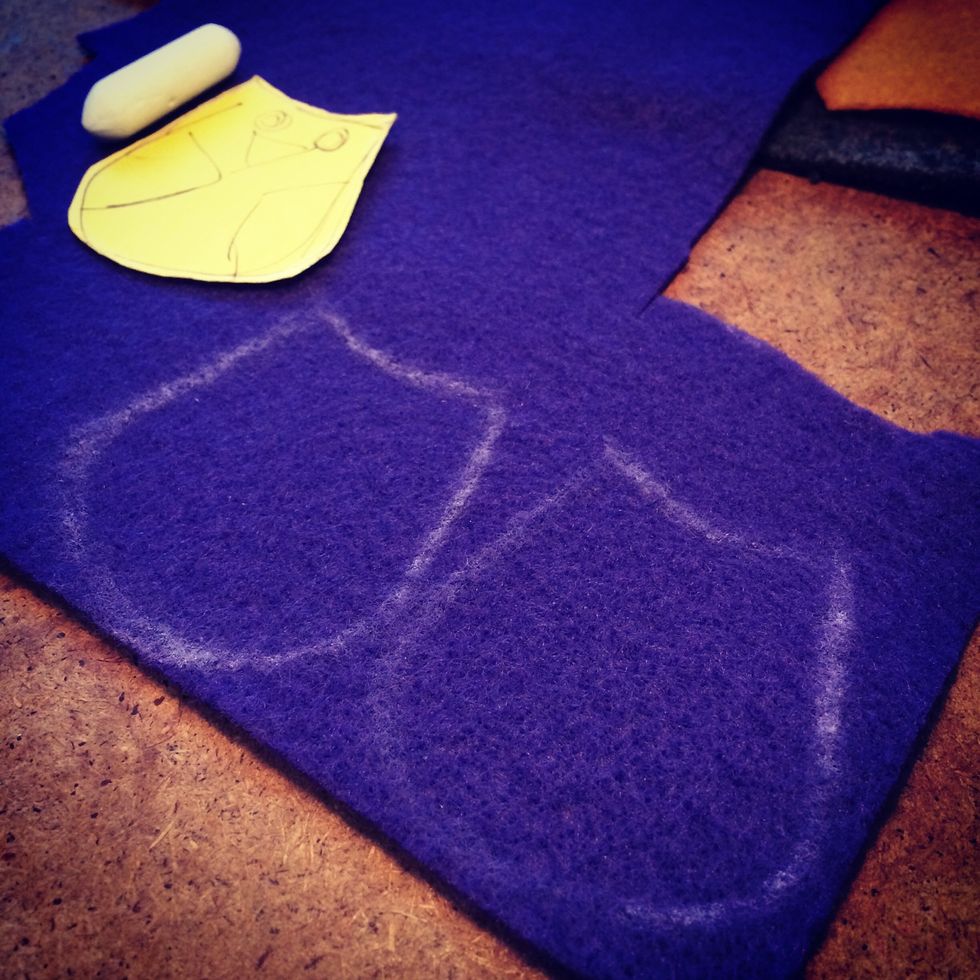
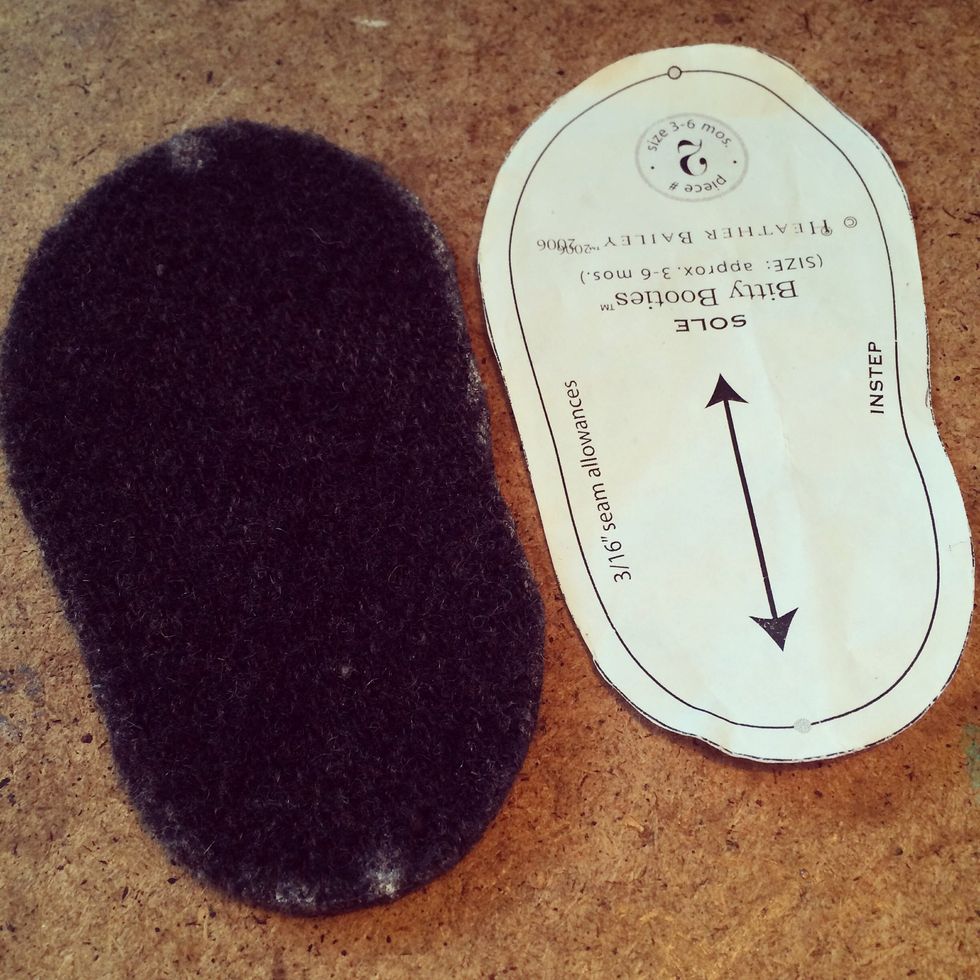
Trace the pattern using chalk onto your thrift store item - 2 feet & 2 body pieces. Then cut out the pieces.

Here are my pieces. Next we'll add a felt appliqué design to the booties.
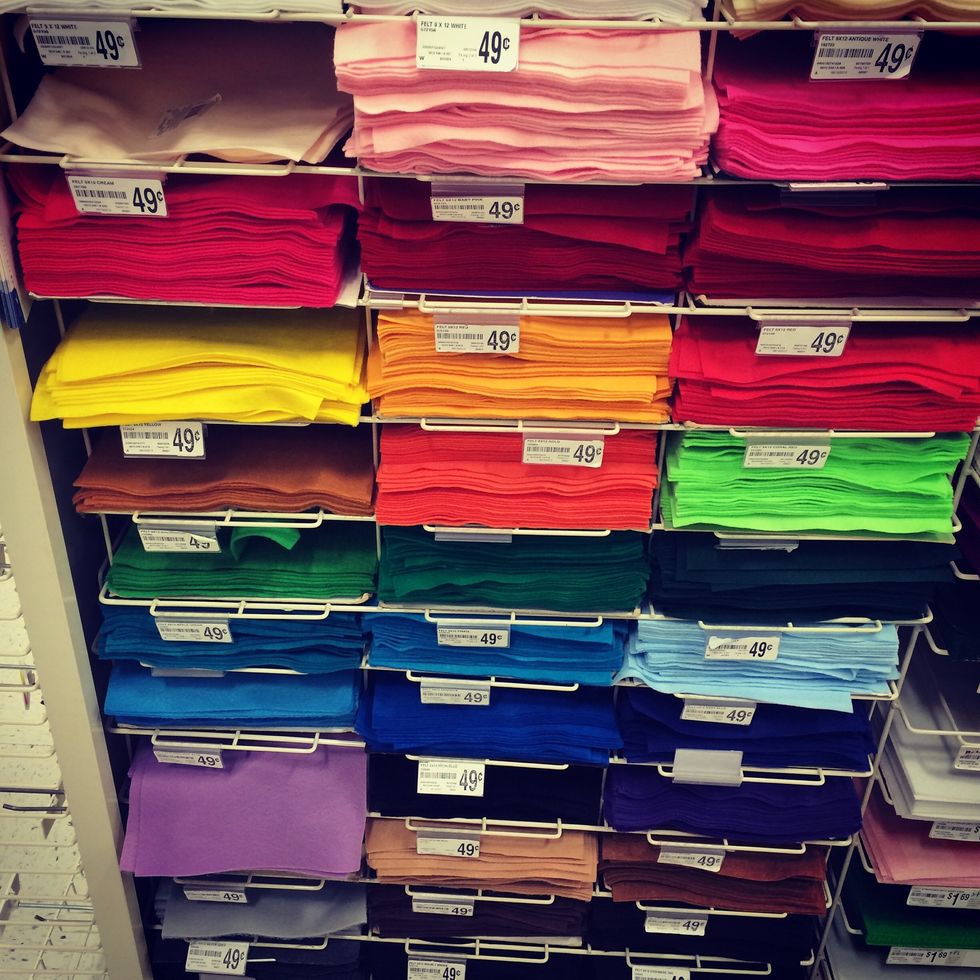
I like to add some colour to the booties using felt and embroidery floss. You can buy felt at Michaels or any loonie store. I usually pick out bright colours and use a grey base.
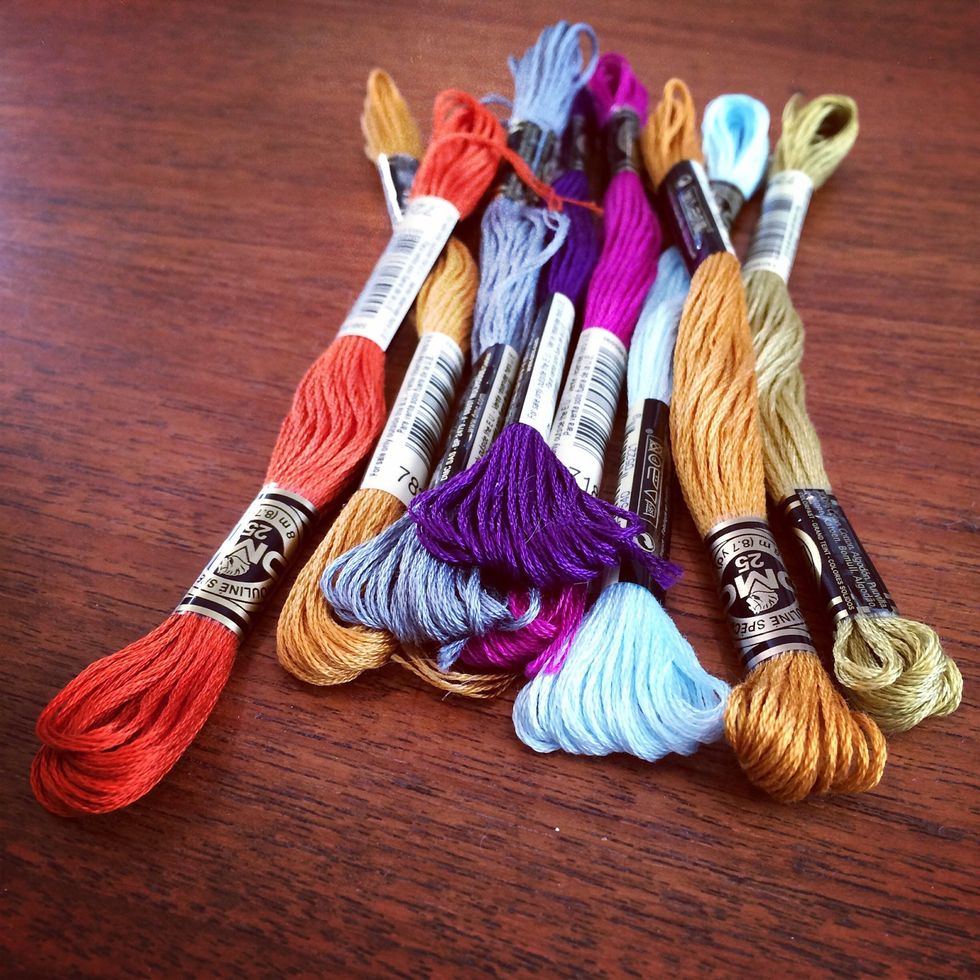
You'll also need embroidery floss and an embroidery needle. Again pick out bright colours to match the felt.
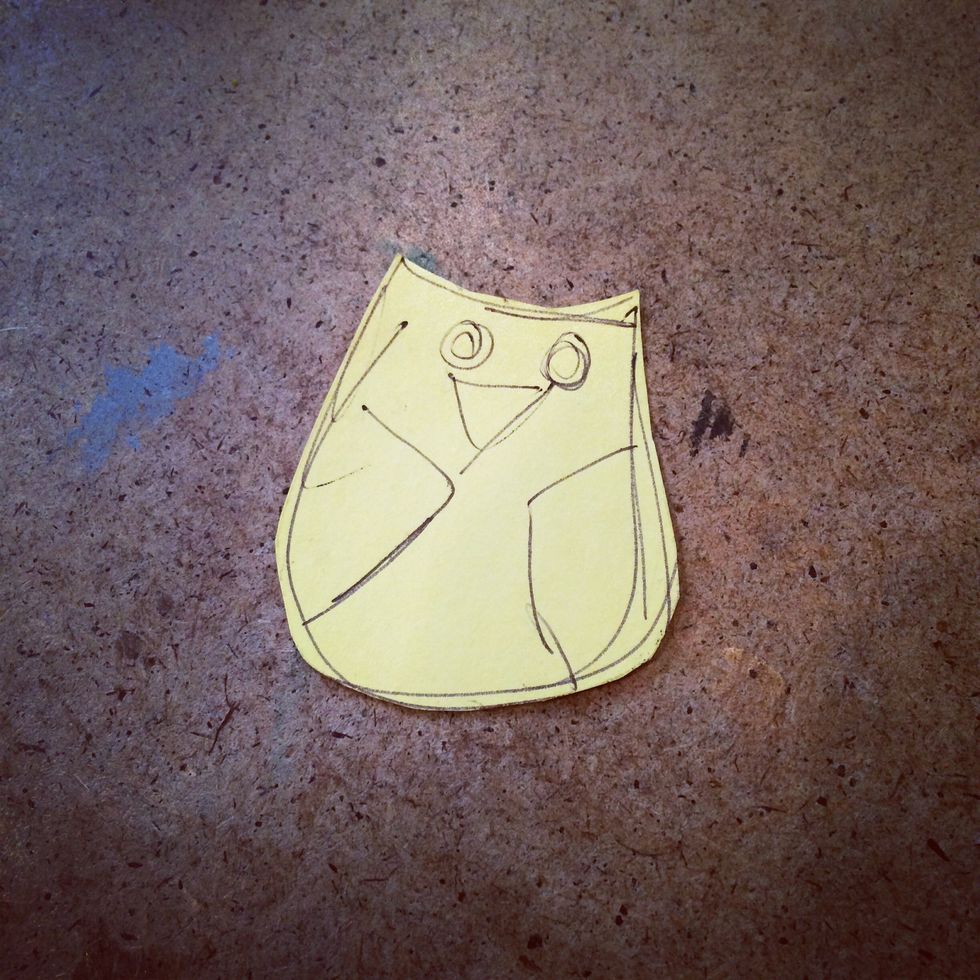
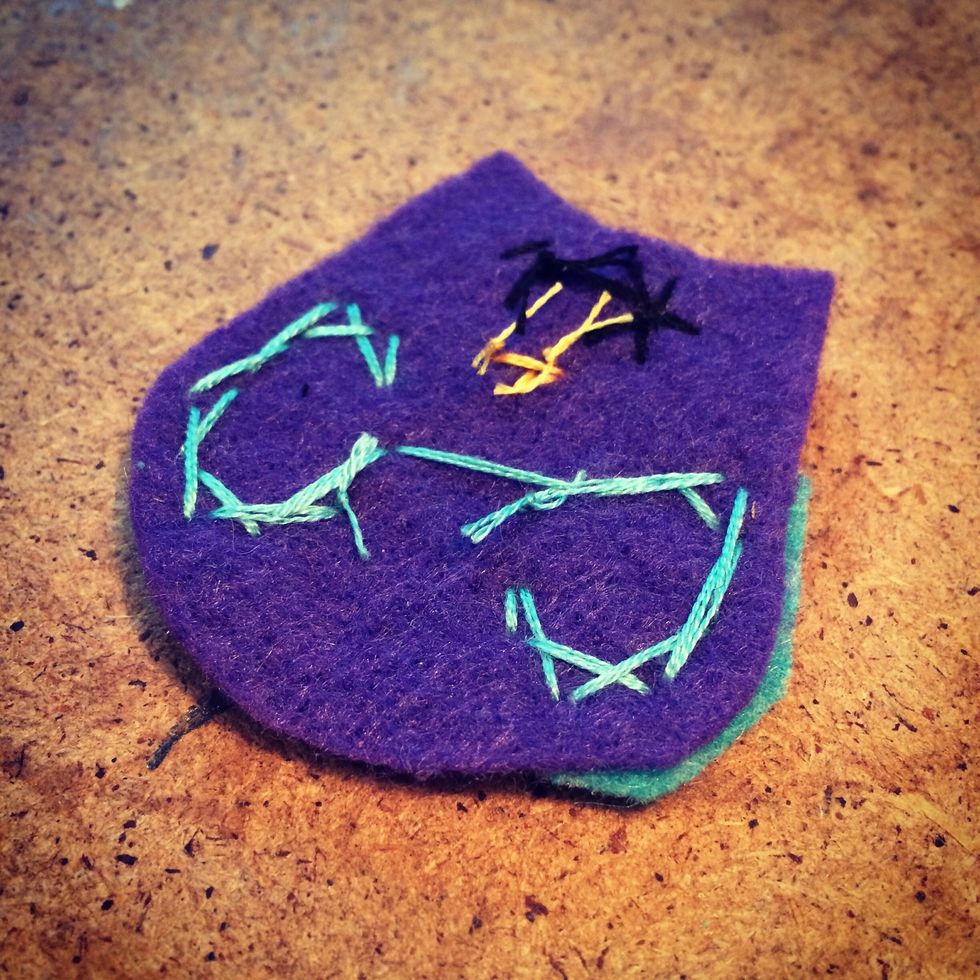
Here's my pattern for the owl that I'll be stitching to the toe of the booties. I usually draw out my idea roughly then cut it out.
Trace out the pattern on the felt and cut it out. I stitch the owl separately then add it to the bootie.
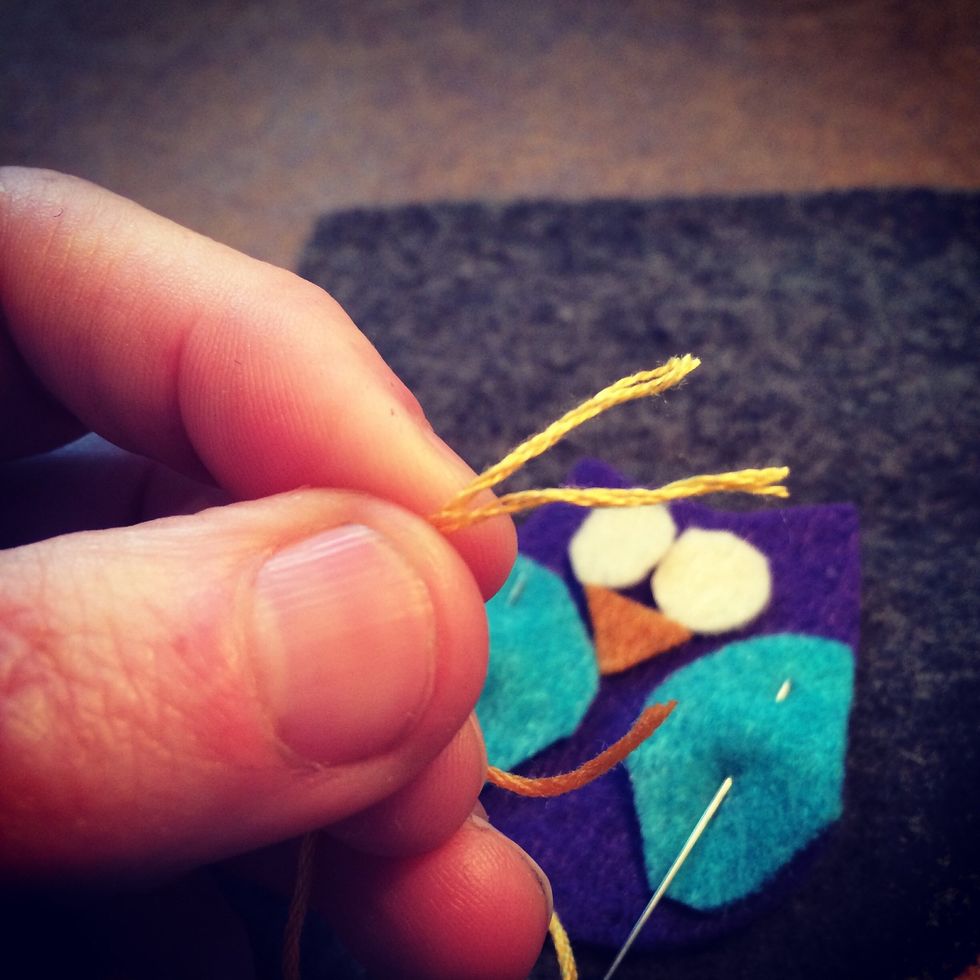
Split the embroidery floss into 3 threads - do not use the full 6 threads. Next thread your embroidery needle and your ready to stitch together your owl.
Add as much or as little detail as you want. You could also use scrap fabric or maybe buttons.
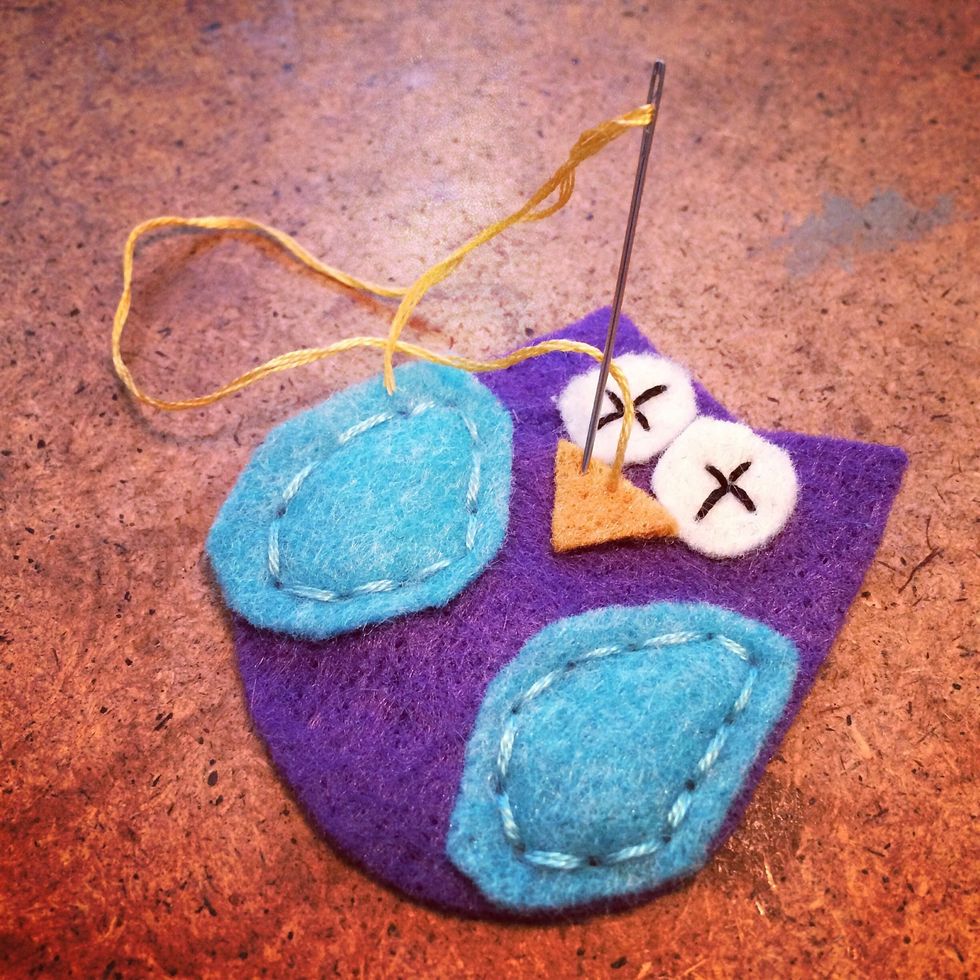
Tie up the ends in the back.
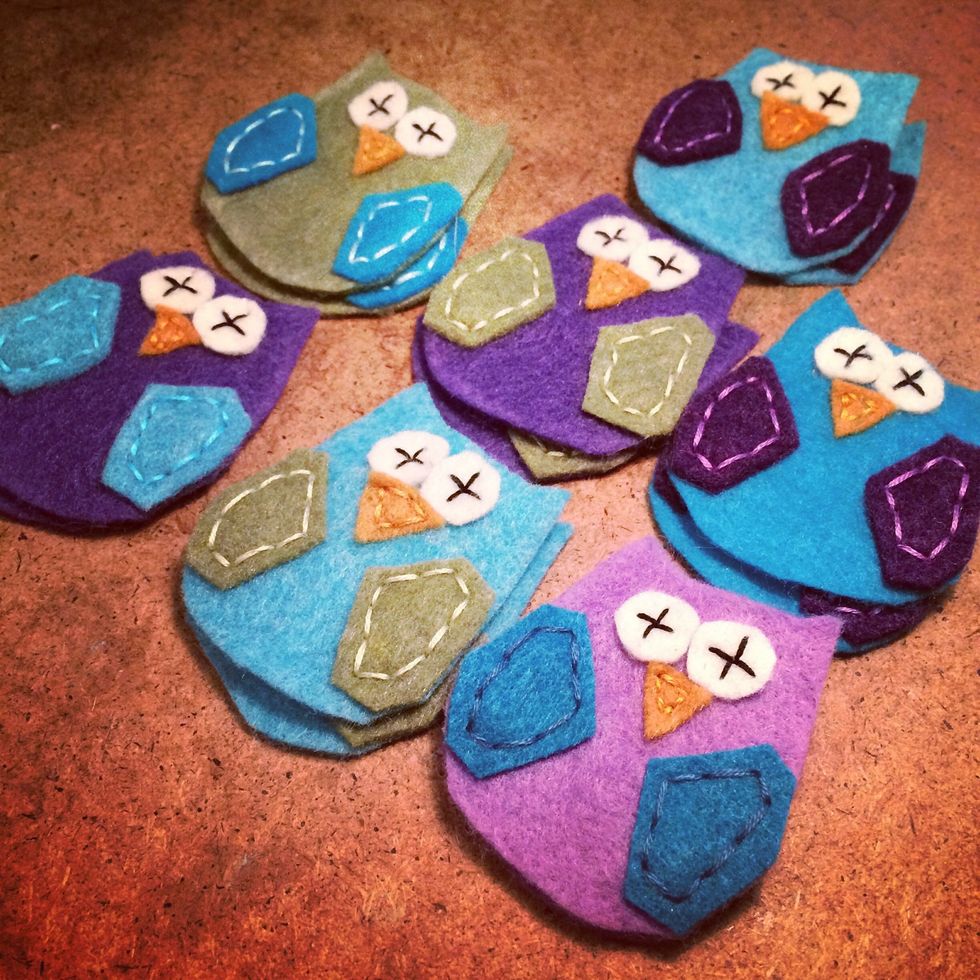
Here's my felt appliqué owls so far. It's easy to stitch an assembly line if you're making more than one pair of booties.
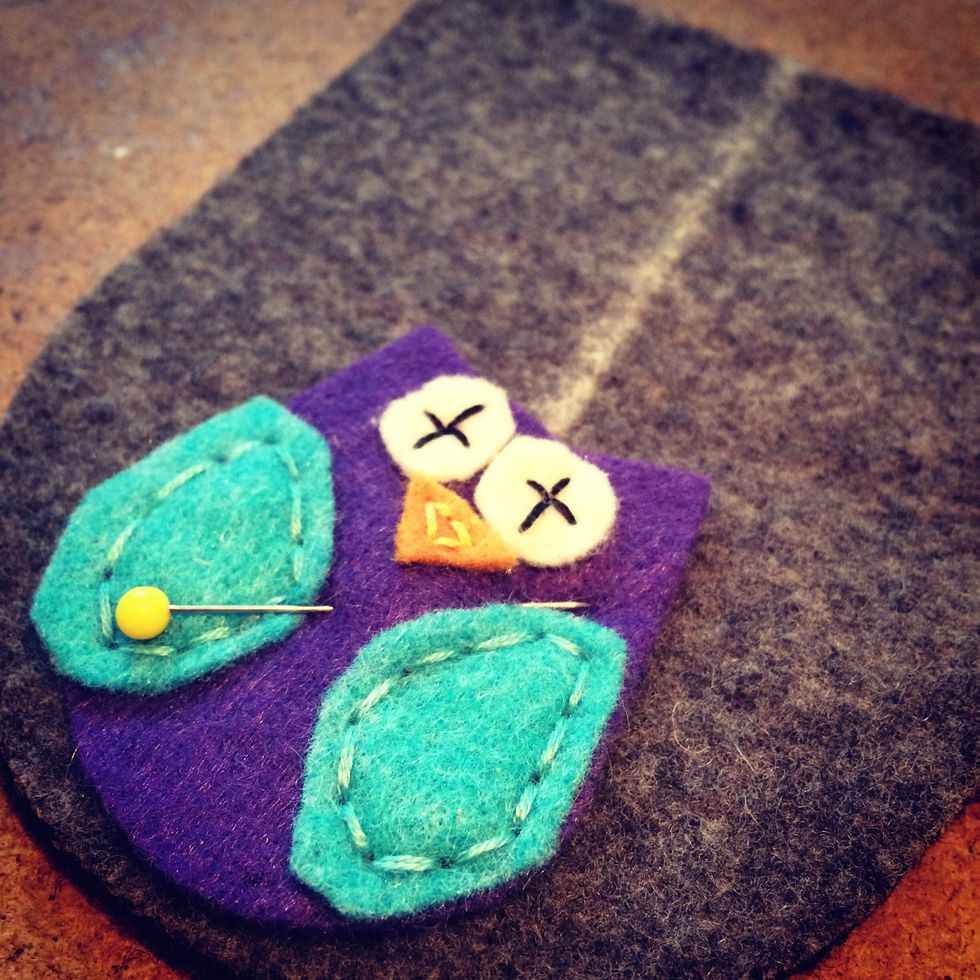
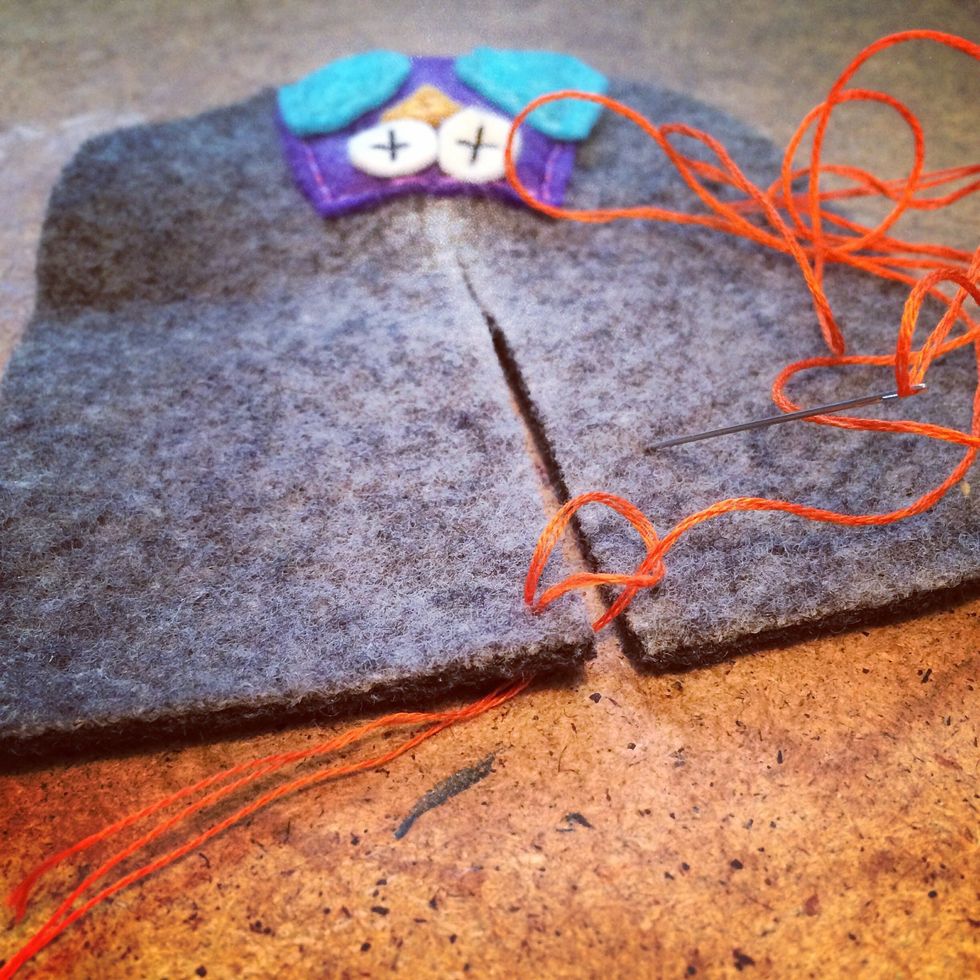
Pin the owl to the front of your booties and stitch them on. Notice I've added a chalk line for where I'll cut the opening of my booties. This helps with placing the owl.
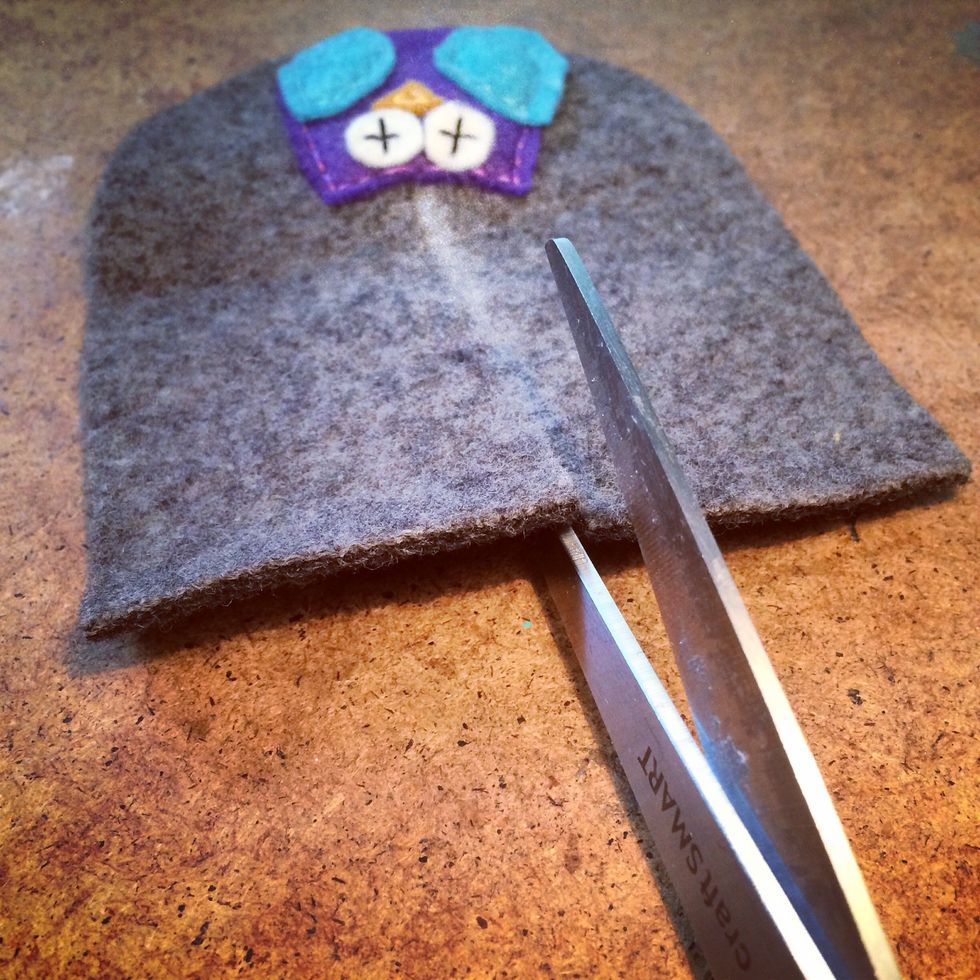
After you've stitched the owl to the front of the bootie then tie up the ends. Next you cut along the chalk line. This is the opening of the bootie you're creating.
This step is optional. I usually add a buttonhole stitch along the opening with a bright thread.
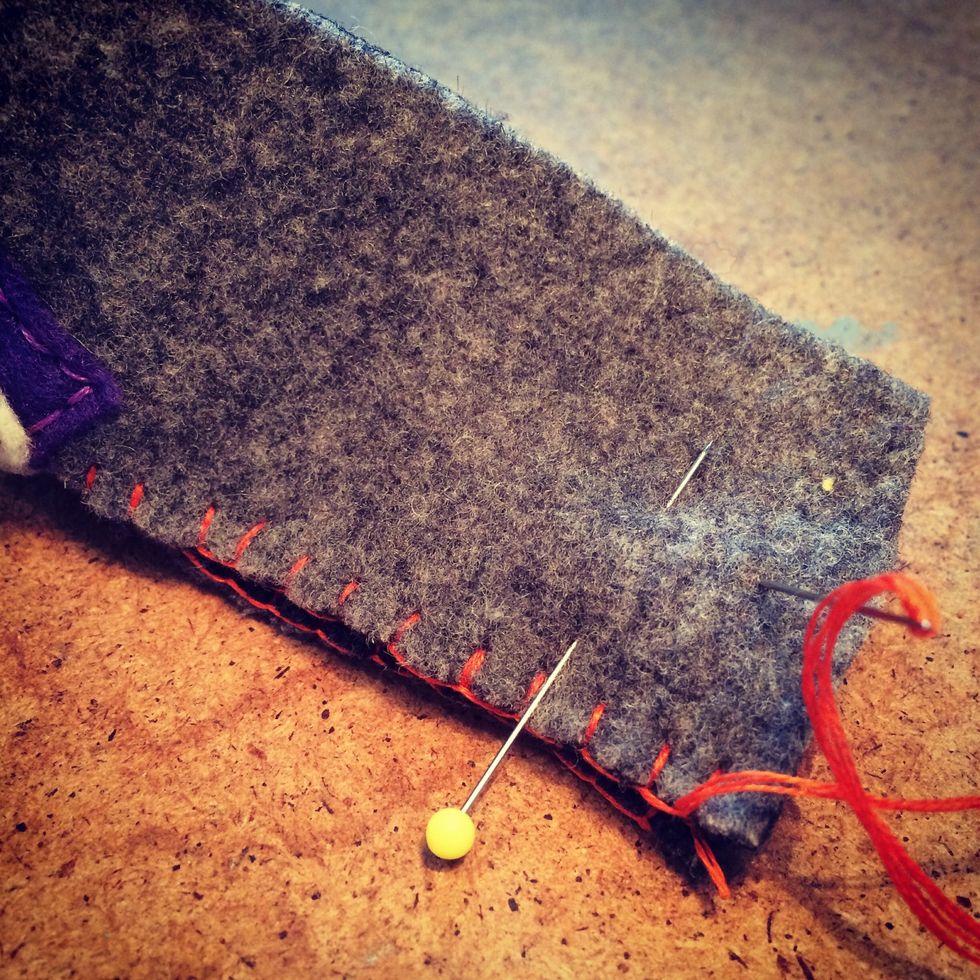
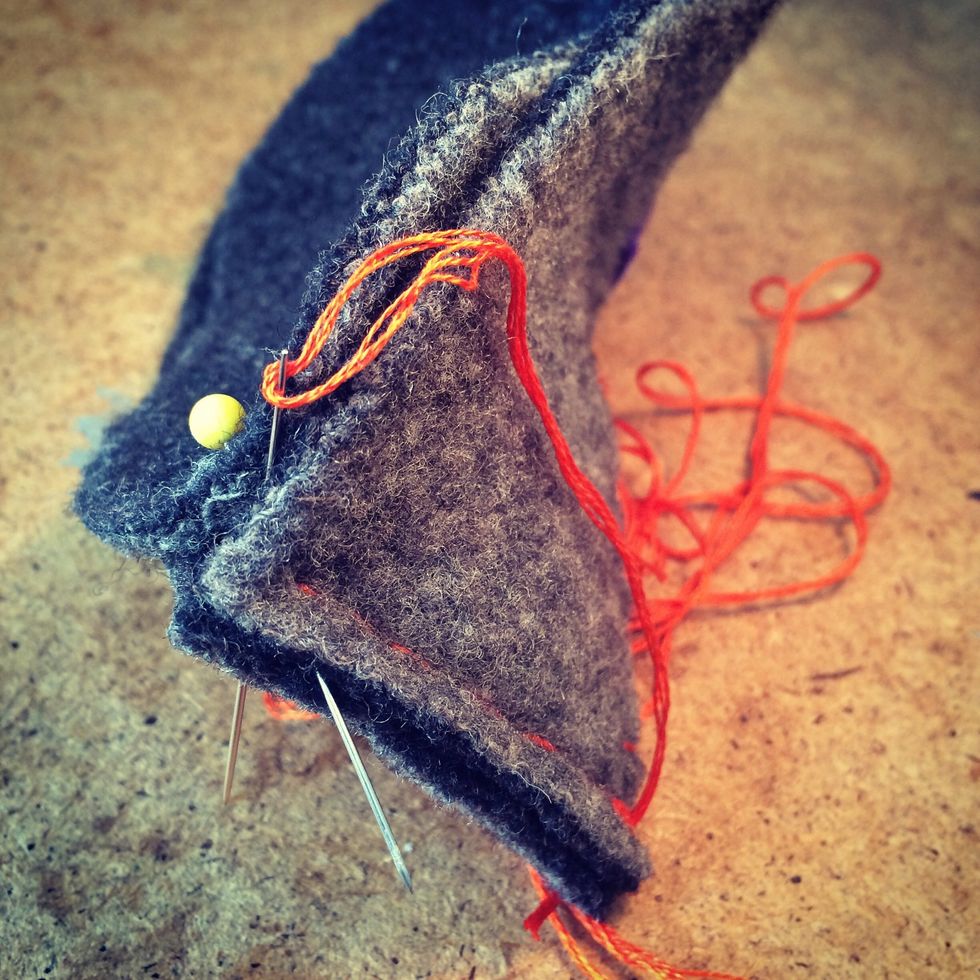
Once I've added the buttonhole stitch along the opening I'm ready to seal the back. Fold the bootie in half lining up the edges with the stitching then you can sew the back together.
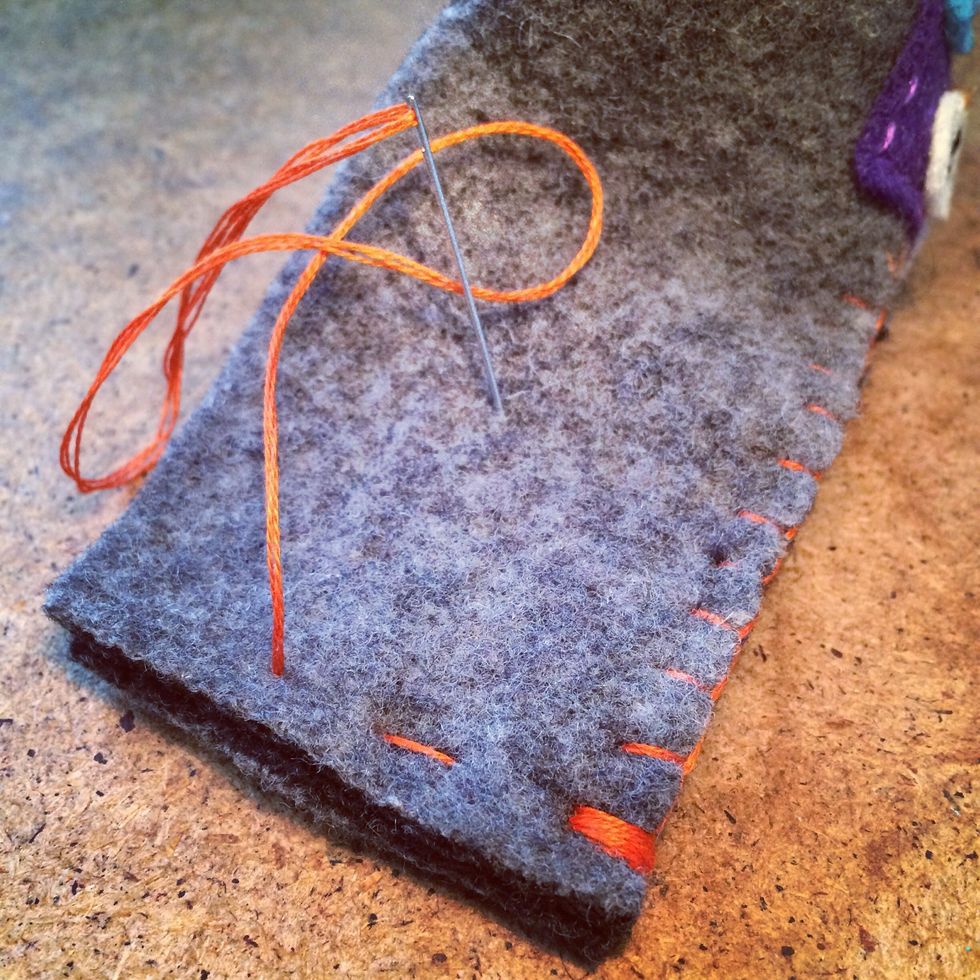
I stitch down then back up and then tie the end. Now you're ready to add the bottom of the bootie.
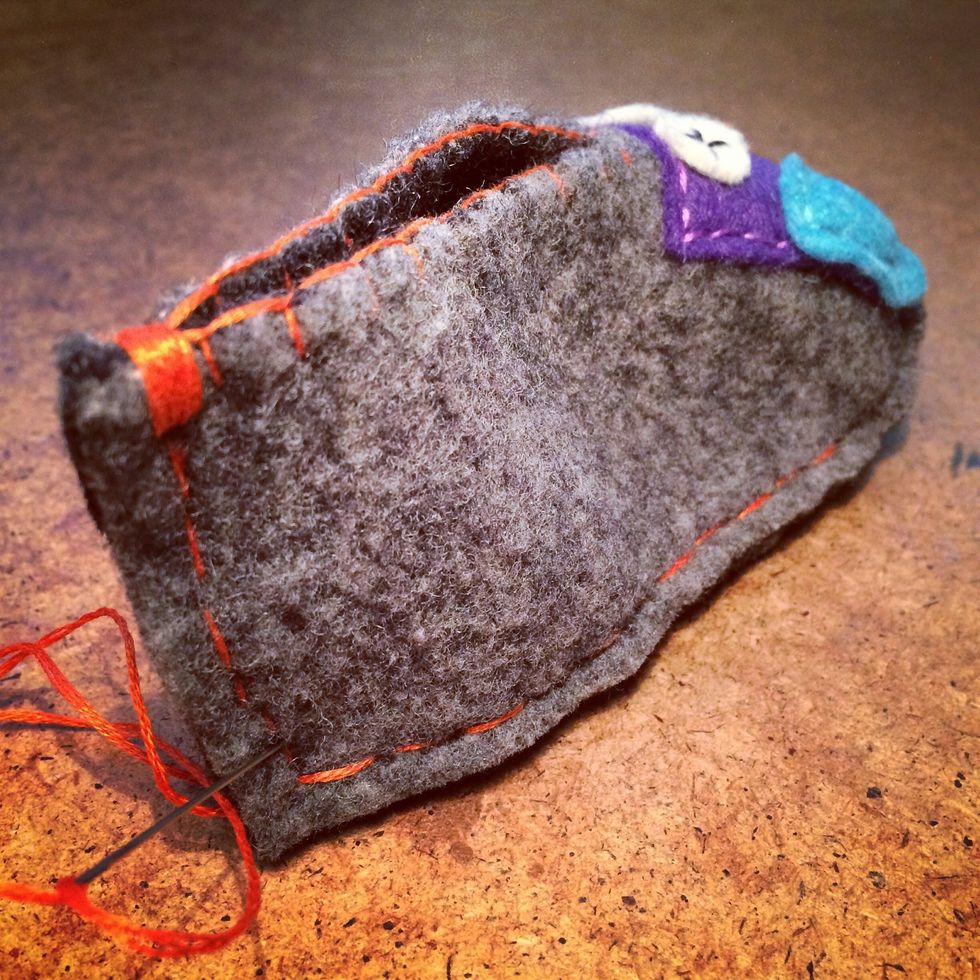
Here's the top part of the bootie complete.
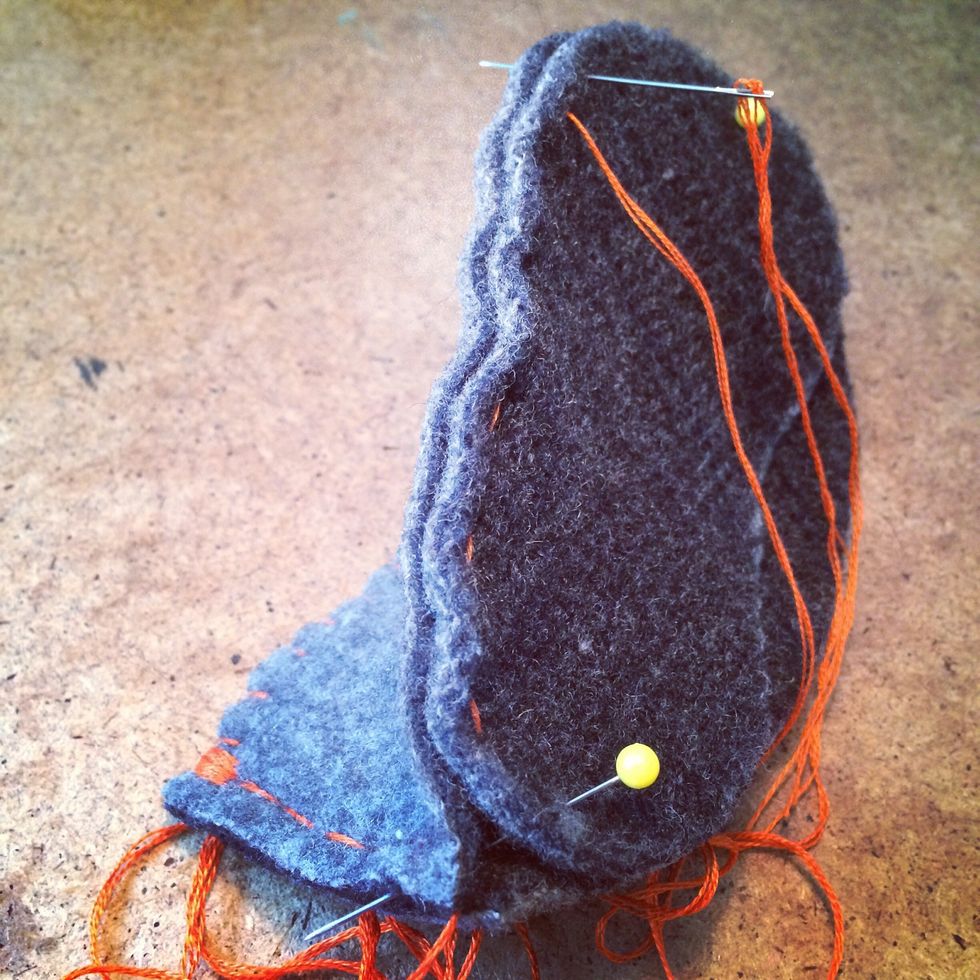
The bootie pattern shows you where to line up the top and bottom. I use chalk to mark these spots on the bottom piece.
I pin the top and bottom together then start sewing the top to the bottom.
You can either have the edges showing or turn the bootie inside out to have the edge inside.
After you've stitched the top and bottom together then tie up the end.
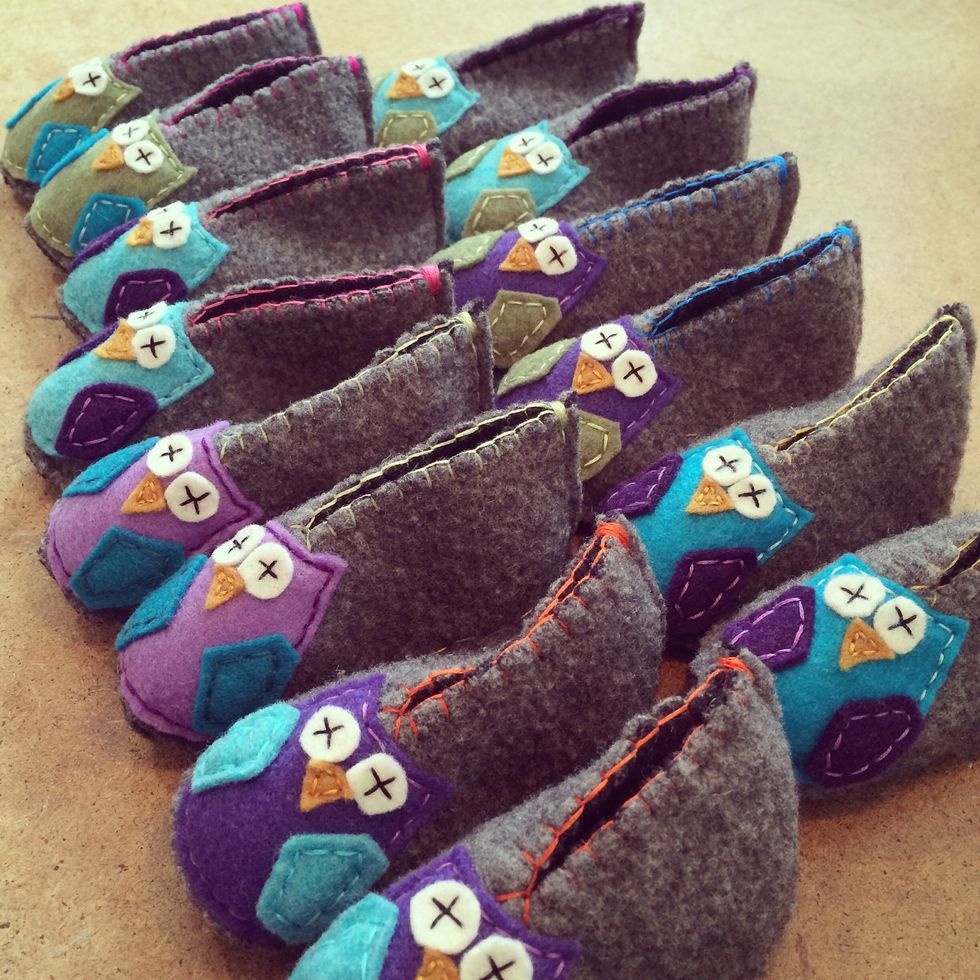
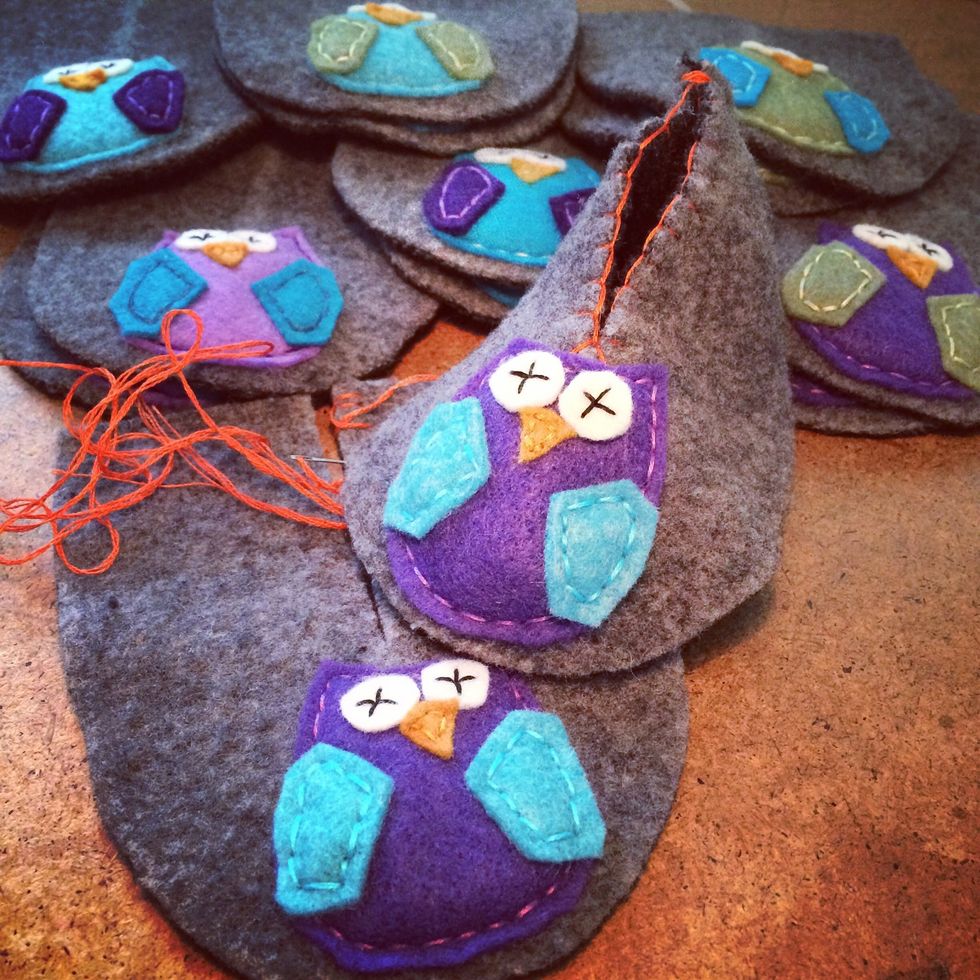
Here are my plethora of owl booties done. They're fun and one-of-a-kind handmade cuteness.
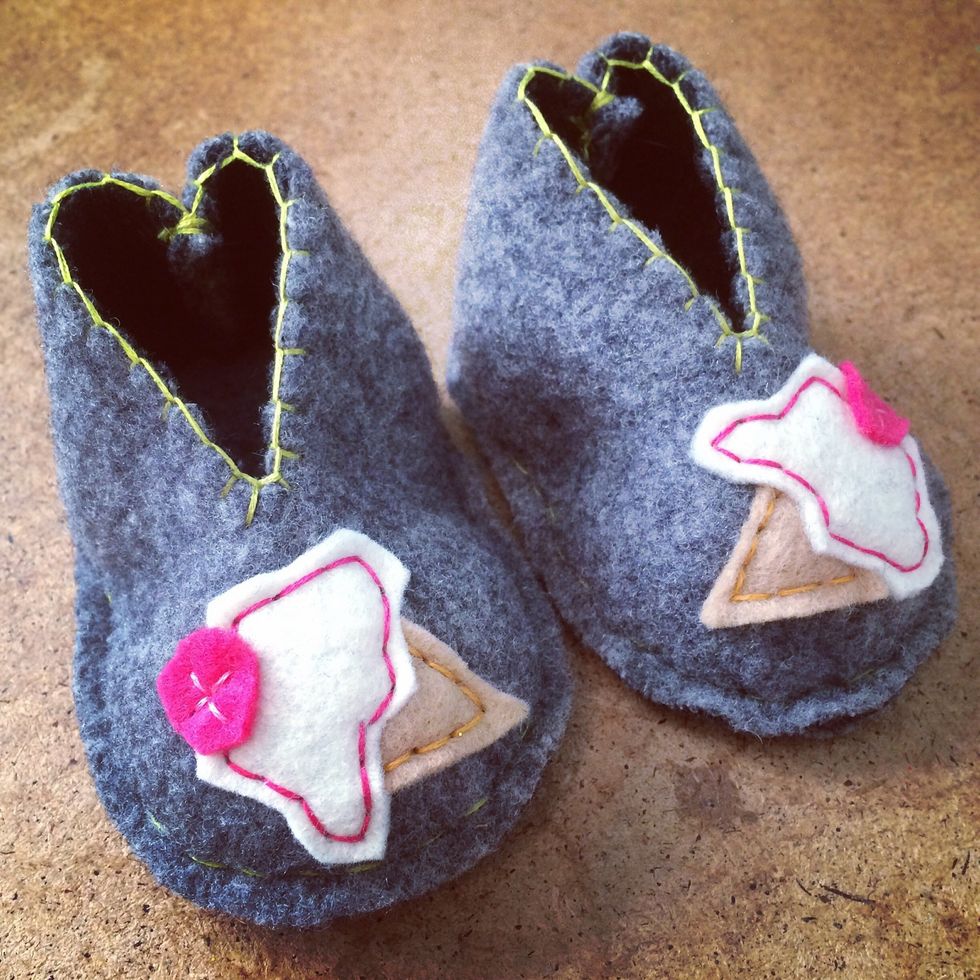
Try any design to make them fun... Strawberries, birds or ice cream cones!