The Conversation (0)
Sign Up
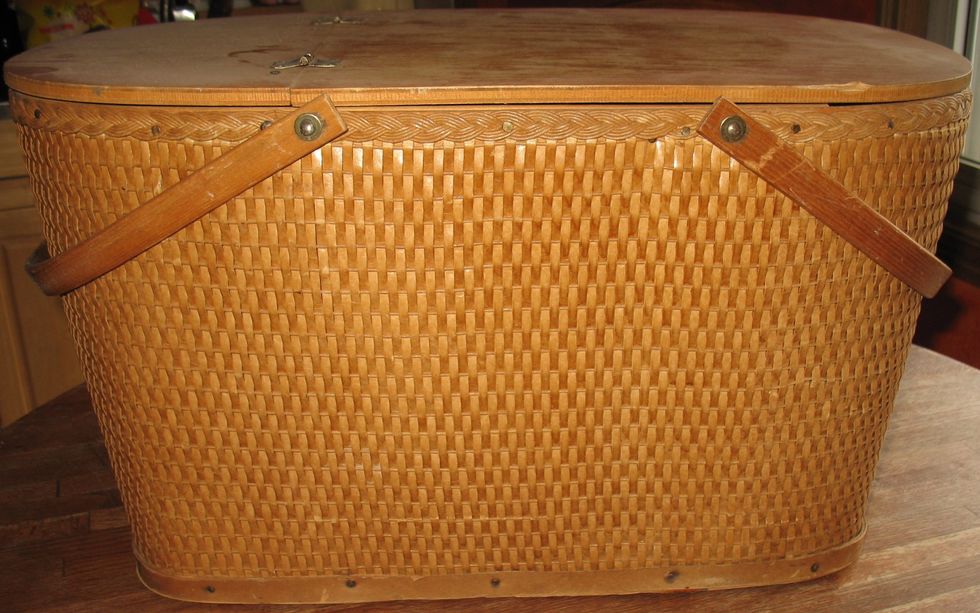
Find an old picnic basket and remove as many of the hinges, screws, etc. as possible. It's most important to be able to remove the lid from the basket.
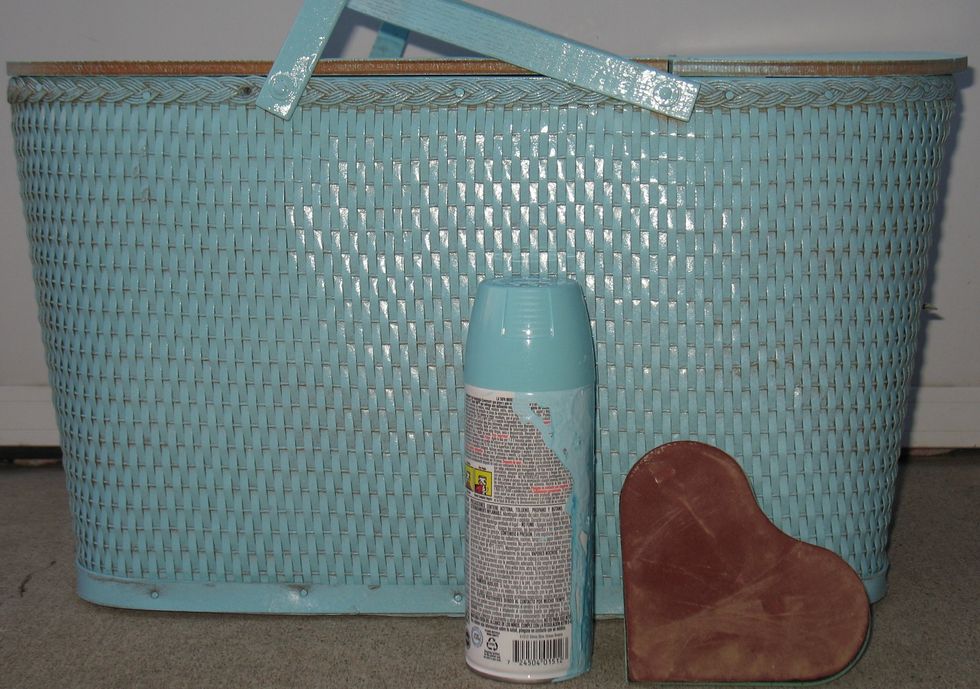
Sand the lid and dust off each piece. Then, take it outside and spray paint it allowing it to dry in between each coating.
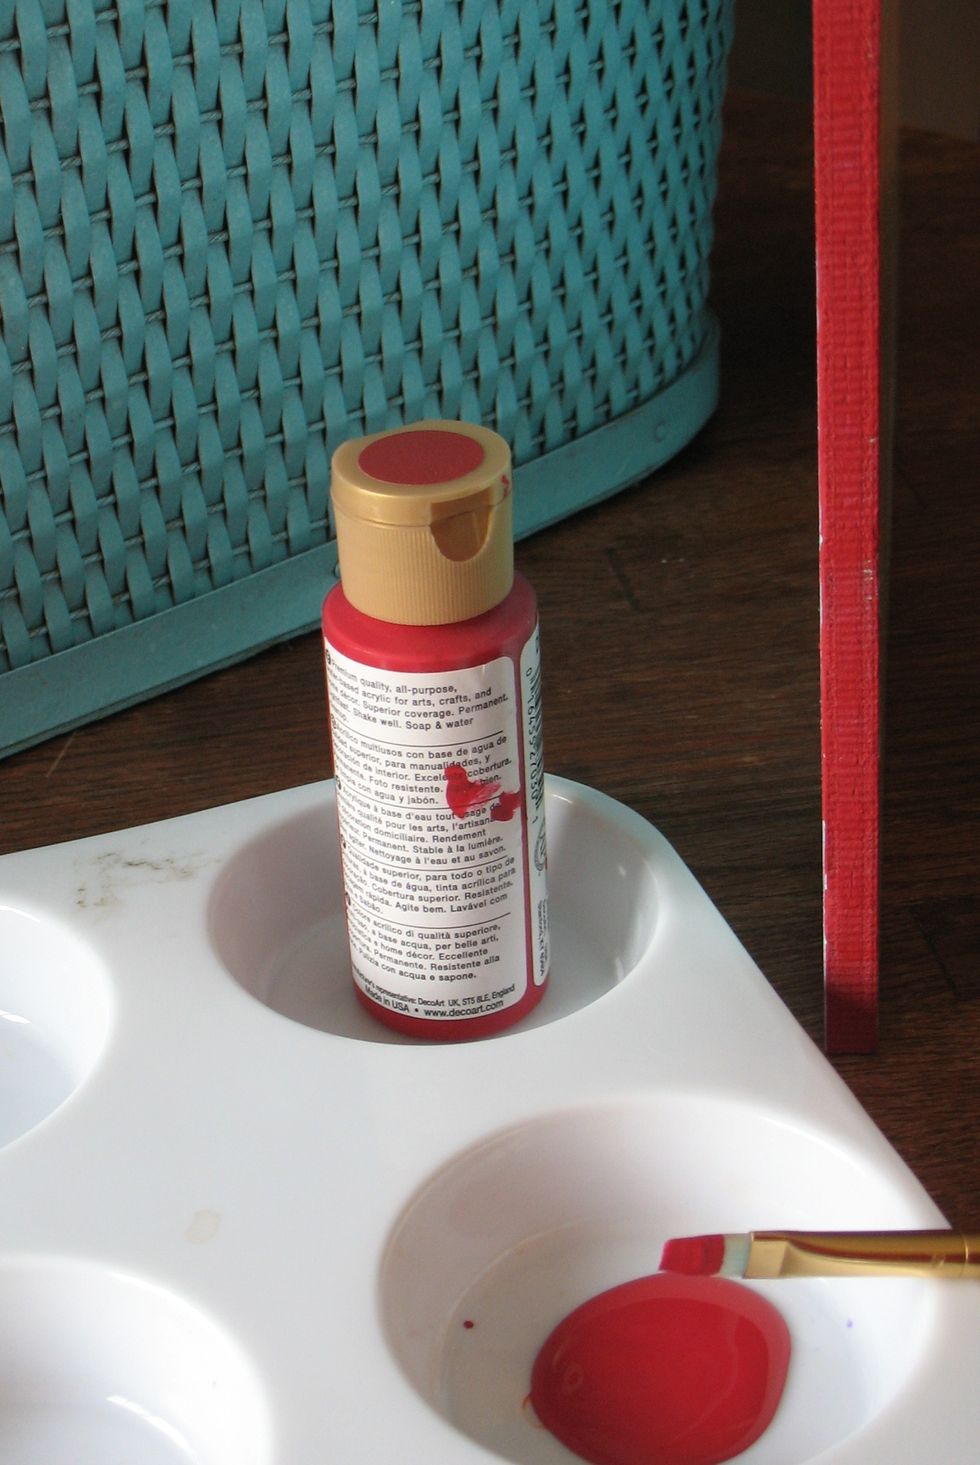
Paint the edges of the lid using the red acrylic paint and the brush.
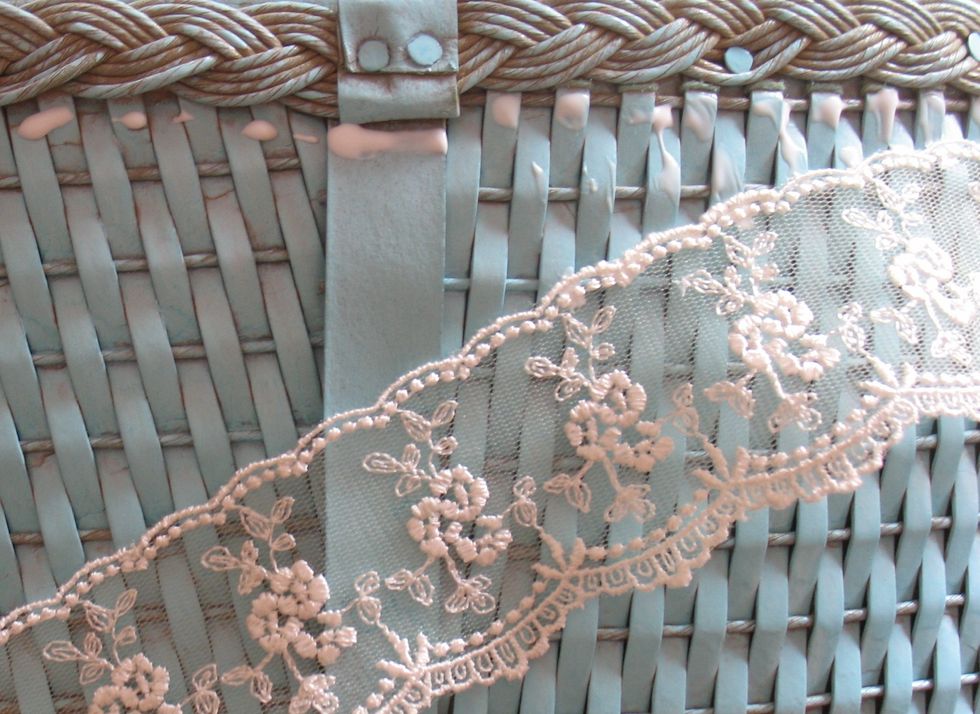
After the basket has been thoroughly painted and allowed to dry add the lace around the basket adhering it with glue.

Take the piece of Pier 45 patterned paper, adhere it to the smaller lid using Modge Podge on the foam brush. Allow it to dry & turn the lid over to trim the excess off using scissors. Lay it aside.
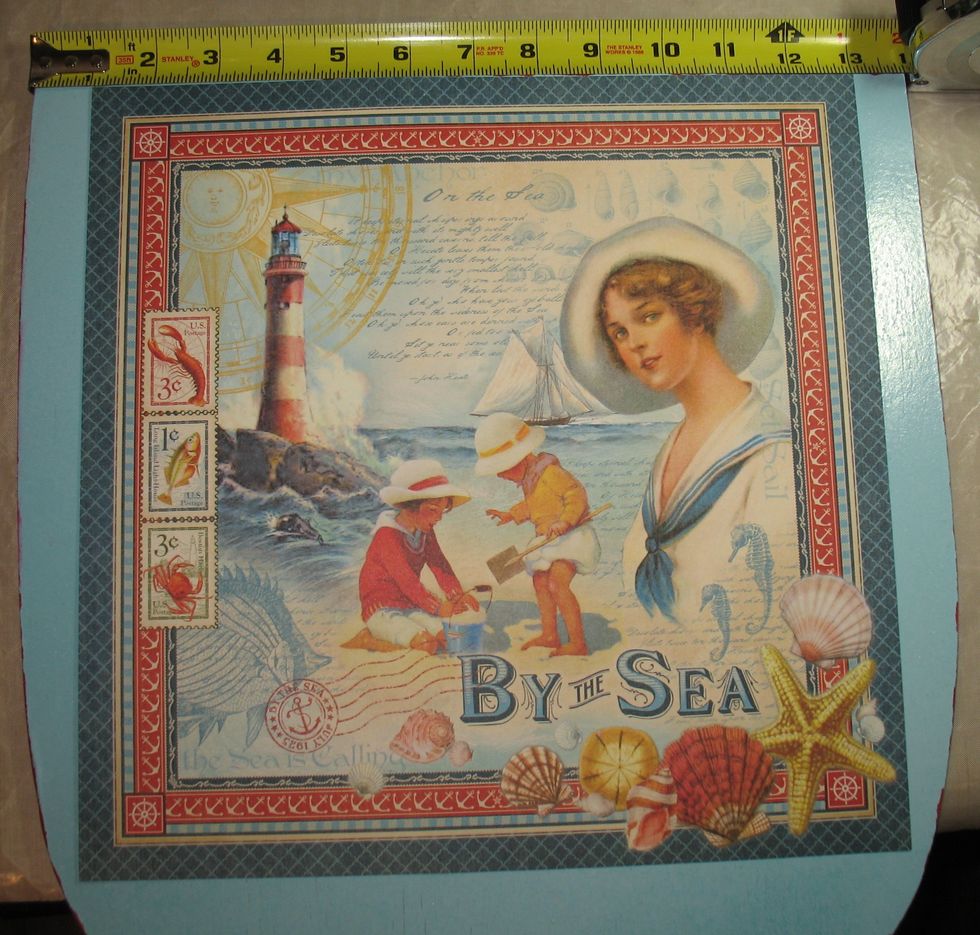
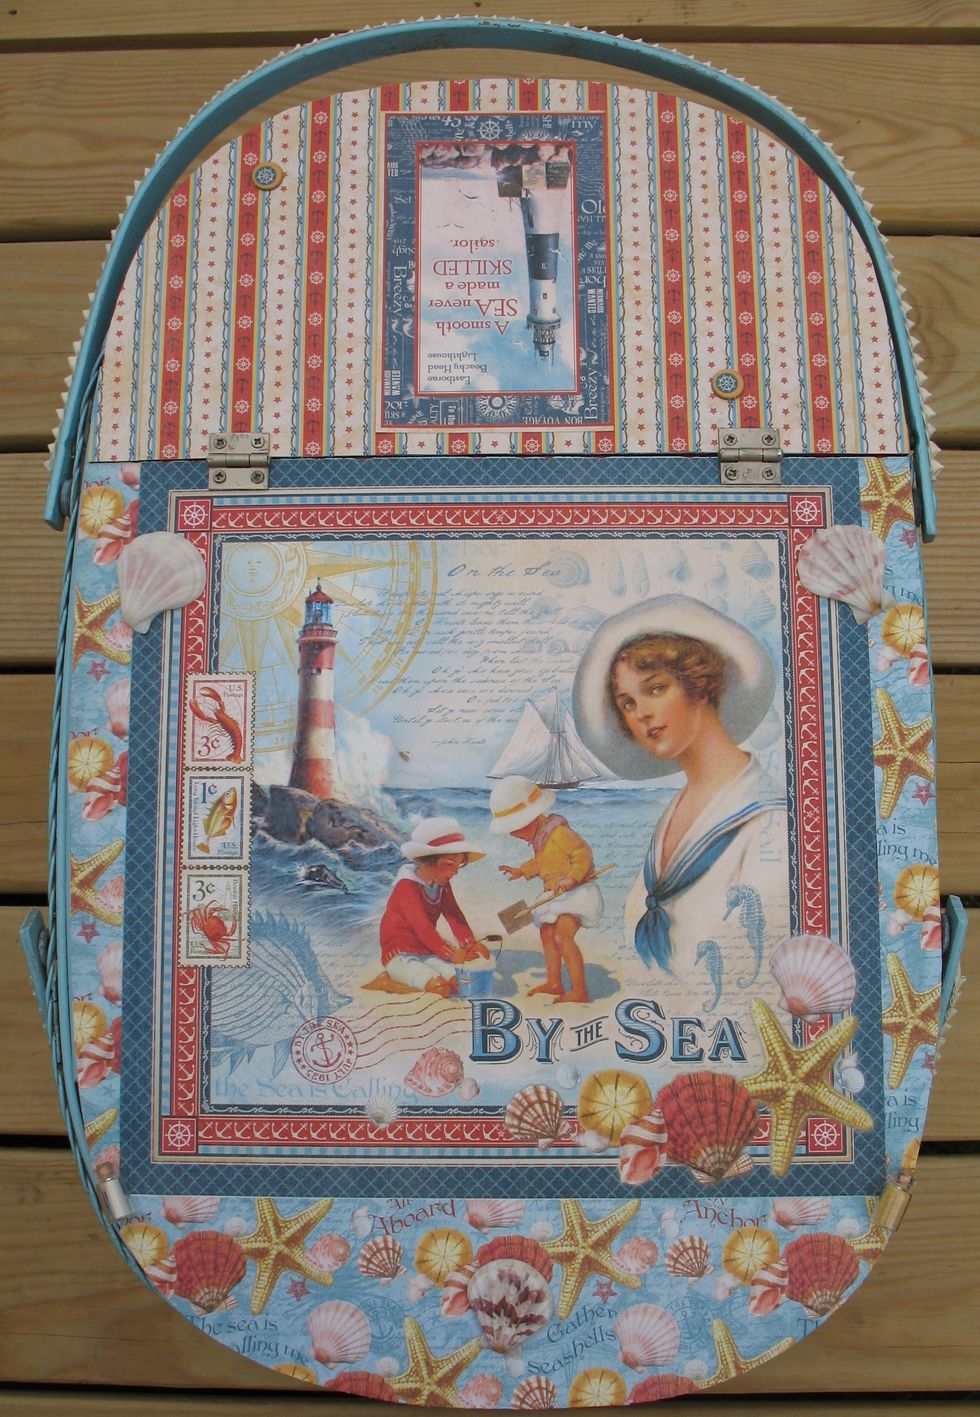
Find the center of the bigger lid and adhere the 12" x 12" piece of By the Sea to it using the foam brush and the Modge Podge. It is important to make sure this piece is centered. Allow it to dry.

Measure each side of the smaller lid that is showing the paint and add a piece of the Pier 45 to cover them. Trim it down to size as before.
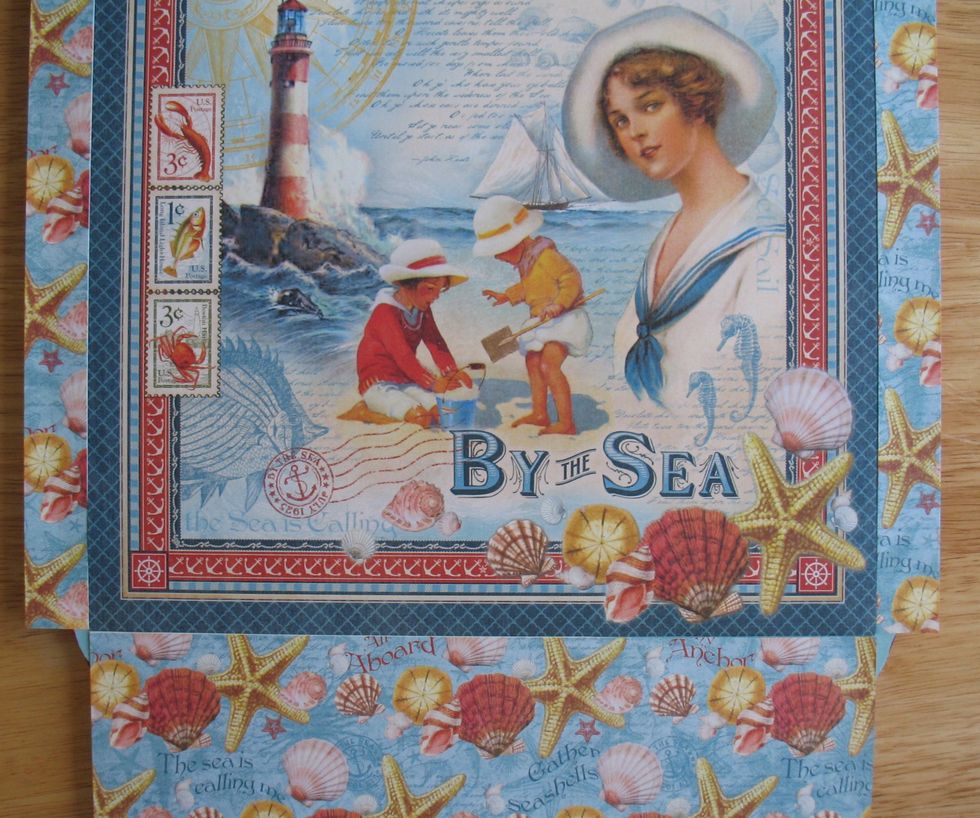
Using the sheets of Beachcomber, make sure the edges of the papers are lined up against each other and adhere them to the sides and bottom of the lid. Trim it to size as done in the previous steps.

Glue 2 of the saying from the Sand and Surf patterned paper to the 4" x 6" pieces of cardboard.
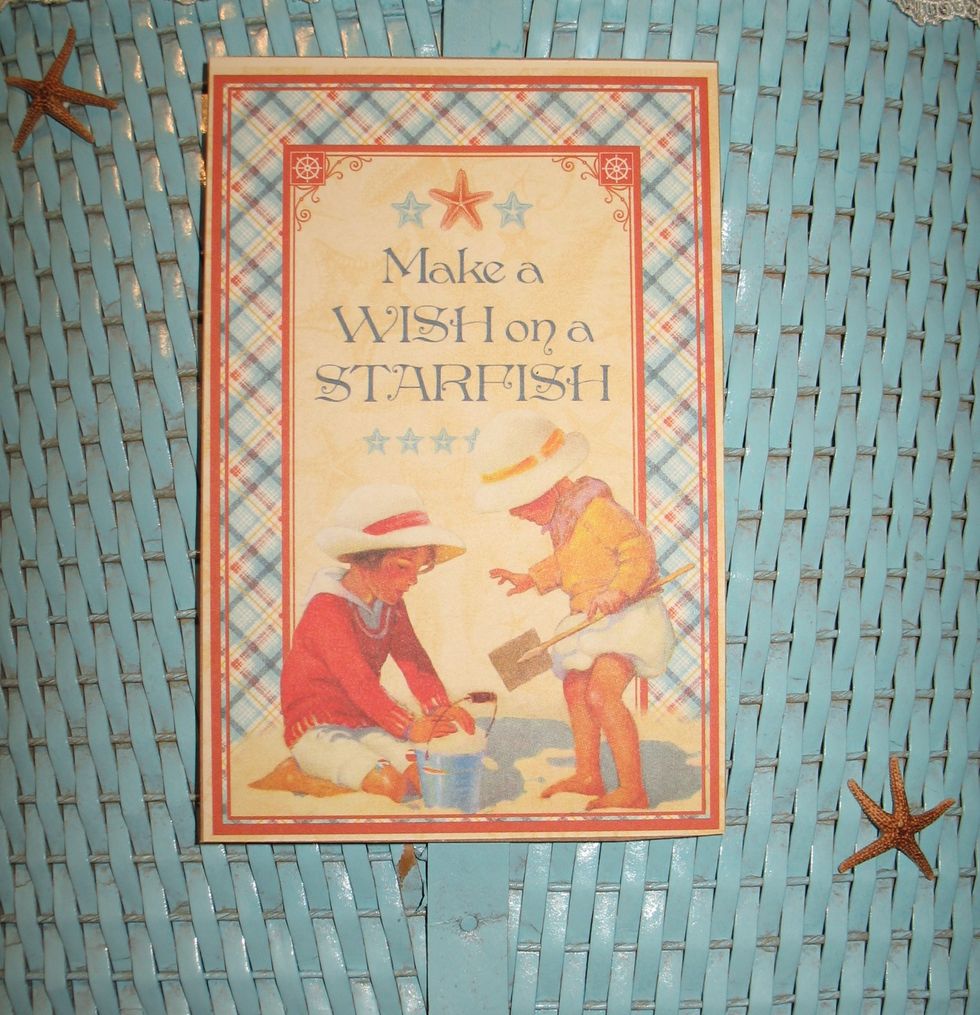
Attach the sayings to each end of the basket and hold there until they are dry.

Decorate around the sayings with a few sea shells.
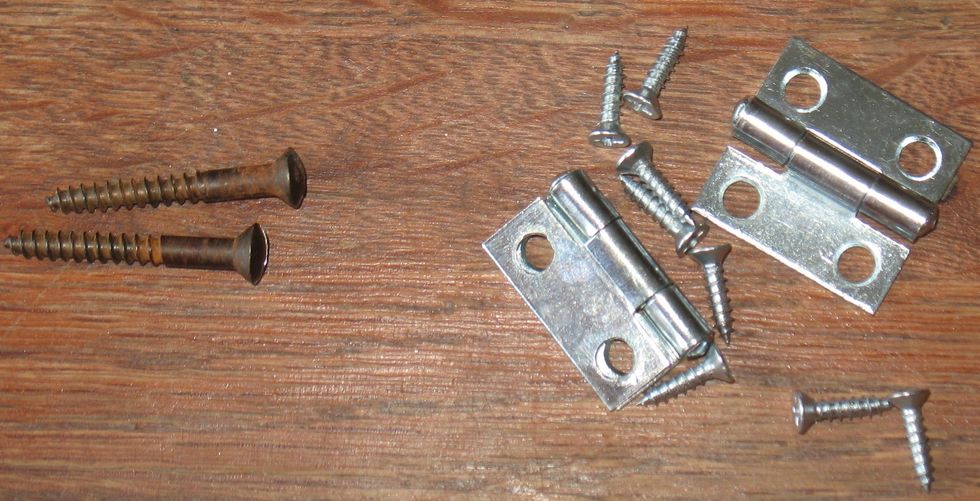
Gather all of the old and new hinges and screws and take them outside to spray paint using the paint made for metal pieces to freshen the old pieces and match the new pieces to them.
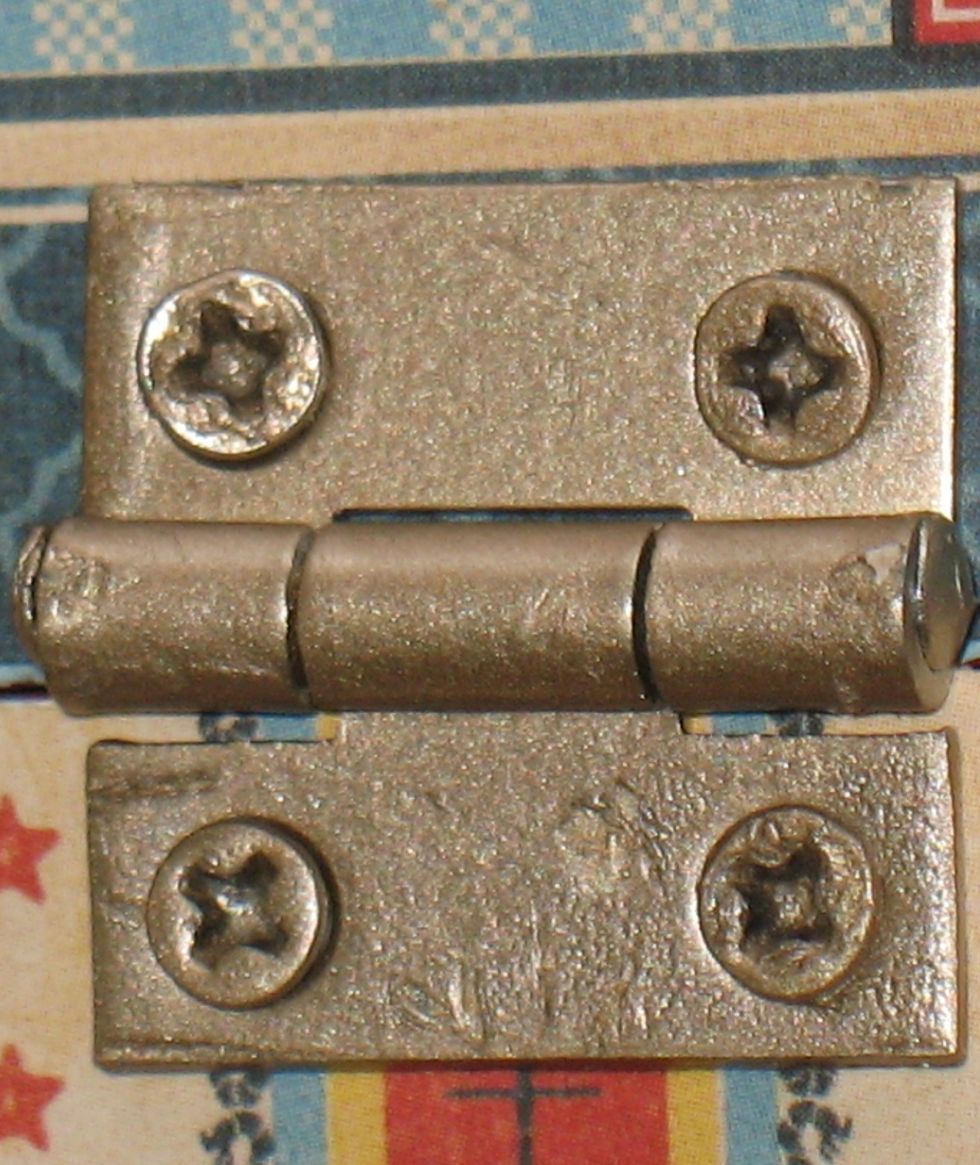
This is a new hinge that was spray painted. This step came about when I was not able to find gold hinges & decided to paint some silver ones. It's a good way to get all of the hardware to match.
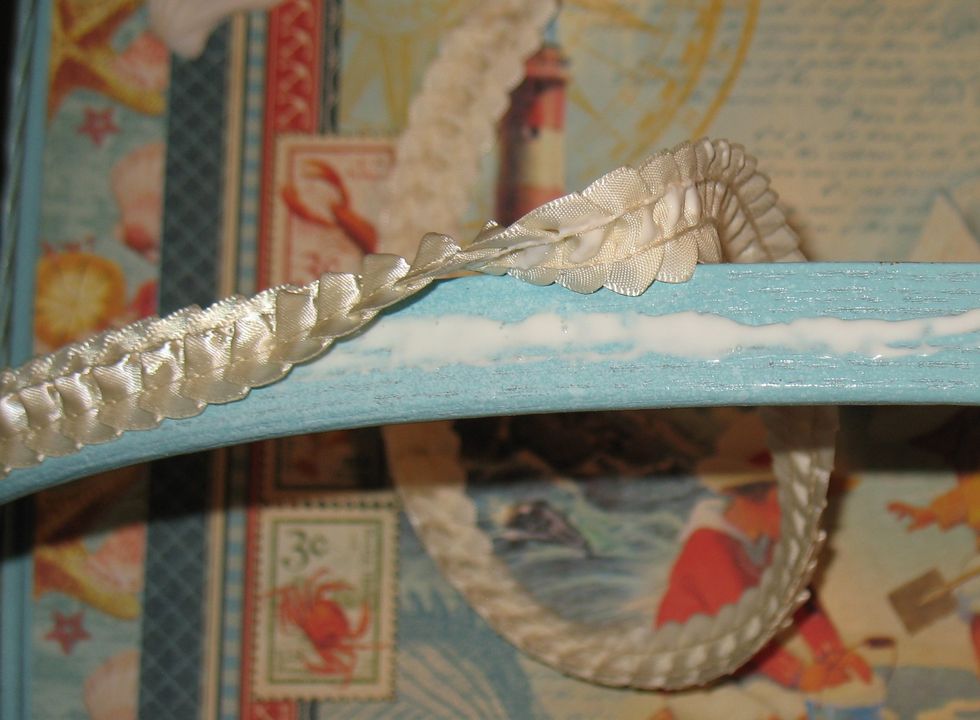
After reattaching the lid using the hardware, cover the top of the handles by gluing the ribbon to it and allowing it to dry.
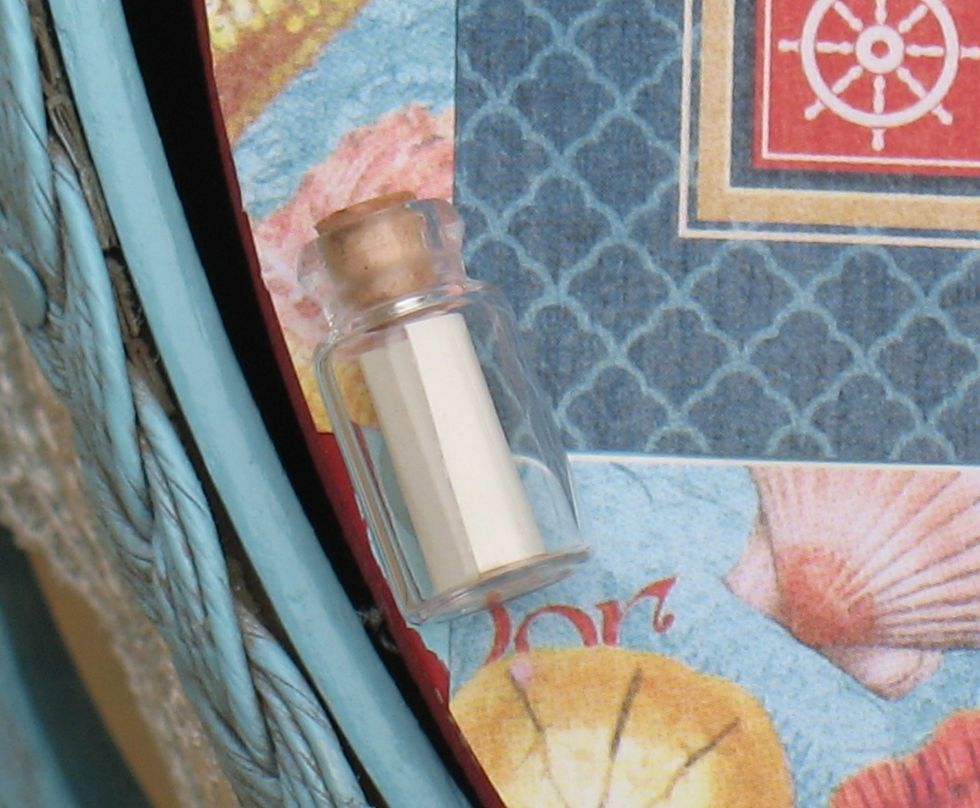
Add the note to the bottle and glue it to one corner of the basket lid.

Fill the second bottle with some sand and glue it to the other corner of the lid.
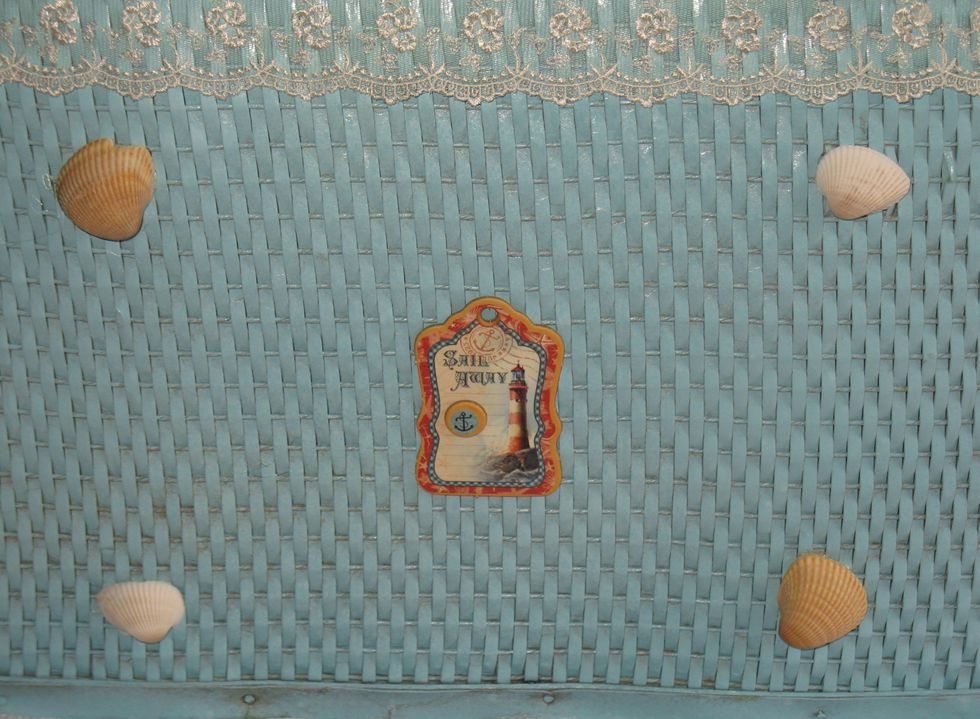
Finish decorating the sides & corners using the chipboard pieces & sea shells. Use the Baker's Twine to hang some of the pieces on the corners by gluing the twine and chipboard to the basket.
Attach some shells to the top and your new craft tote is ready for you to carry your supplies to your next event.