The Conversation (0)
Sign Up
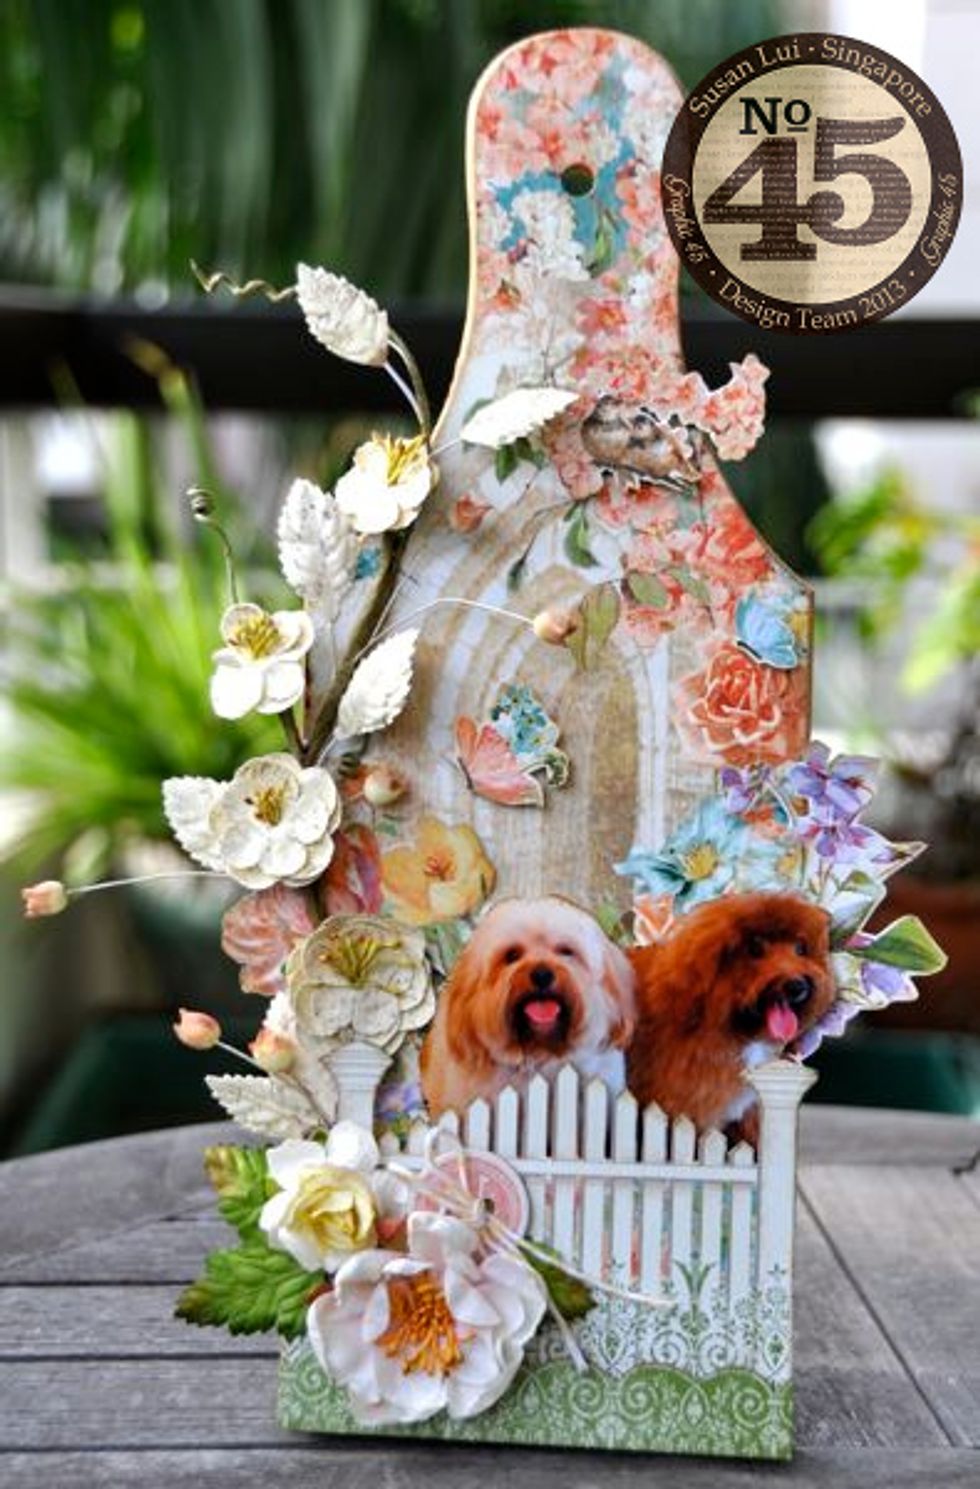
I altered this wooden cheeseboard into a photo display for my little doggies.
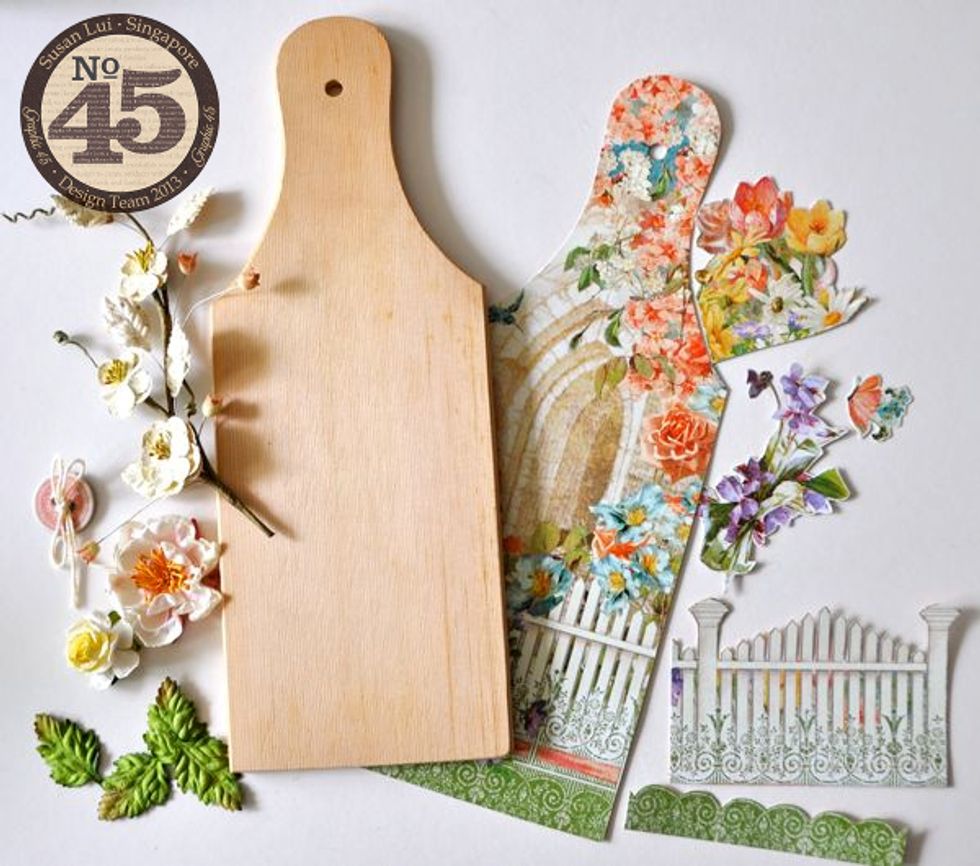
First, gather your supplies. For the patterned papers, I used Graphic 45's Secret Garden and Beautiful Blooms.
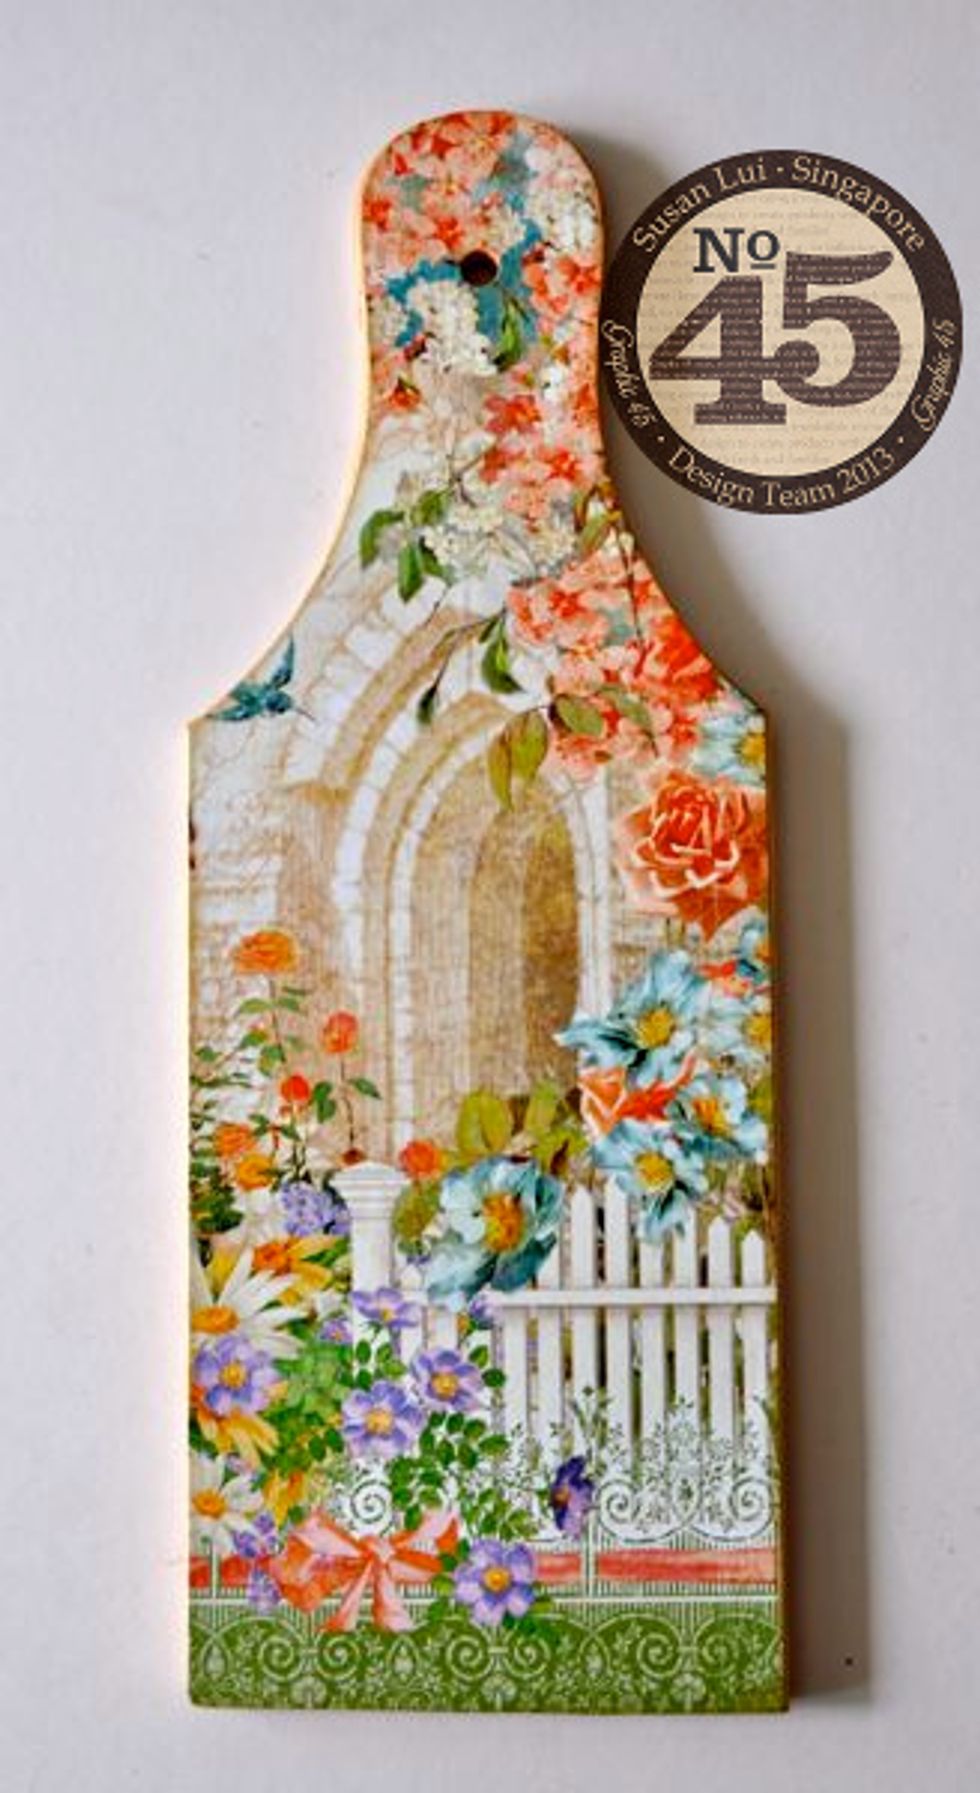
Cover your cheeseboard with patterned paper.

Fussy cut some flowers from the patterned paper & attach to the chipboard. Silhouette cut a photograph and attach as well.
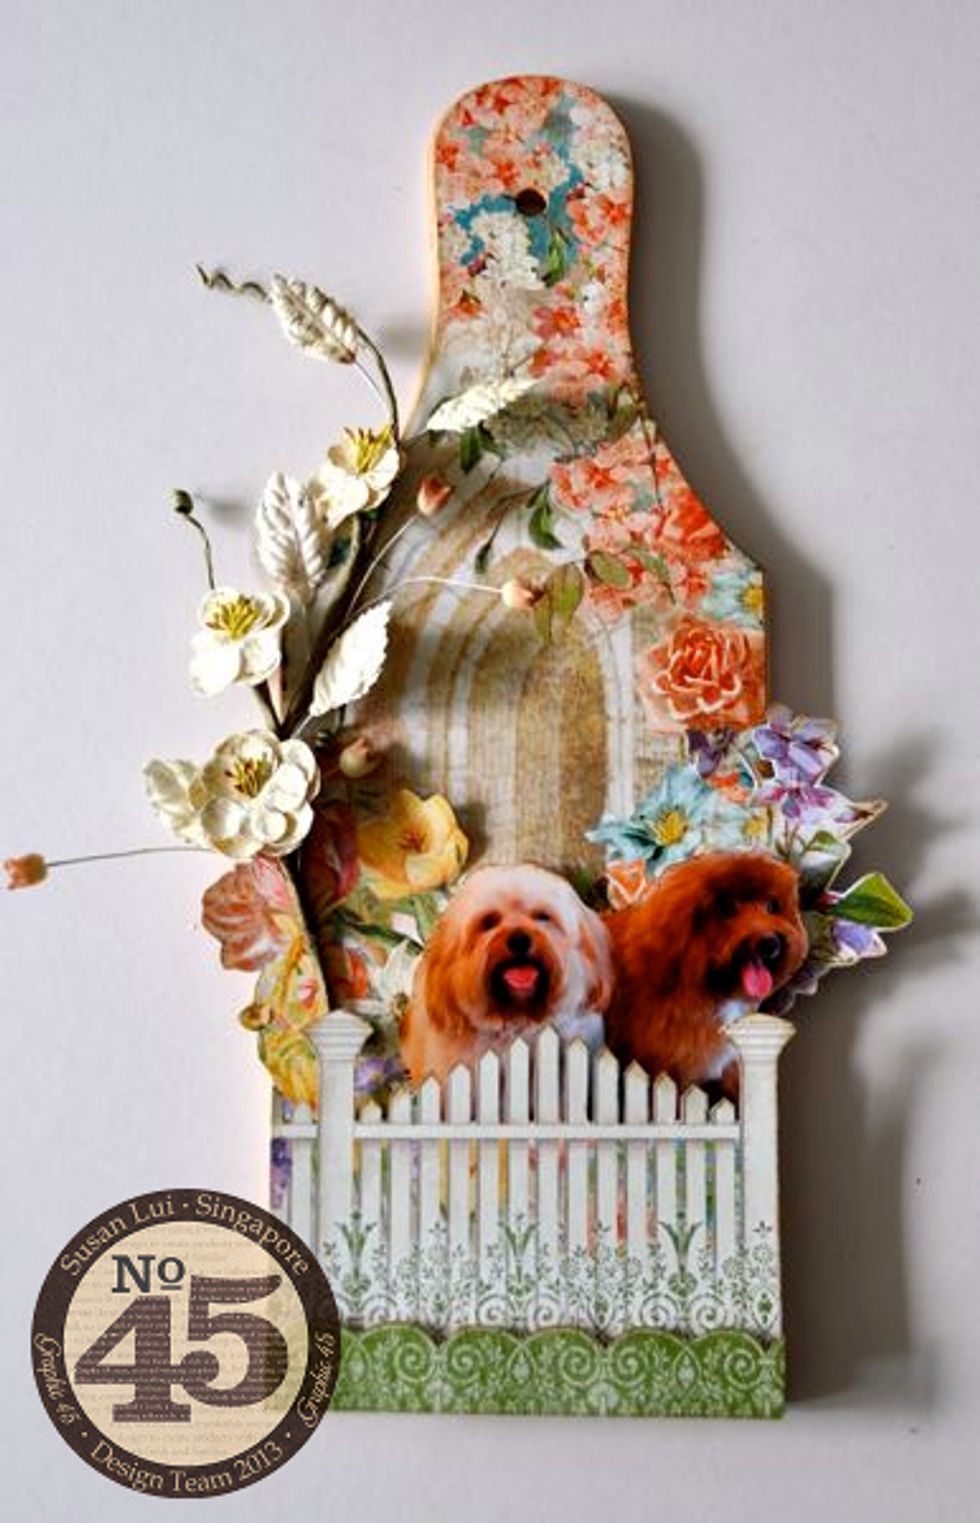
Glue a sprig of flowers to the left of the cheeseboard. Cut out the fence and attach it using 3D foam adhesive so that it looks like the subject is behind the fence.

Attach some flowers, leaves and chipboards to the bottom of the cheeseboard. Add more flowers and butterflies and you're done!