The Conversation (0)
Sign Up
This step-by-step tutorial will show you how I turned a simple shoe box to a pretty and functional ribbons & trim organizer.
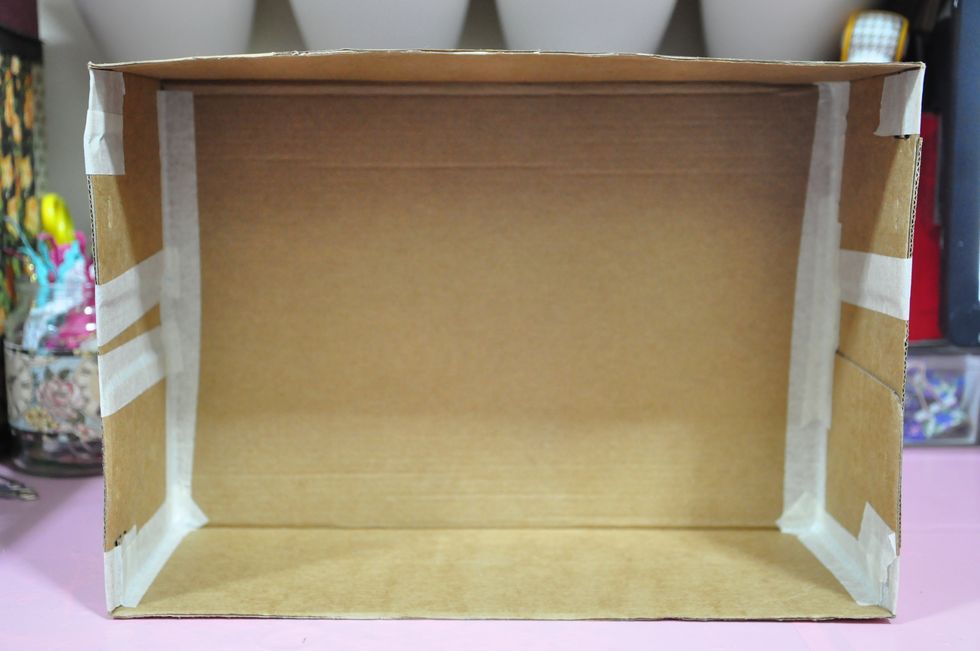
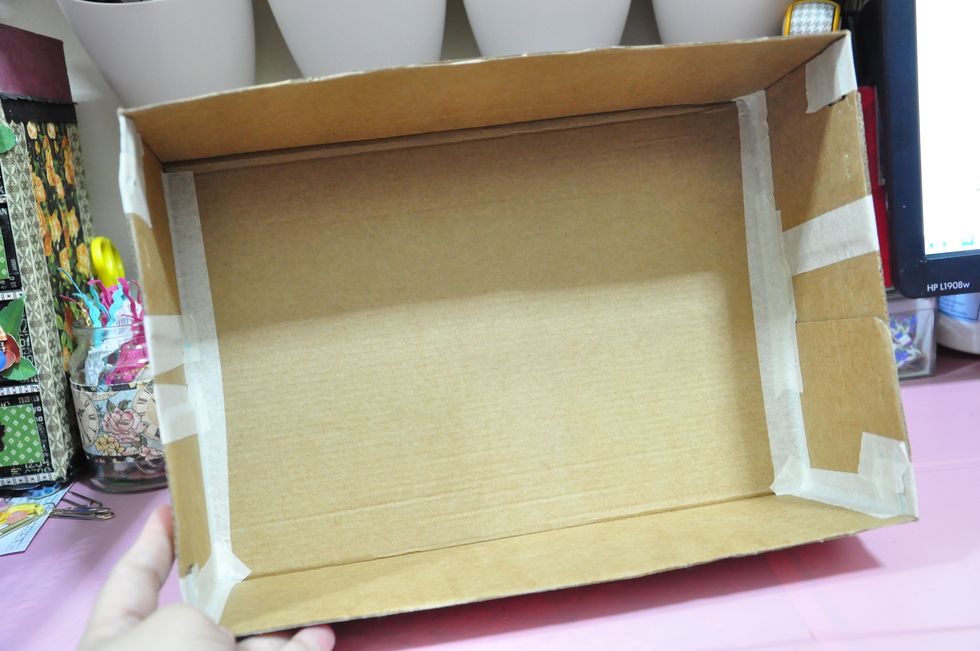
Prep your shoebox. I used masking tape to secure the sides, edges and flaps.
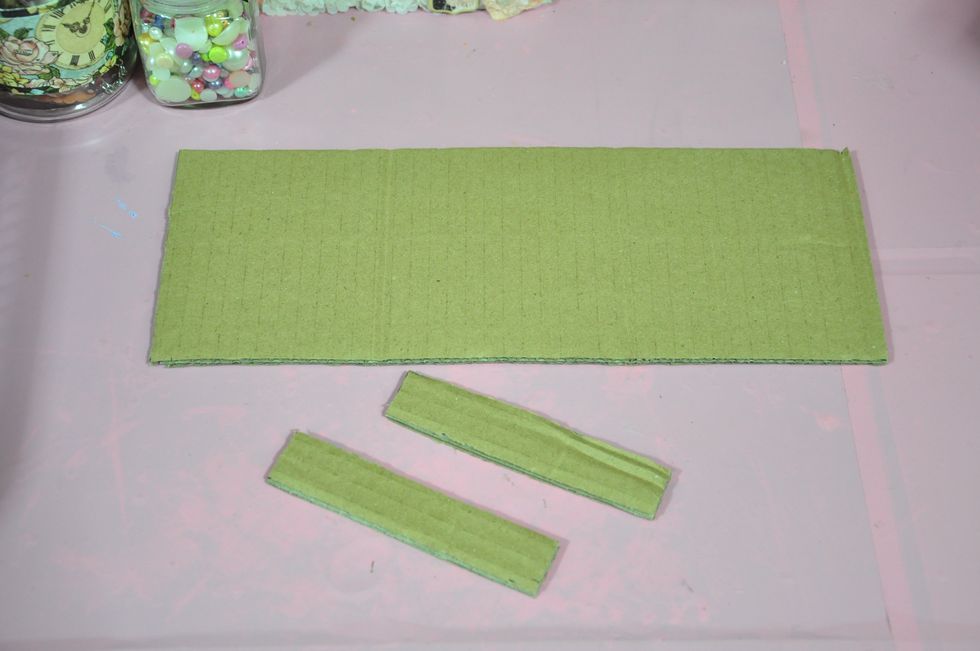
Cut 3 pieces of cardboard. Thick ones like corrugated cardboard is best. Length and width depends on your shoebox
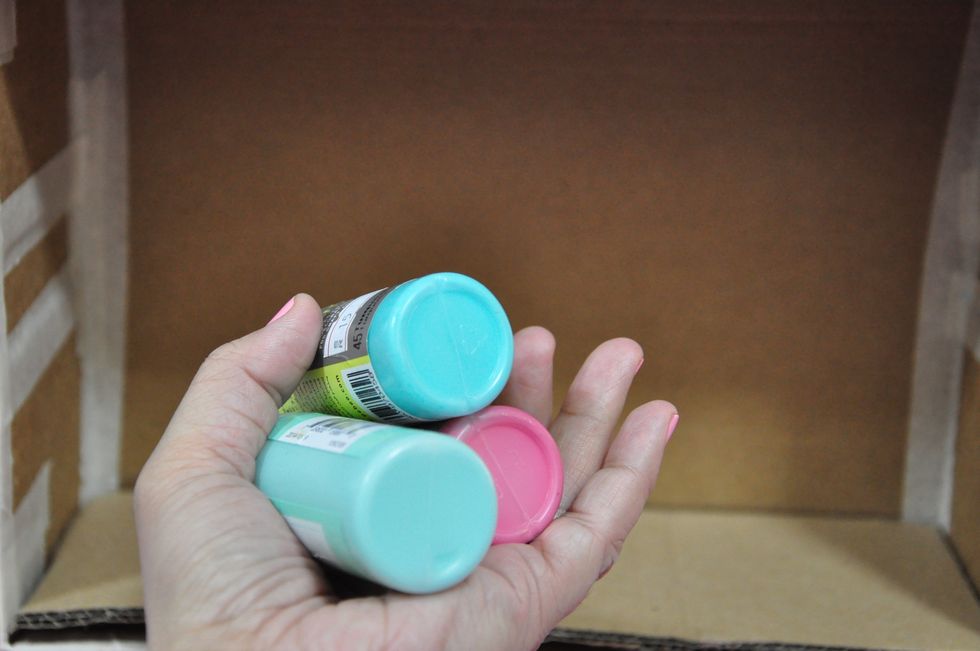
Choose your preferred colors of acrylic paints
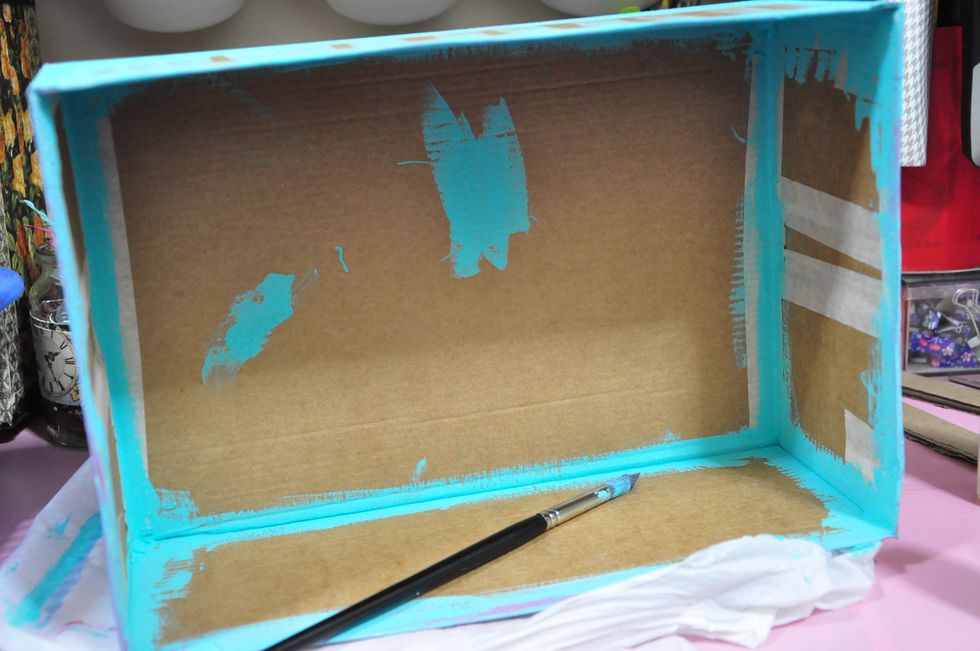
Paint the edges of the box
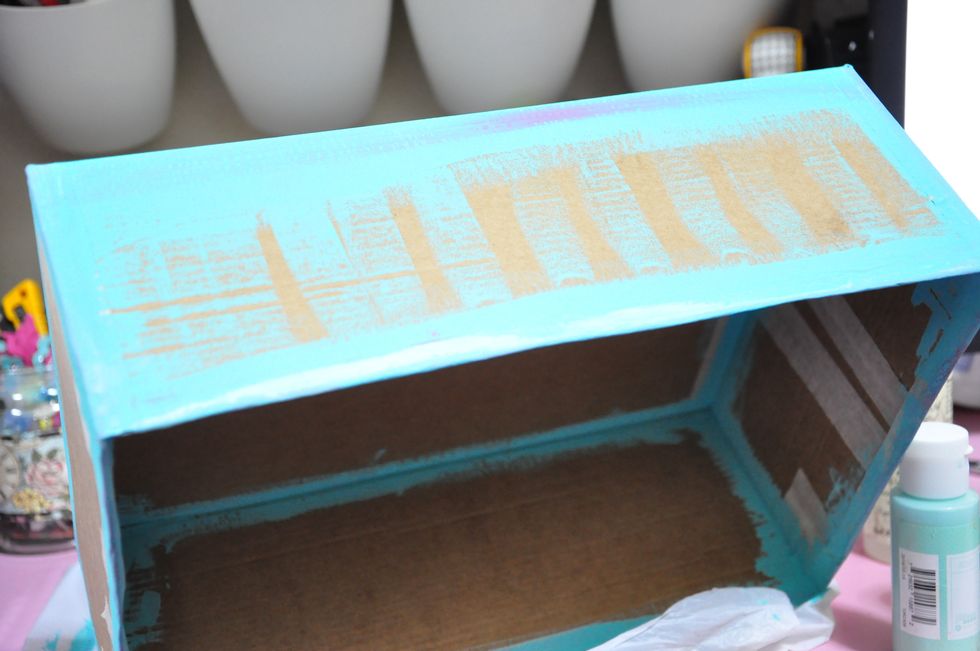
I mixed the colors by dry brushing the two other colors of my choice
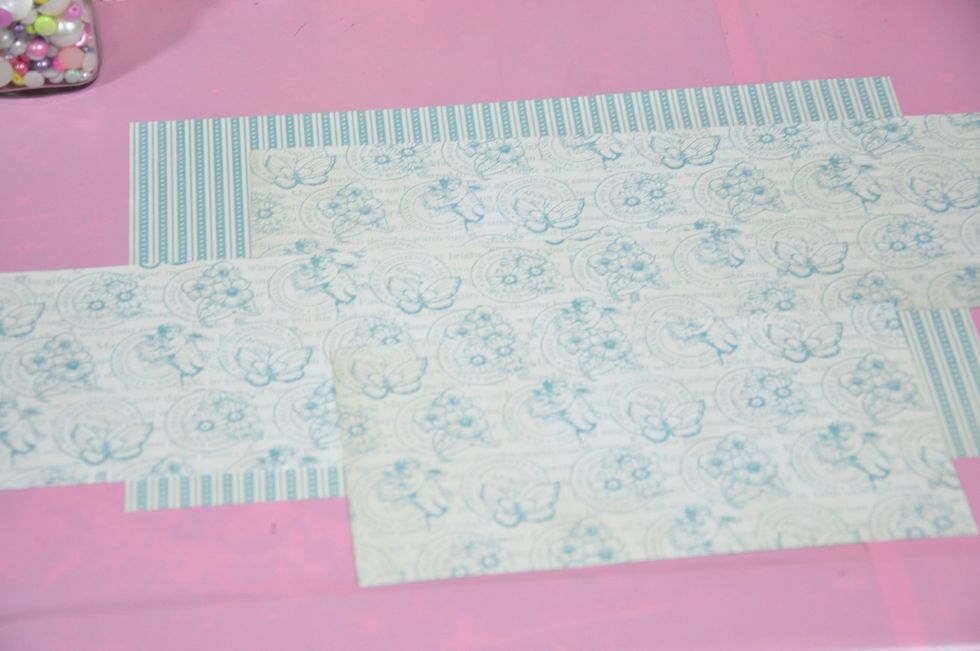
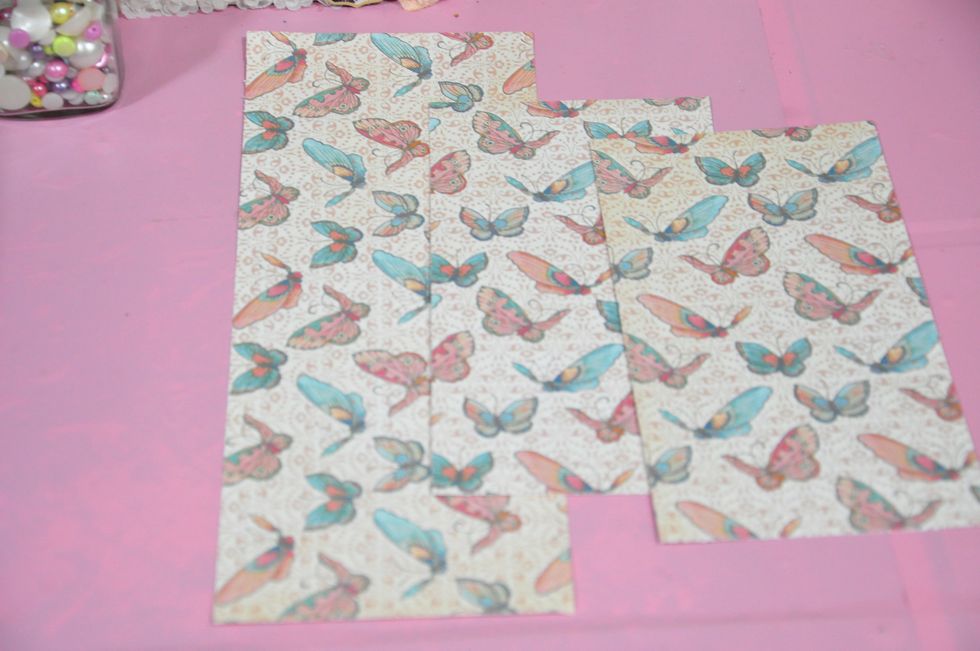
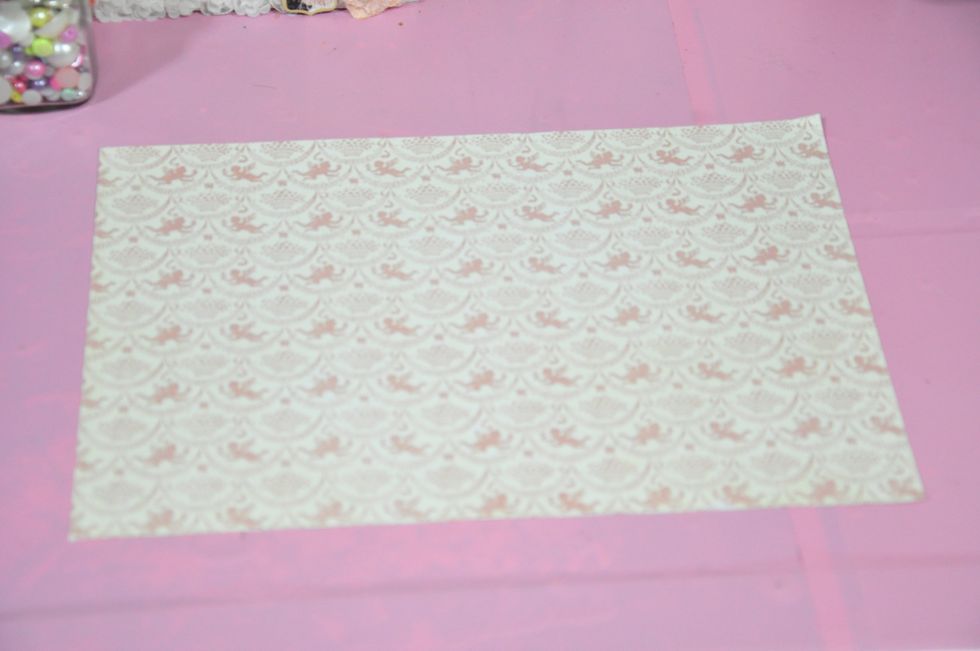
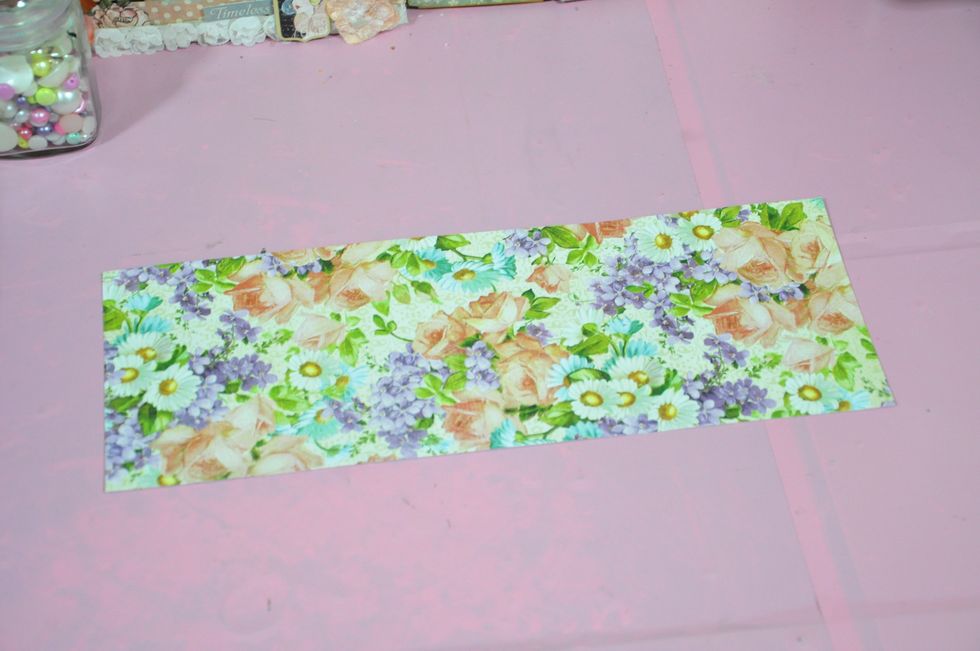
Choose and cut papers of your preference. Base the sizes on your shoe box dimension
Do the same for the top and sides
For the back
2 pieces of this for the "shelf"
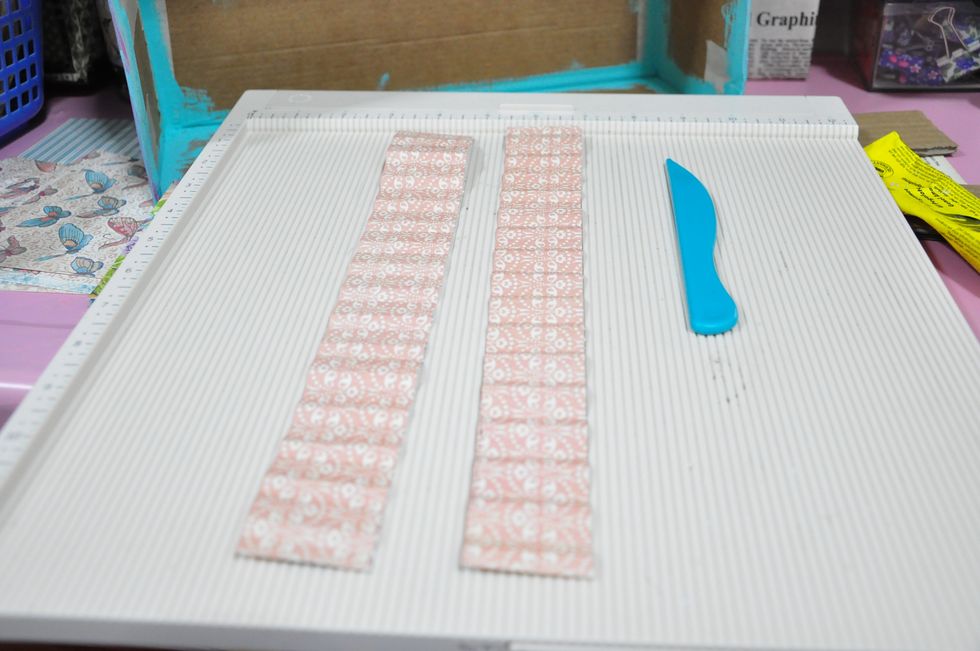
Cut some 1.5 inches strips of paper. Score at .5 and fold as seen in the image
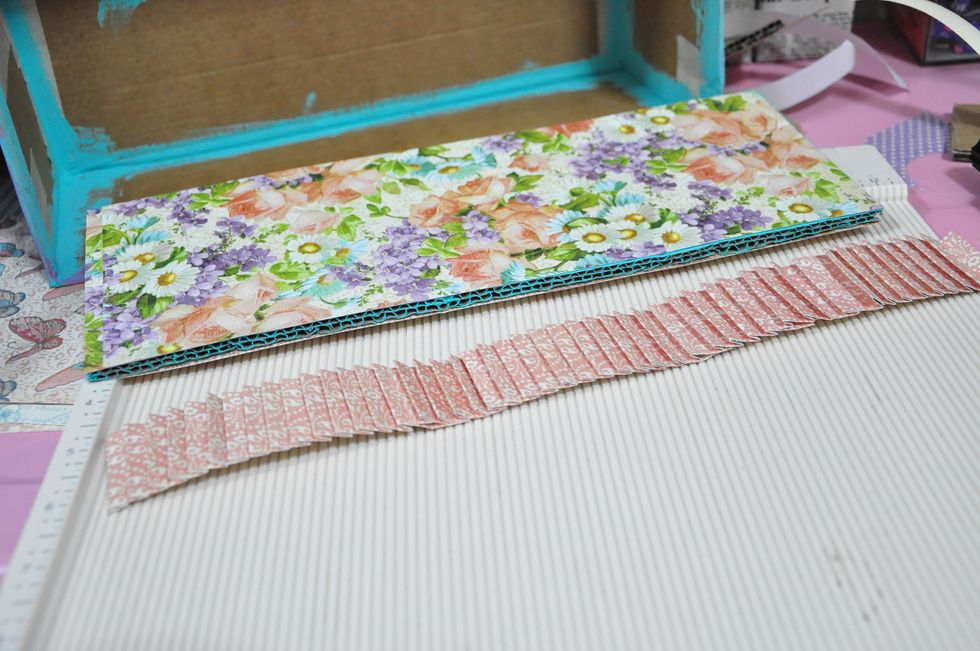
Cut it as long as the "shelf"

Adhere a strip at the back to make it sturdy
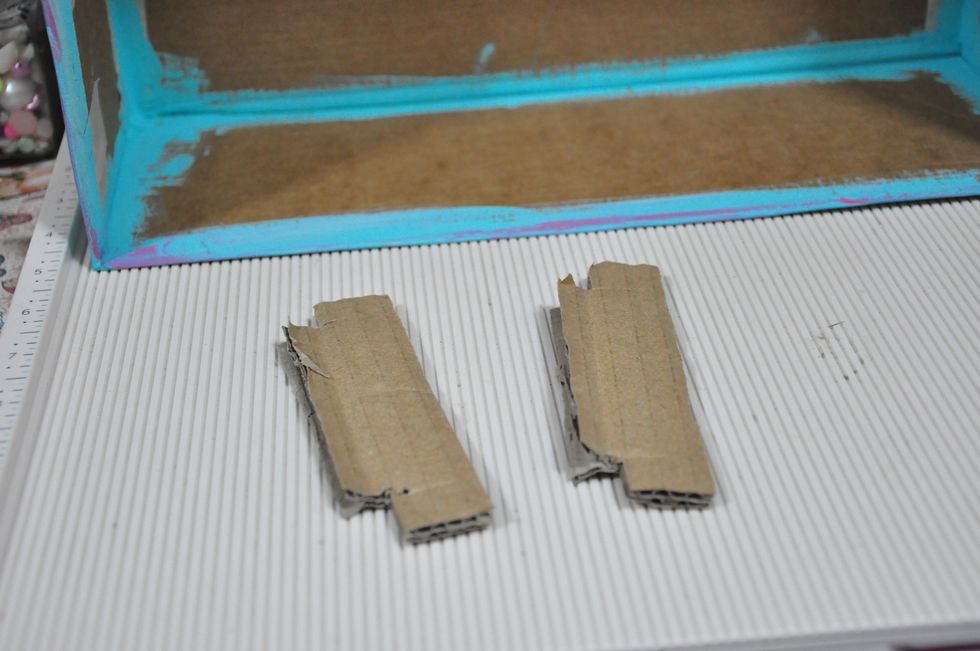
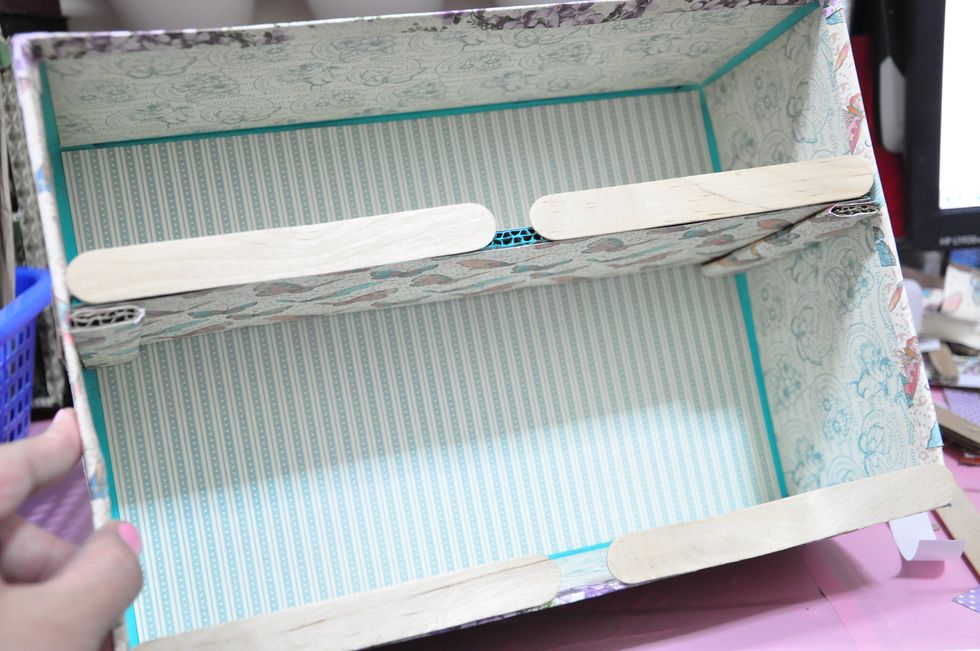
Cut slits at the sides of the box. Do this to the 2 cardboard strips and insert to the slit
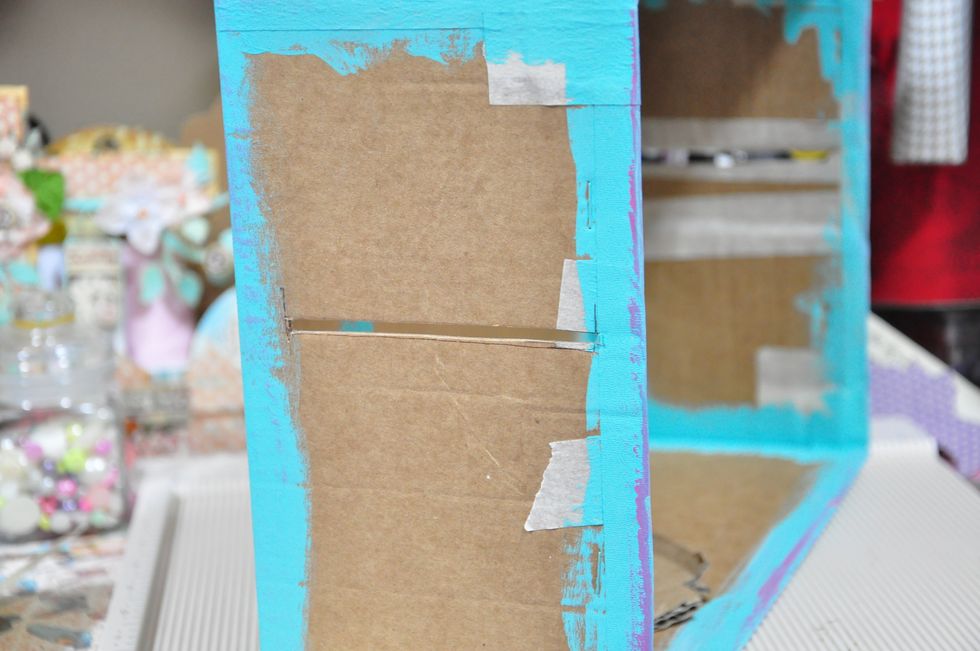
This is how the slit looks like

Cover with paper first and insert like this. Secure with adhesive.
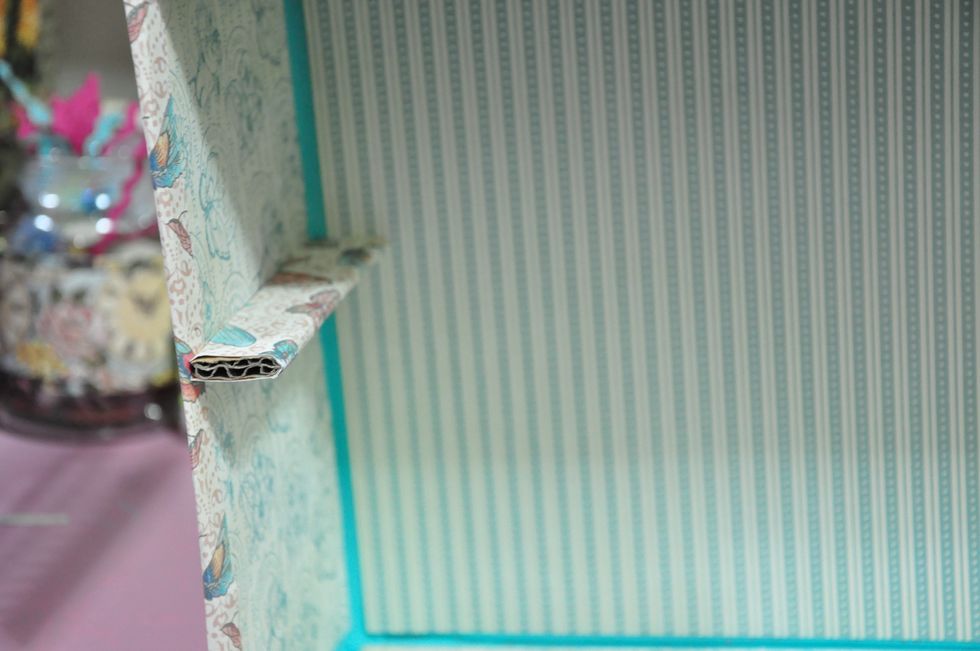
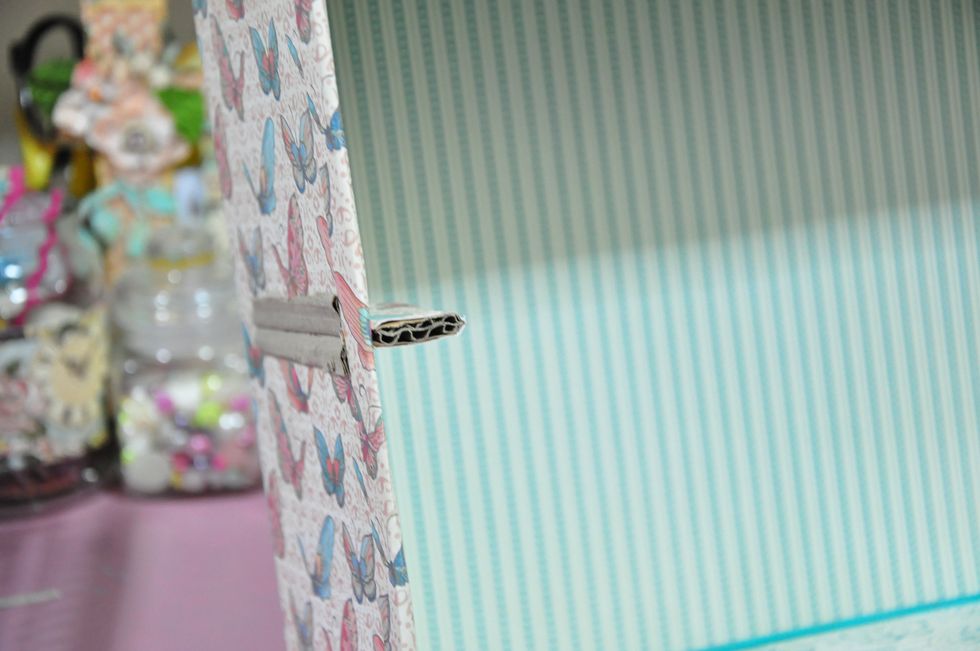

This is how it should look like after you inserted both cardboard pieces
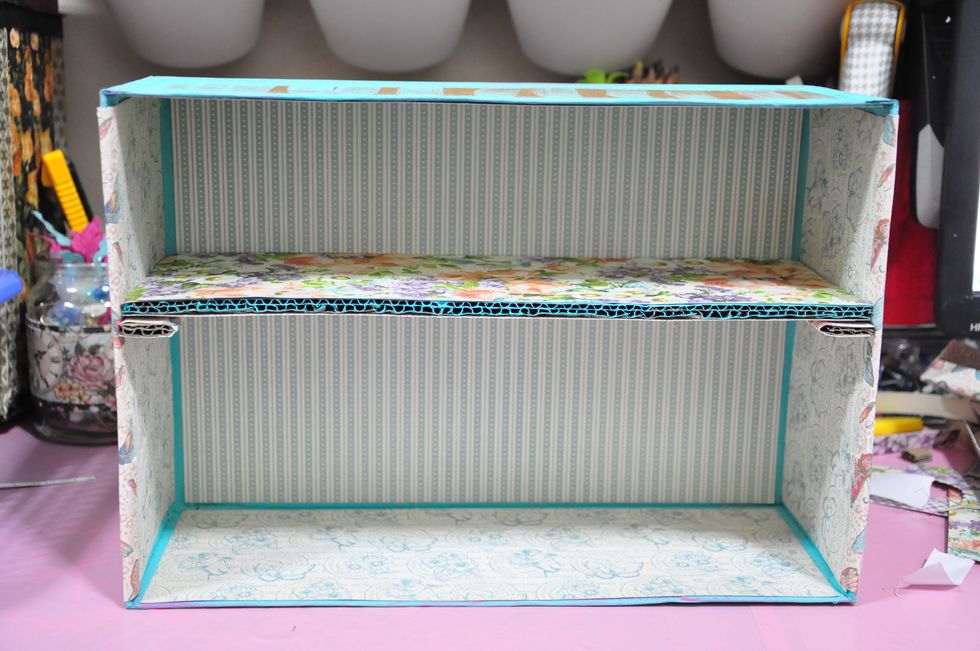
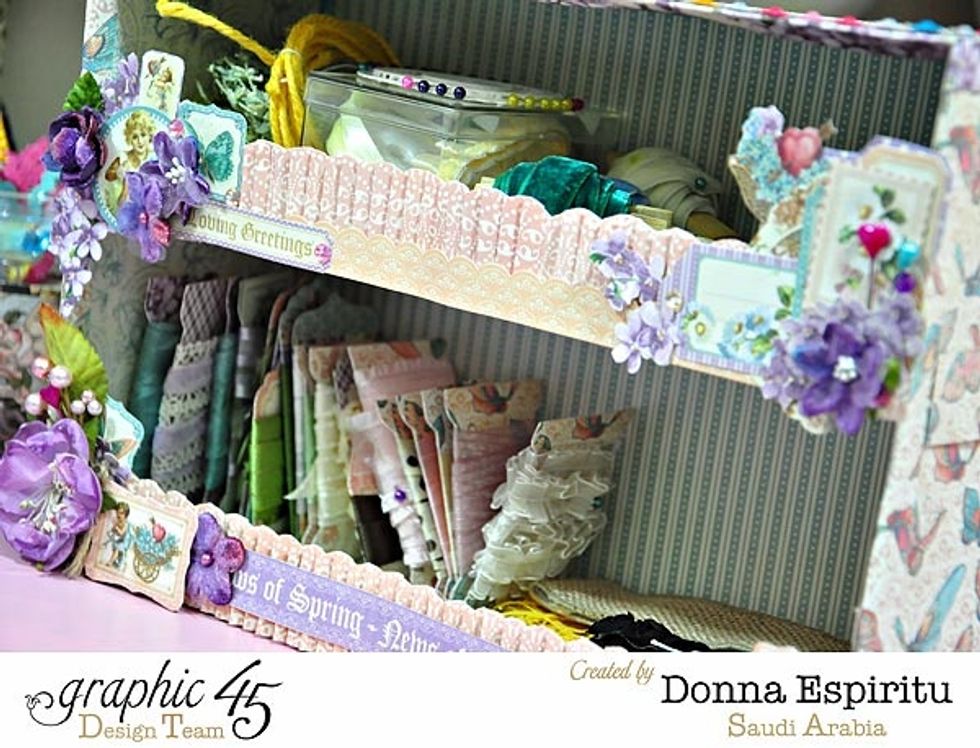
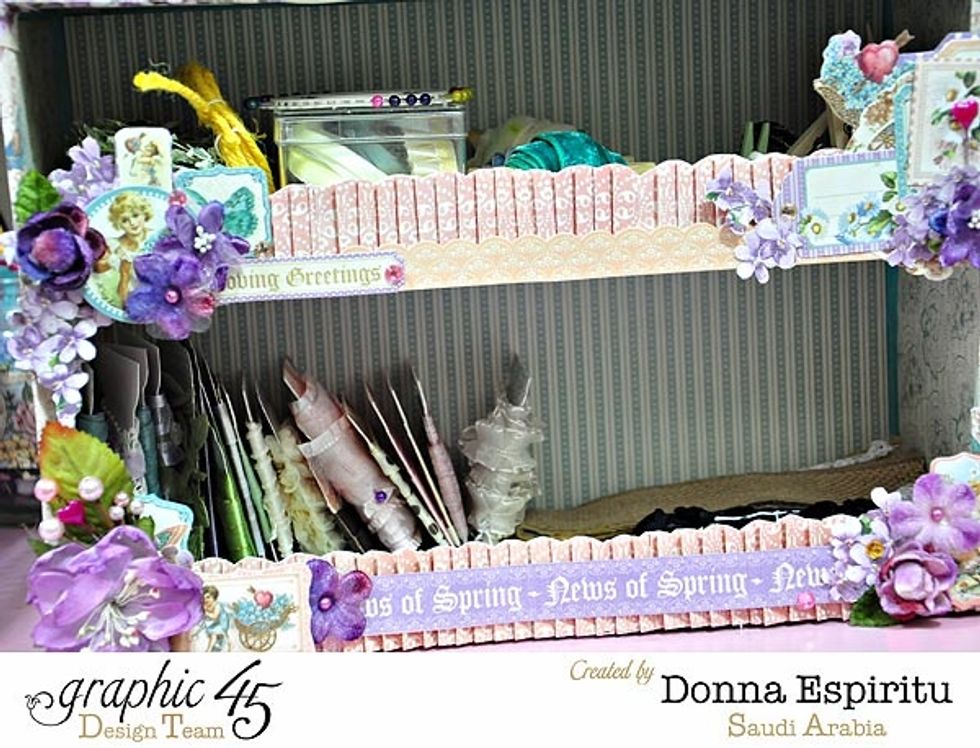
Secure the "shelf" with adhesive as well
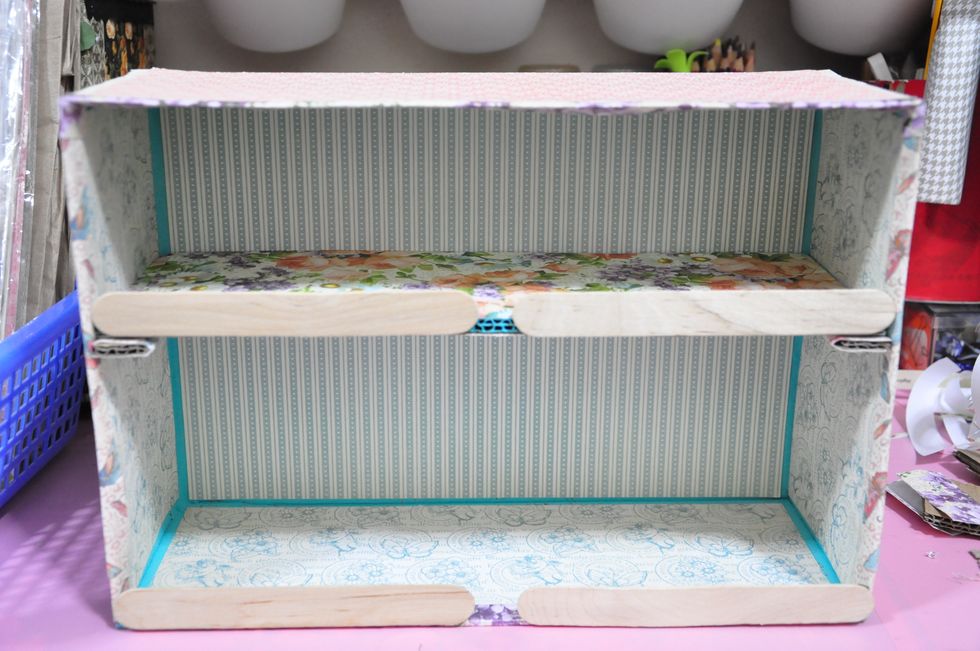
Use popsicle sticks or similar to adhere the folded strip of paper to.
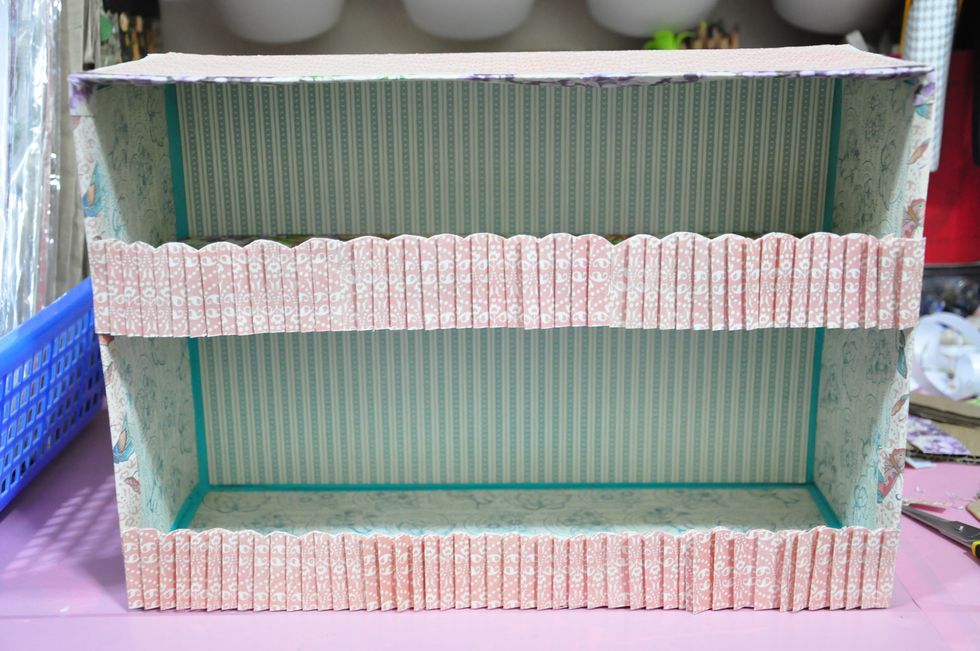
Adhere the paper strip
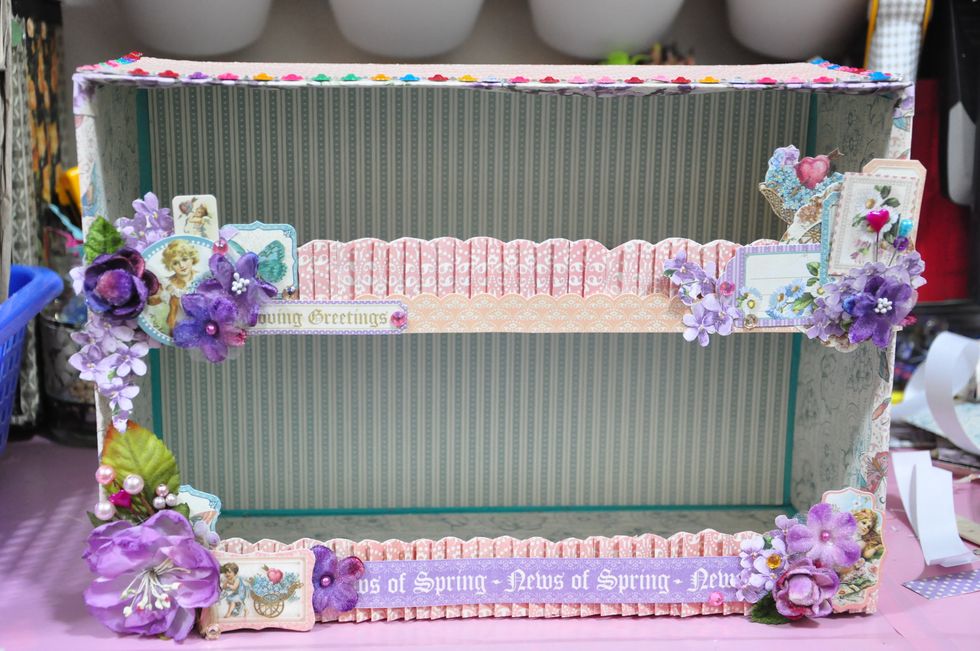
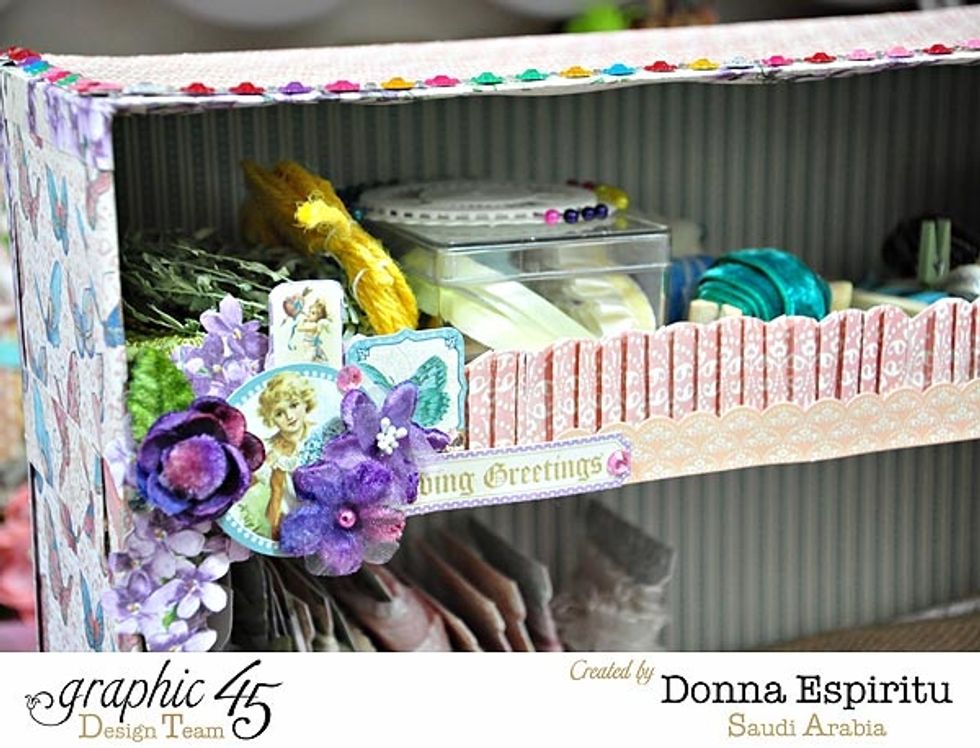
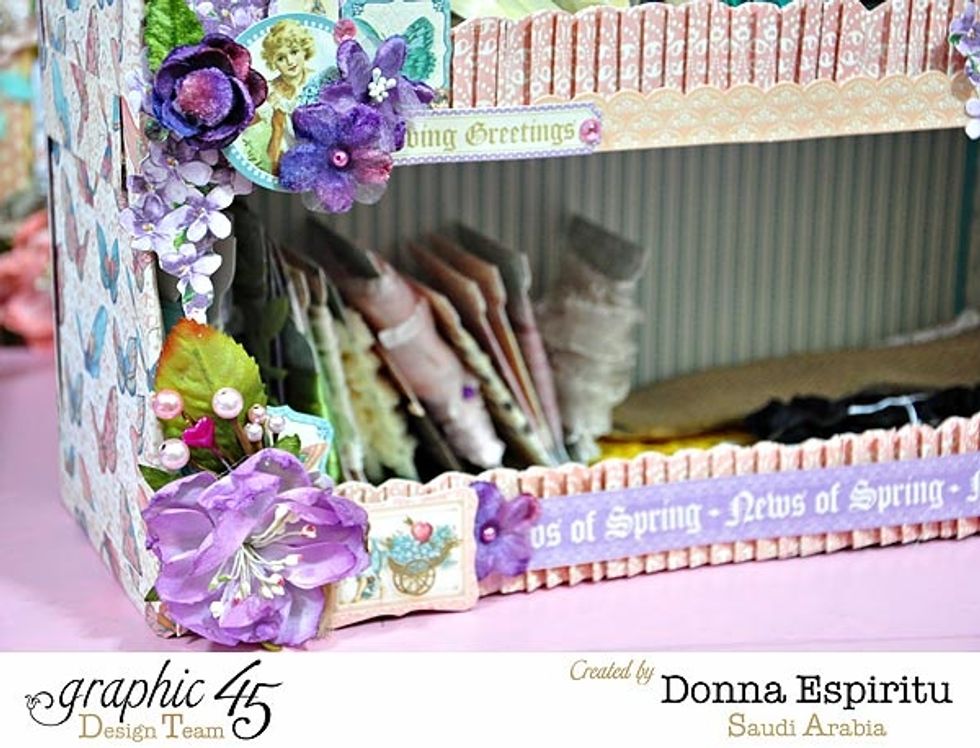
Embellish and it's done! You can use this to store whatever you like
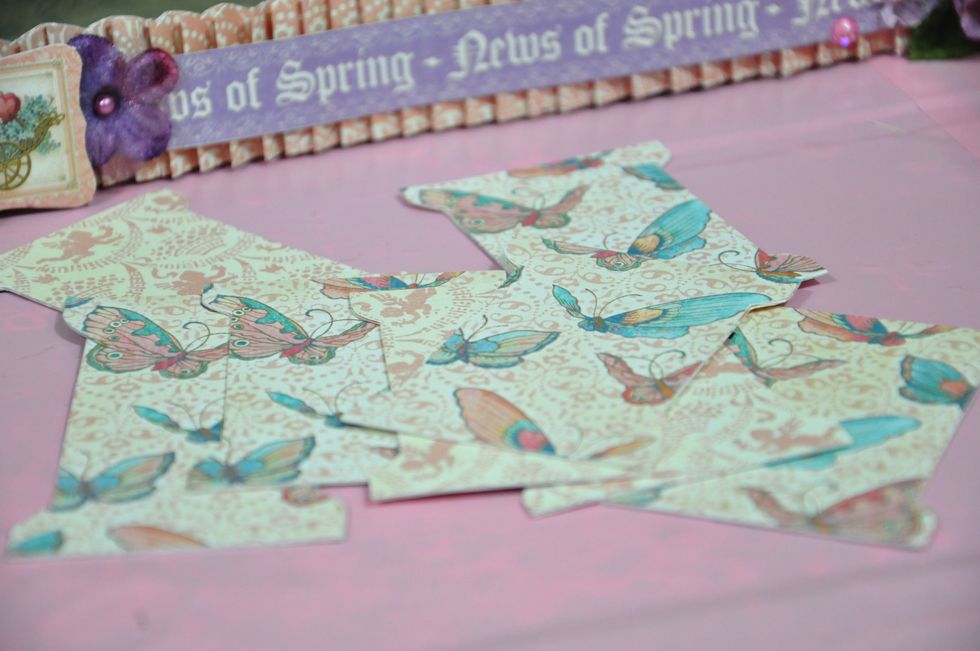
I wanted to use this as ribbon/trims storage so I made some ribbon spools
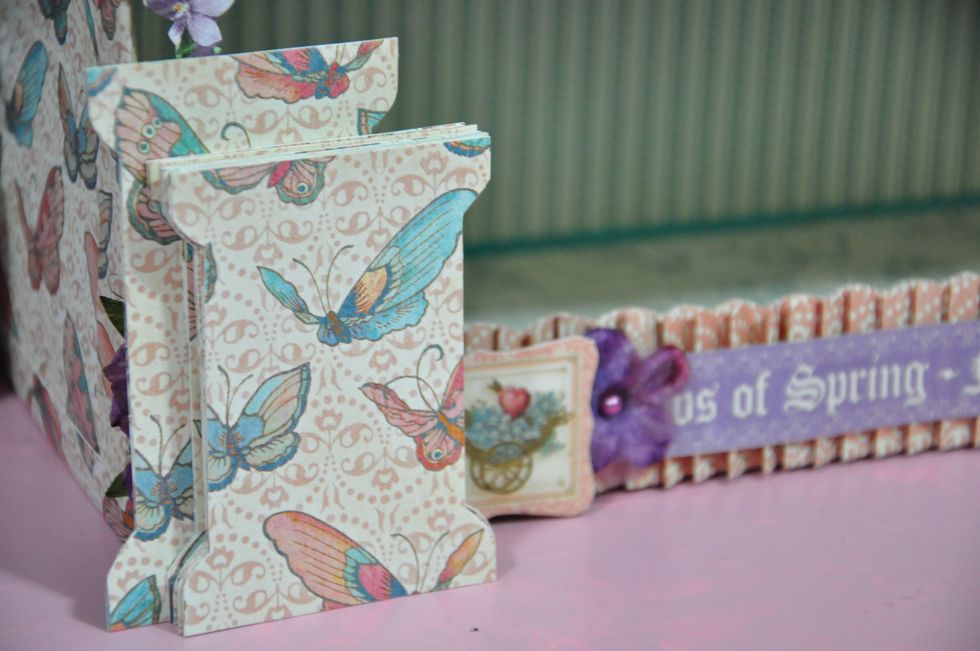
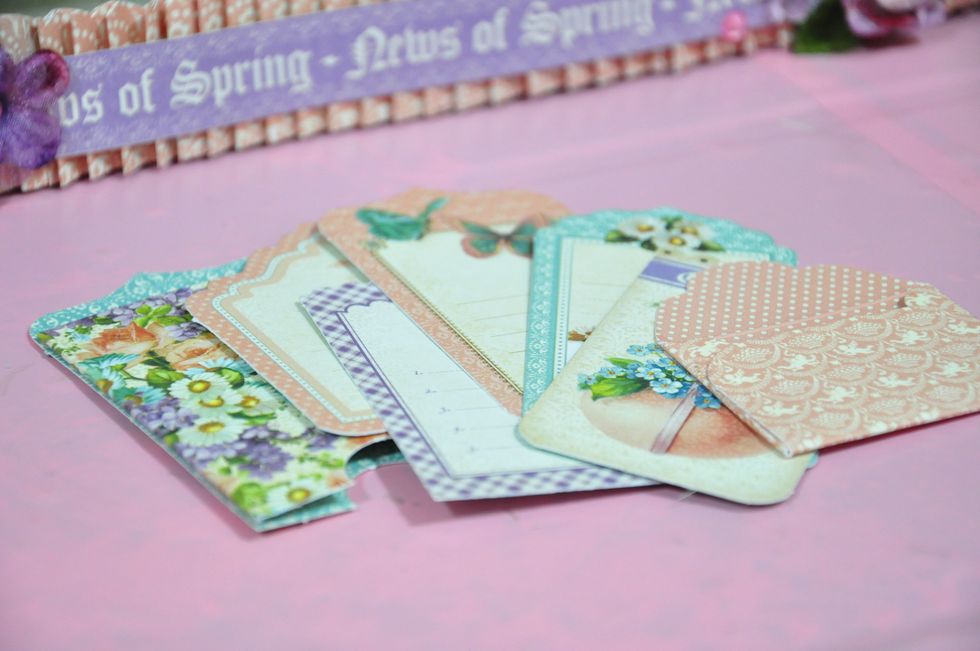
And also used some of the tags and pockets as spools
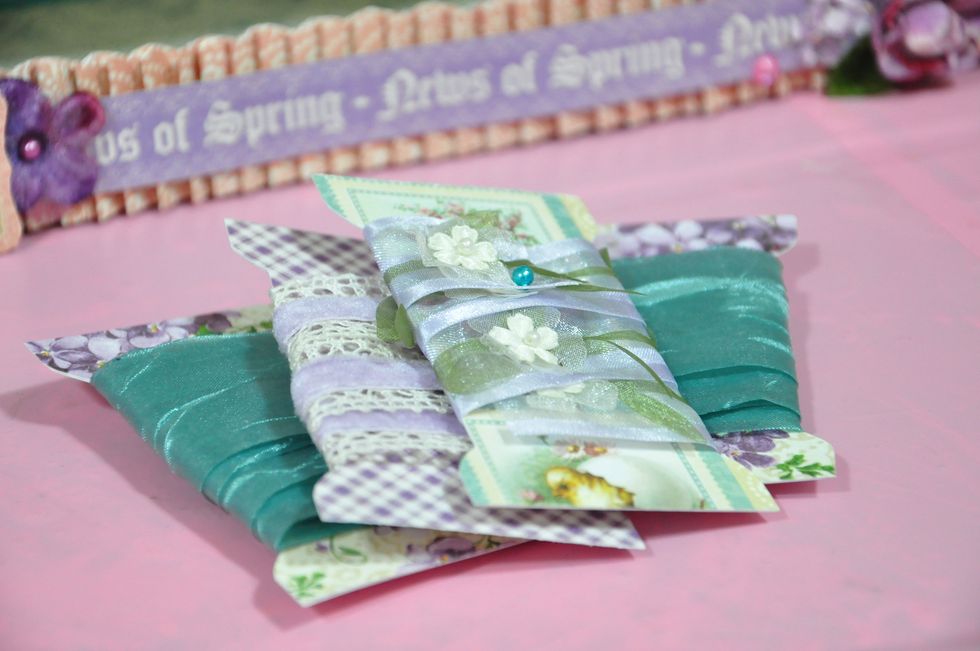
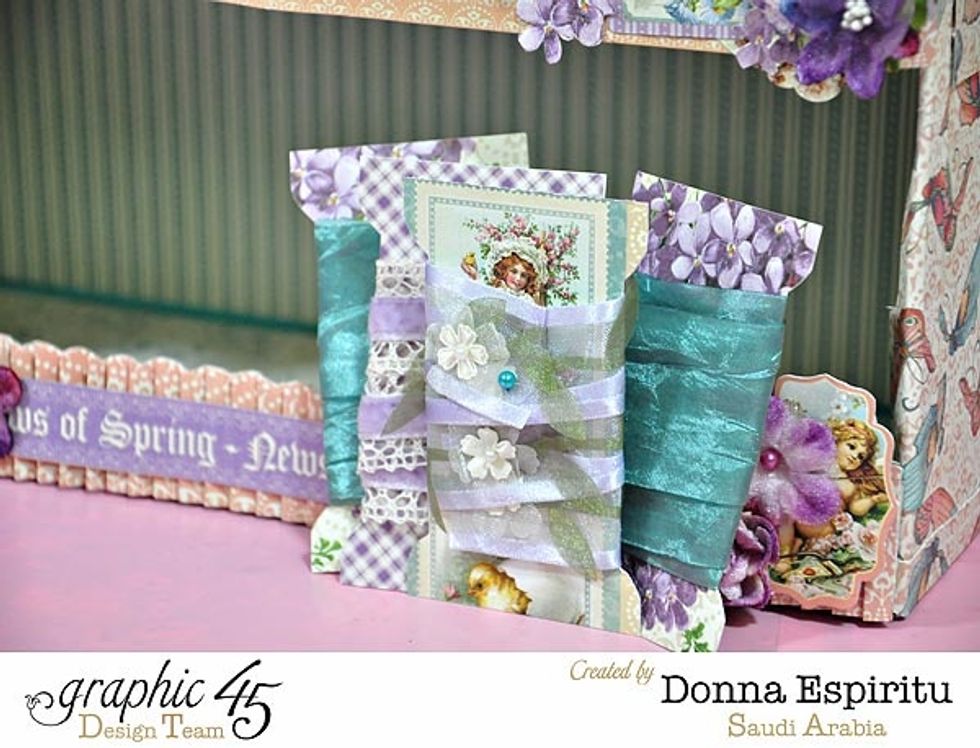
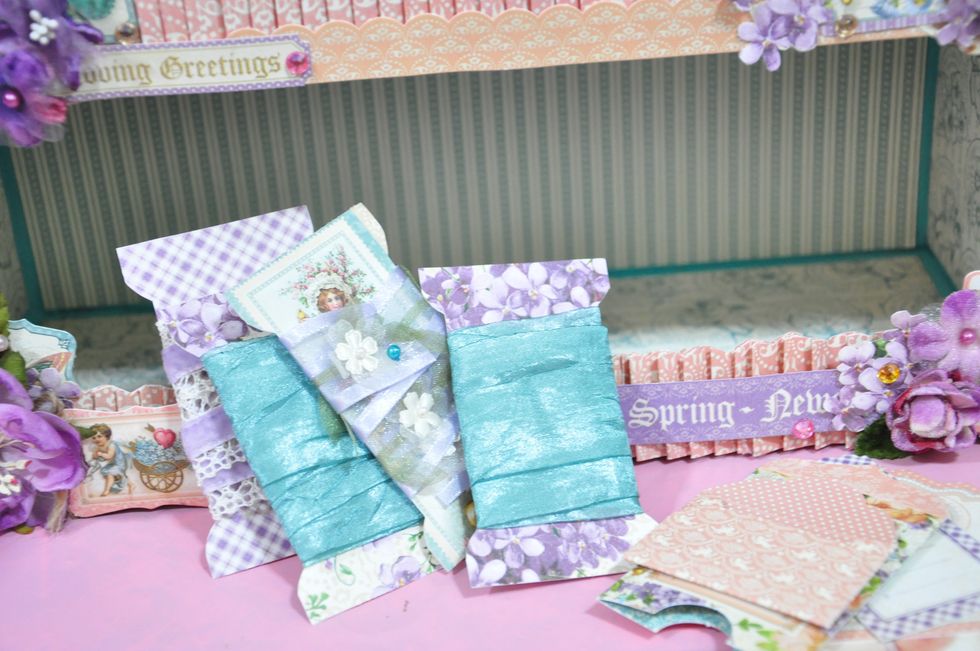
So pretty!
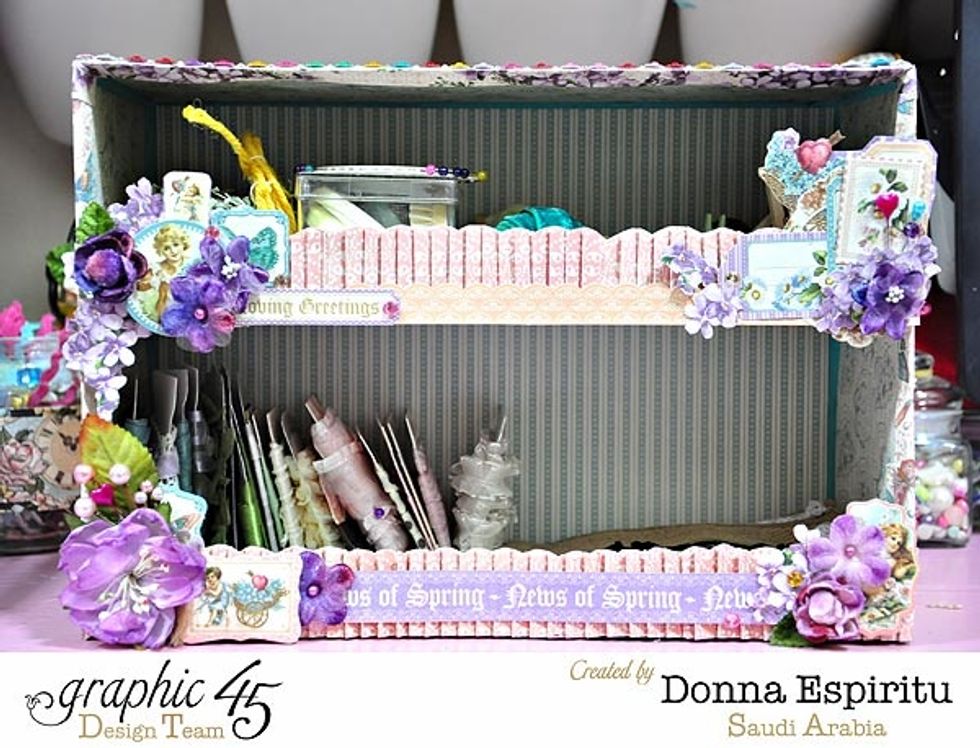
Hope you liked my tutorial! :)