The Conversation (0)
Sign Up

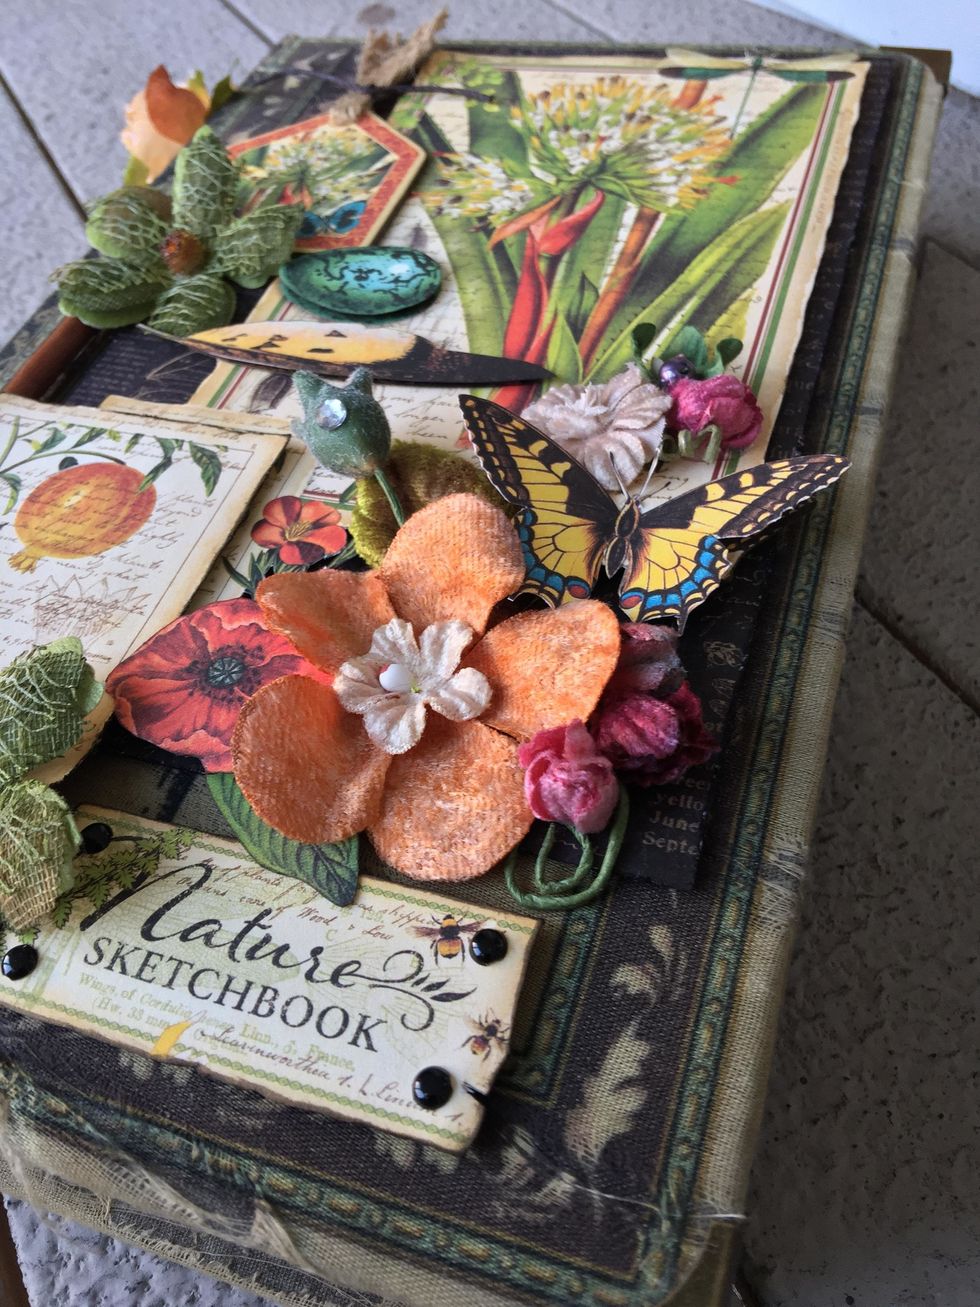
This is an old book box that I love but it is heavily used. I wanted to give it a new life and redecorate its cover.
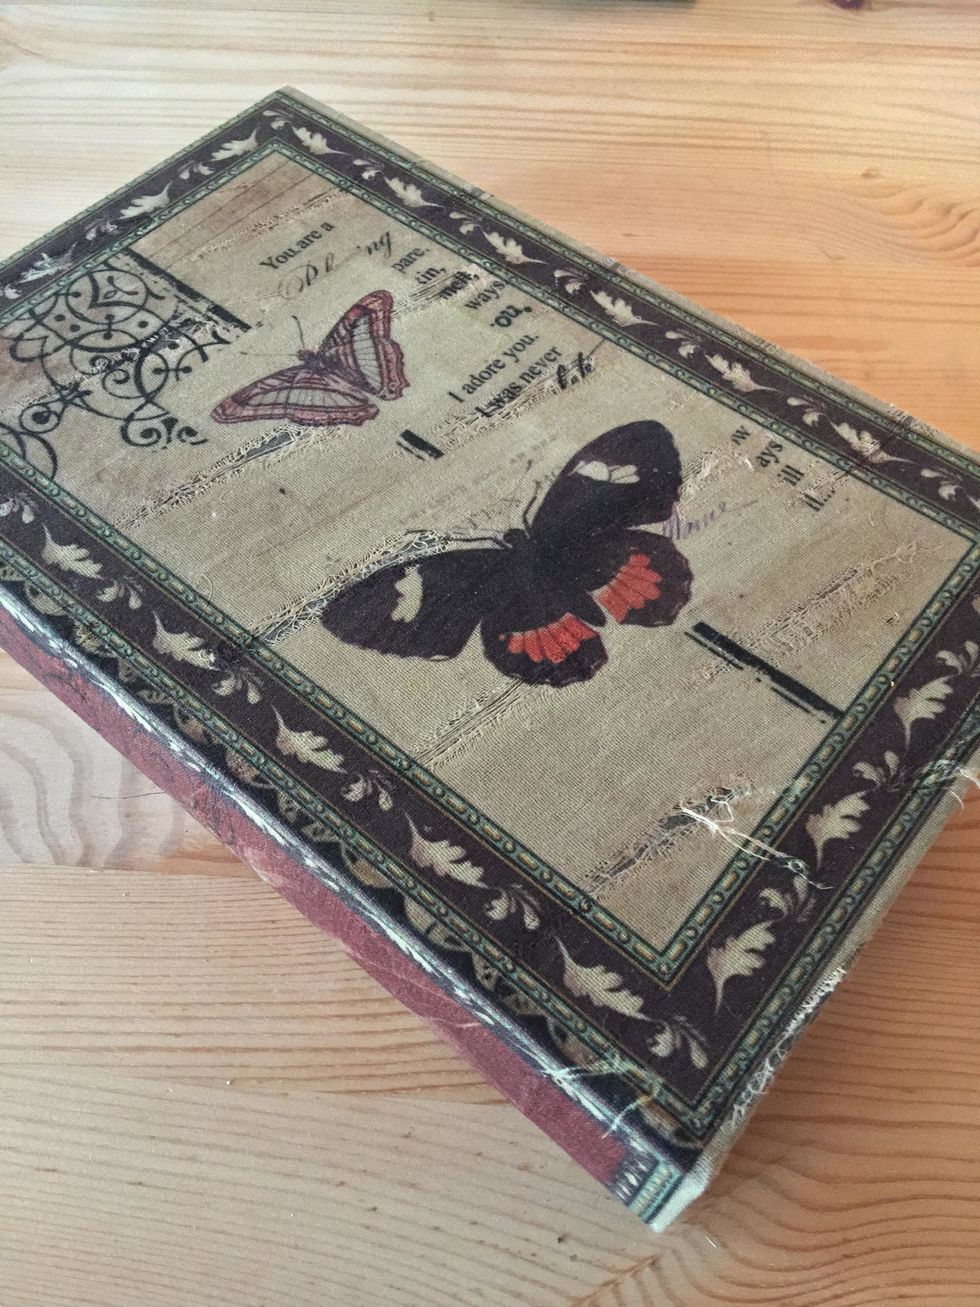
Graphic 45 Nature Sketchbook Collection is perfect to make a nice change and return its beauty.
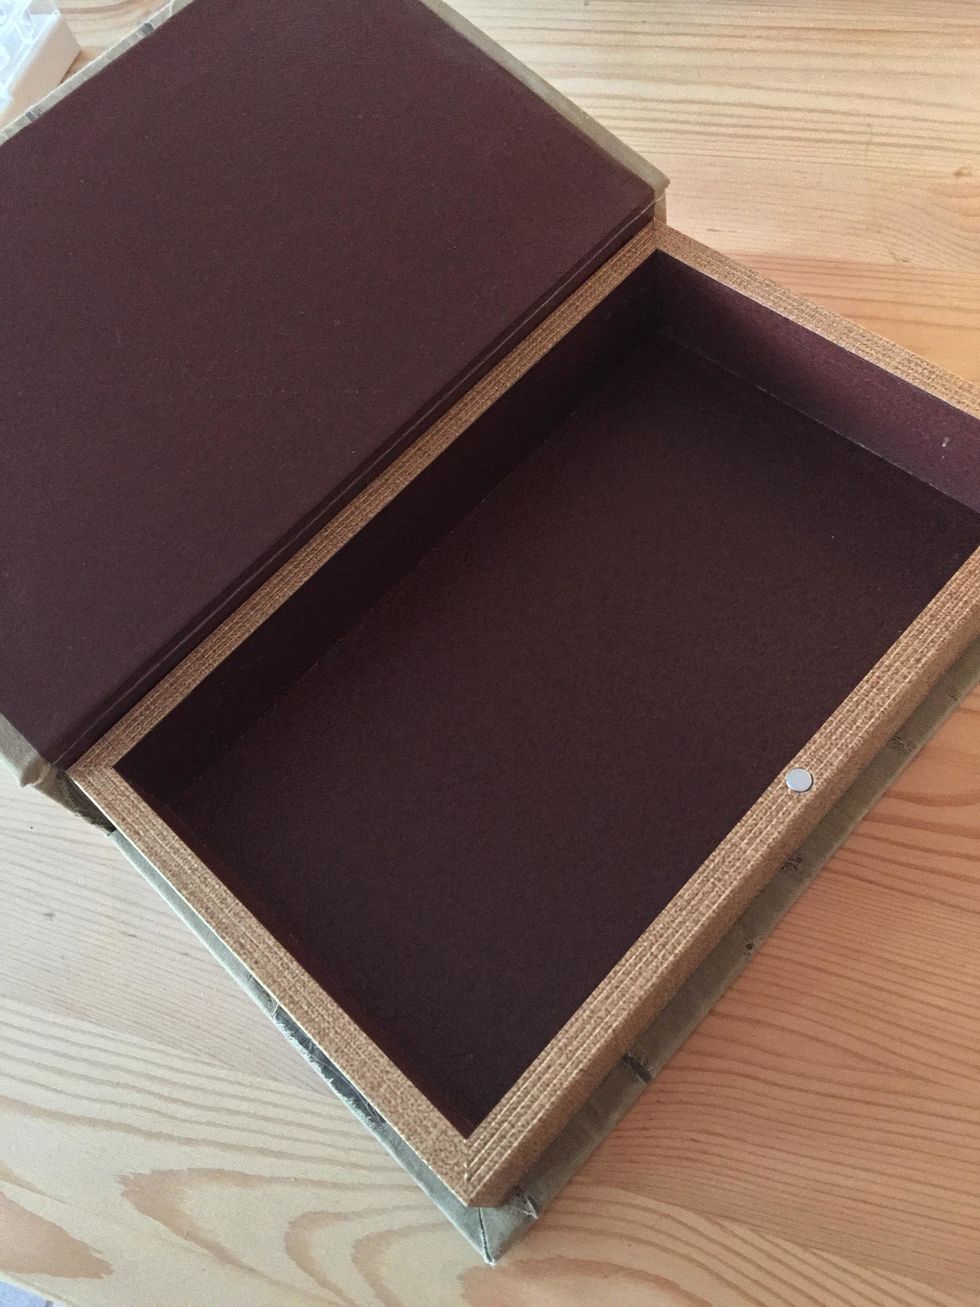
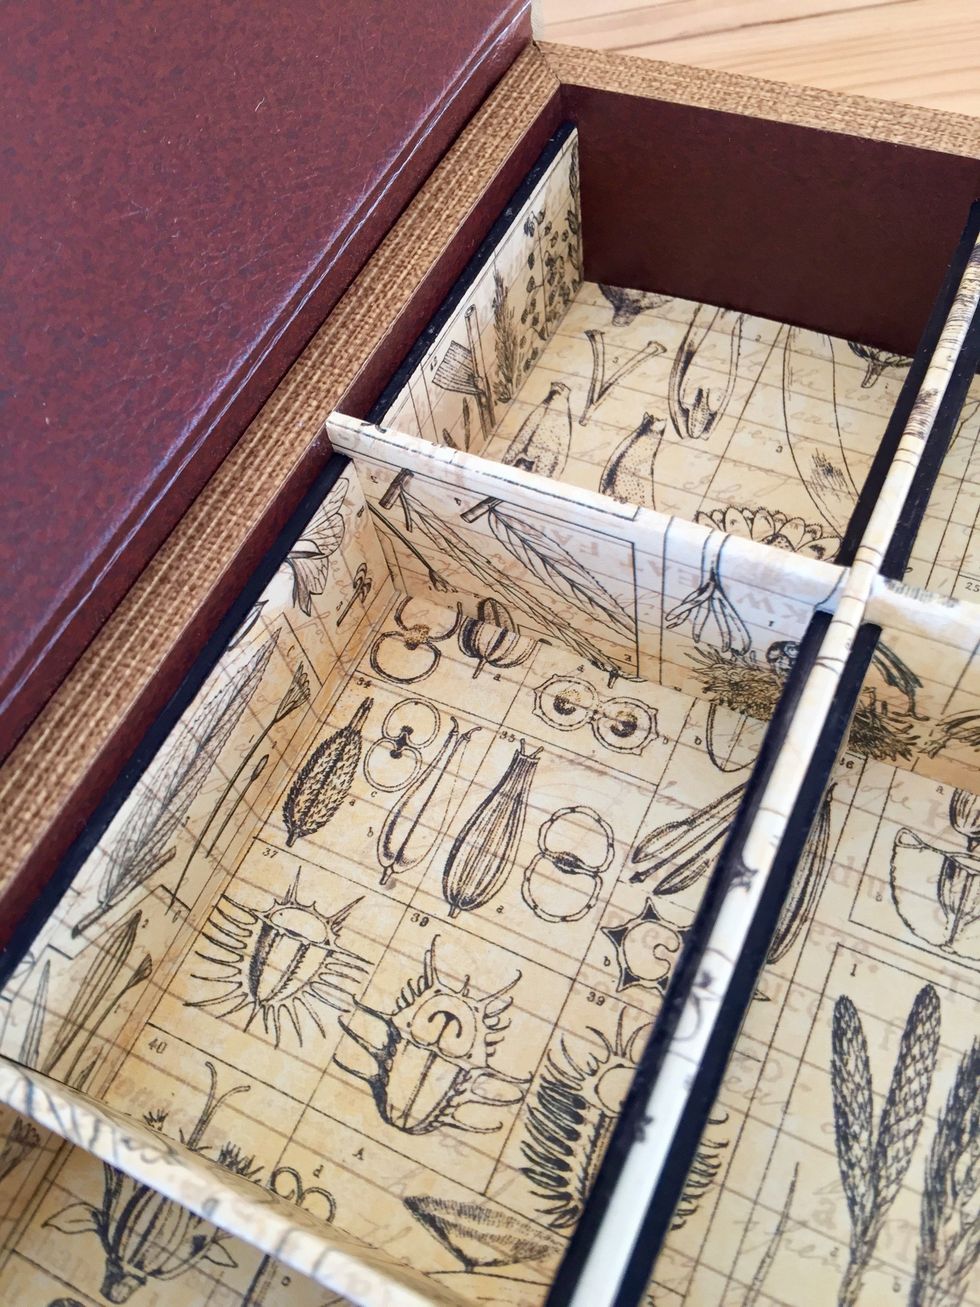
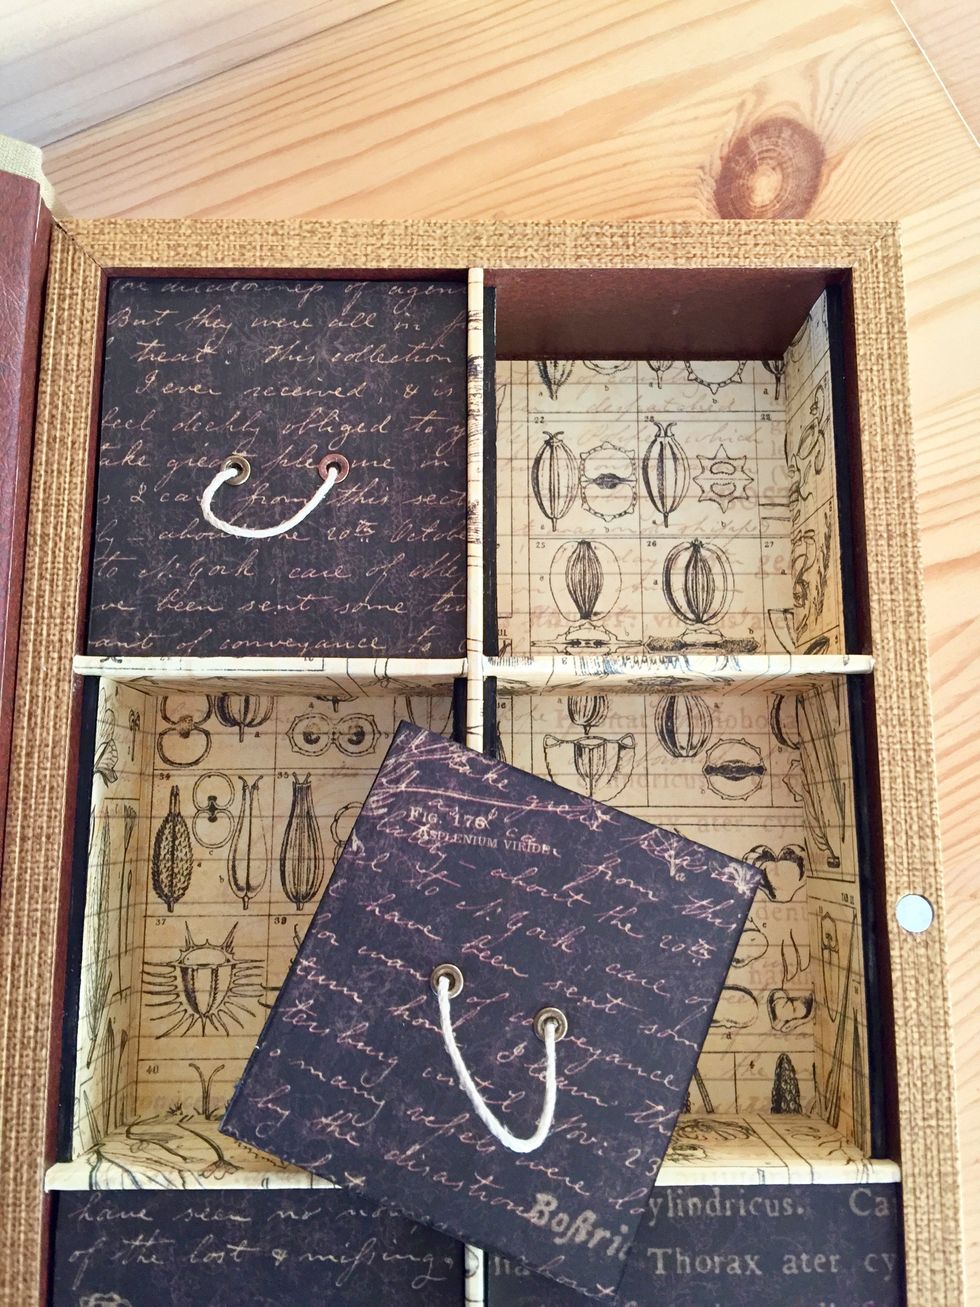
This is the inside of the book-box. I think it will be much better and will be more practical by adding some compartments.
Measure the bottom of the box and cover with decorated paper.
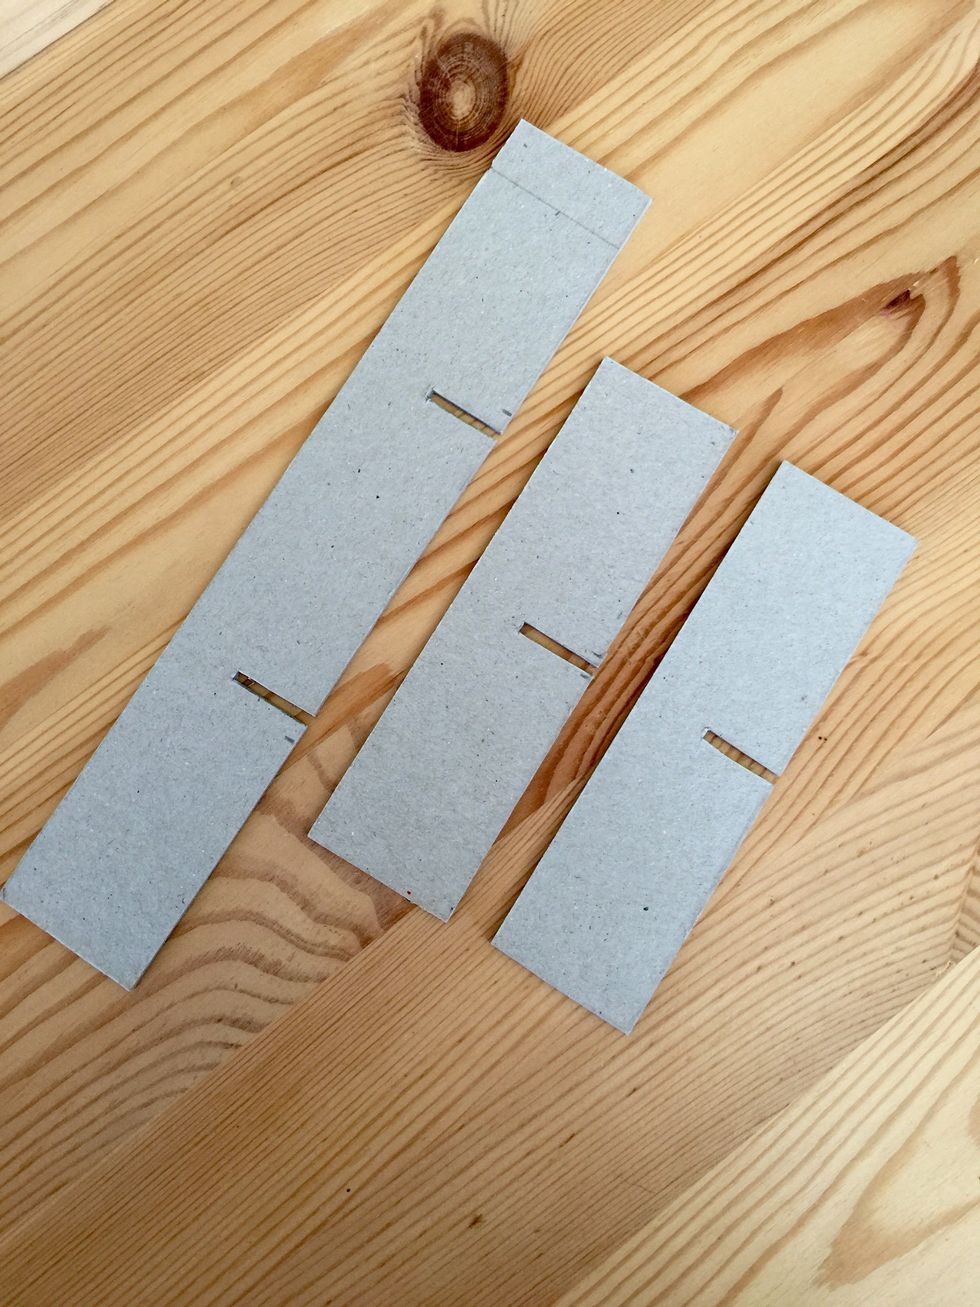
We also measure the width, height and depth of the box and make three pieces like those of the image with those cuts to fit together.
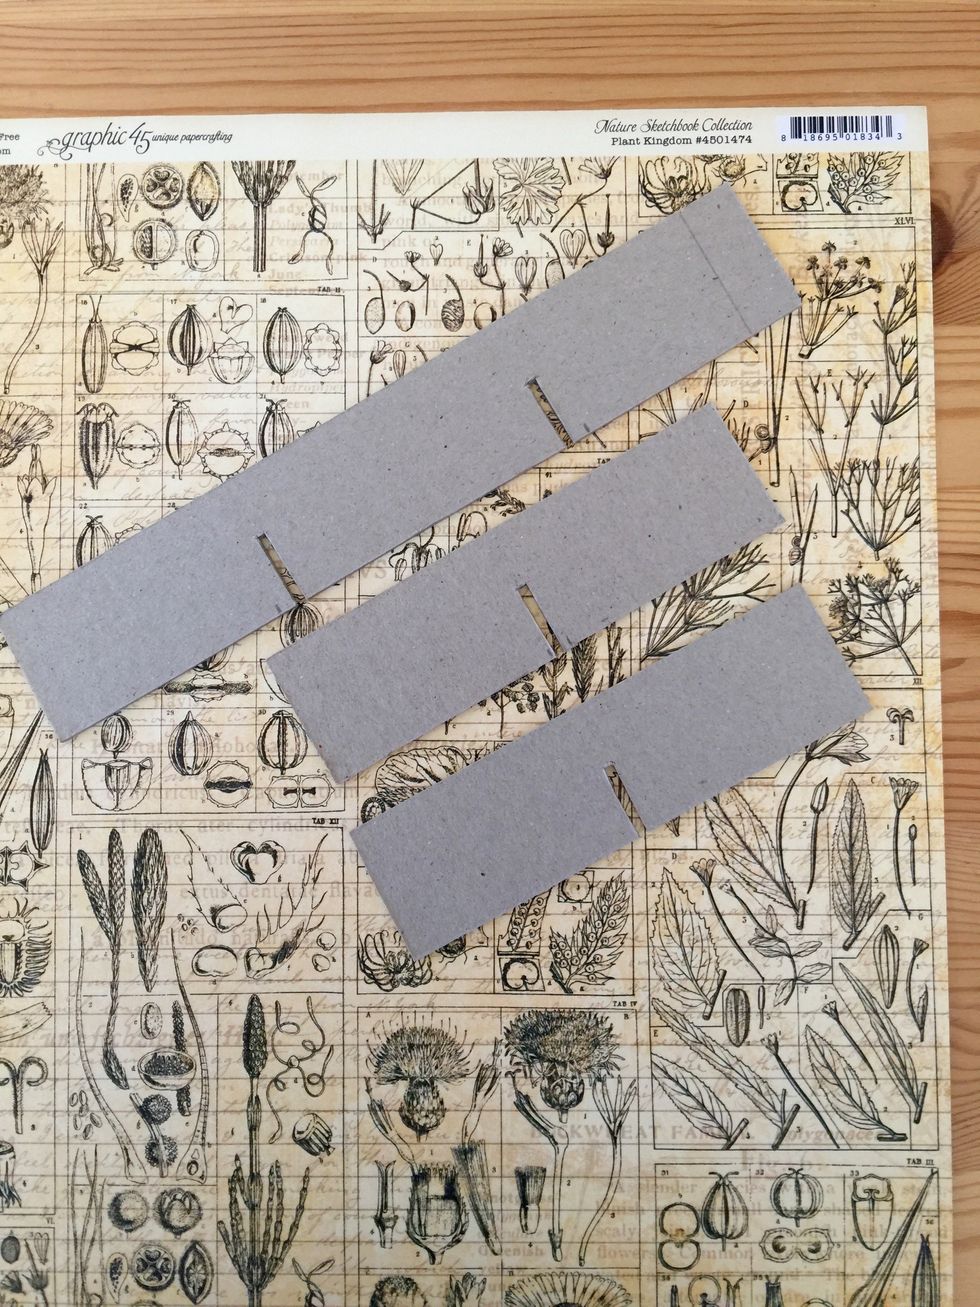
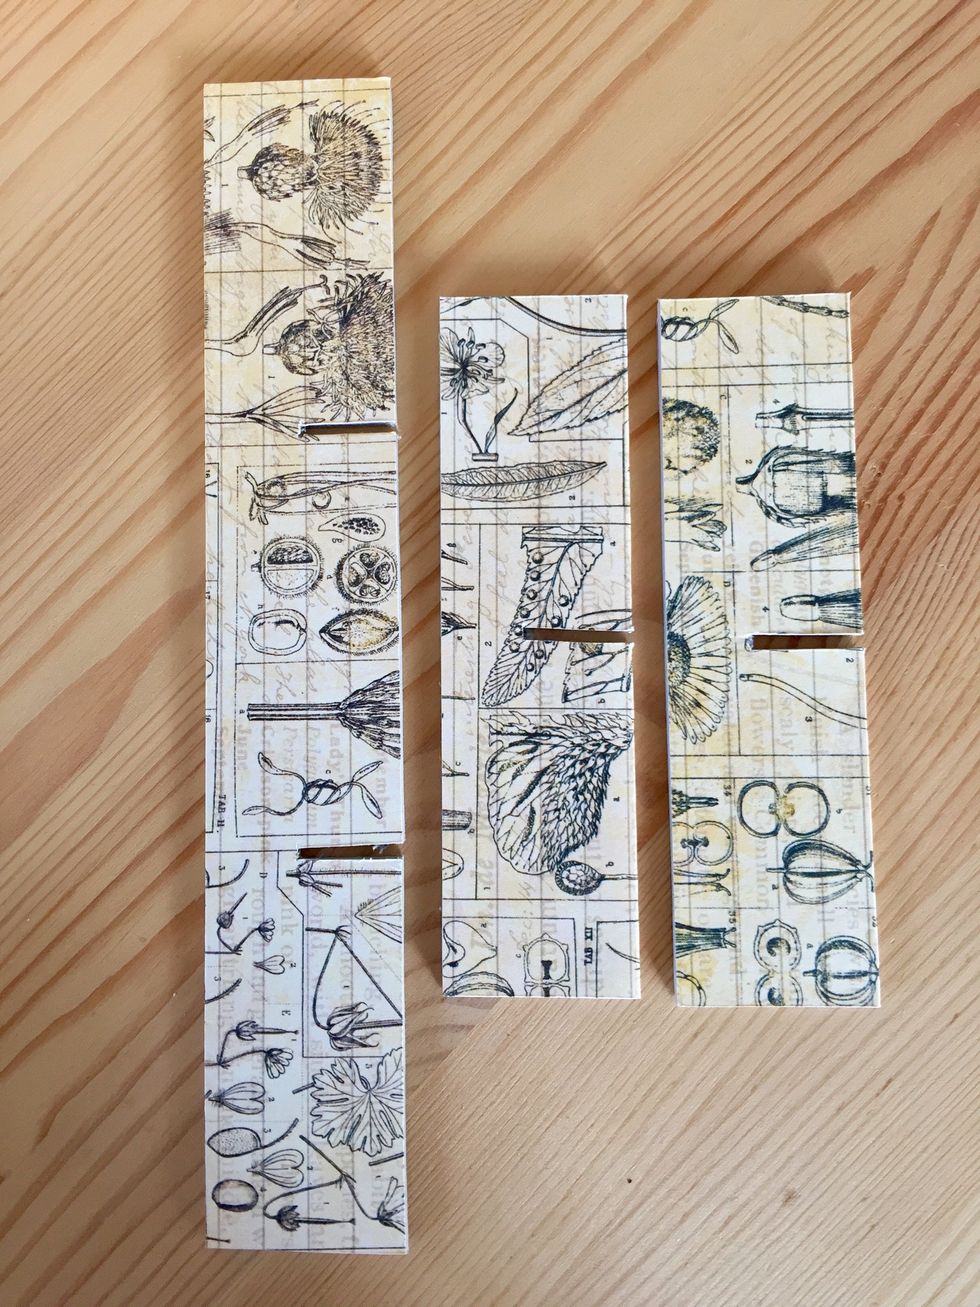
Cover the three pieces with the same decorated paper of the box bottom.
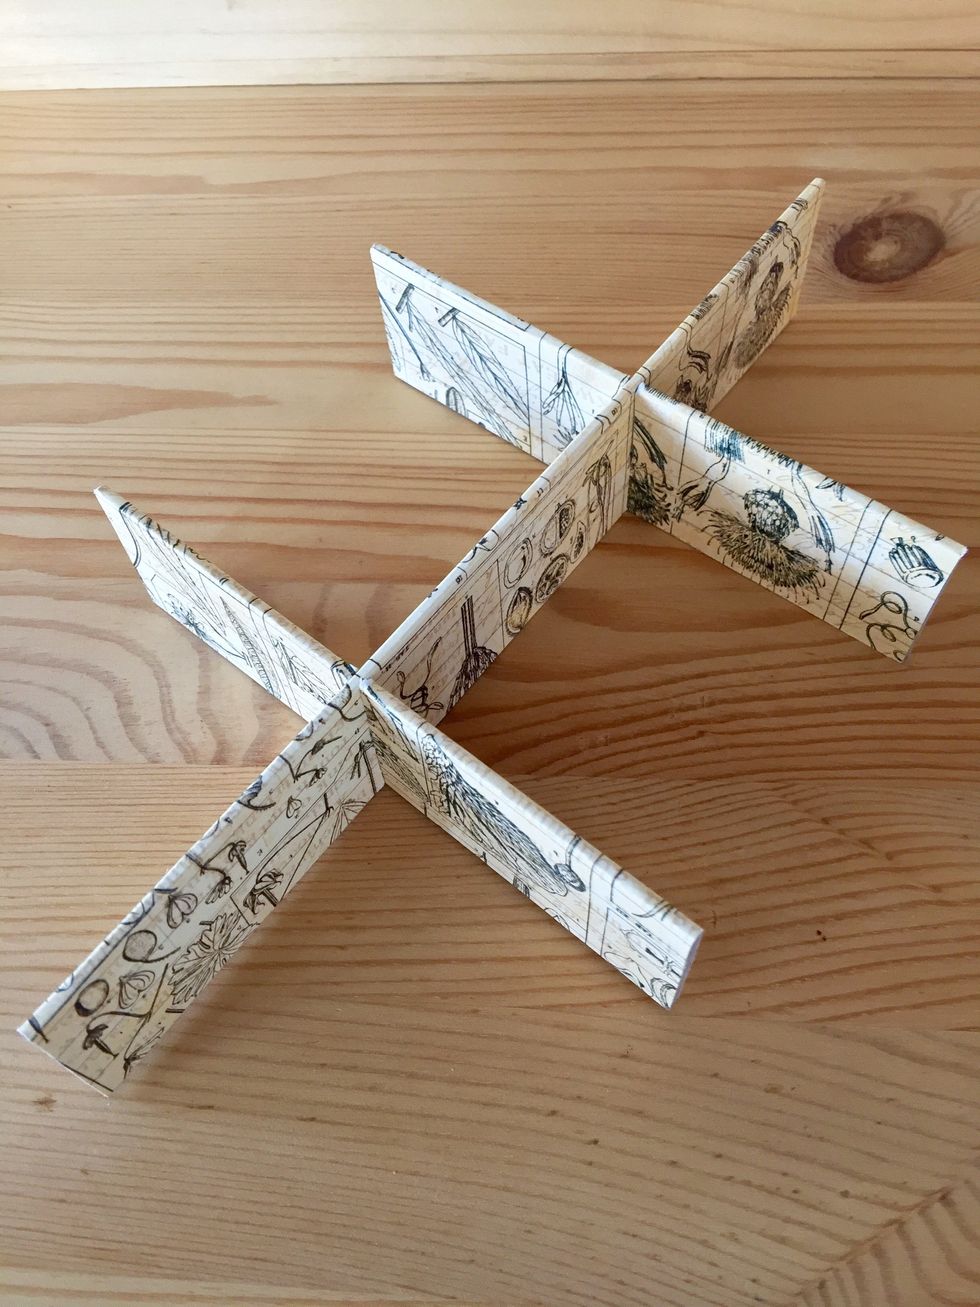
Fit the three pieces as shown.
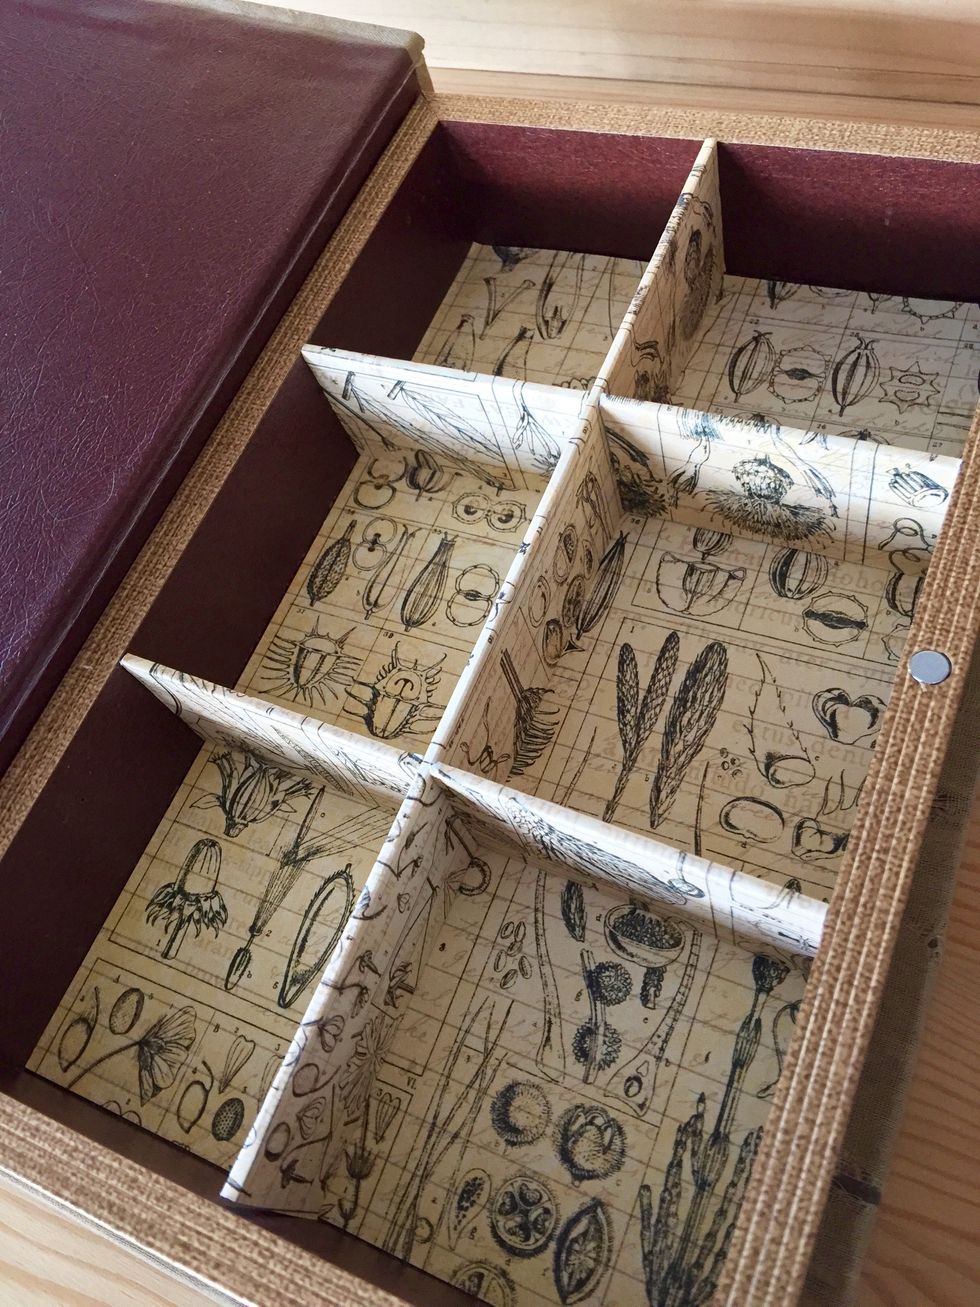
Insert the pieces in the box.
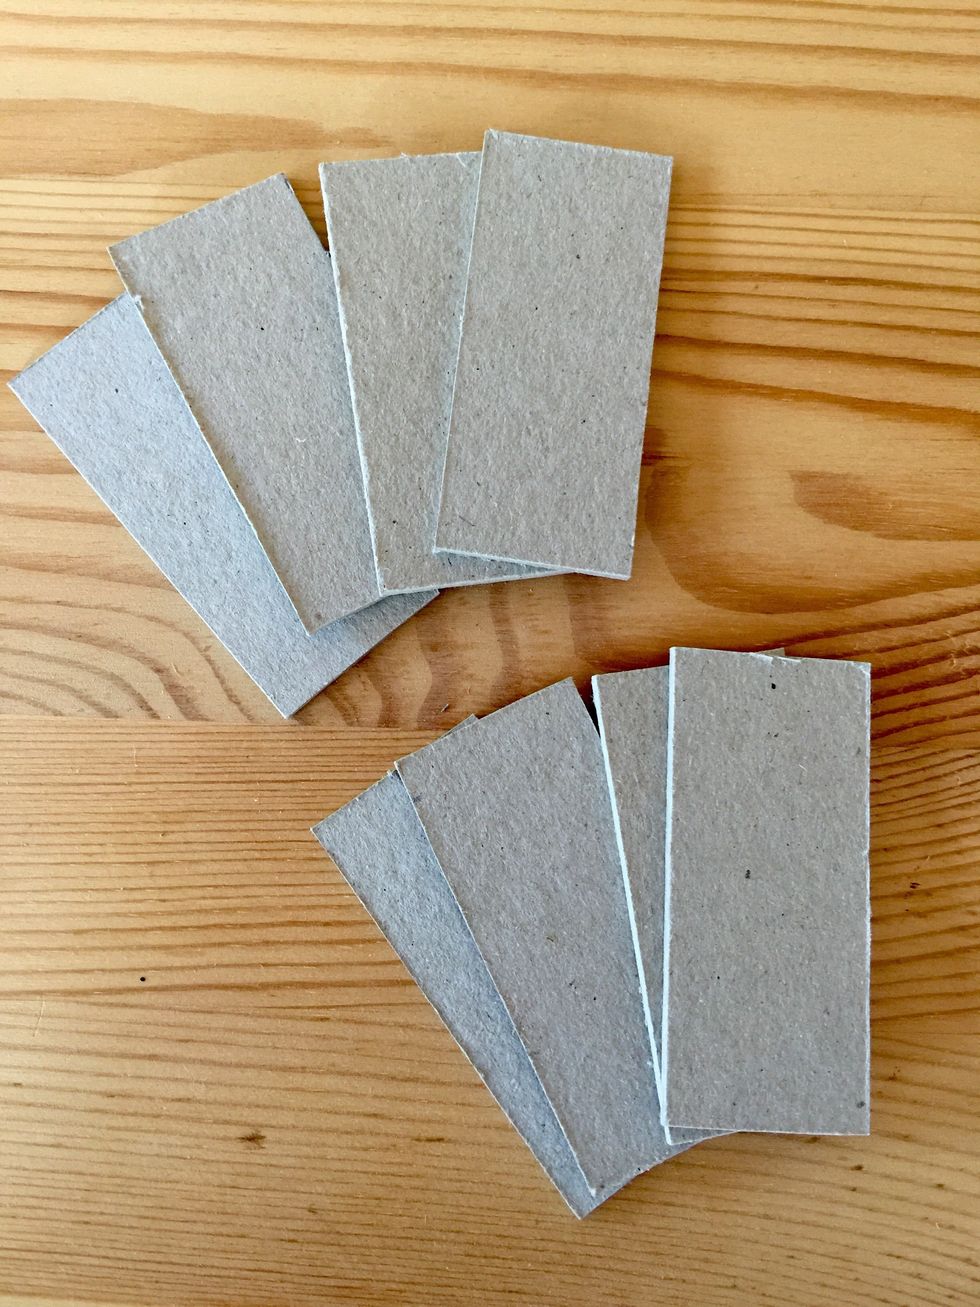
Then we need some more cardboard pieces the same measurement than each of the compartments.
Ink borders.
Glue the pieces on the walls of the box and on the inner side of the compartment. Two pieces by compartment.

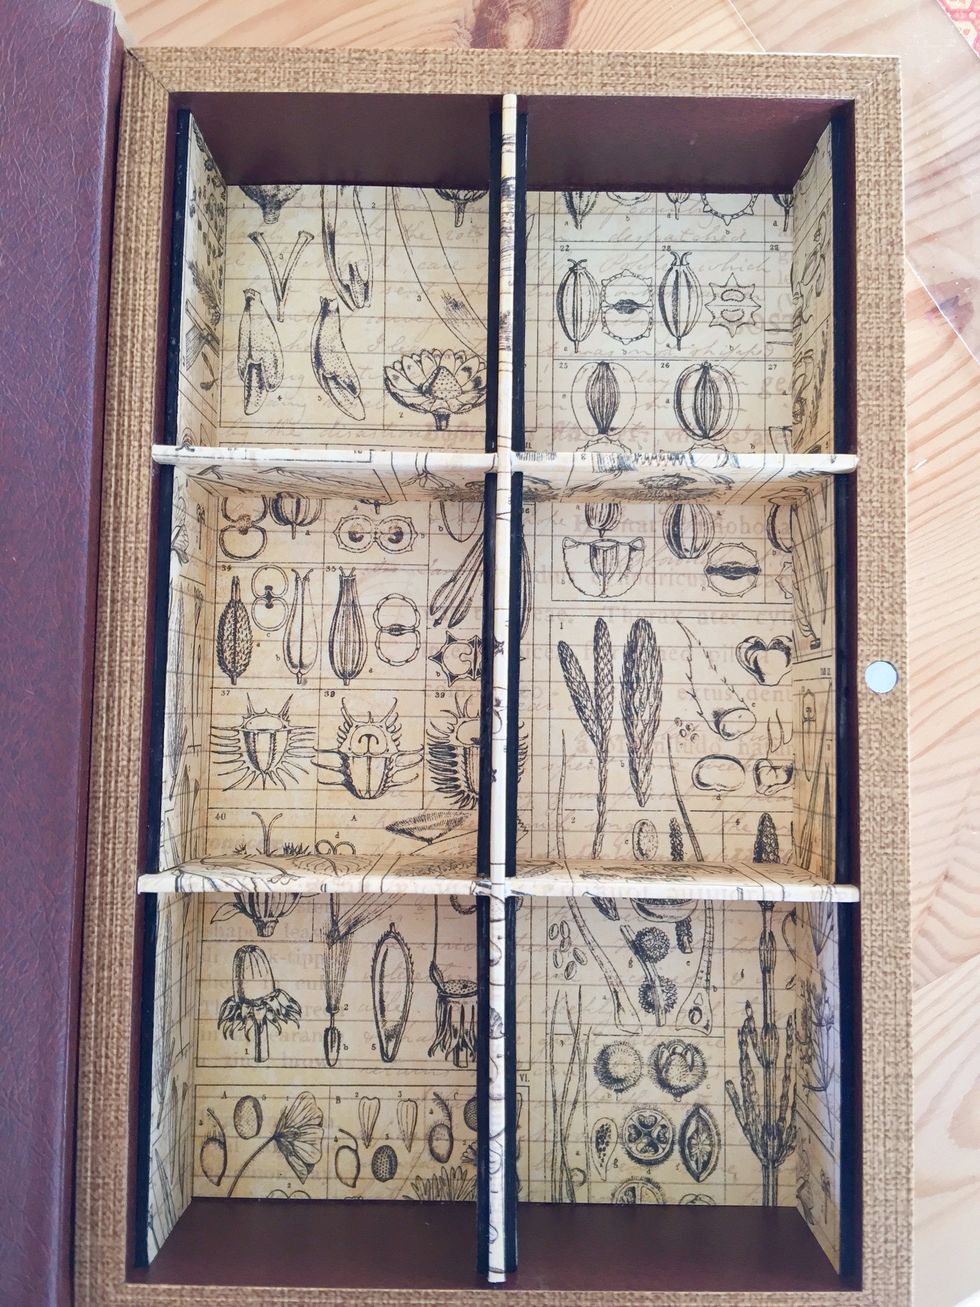
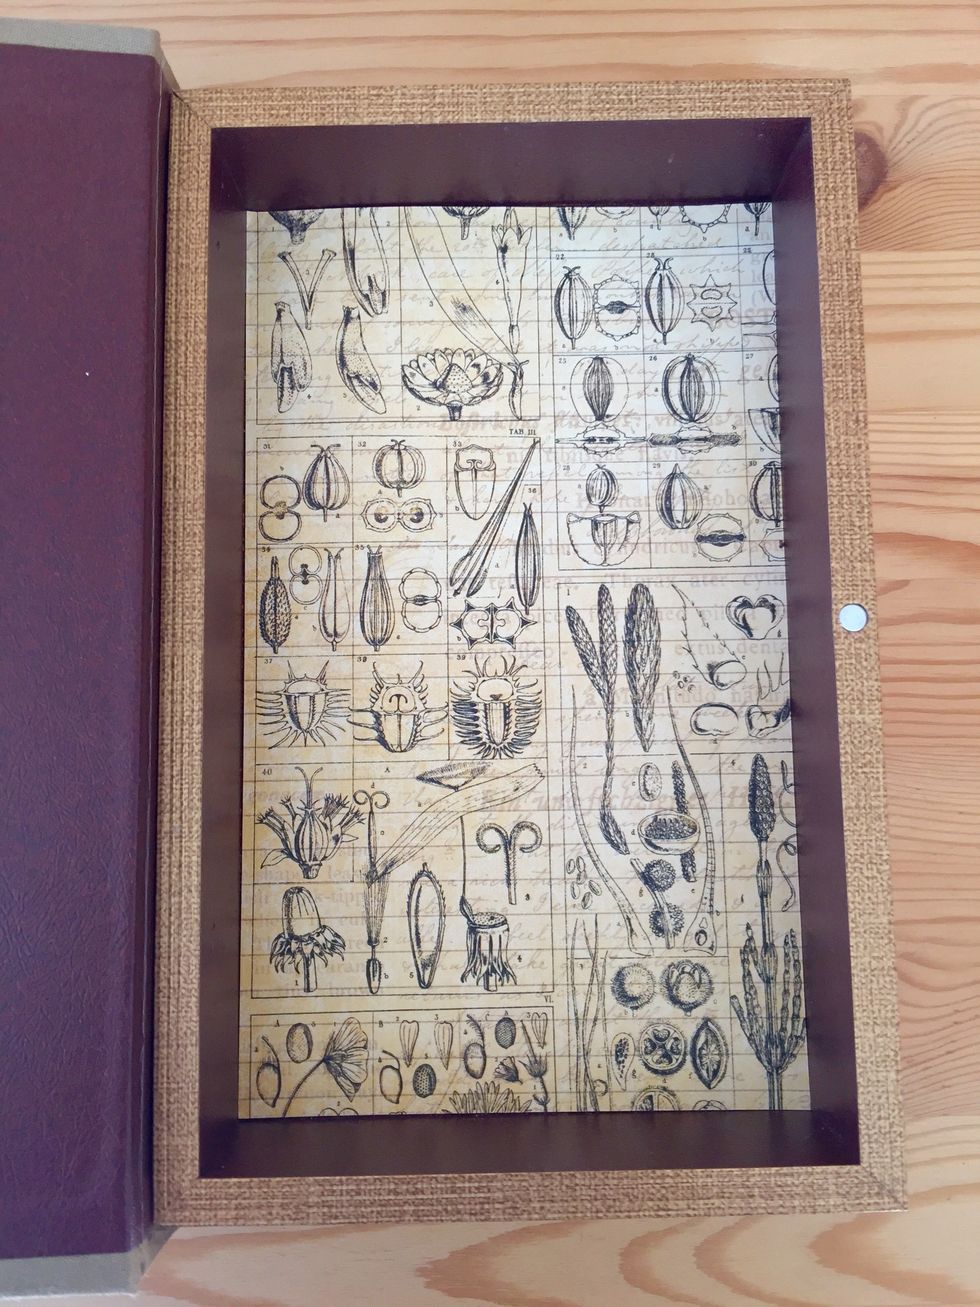
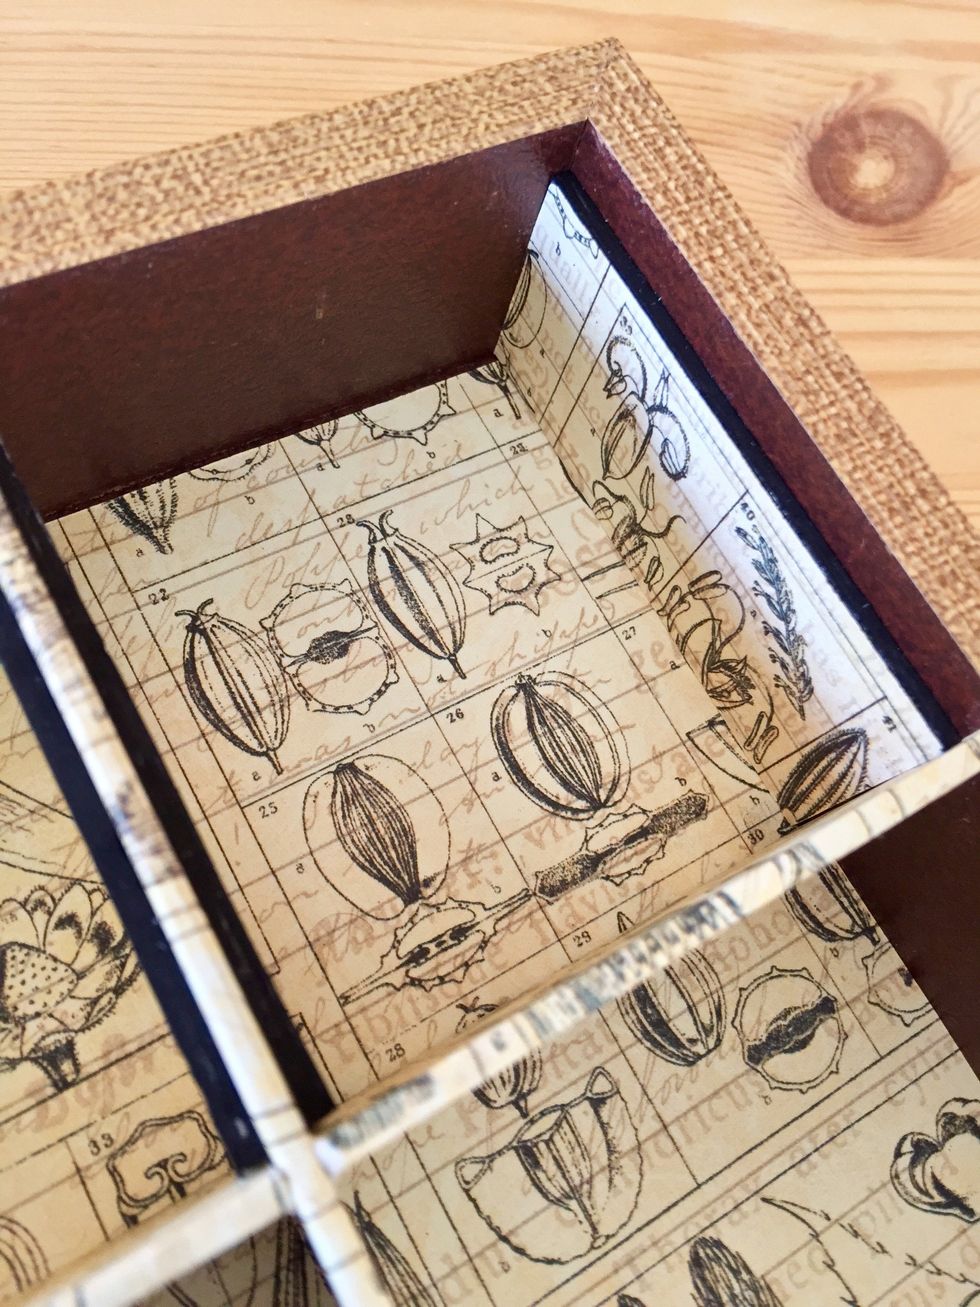
Here we have the inside of the box.
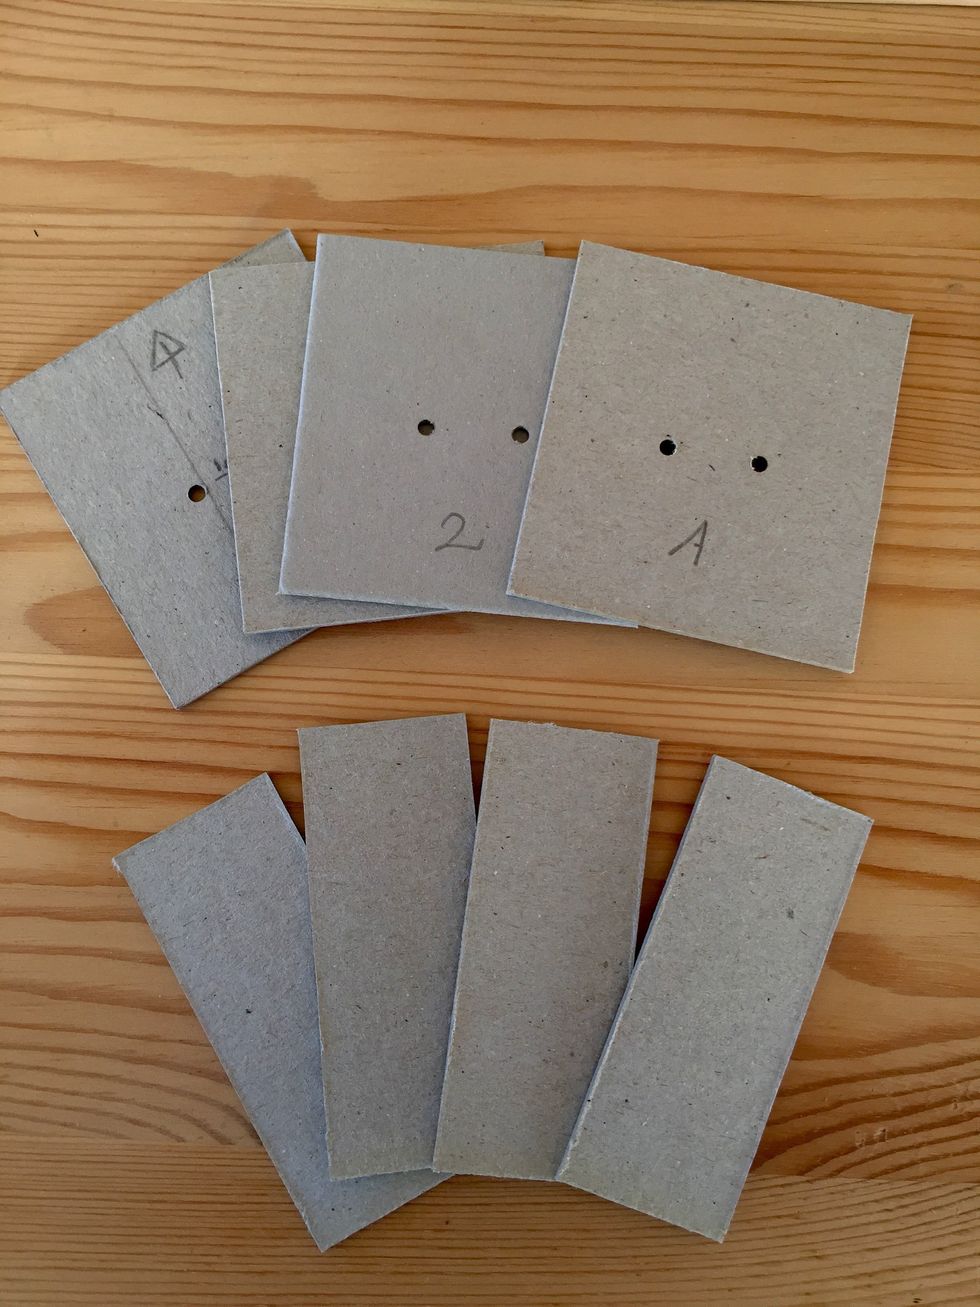
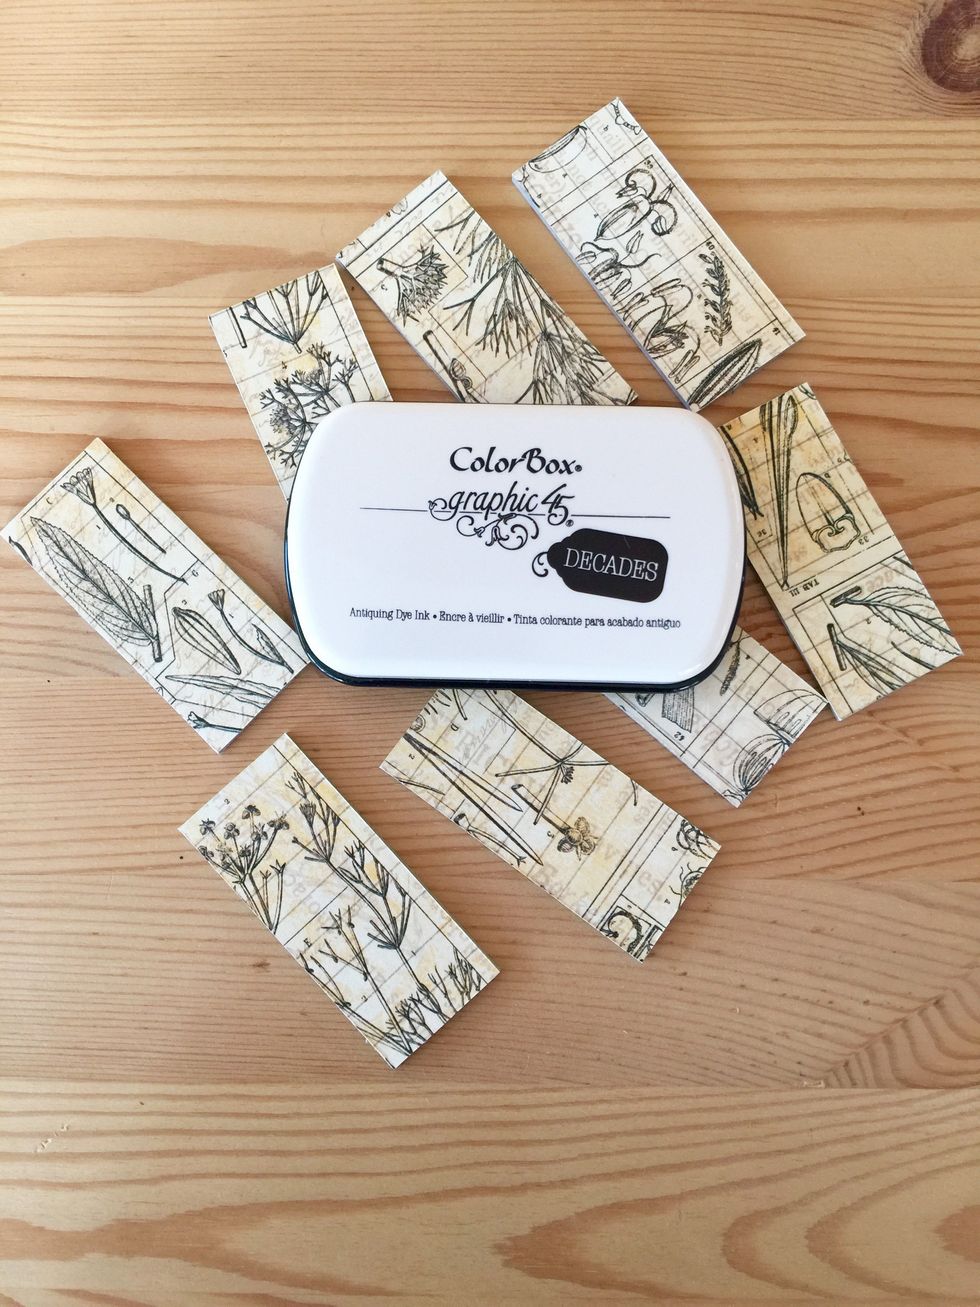
Also needed six pieces to make the top of each compartment (upper pieces in the photo). We punch two 1/8" hole in the middle of each one.

Cover with paper, put some eyelets and a pice of string.
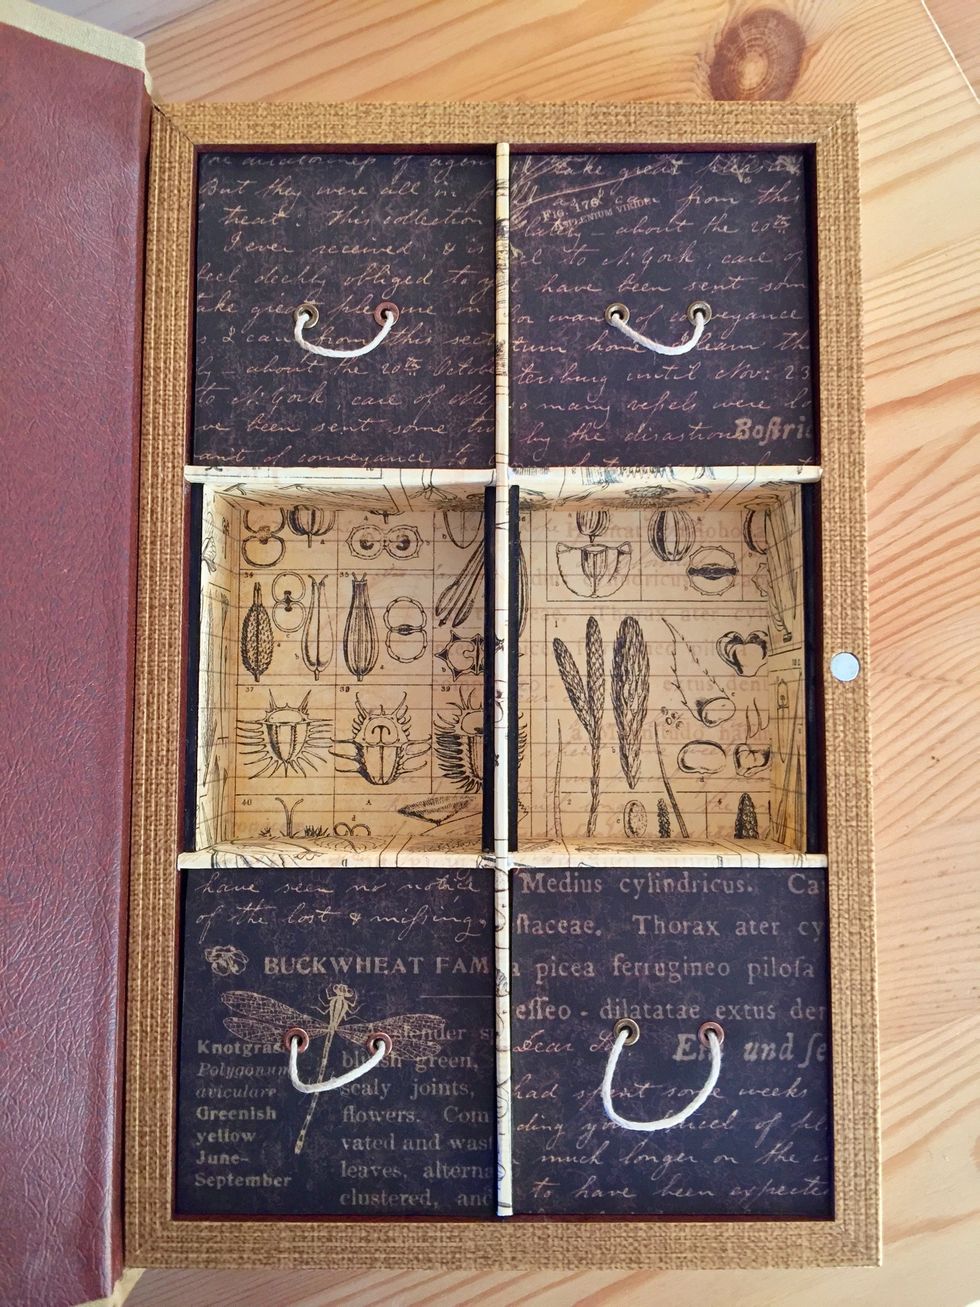
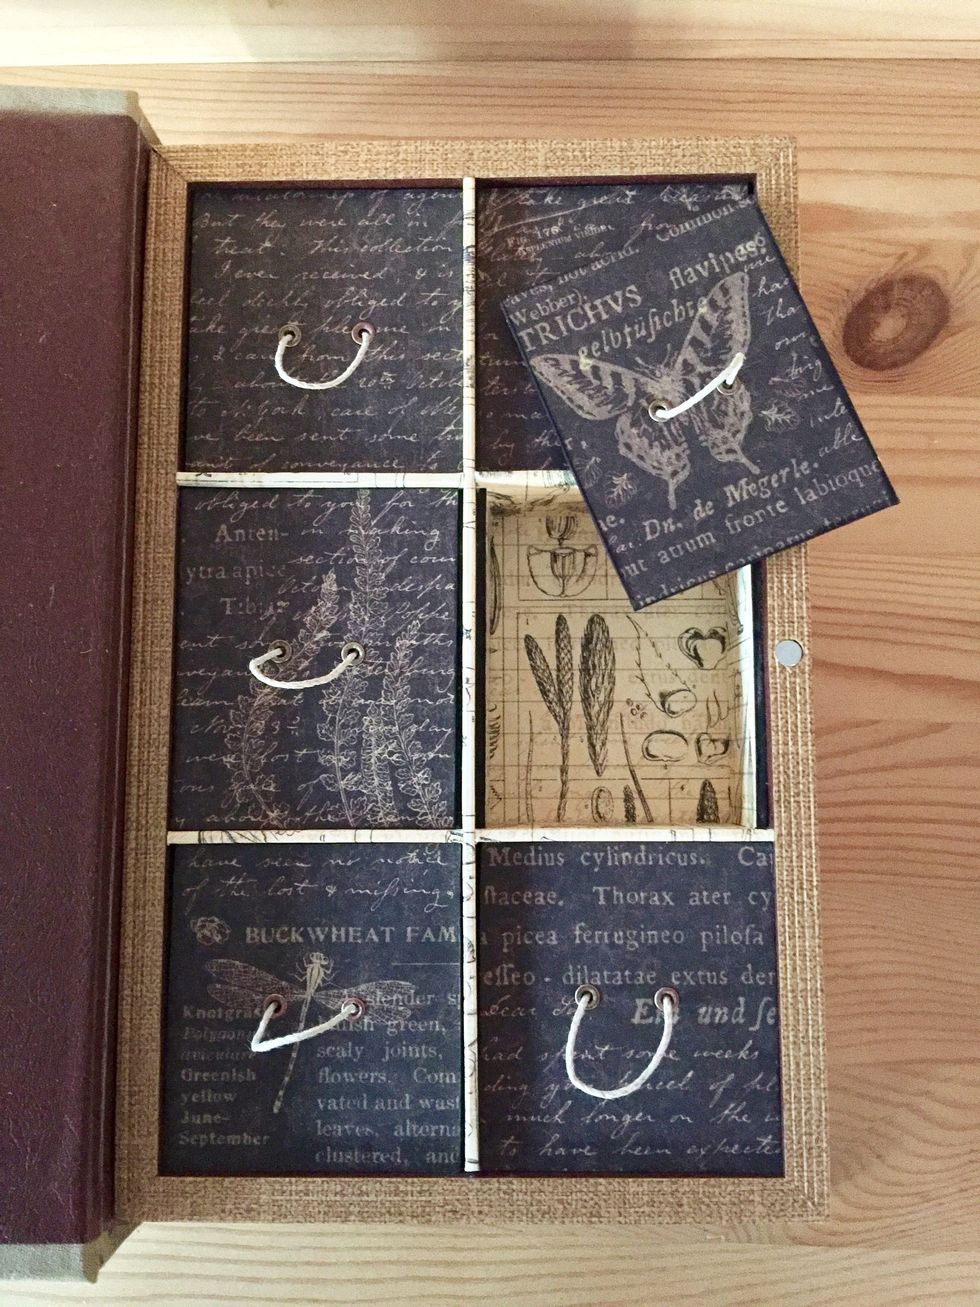
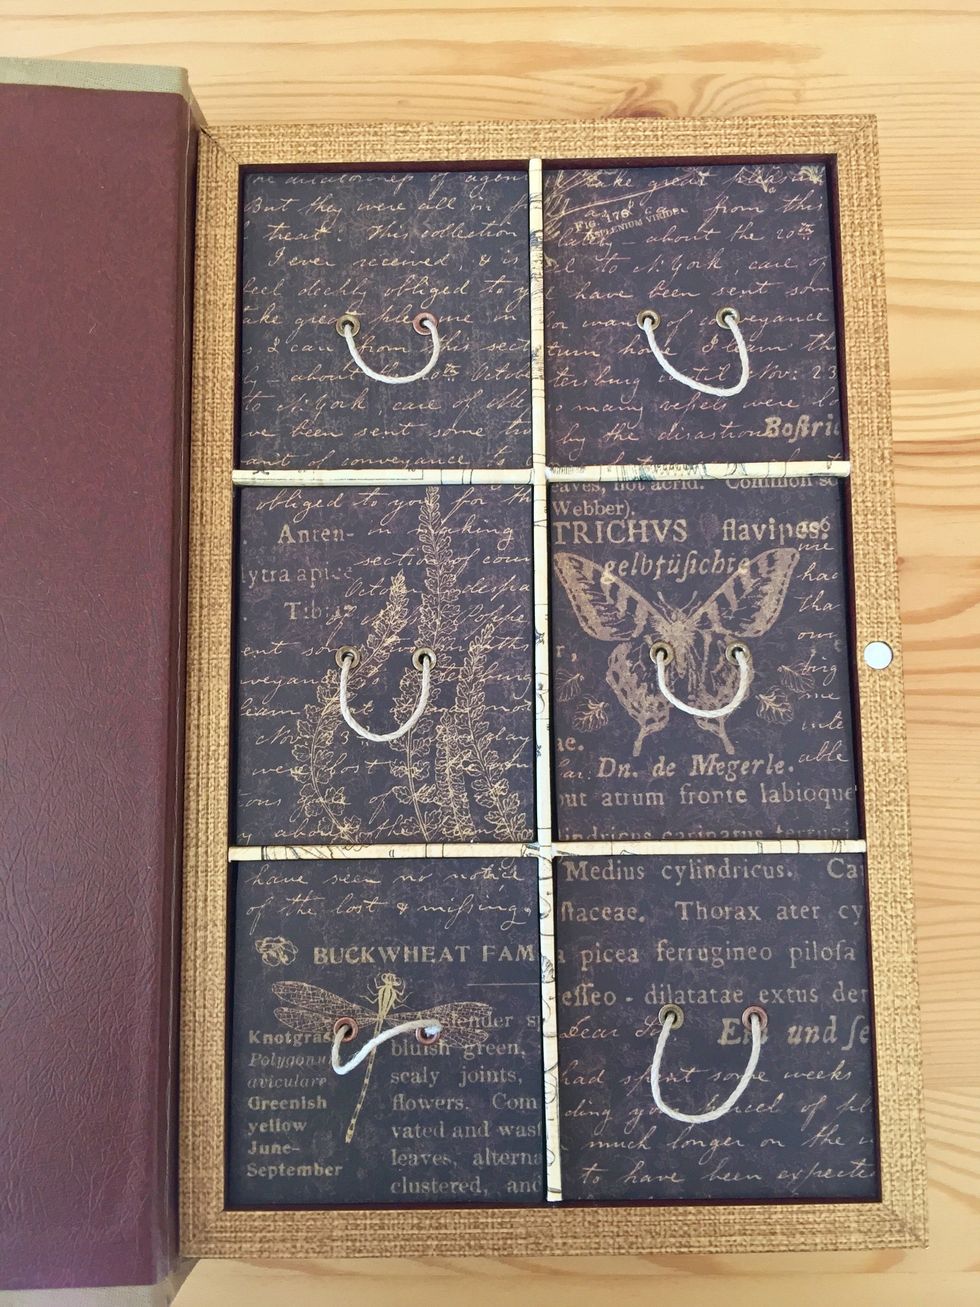
Here we have the result!
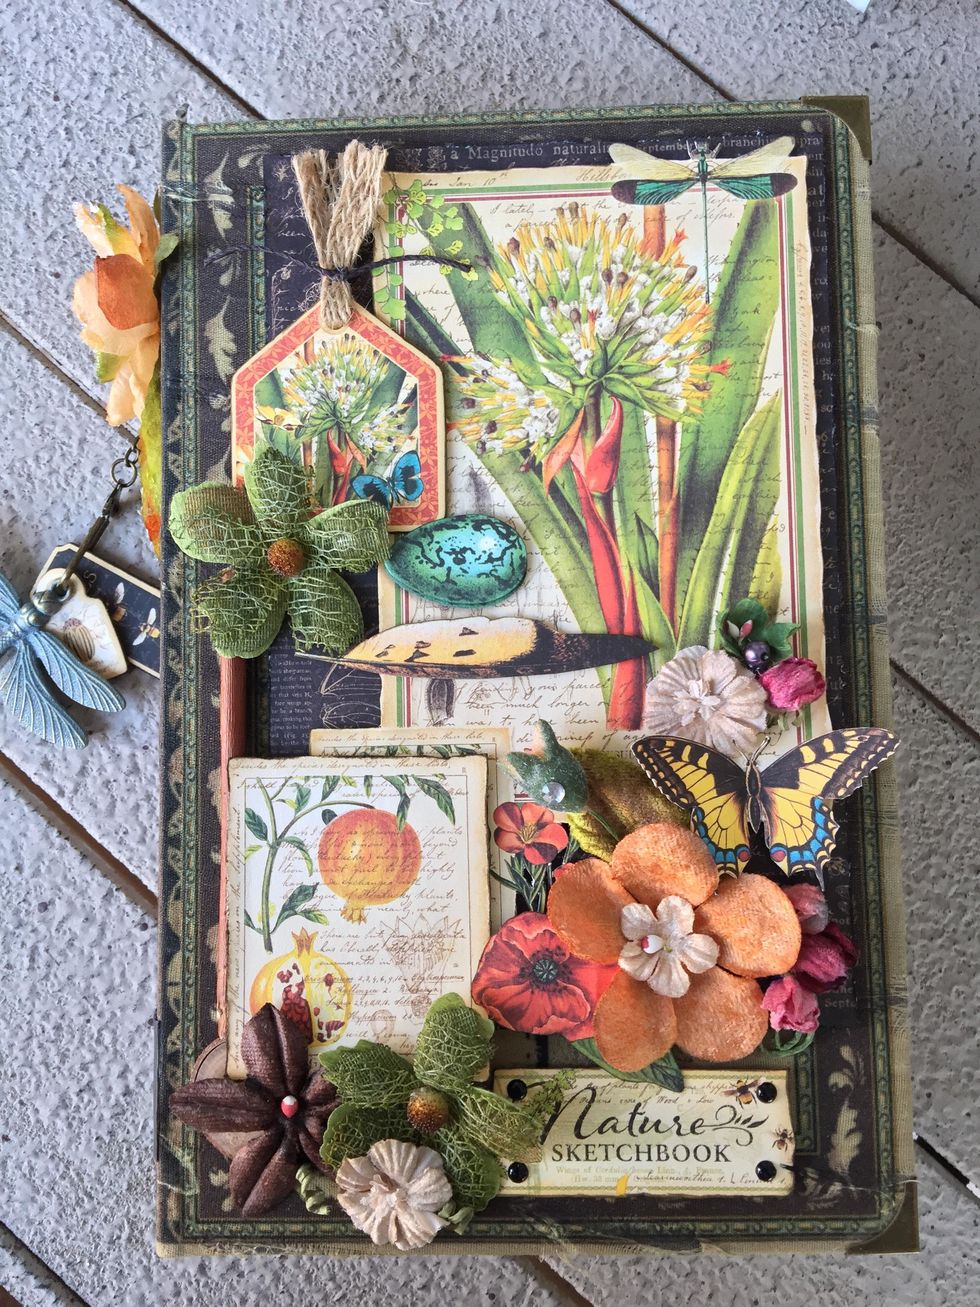
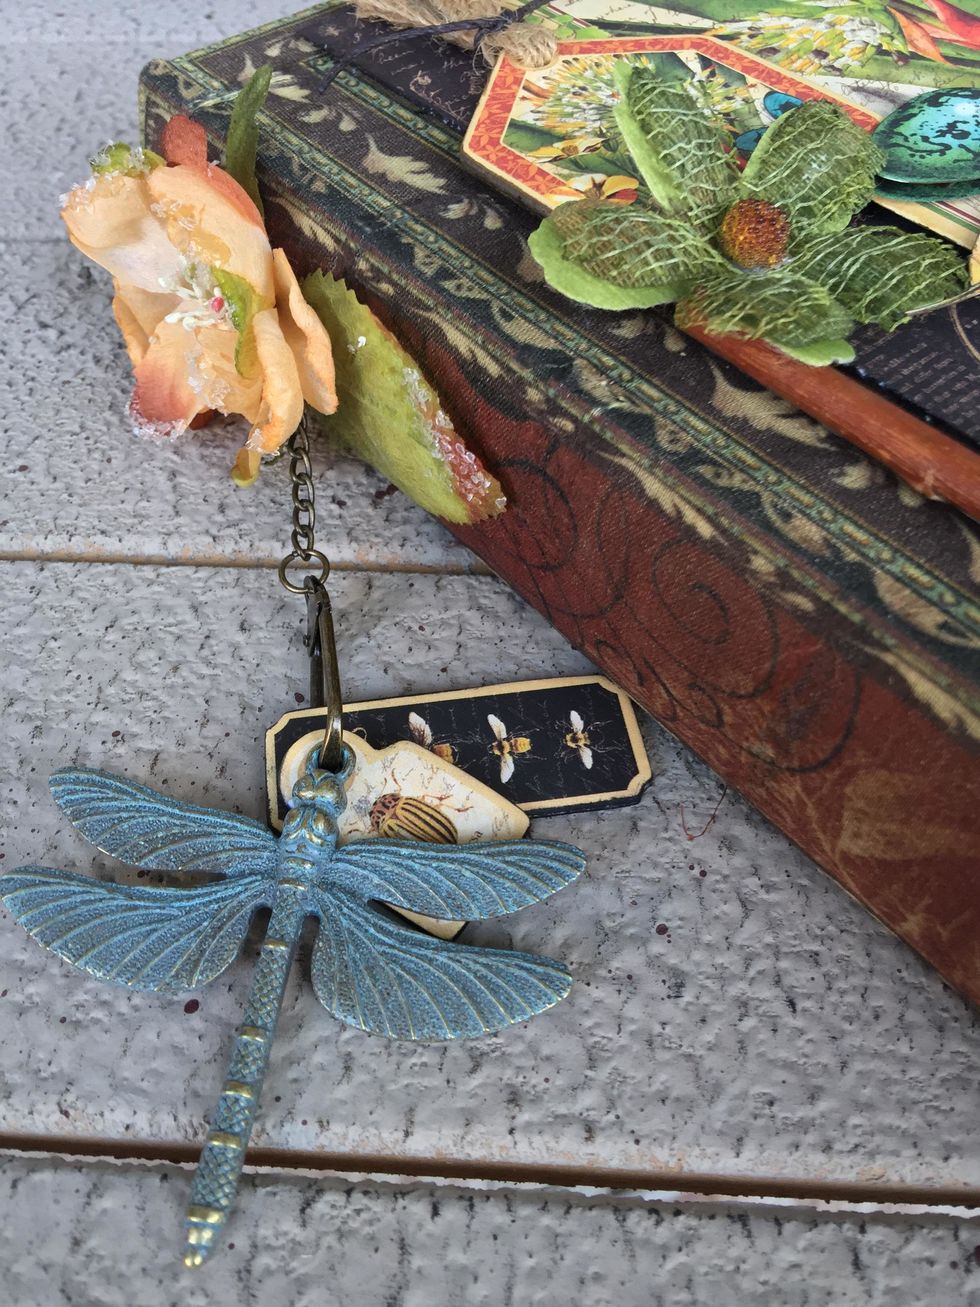
I decorated the spine with a metal dragon-fly and two beautiful chipboards from Graphic 45 Nature Sketchbook Collection.