STEPS
TOOLS
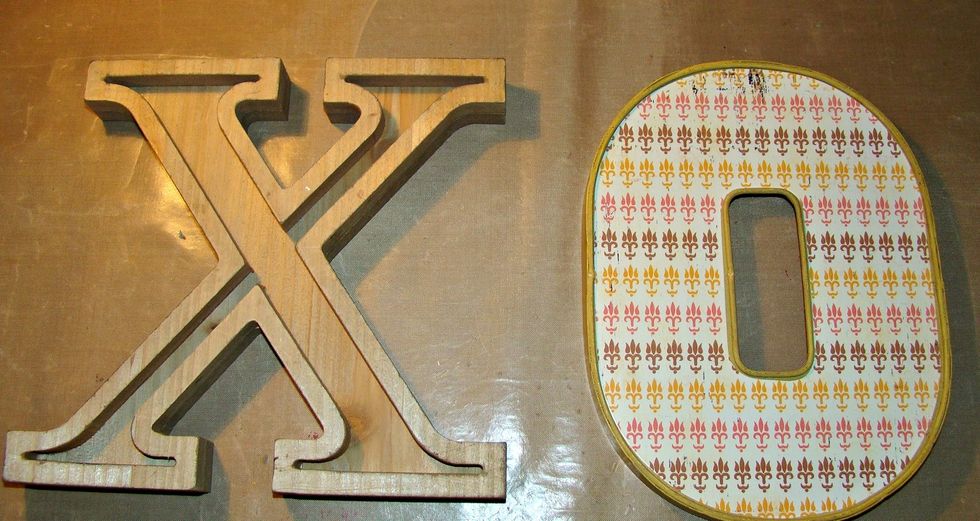
Ok let's get started transforming these regular wooden letters into something completely different. These will actually hang on my craftroom wall when finished.
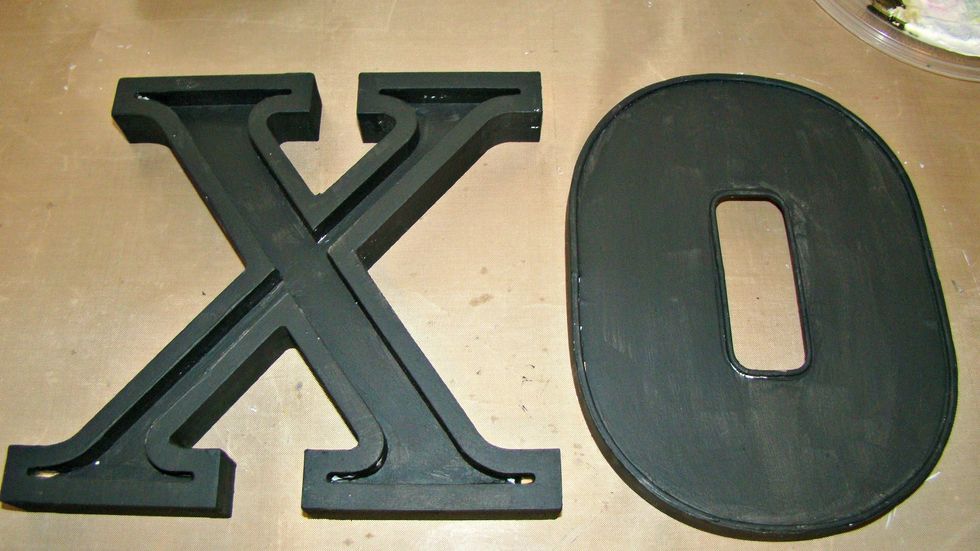
Prep surface with a nice coat of black gesso. Allow to dry.
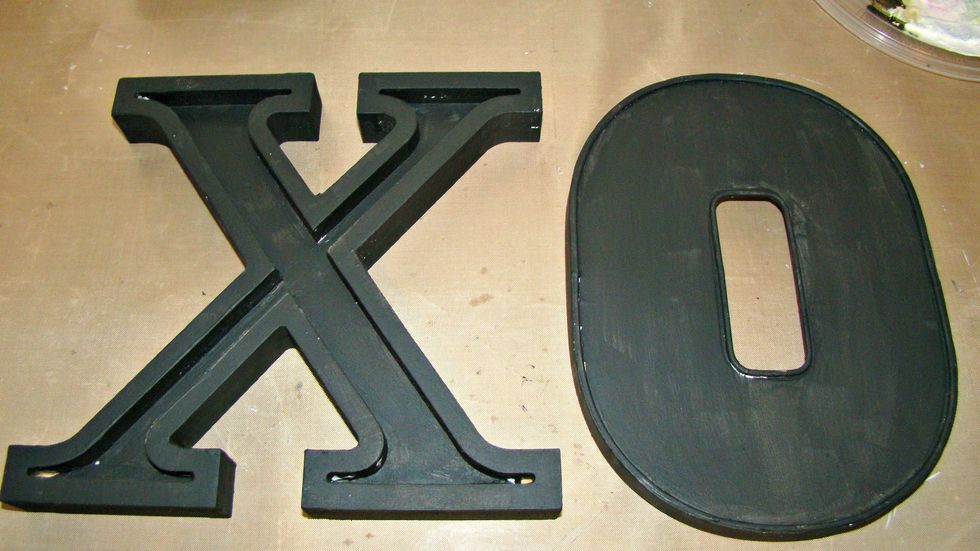
Prep surface with a nice coat of black gesso. Allow to dry.
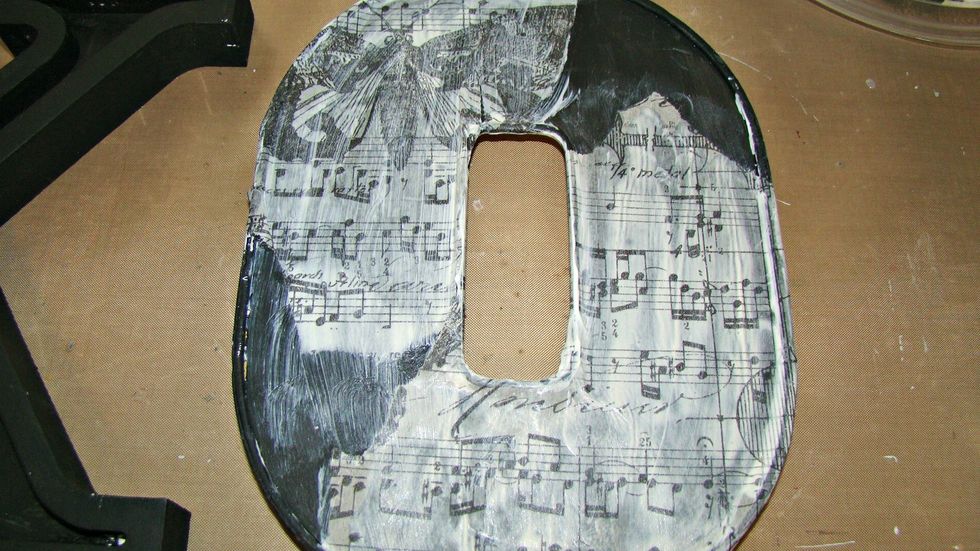
Rip pieces of Ideology paper tissue paper and adhere with her favorite gel medium or adhesive. Allow to dry.
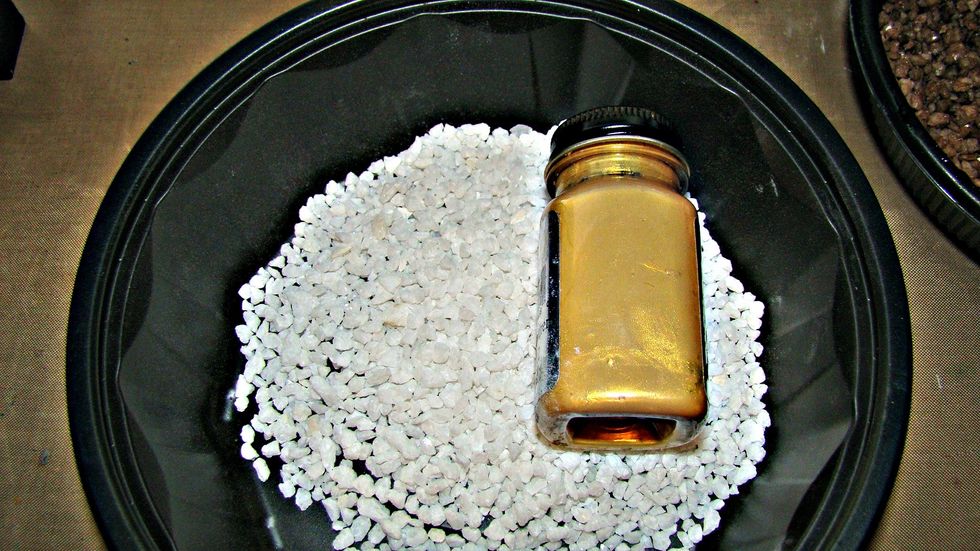
Using some plain floral rocks, add some Metallic Gold paint and mix, I also made a bowl of colored rocks with Warm and French Toast Colorations sprays. Bought a whole bag of these rocks for $1.00
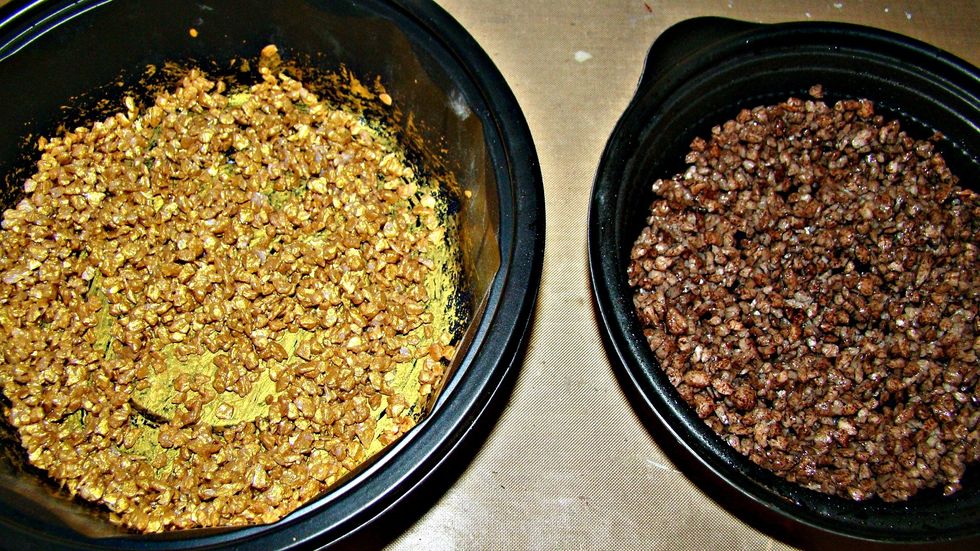
Aren't they pretty and their going to create some amazing texture.
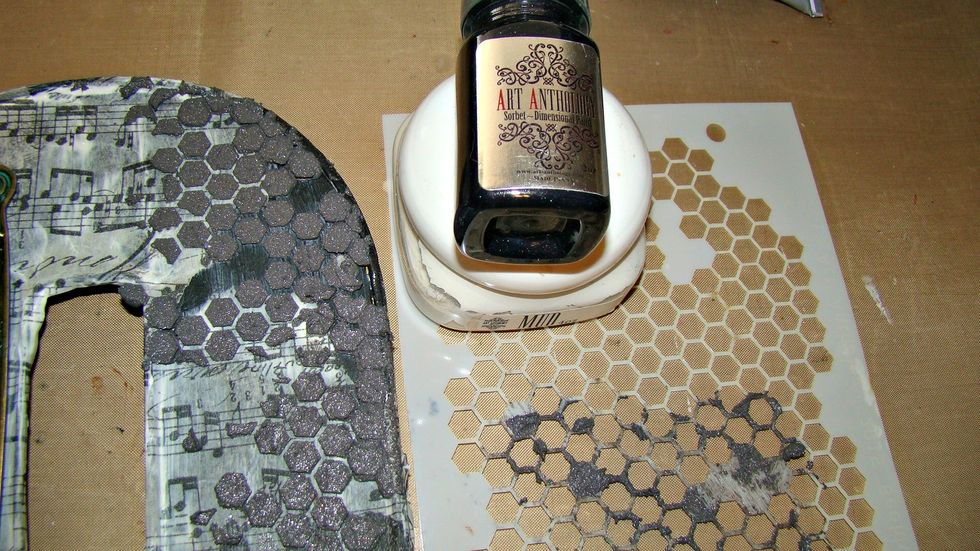
Mix some Mud Paste with hobby sand that I bought at the $1.00 store and colored it using my Black Leather Jacket paint, run it through your stencil and allow to dry. Comment
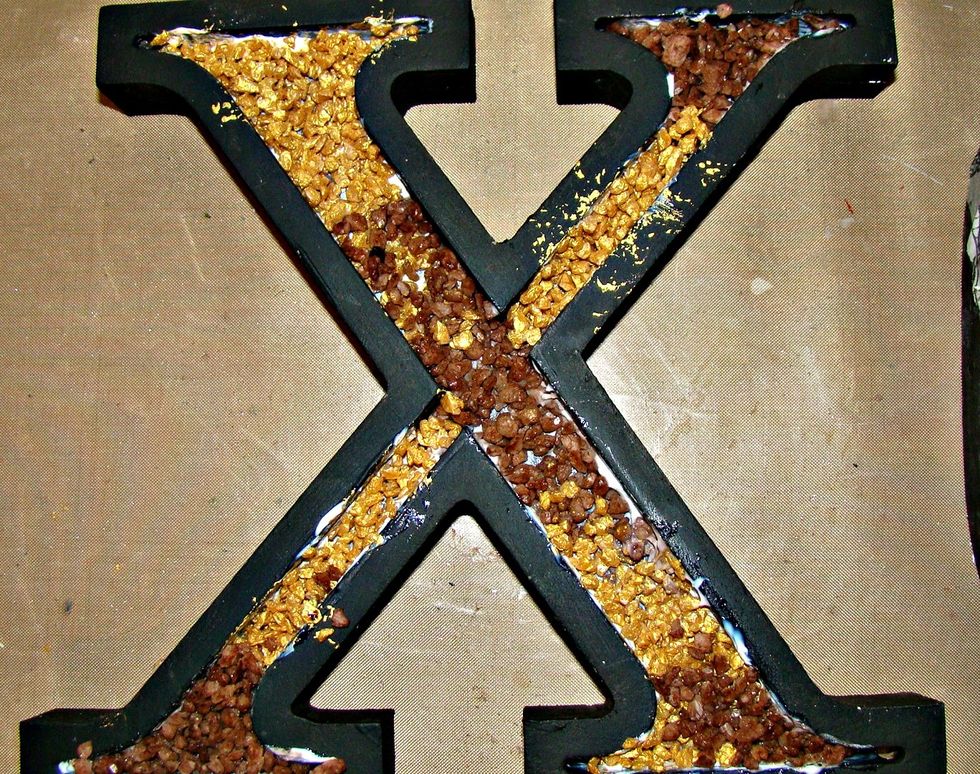
I used the rocks to fill inside one of the letters adhering with 3D Gel Medium, You can use these rocks here and there to add more texture to your project also.
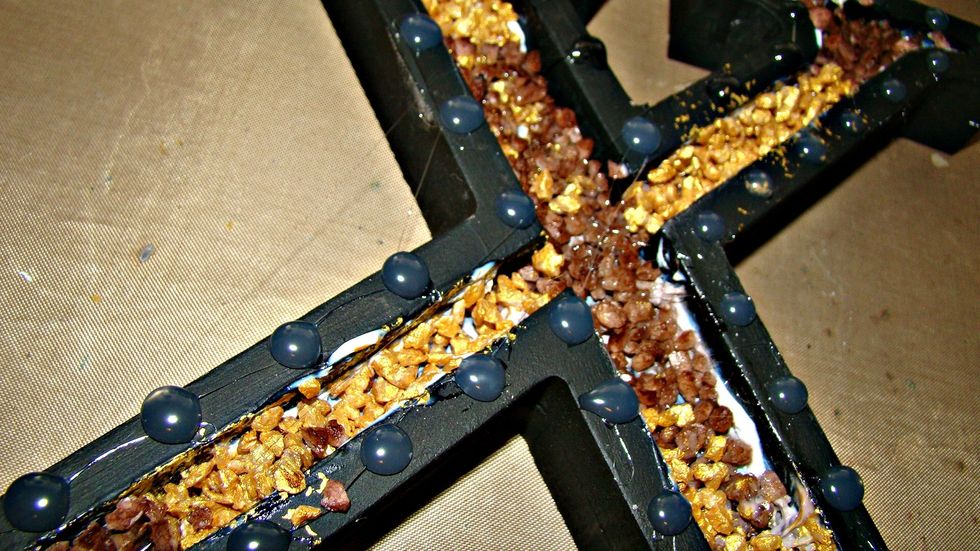
Using your glue gun, create rivets on your letter, once these are dry paint with a coat of black gesso.
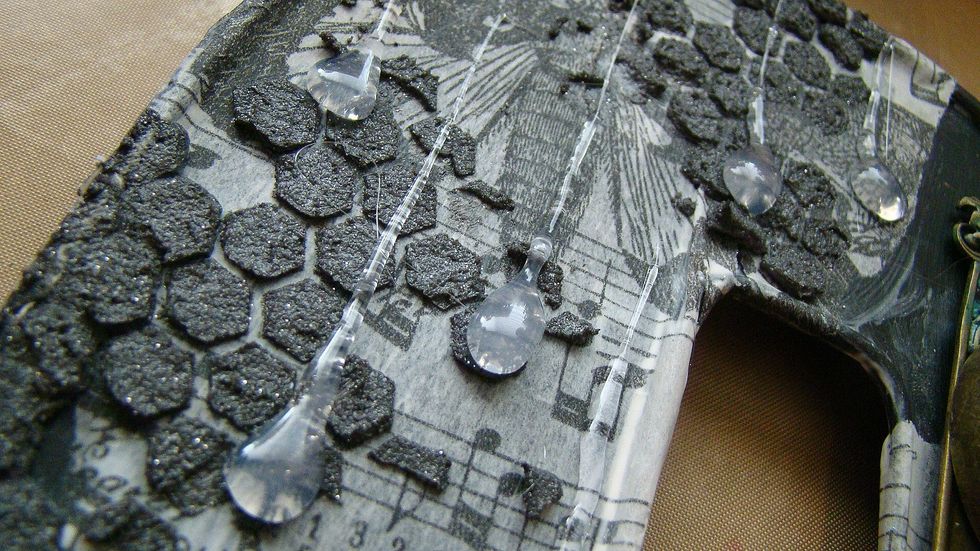
Drip some hot glue over your piece and allow to dry, then paint with a coat of black gesso.
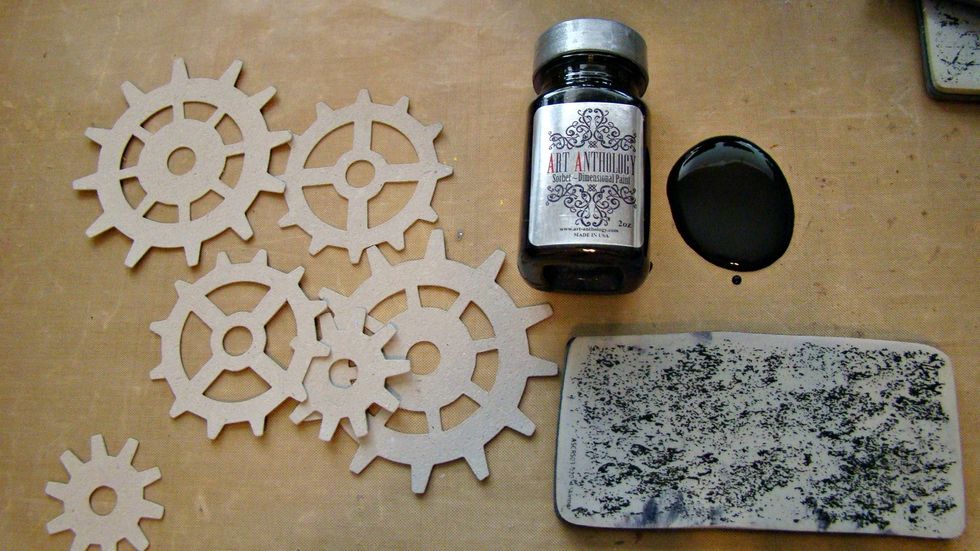
Cut gears from grungeboard and stamp rust image using black paint. Using the paint provides more texture on your gears. This stamp is Andy Skinners Mixed Media Texture Stamp Set. Highly recommend.
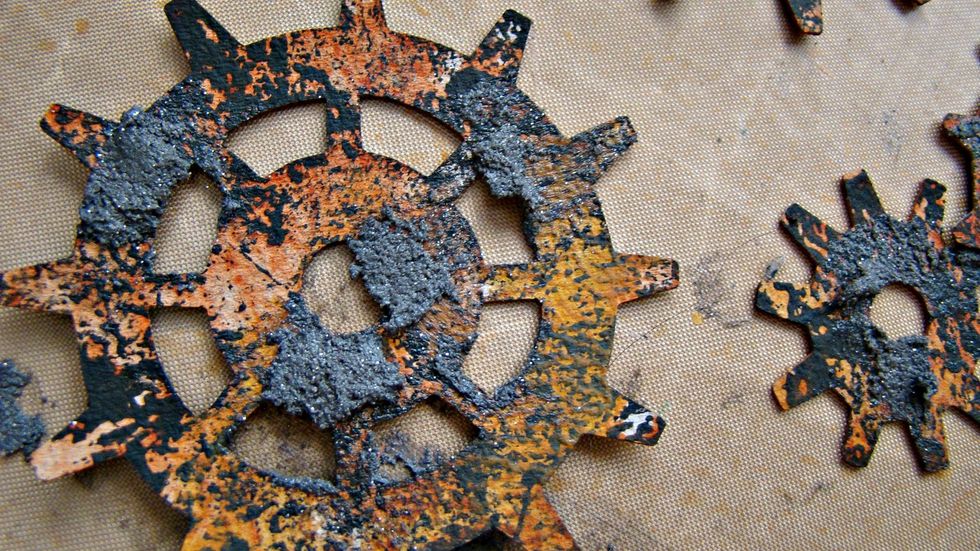
You can see the stamped image using the paint really provides a rust like effect. Paint mud paste mixture on your gears.
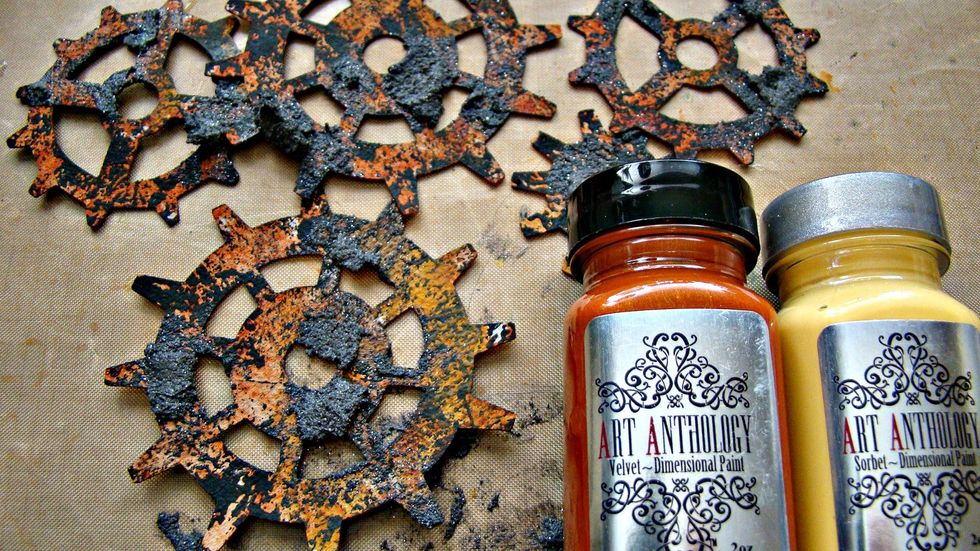
Using your paints add colors resembling rust.
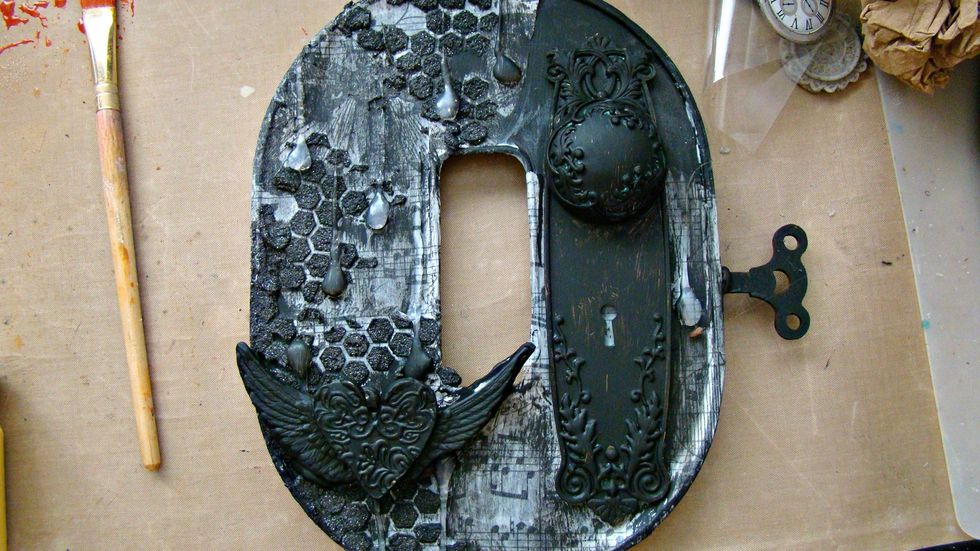
Start adding your metal pieces, the more the better. Give everything a nice coat of black gesso after adhered.
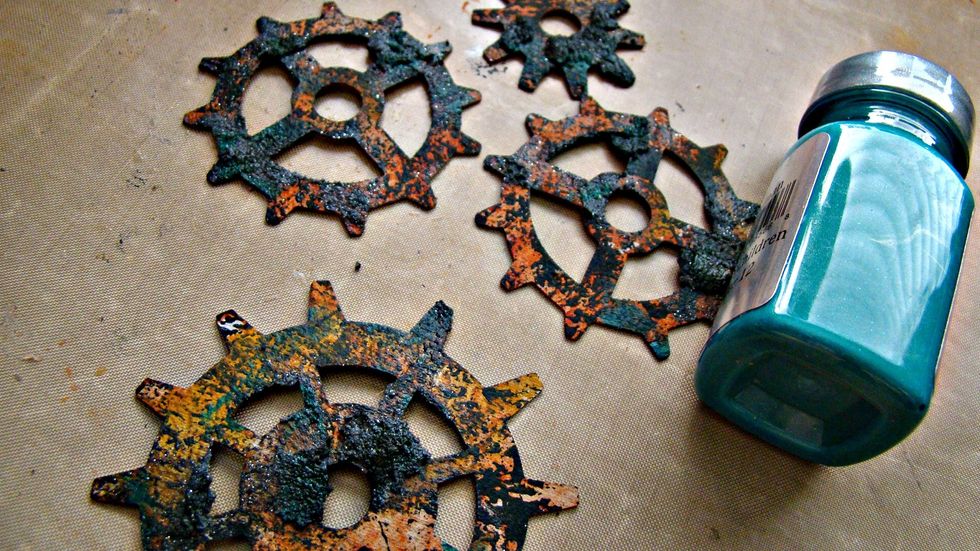
Let's add some patina to your cogs.
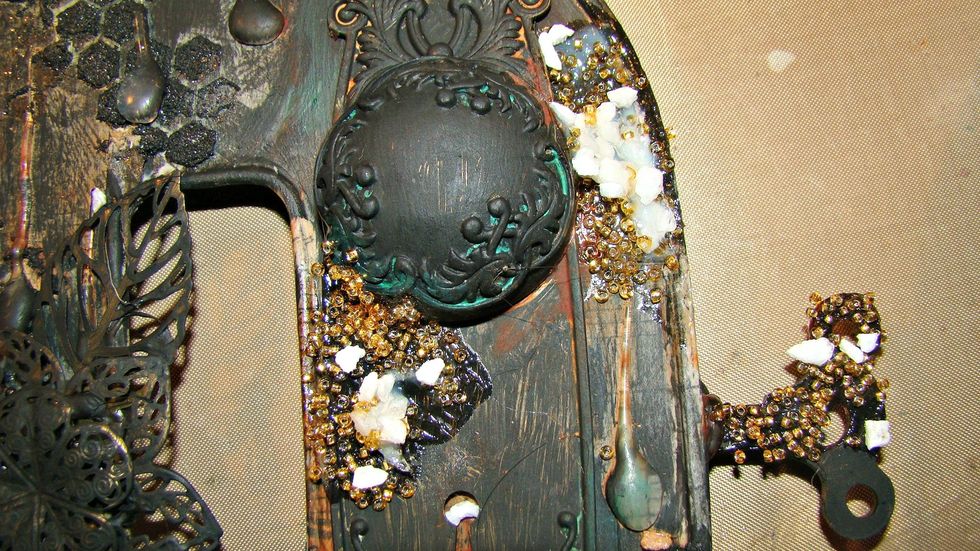
We need more texture so add seed beads in different sizes as well a some of your floral rocks here and there. Once dry give a coat of black gesso. Comment
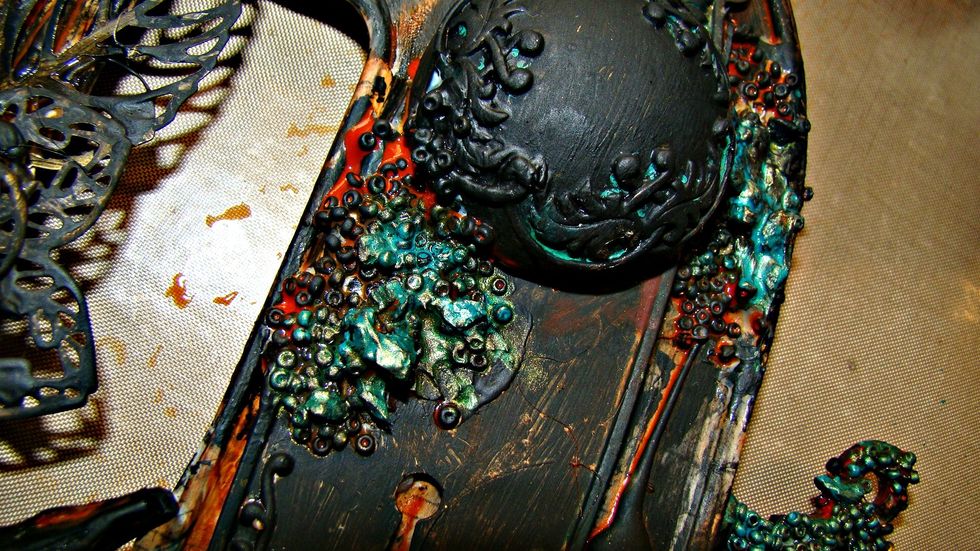
Using your Terracotta, Kenyan Copper and Wayman drip the paints on and spray with water so it gives effect of rust over your piece.
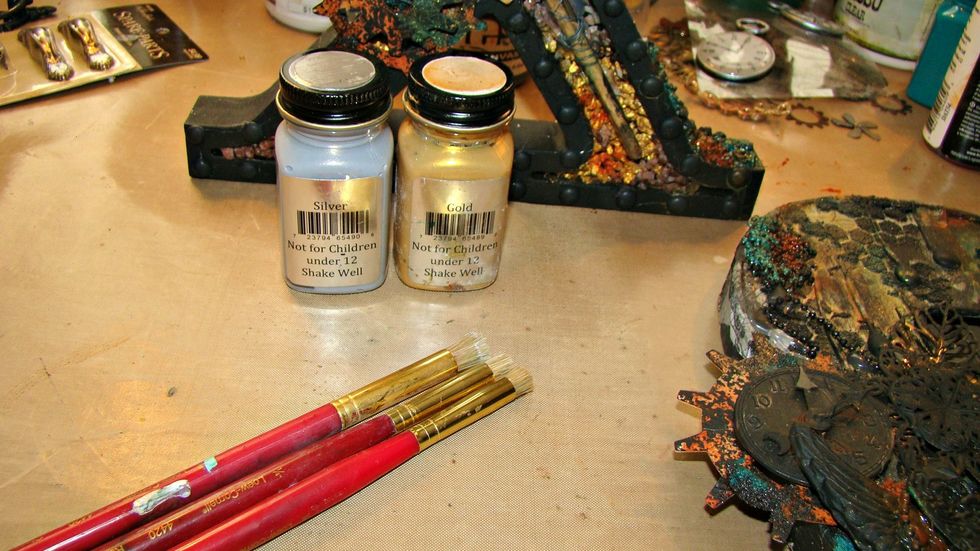
Use your metallic paints and your stencil brushes need to be dry, run these over the highlights of your pieces.
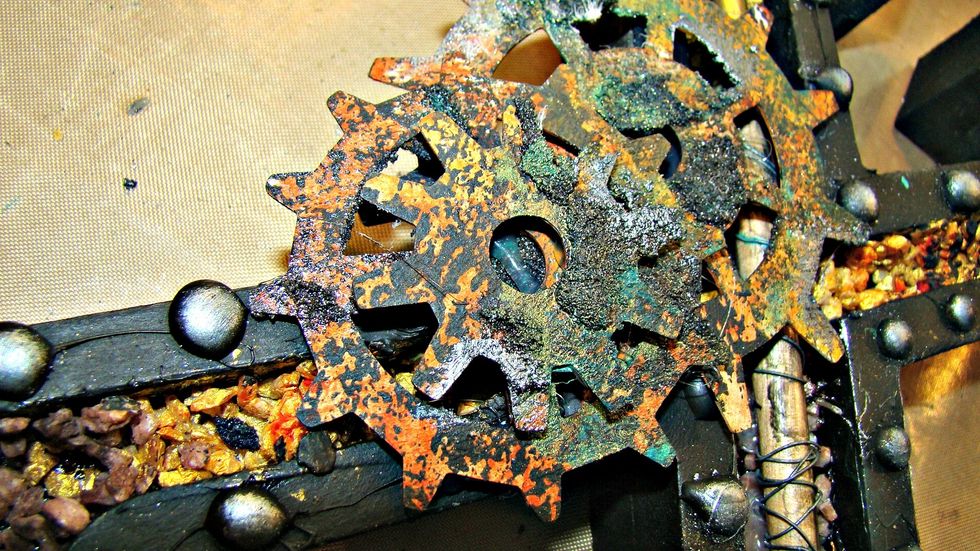
Add some silver to the cogs for a metal effect.
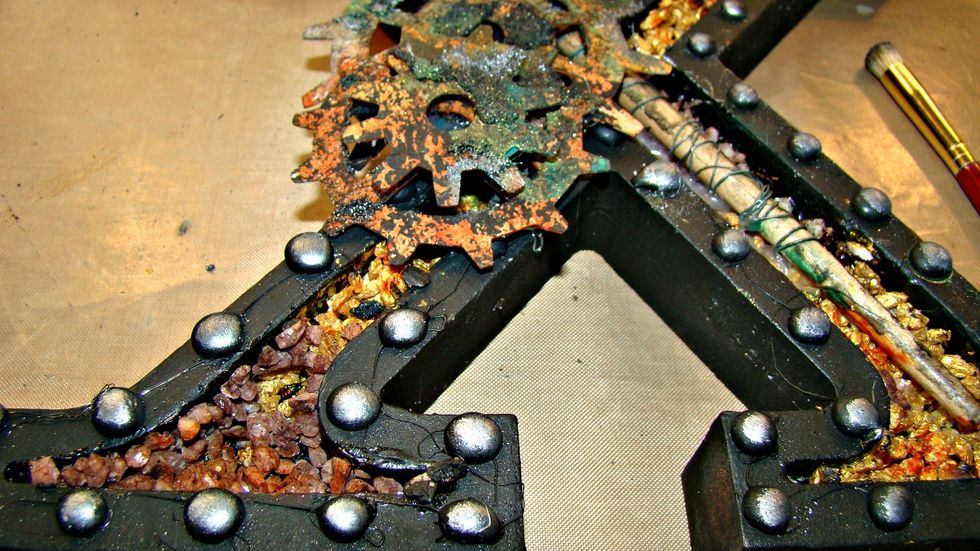
Using the silver mixed with a bit of black to tone down, dry brush the tops of glue dots to provide the look of rivets.
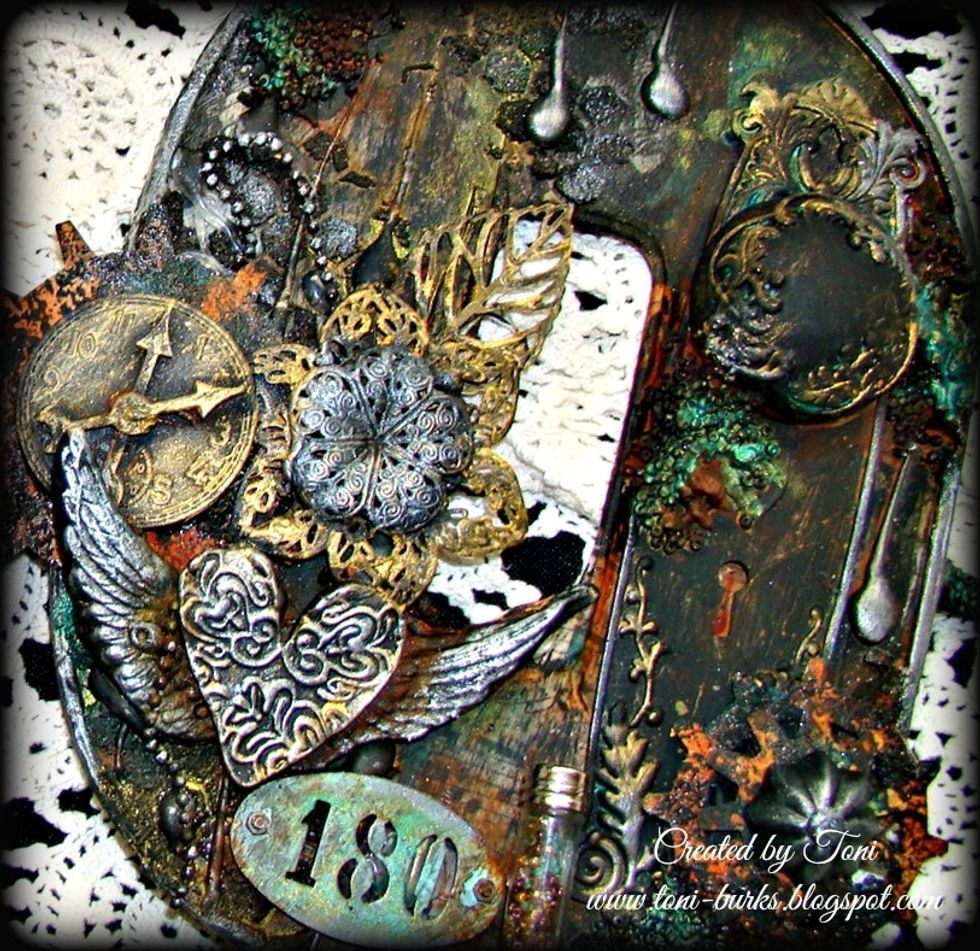
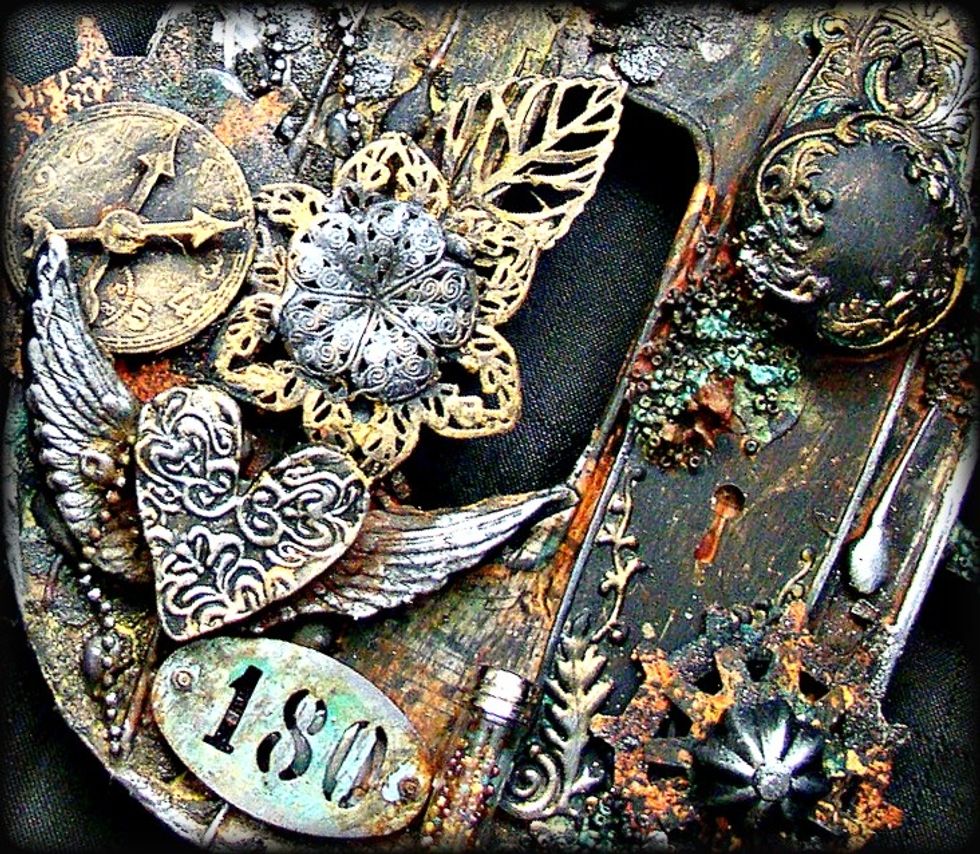
Here are some of the pieces with silver and gold ran over the tops.

Here is a close up of the pretty patina'd effect.
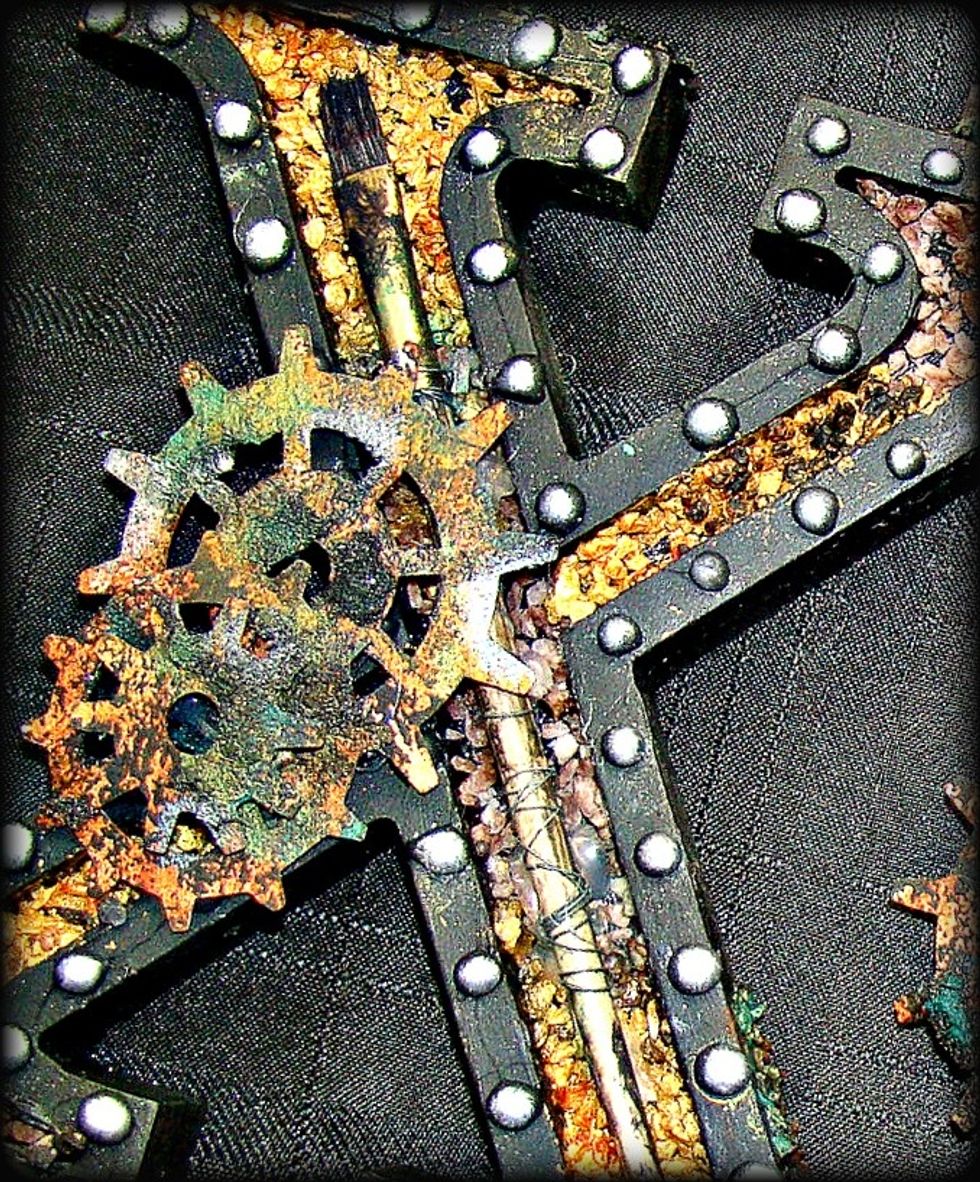
I added an old paint brush wrapped in wire to the inside of the letters.

Here is a closeup of the floral rocks and gears.
I hope you have enjoyed my tutorial and for more inspiration please follow me @ https://www.facebook.com/toni.burksgrijalva https://www.pinterest.com/tonilburks/ and http://toni-burks.blogspot.com/
- Wooden Letters to alter
- Black Gesso
- Glue Gun
- Adhesive
- Assorted Embellies, chipboard, clay items etc.
- Tim Holtz Paper Tissue
- 3D Matt Gel
- Seed Beads
- Die Cut Cogs and Gears
- Floral Rocks
- *Colorations-French Toast, Warm
- *Metal Effects- Gold and Silver
- *Sorbet-Cayman, Black Leather Jacket, Cayman
- *Velvet - Terracotta
- *Sorbet - Sunshine
- *Mud Texture Paste
- *Stencil of Choice
Toni Burks-Grijalva
♥ getting messy with my inks & paints. I hope I can provide some fun tutorials for your creative journey. Visit my blog @http://www.toni-burks.blogspot.com/
Rancho Cucamonga, California
The Conversation (0)
Sign Up