The Conversation (0)
Sign Up
With websites playing such a big part in our lives today. It's surprising how many people really don't understand how they work. We use them everyday on our computers or smartphones. Even right now.
My goal isn't to teach you how to be a website designer with this guide. Although it could be a starting point for anyone who's interested. But I'm only going to cover the very, very basics here.

I hope by the end of this guide you'll be able to look at a website like this and have a very basic idea of how the website works and how what you're seeing was put on that Webpage with codes.
I'm also going to try to avoid using any of the technical terms which I think would only confuse a complete novice. So I'll just try to explain it as simply as I can. I had to learn this stuff too. :)

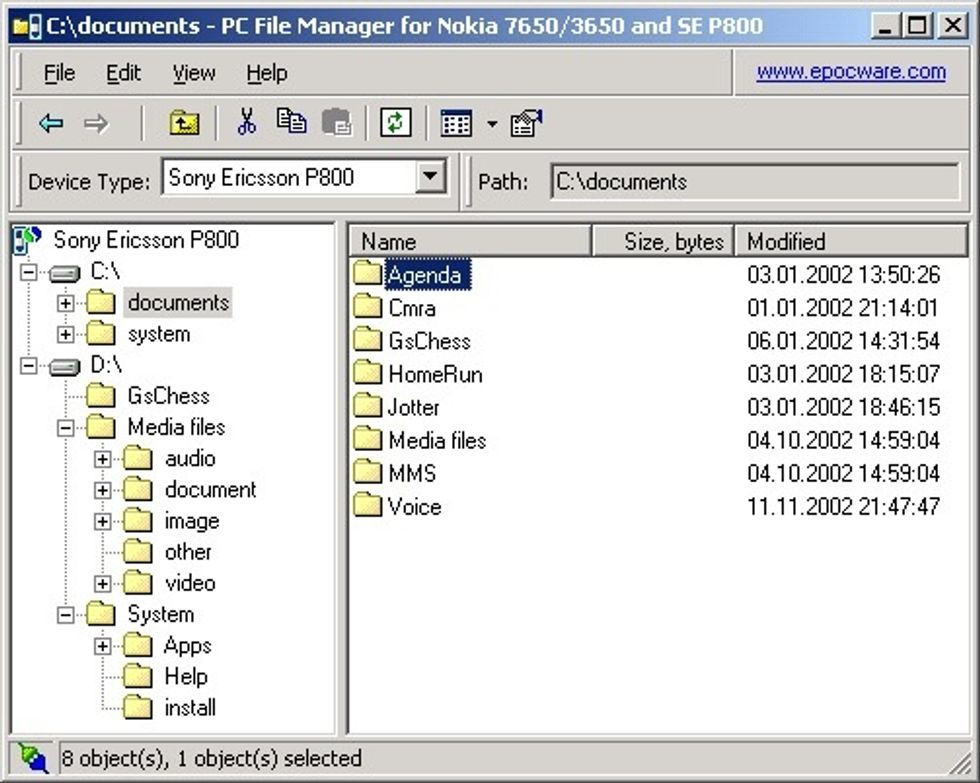
First let's look at what a Webpage is. A Webpage is actually a text file. If you download a Webpage then open it with a text editor such as notepad. It'll look something like this code.

But if you opened that same website file with a browser such as chrome, Firefox, Safari... It'll open as a website. The code tells the browser what to display. Now let's talk about how it works.
The first thing a webmaster has to do is buy some webspace. Think of webspace as a file manager just like on your computer. But it's on a companies computer kinda like being in the cloud.

A better way to explain buying webspace is using a service such as Dropbox. You load your files for your website to it. So the files you load to your server can be viewed on line.
So to recap. You make a text file. You upload it to your web server you've paid for. Then you can view the files you load to your server with a web browser. Now let's get into the actual coding.
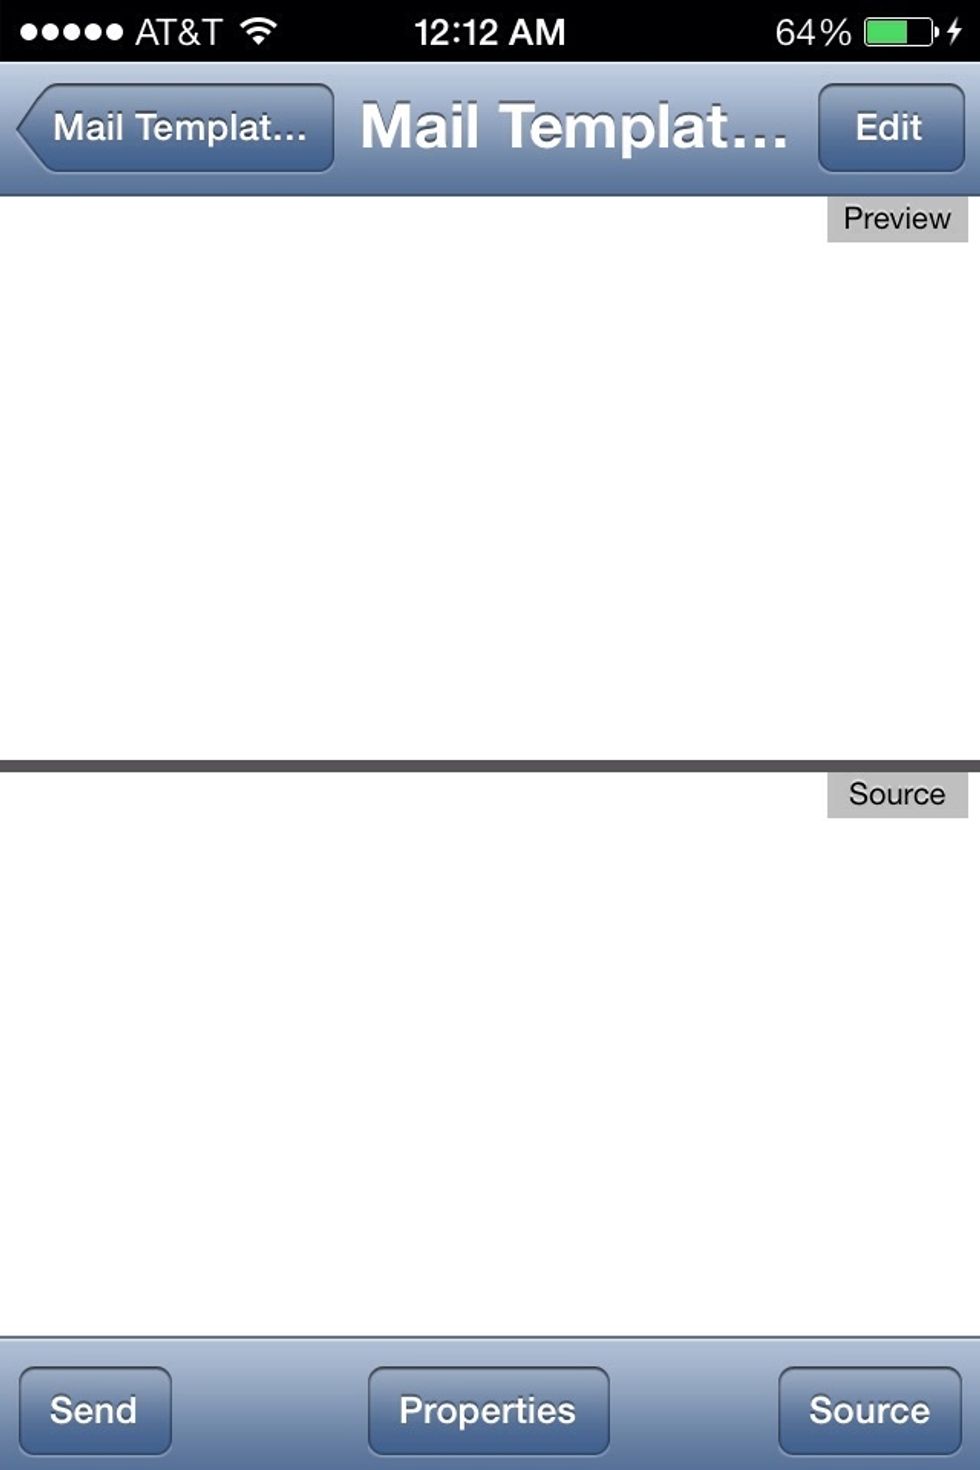
For clarity I'll be using an app to make this guide. The top half (Preview) represents how the page will look on a web browser. The bottom half (Source) is where you'll see the code.

Websites are made of opening and closing tags. The difference between them is the slash in the closing tag. The tags effect what's between them. This tag means a website is between them.
In other words if you open the file with a browser such as Chrome with this code in it. The code tells the browser that between these opening and closing tags is the content of a Webpage.
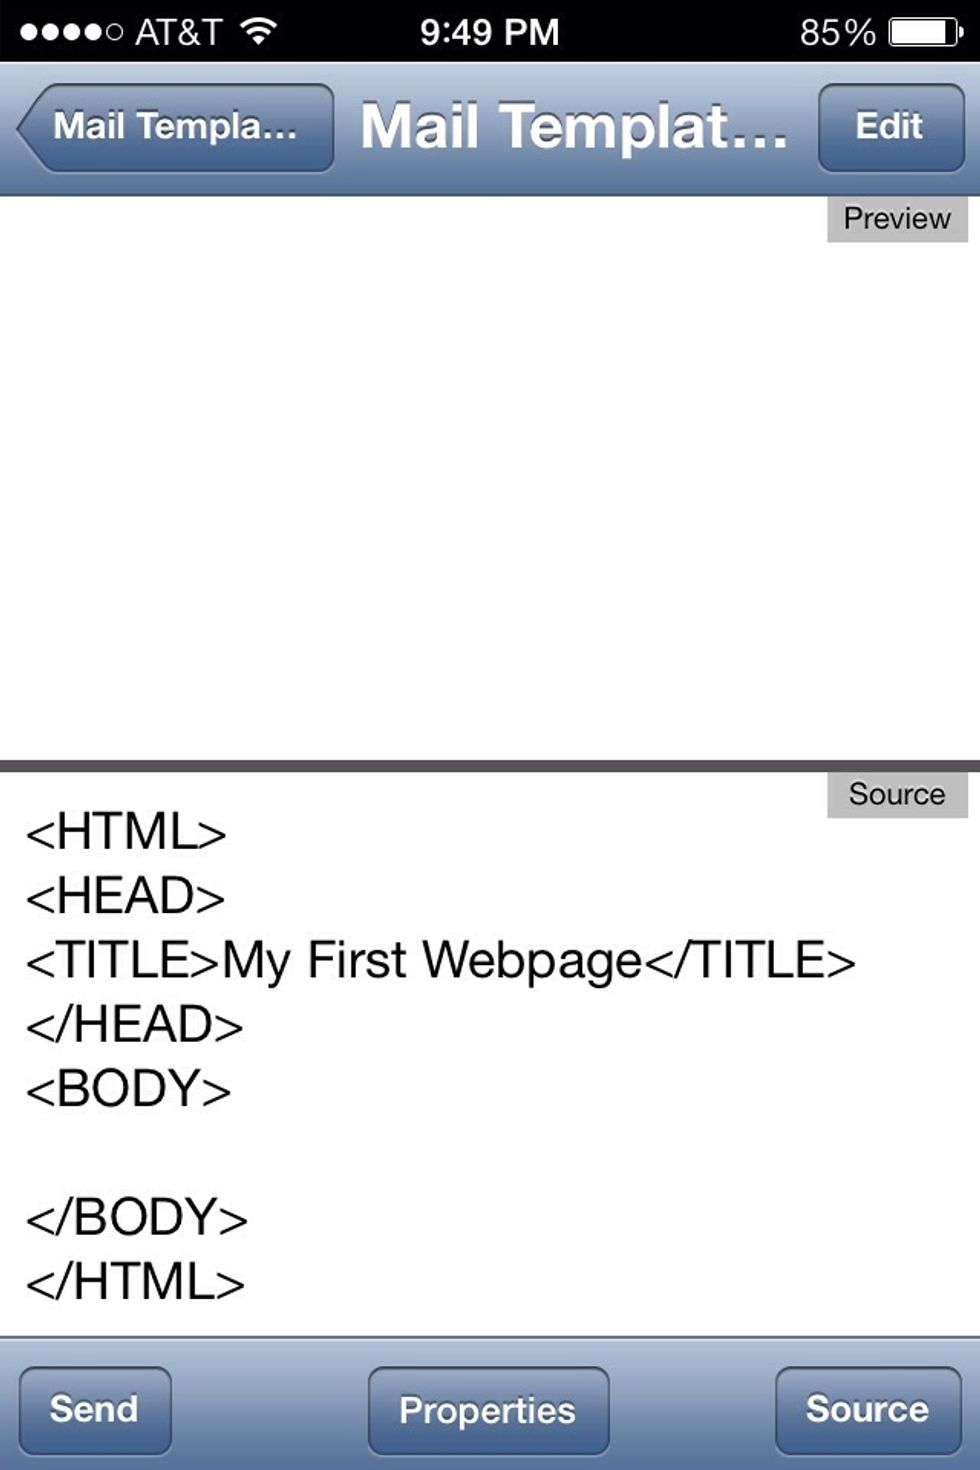
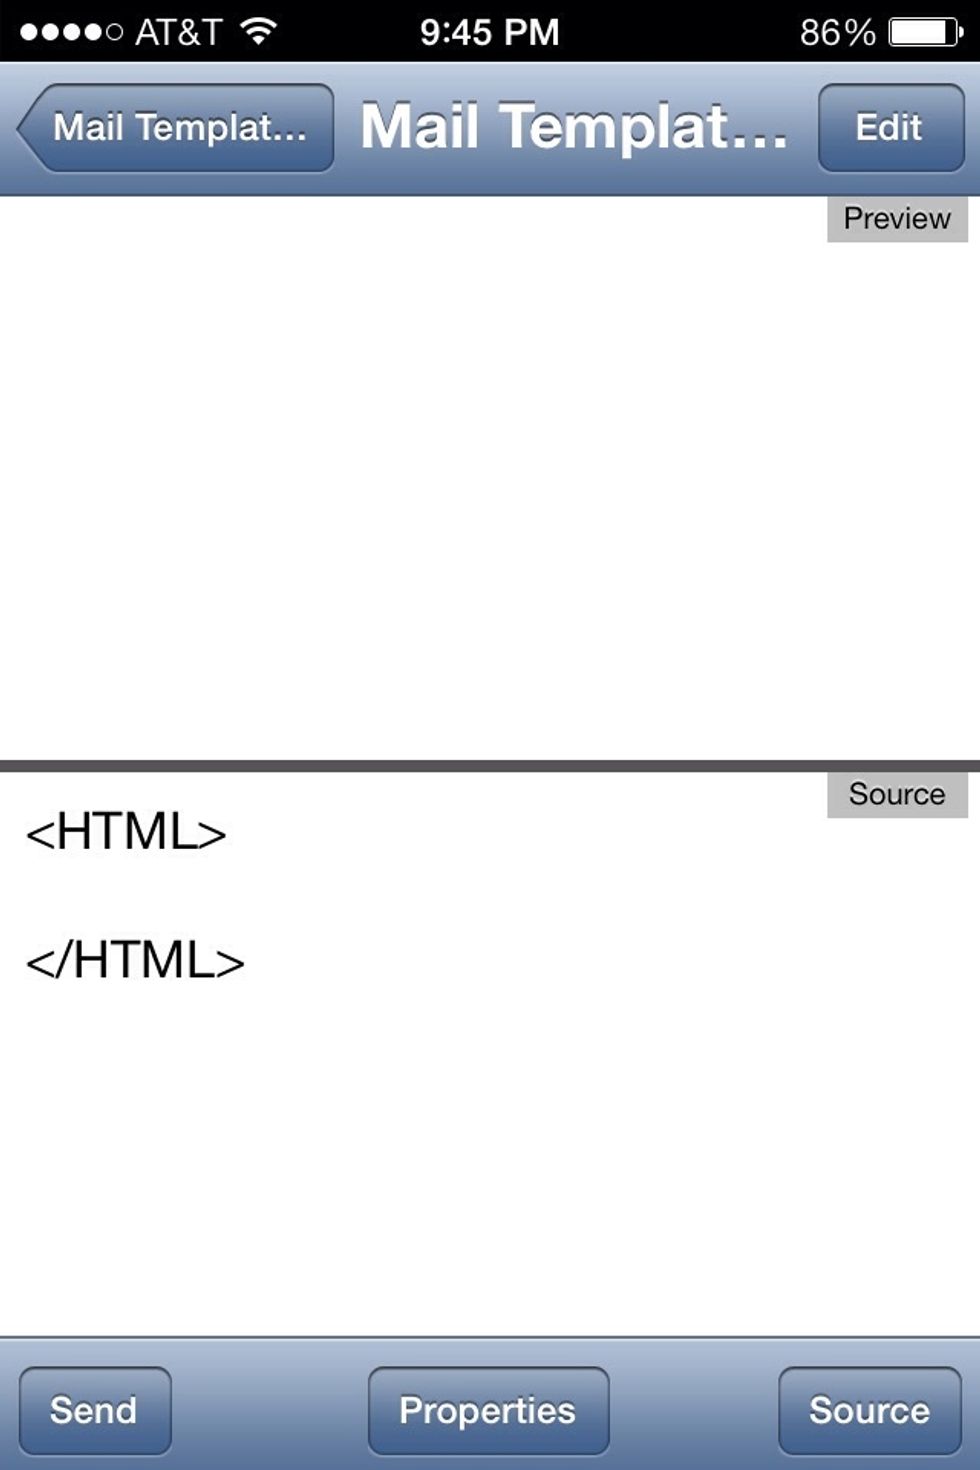
Here I've added some more code. Don't worry. This will all make sense in a moment. I've added an opening and closing HEAD tag. This creates the "head" section of the website.

Inside the HEAD section I added an opening and closing TITLE tag. What goes inside the title tag is what you'd read in the tab of your browser. Notice nothing has shown up above in the browser yet.

All that displays on the actual website when opened in a browser is what you put in between the opening and closing BODY tags. Notice the text I added now shows above in the browser.
To recap. The entire code is inside an HTML tag. Within the HTML tag is the HEAD section and the BODY section of the code. Only what's inside the BODY tag is seen when opened in a browser.
Are you still with me? If not feel free to ask in a comment. But from here on out we'll only focus on what goes between the BODY tags. Which is what actually shows up on the website in a browser.

So you've seen that if we put text in the BODY section it'll show up in the web browser. But now let's manipulate that text. To do that we use tags as we always do in HTML code.
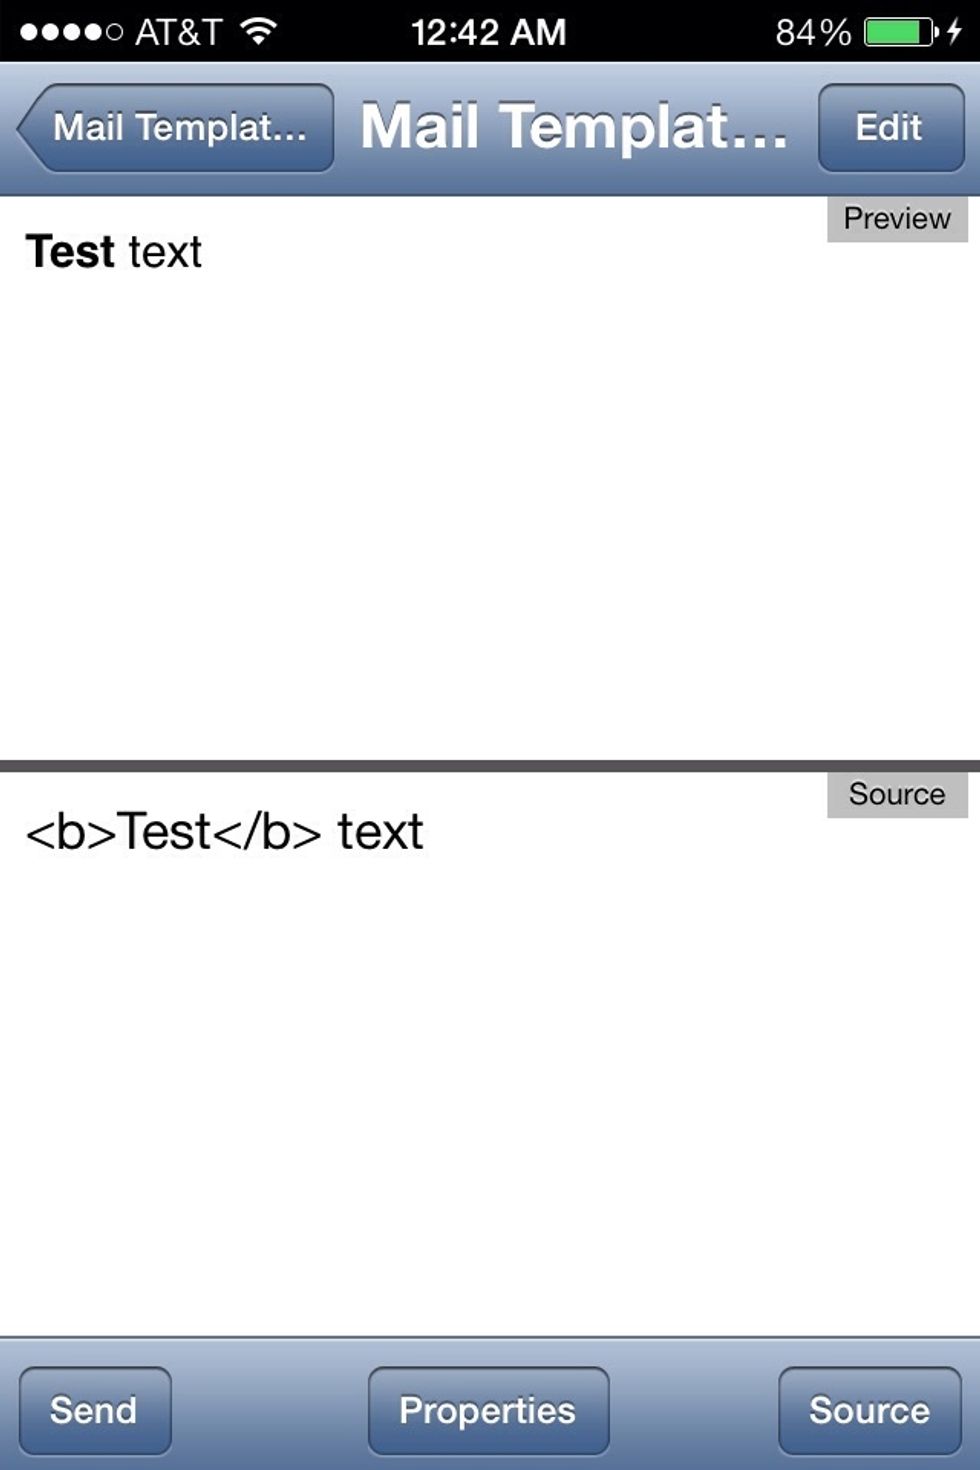
Here I've surrounded one of the words between the opening and closing B tag (B for Bold). Look above at the browser. Notice the word in the B tag is now bold.

Remember. All the text between the opening and closing tags are affected. This time I put both words between the bold tag.
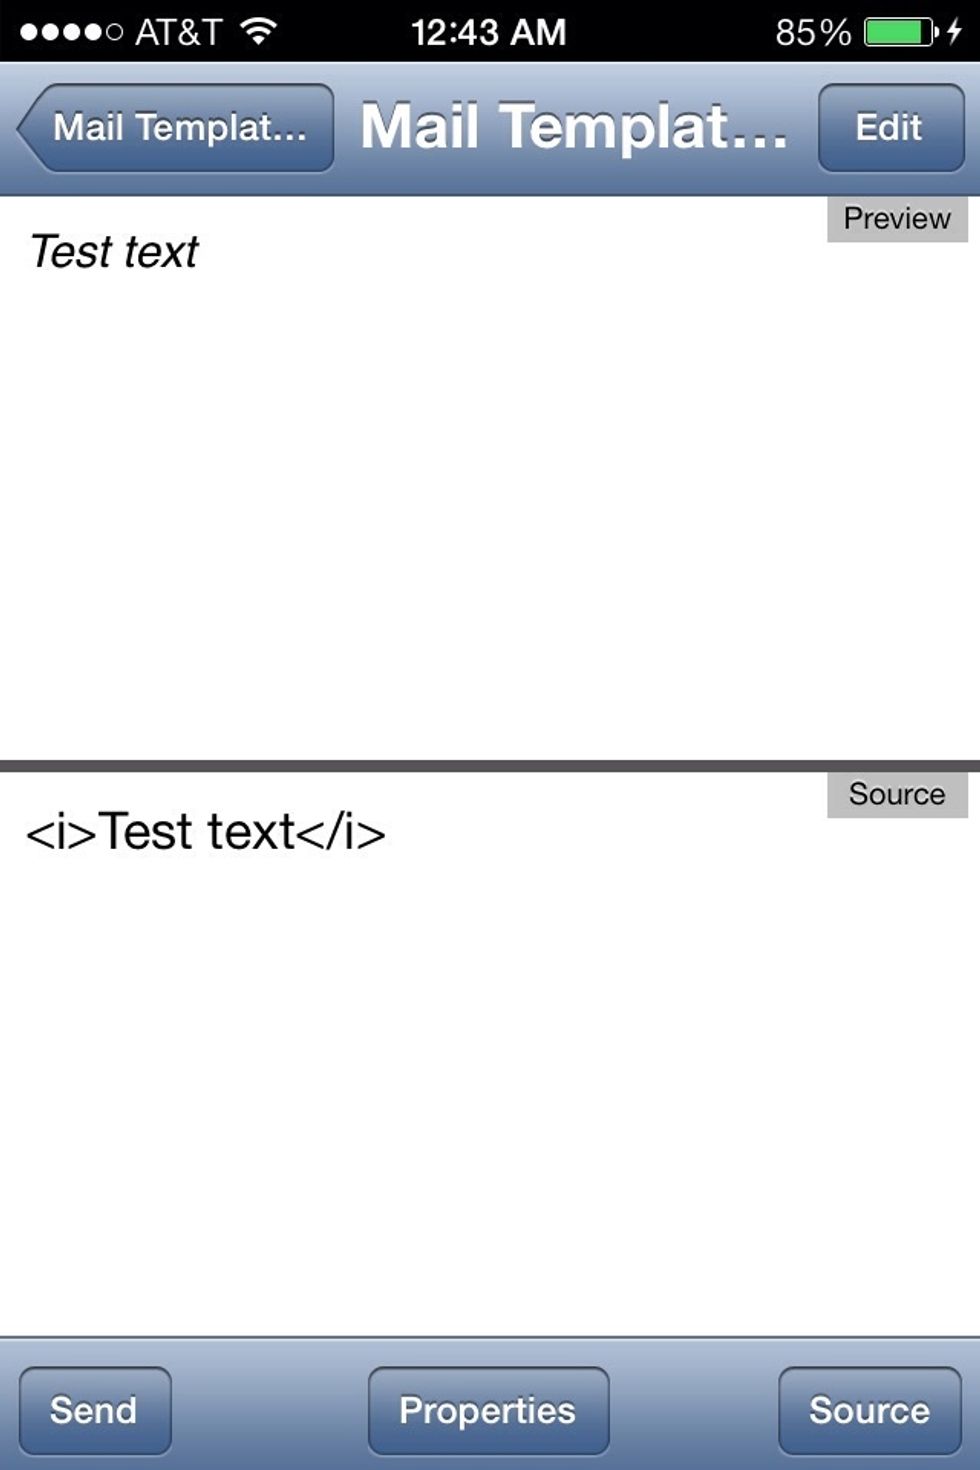
Use the (i) tag for italic.
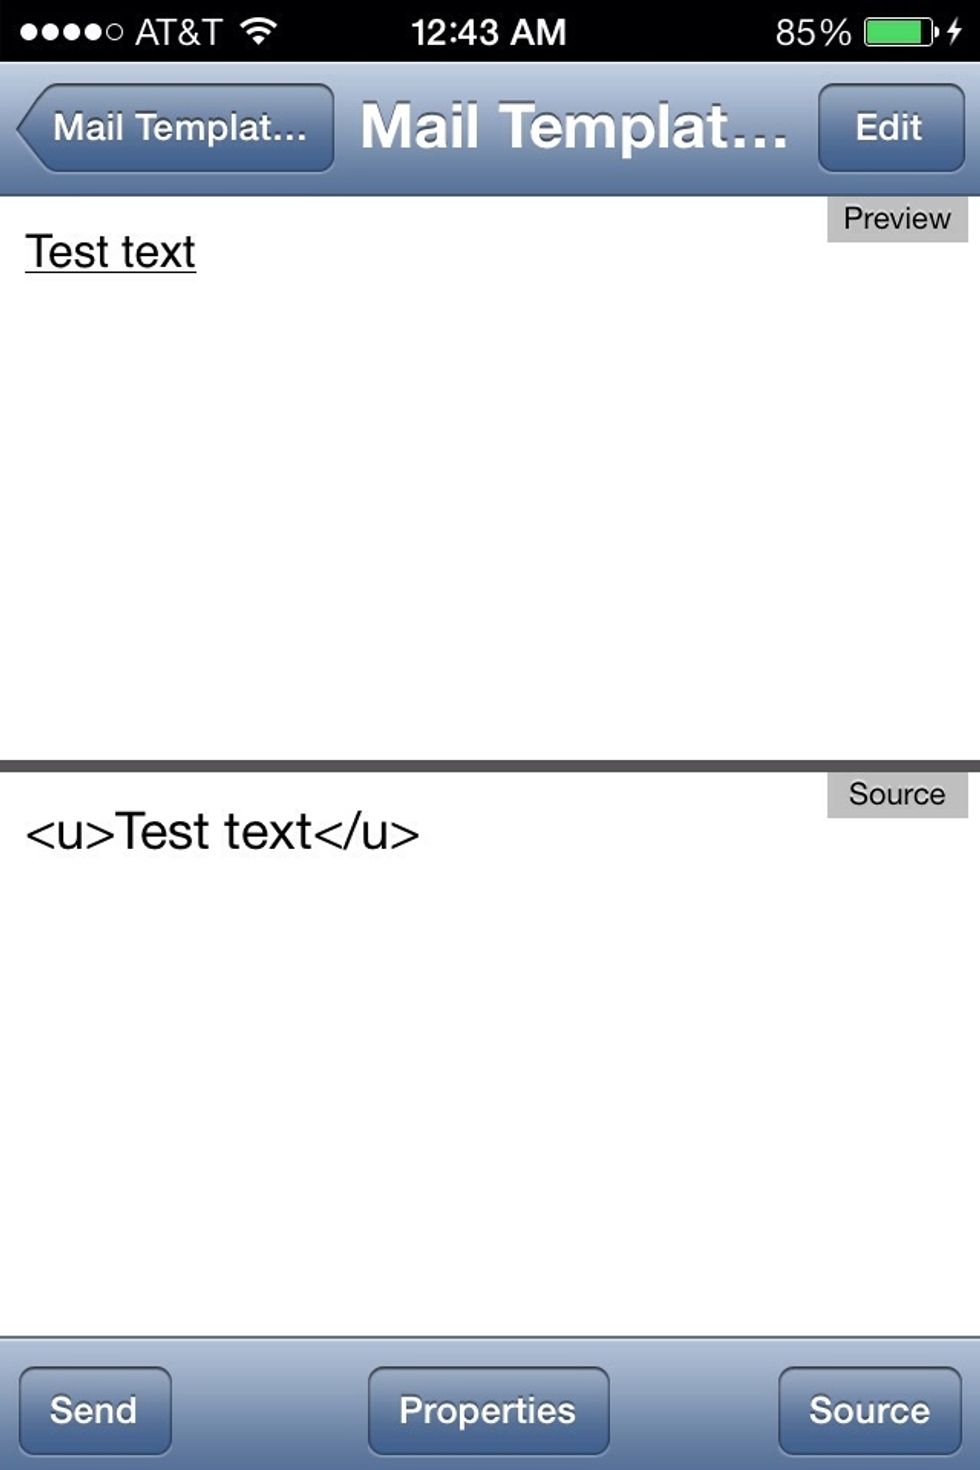
Or the (u) tag for underline. There are more text style tags but these are the basic and most commonly used ones.
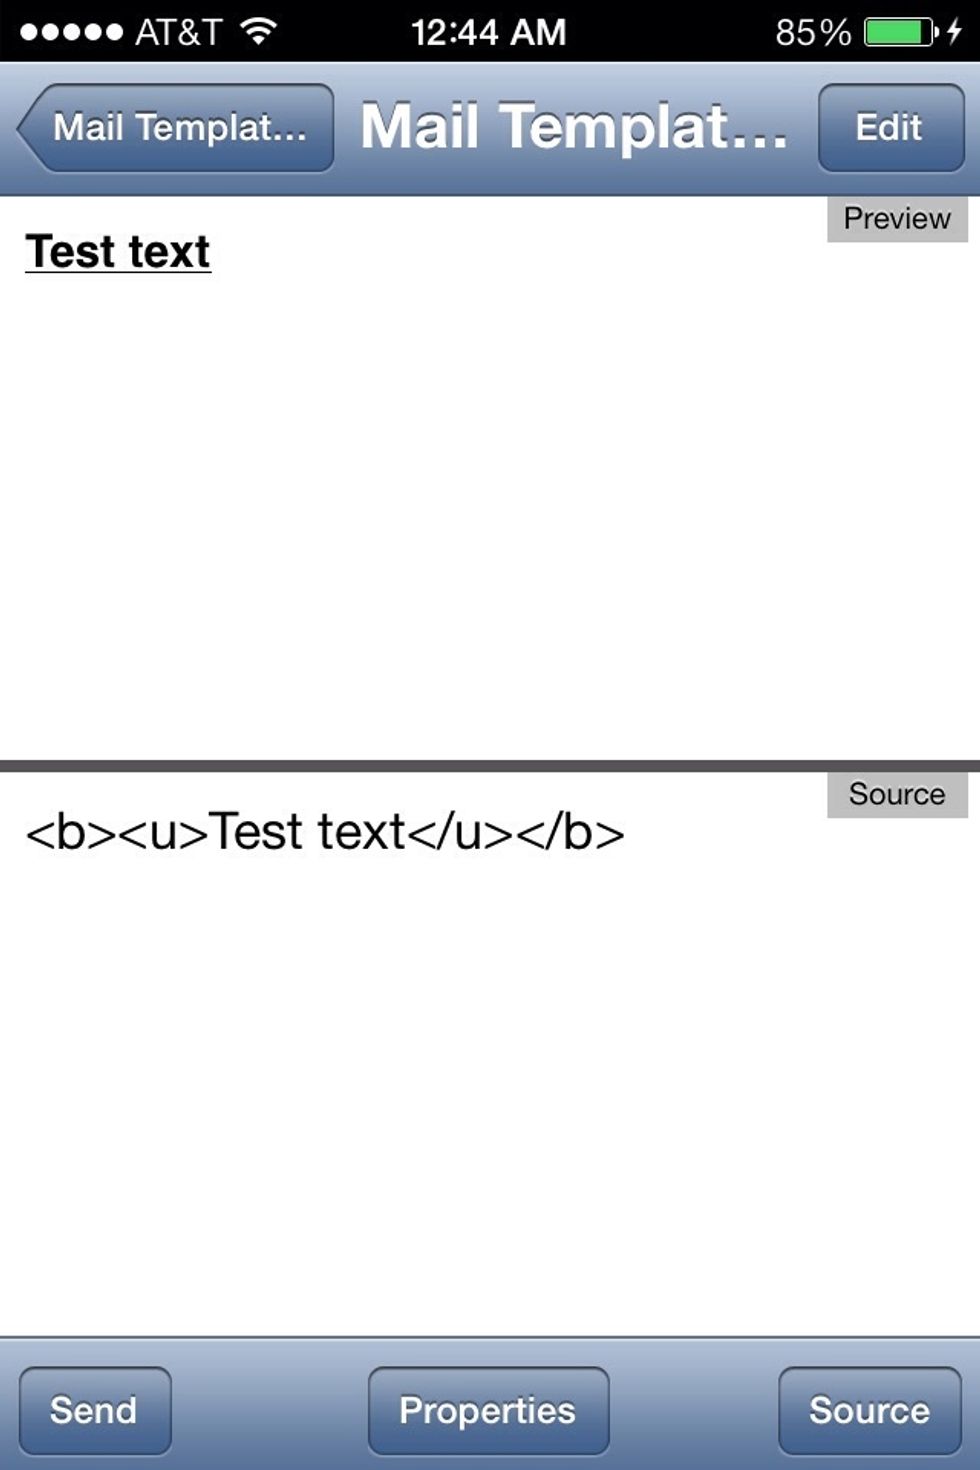
And you can use more than one. As long as they're both open and closed tags in the right order. Here the text is both bold and underlined.
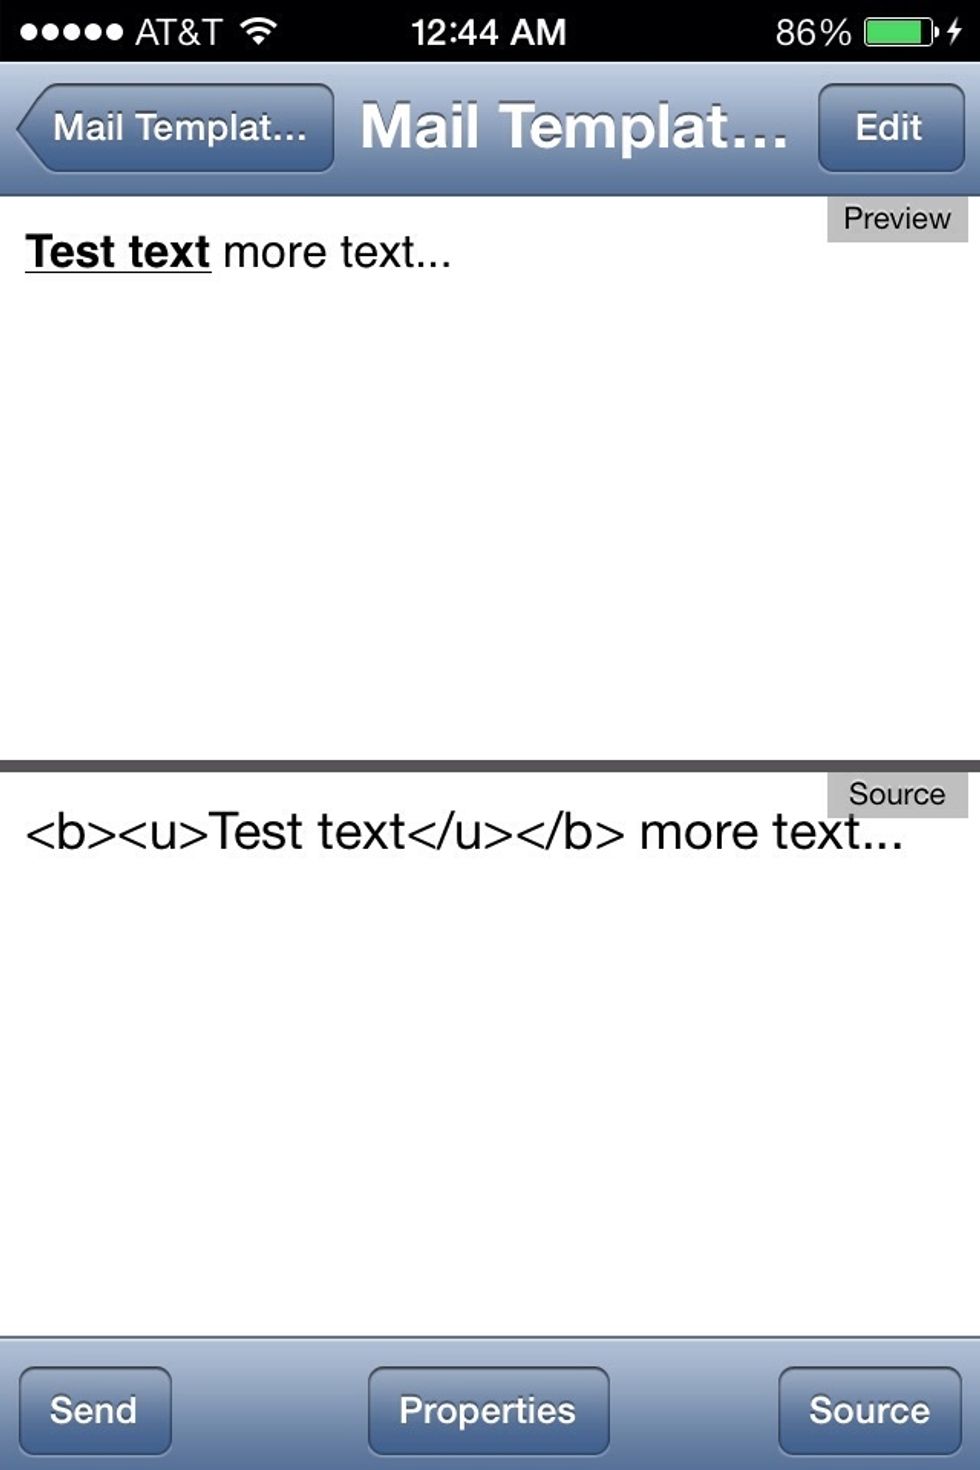
Text outside the tags aren't affected.
Some tags require you to add more information. When this is needed you add more information by inserting ="" into the opening tag. The extra info goes between the parentheses.
I hope I didn't loose you on that one. Keep reading. It'll make sense in a moment.

Next we're going to turn text into a link that'll take them to a website you assigned the link to when they click it. Here you see we have plain text.
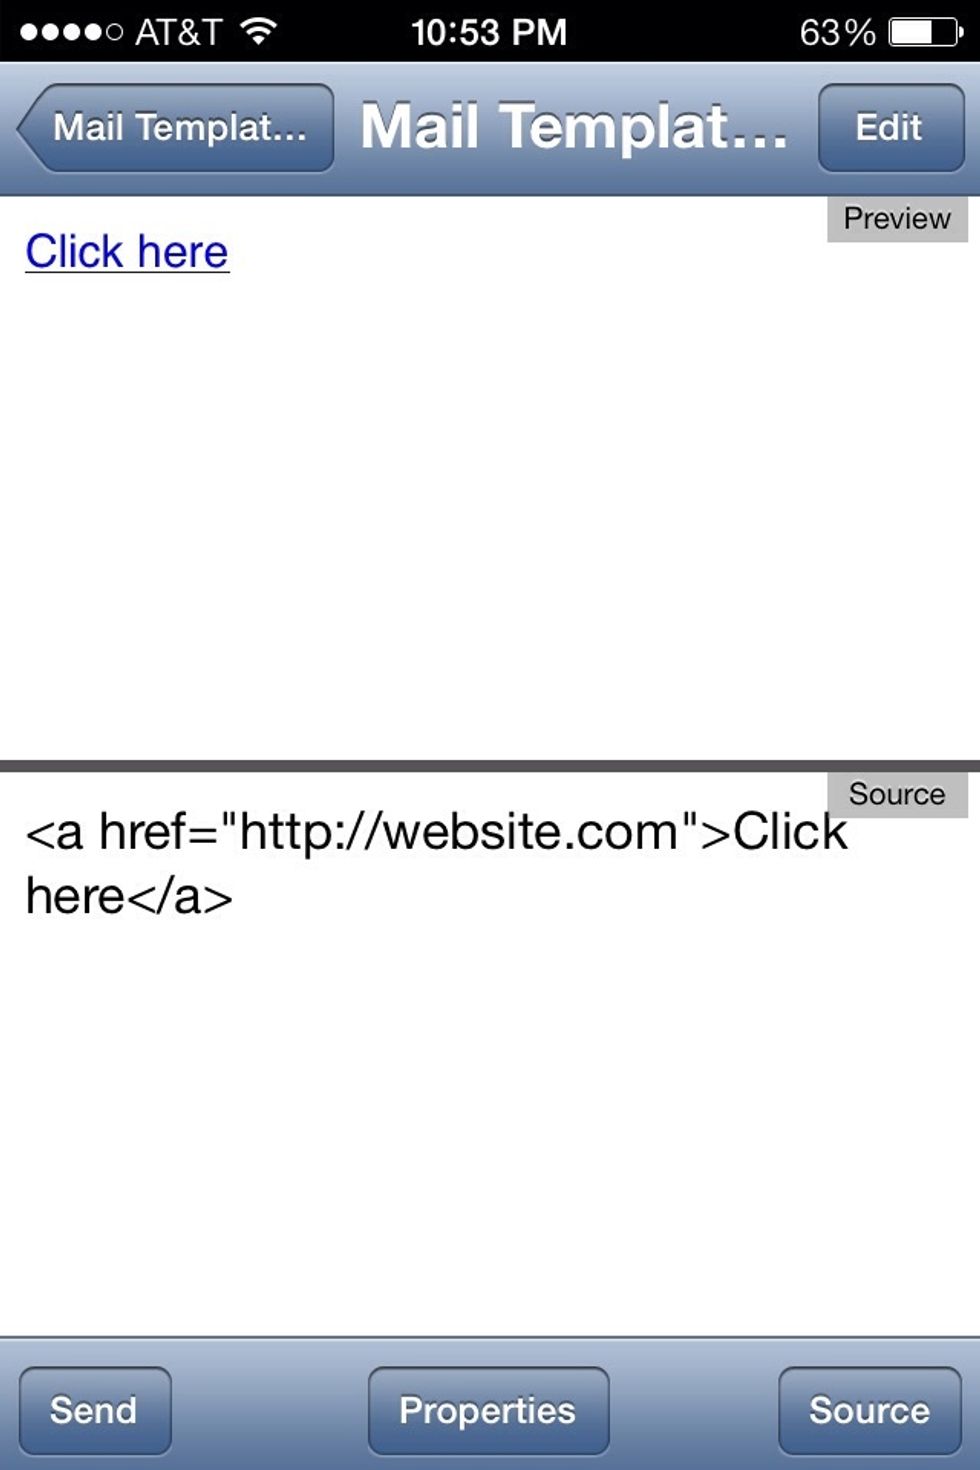
Here we've surrounded the text with a link tag. The tag for links is (A HREF). Notice it's fall owed by the ="" I mentioned. The address the link takes them to is inserted between the parentheses.
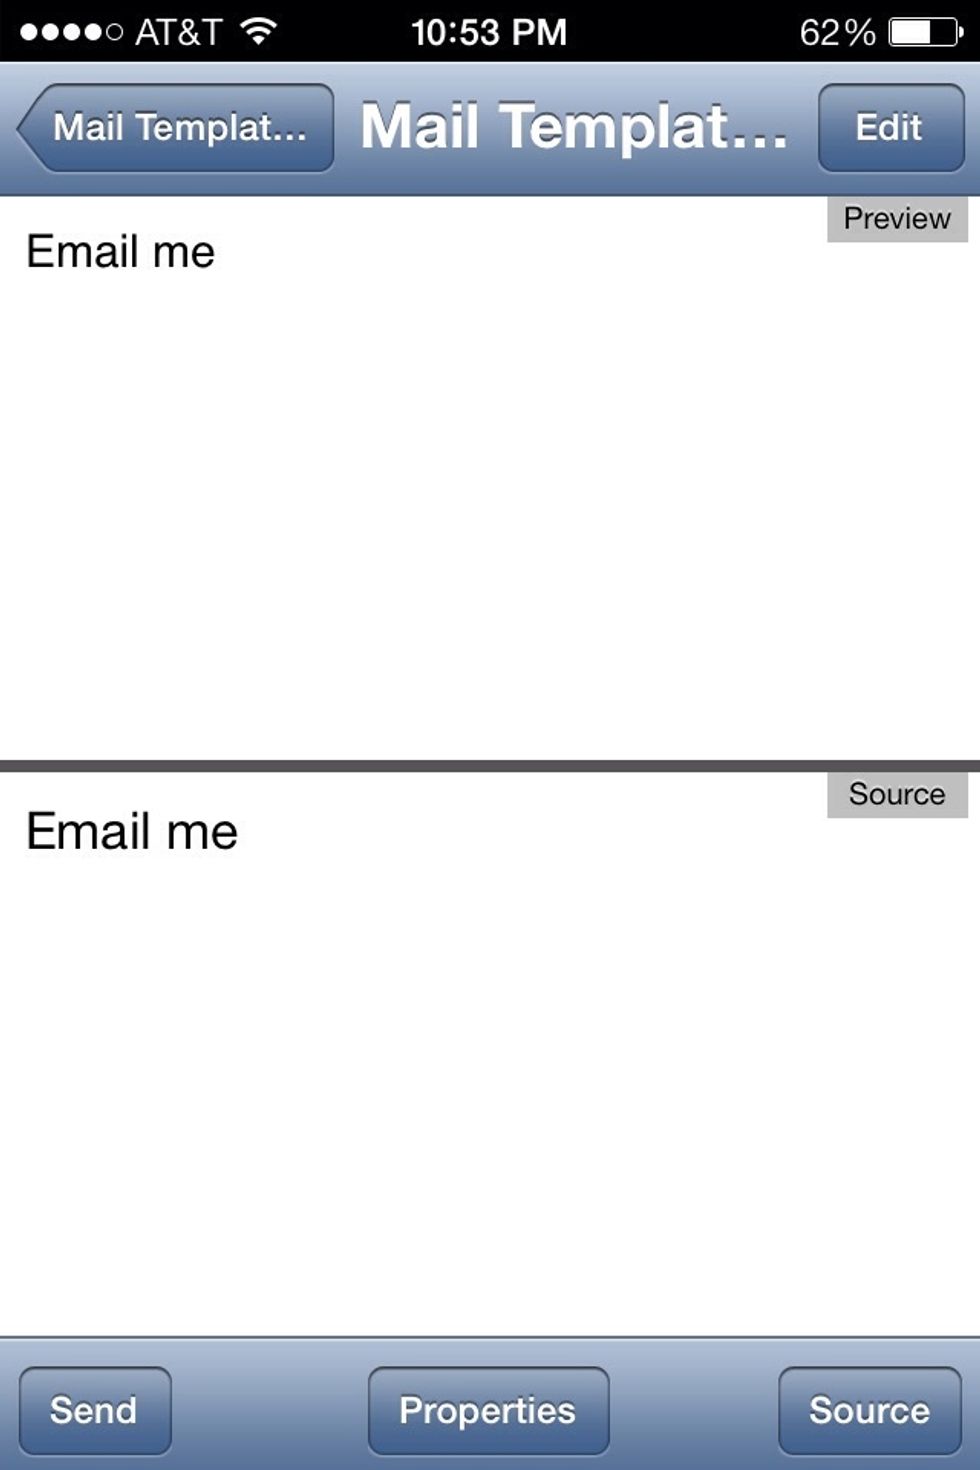
Next we'll turn text into an email link. When they click this link it'll open their email with your email address as it's send to address.

As you can see it's like a link tag. But the mailto: is added before the email address in between the parentheses.

Now let's change the color of the text by using the FONT tag. Examine the code and it should make sense by now. For the color I used a hex code but you can use basic color words such as ="red".
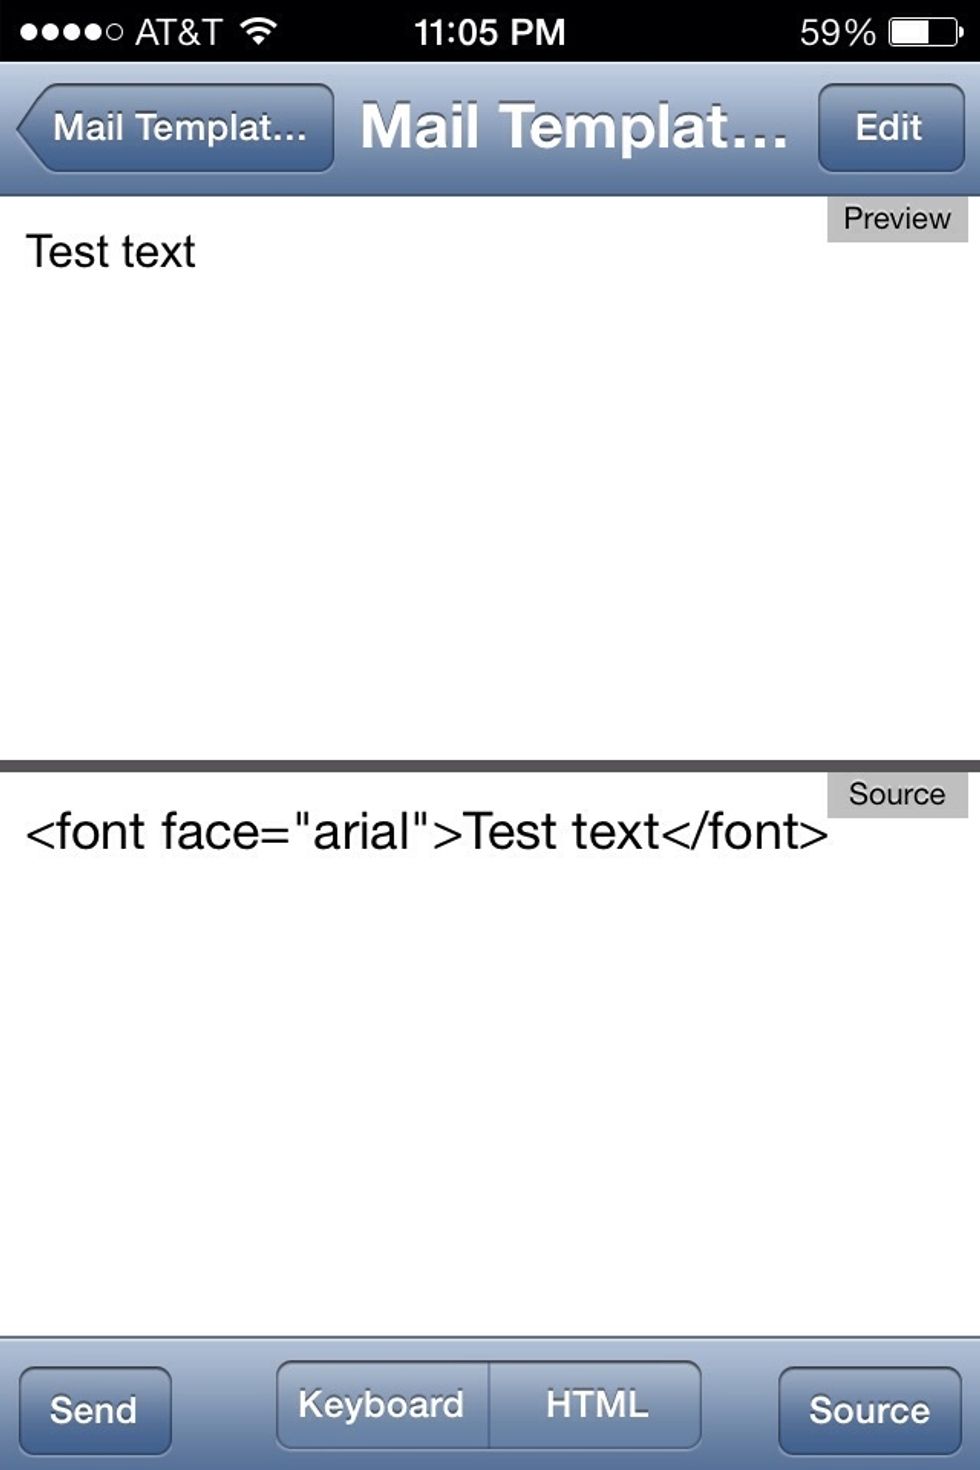
By adding a FACE command to the font tag you can change the font of the text. Here I change it to the arial font.
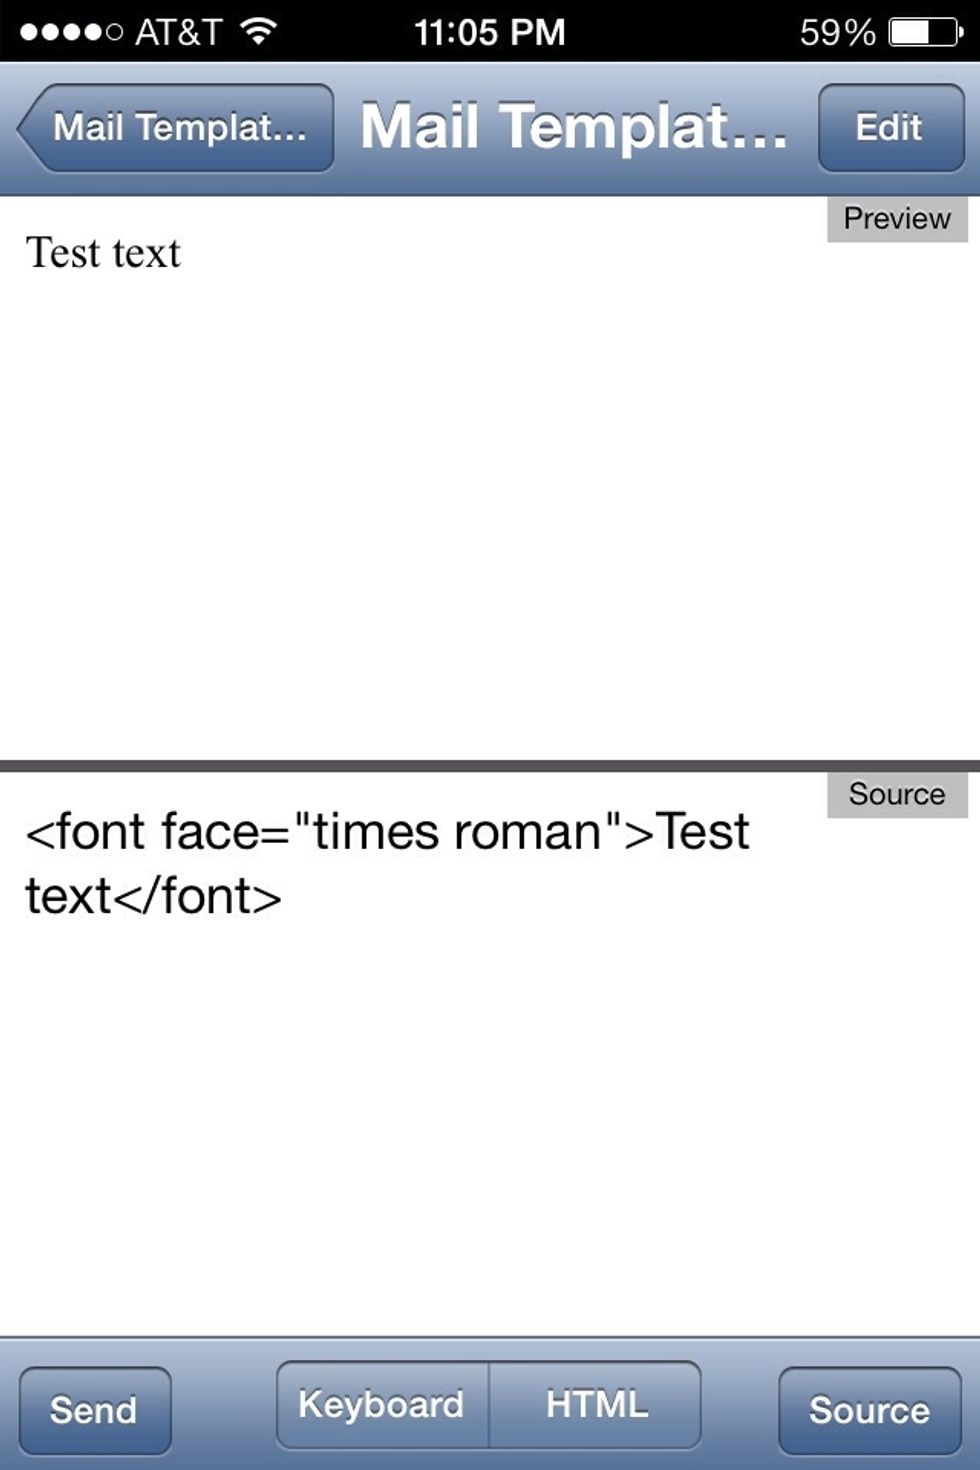
Here I changed the text to the times roman font.
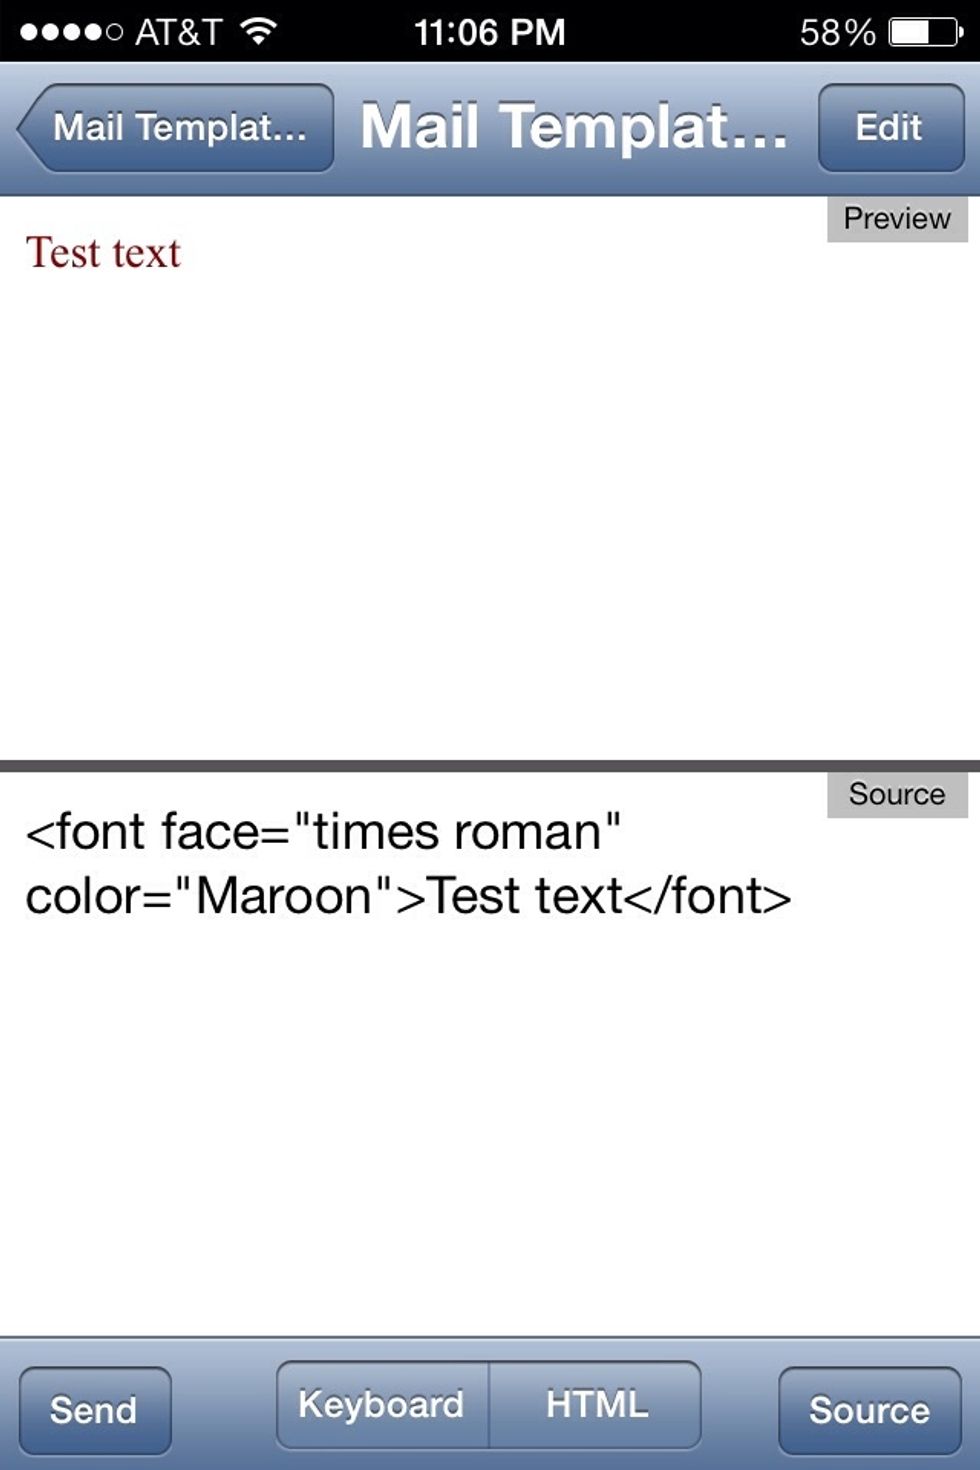
And you can use more than one command in a tag. Here I changed the font face to times roman and it's color to maroon. Examine the code. I hope it's starting to click by now. If not. Feel free to ask.
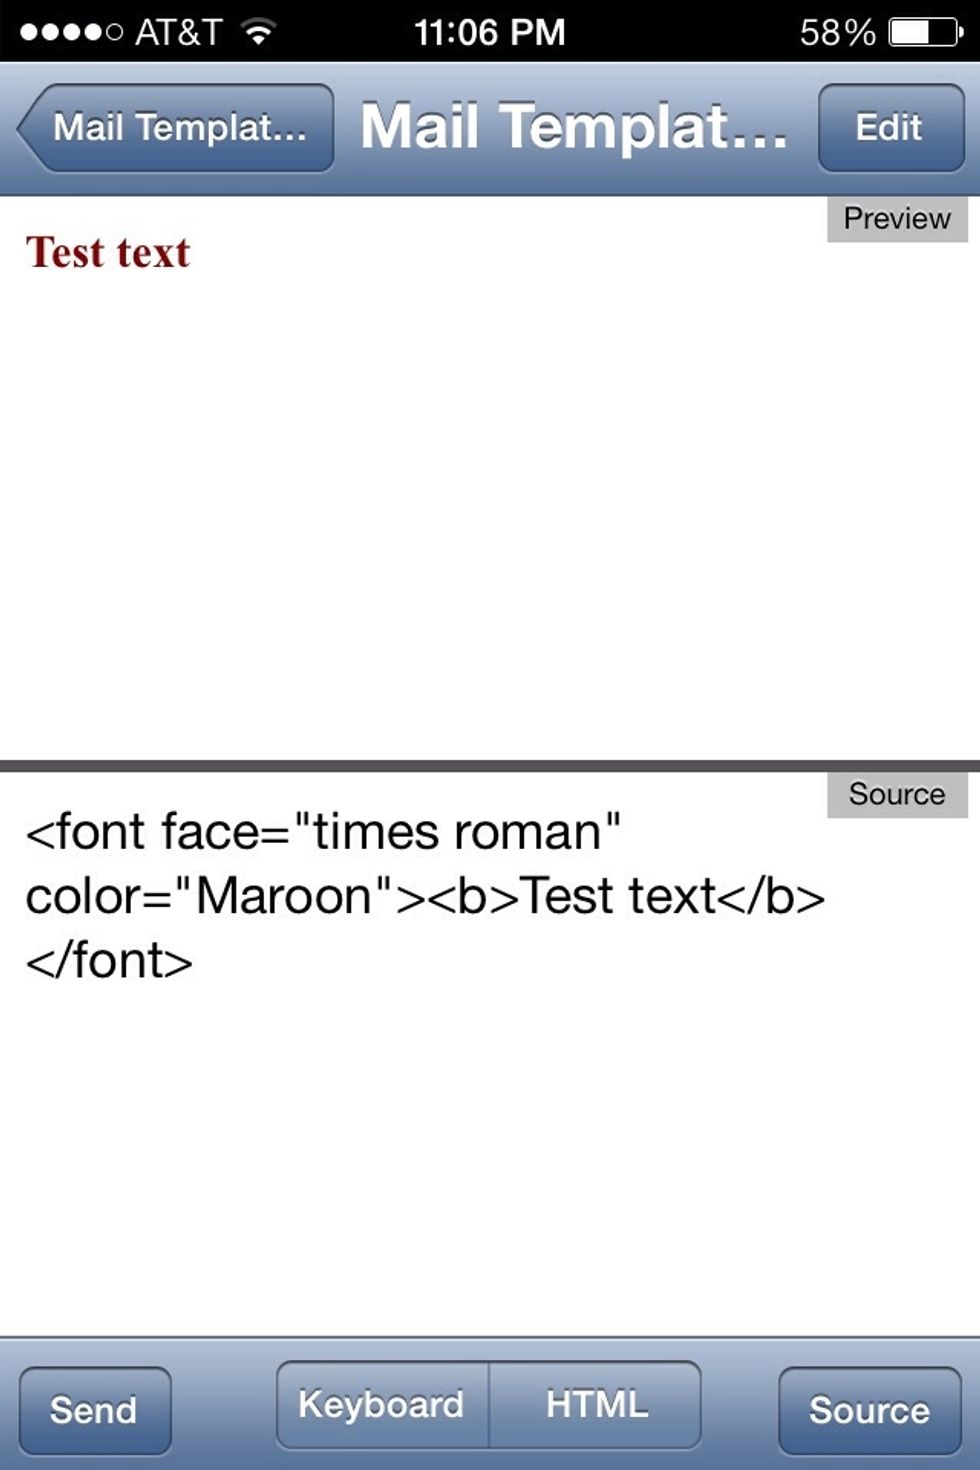
Let's put some of what we've covered together. Here I changed the fonts color and face. I also made the text bold with the bold tag.

I've added the underline tag to the previous example.
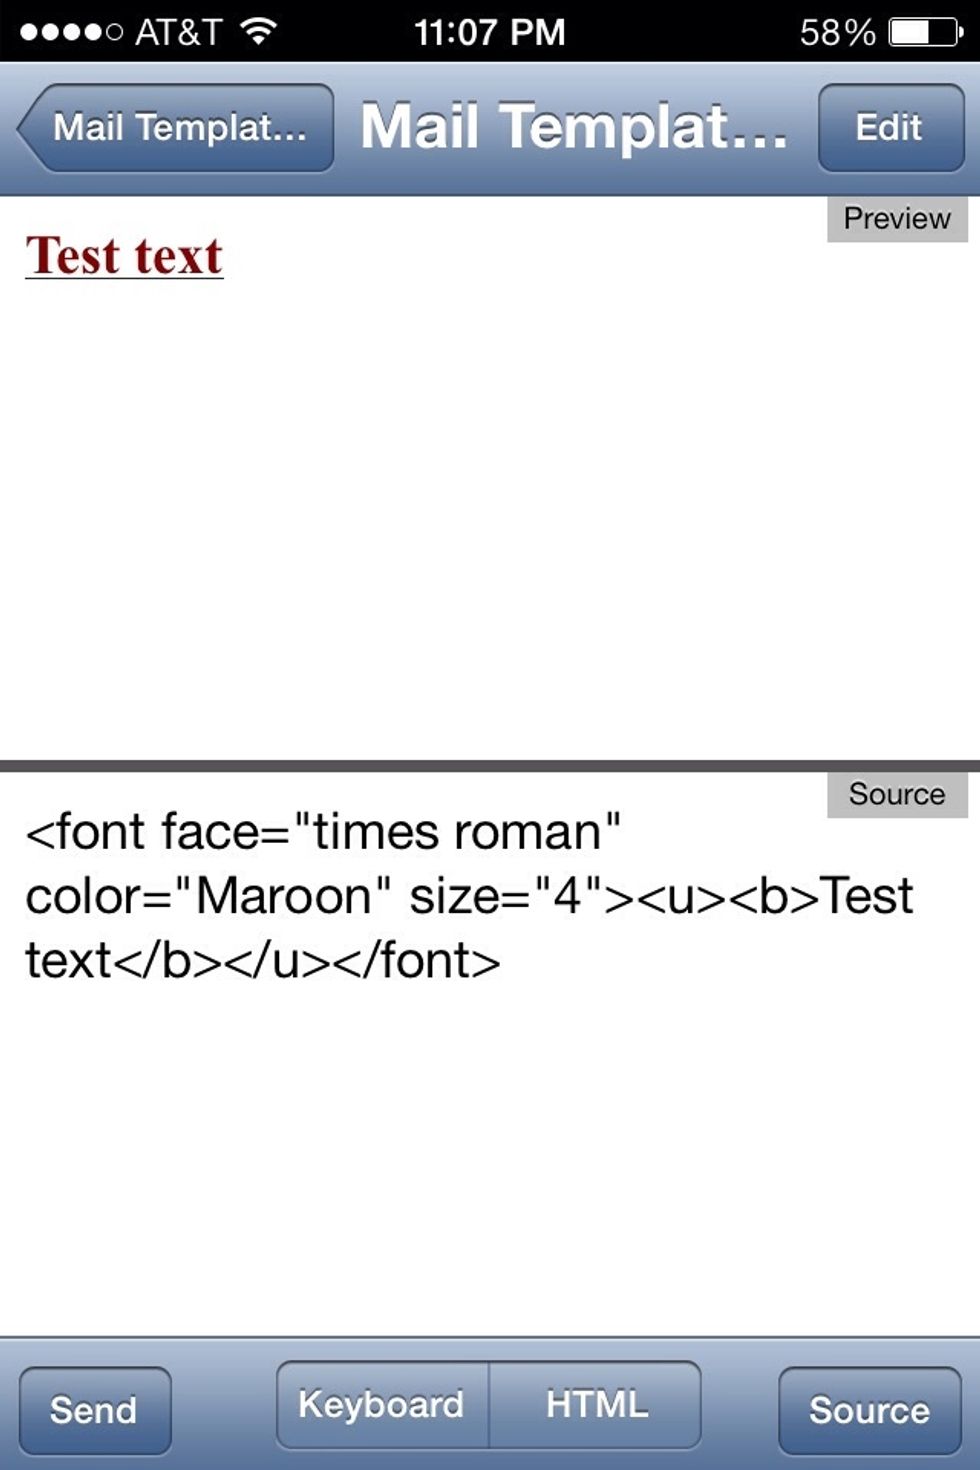
Here I added one more command. I added a SIZE command to the font tag. Remember. You insert the extra commands with ="". Here it's size 4.
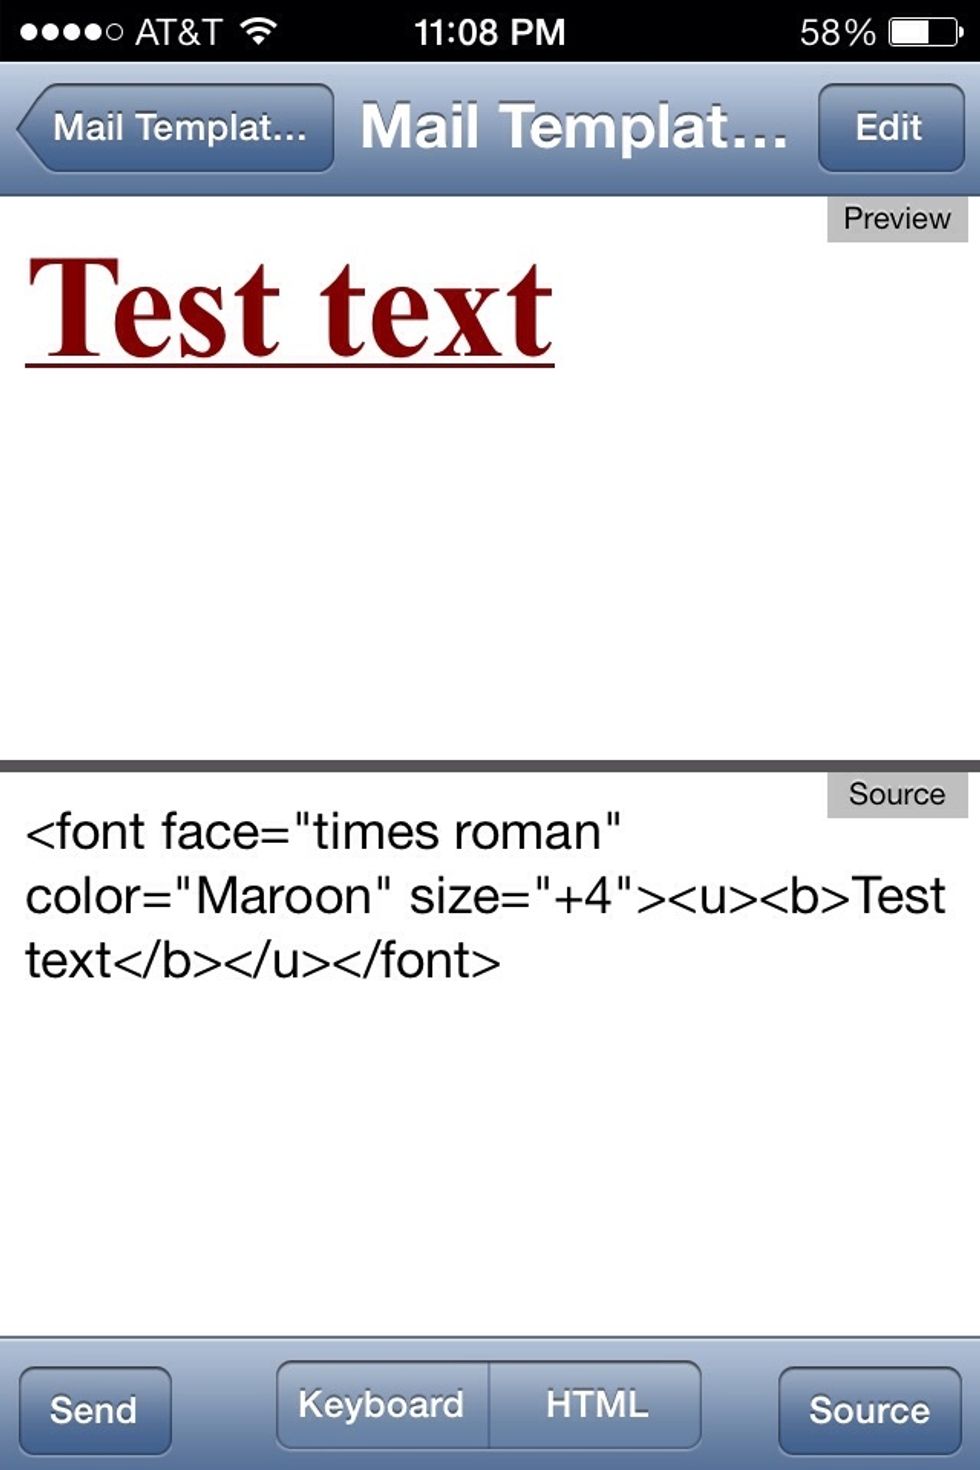
Here it's size +4. I hope you're getting the idea here. Basic HTML code is made of opening and closing tags that affect what's inserted between them.
But how do you add images to a website? You guessed it. With an opening and closing tag. The image tag is IMG SRC (IMage SearCh). Just put the URL to the images between the ="".
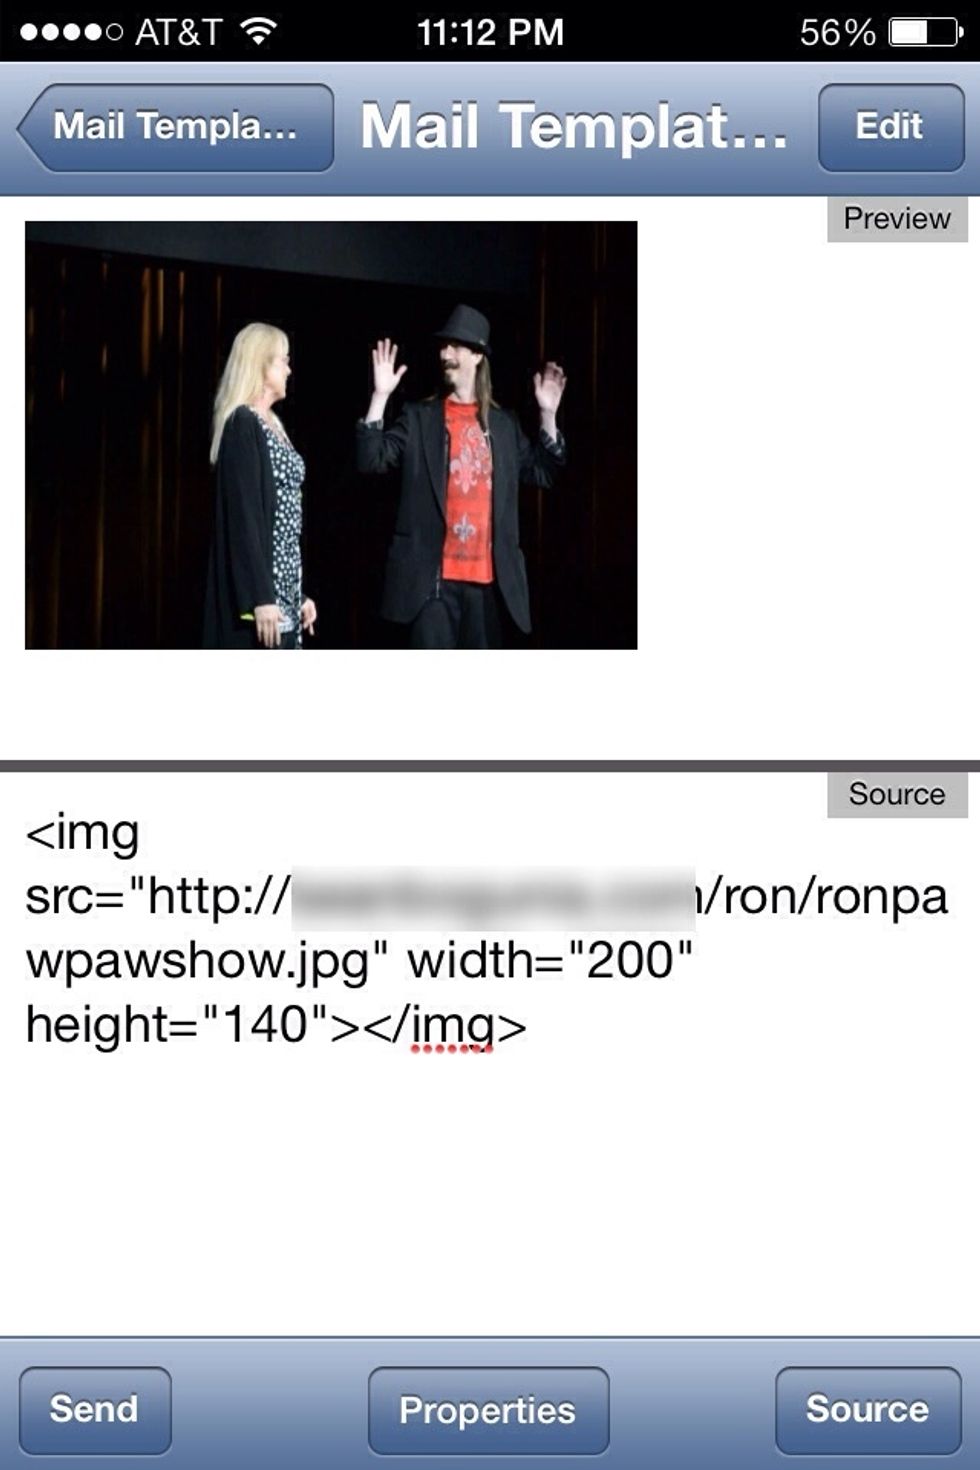
But notice this image is way to big. So I'll add some size commands to the image tag. Set the width="" and the height="" to the size in pixels you'd need for your page.

Examine this code. Can you tell what I've done? That's right. I surrounded the image tag with a link tag. So now this image is a link. If someone clicks it it'll take them to the address you assign.
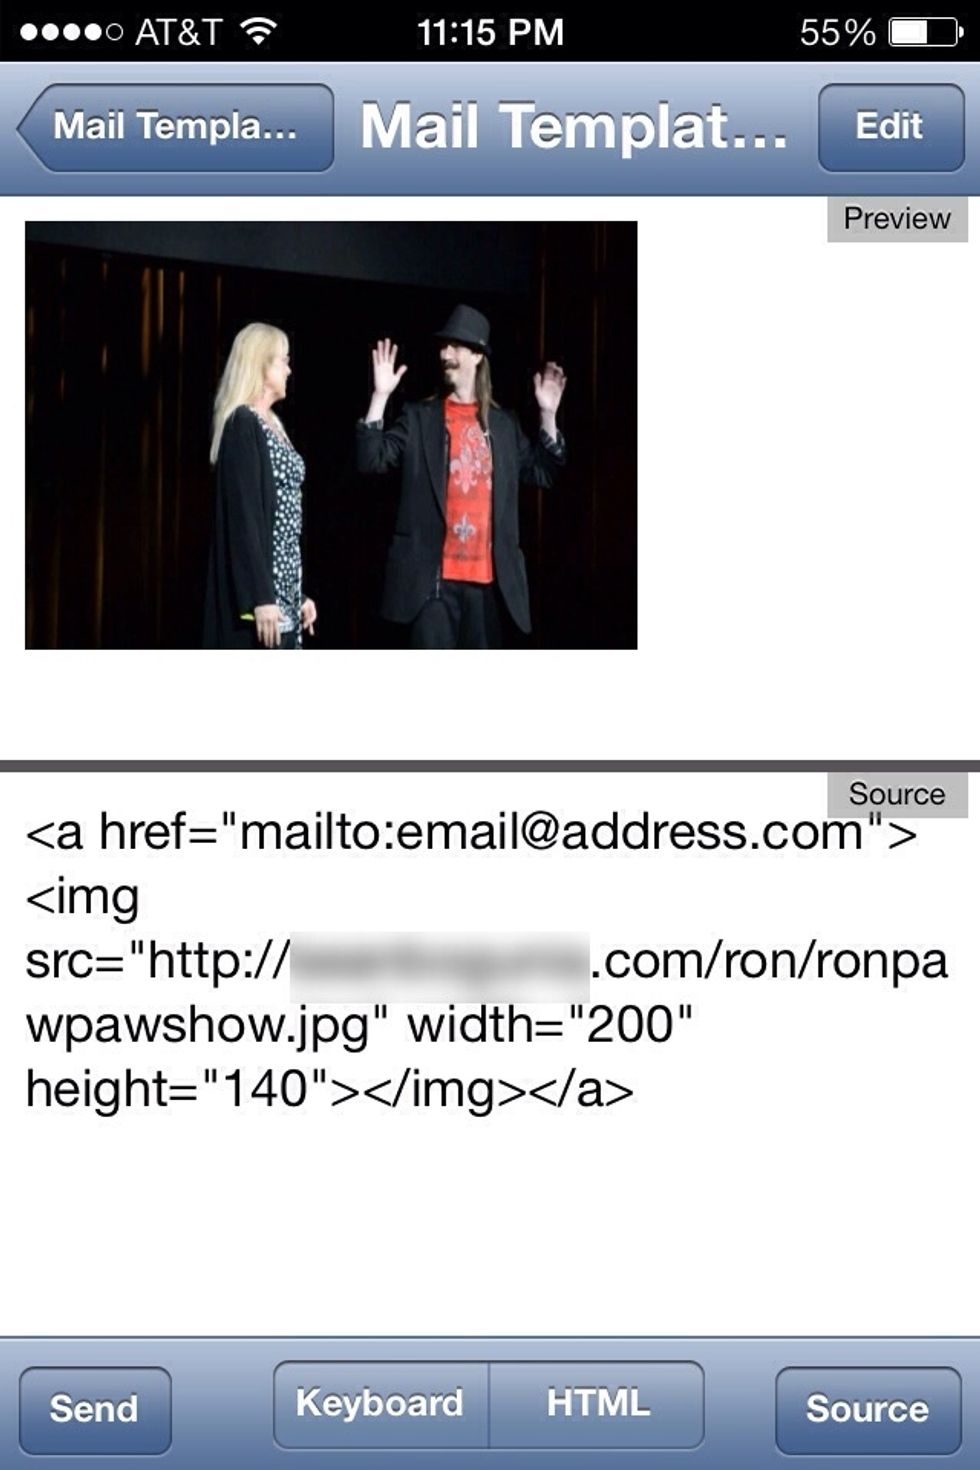
The same as the last one. But this is now an email link. If they click this image they'll send an email to the address you assigned it to.

Here I added some text below the image. But notice it's very close to the image. This brings me to the paragraph tag.
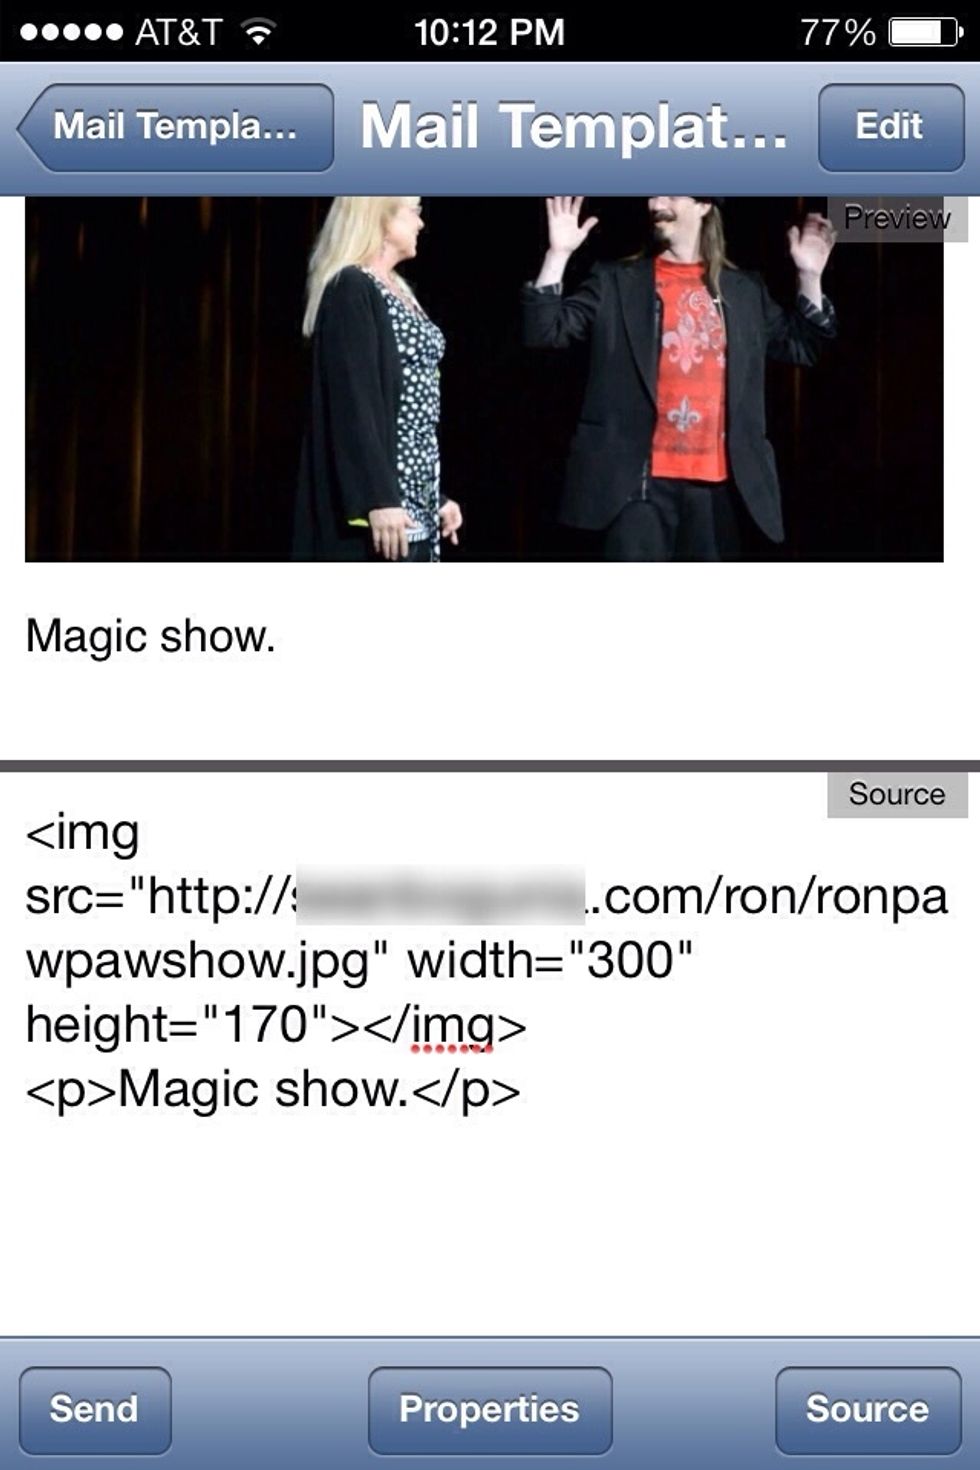
Here I surrounded the text between a paragraph (P) tag. Surround any text between paragraph tags that you want to be a single paragraph. It'll separate from other text like a paragraph is suppose to.
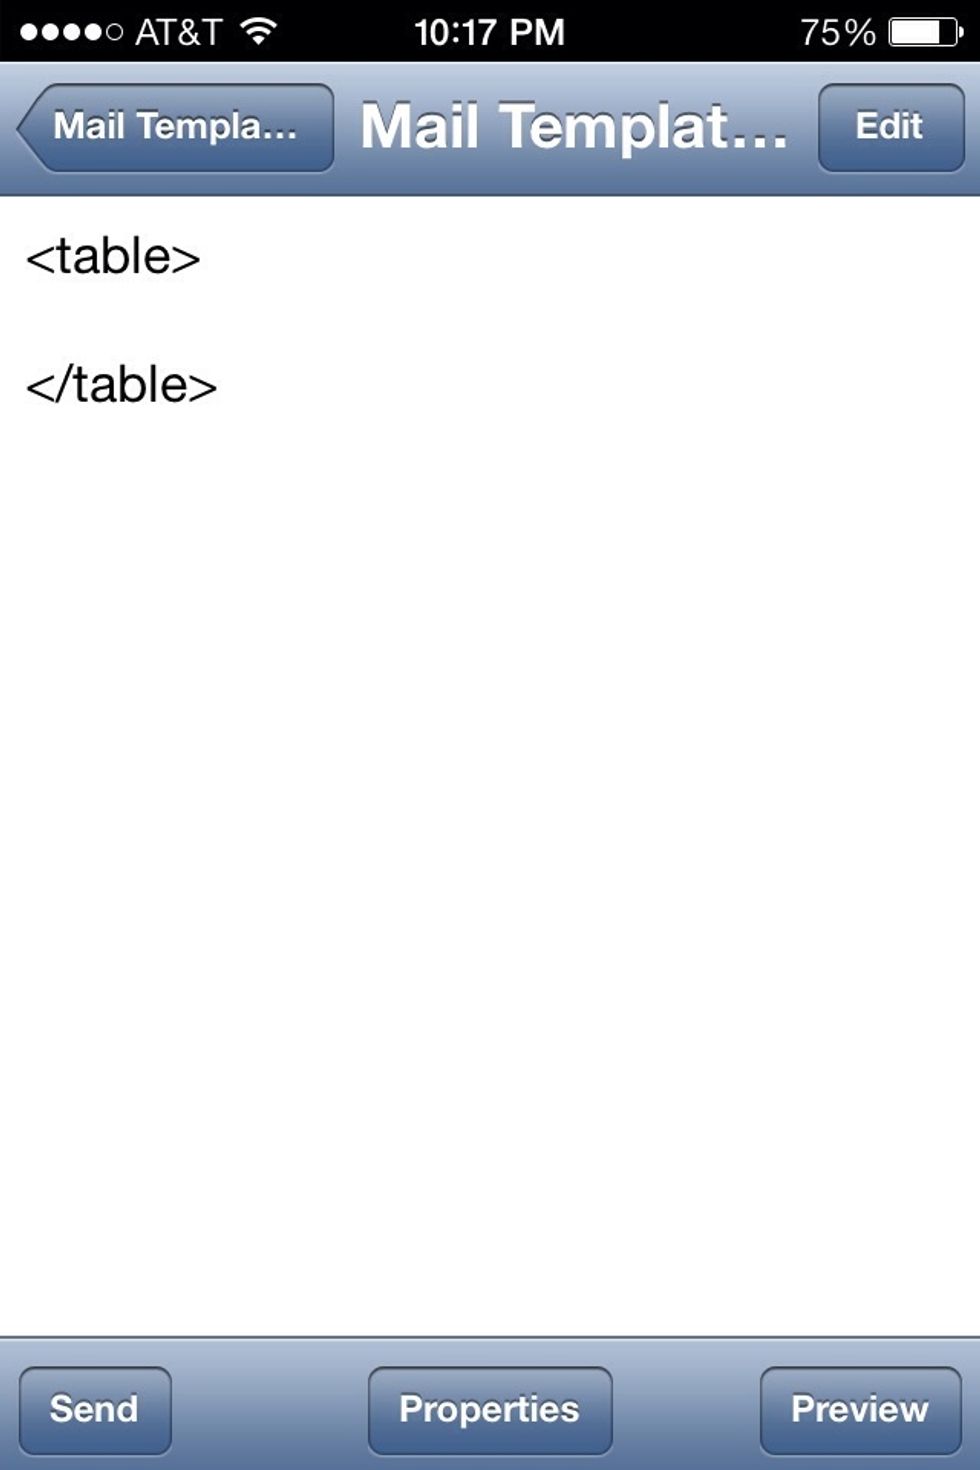
Notice that up until now we've only been able to move down with paragraphs. But how do you position things beside other things on the page. To do this we use the TABLE tag.
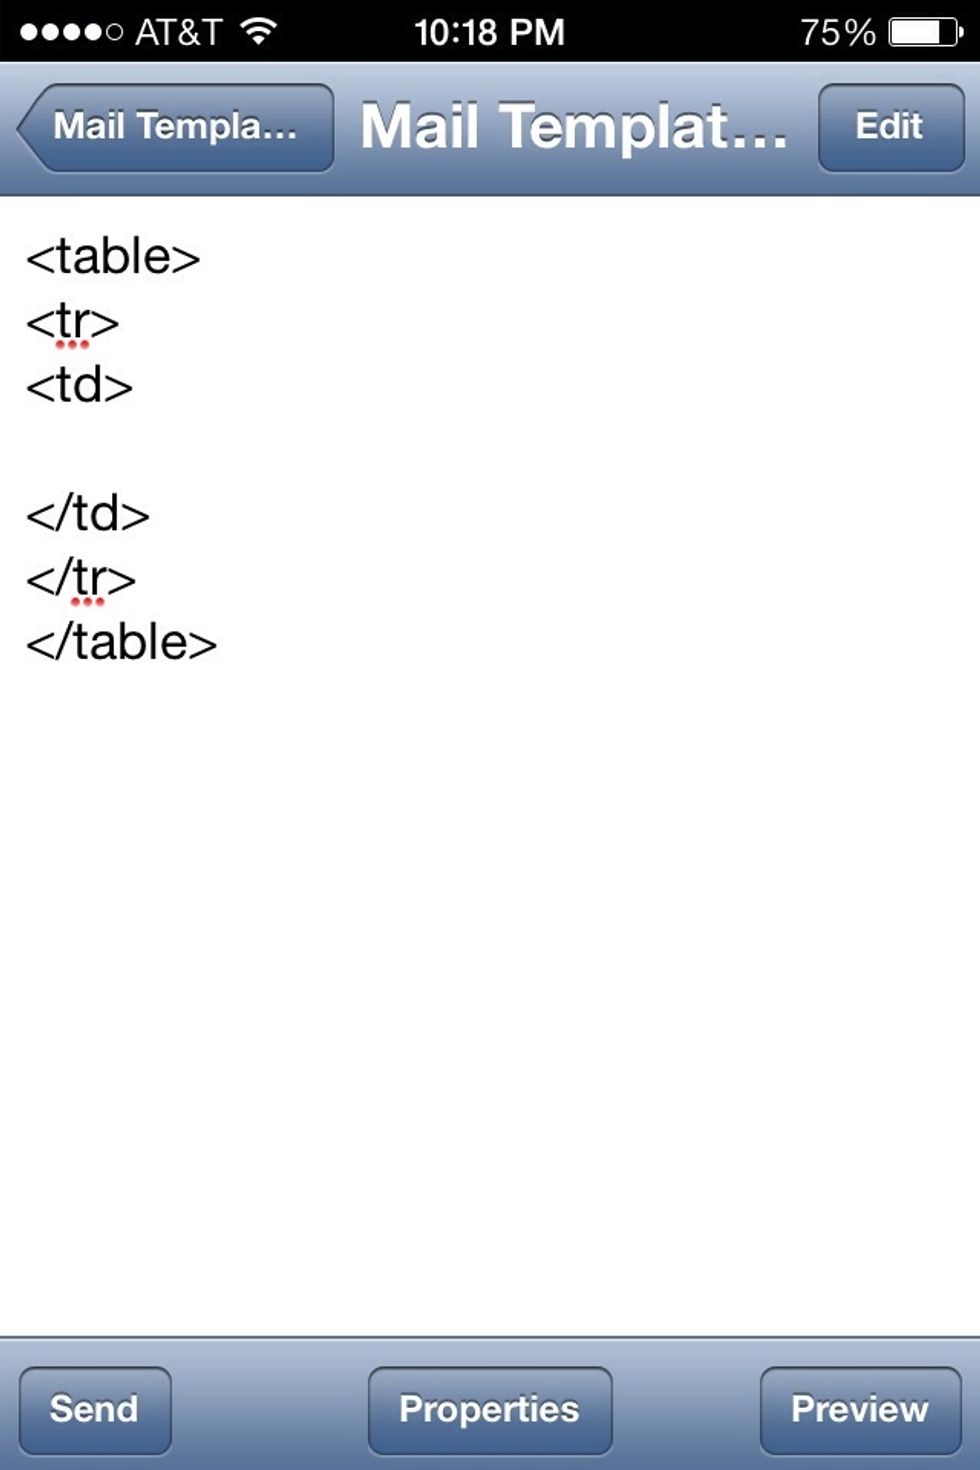
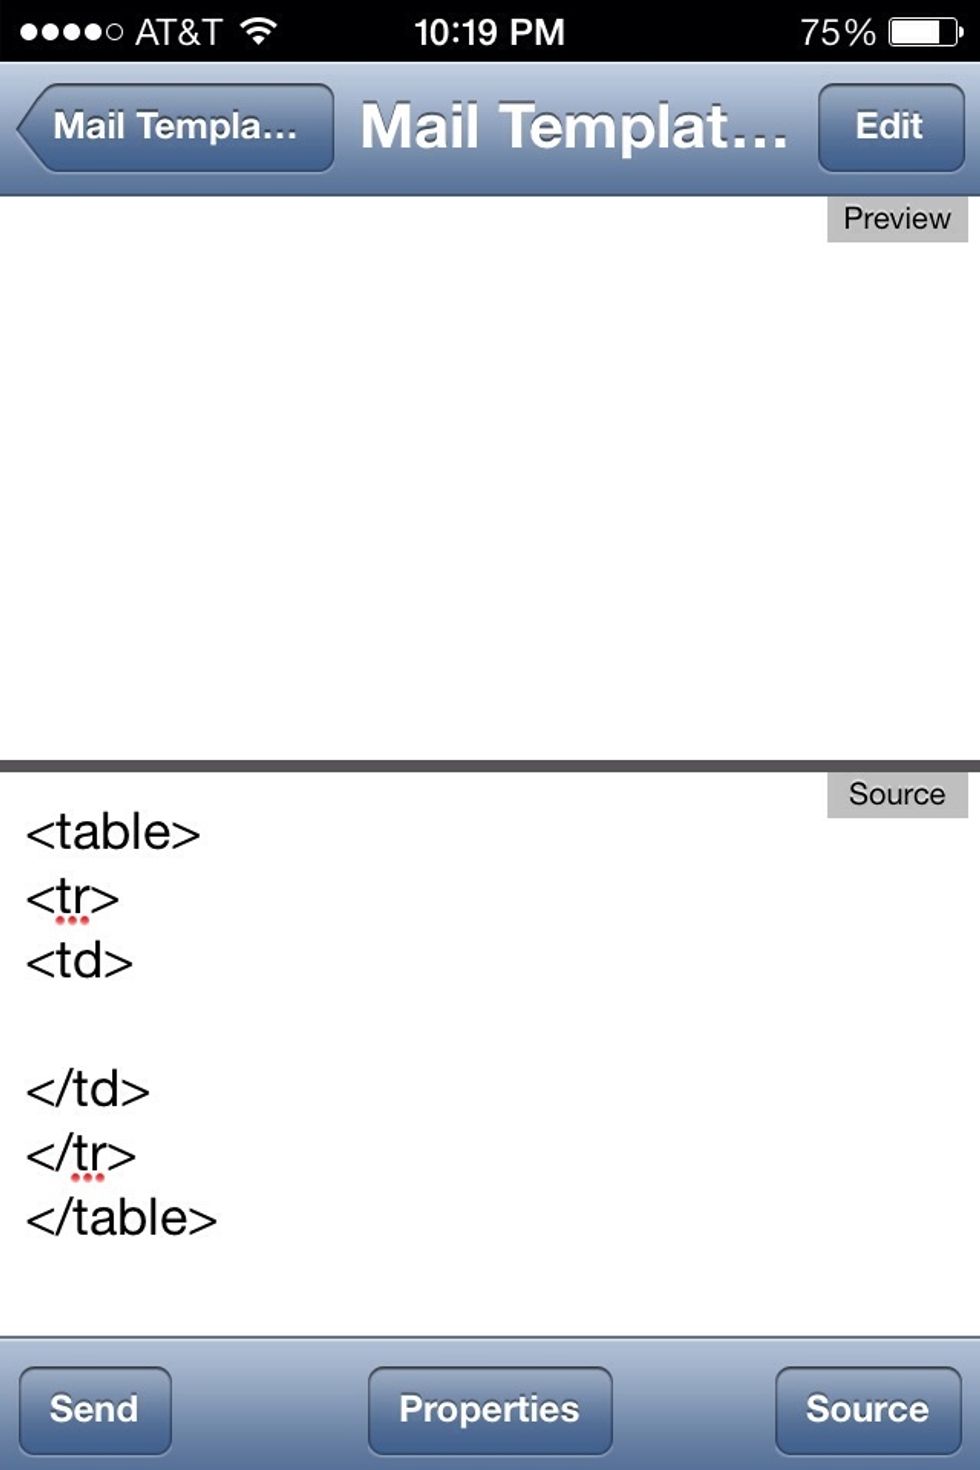
stands for "table row" and starts and ends horizontal rows. is short for "table data". This tag starts and ends each cell in the rows of your table.
So here we have the tags for a table. But no content between them. So let's add some. Again. This will make sense in a moment.
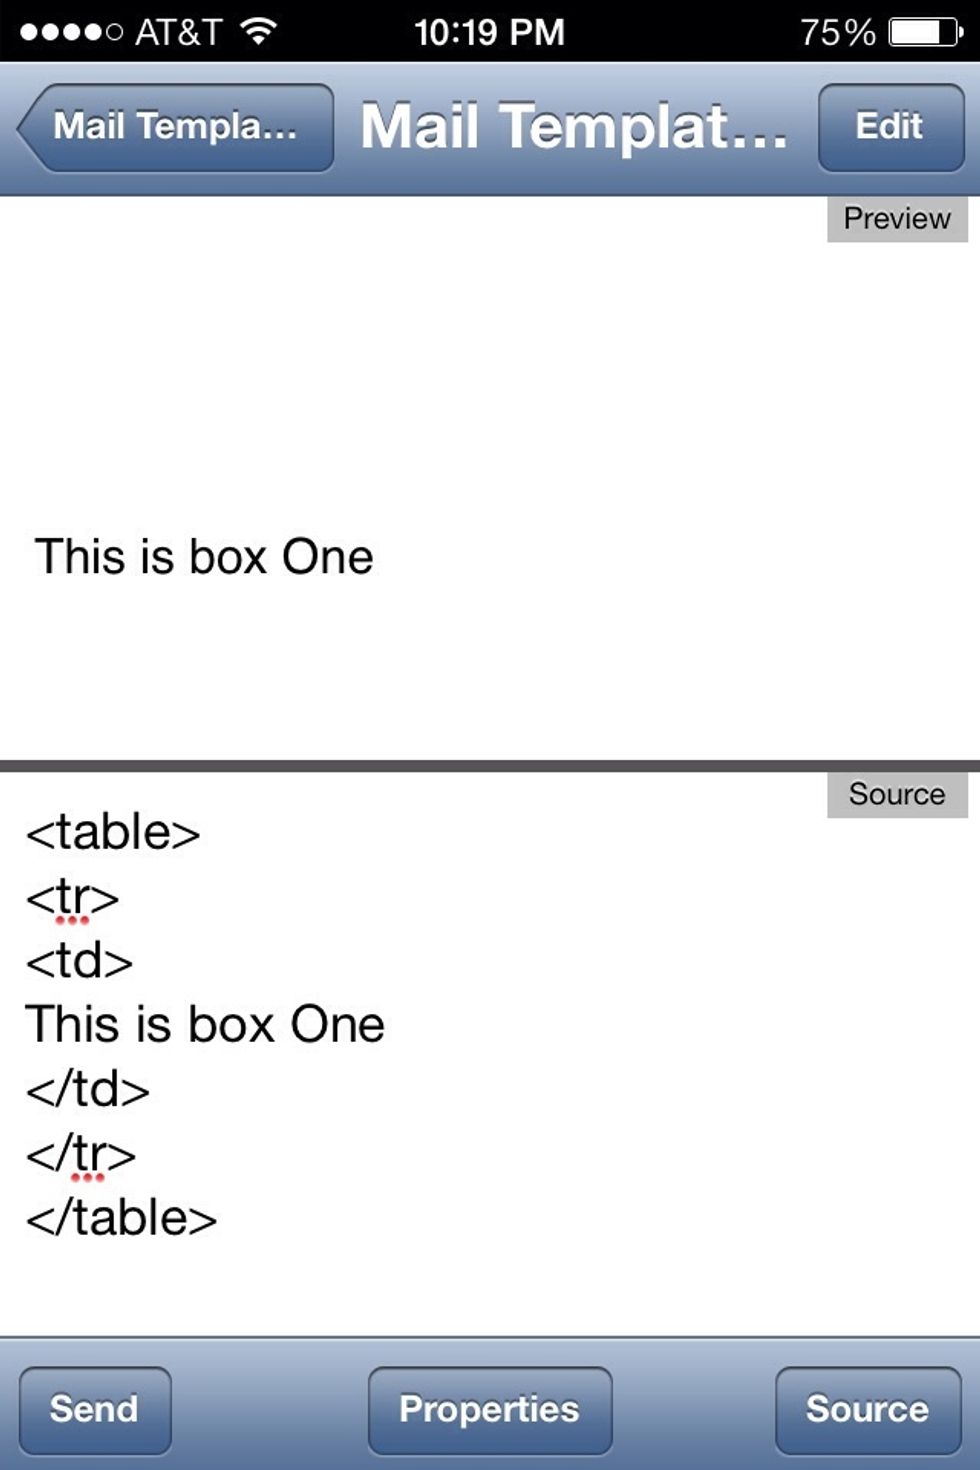
A table basically creates sections on the page. You also add your content between TD tags. Here I inserted text in one section of the table.
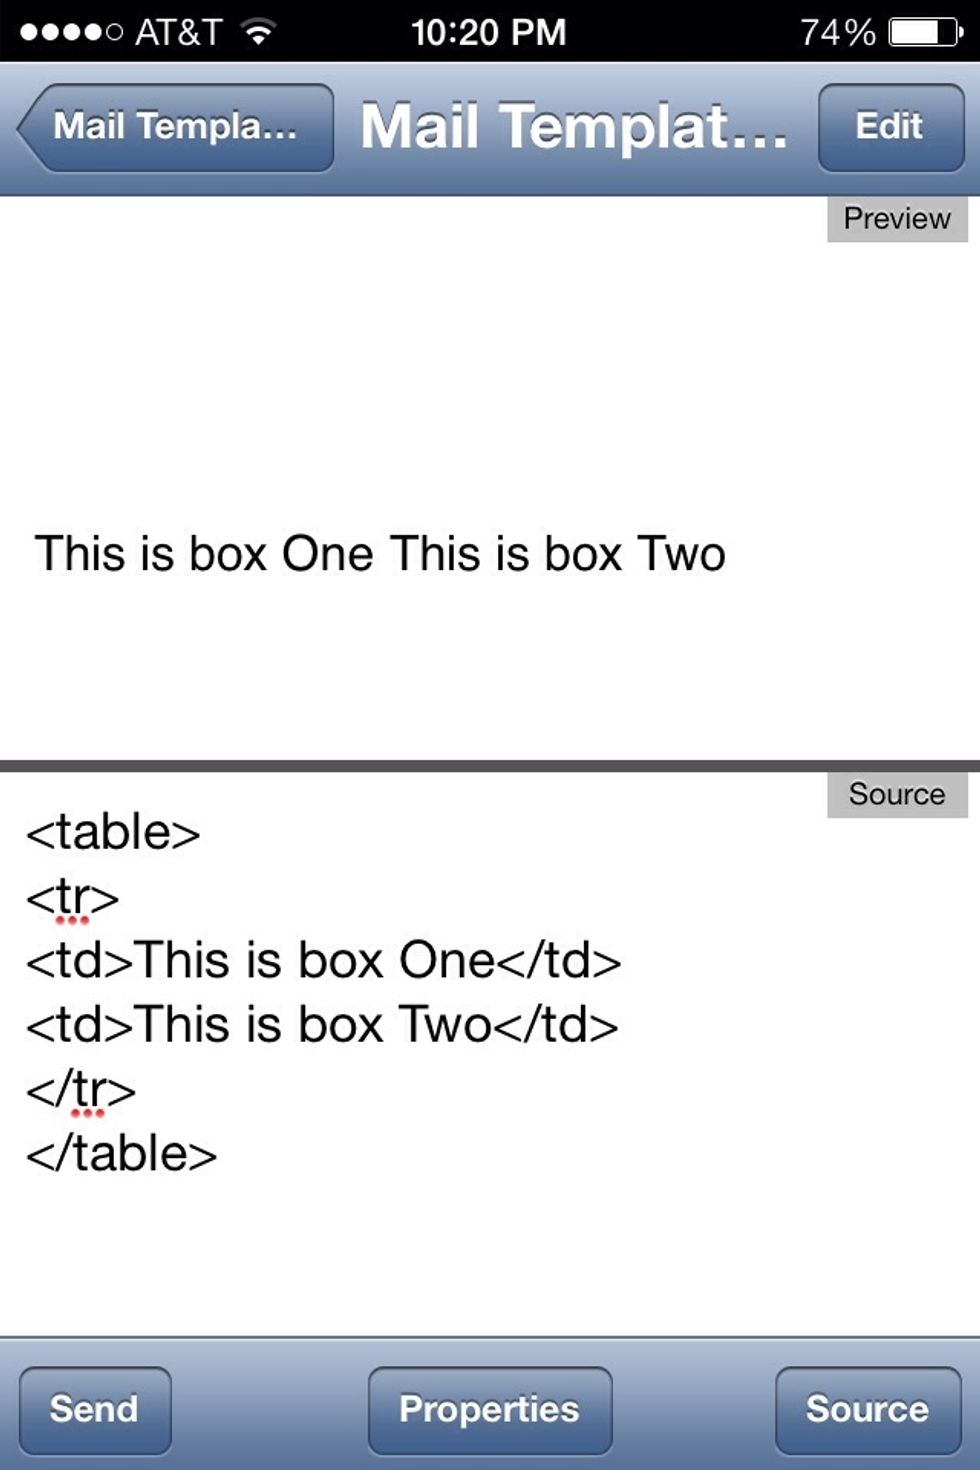
Here I've added another "section" to the table. It may seem like just text beside text in a normal straight like. But wait. You'll soon see the difference.

Here I've added a BORDER command to the table so the sections are outlined. As you can see. The table is separated into sections.
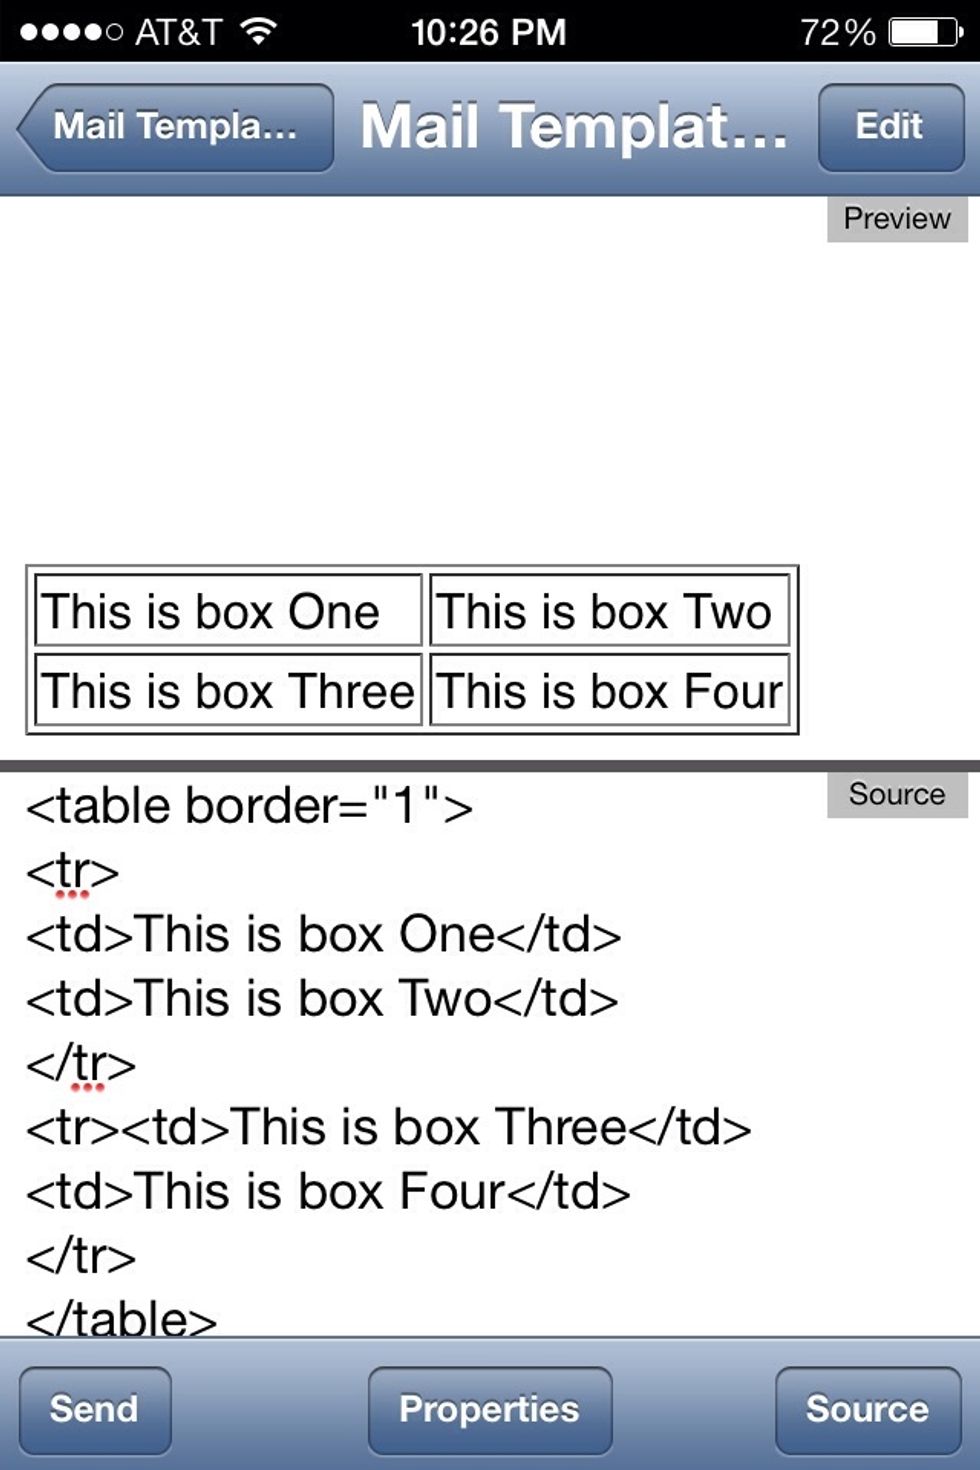
Here I've added another Row to the table with an opening and closing tag and added to more sections with tags.
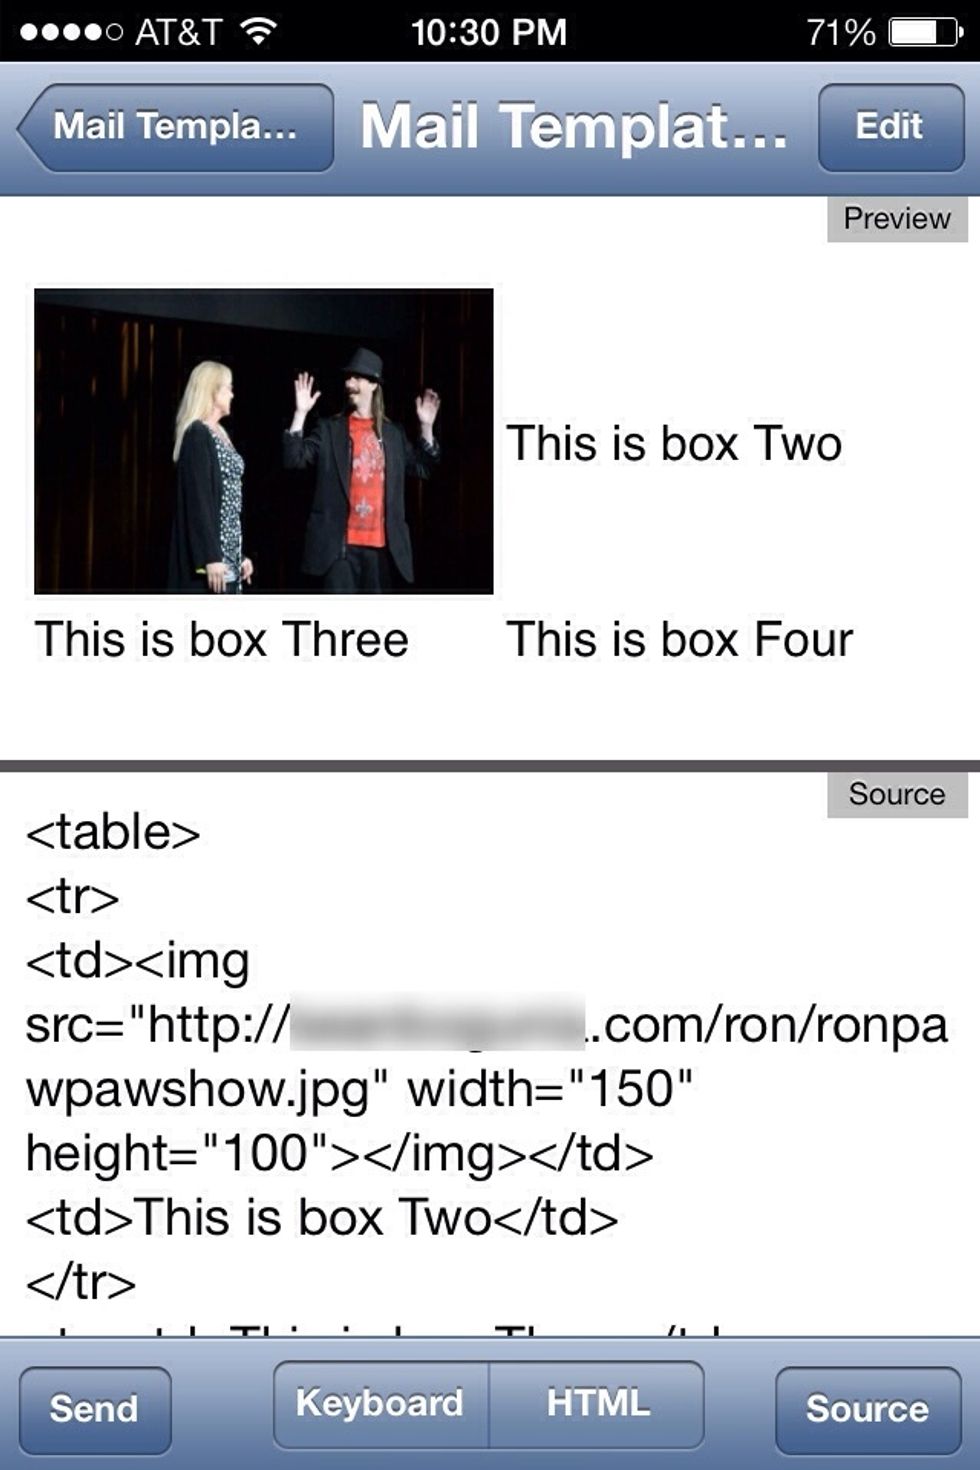
You aren't limited to just text in these tables. You can put what ever you want in them. Such as an image. (Note: I removed the border).
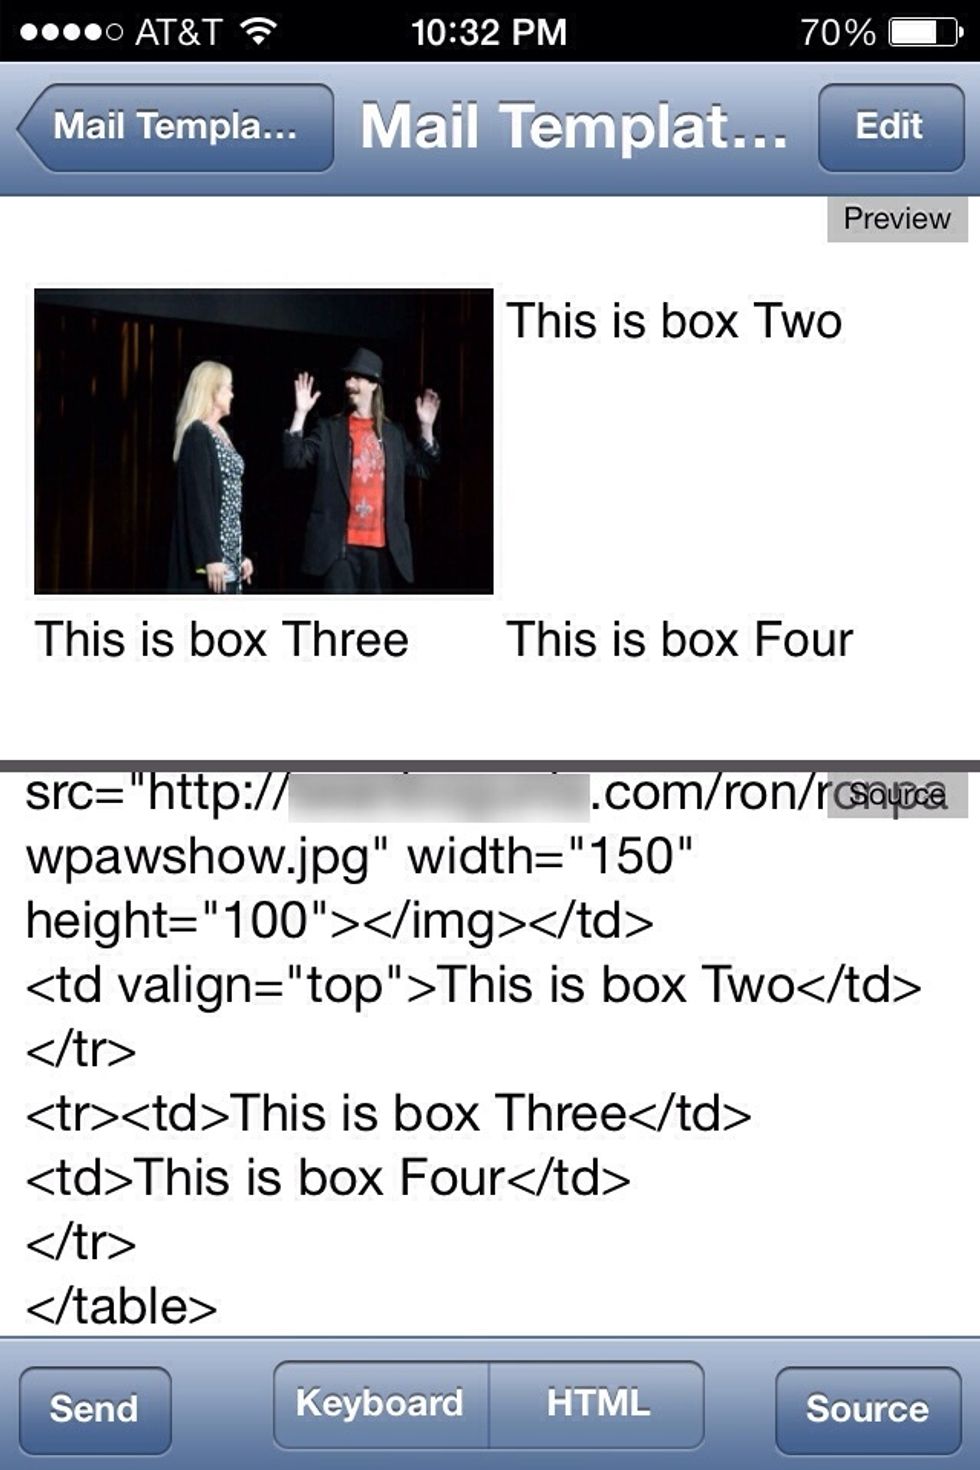
There's a lot more you can do to position things on a web page than I'll have time to go over here. For example here I moved the text in section 2 up with a valign="" command.
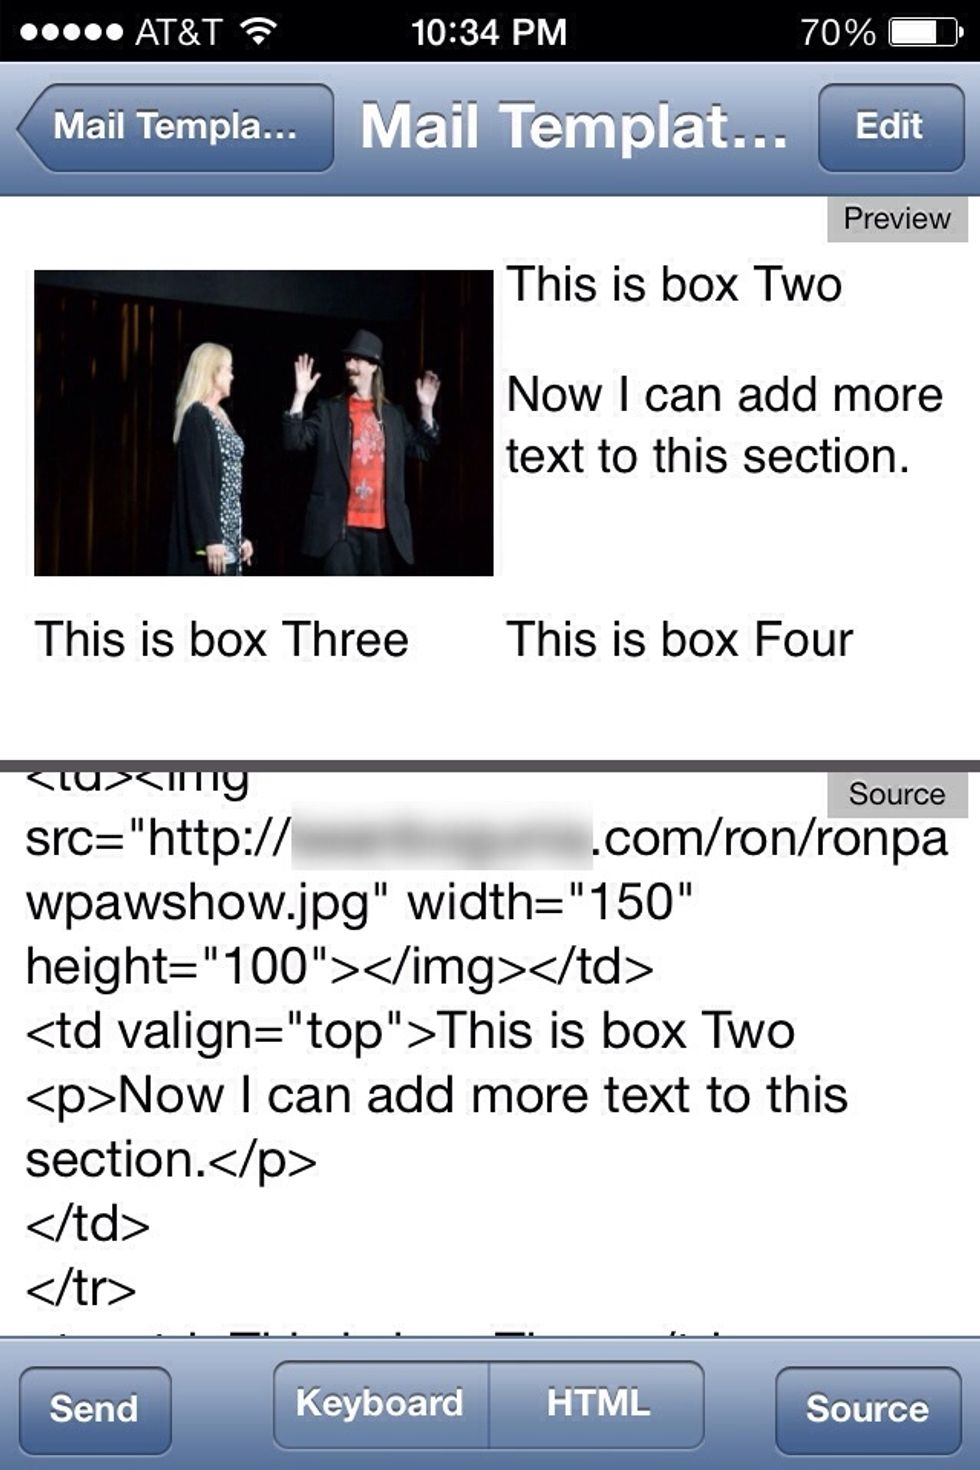
This gave me more room to add more content to section two.

At the beginning of this guide I said it was my hopes that by the end of this guide a complete novice to website would be able to have a better idea of how this Webpage is made...

Now you should know that it's actually made in sections something like this. You now know how to insert images. Manipulate text and images and position them on a Webpage. At least I hope you can now.
This was the hardest and most time consuming guide I've made so far (and I've made many :). Yet I've barely even scratched the surface. This only covered the basics of basics...
There are not only hundreds, perhaps thousands of html tags. There are variations of html coding itself. And other essential coding language such as PHP, CSS, javascript... To many to cover.
But I hope someone who wondered how websites work where able to gain a little more understanding of them with this guide. There are plenty of online resources to learn more.
Enjoy!