The Conversation (0)
Sign Up
My old lap top crashed while I was doing a system restore and I was no longer able to log on ..... BUT I NEEDED MY FILES!
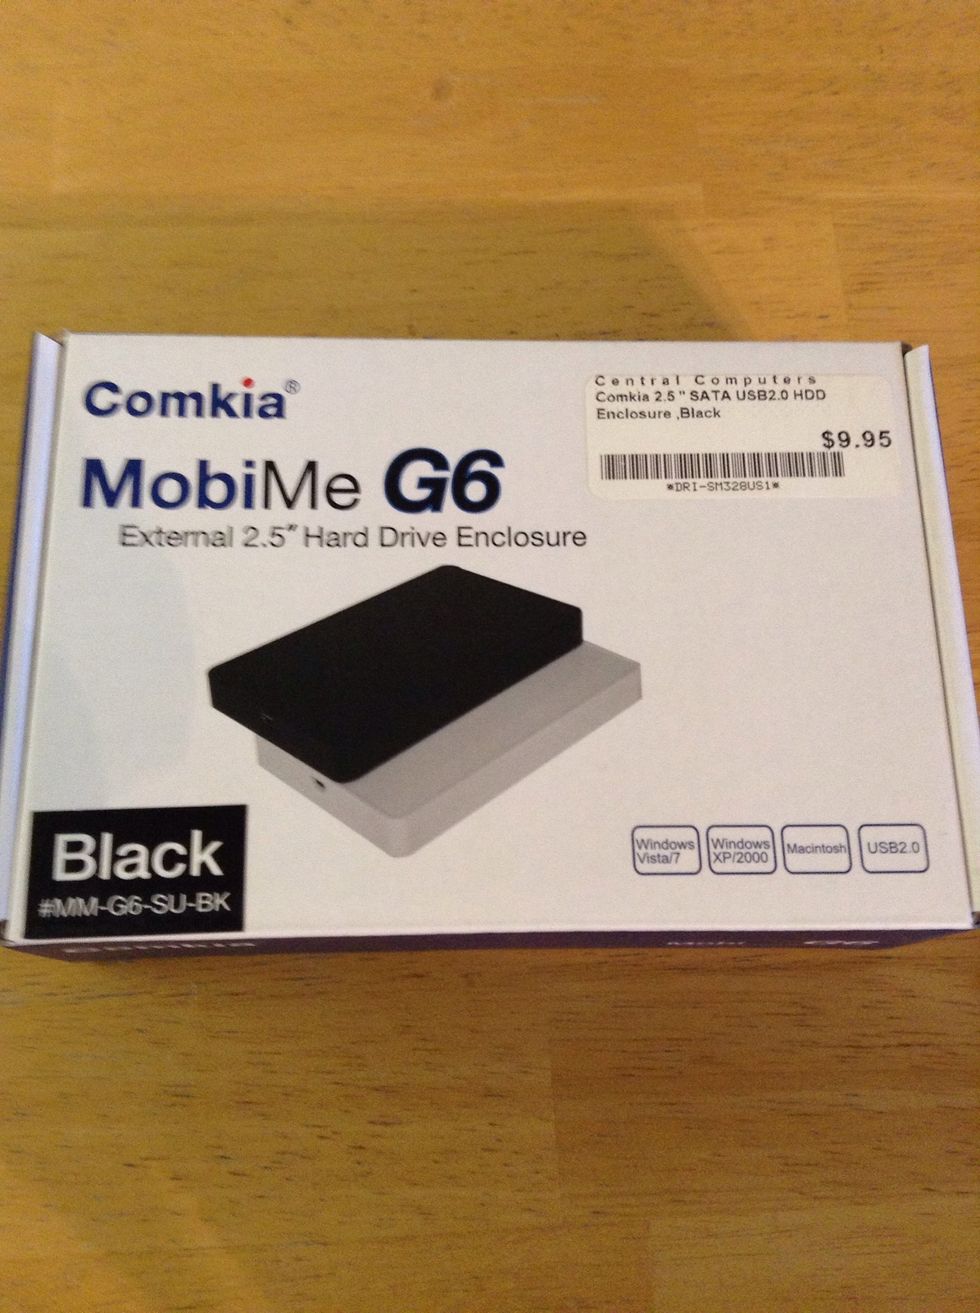
So I bought this External Hard Drive Enclosure for $10. It comes in Black or White and fits any standard laptop drive. My drive from my old computer has Windows 7 and my new computer has Windows 8.
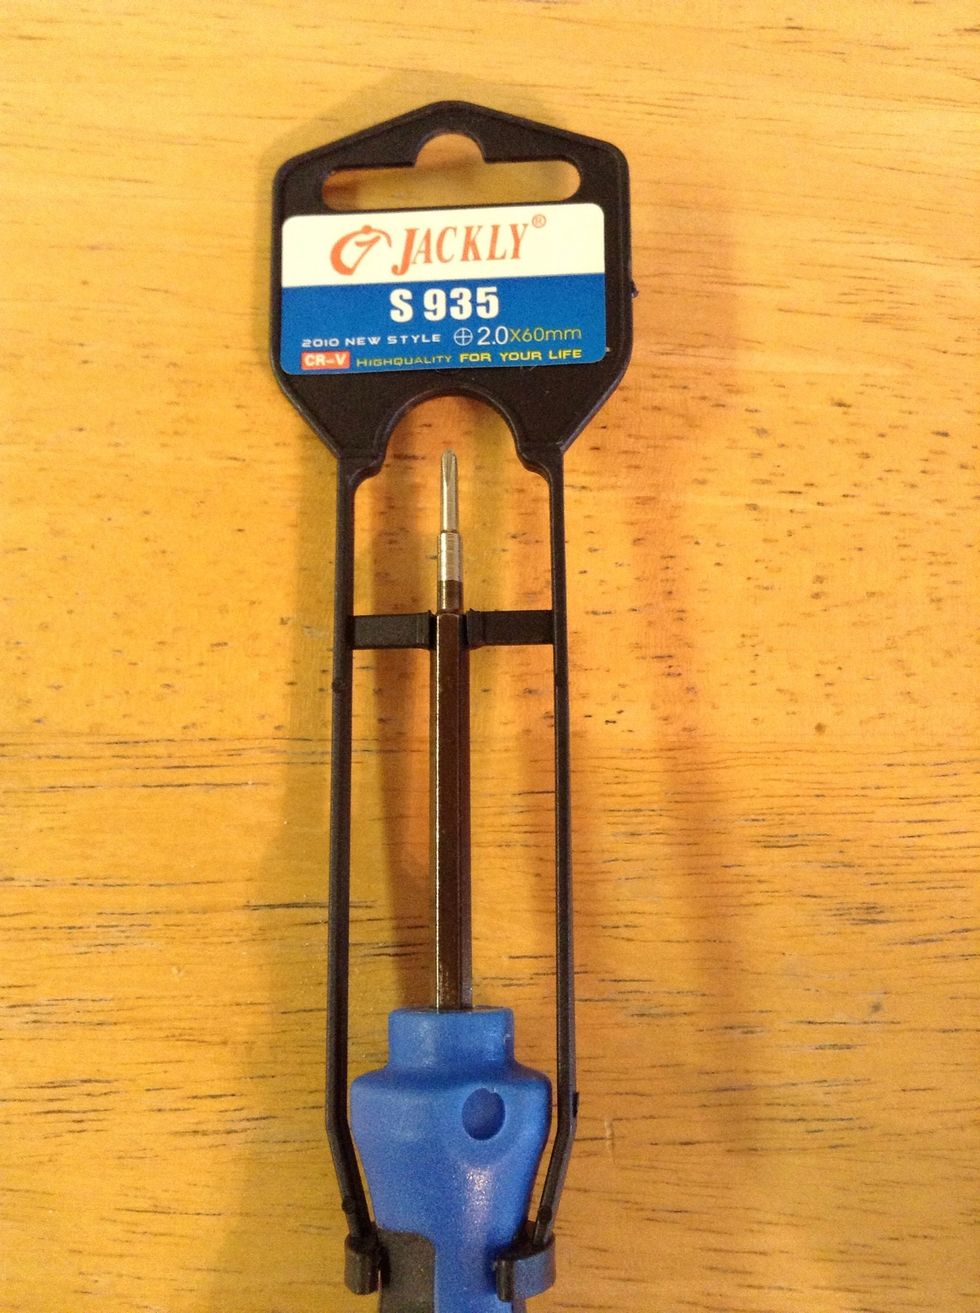
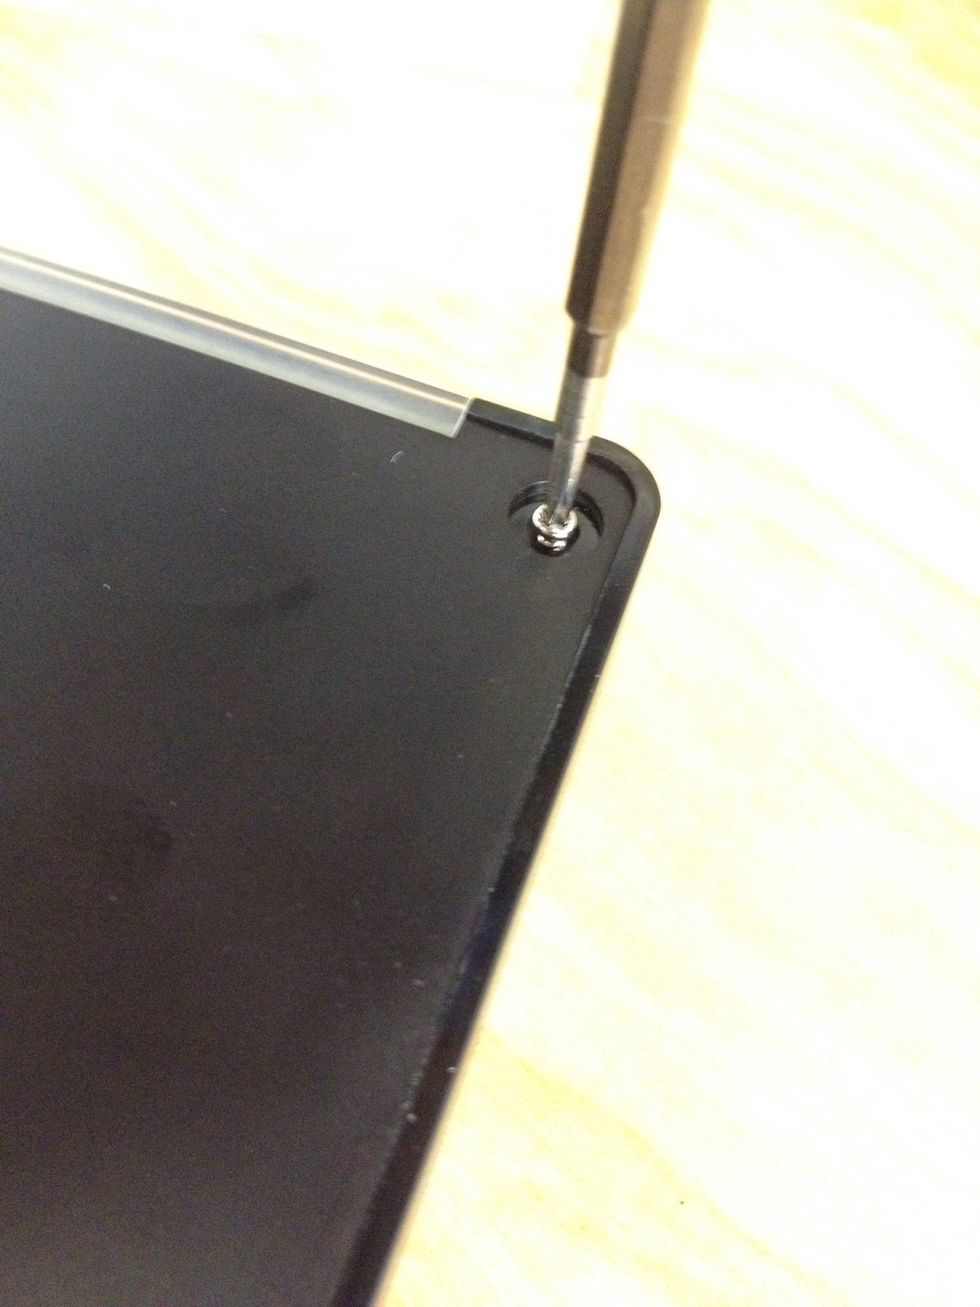
This is the phillips screw driver that fit the computer screws.
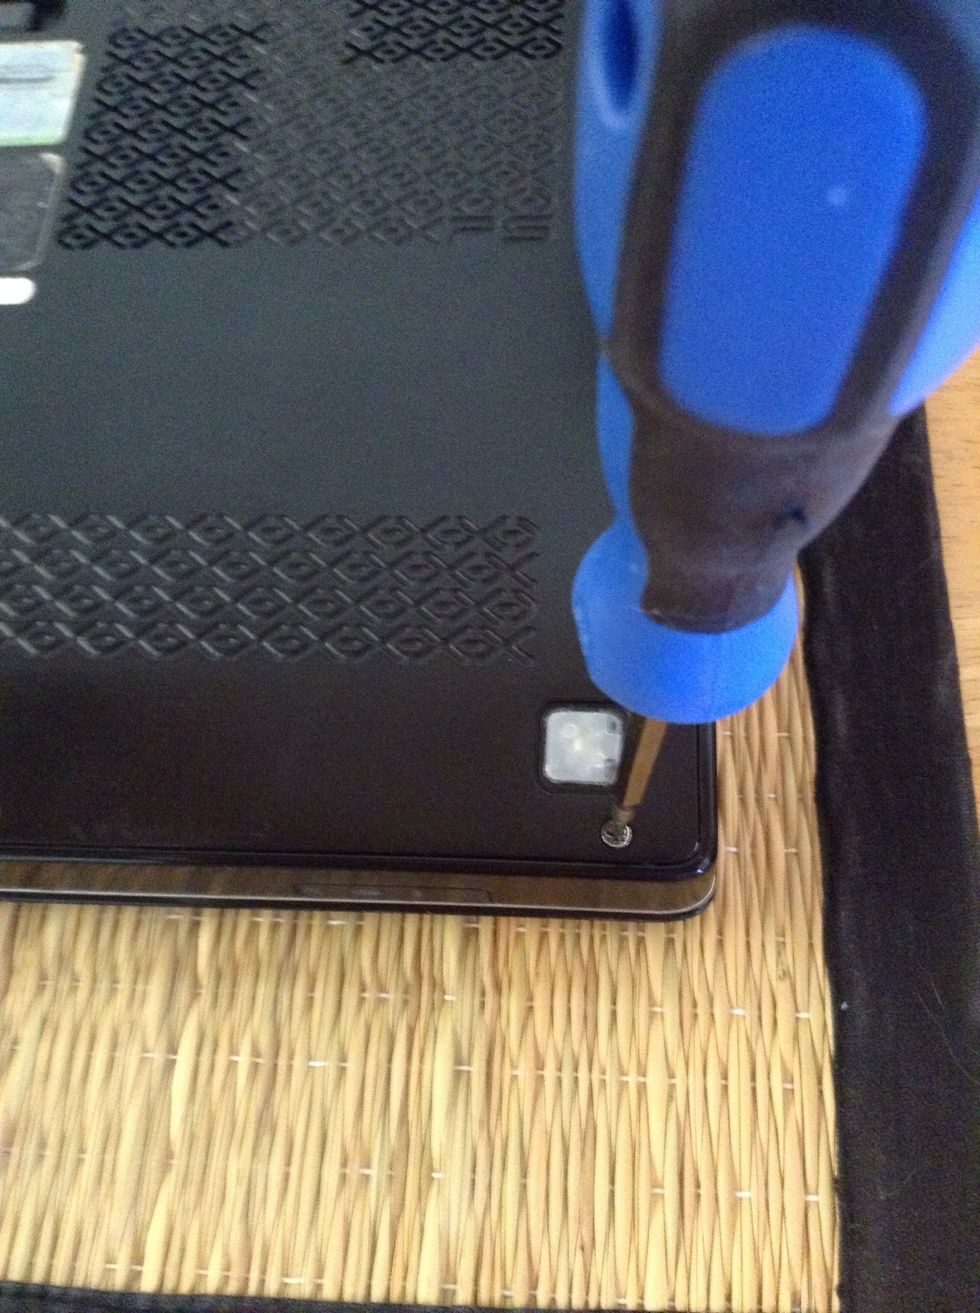
To begin, unscrew all the screws on the back of your laptop.
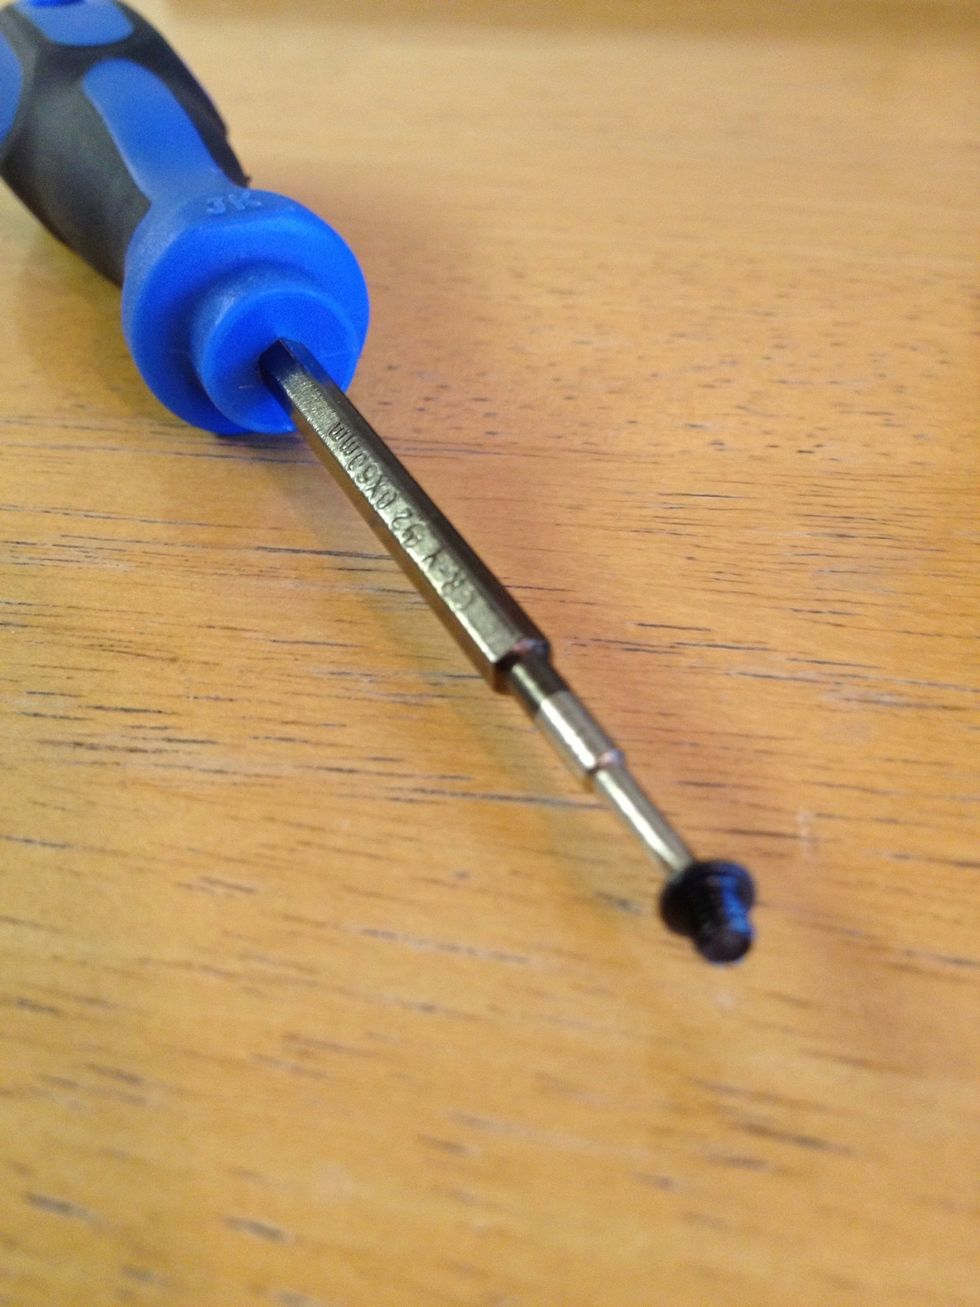
It really helped that the screw driver was magnetized.

Remove the back of the laptop.
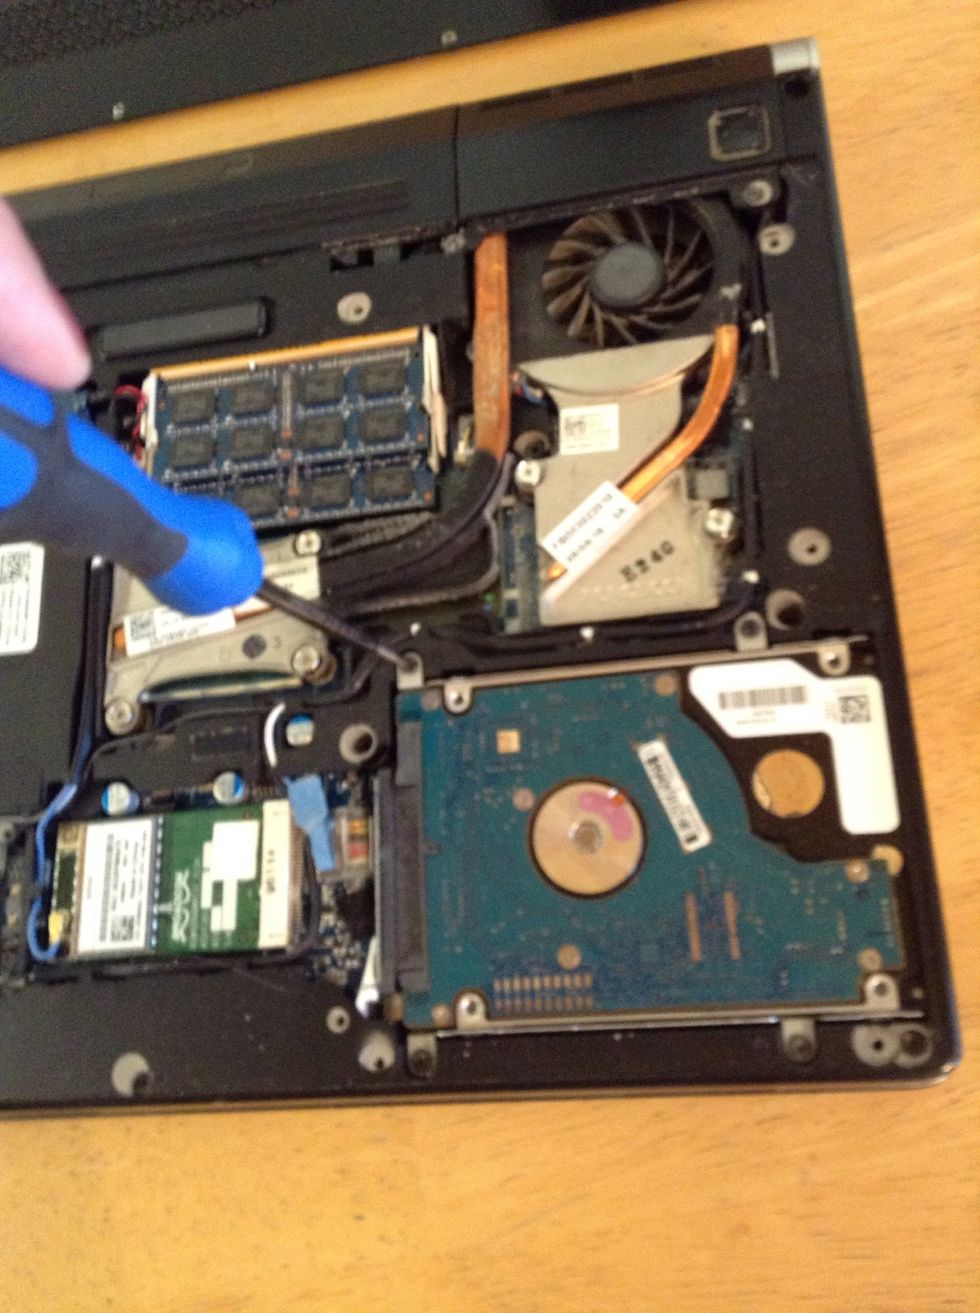
There are 4 more screws around the hard drive to be removed.
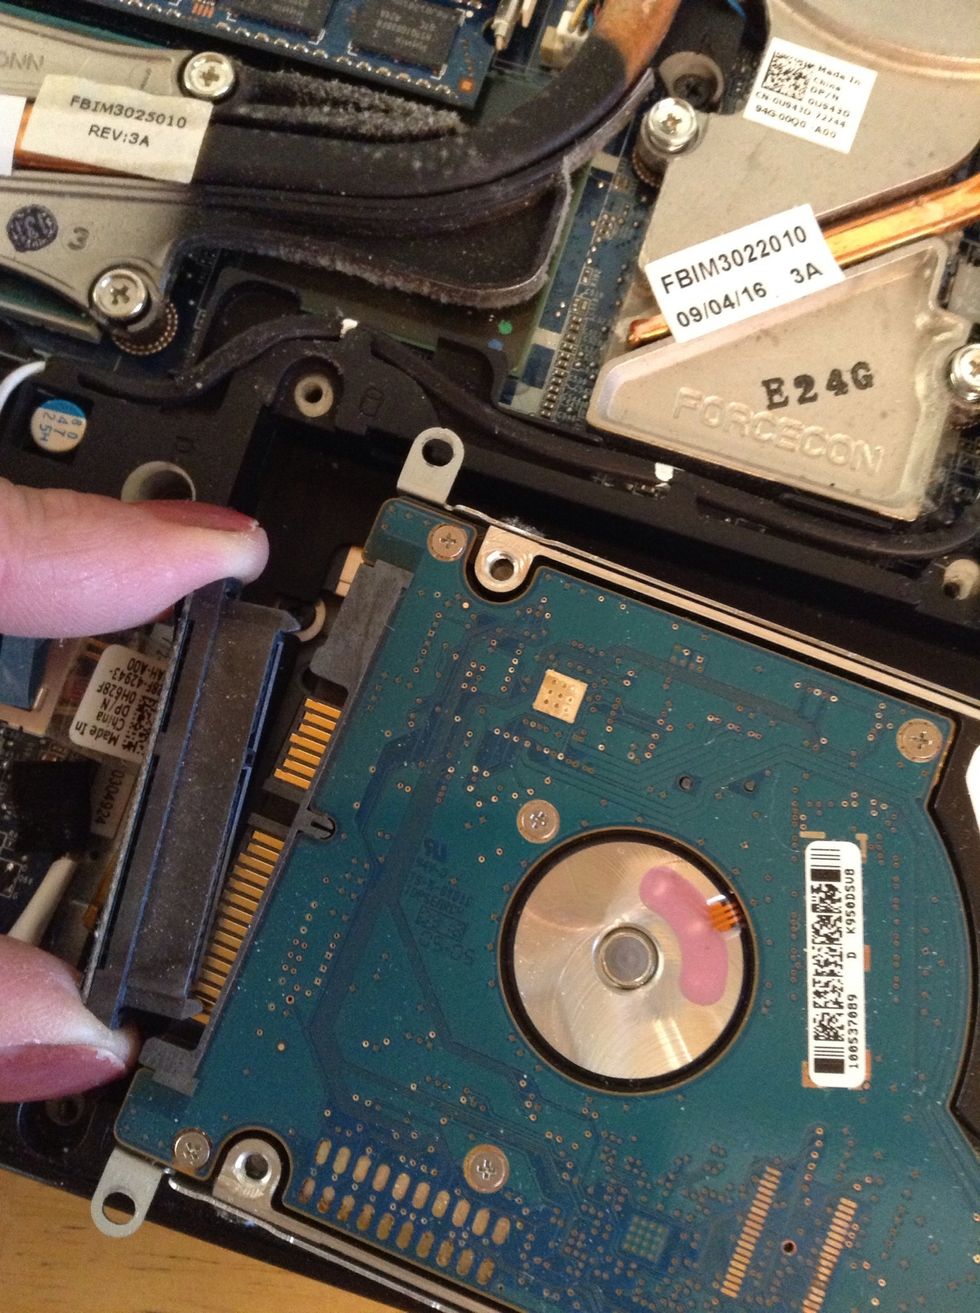
Remove the drive from the pins.
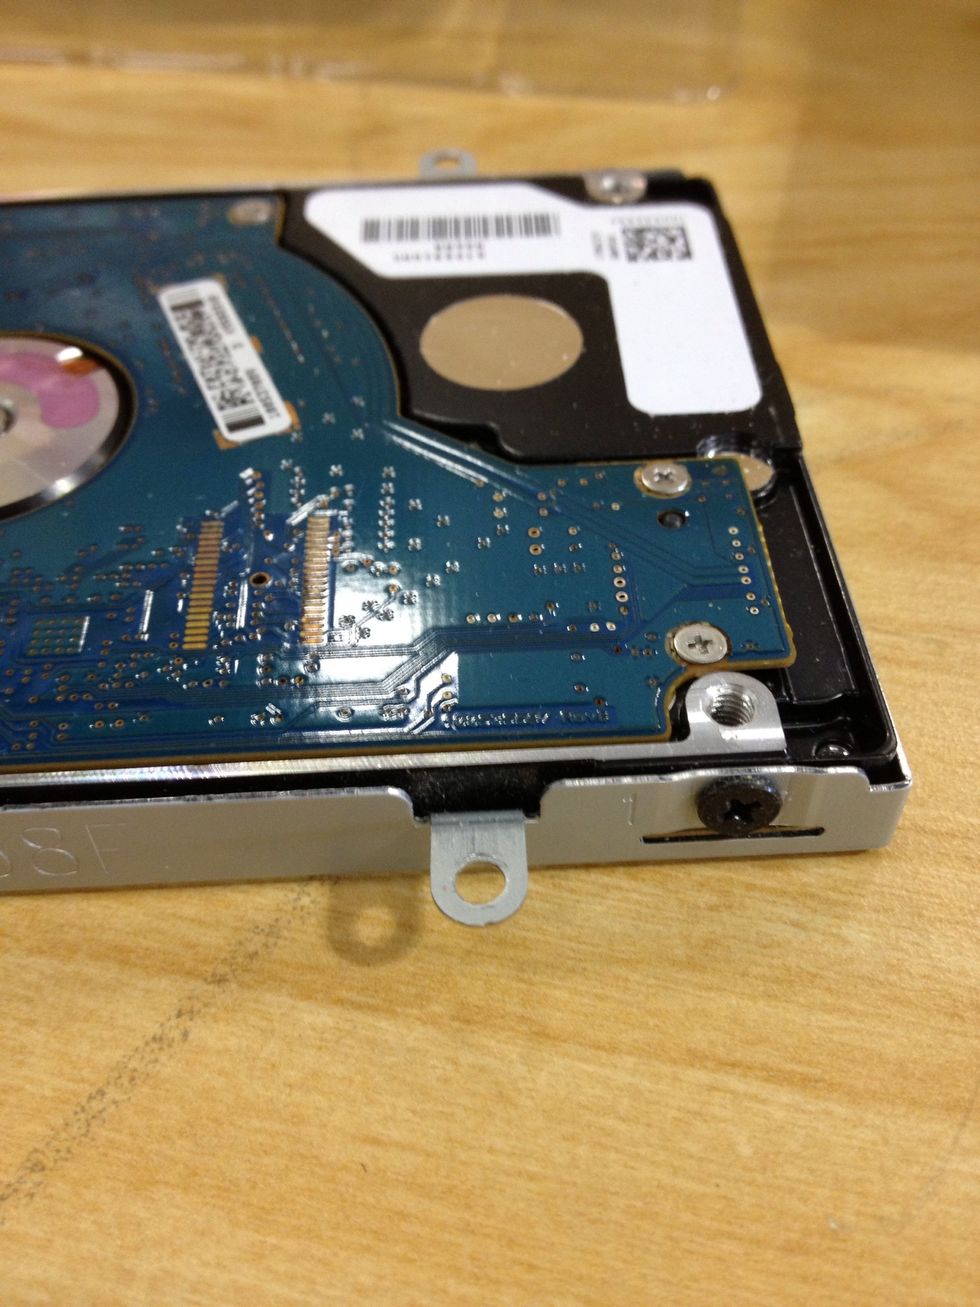
There will be a bracket around the hard drive with 4 more screws.
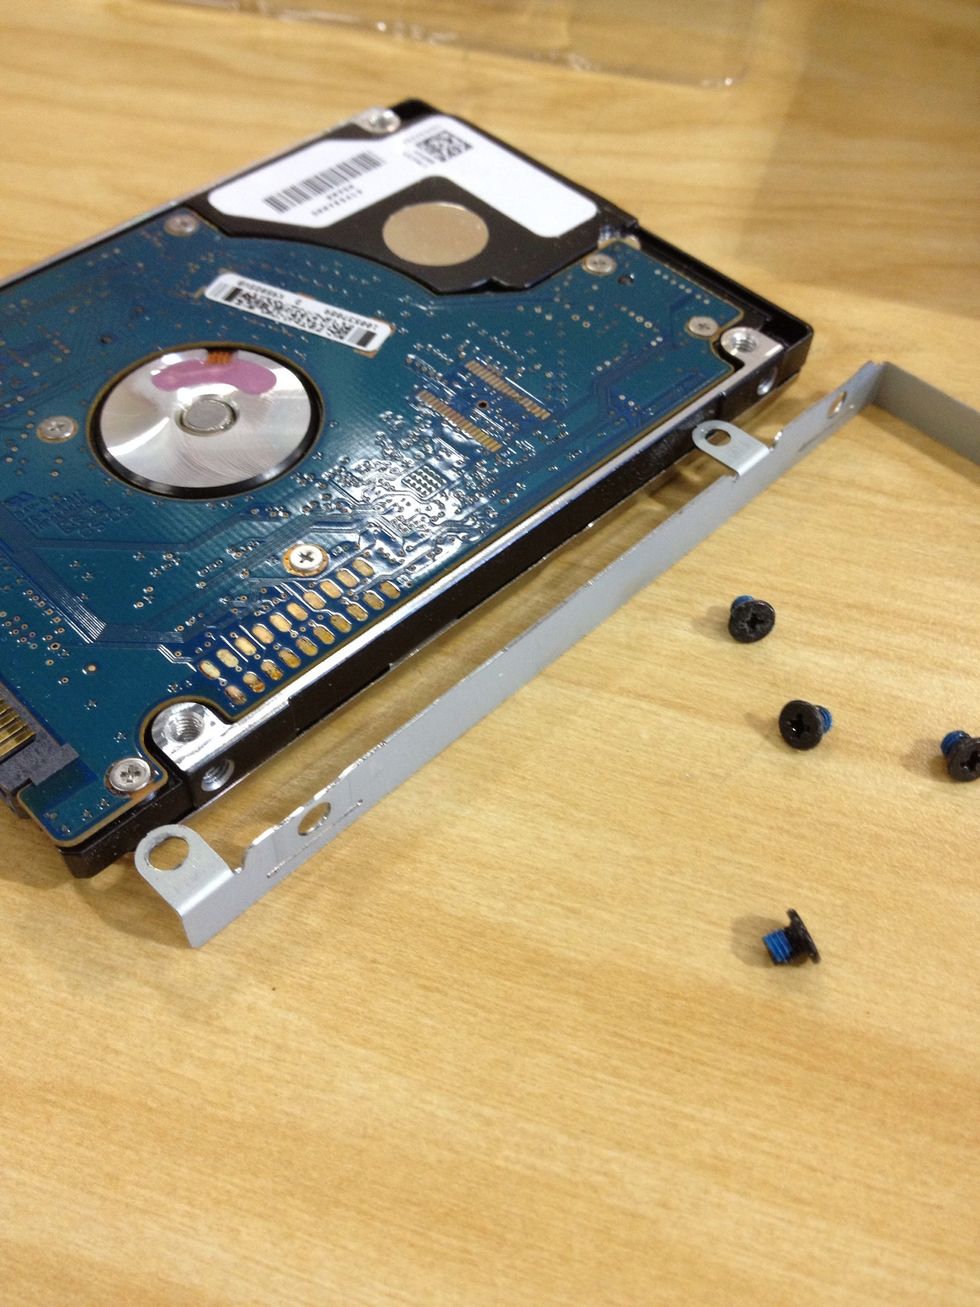
Remove the screws and take off the bracket.
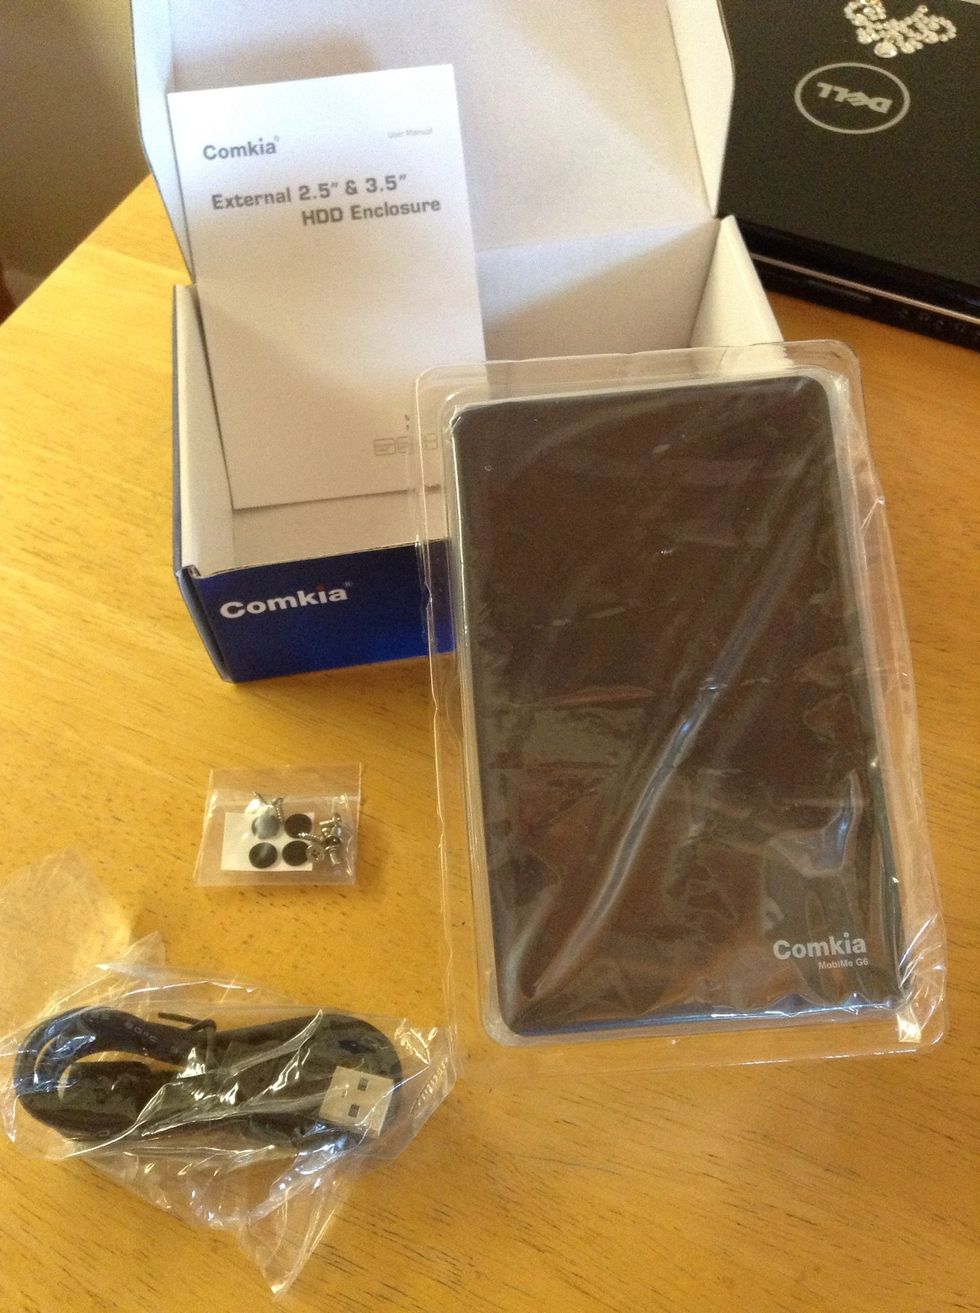
Unpack your product. Case, screws, USB cord.
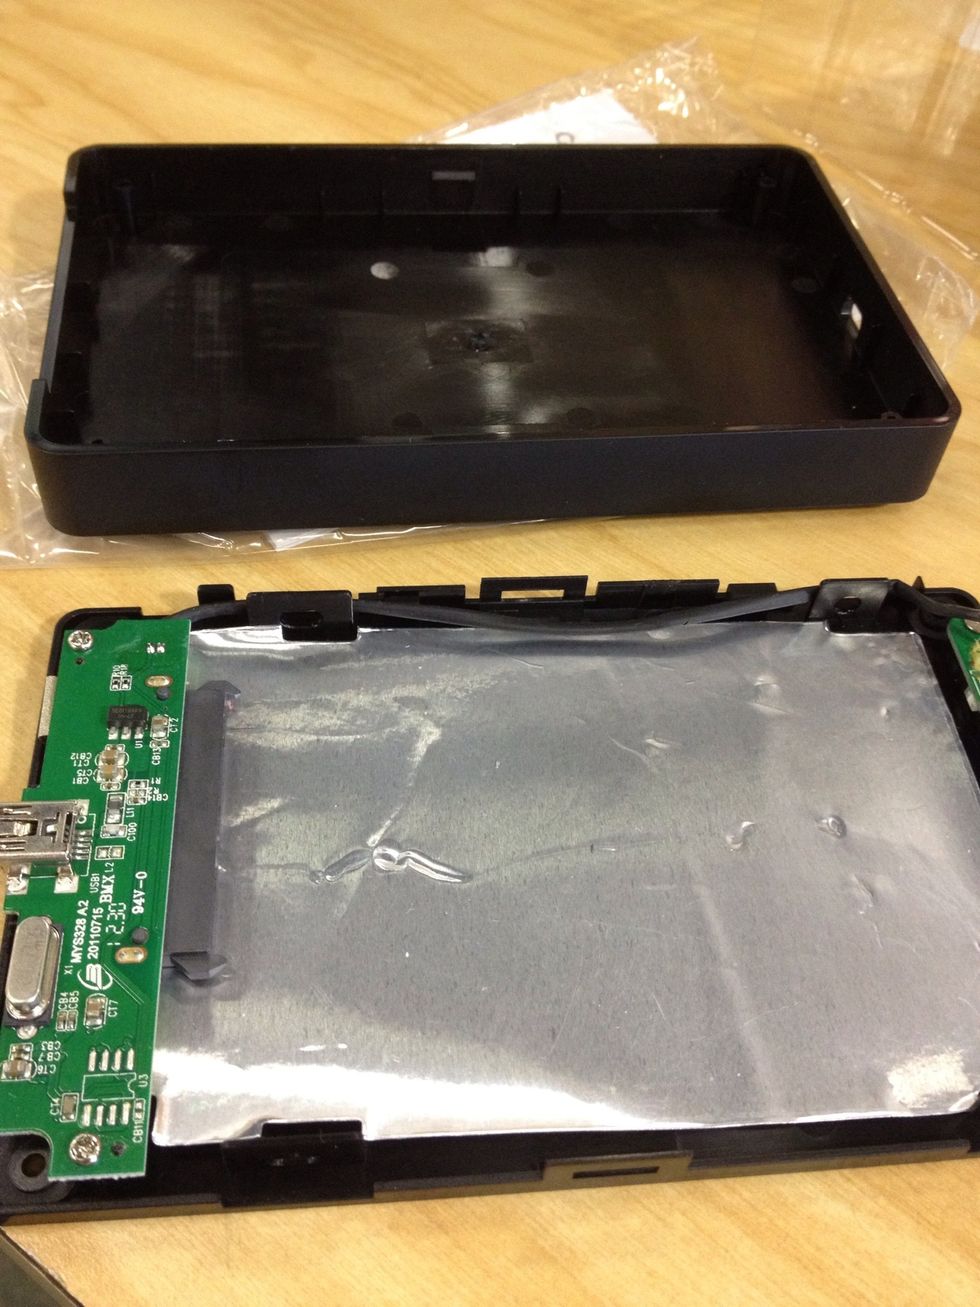
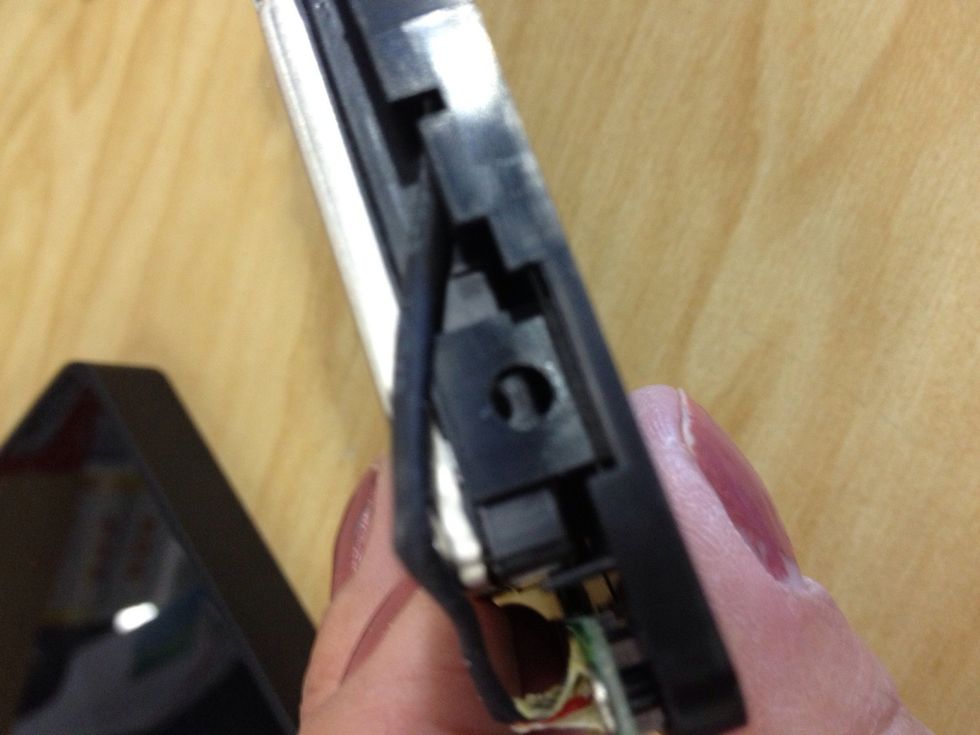
Open the case. (It may feel like you are forcing it open because there are two clips on the sides that need to be pushed in. Slip a credit card in between the base and the lid to help release it.)
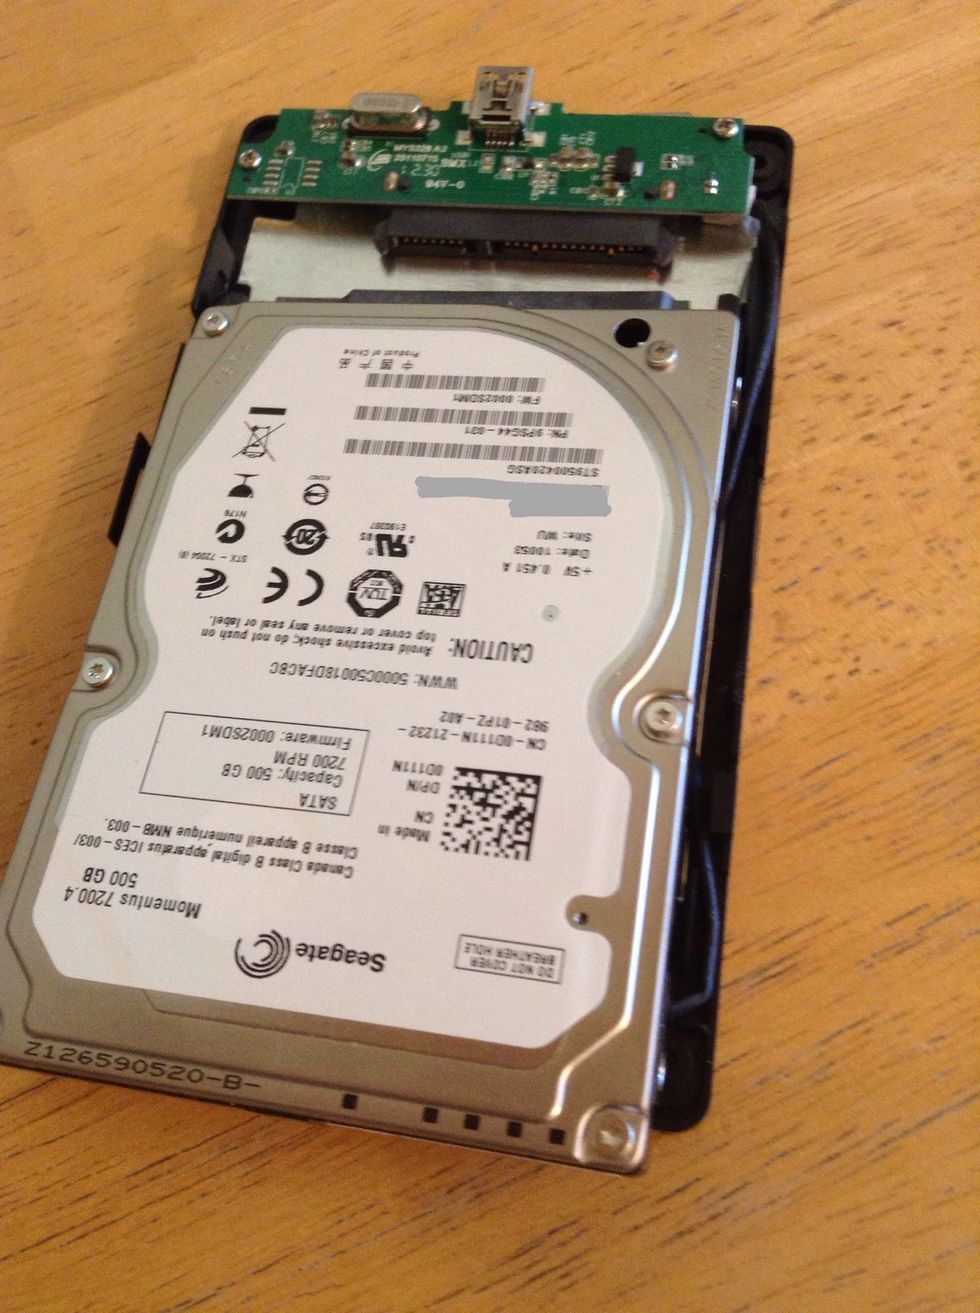
Slide your hard drive into the case lining up the pins.
Snap it in like so.
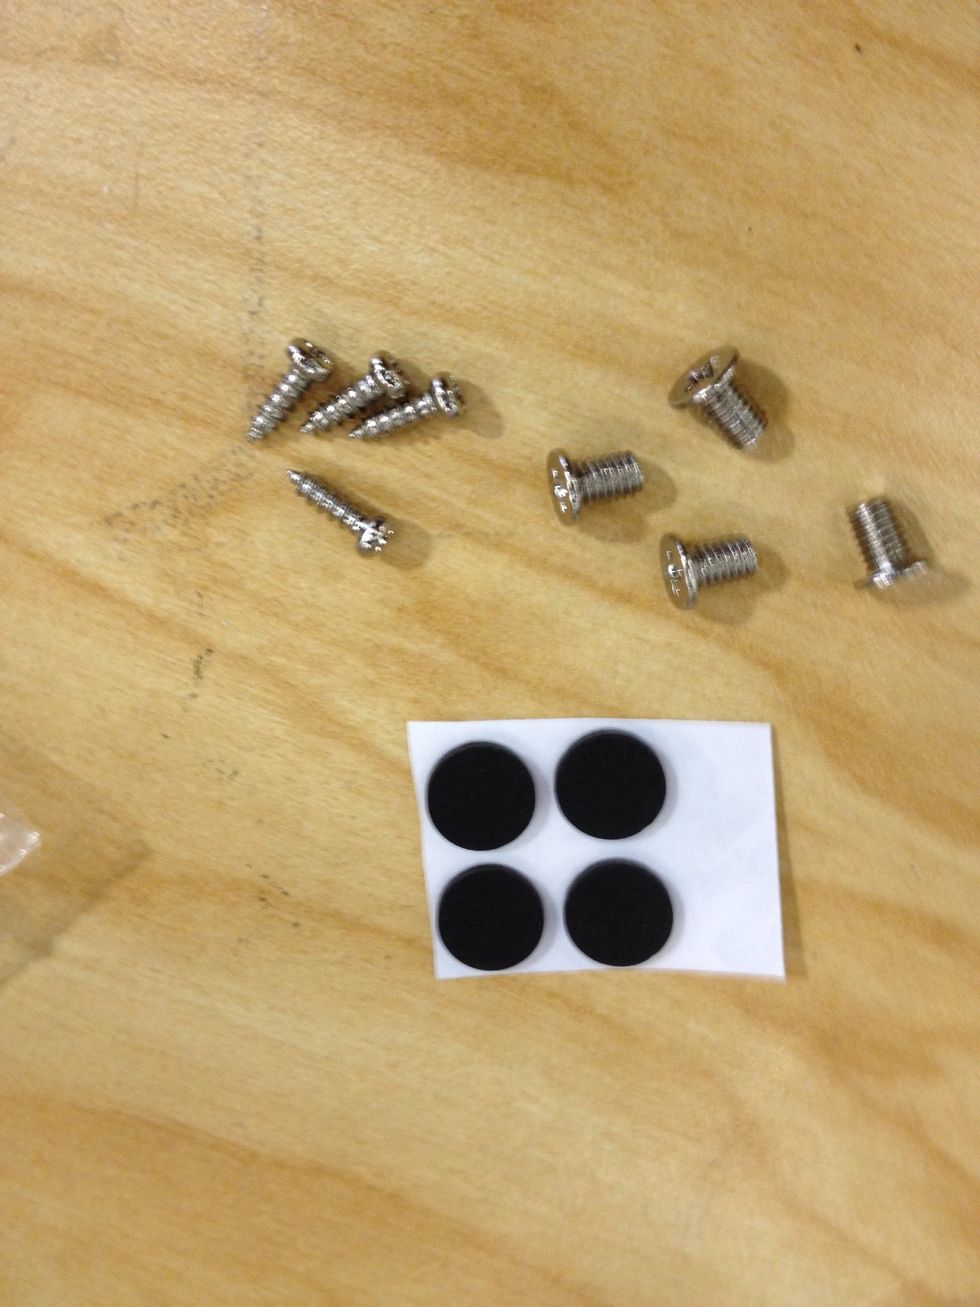
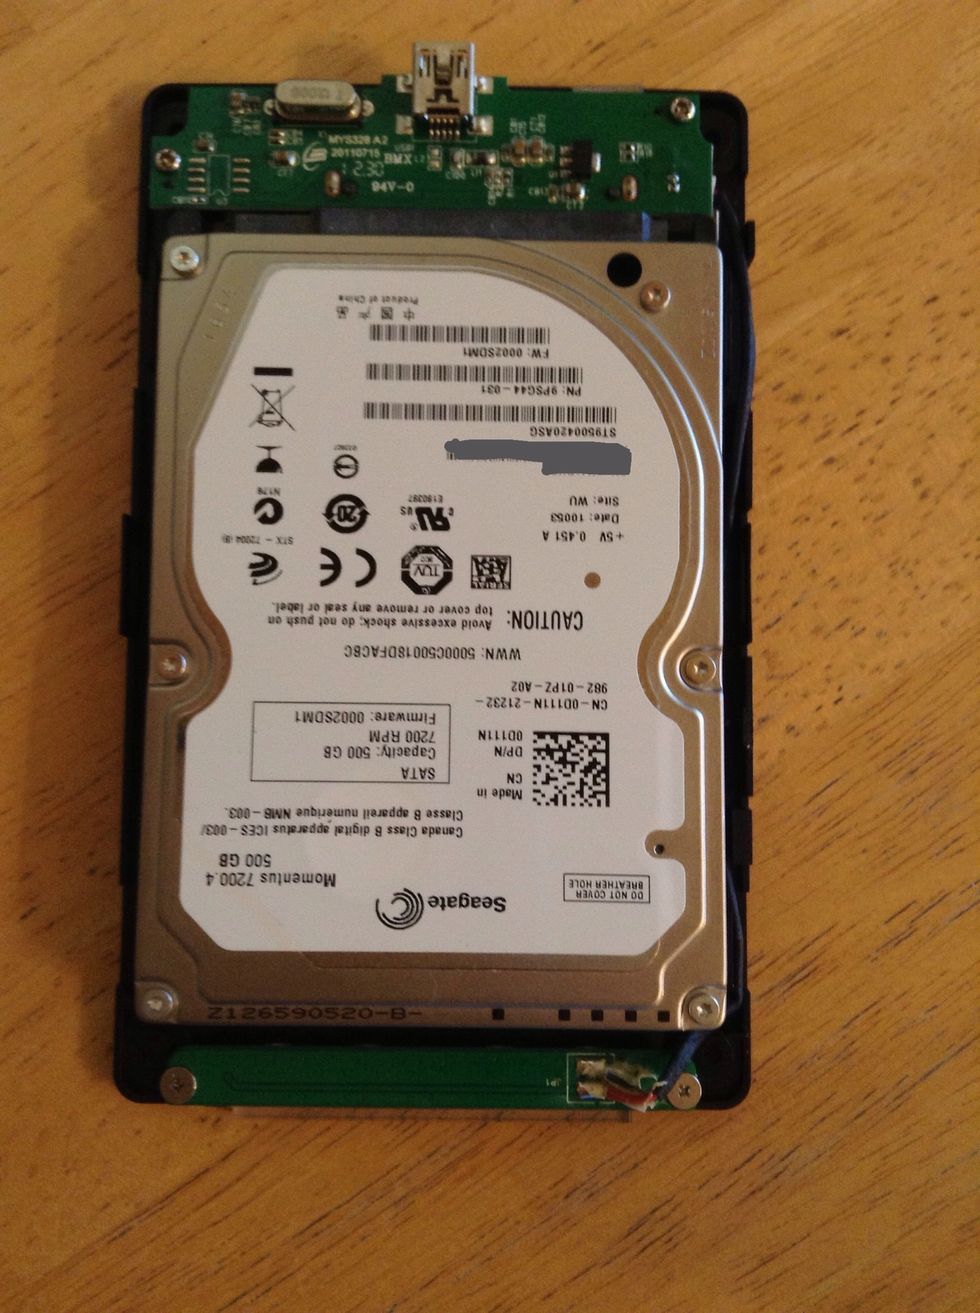
Next you will need the 4 fat screws.
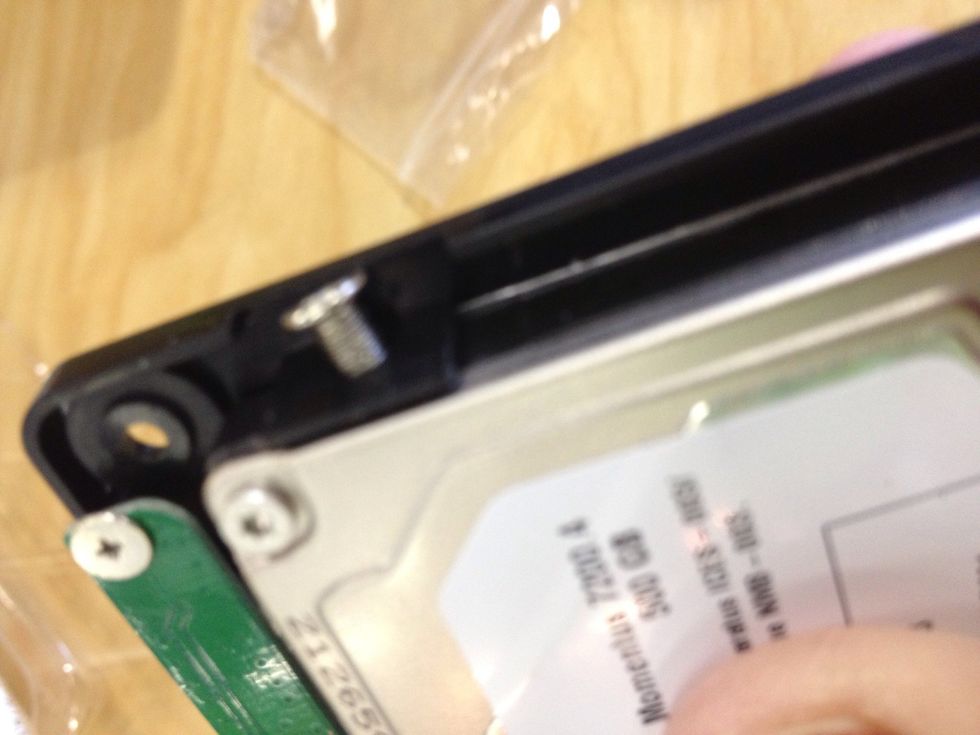
Secure the drive into the tray of the case.
There will be a band on one side of the case to work around, so gently pull it up and out of the way to insert the screw.
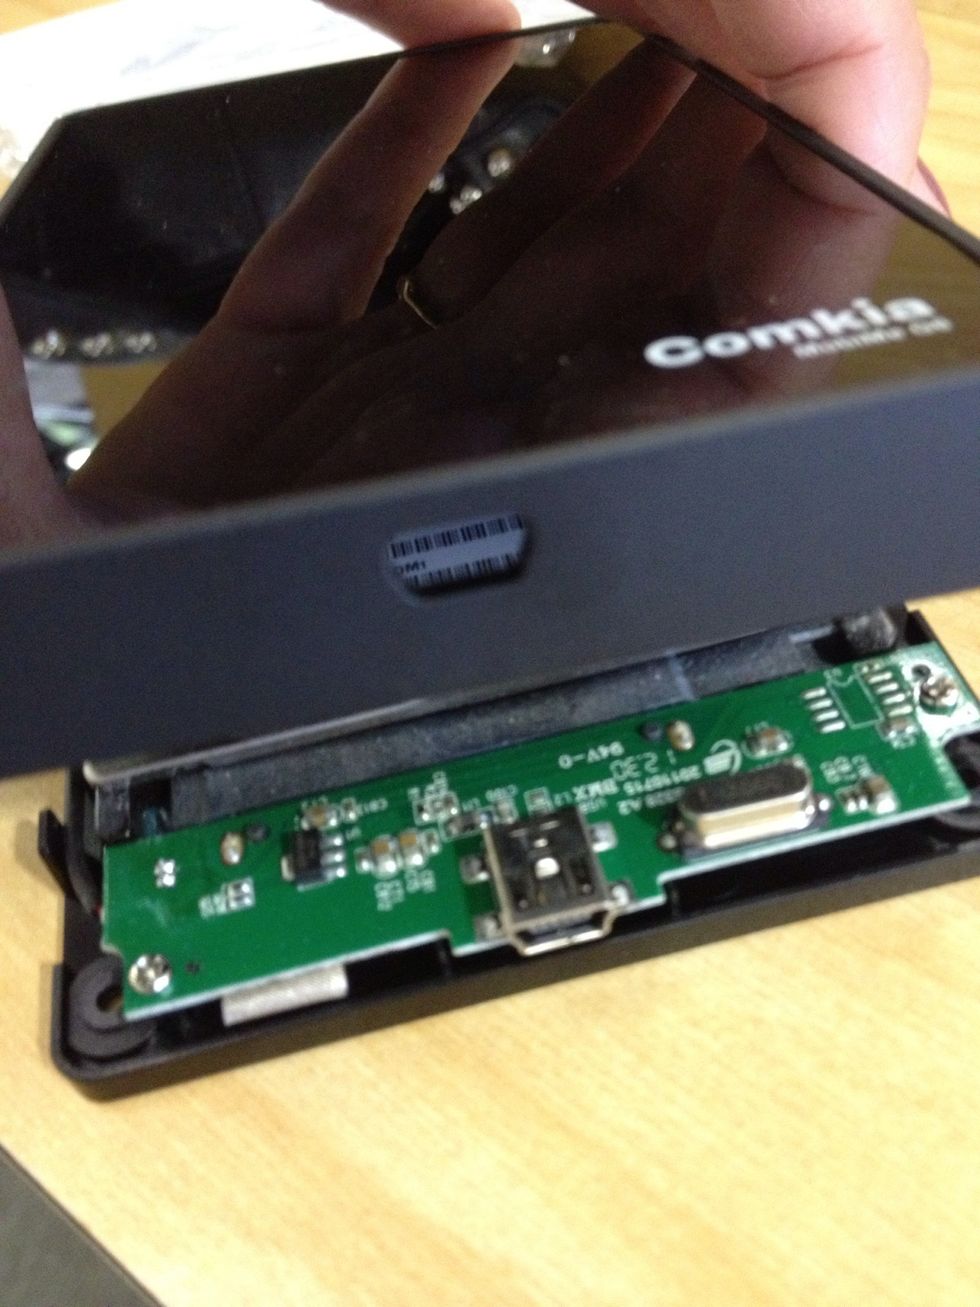
When finished, snap on the top. Line up the openings for the USB cord.
Screw in the 4 long screws to secure the back.
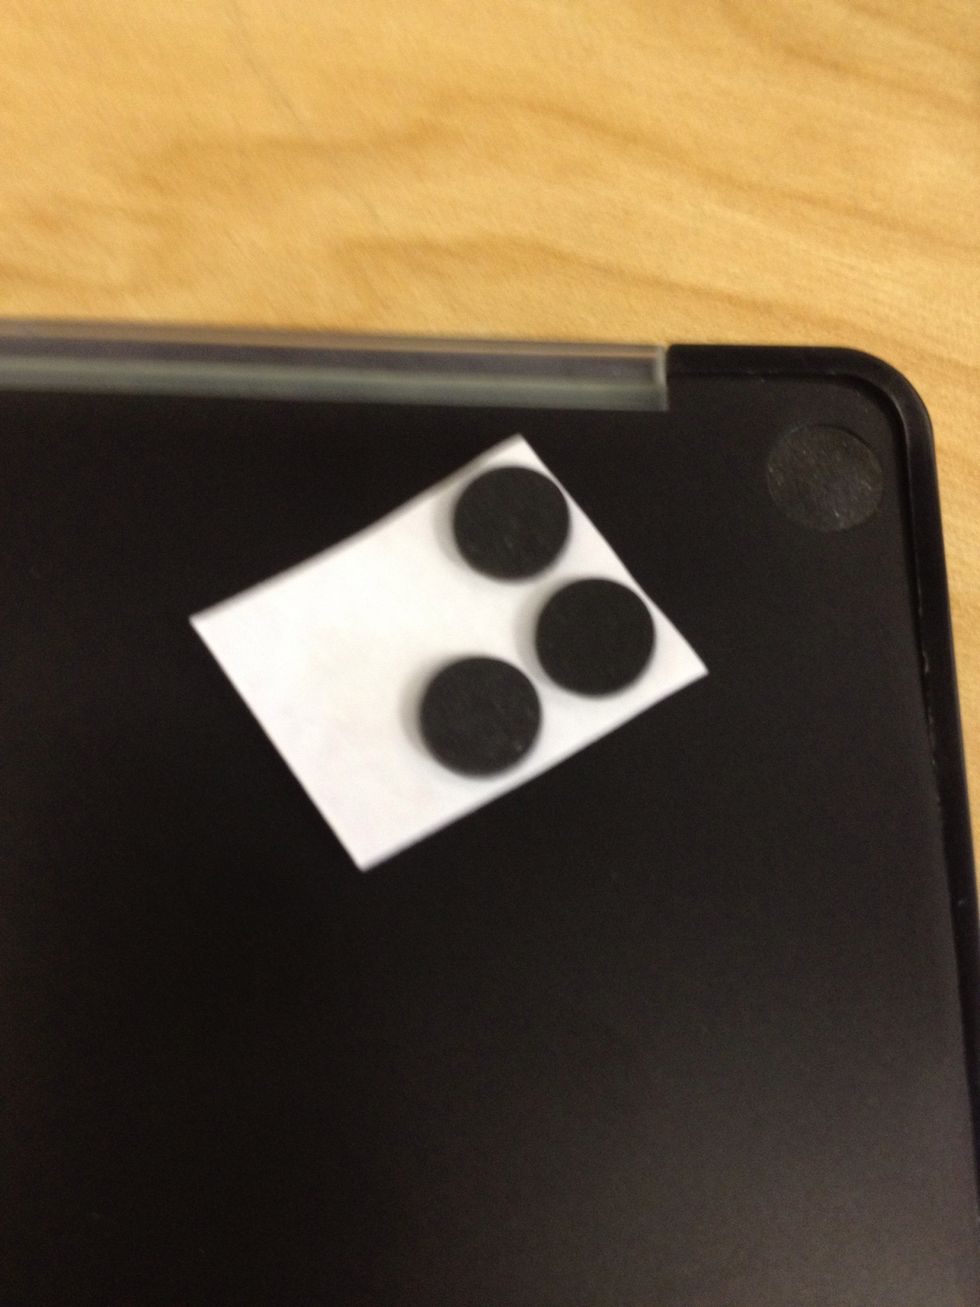
Cover with the felt pads provided.
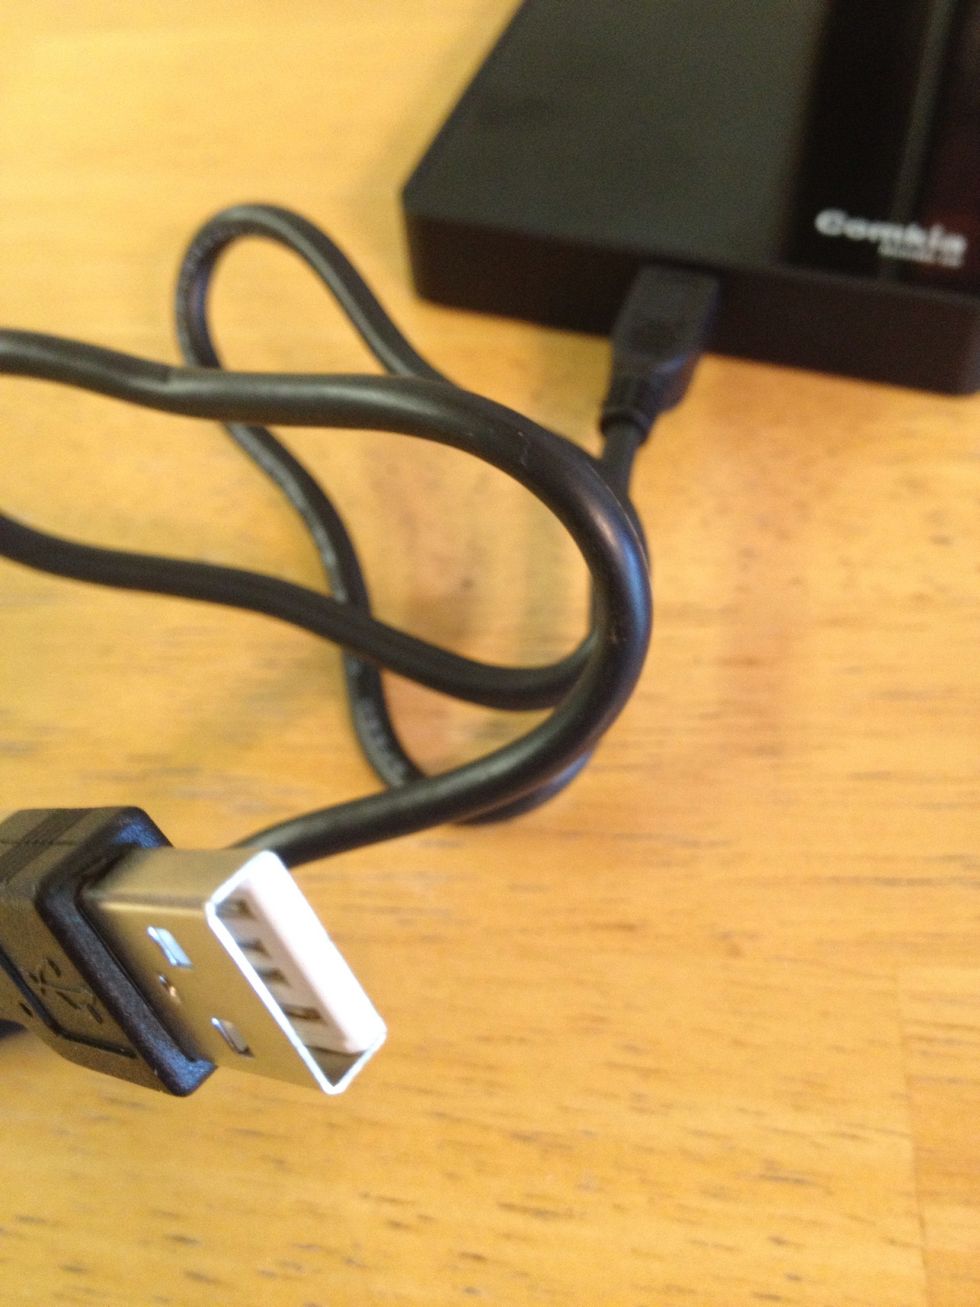
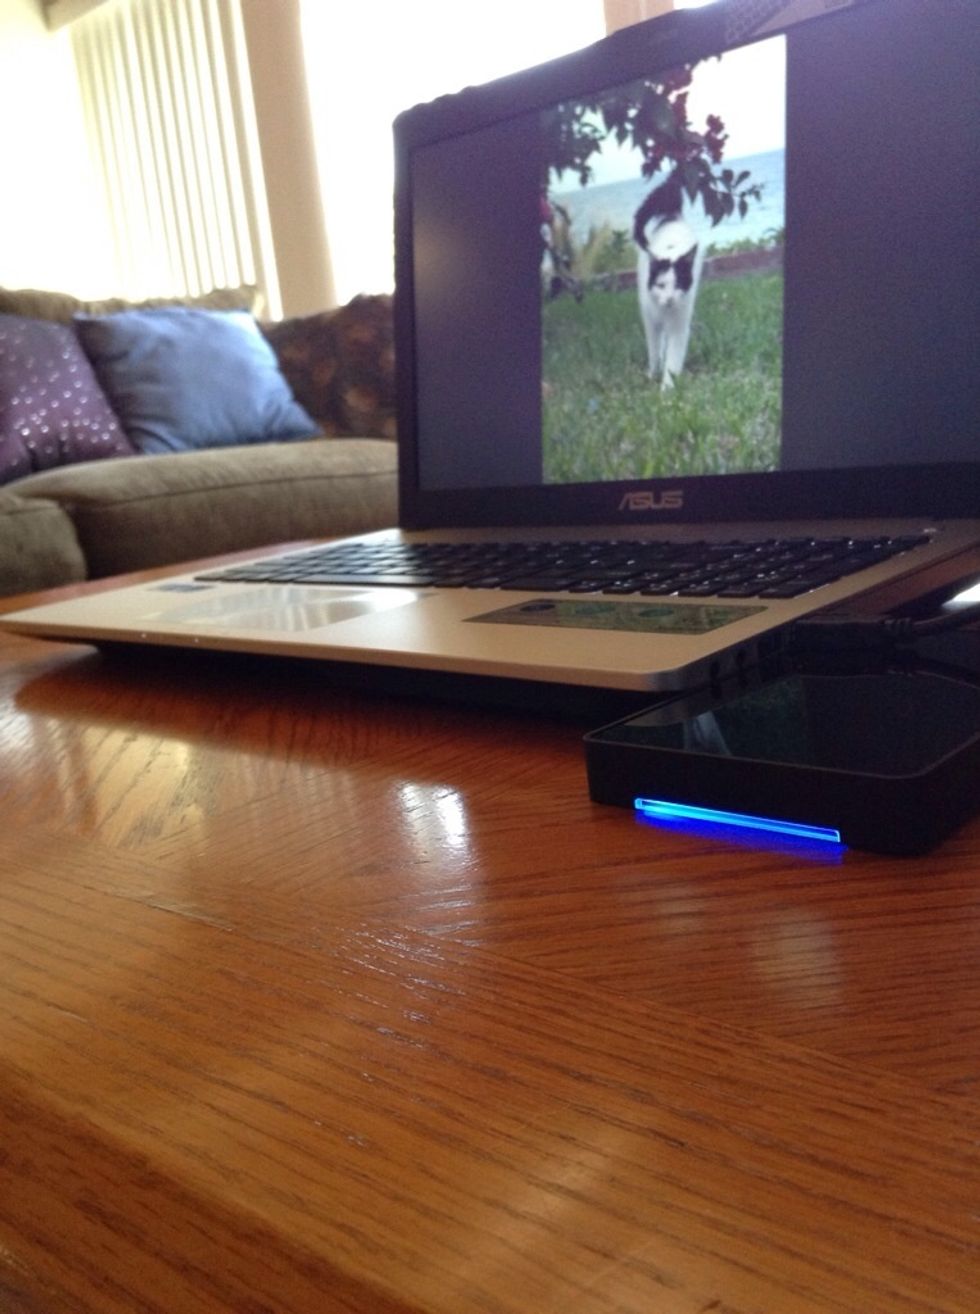
Now plug the USB cord into the box.
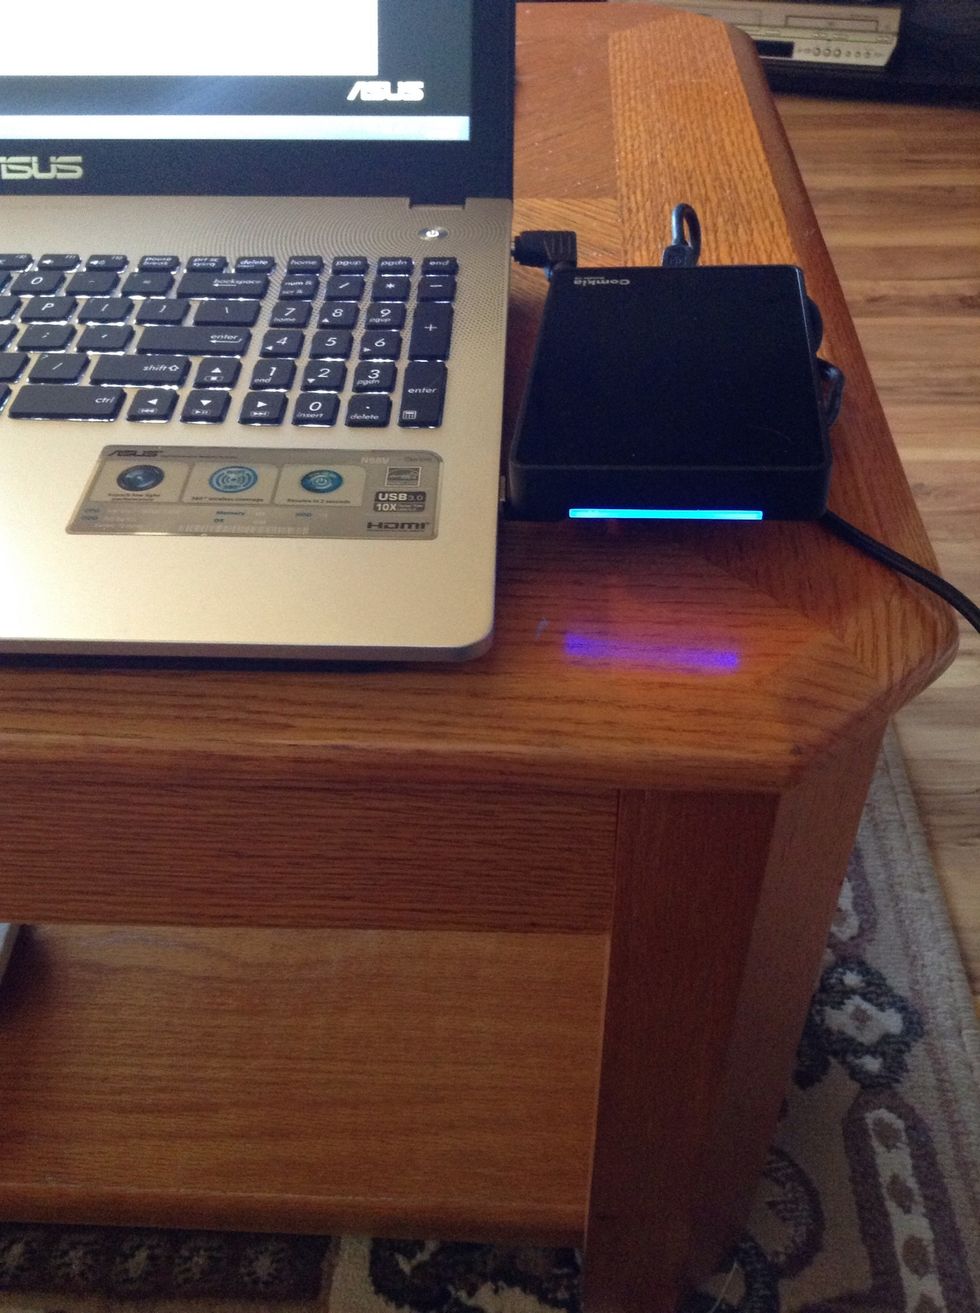
Plug the other end into your new computer's USB port and you will get a pretty blue light!
My computer recognized the drive as OS:G. Go to "users" and click on your directory name to get your files. If you get a message saying "you don't have permission to access"...
it is ok, just click "continue" to gain permanent access. It took about 10 minutes for the green bar to scroll across accessing my files.
I was able to take the drive in and out several times before it hung on me. I recommend pulling over all the files you need as soon as you gain access if you are loading your files to Windows 8.
I have another laptop with Windows XP that recognizes the Win 7 external hard drive beautifully. Hope this info was useful. Good luck!