The Conversation (0)
Sign Up
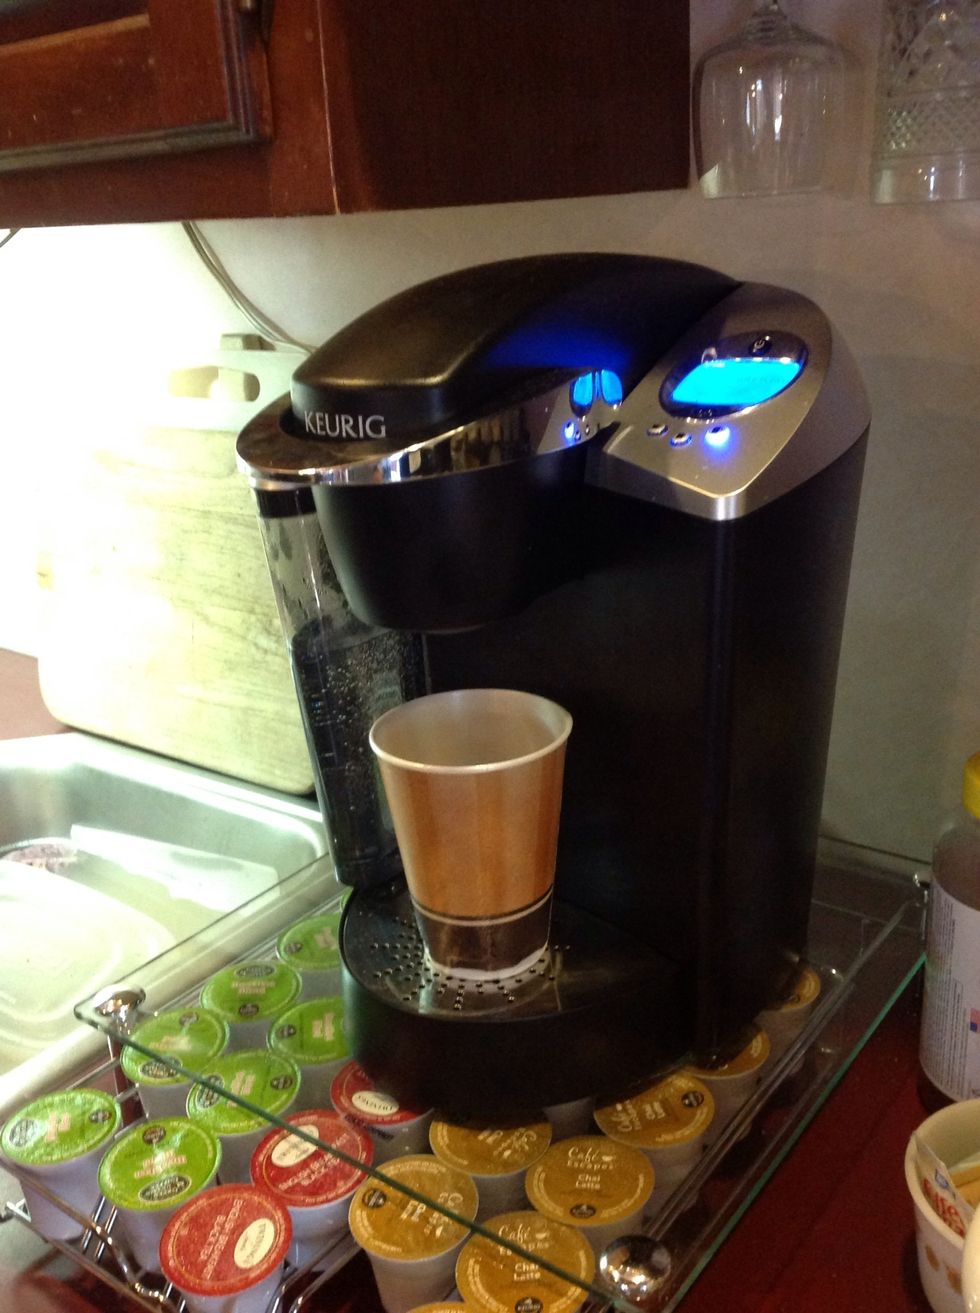
Enjoy 1-54 drinks of your choice c:
Peel off the foil top.

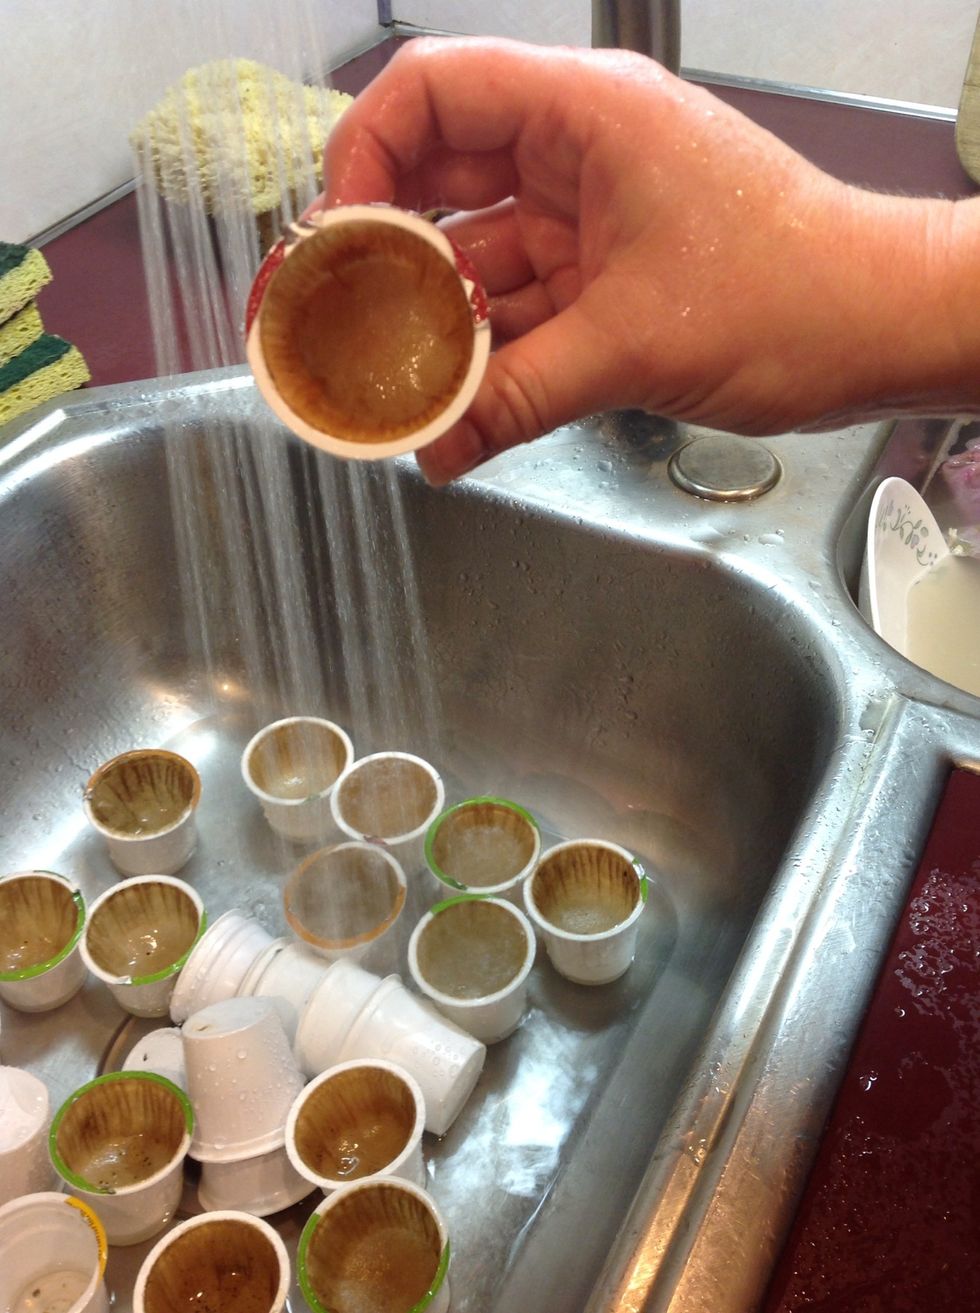
Dump contents & rinse. (you can use coffee/tea grounds for compost)

No need to let them dry. If you want more drainage holes in the bottom of your K-cup just place back into Keurig and push lever, turn and repeat as many times as desired.
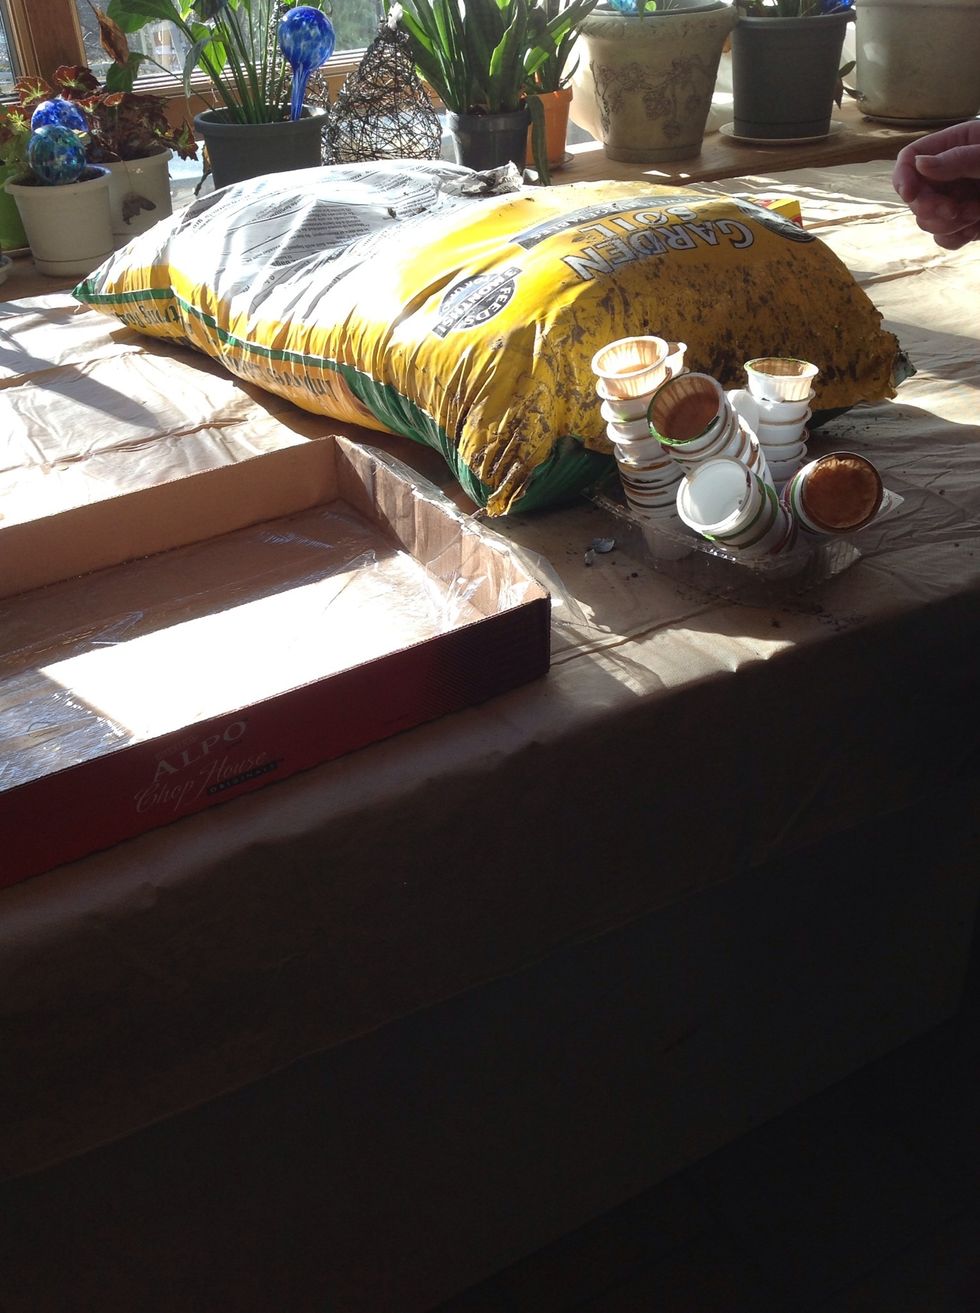
Get your flat box ready with a sheet of Plastic Wrap.
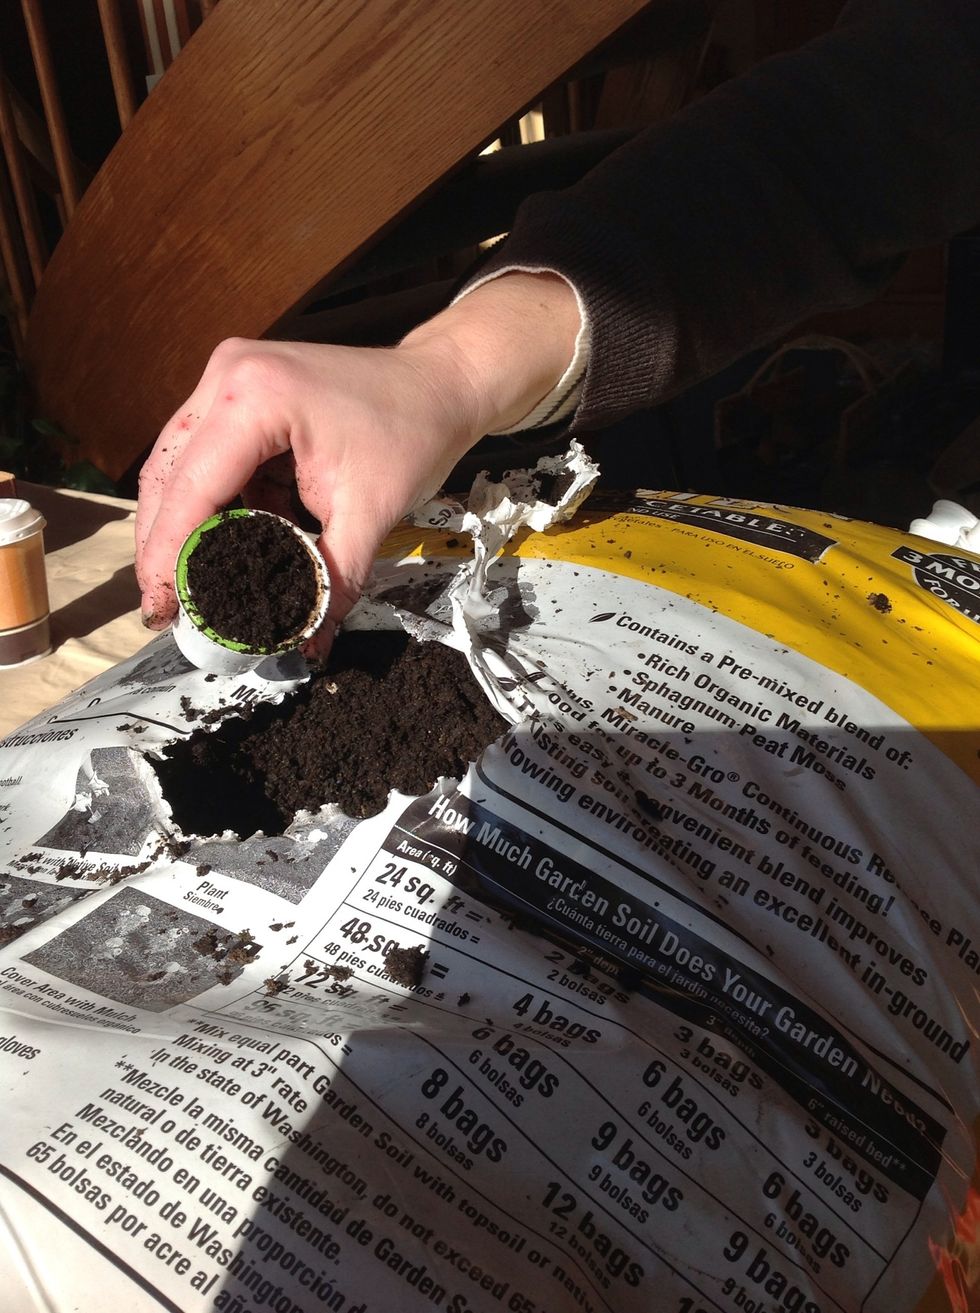
Fill K-cup to the top with potting soil.

Place as many as you want in your flat box.
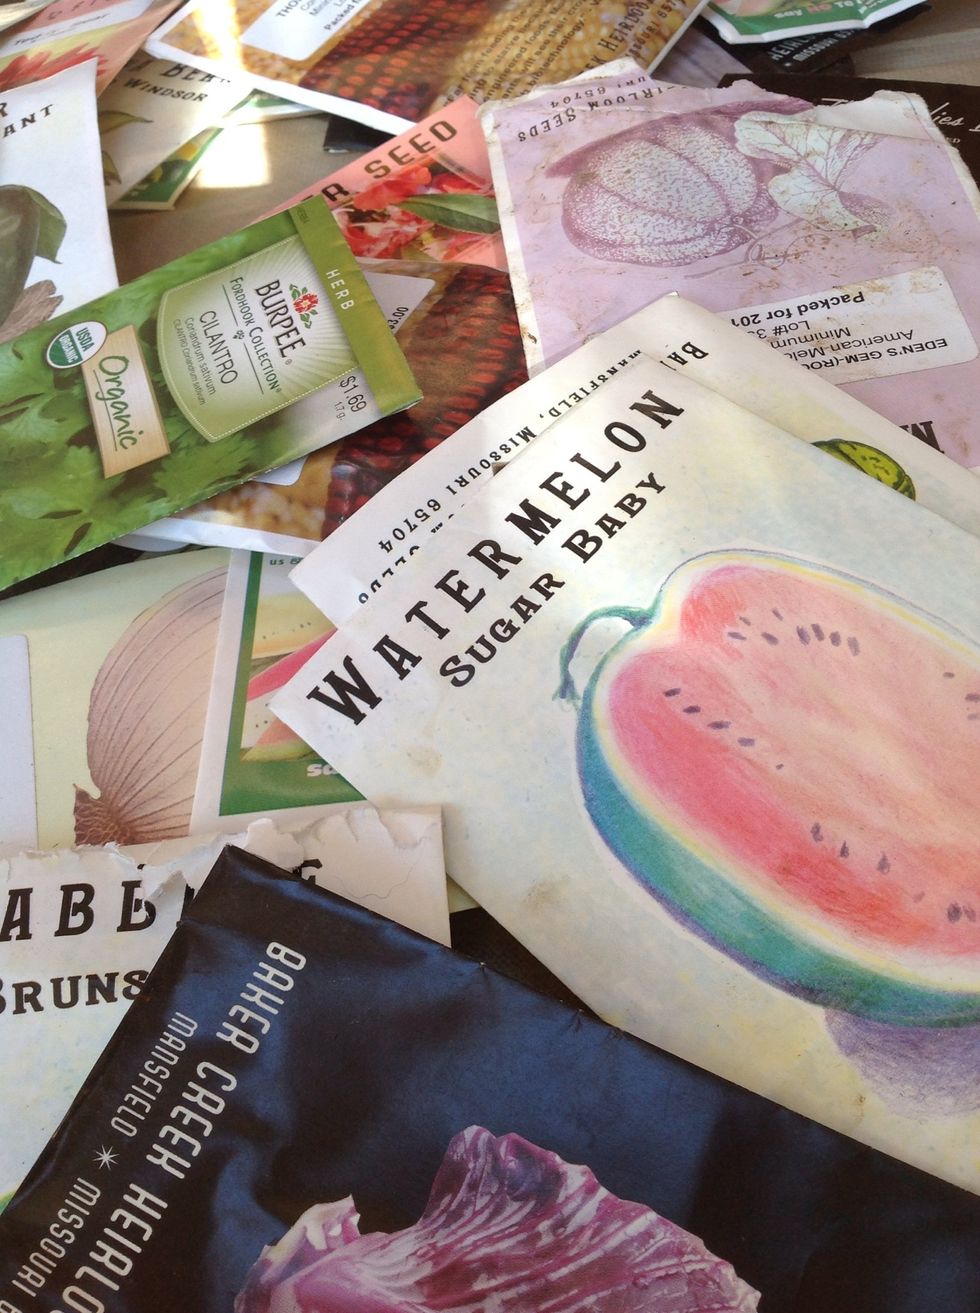
Time to pick your seeds!
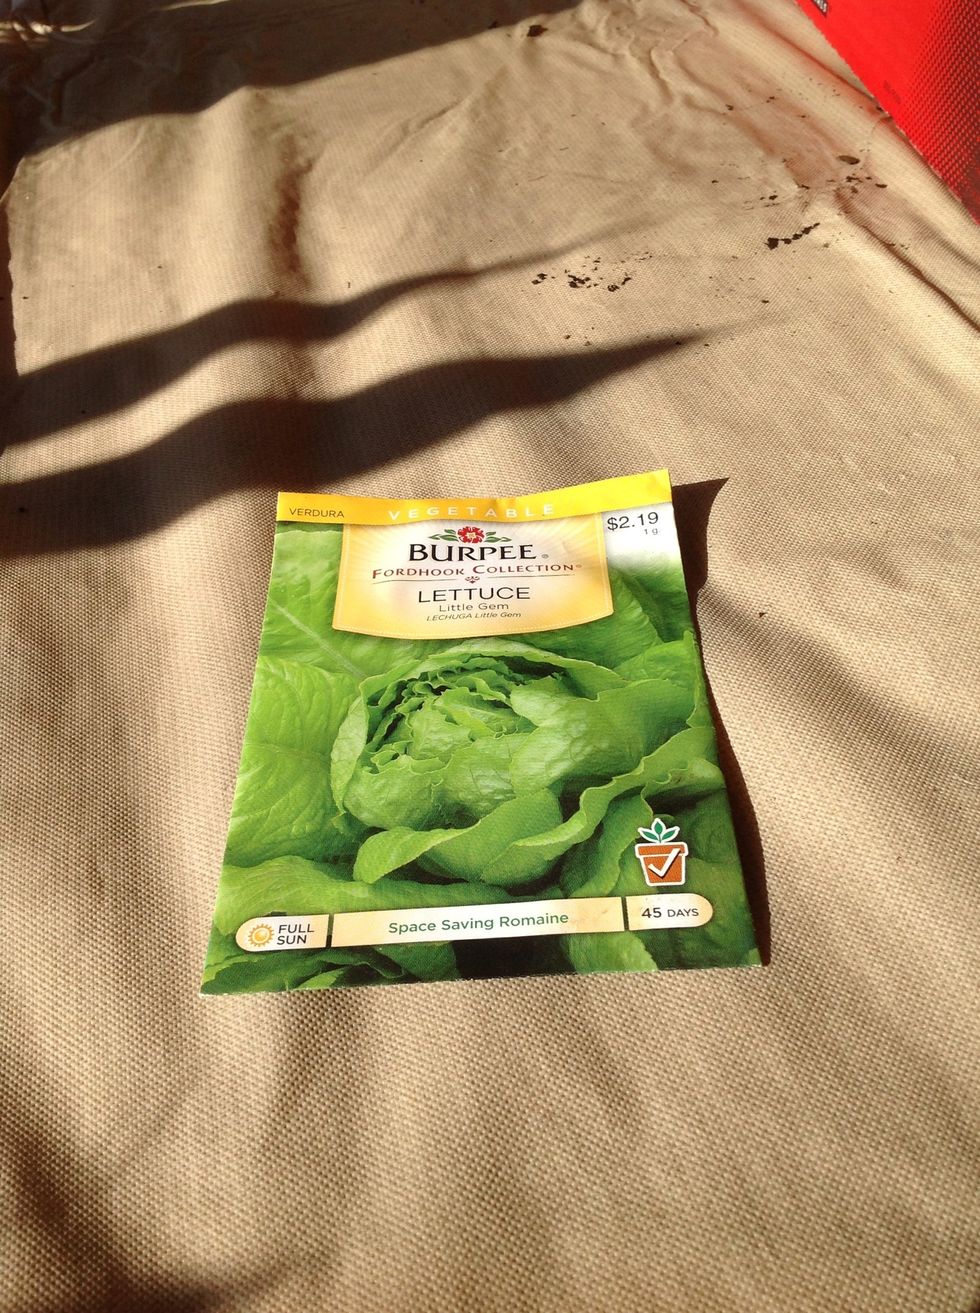
We went with Burpee Lettuce.

The seeds are pretty tiny so instead of trying to use your hands you can lick or wet the tip of a pencil and grab the seeds that way c:
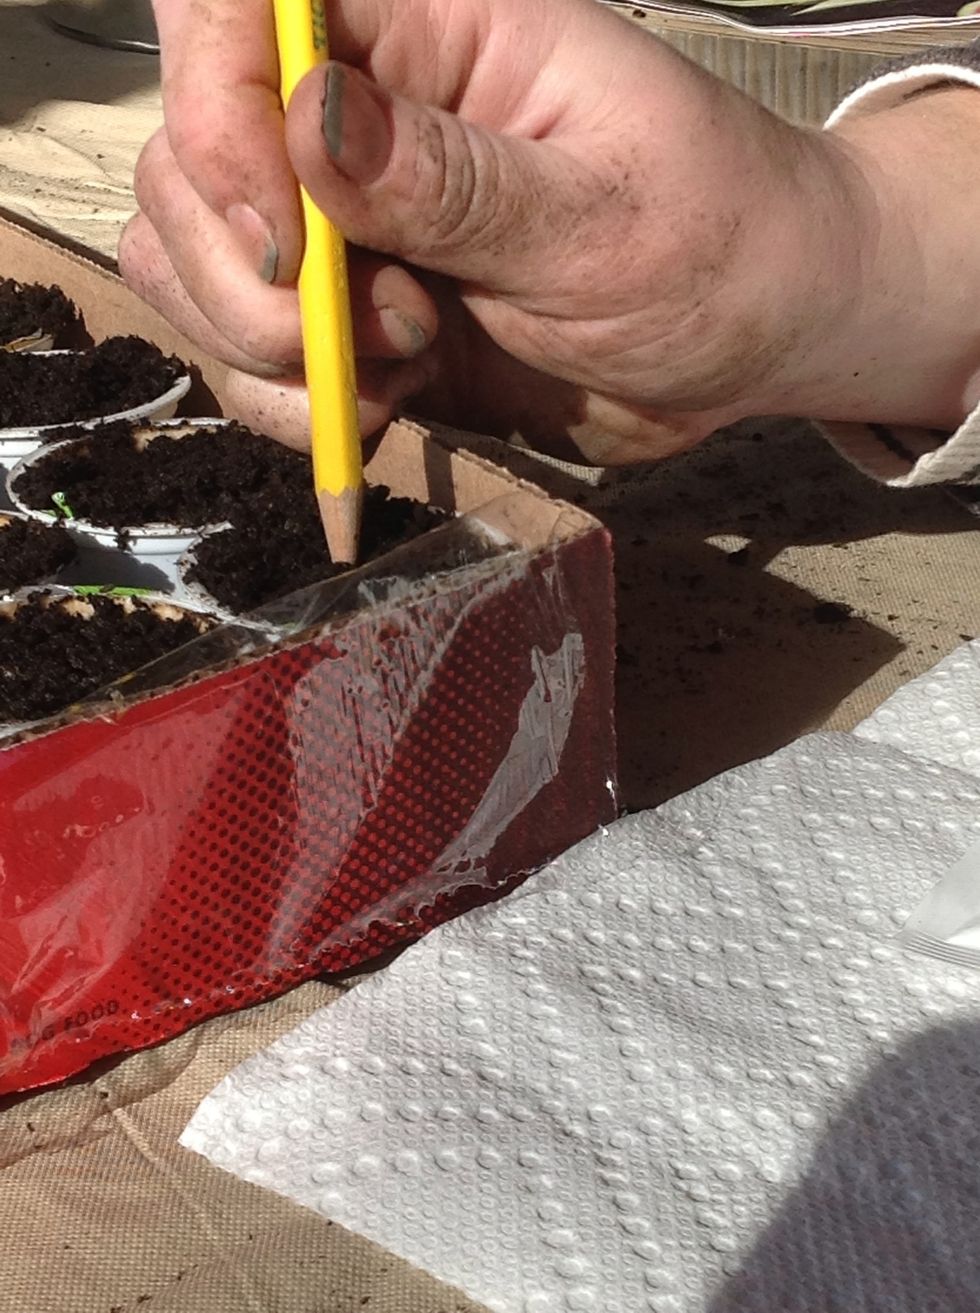
Plant your seeds in the cup, 1/16 to 1/8 of an inch down (so the soil just covers the seed)

Get 4-5 toothpicks to hold up the top layer of Plastic Wrap.
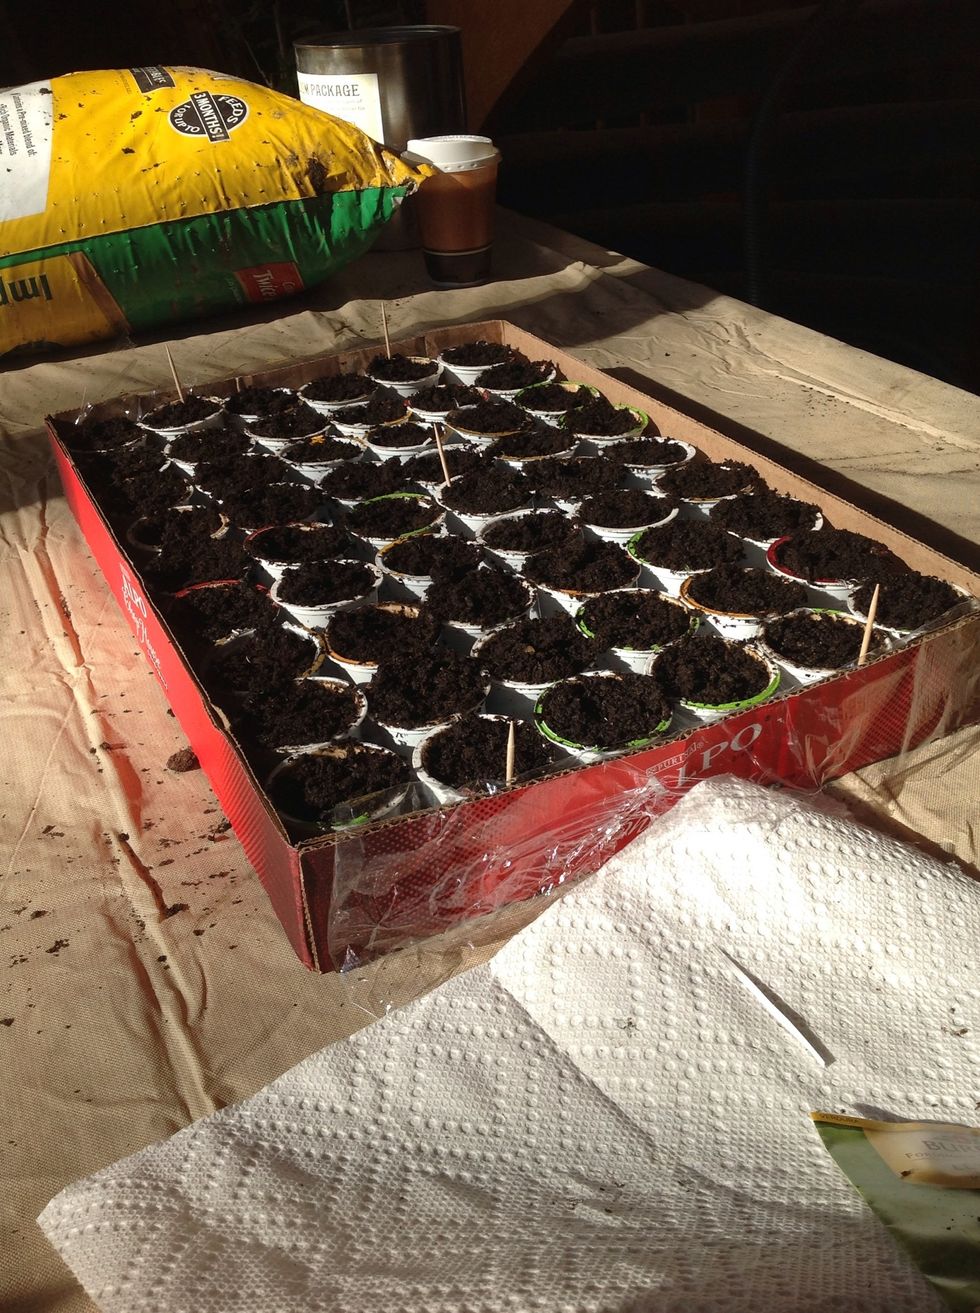
Place the toothpicks in the cups in the four corners and in the middle.
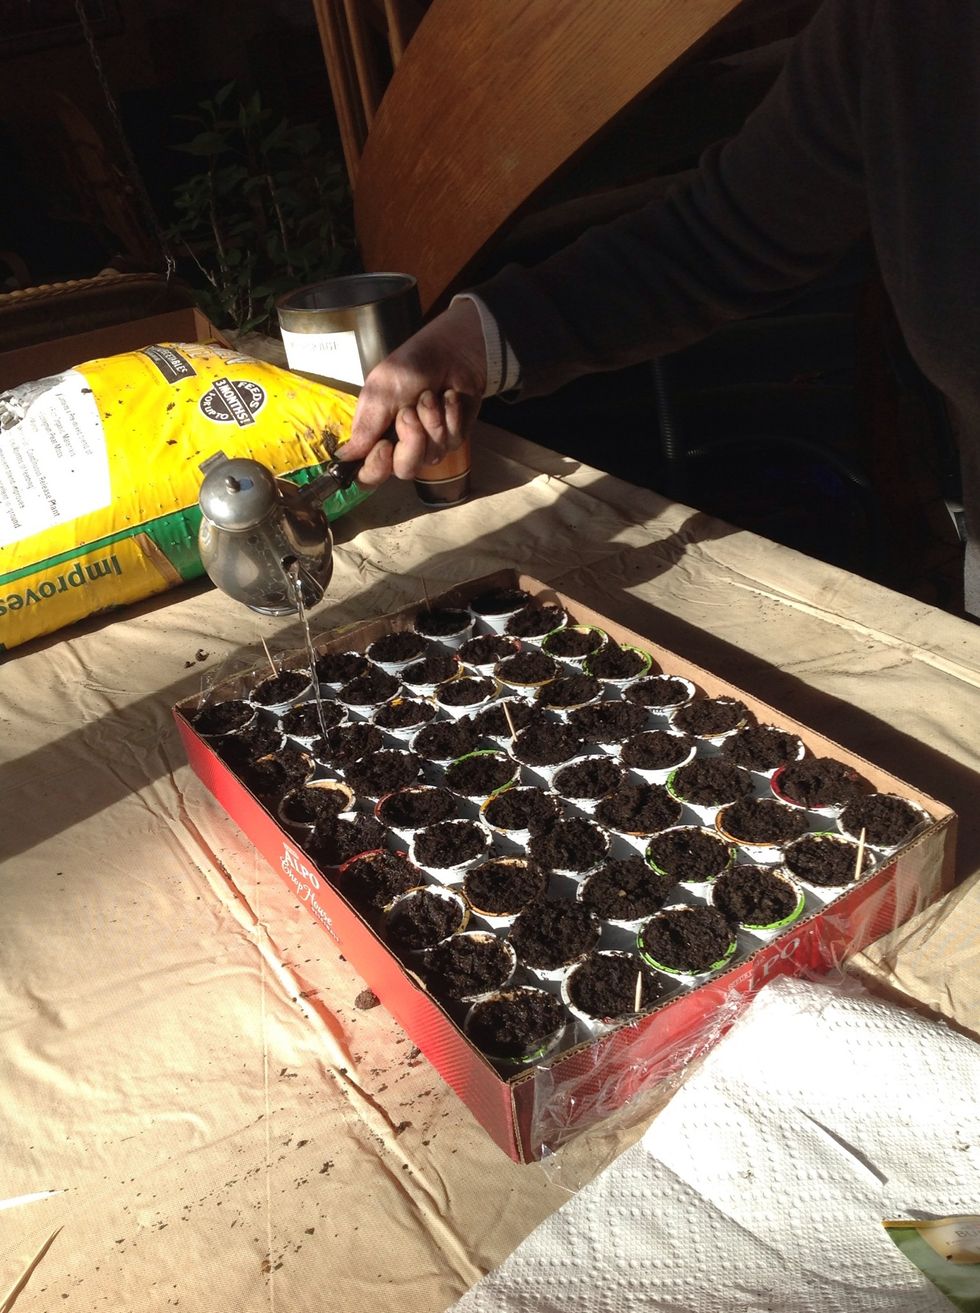
Water each cup.
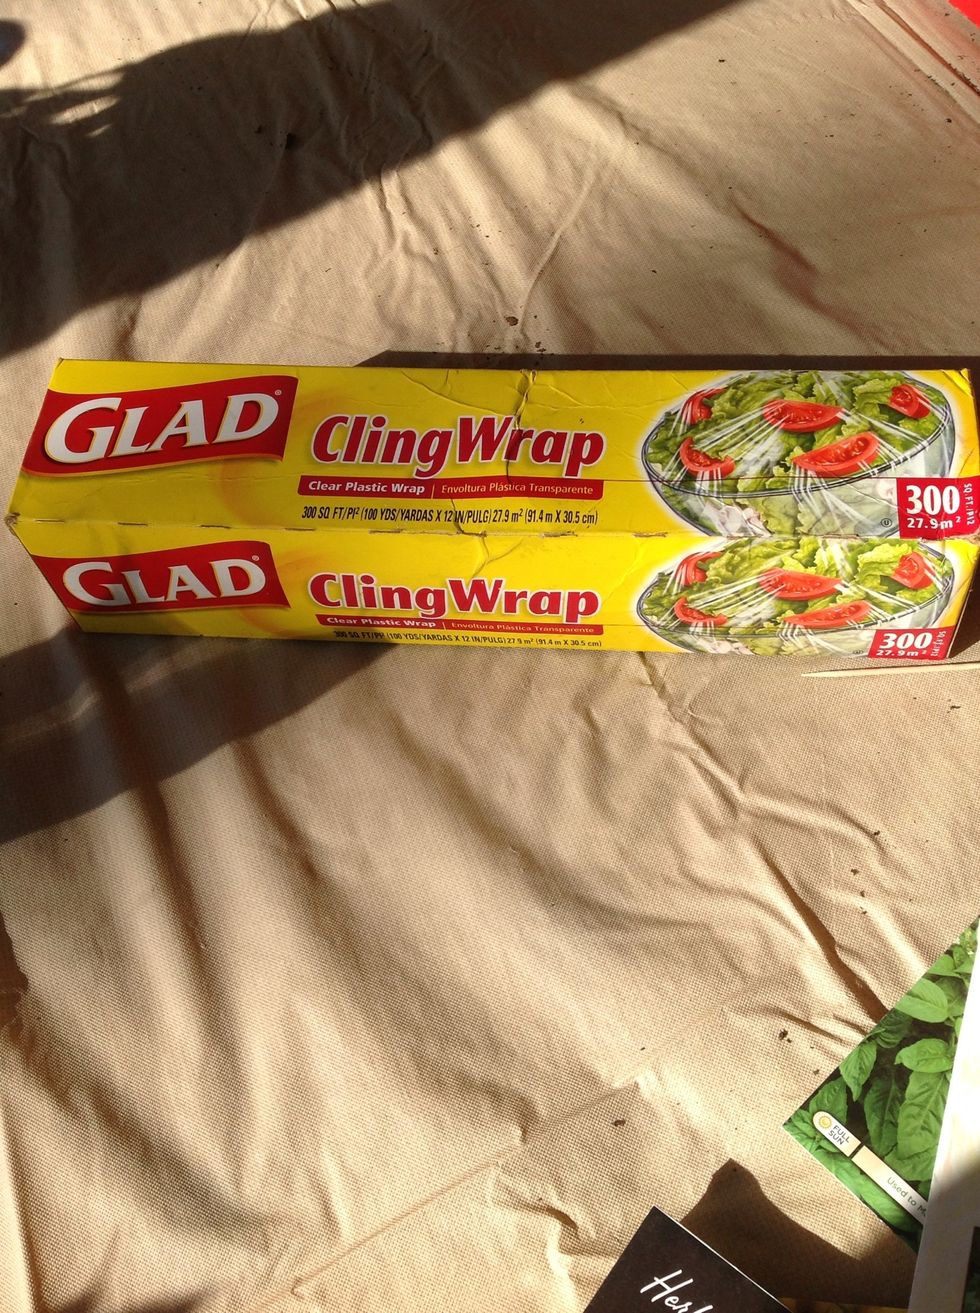
Get a couple pieces of Plastic wrap
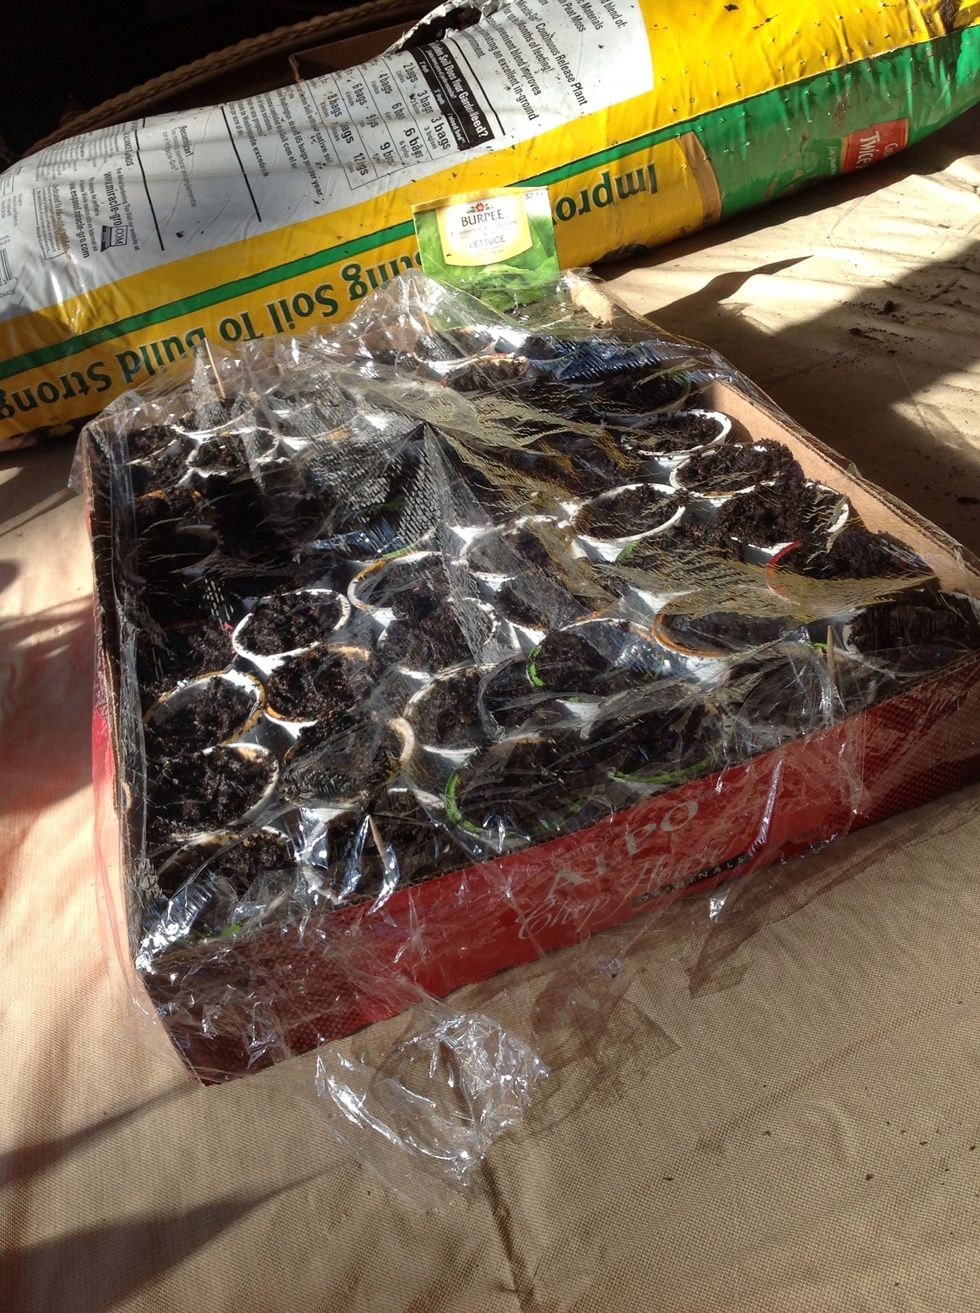
Cover seeds to create a greenhouse. And viola, your seeds are started! Germination times vary. Water periodically, to keep soil nice and moist. Once they have sprouted, remove wrap and keep moist.
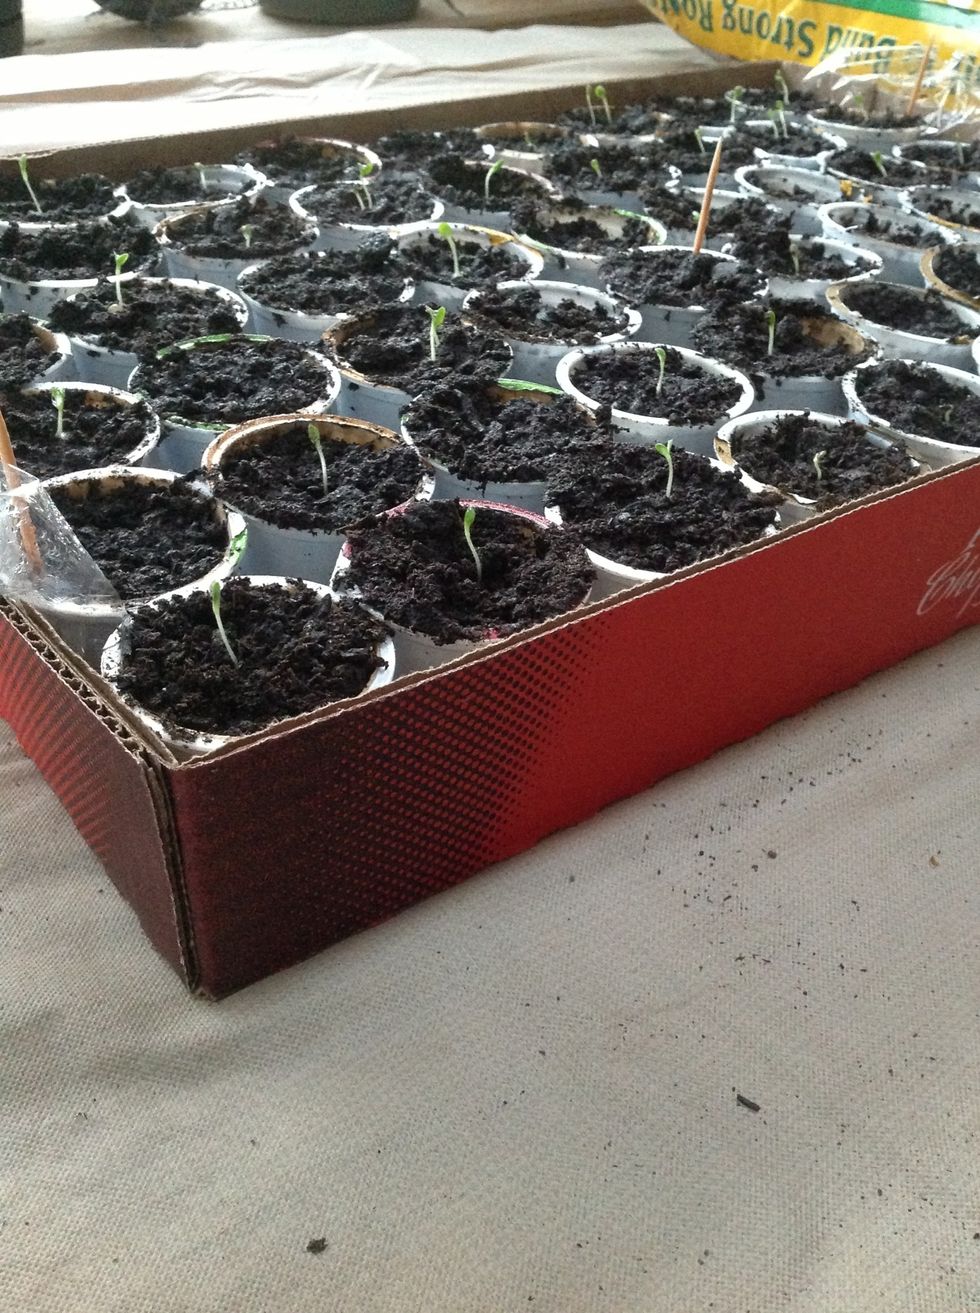
Ours sprouted in a little less than a week. c:
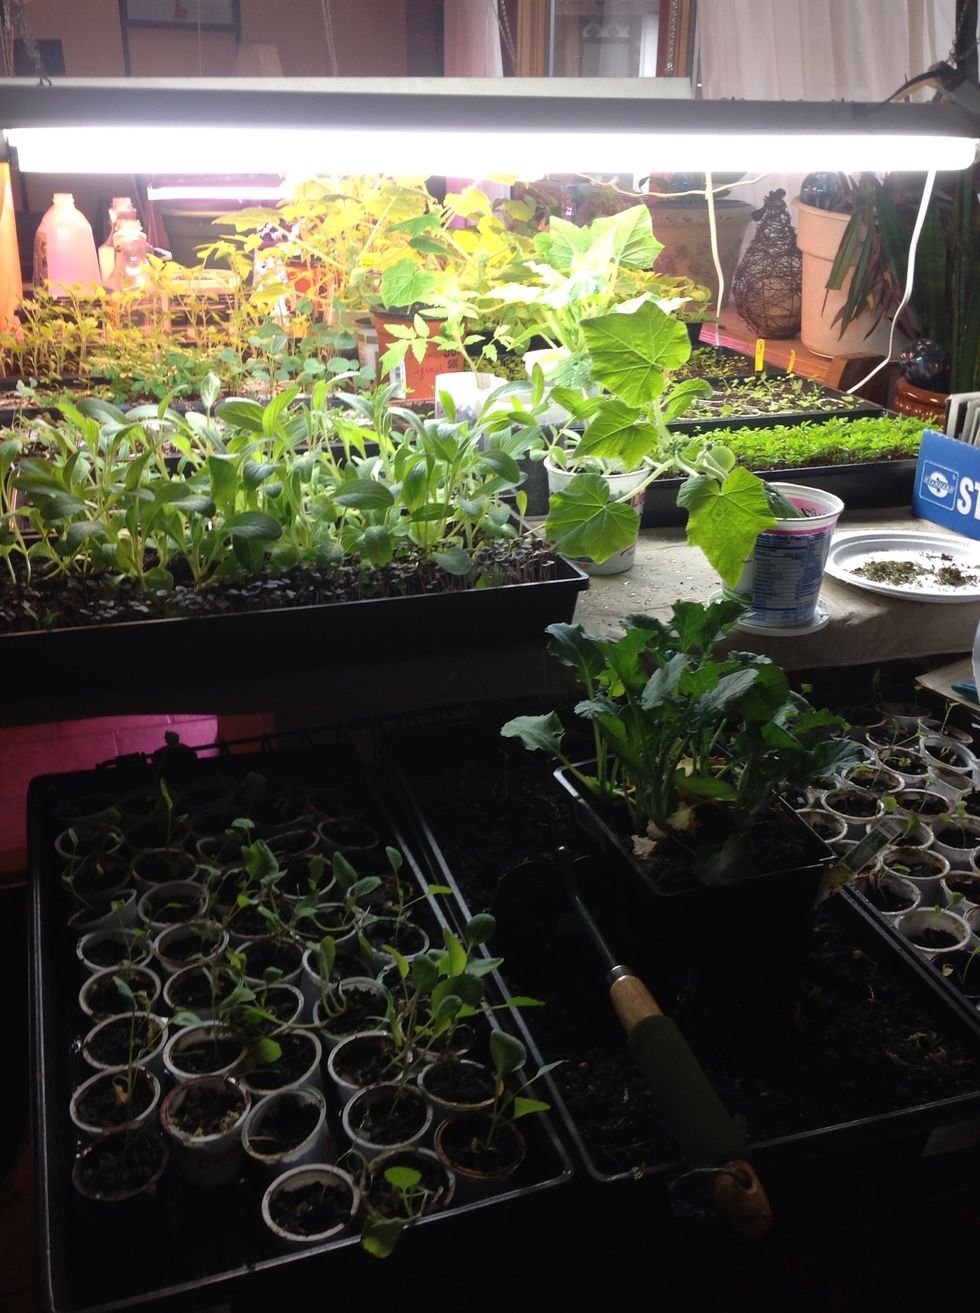
Here's our indoor garden
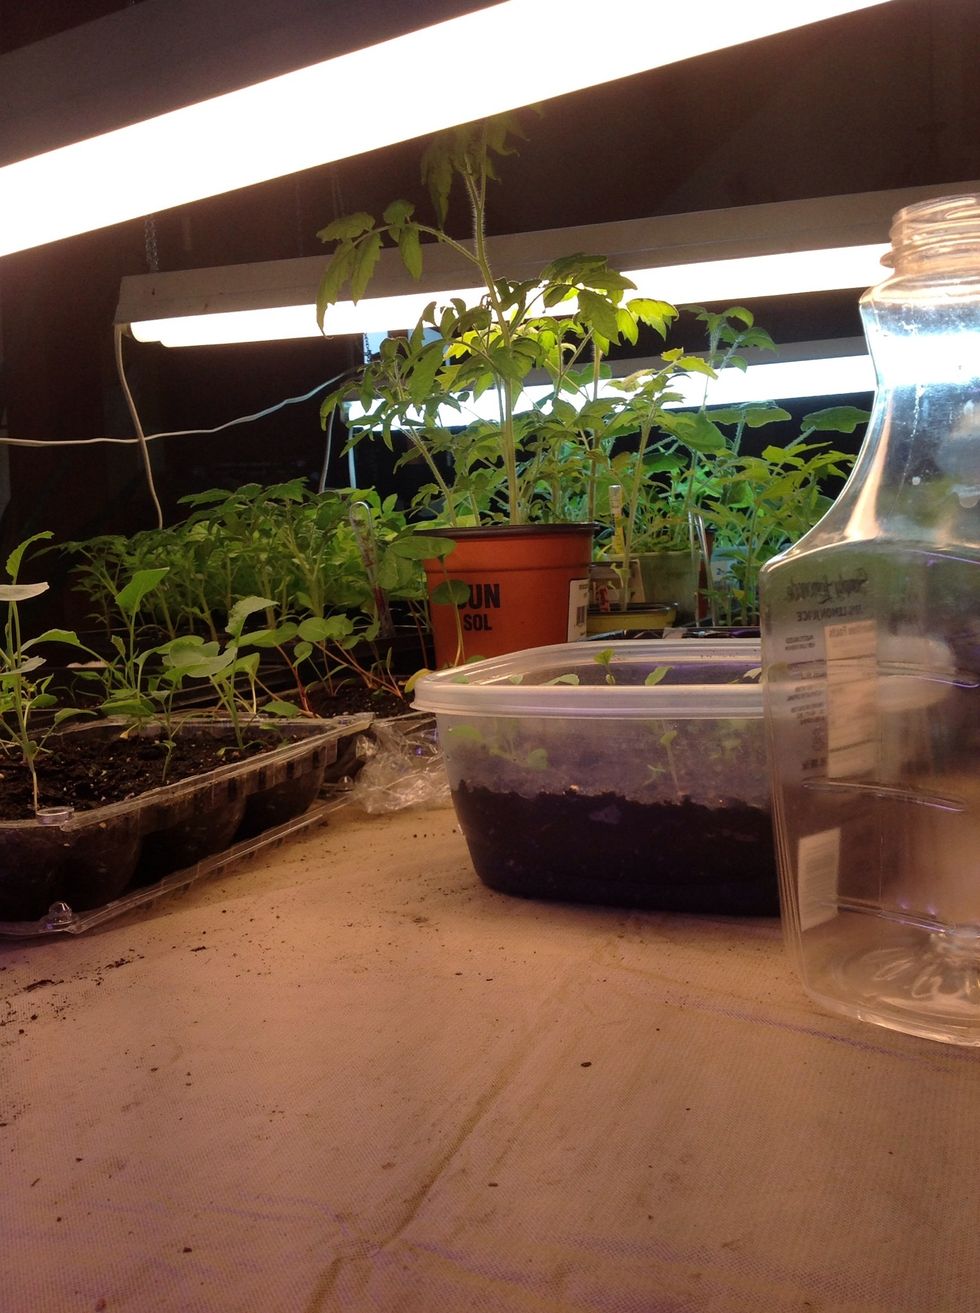

We'll be transferring these outside pretty soon c: