The Conversation (0)
Sign Up

Load your picture into Photoshop from your files
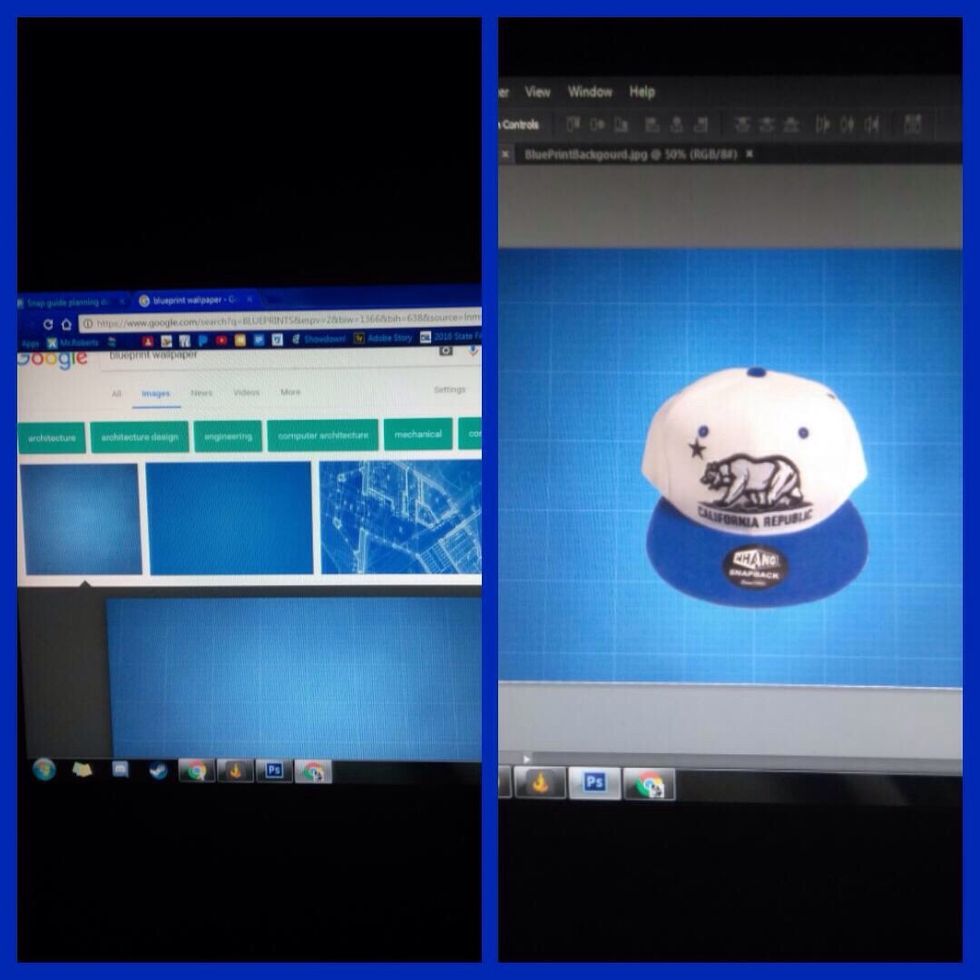
Find a blueprint backdrop and place it behind your target item
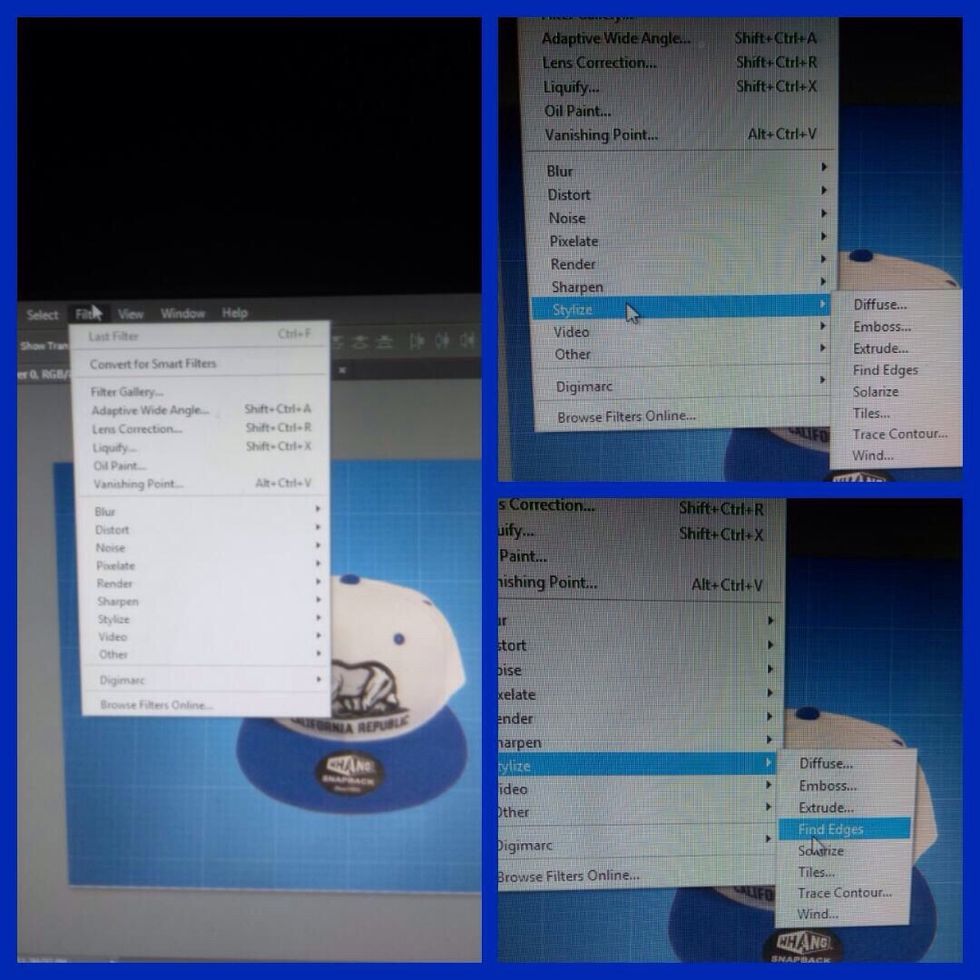
With your image layer selected, go to the top and open the Filter tab. When Filter is open you go down to Stylize, then click Find Edges
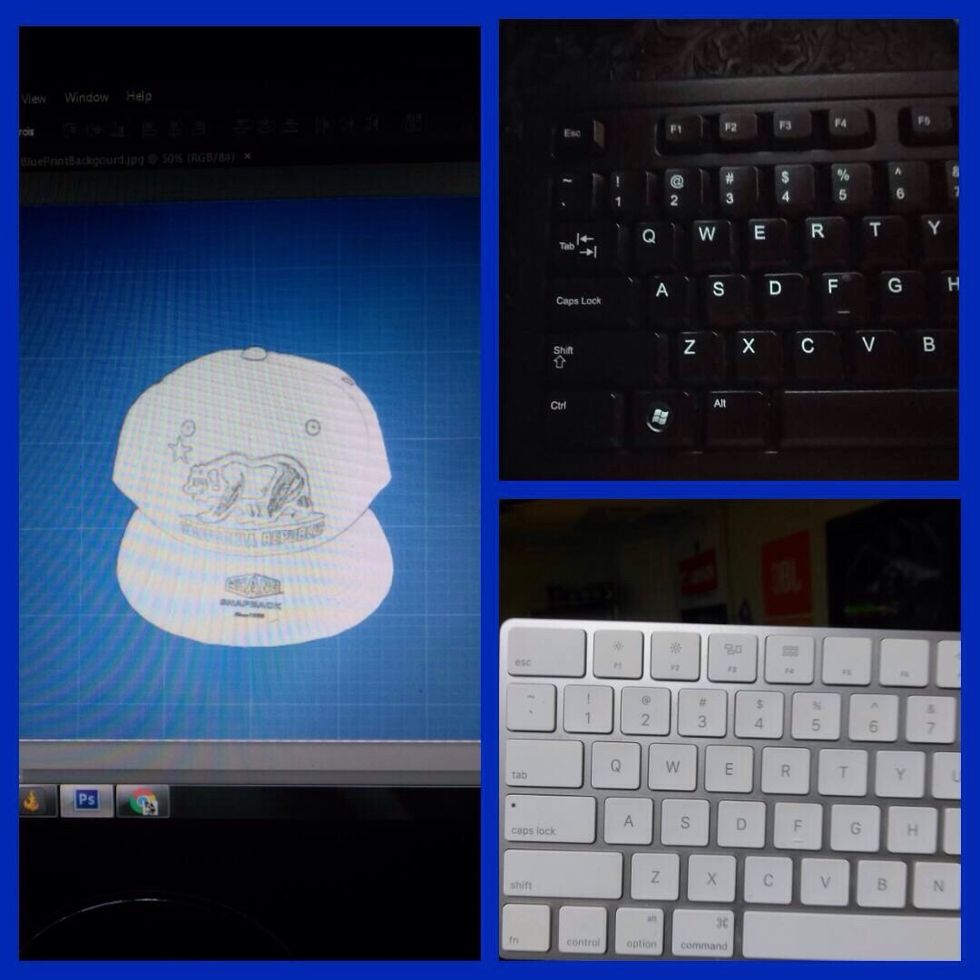
After the image has turned into a white version of your image. Then press For Mac (cmd + shift + U) For PC (control + shift + U) This will get rid of any color in the image
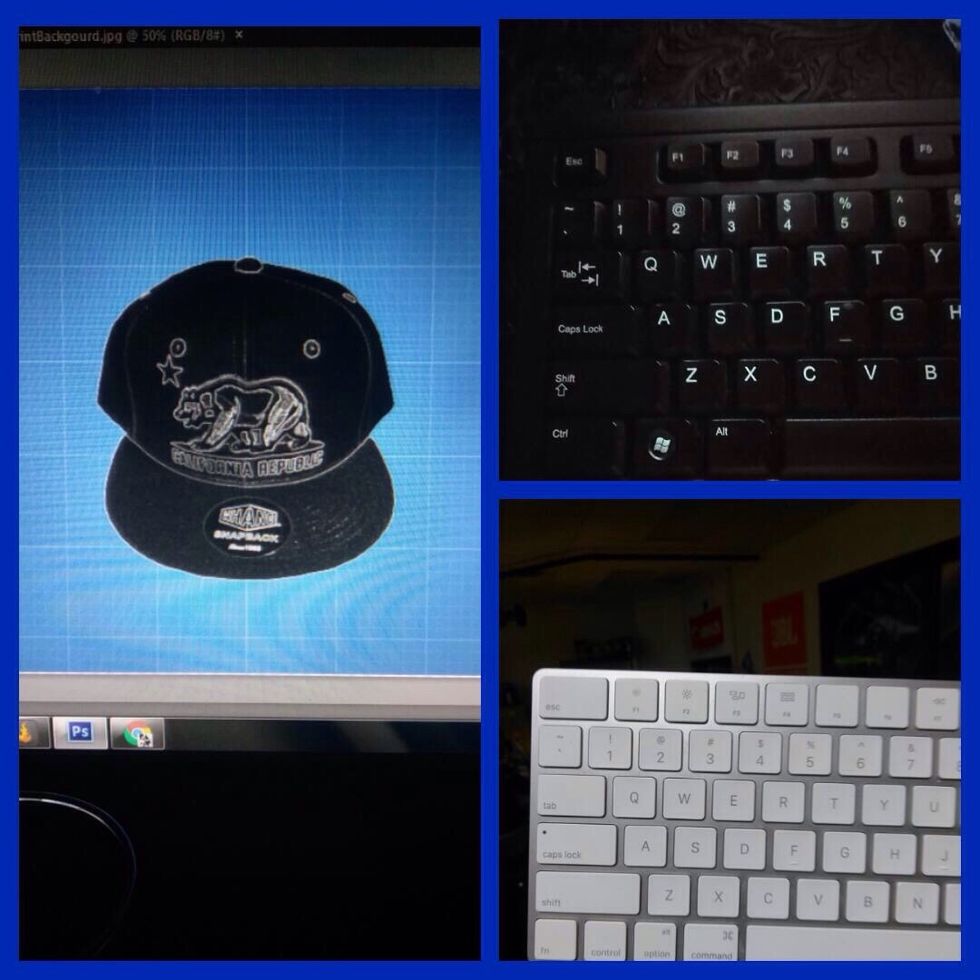
The press For Mac ( cmd+ I) For PC (control +I) This should invert your image to a black color

Right above your layers, you should see tab that says Normal. Open it up and change it to Screen. This should get rid of all the black.
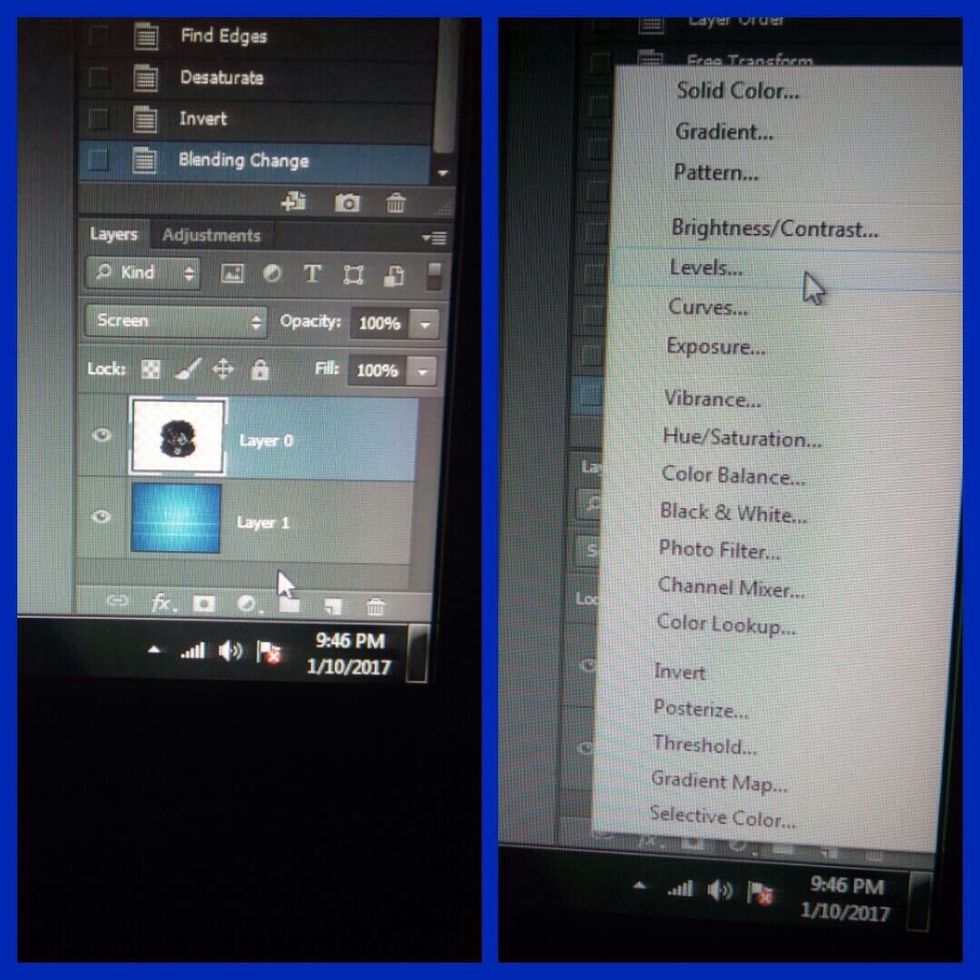
Go to the bottom of the layers to semi-filled circle and open it. Go to the Levels tab
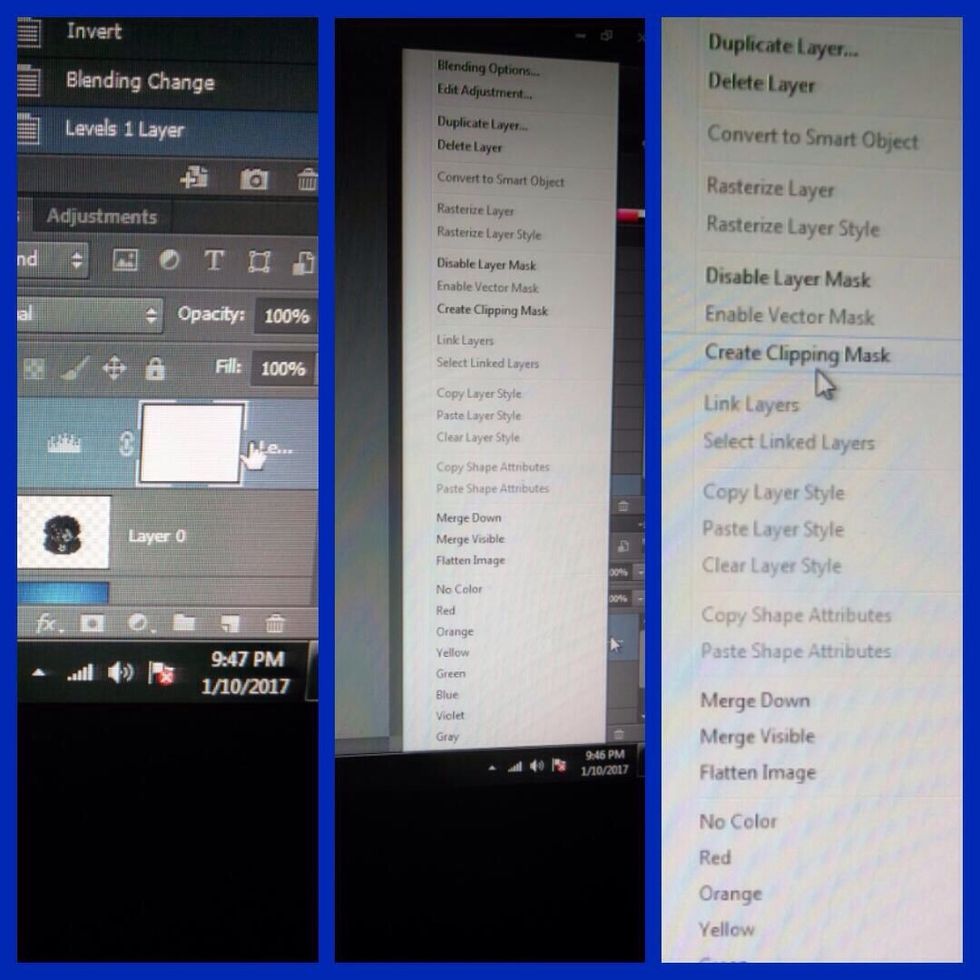
Open up a Levels tab, this should make a new layer. Right click its layer to Create Clipping Mask
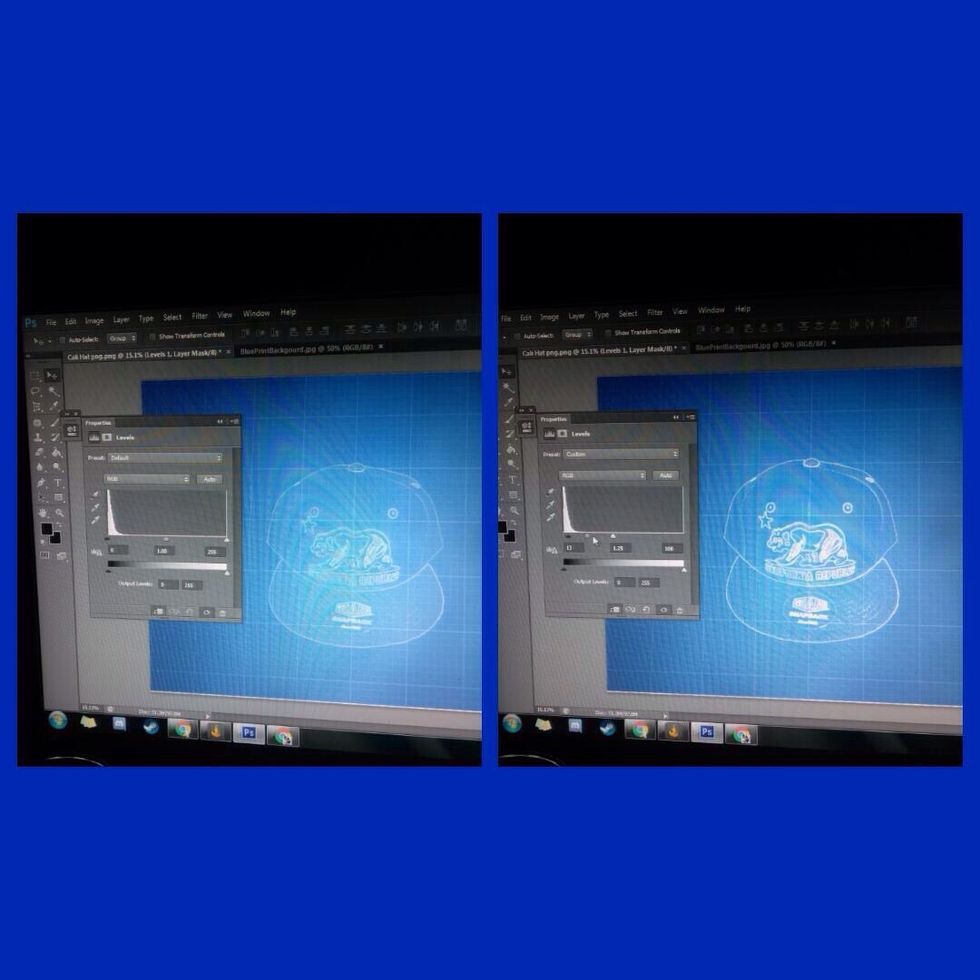
Adjust the slide to add or take away lines of your image.
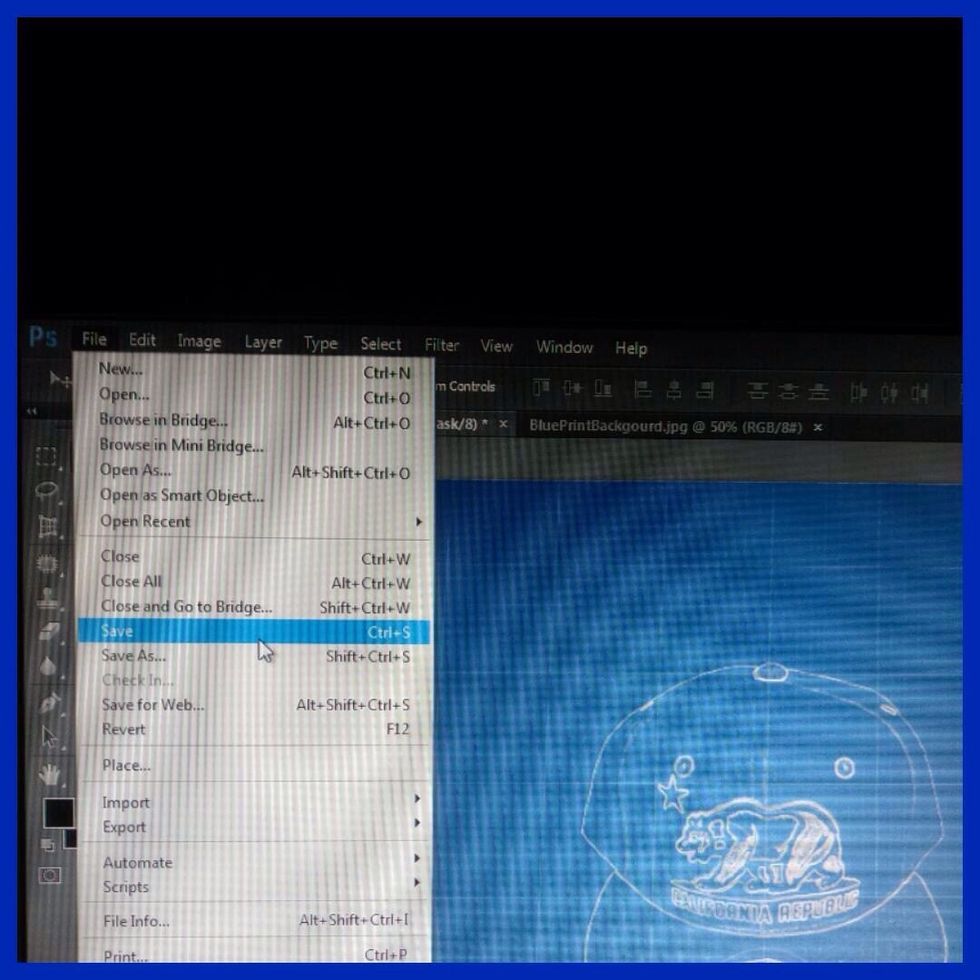
Make sure to save your work when you are finished by clicking File up at the top left and then Save