The Conversation (0)
Sign Up
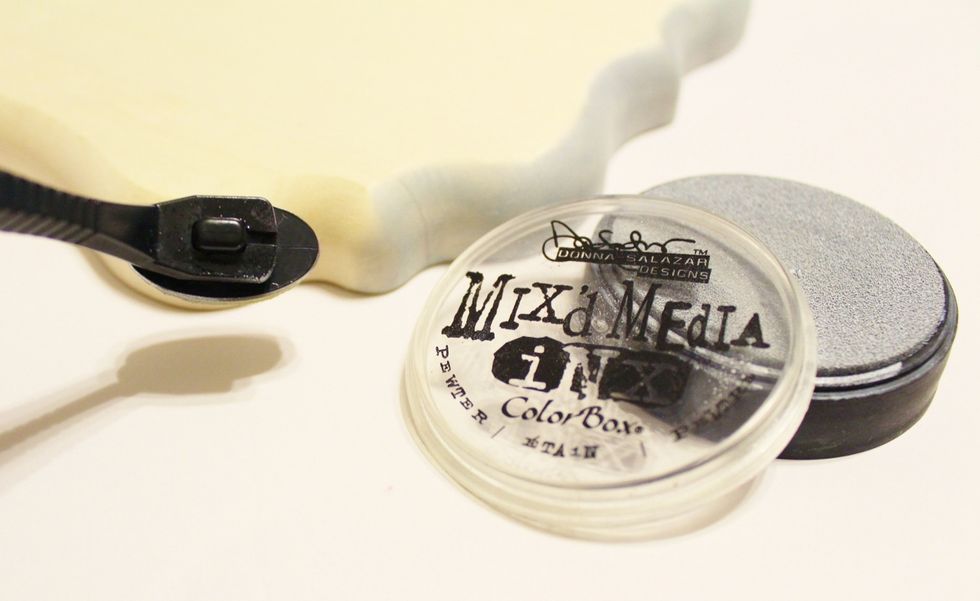
after lightly sanding plaque, ink edge of board using Pewter Mix'd Media Inx applied using ColorBox Stylus & Tip...
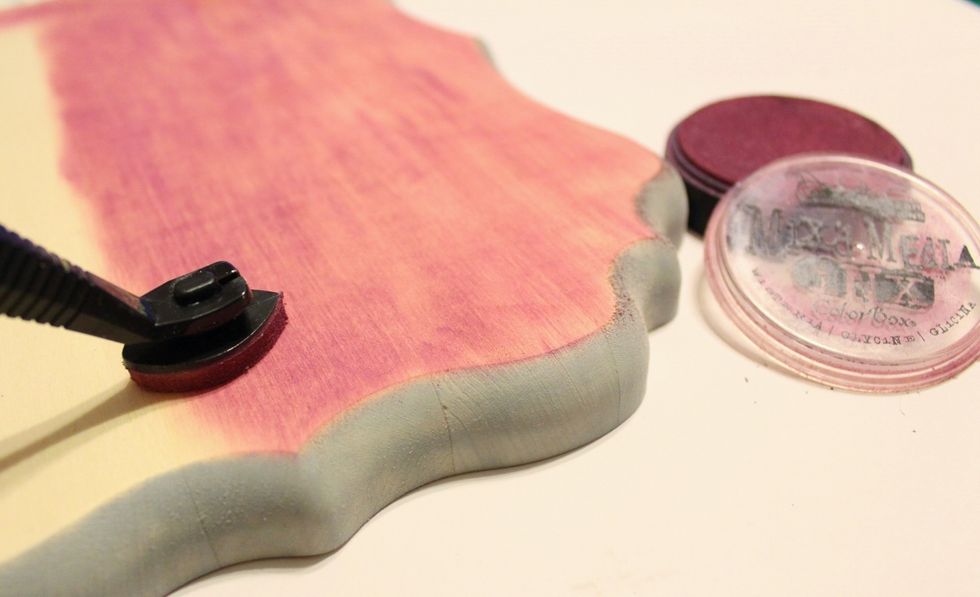
ink top of plaque using Wisteria Inx applied using Stylus & Tip...

wipe board down with paper towel to blend and remove excess ink...
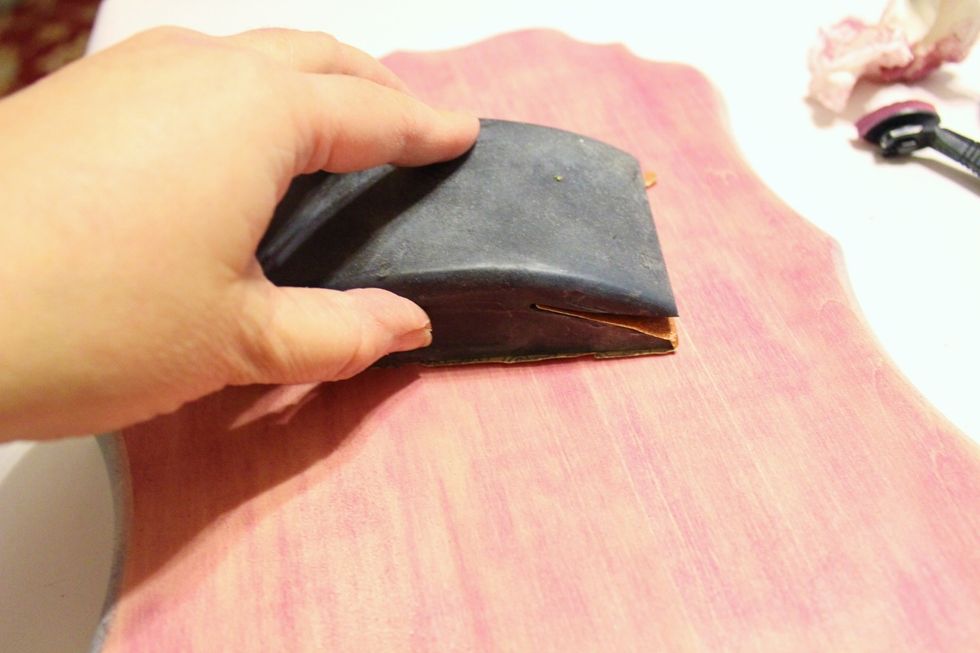
lightly sand top of plaque to distress...

lightly sand edges of plaque to distress...
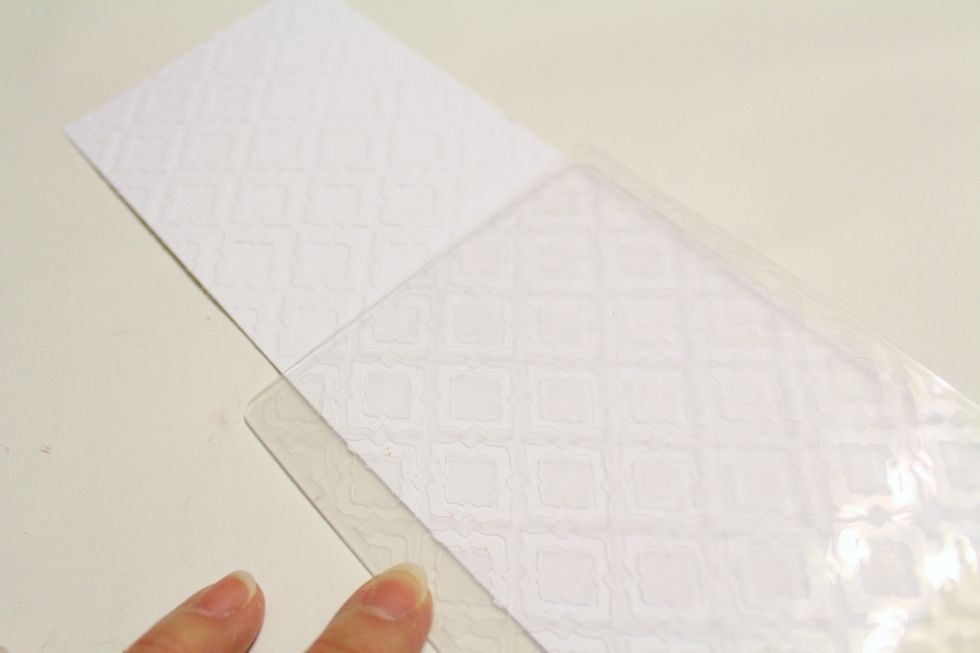
cut a 3 X 10 piece of matte white cardstock, put one end into Trendy Tiles 2 Embossing Folder and emboss. turn cardstock around, line up embossed pattern with pattern on folder and emboss again...
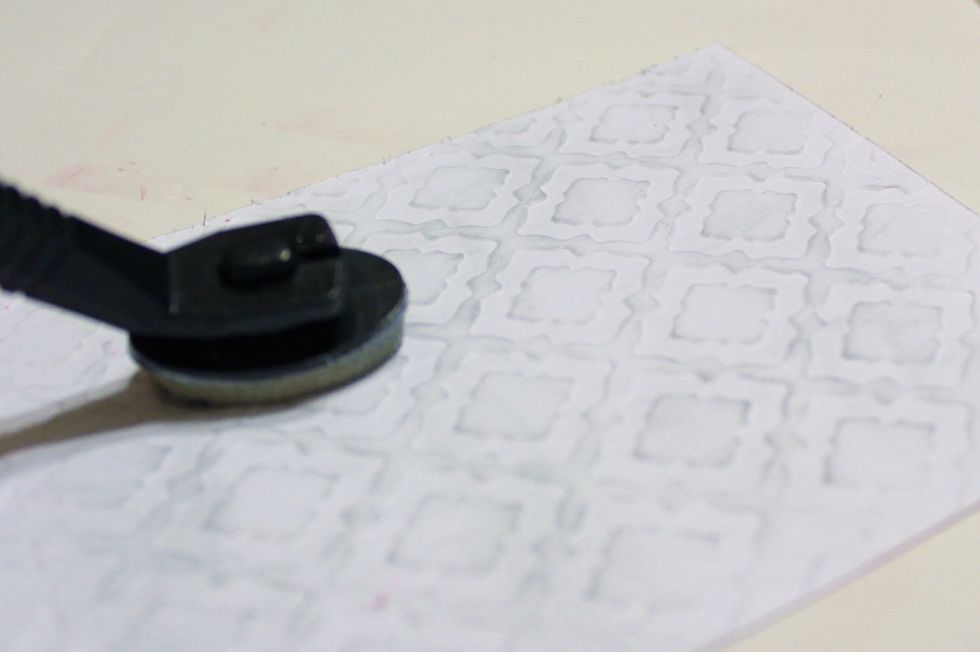
lightly ink embossed cardstock using Pewter Inx applied using Stylus & Tips...

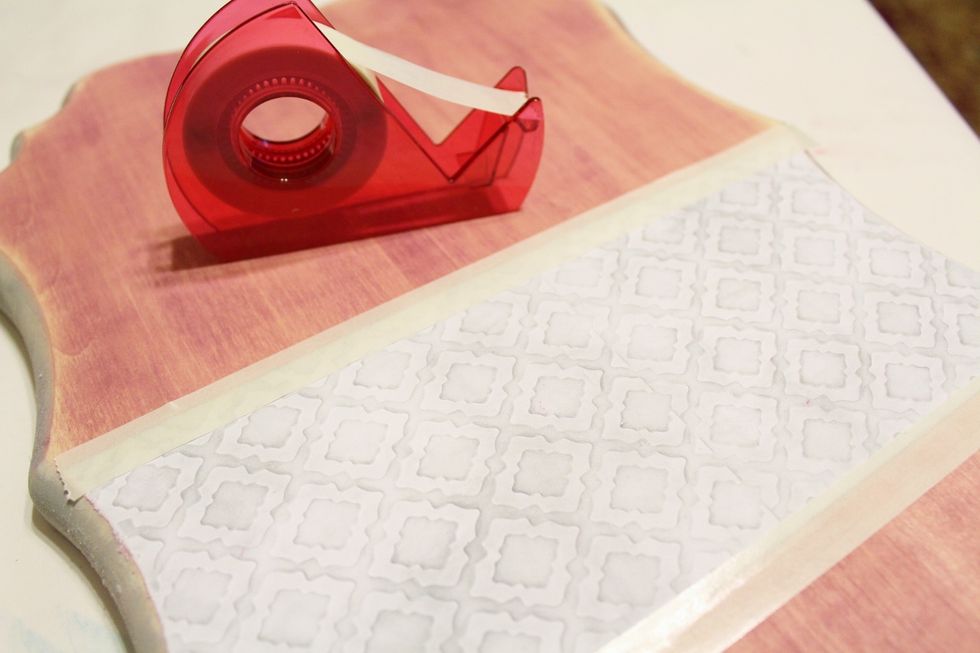
use Crafty Power Tape to adhere paper to plaque...
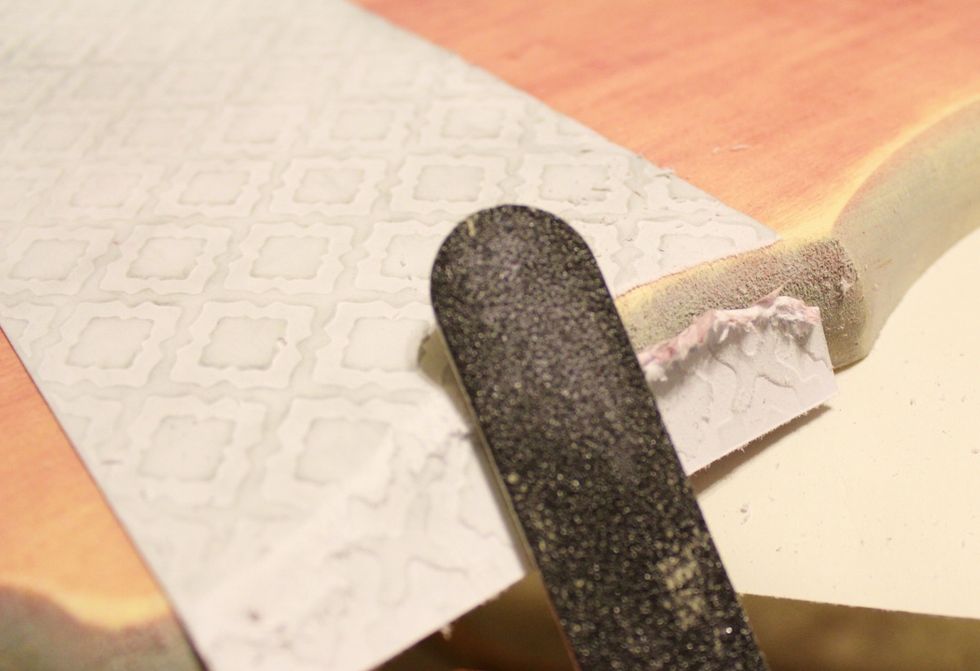
use file to remove excess paper from plaque...
apply strips of Crafty Power Tape to each end of the cardstock strip, overlapping paper slightly...

remove backing from tape and adhere ribbon...

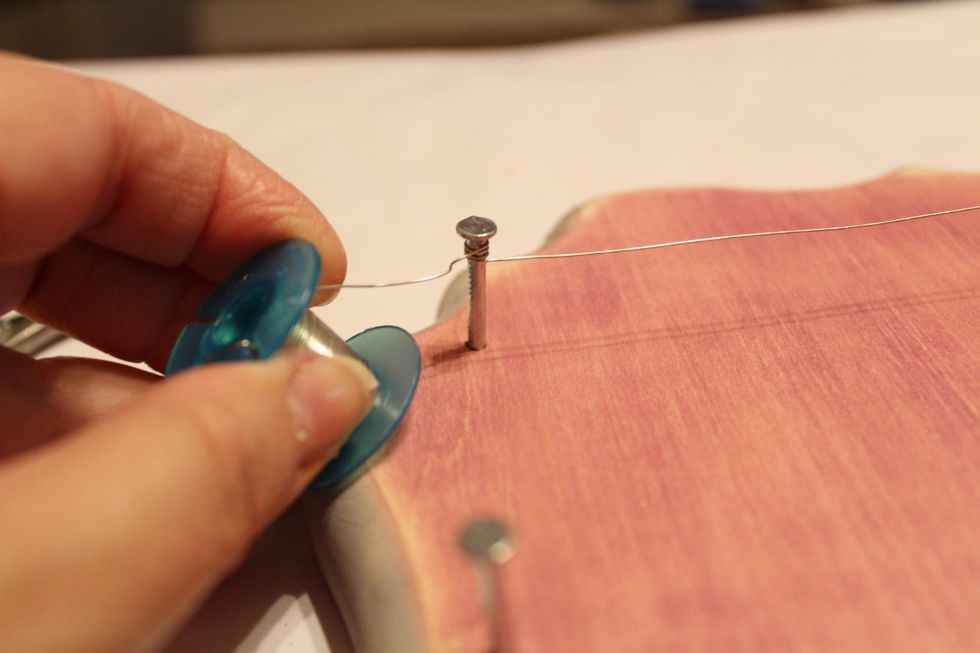
measure and mark placement for nails, then hammer in nails - making sure to work on a "scrap" surface. tap slowly to avoid hammering nails all the way through board...
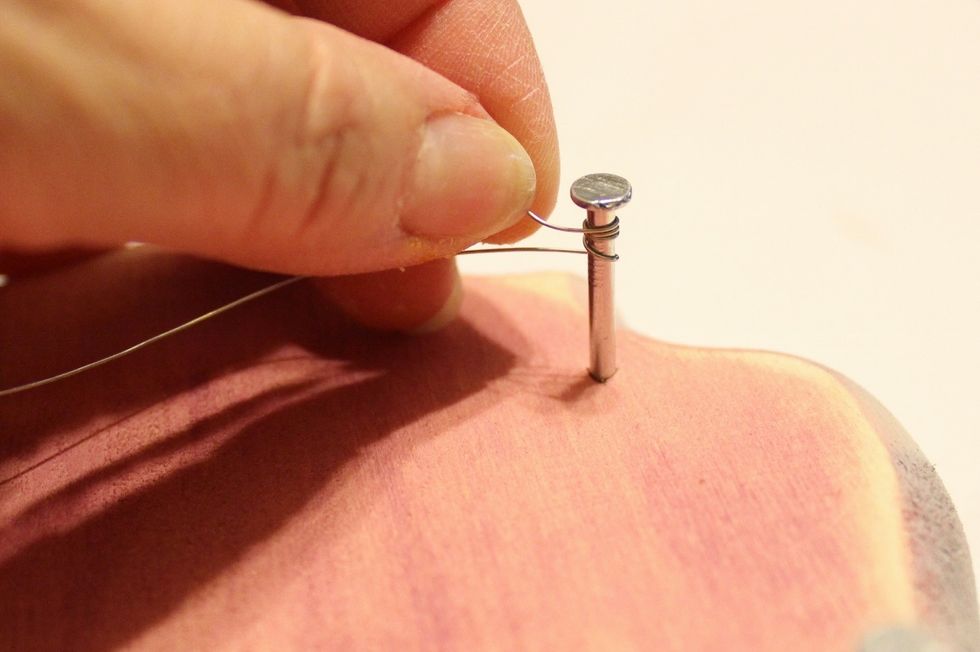
wrap wire around one nail, wrap above and below wire to anchor it. NOTE: i found one wire wasn't strong enough, so i used 2 wires twisted together...
stretch wire to opposite nail, pull tight, then twist around nail, trim off. repeat for other set of nails...
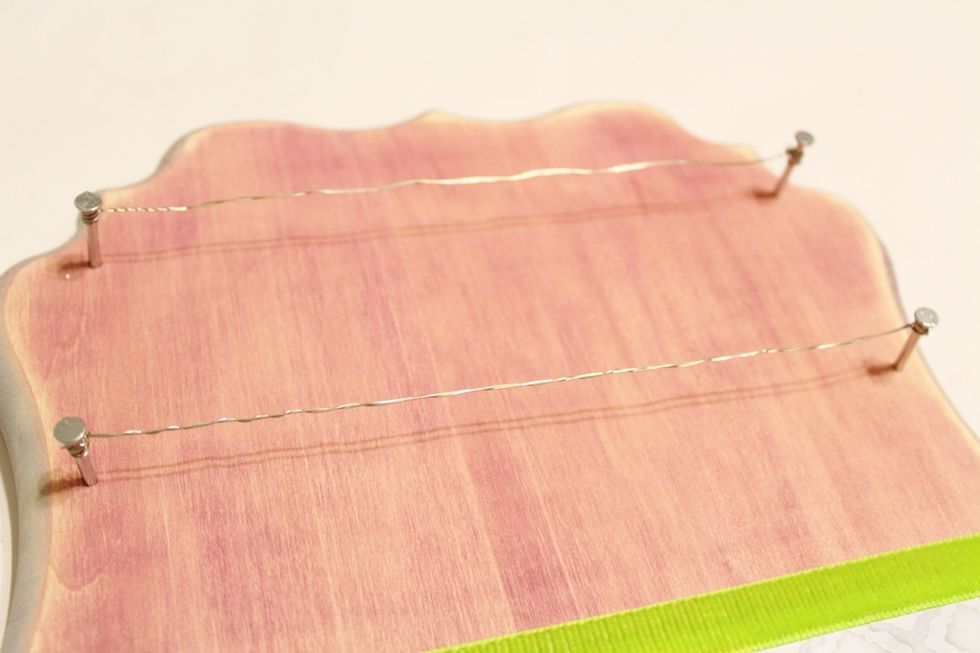
finished wire...
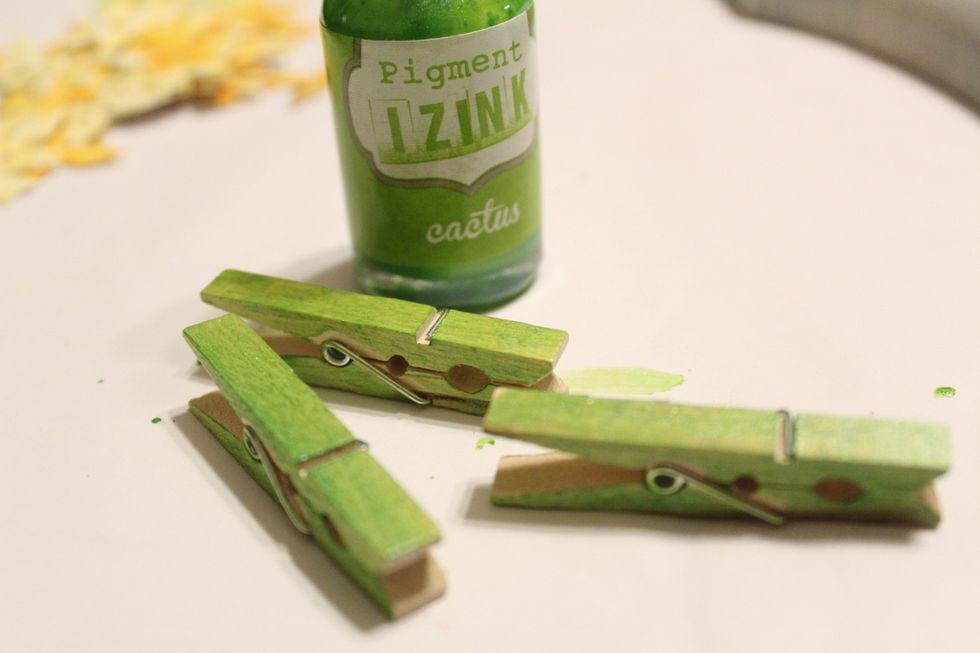
ink clothespins using Cactus Izink applied using Stylus & Tips...
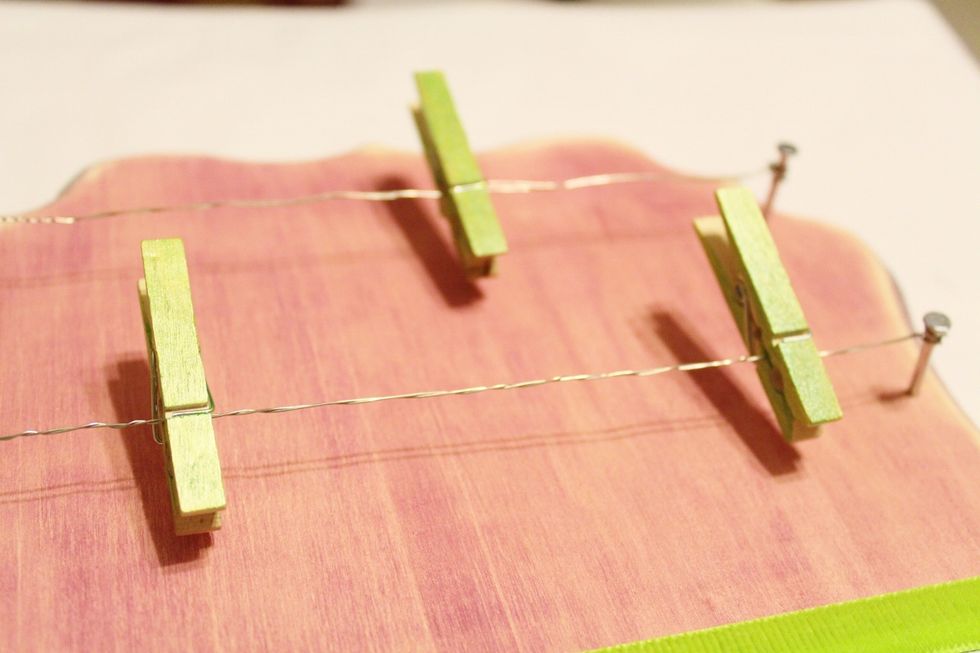
clip clothespins to wires...

cut a 4 X 12 piece of textured glossy white cardstock and spritz lightly with water...
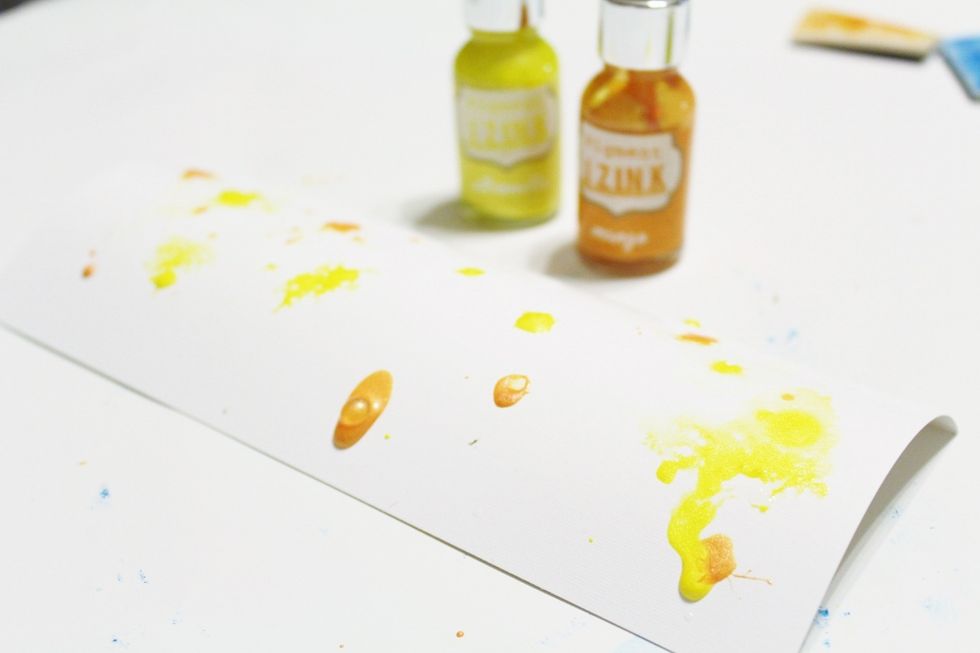
add drops of Izink Ink, mixing colors as desired...

use Color Blender to lightly blend inks...
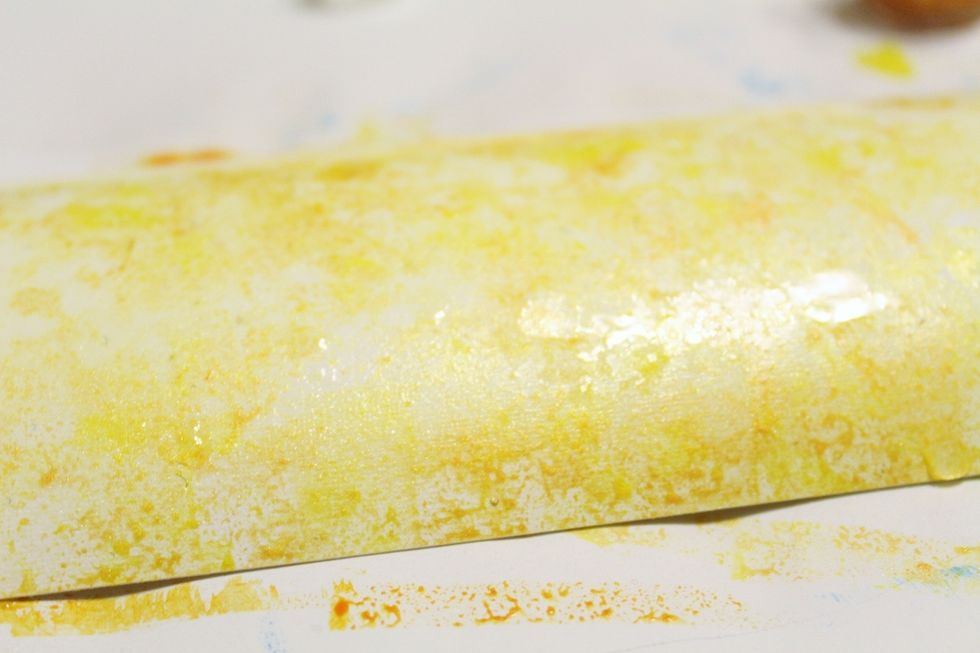
spritz lightly again with water and then let dry. repeat with 2 other pieces of cardstock to make a total of 3 different color mixes...
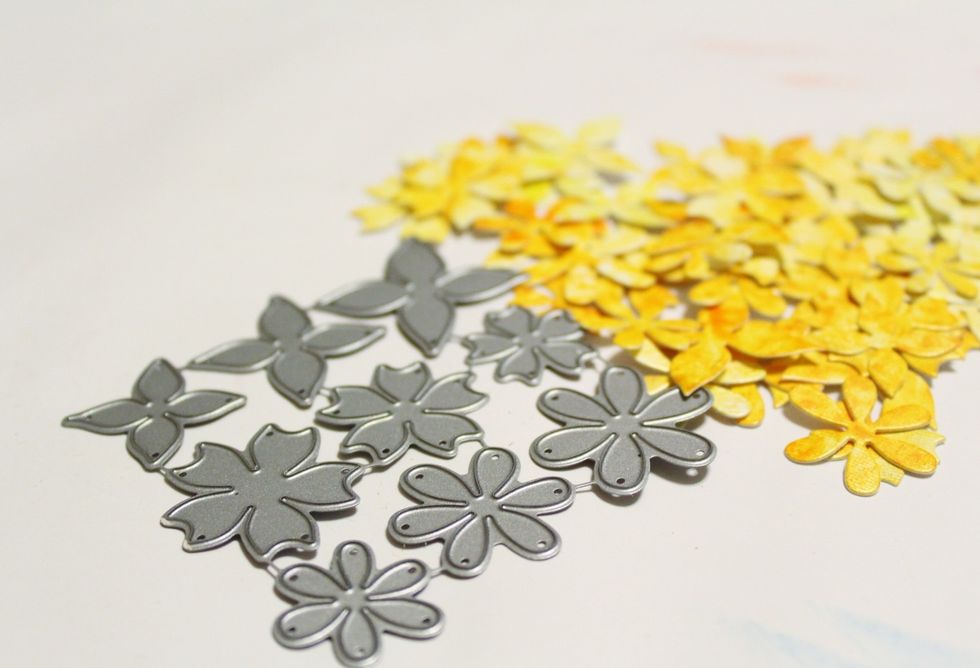
use Bunch of Flowers 2 Die to diecut flowers from inked papers. the dies can be taken apart and used individually, but i chose to leave them together...
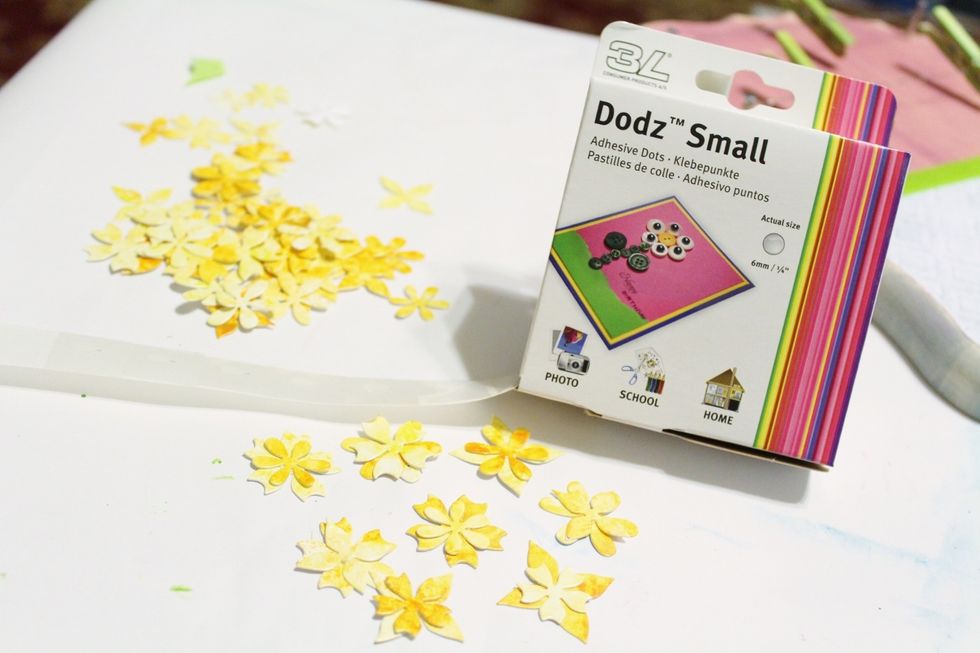
use Dodz Small to adhere some of the flowers together in group of 2...

bend up the petals of the top flowers in those you grouped together...

begin adhering flowers to board using E-Z Dots Mini, with a few adhered using 3D Foam Squares to add dimension...

add pearls in centers of flowers to finish them...
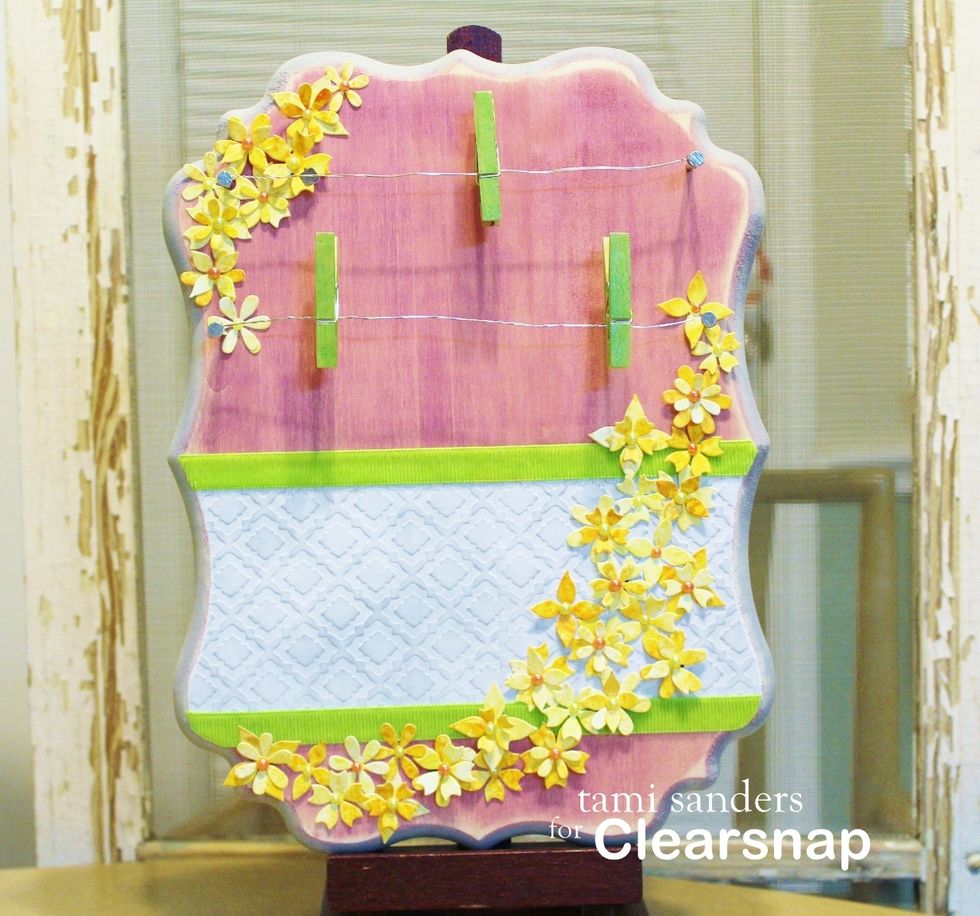
your memo board is now ready to use! add a hanger on the back to hang it on your wall if desired. * CLEARSNAP BLOG: http://blog.clearsnap.com * tami sanders blog: http://tamisanders.com/