The Conversation (0)
Sign Up
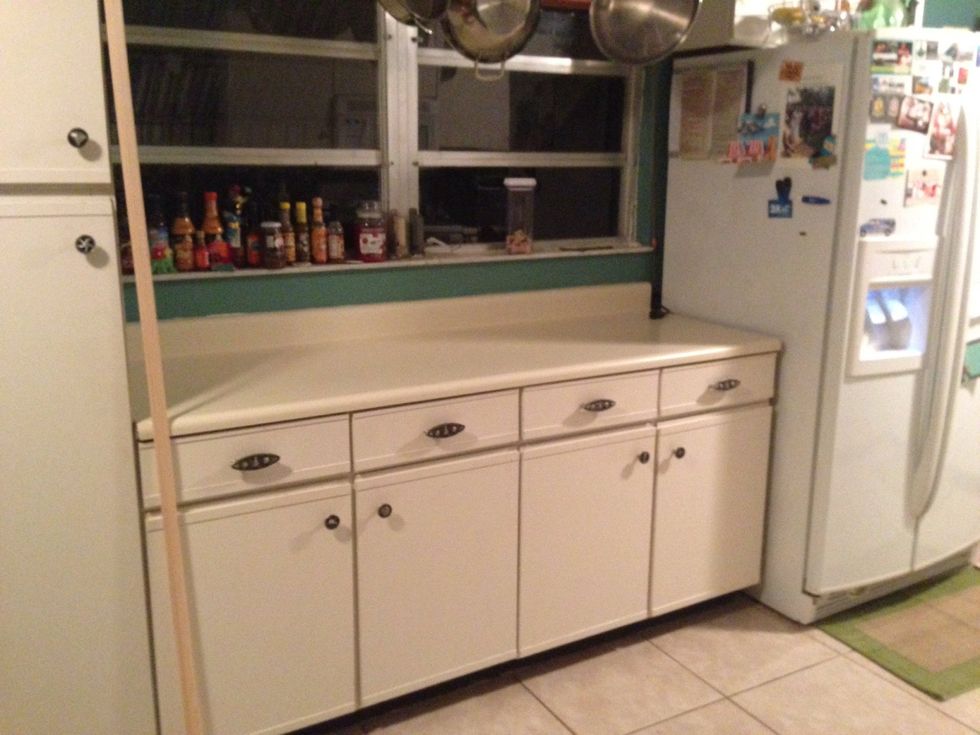
Step one: stare at your ugly Beige laminate and decide what to do... This was a "buffet" portion of our countertop that we do not use for cooking.
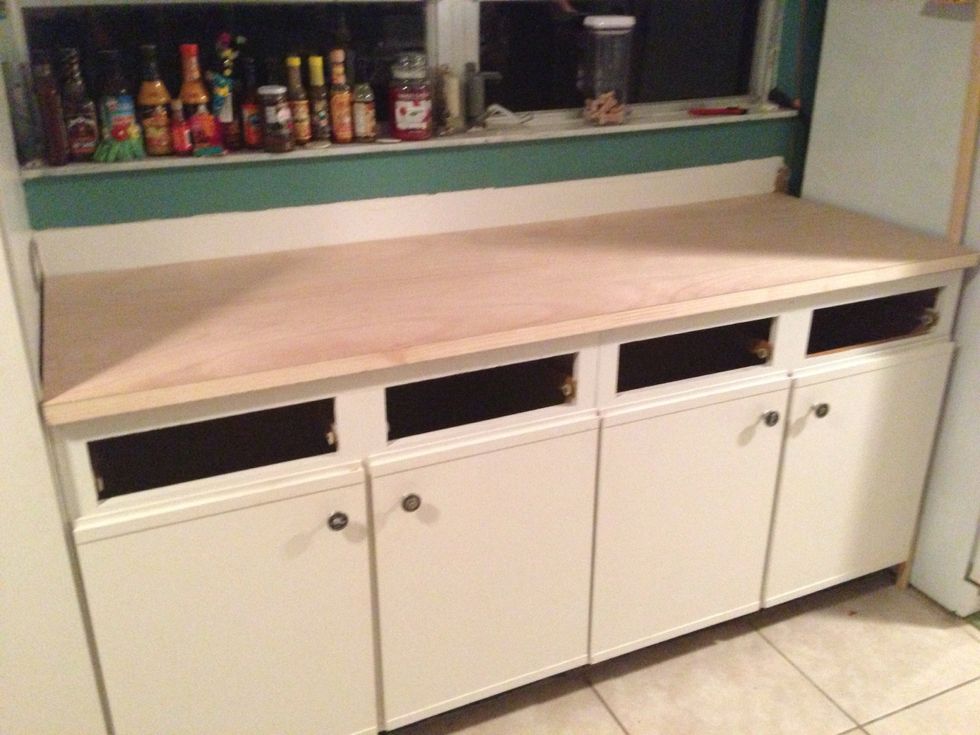
Step 2: measure the area of the countertop and cut an unfinished slab door to fit. Ours was 4' x 2.1'. Measure twice, cut once. Trust me.
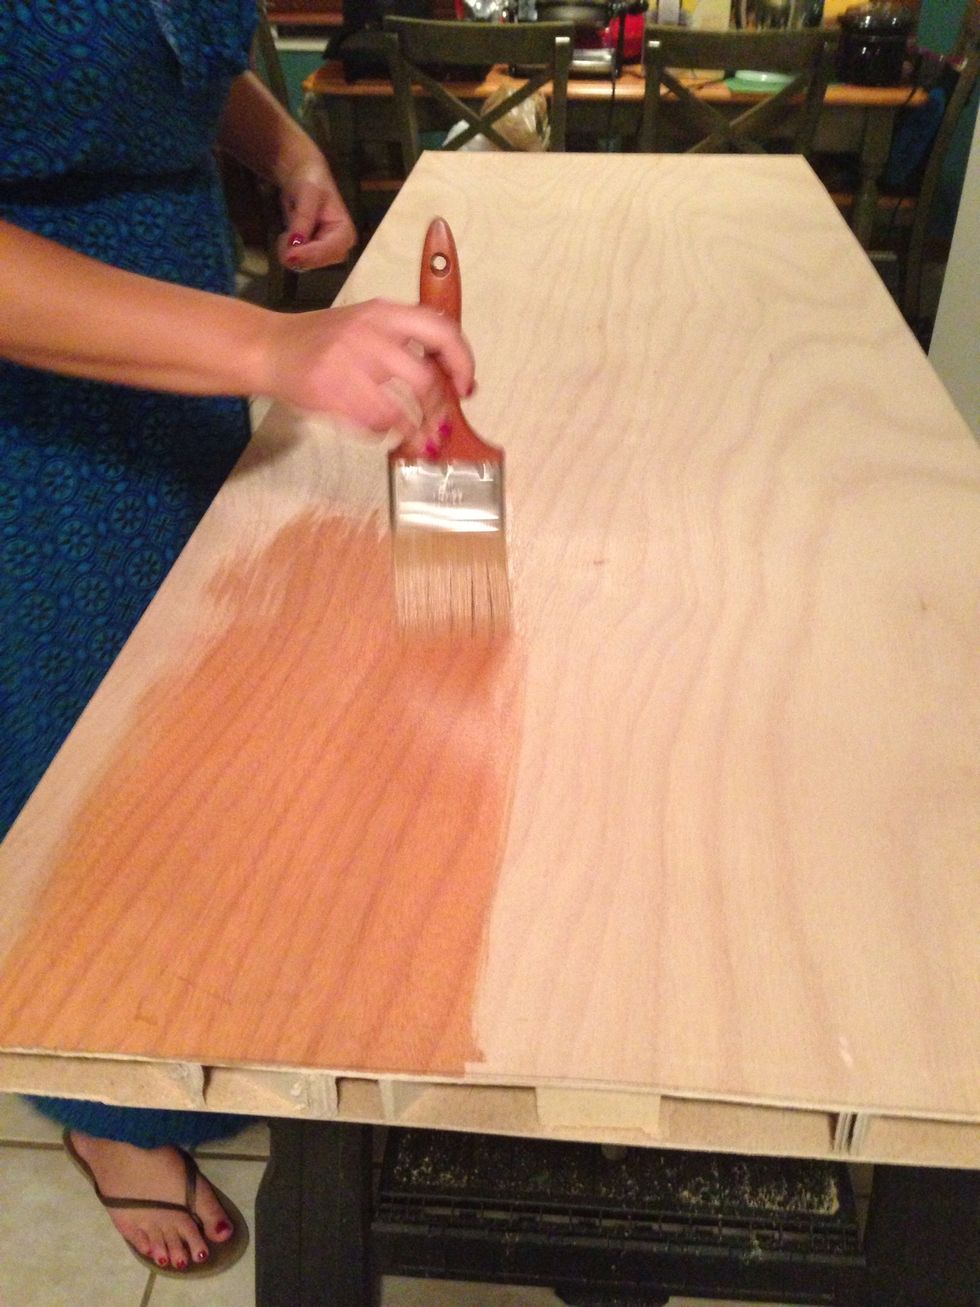
Step 3: choose a stain you like. We used Minwax "American maple" to match our custom fit wood blinds. As you can see when we cut the door, it turned our to be hollow with cross pieces for support.

Step 4: follow stain instructions. *note- the hollow door was ok because this area doesn't support much. We cut the trimmed edges from the door and placed it inside as added support.
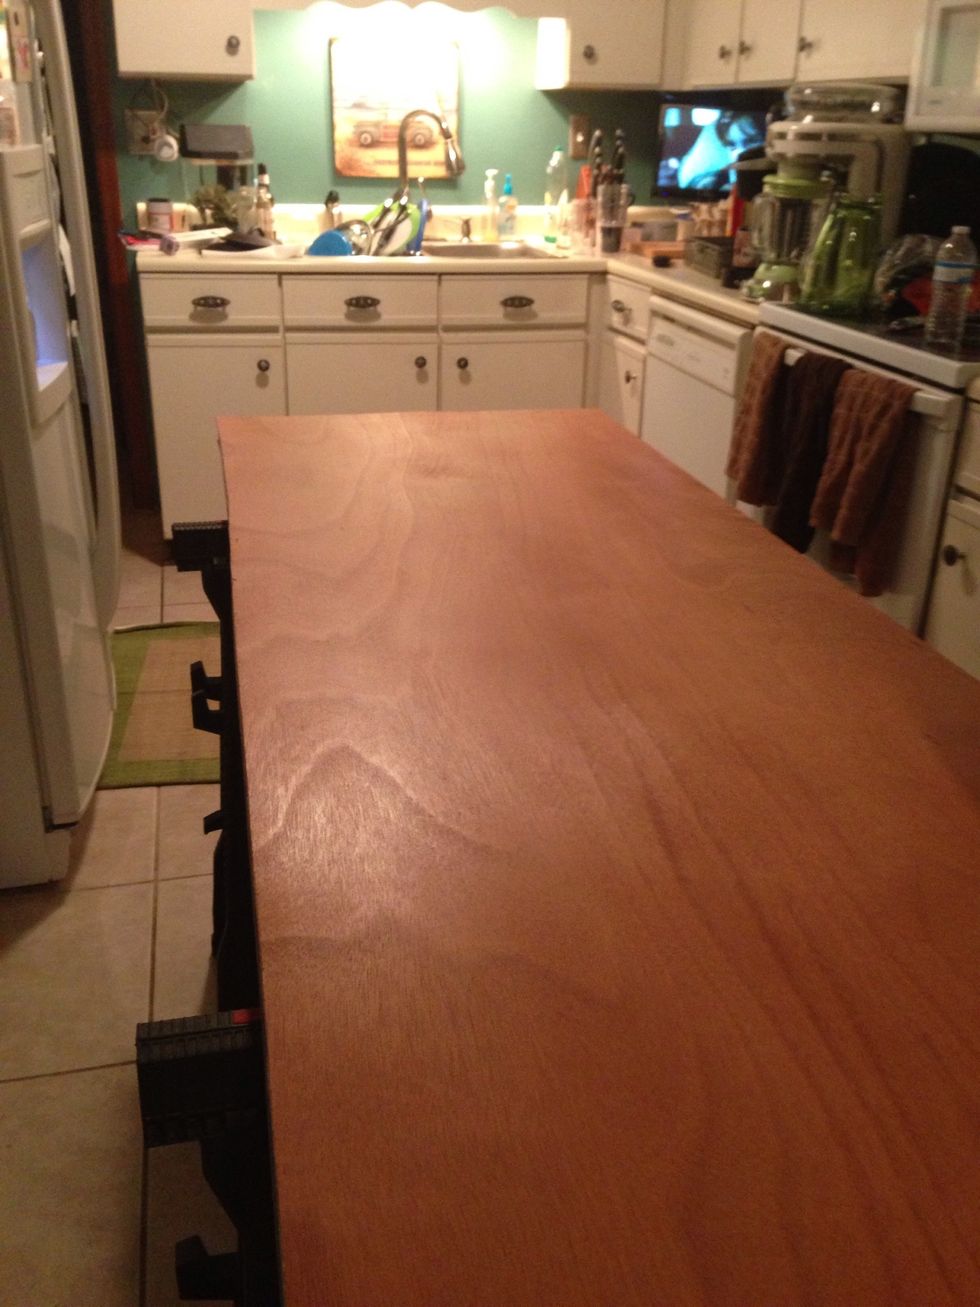
The finished stained door. We choose one with a nice grain pattern and it turned out beautiful.
Step 6: Use wood glue to attach wood trim to the door edges. This gave the door a nicer look than the blunt edges.

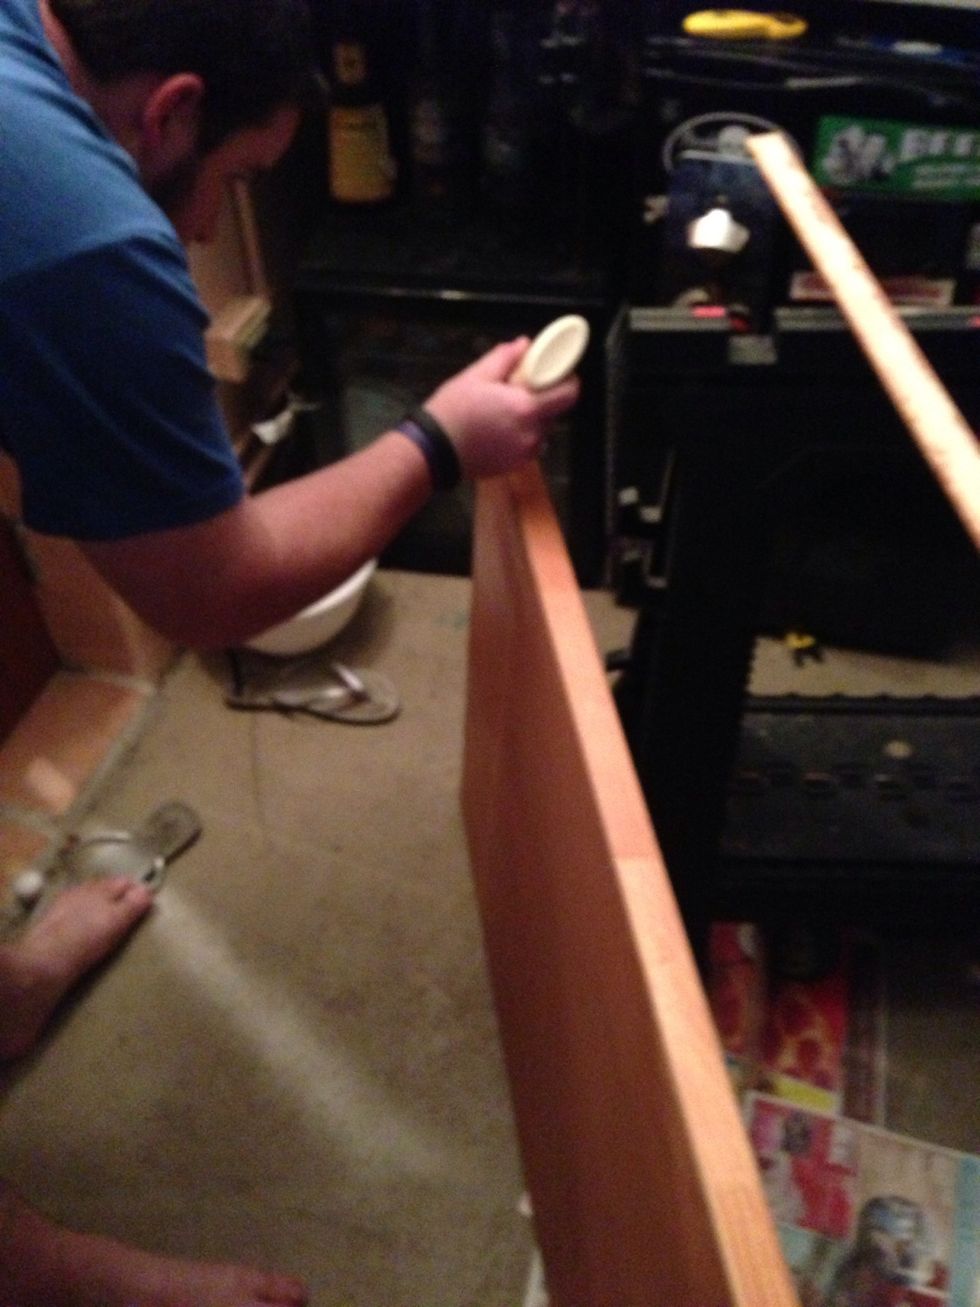
Step 7: after the wood glue dried, we used a very small drill bit to make holes.

Step 8: we used tiny brass colored finishing nails in the pre drilled holes. (We didn't want to hammer the nails in without the pre drilled holes to prevent denting or damaging the wood.)
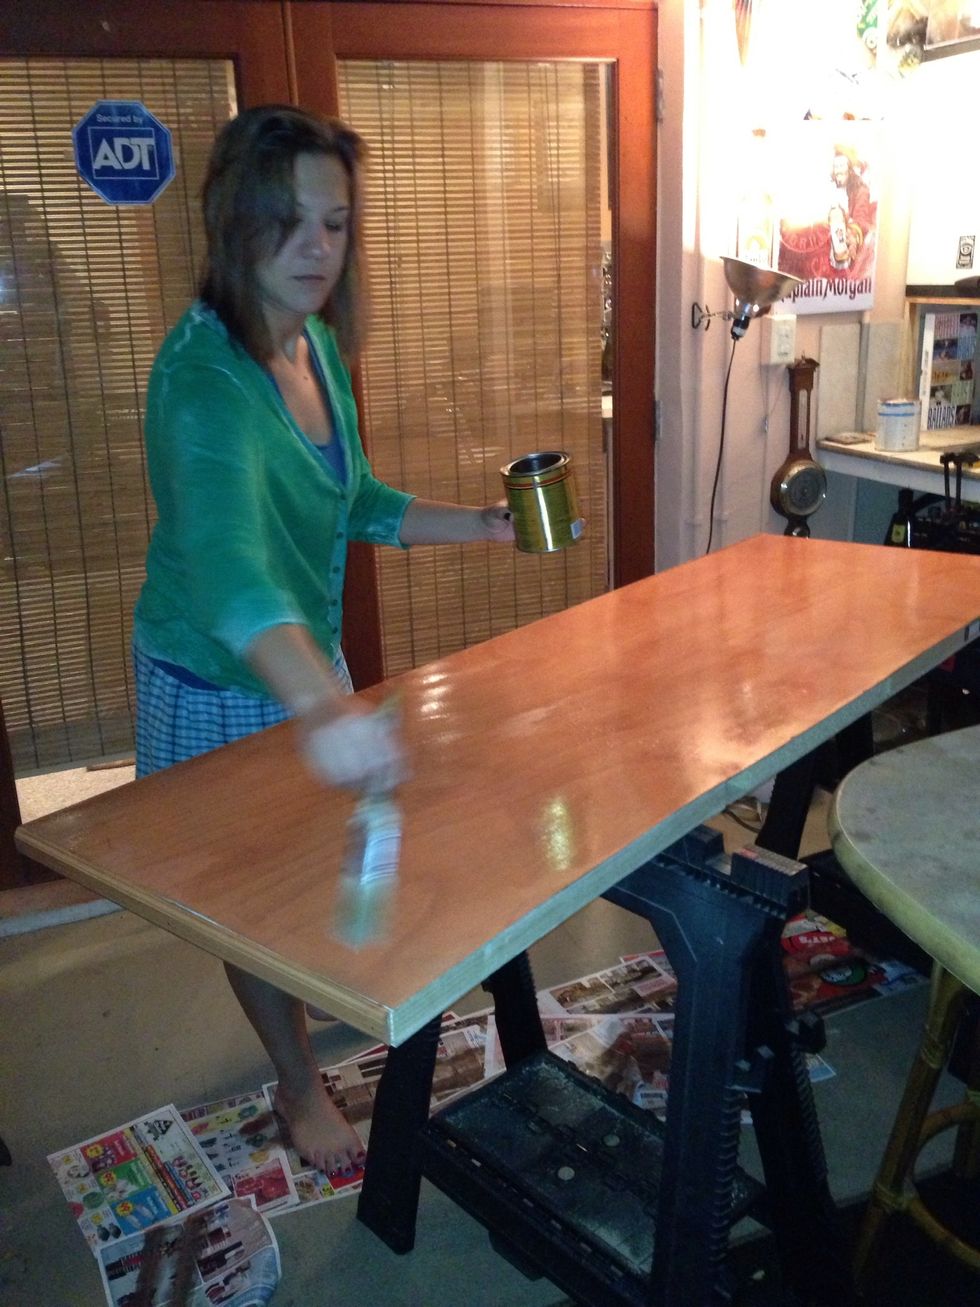
Step 9: after staining the wood trim to match we allowed it dry for 24 hours and then began the polyurethane process. We poly-ed for a total of 4 layers. Follow manufacturer instructions.
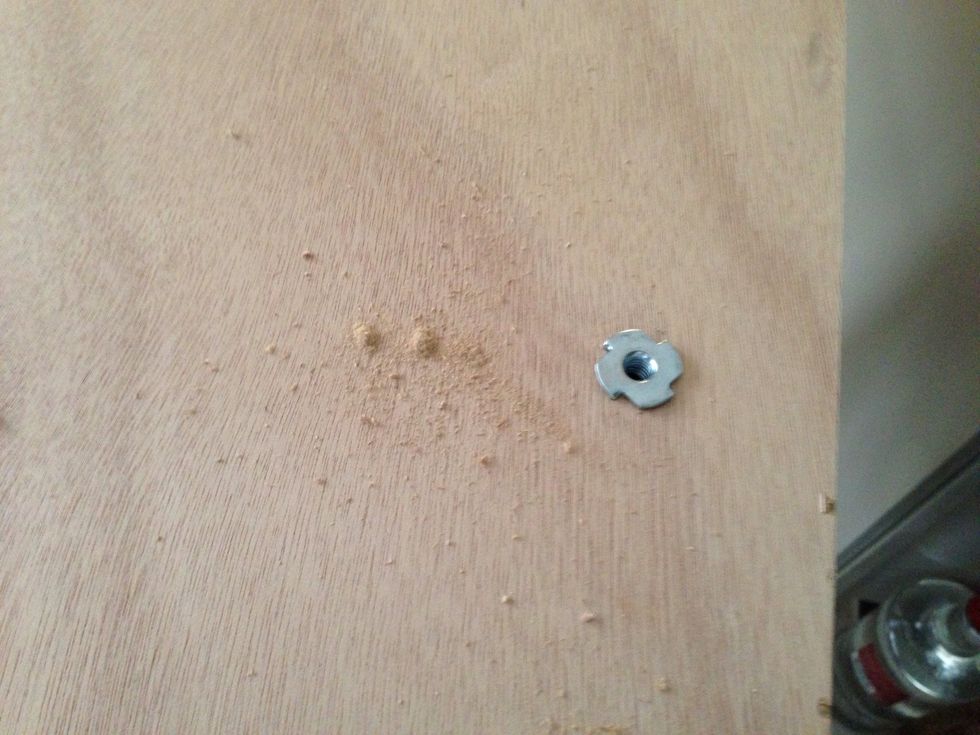
Step 10: we lined the door up on the counter and marked holes where the countertop support brackets were. We then used metal anchors and screwed up into the anchors from below the countertops.

*Note- the anchors required guide holes, and some very patient hammering.
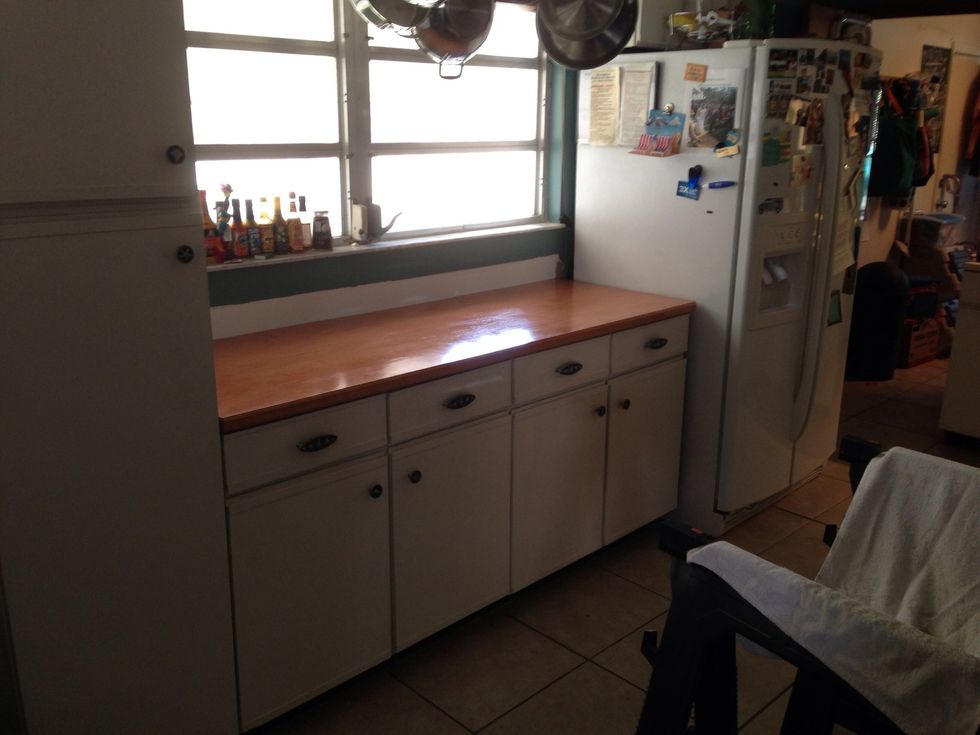
The end product: a beautiful wood countertop that can easily support a few kitchen appliances.