How to turn a man's shirt into a woman's shirt
After much frustration with not finding a long enough button down collared shirt I could wear to work without having to re-tuck it every 5 minutes. Ugh! I took matters into my own hands!
17193
STEPS
TOOLS
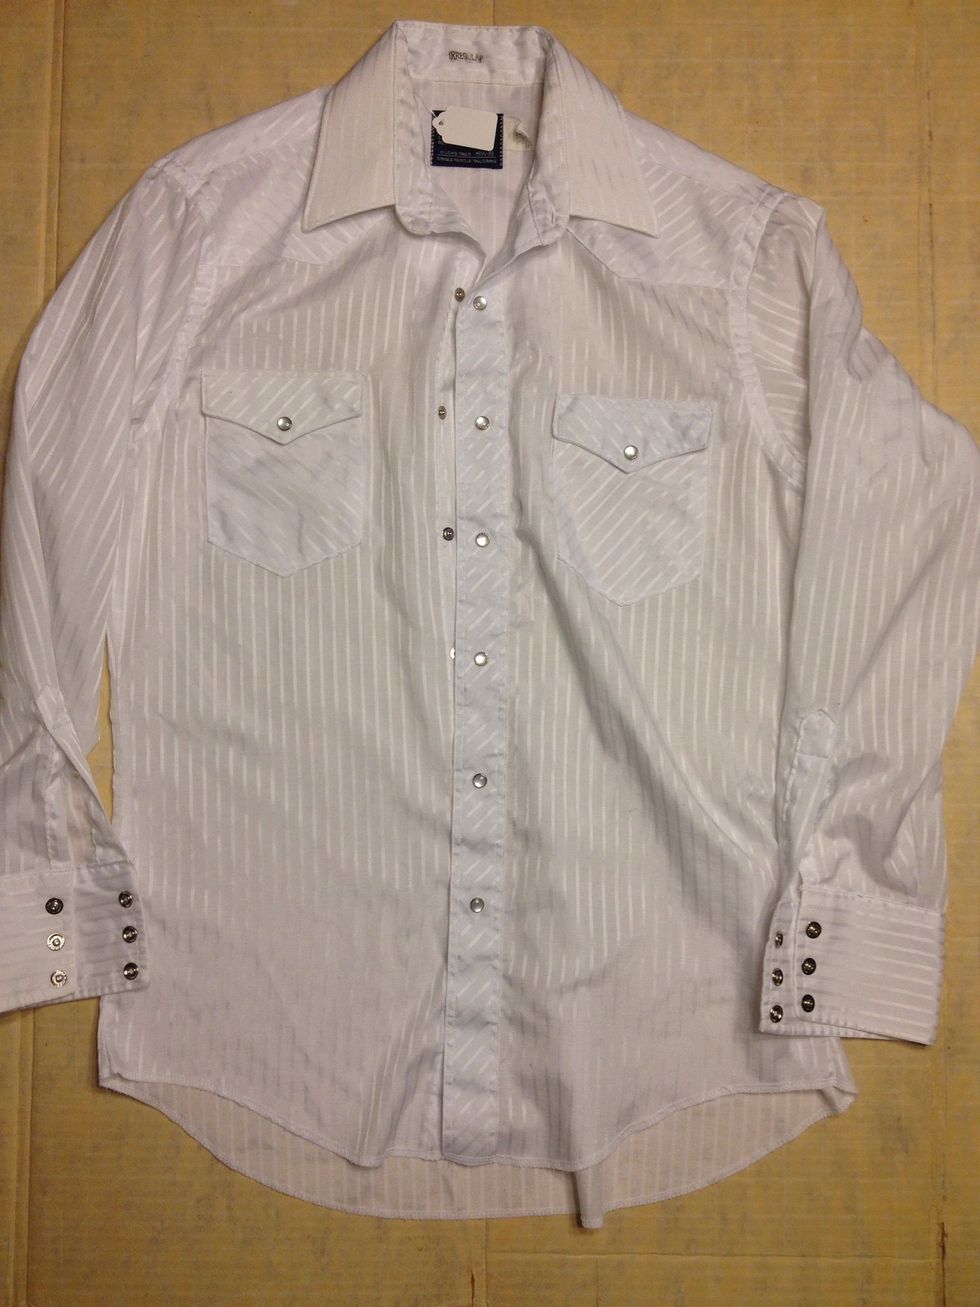
Regular men's shirt.
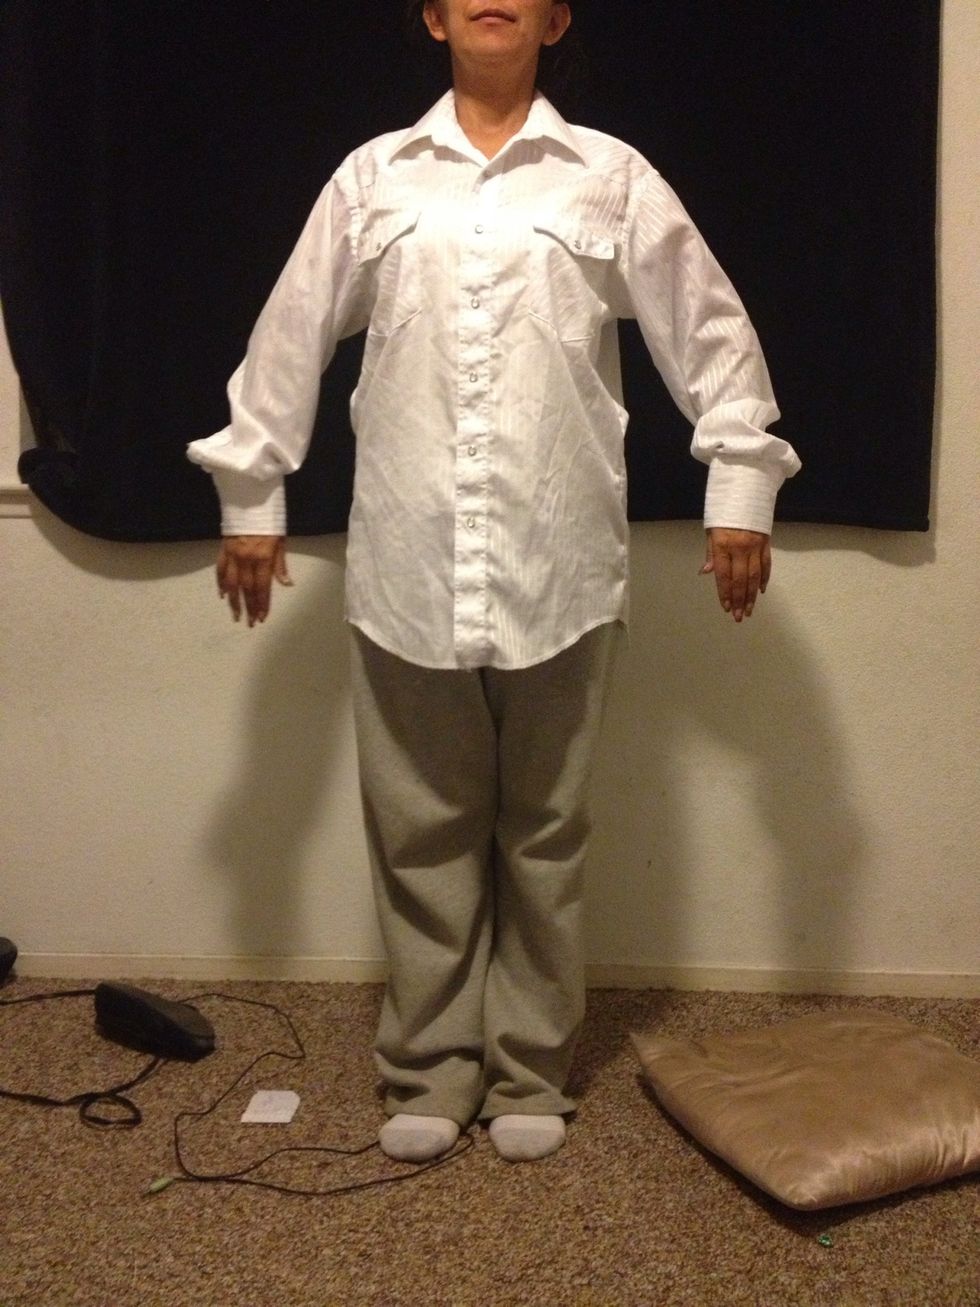
Big. No shape. Not cute and/or flattering.
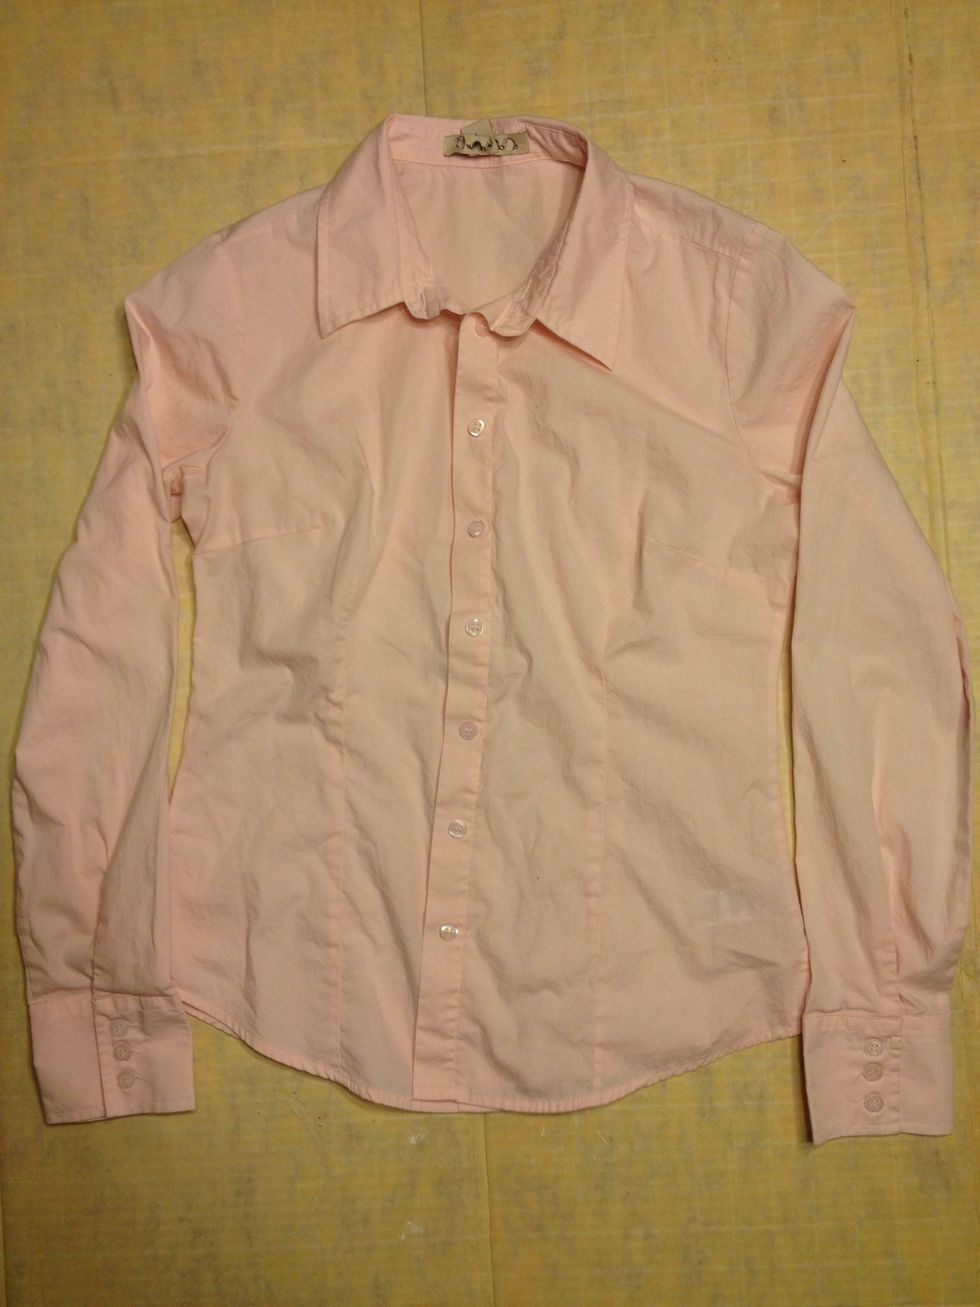
My pink shirt that in using here so that it's easier to see in the pictures. Instead of white on white.
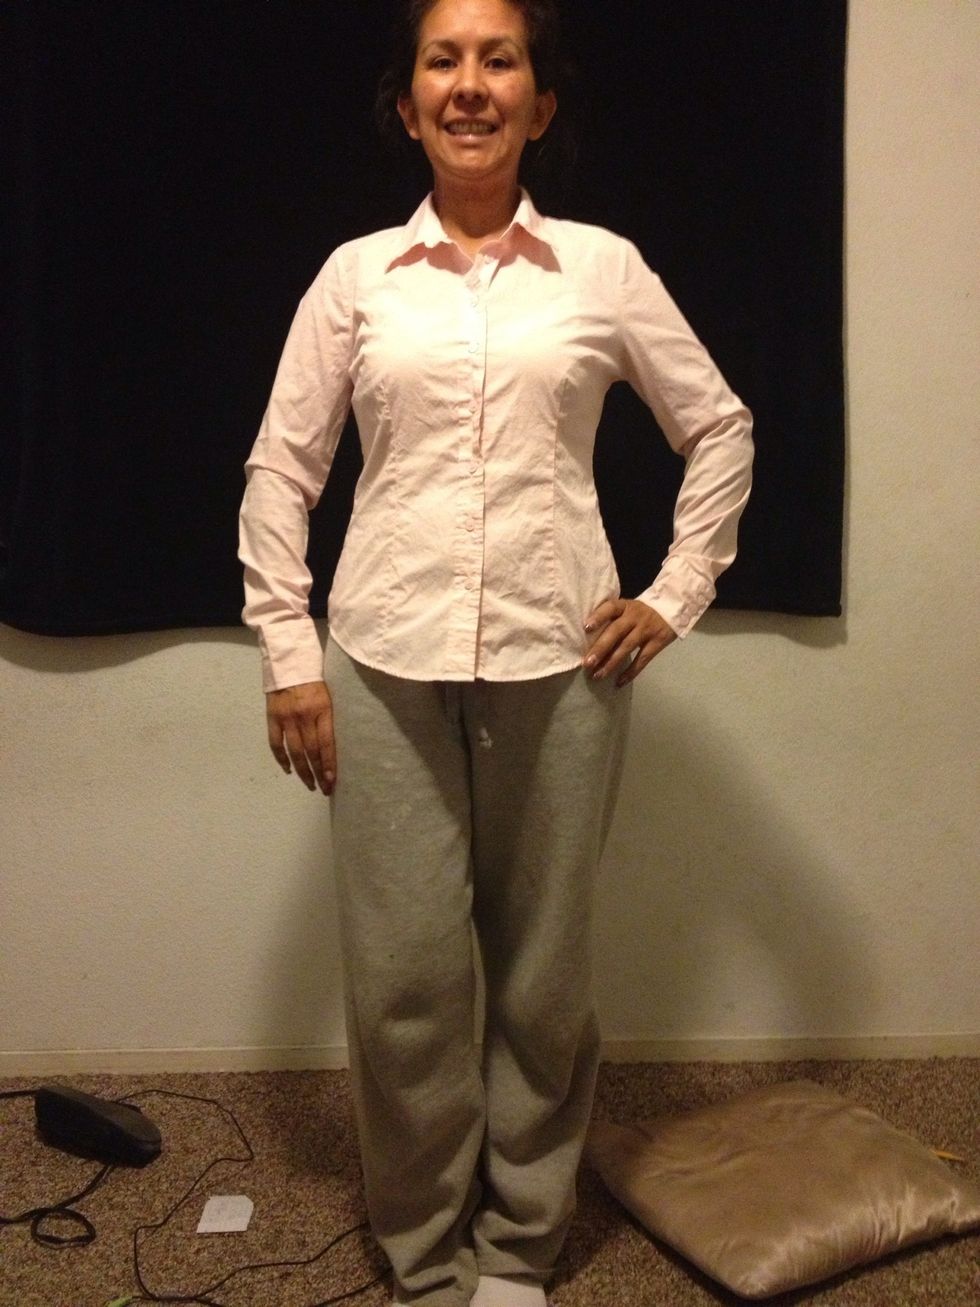
Fits nice. I'm also using this to show you the way I want the men's shirt to fit.
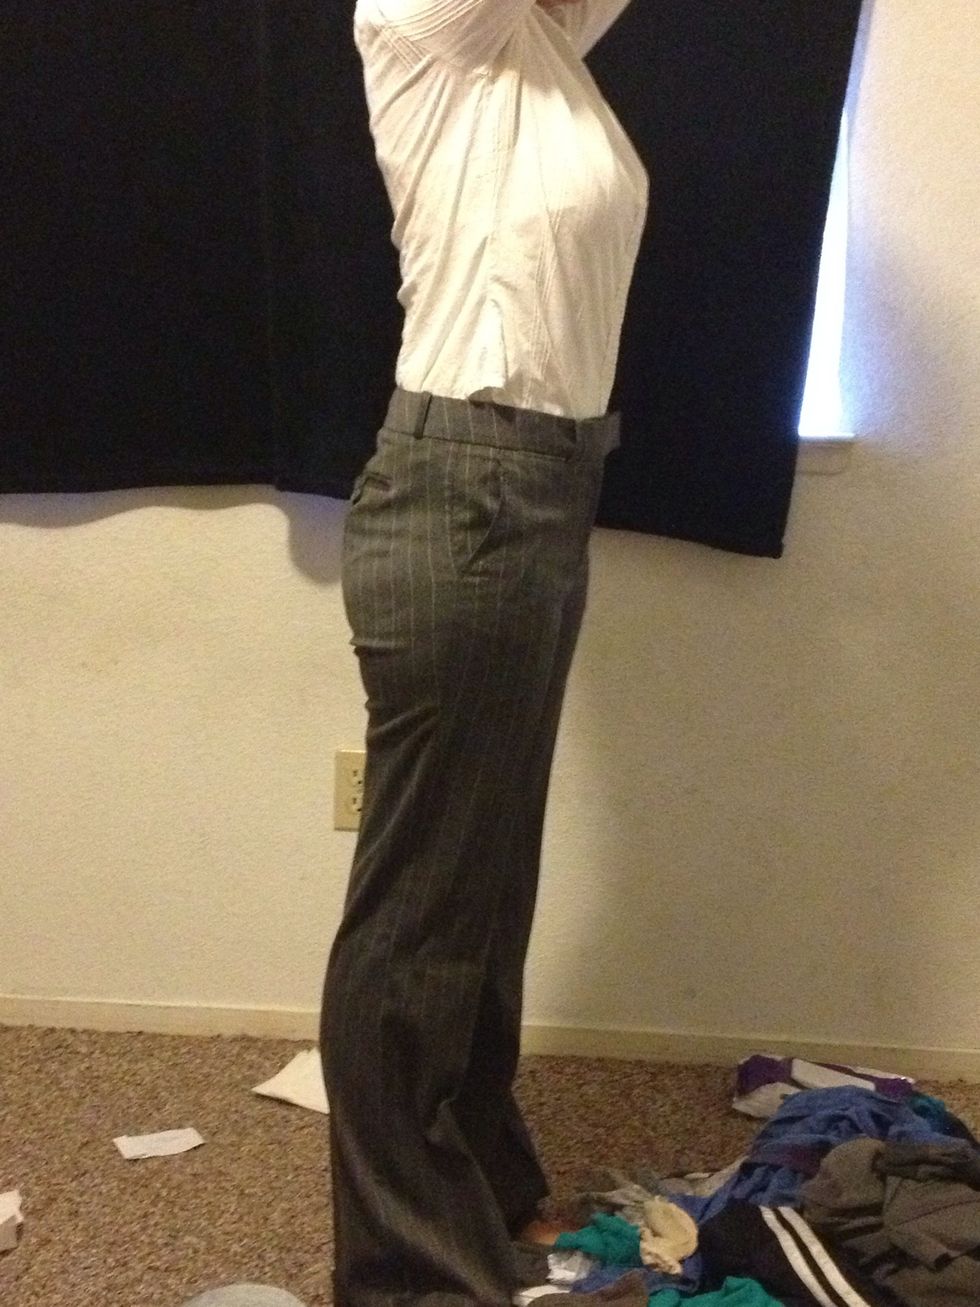
This is my only white shirt. See how it un tucks? Yes I do raise my hands over me head at work. I also file stuff so after I'm crouched down and then stand up. Re-tuck.
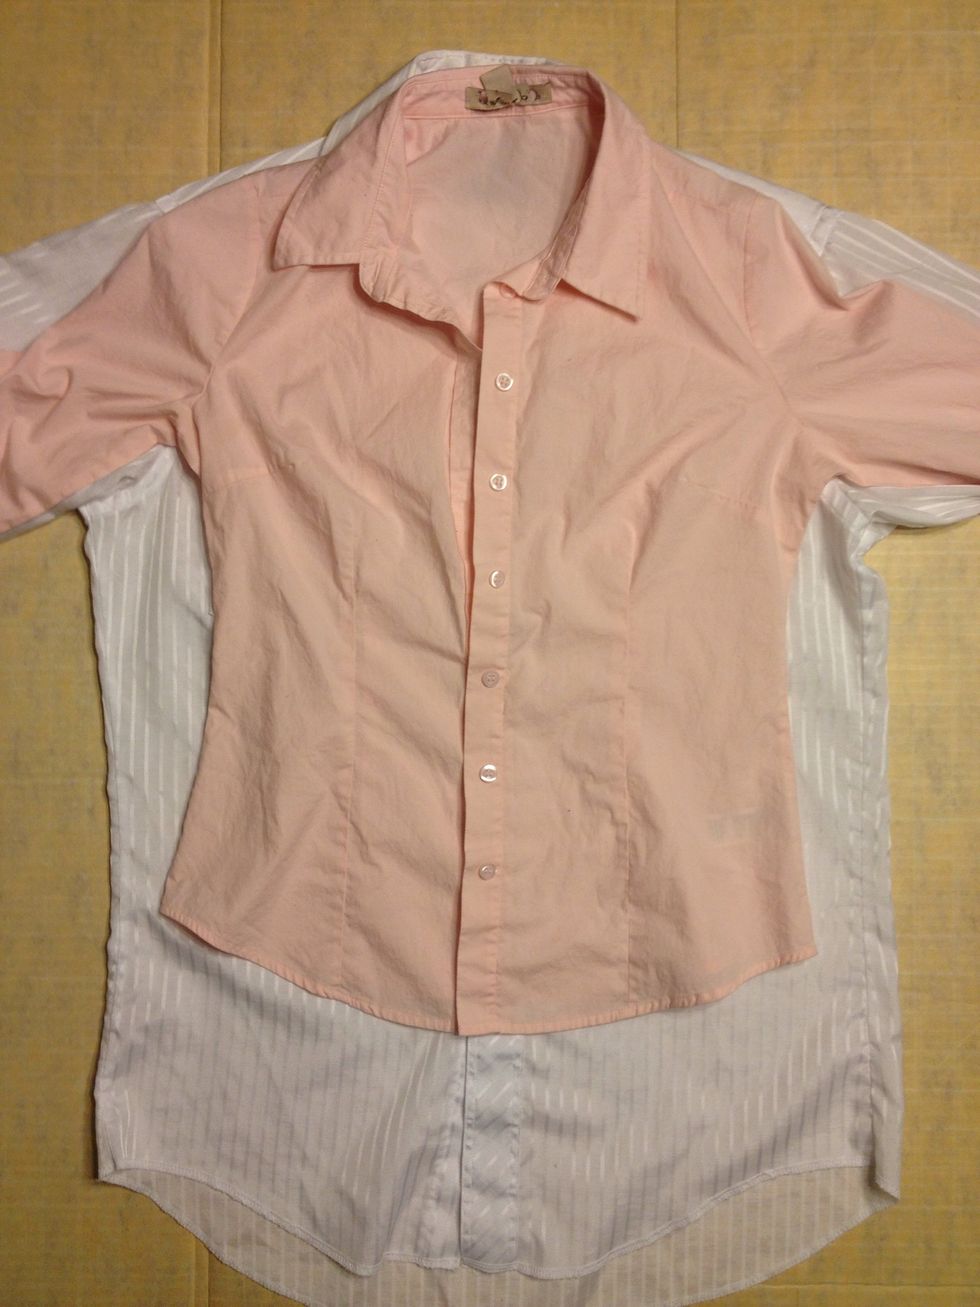
Pink shirt= My shirt. I like the cut. Not long enough. White shirt= Man shirt I bought at the thrift store.
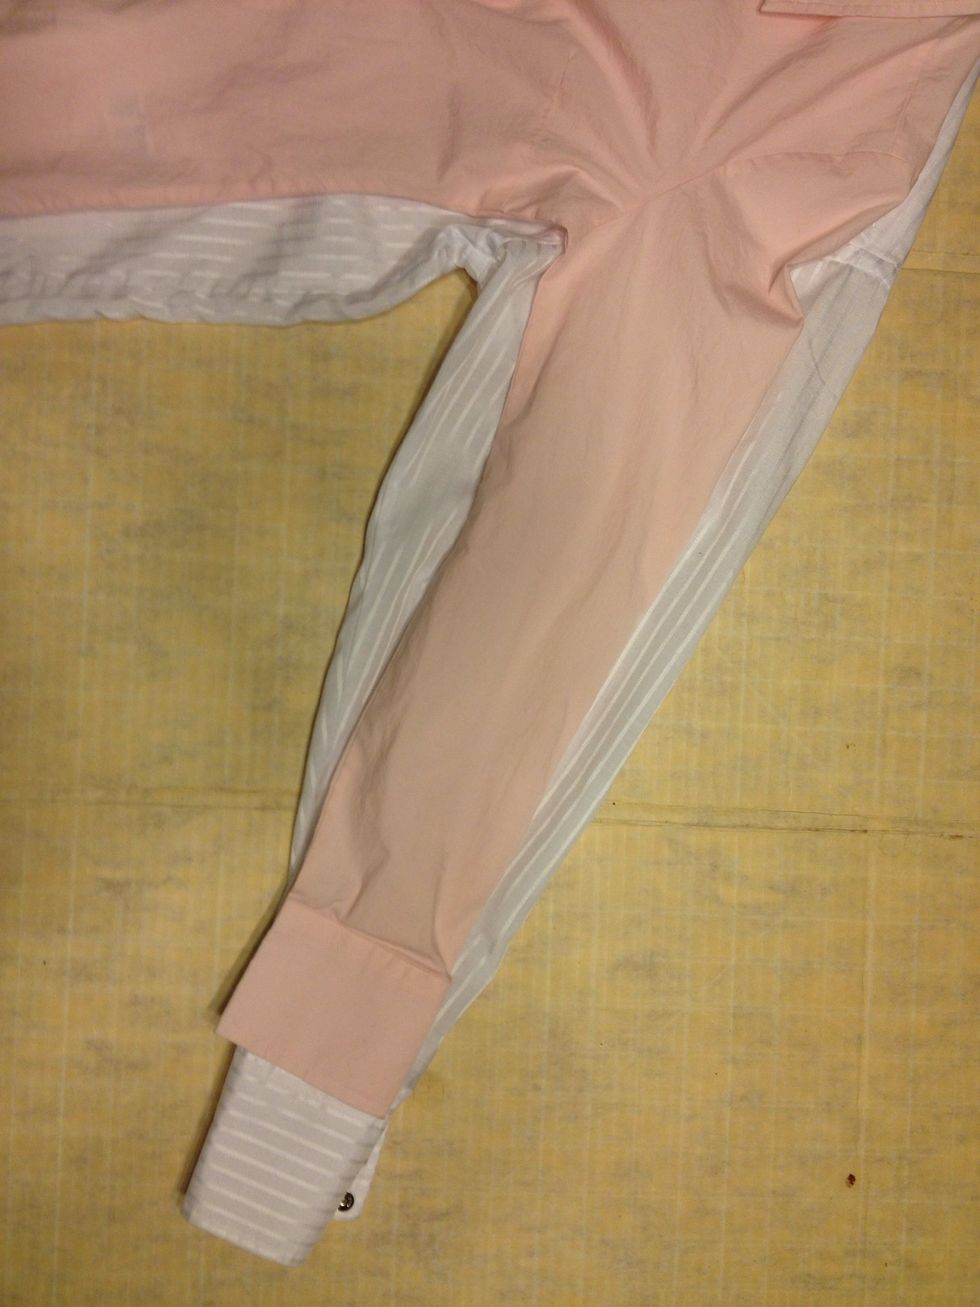
Ok. First turn both shirts inside out. Flatten & smooth out the sleeves. Making sure the seams are both at the "bottom."
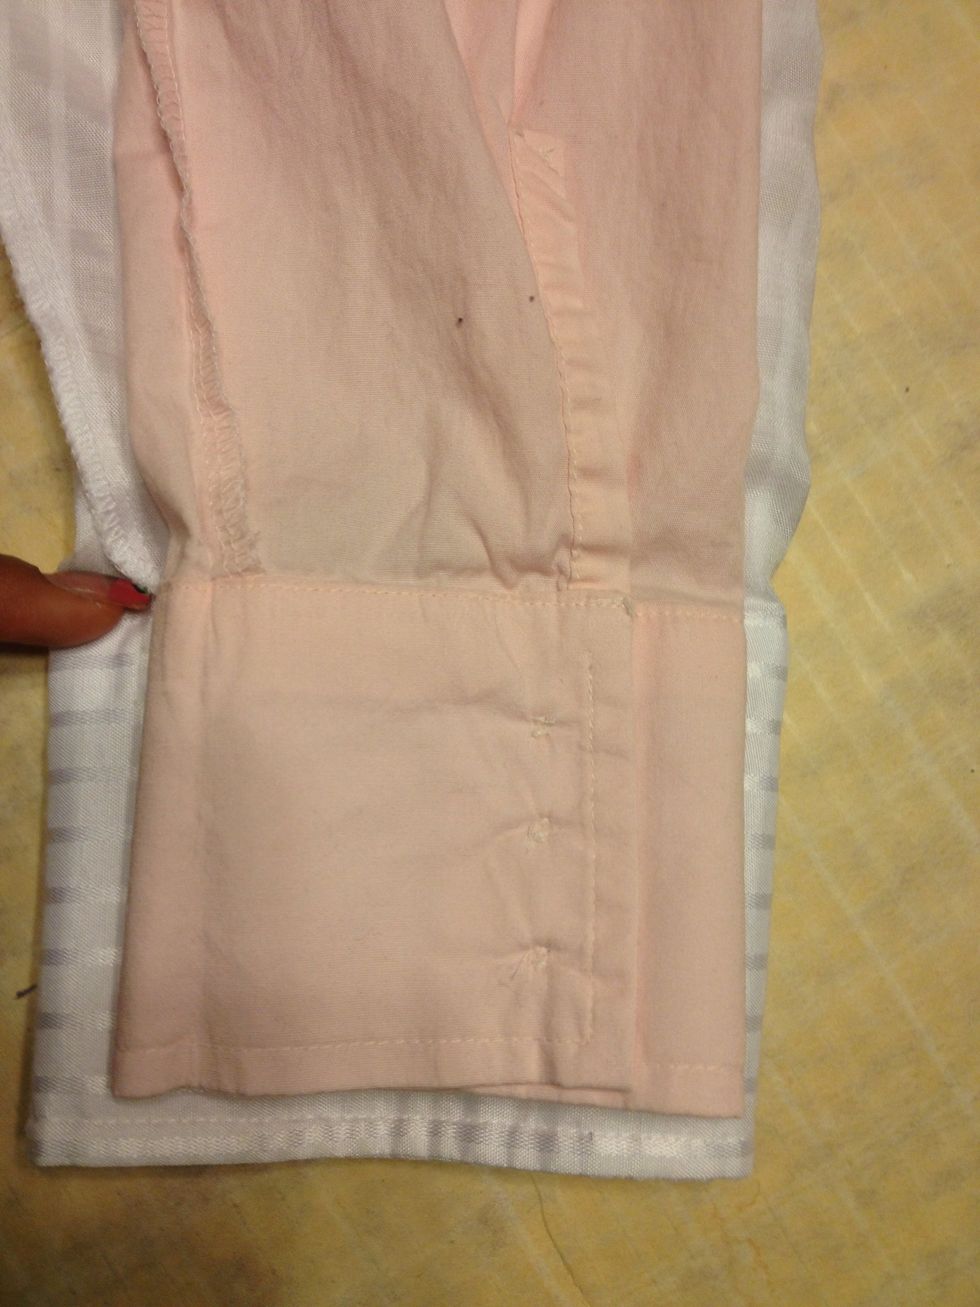
Line up the shirts at the "wrists."
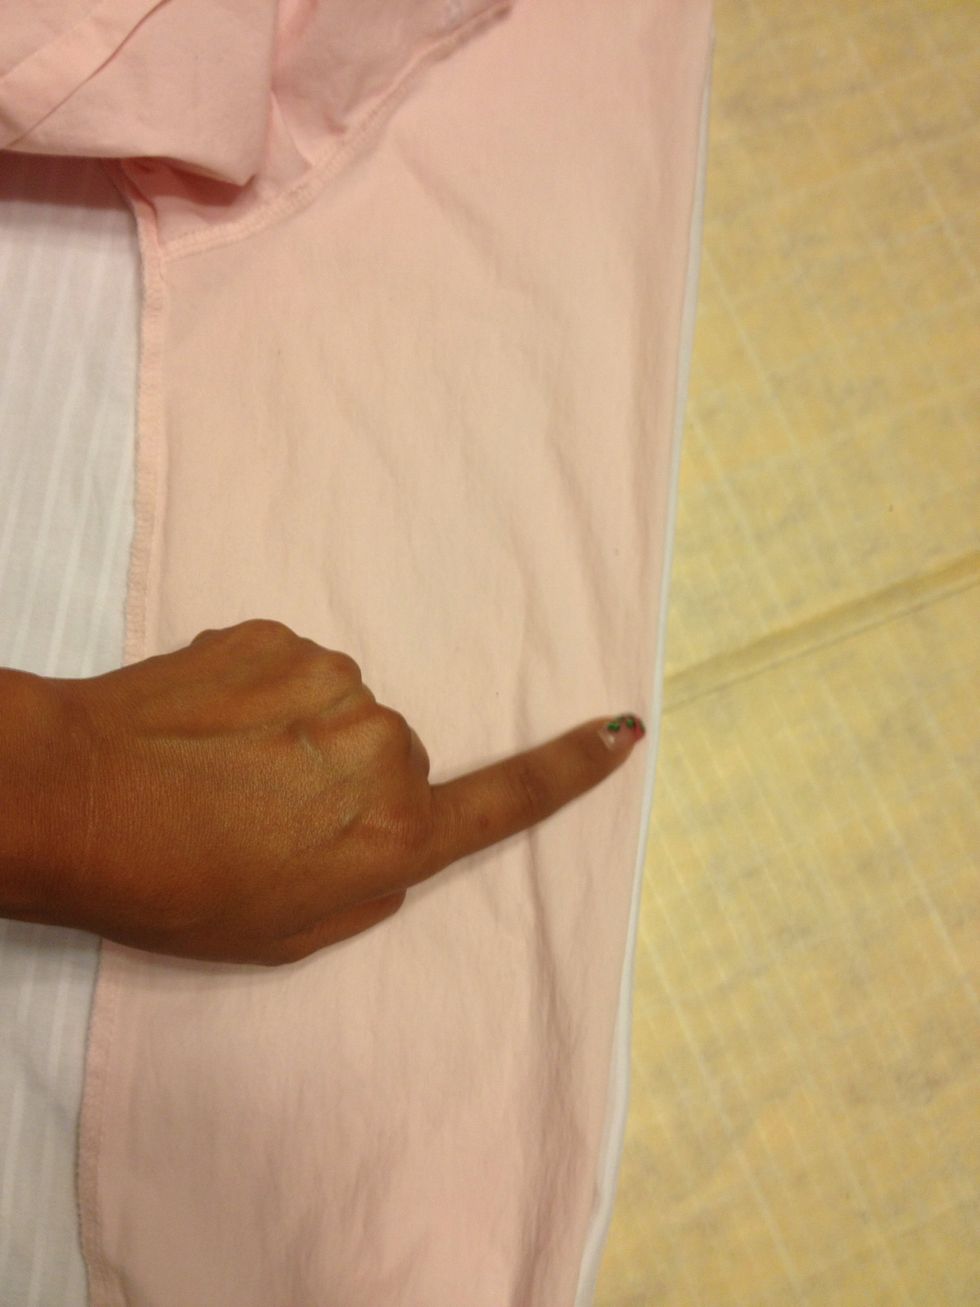
Make sure they are lined up at the top as well as the wrists.
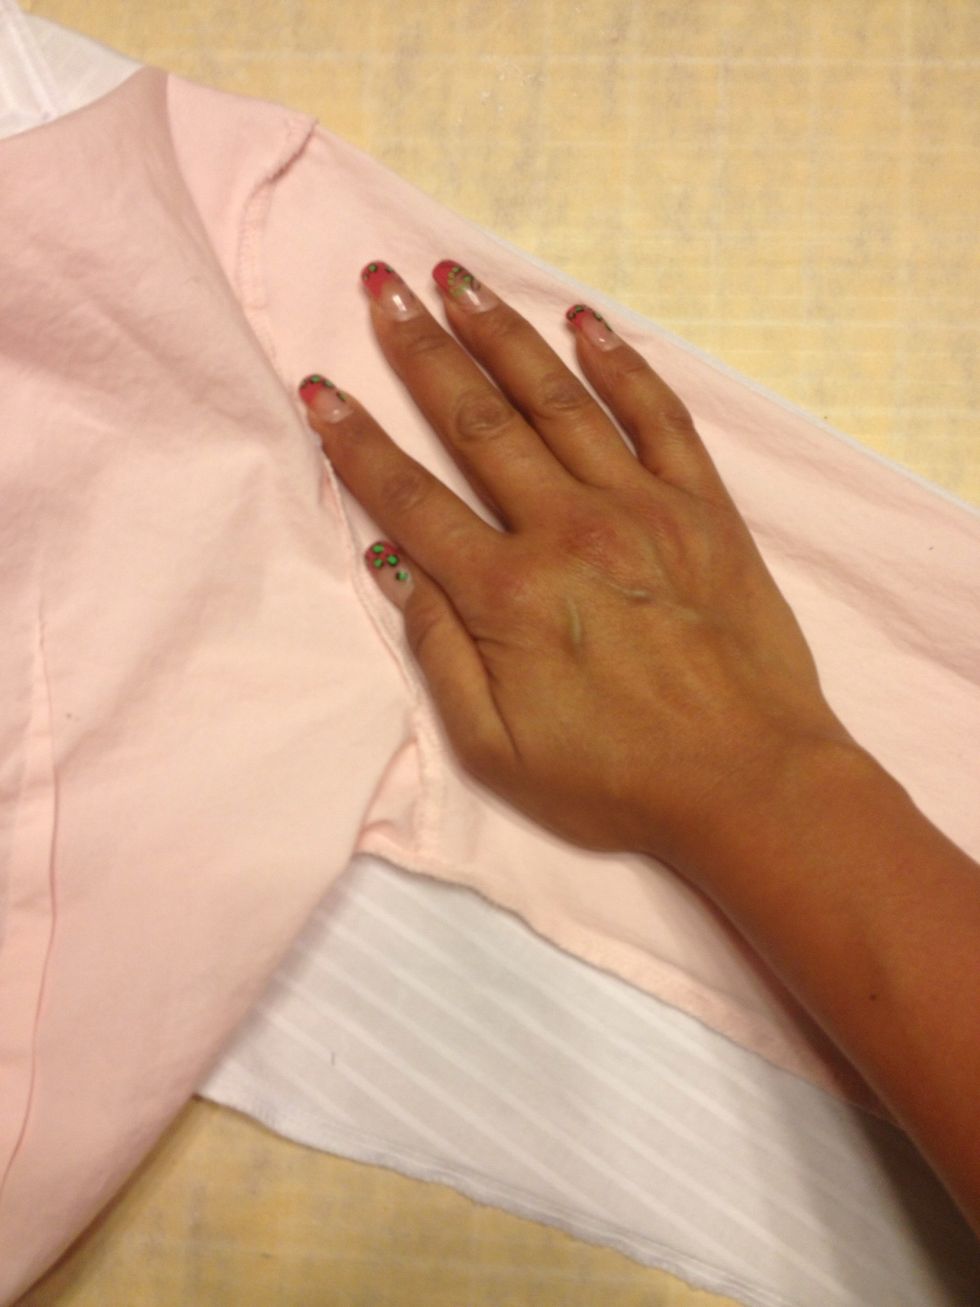
Place your right hand flat near the shoulder area & hold it down.
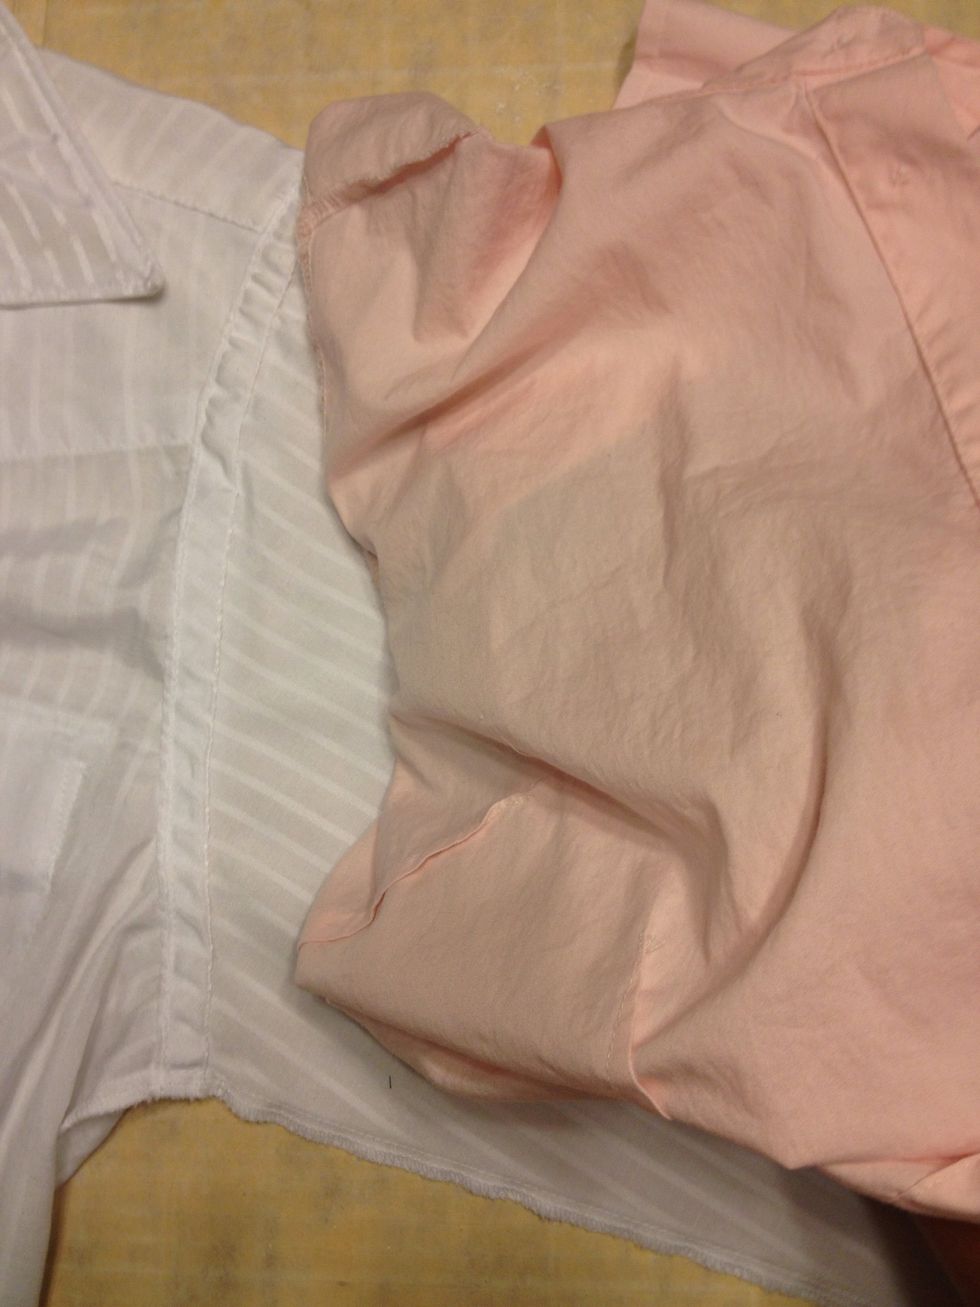
With your right hand still there. Use your left hand to "throw" the rest of the shirt over your right hand and expose the seam of the pink shirt.
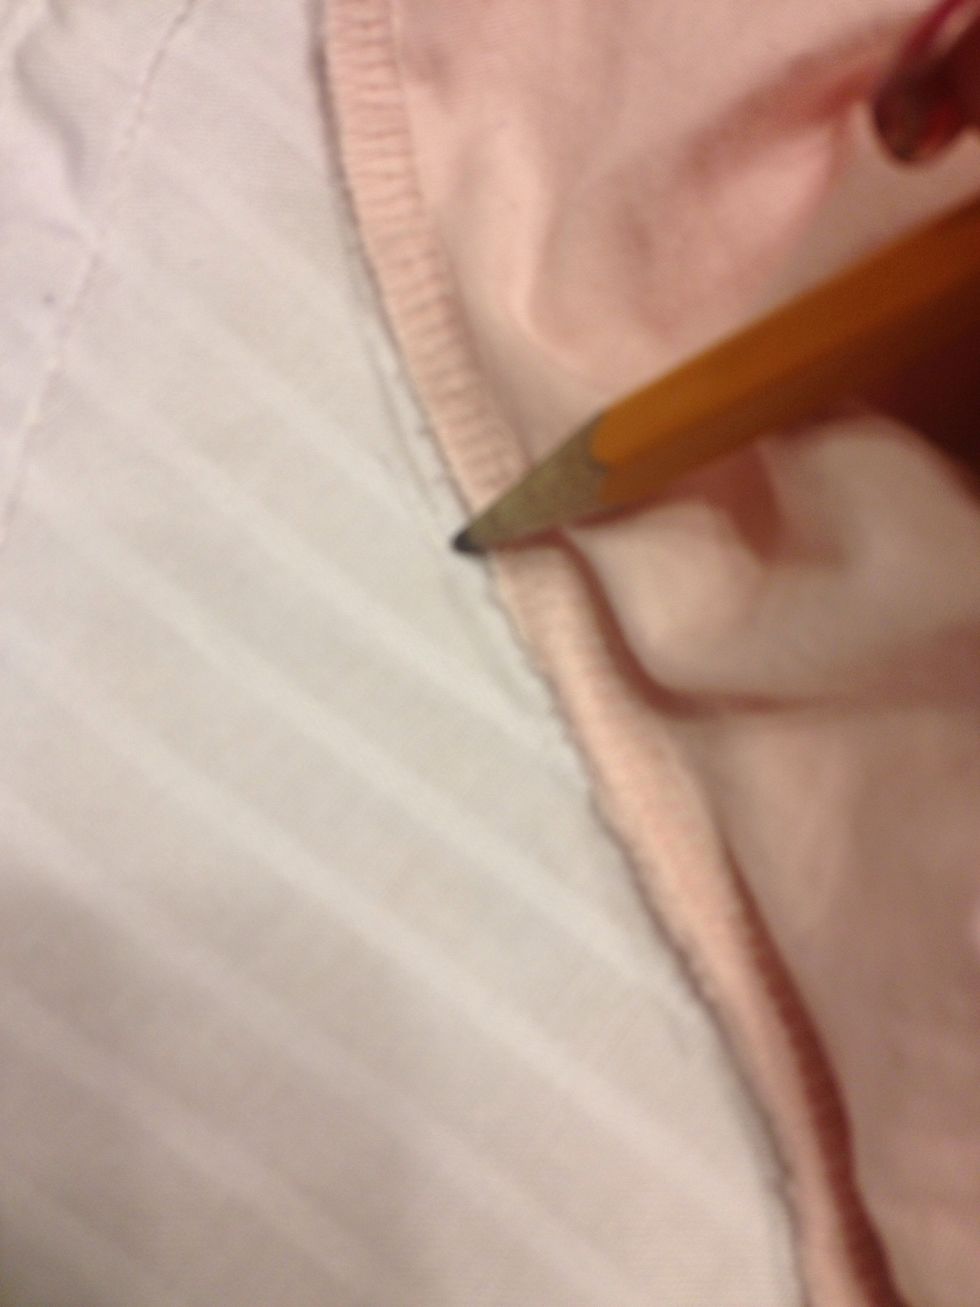
Trace the seam of the pink shirt. If you have a different color shirt you can use a pen or color pencil.
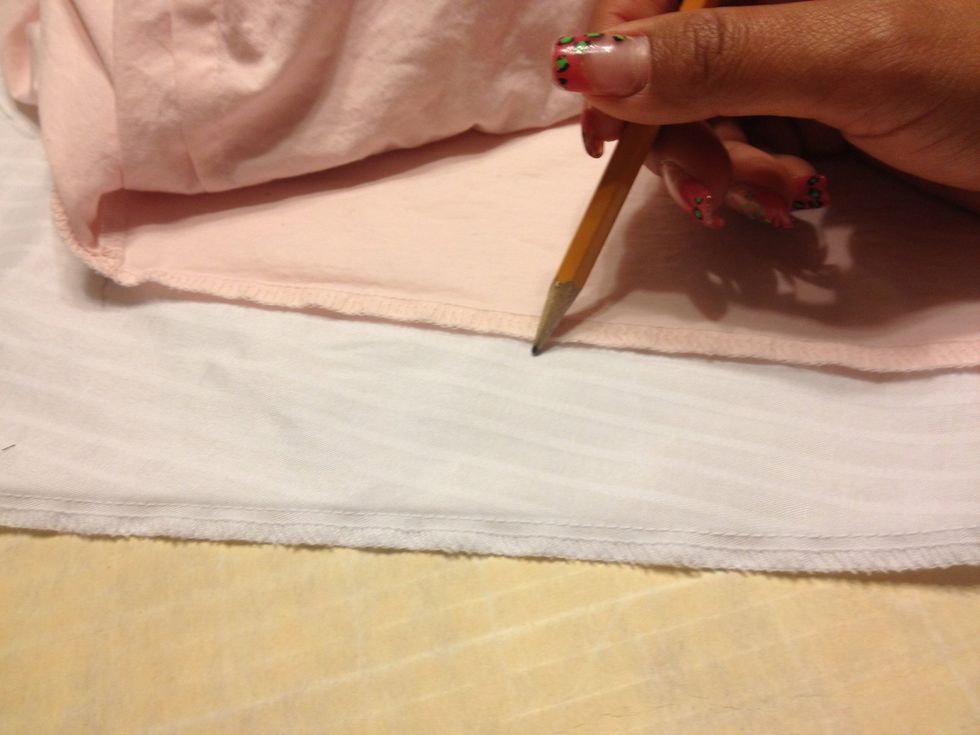
Keep tracing the sleeve all the way to the wrist.
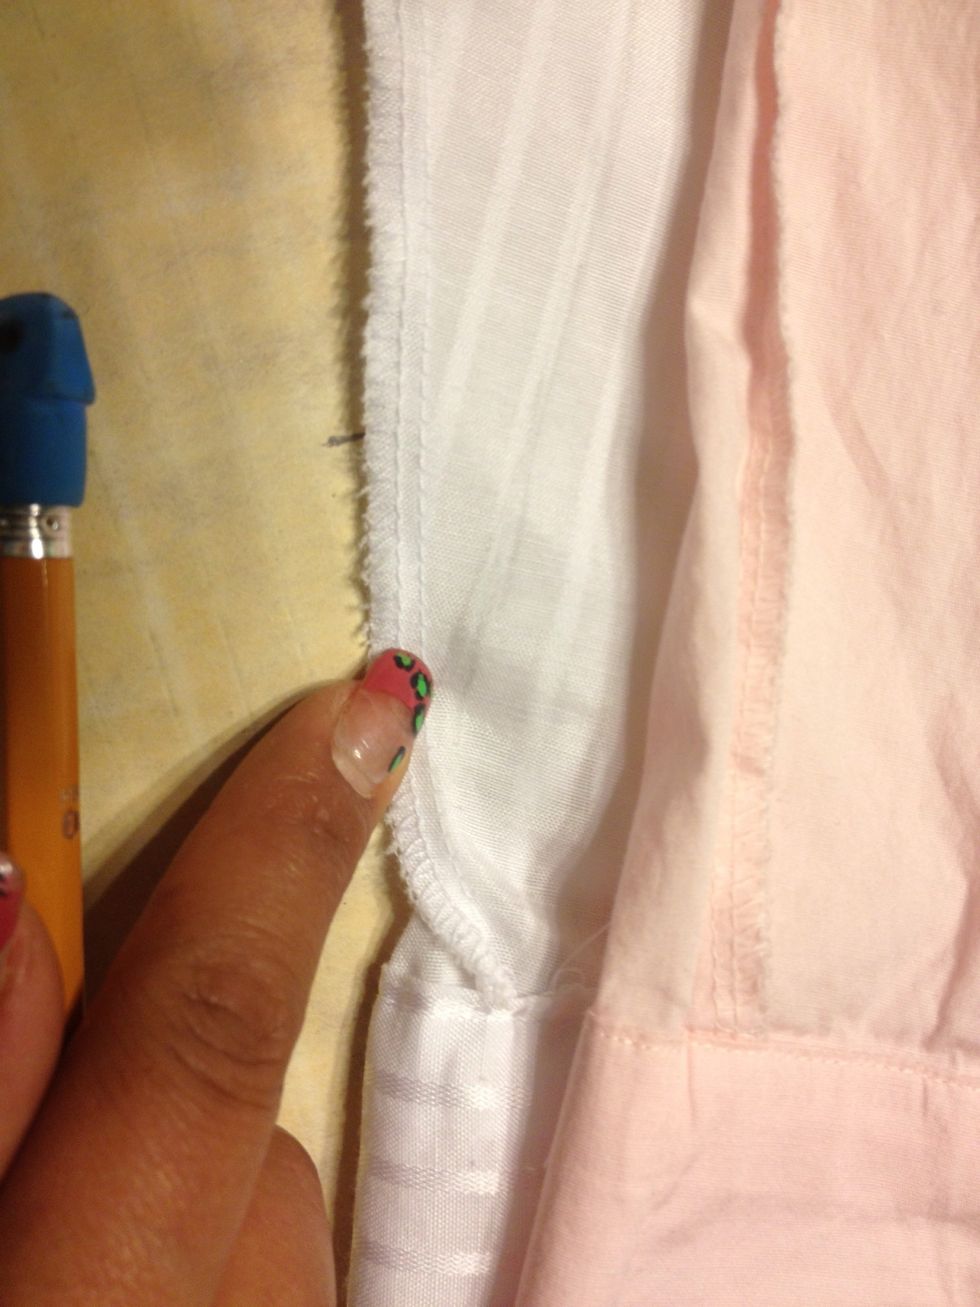
We are NOT going to cut off the cuff. So draw the line to about where you see my finger.
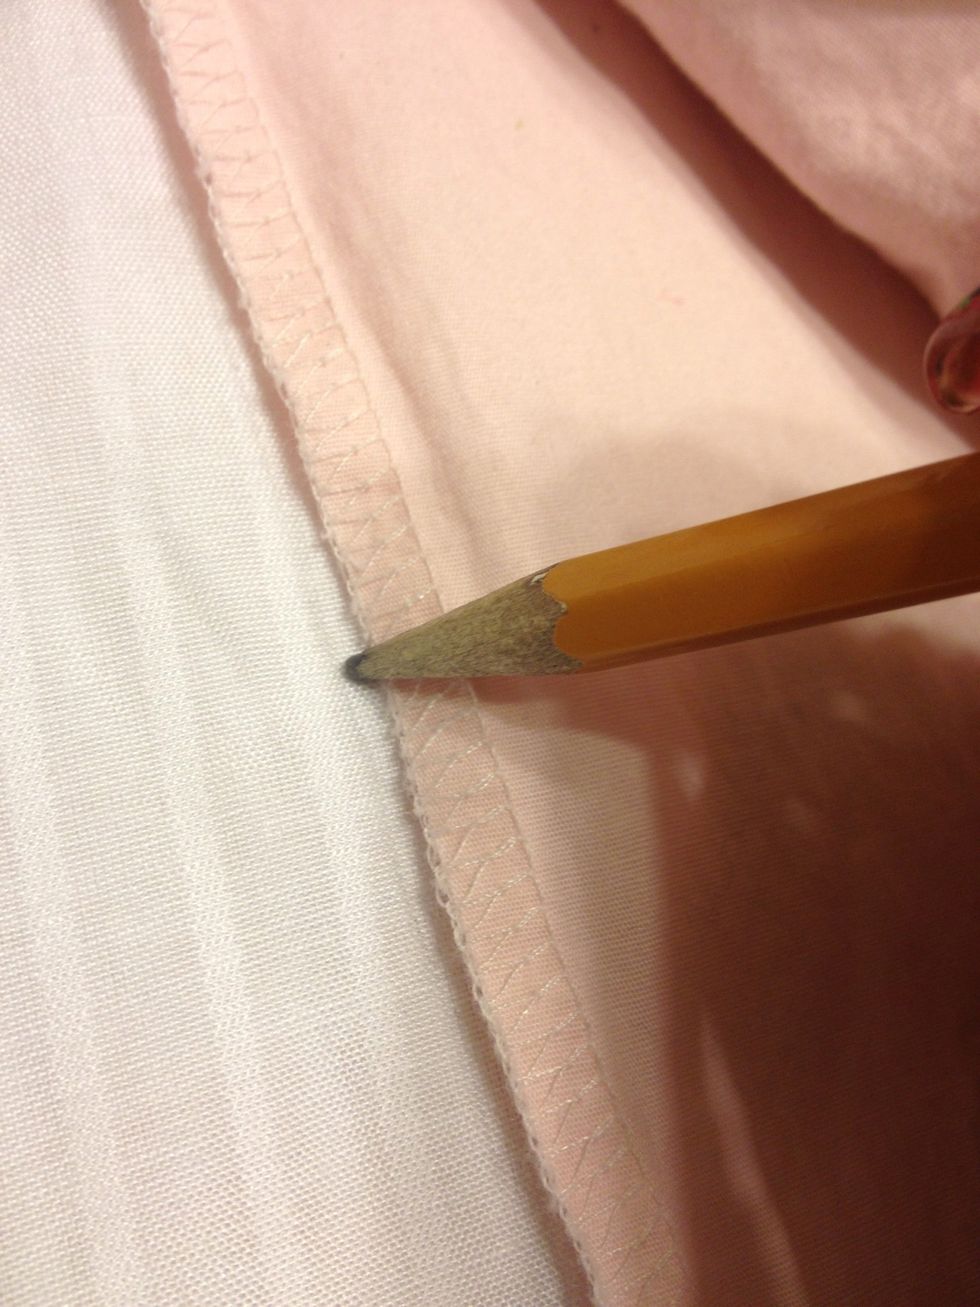
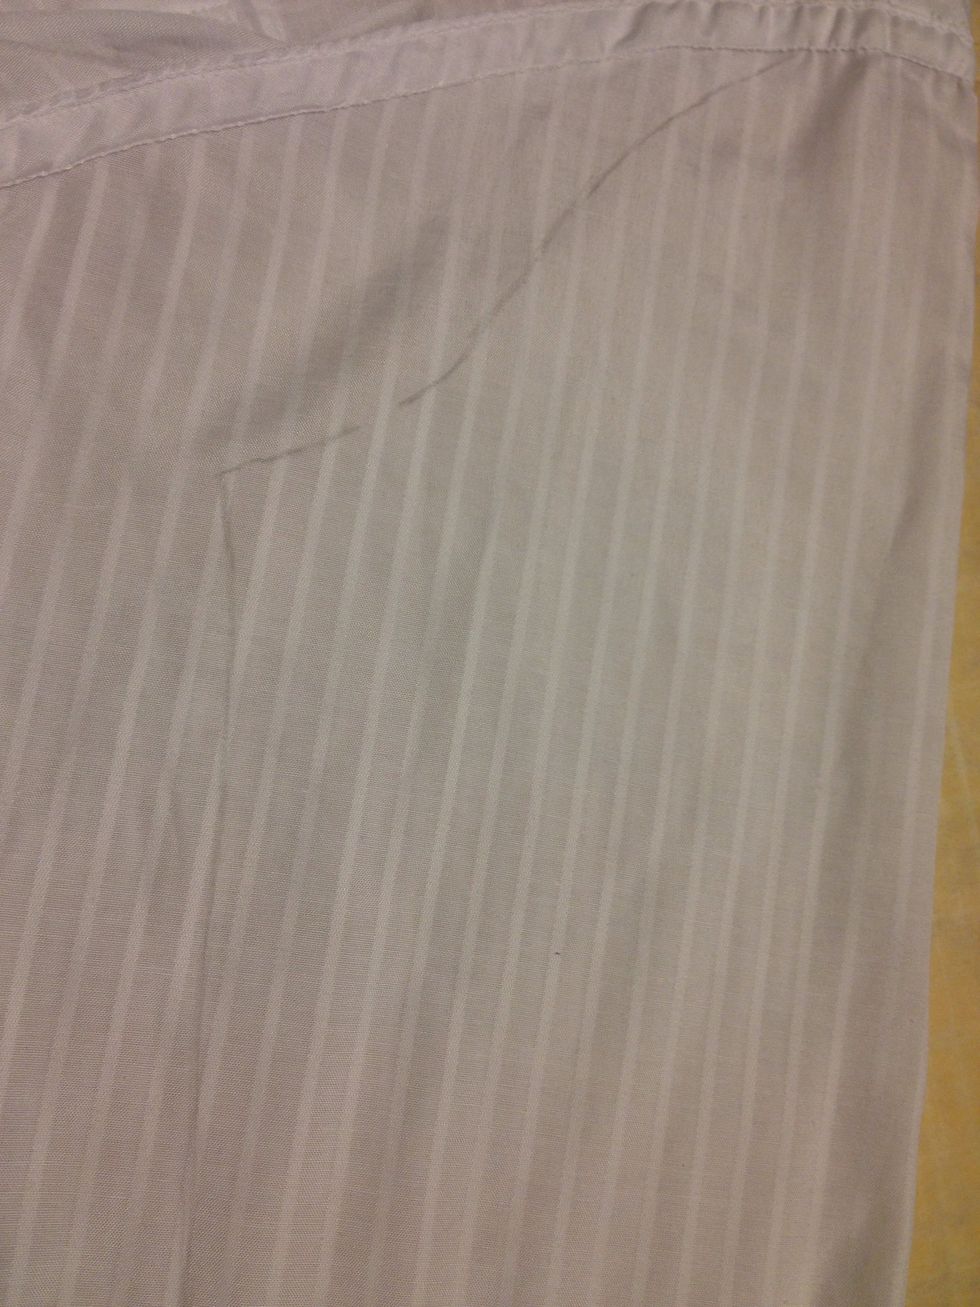
This is what it should look like.
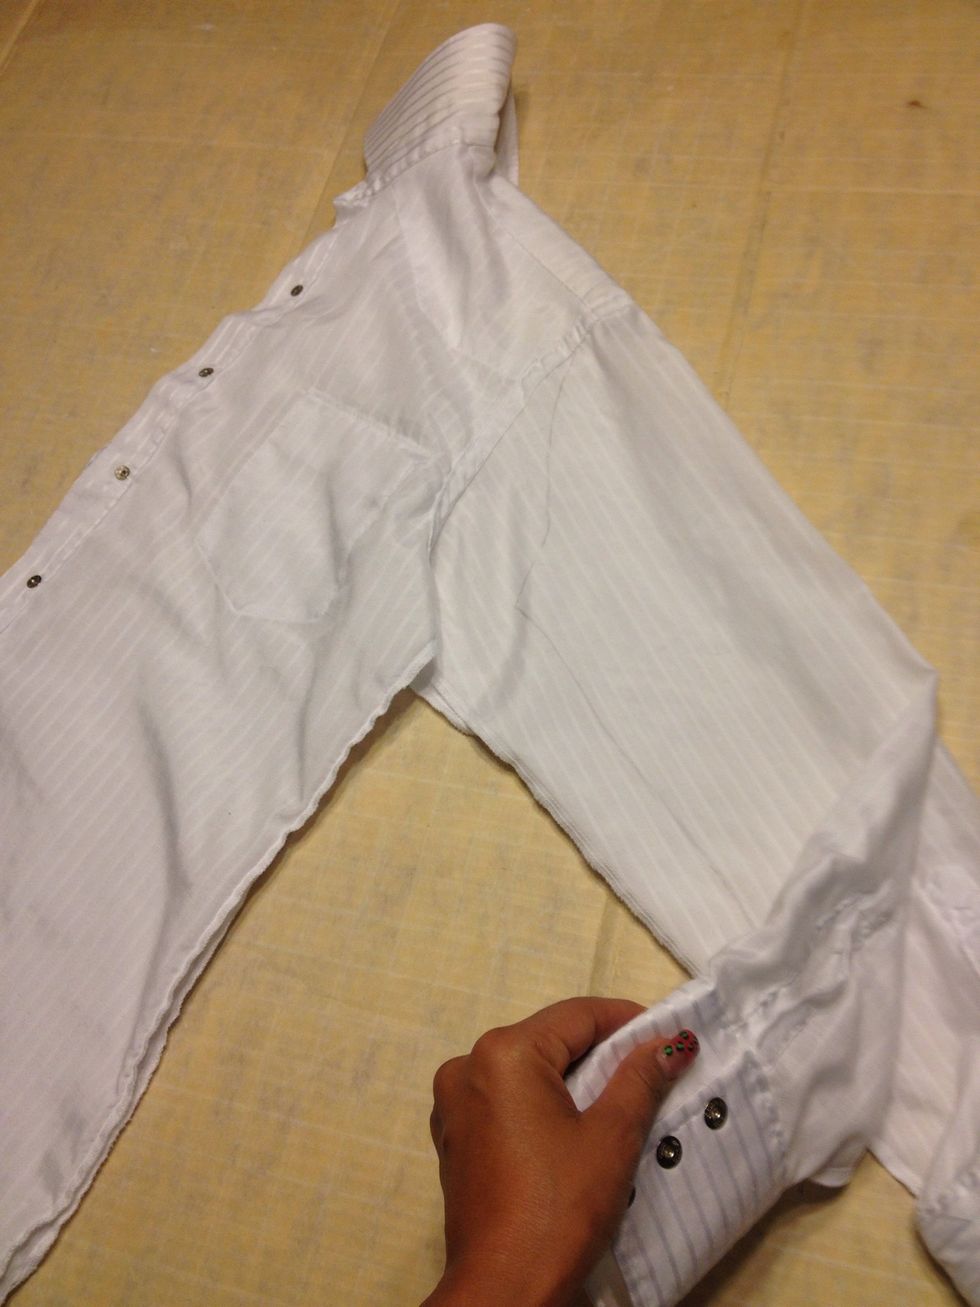
Remove pink shirt. Make sure both sleeves are smooth and flat.
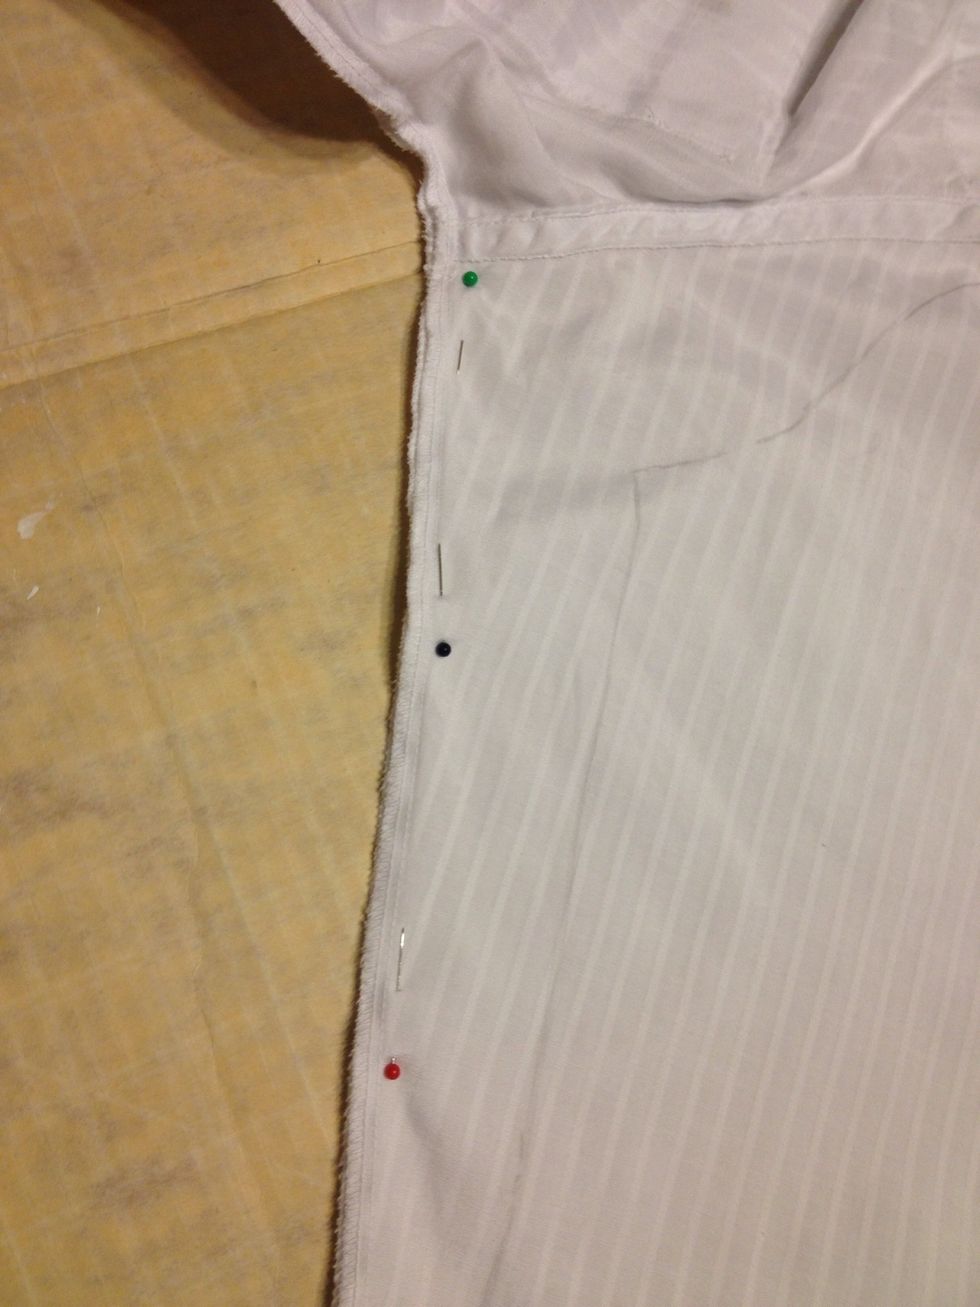
Pin the sleeves together at the seam.
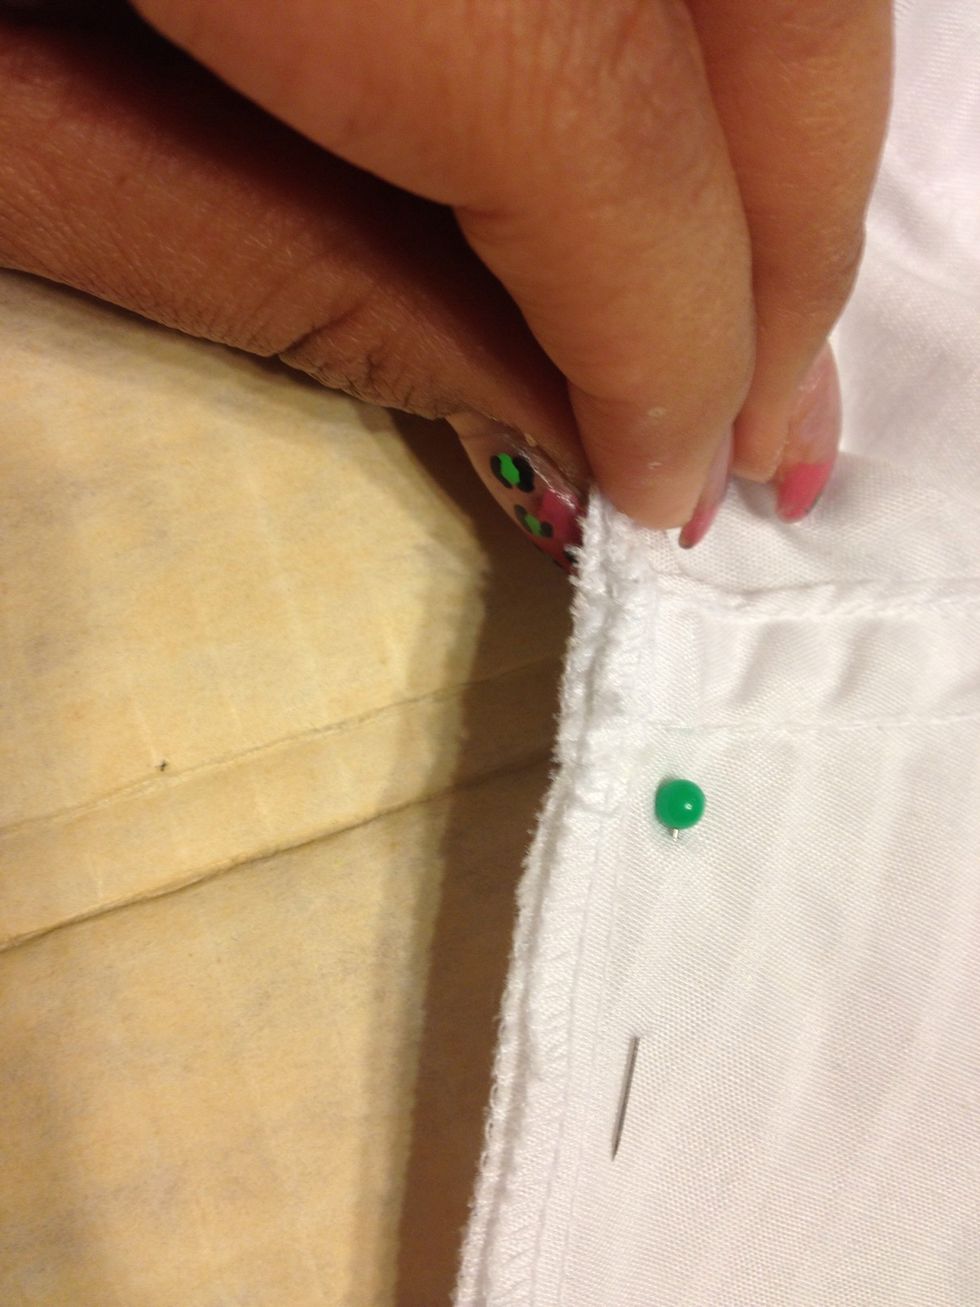
Make sure the sleeves are matched up at the armpit.
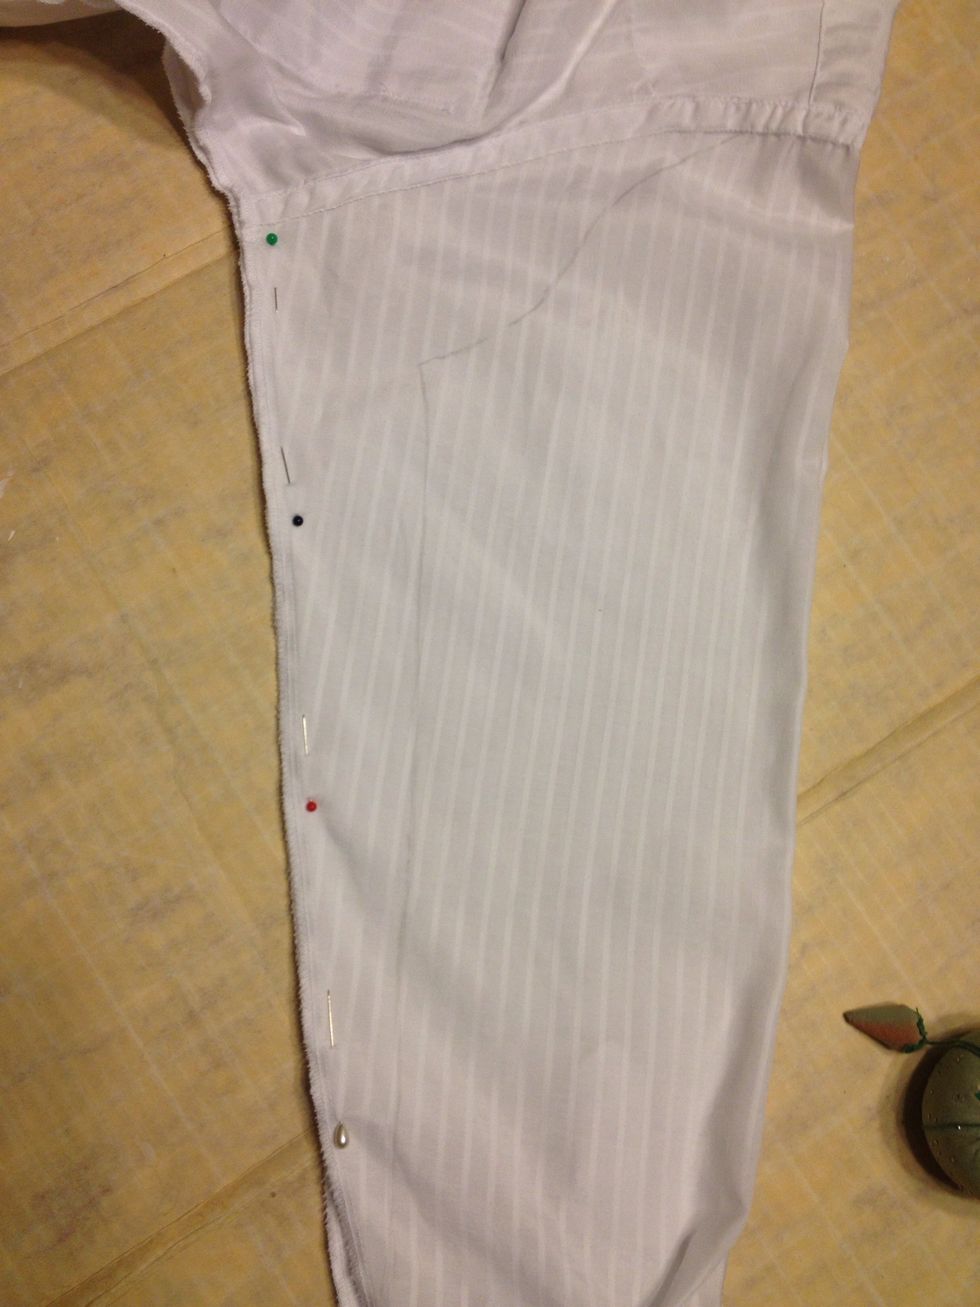
This is what it should look like.
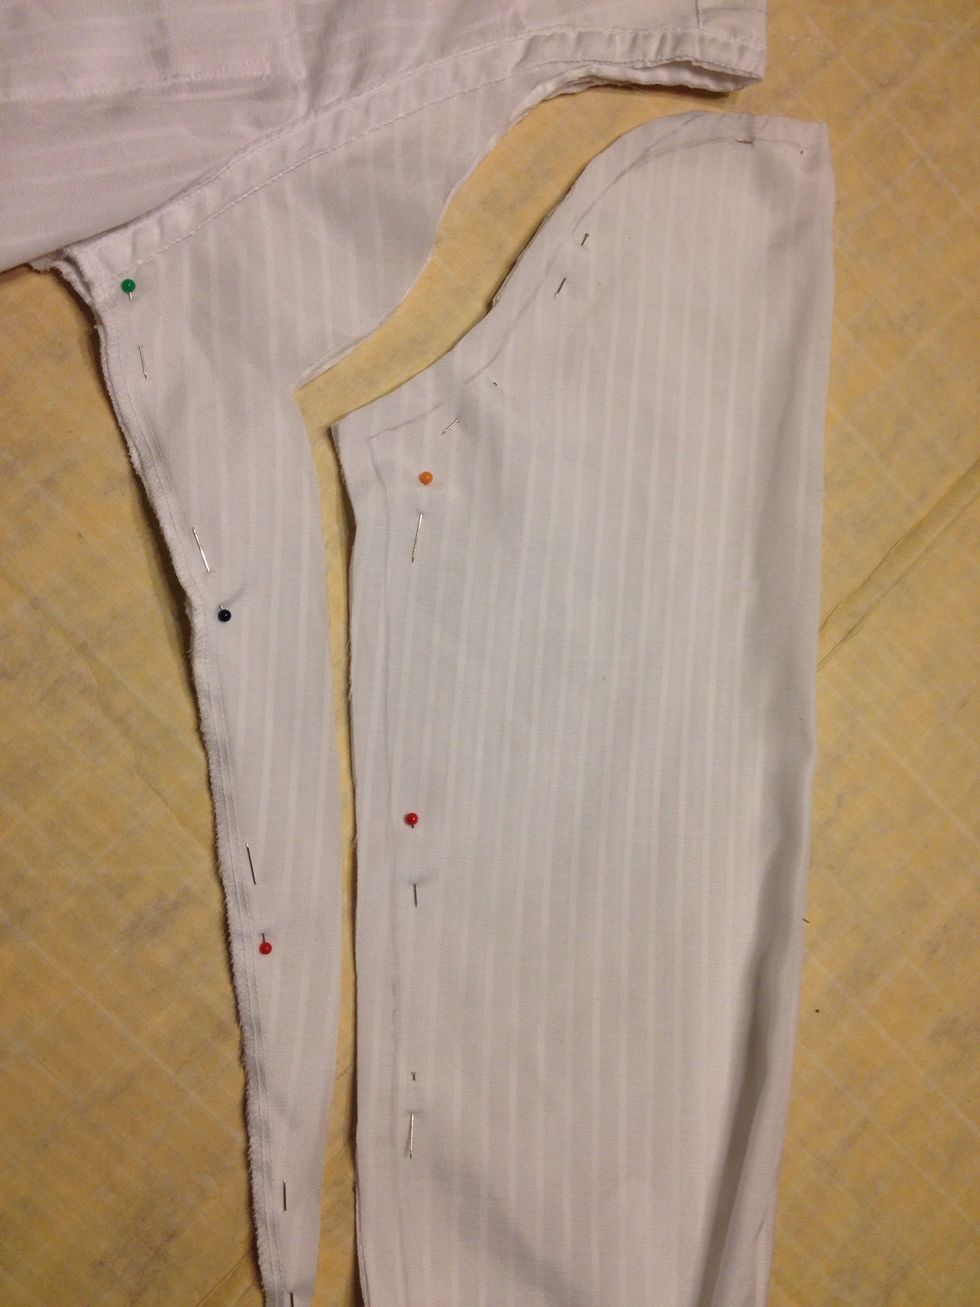
Before you cut!! pin the sleeves together on the other side of the pencil line!! Remember that you must leave 1/2 inch for seam allowance. Then cut it!!
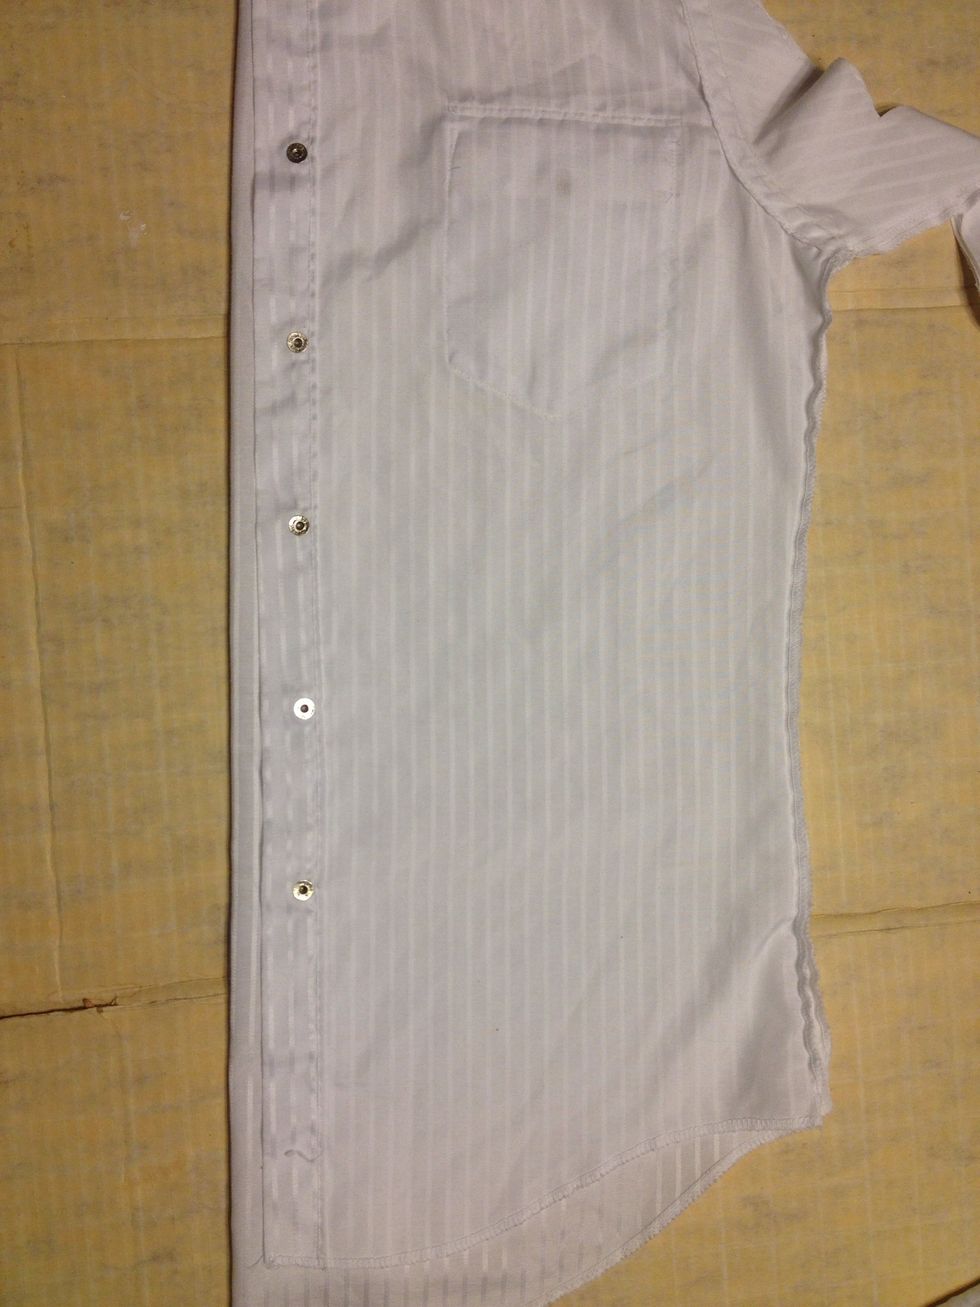
Next! Your shirt should still be folded like this. Make sure it is smoothed out.
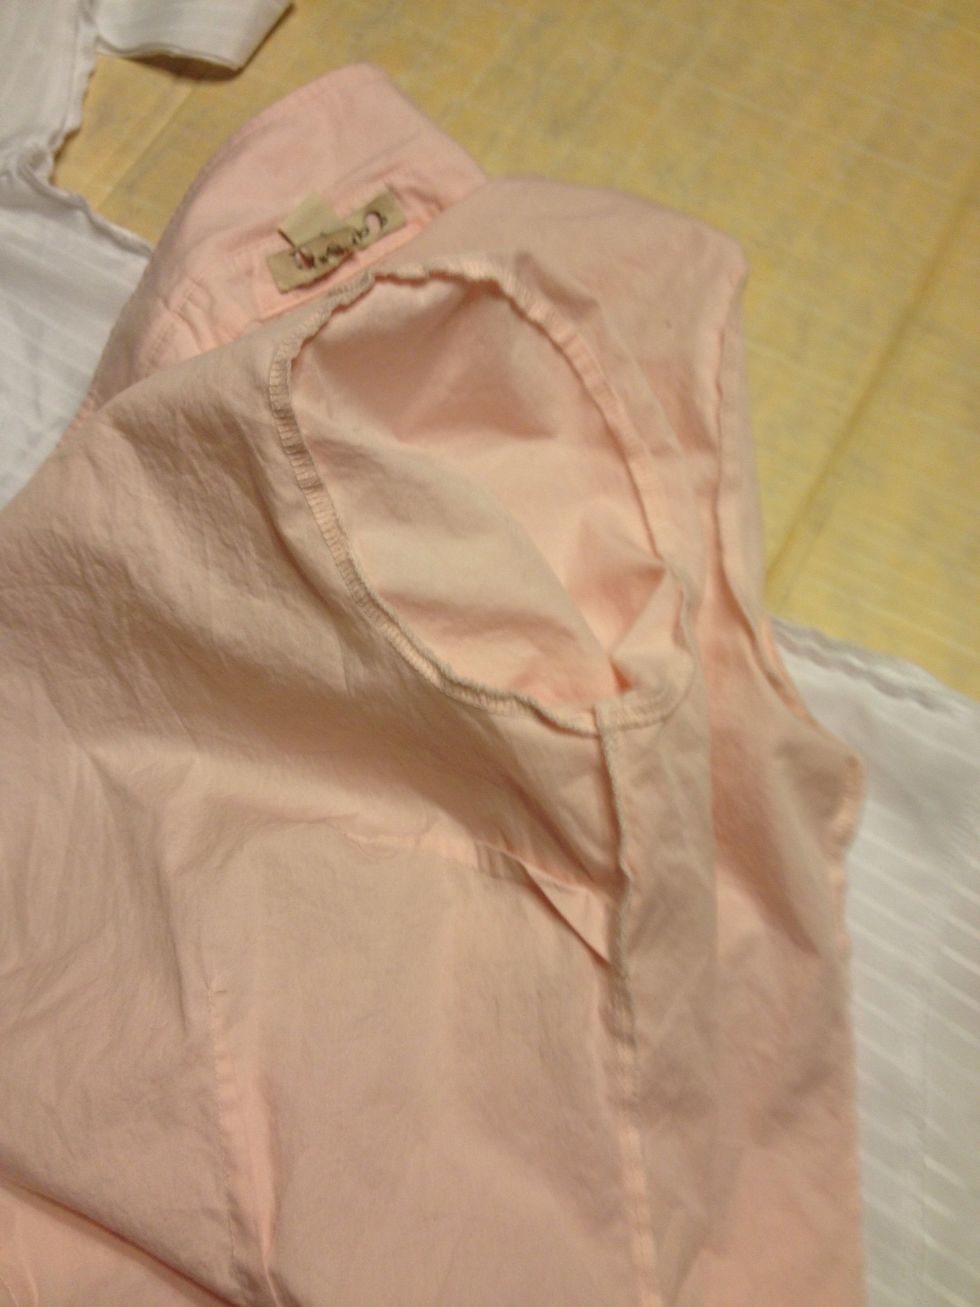
Pull the sleeves inward to expose the armholes.
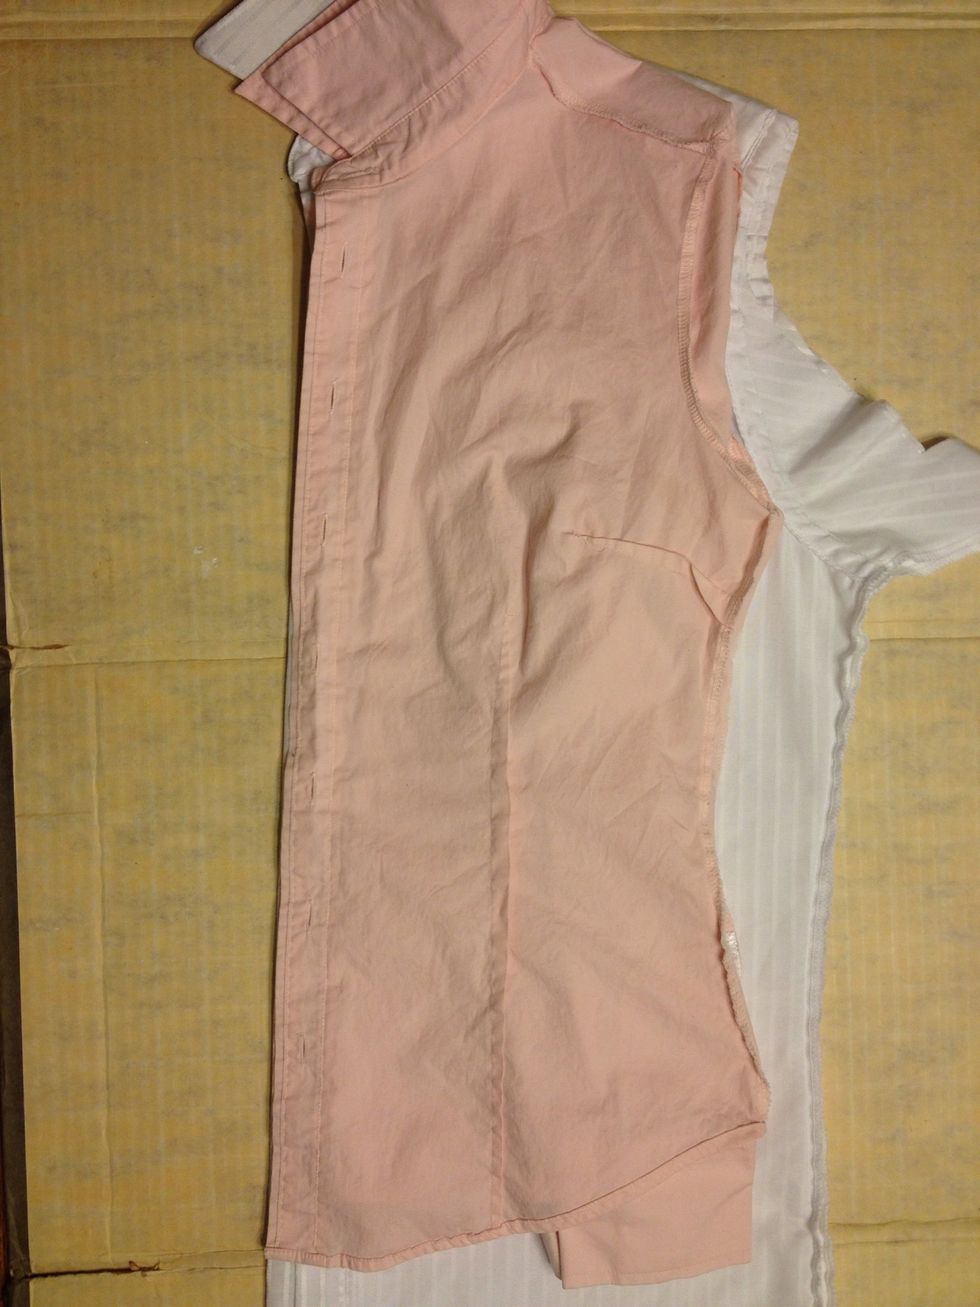
Smooth out the shirt and line it up along the buttons. Make sure that shoulders are lined up too!
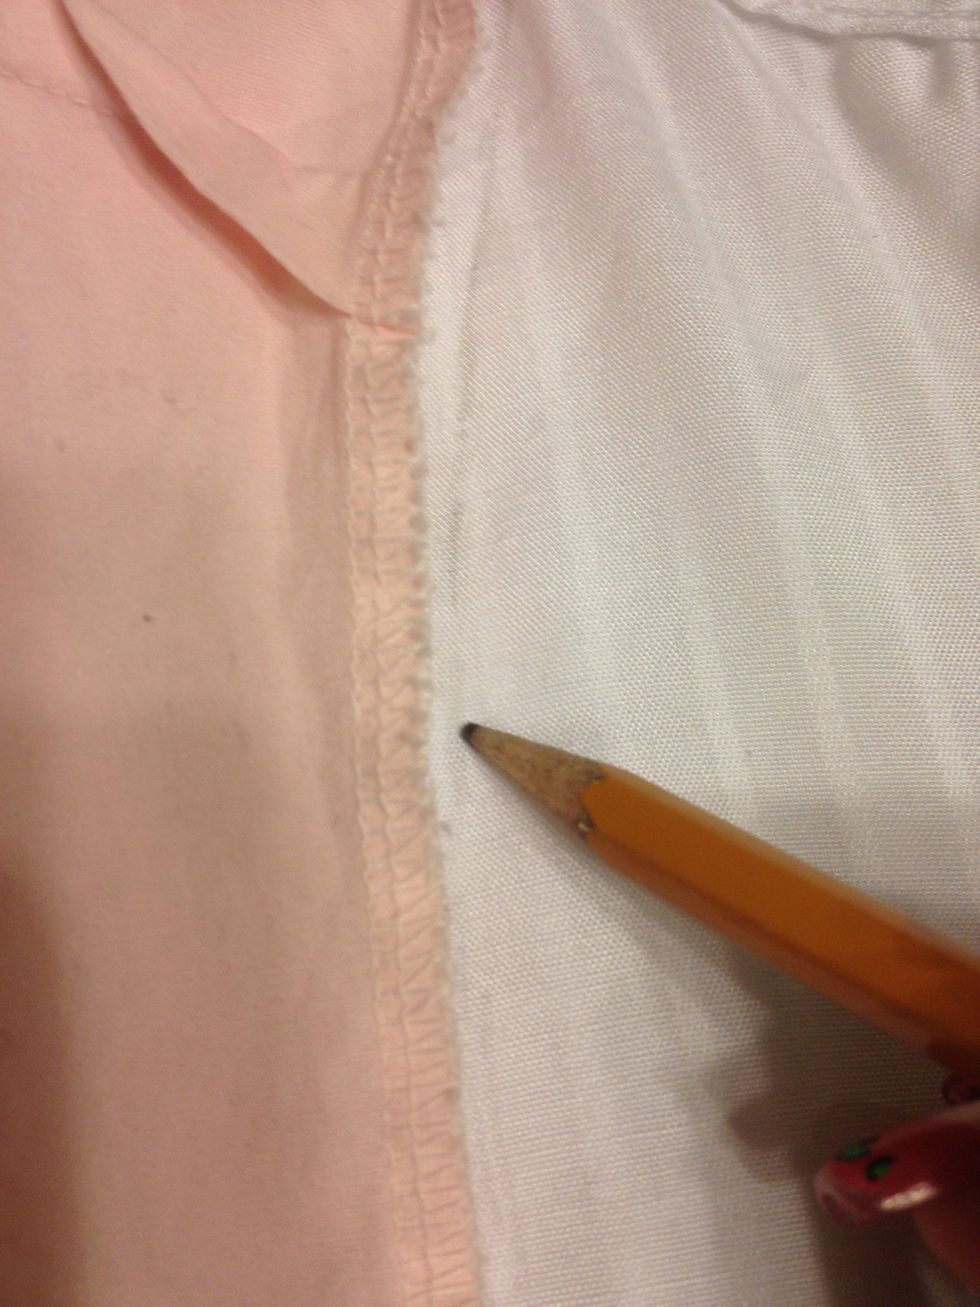
Trace the edge of the pink shirt. Along the seam from under the armpit down.
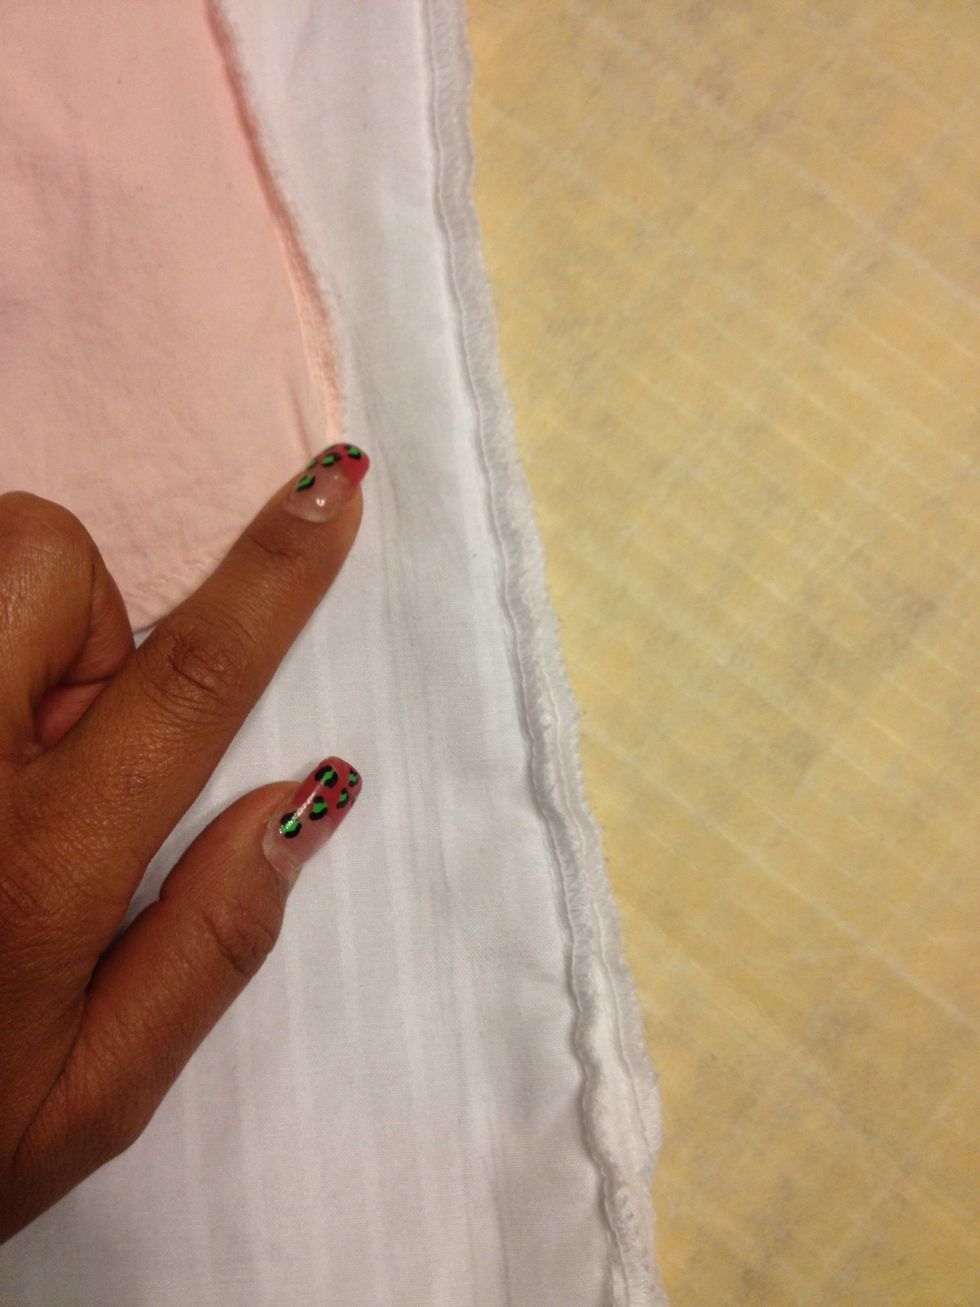
I like the width of this white shirt. So I'm not going to draw the line straight down. But to the existing seam.
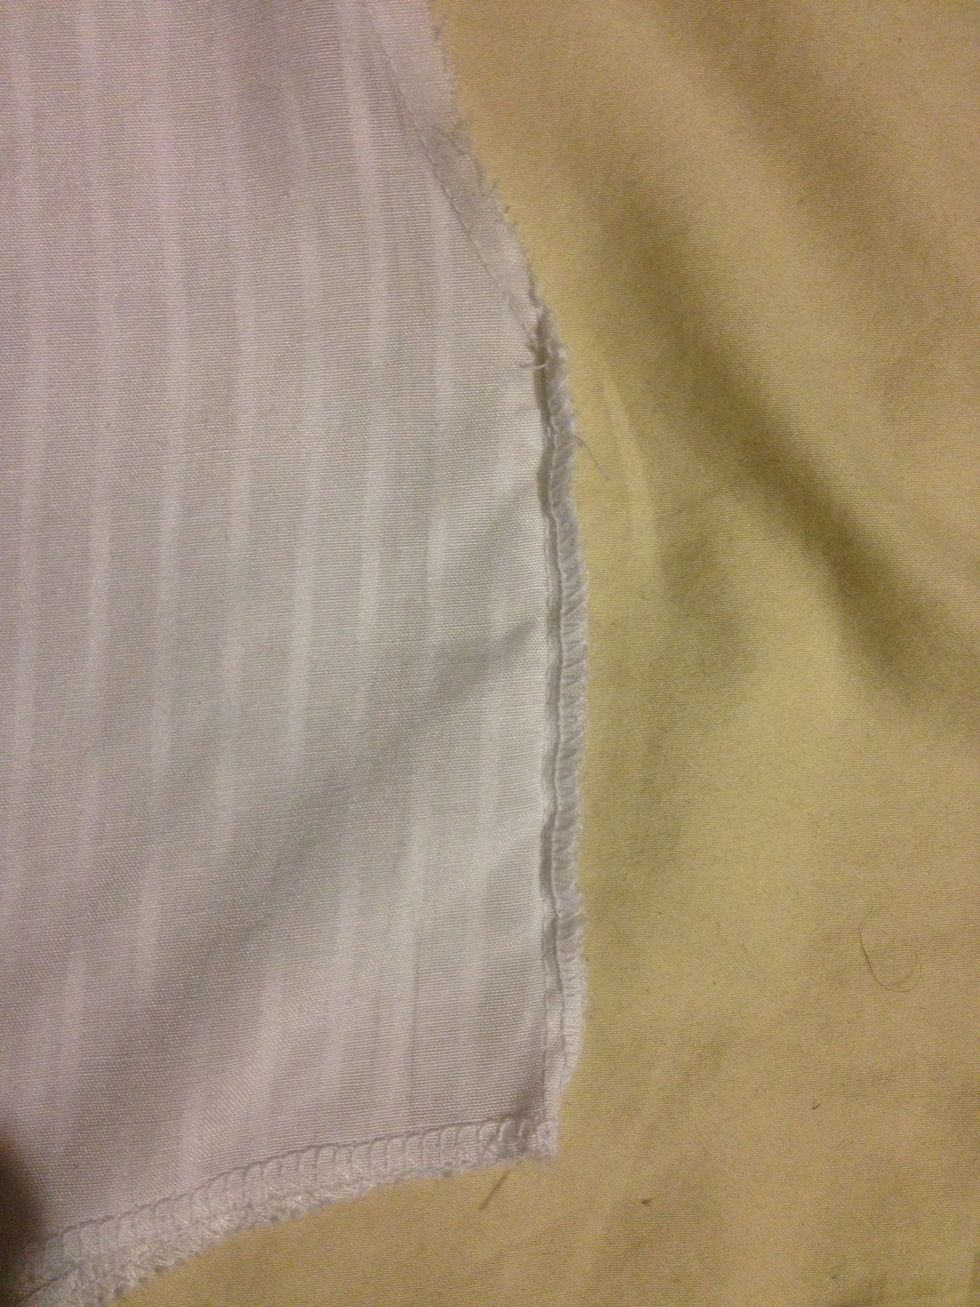
I added this after I cut it because I forgot to take a pic. But. This is what I mean about not cutting all the way down.
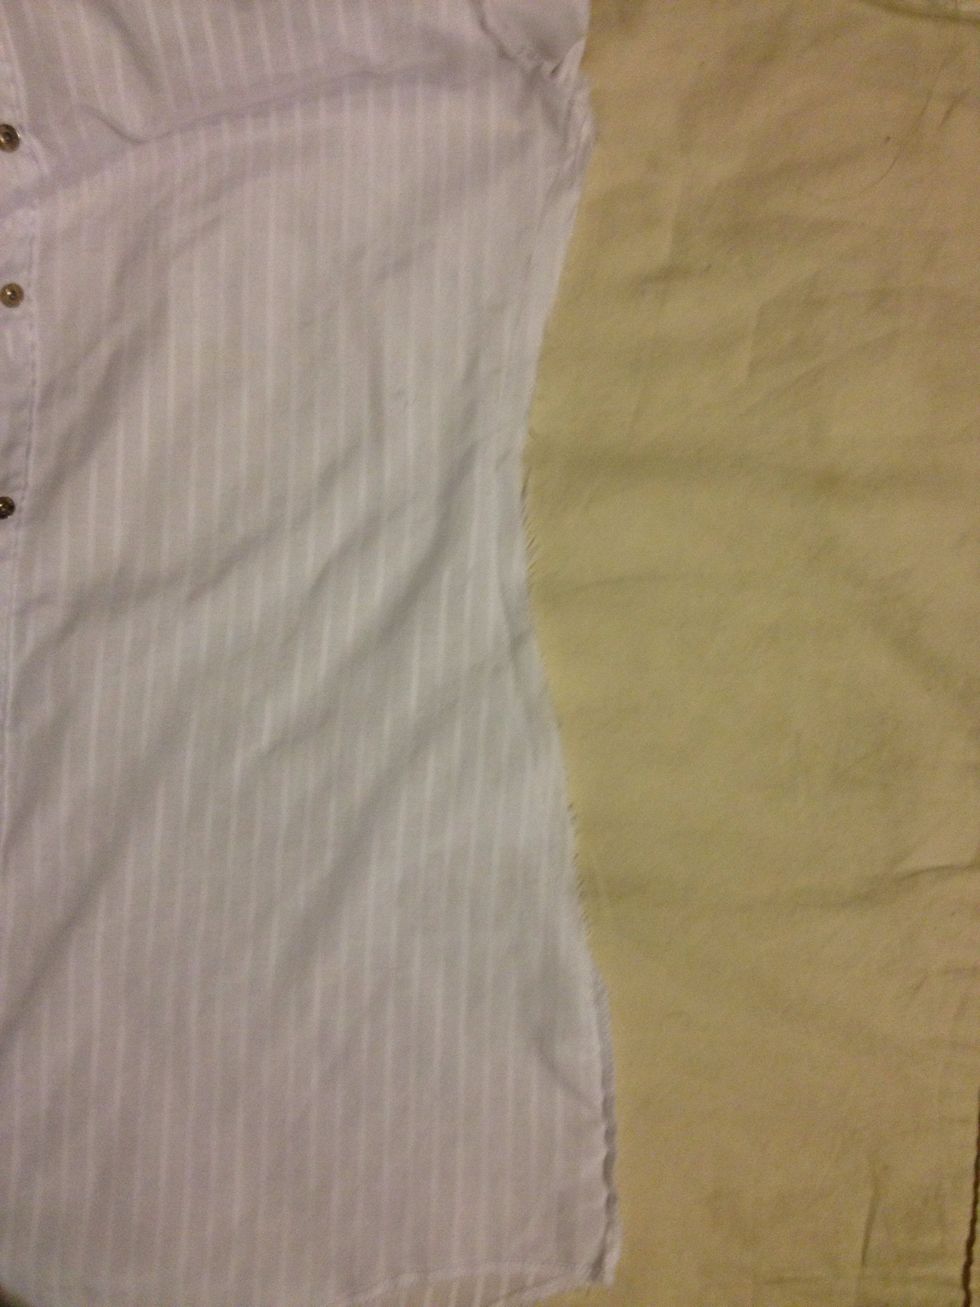
This is what it looks like after you sew it. See how the side blends smoothly with the "non-cut" part?
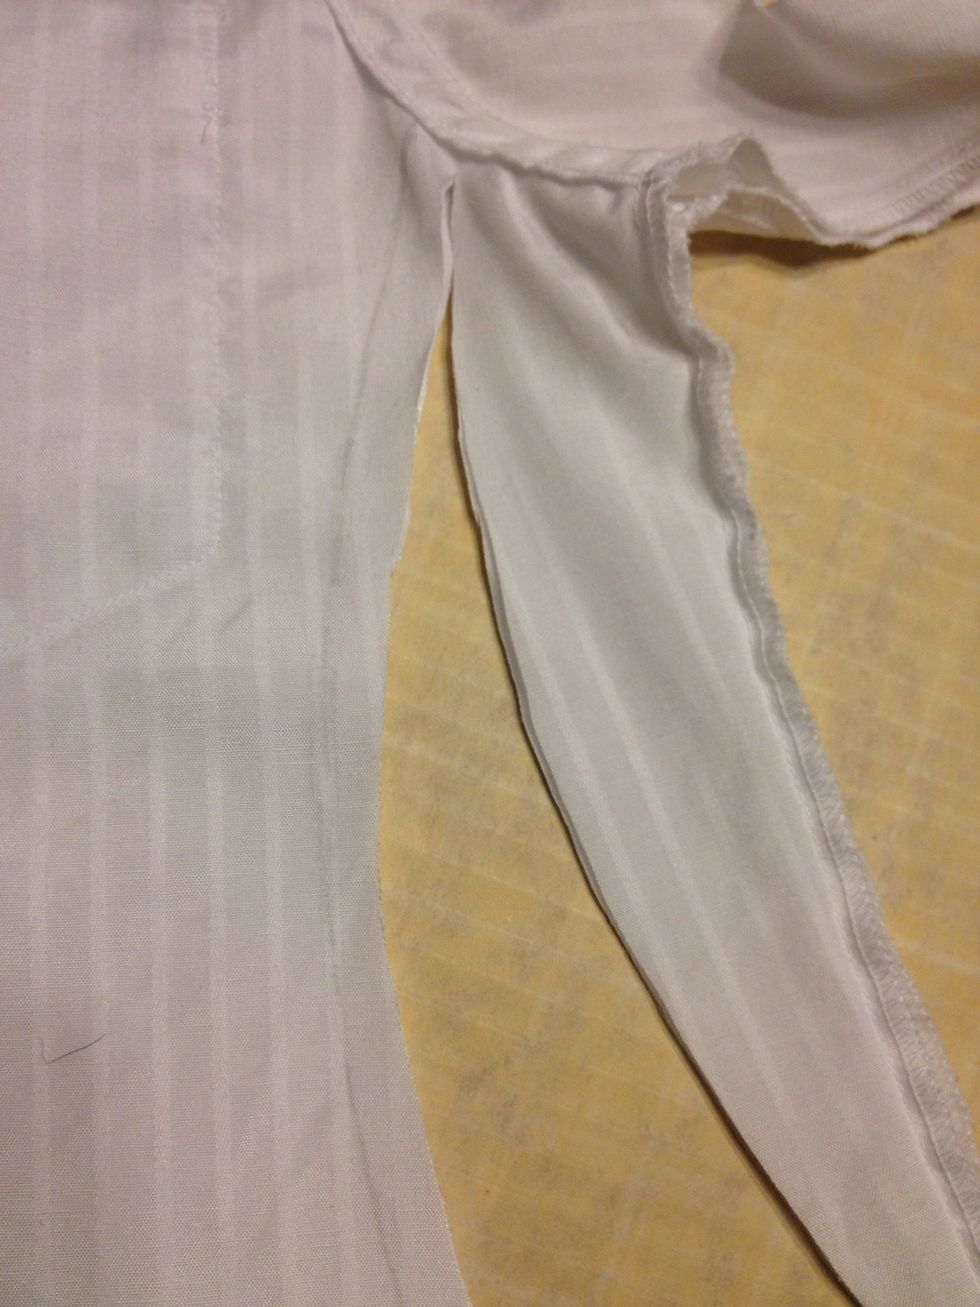
Ok. Back to work!! Remember to leave a 1/2 inch seam allowance. Cut from the bottom up. Remember it's from the bottom/side.
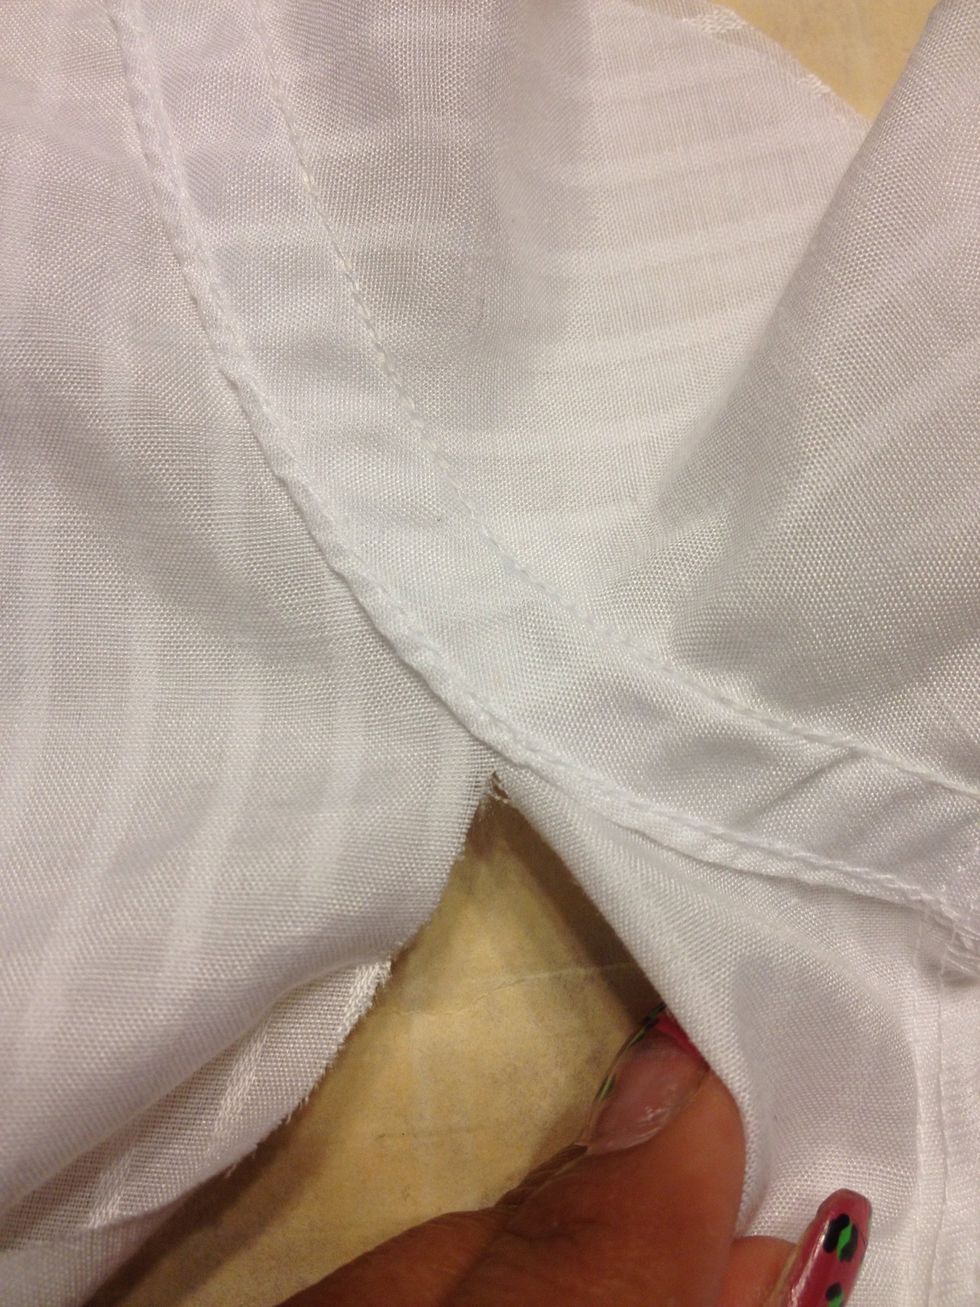
Stop at the armpit!
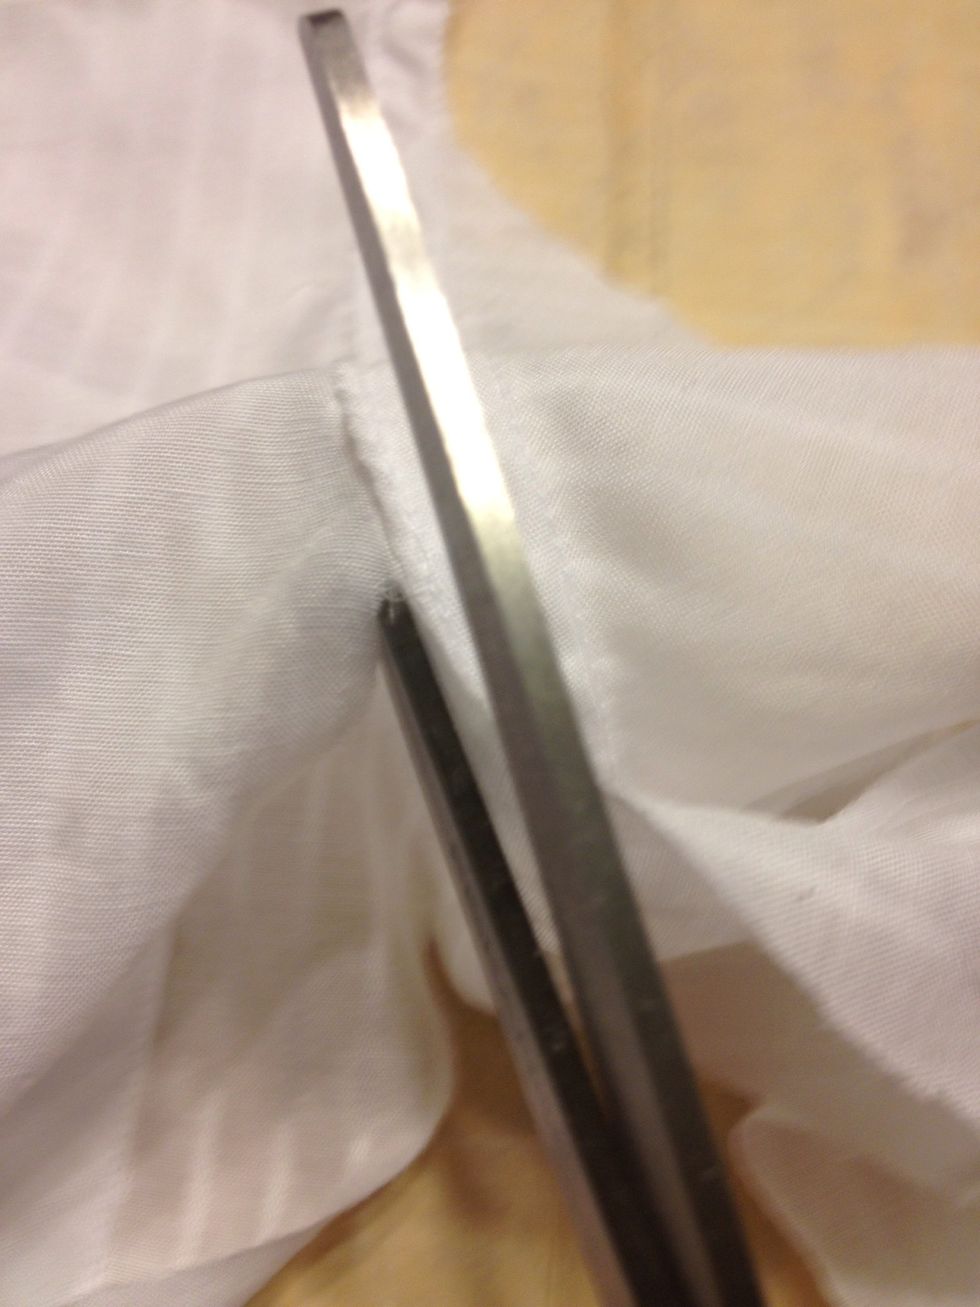
Cut the "sleeves" off along the inner edge. But slip your scissors in between the front & back to follow the edge better.
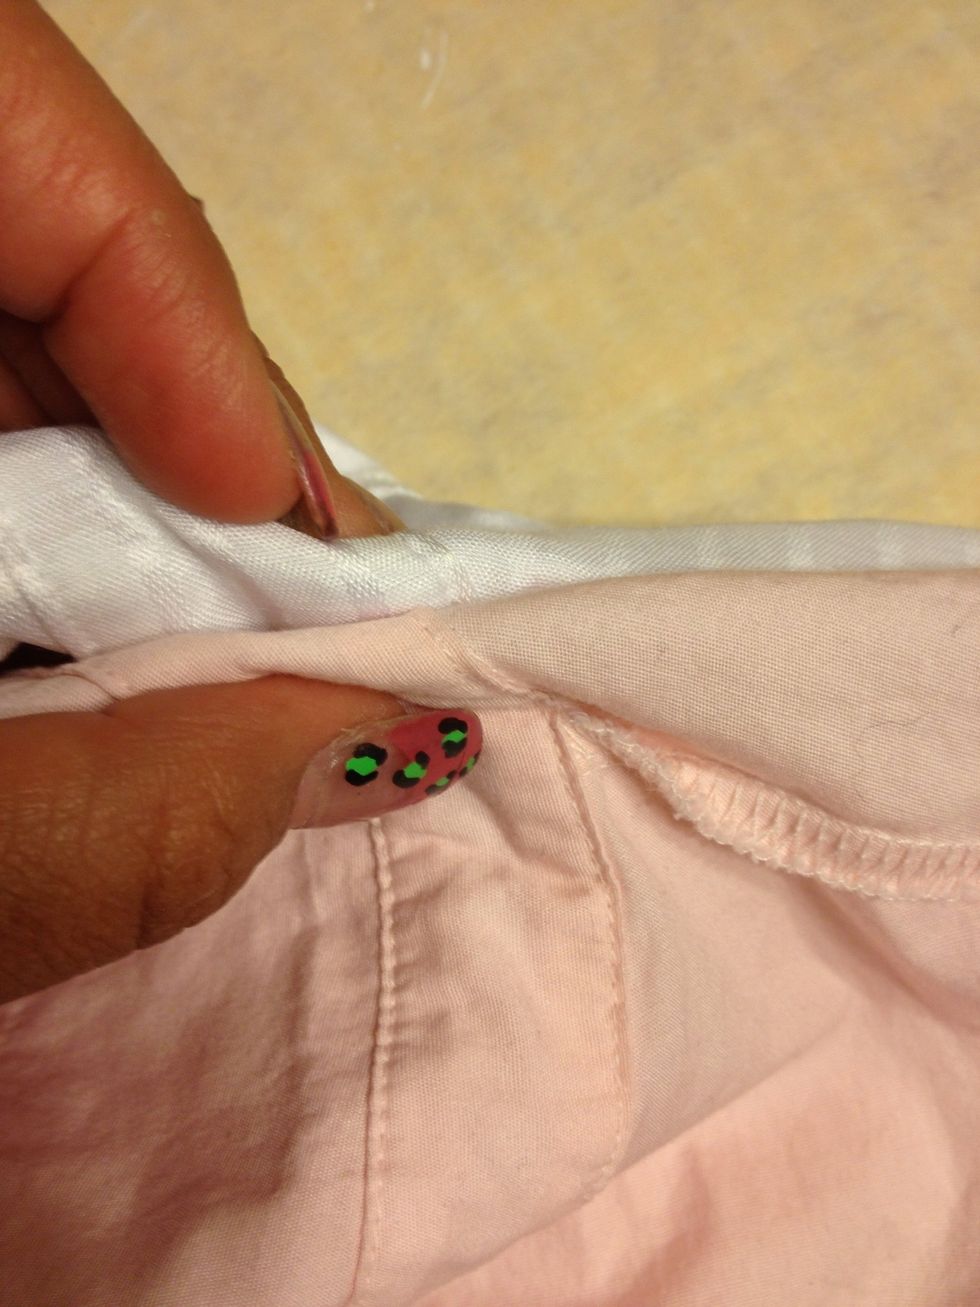
Then you pin the top right at the collars.
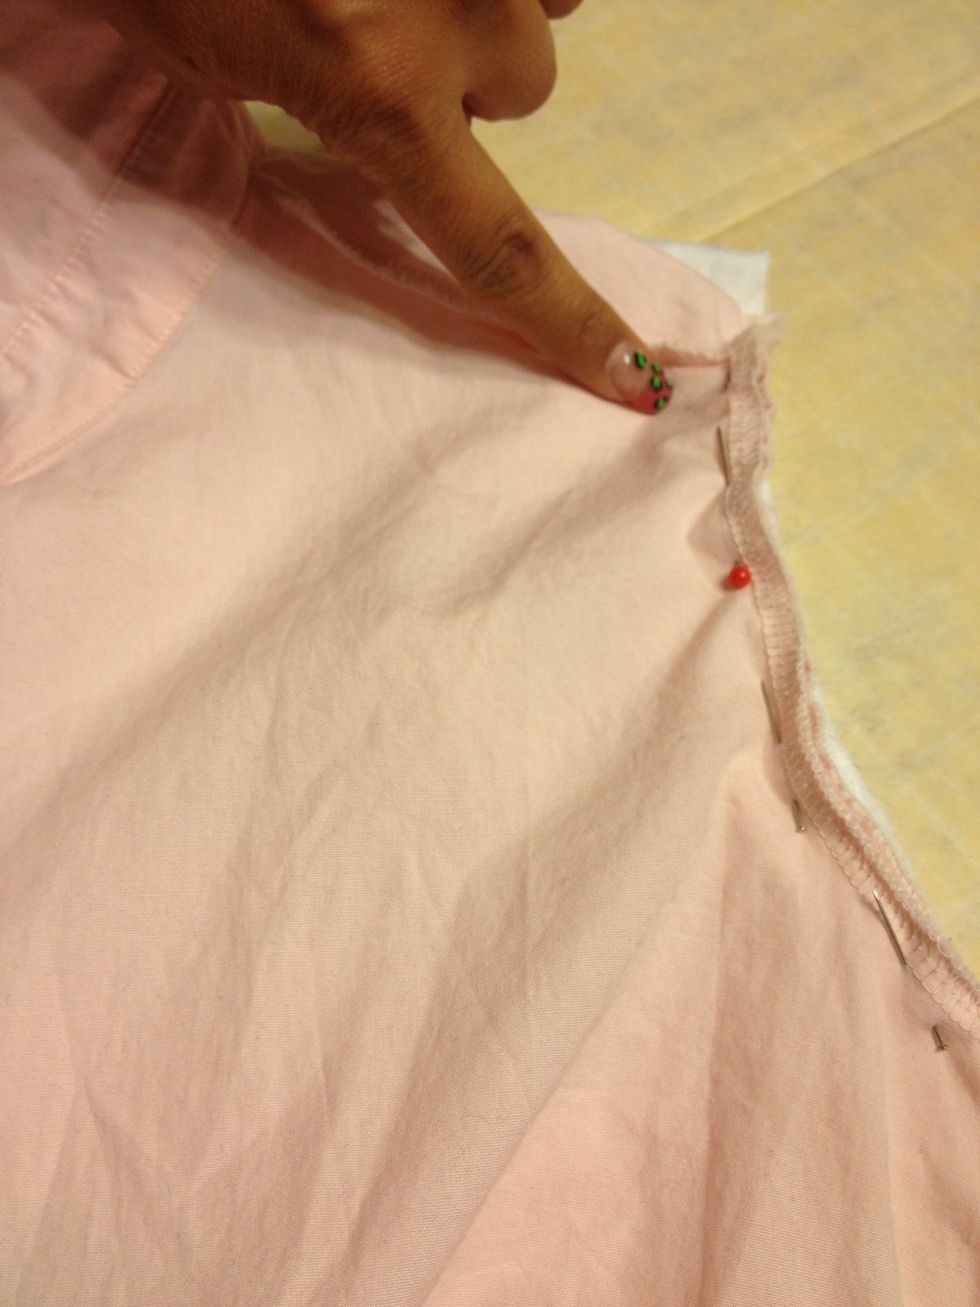
I JUST realized I forgot a picture. Oops! After pinning collars. You firmly tuck the pink sleeve in & as best as you can pull the seam out & pin it via along seams. Then trace it.
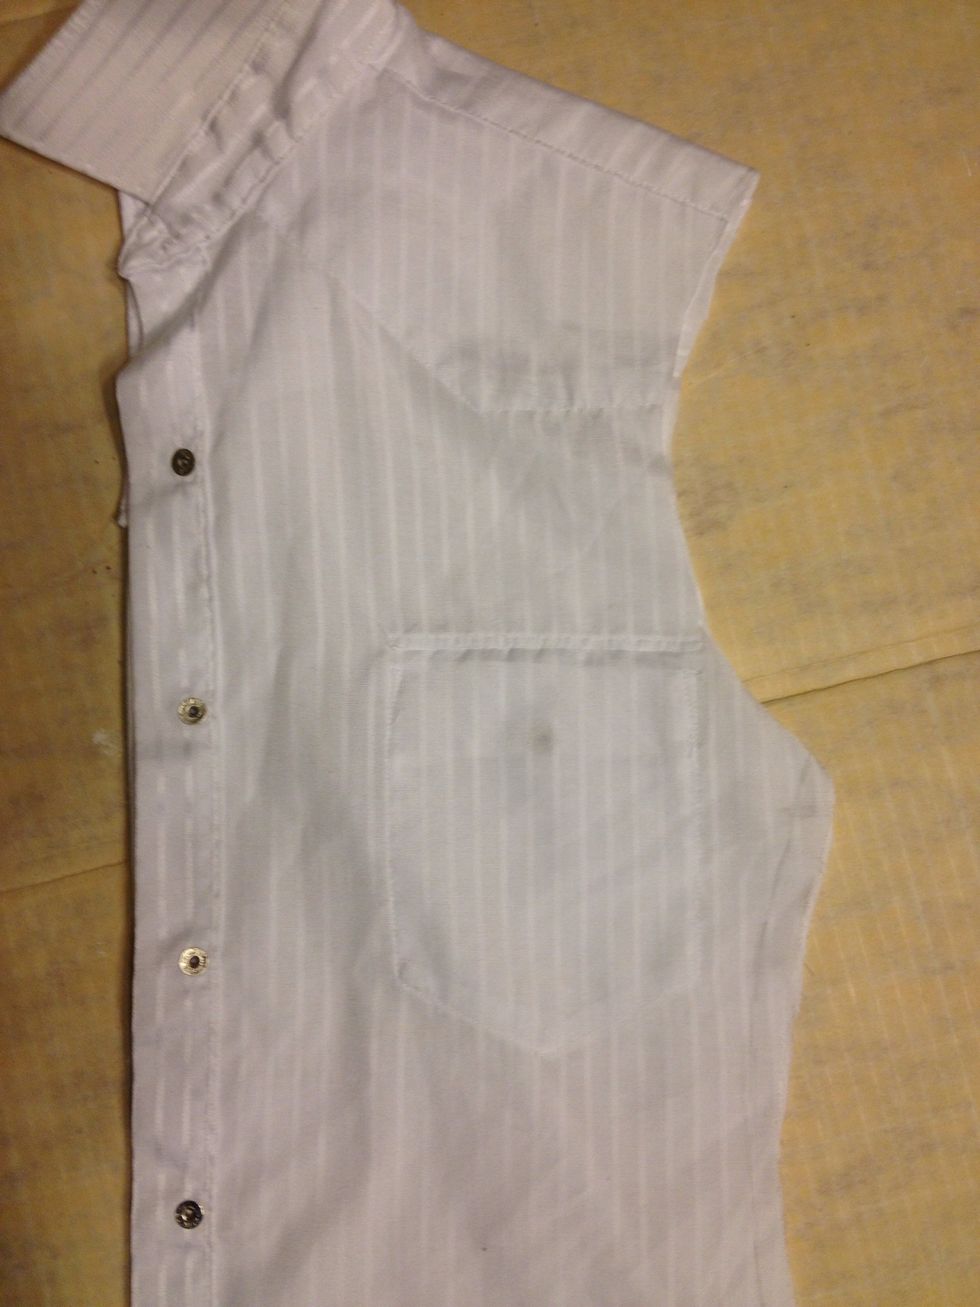
This is what it looks like after all the cutting.
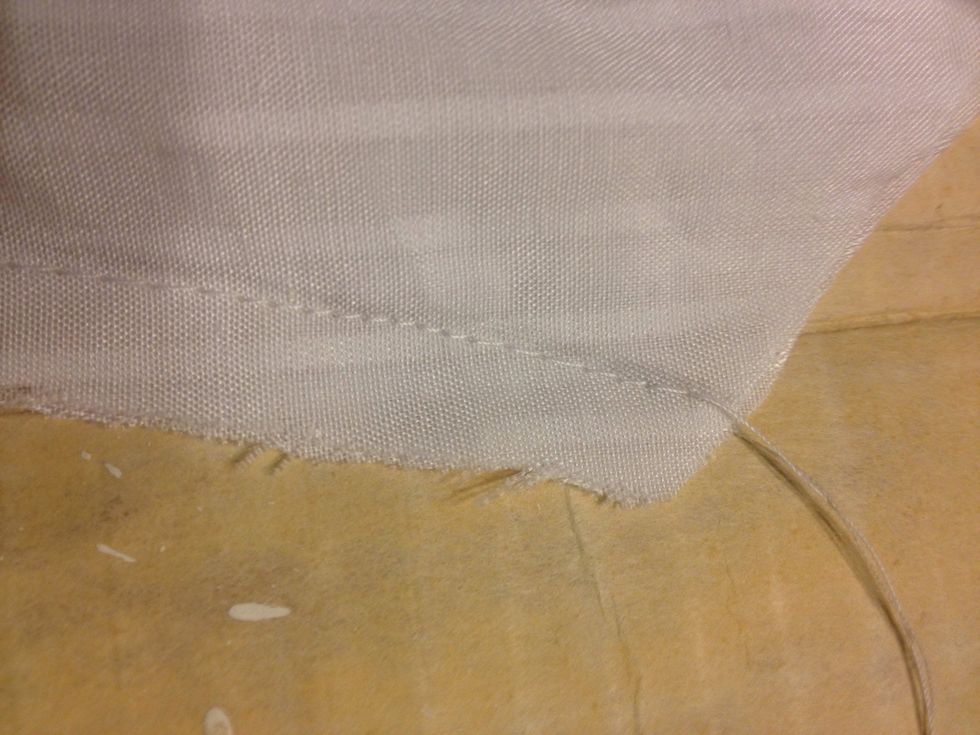
See the sides together.
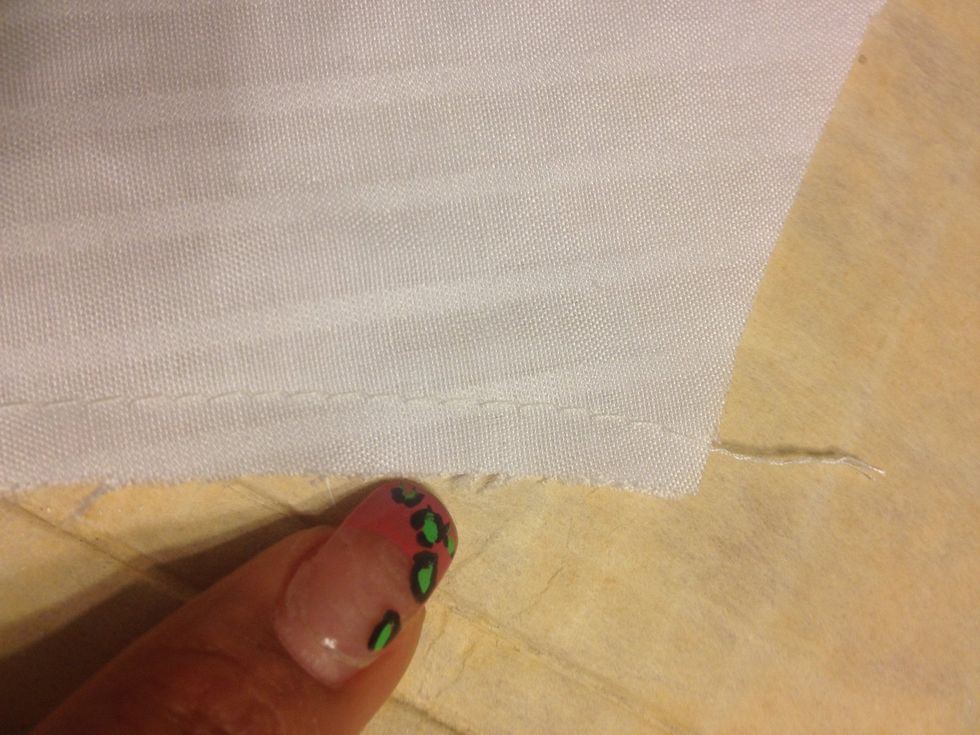
See the sleeves closed.
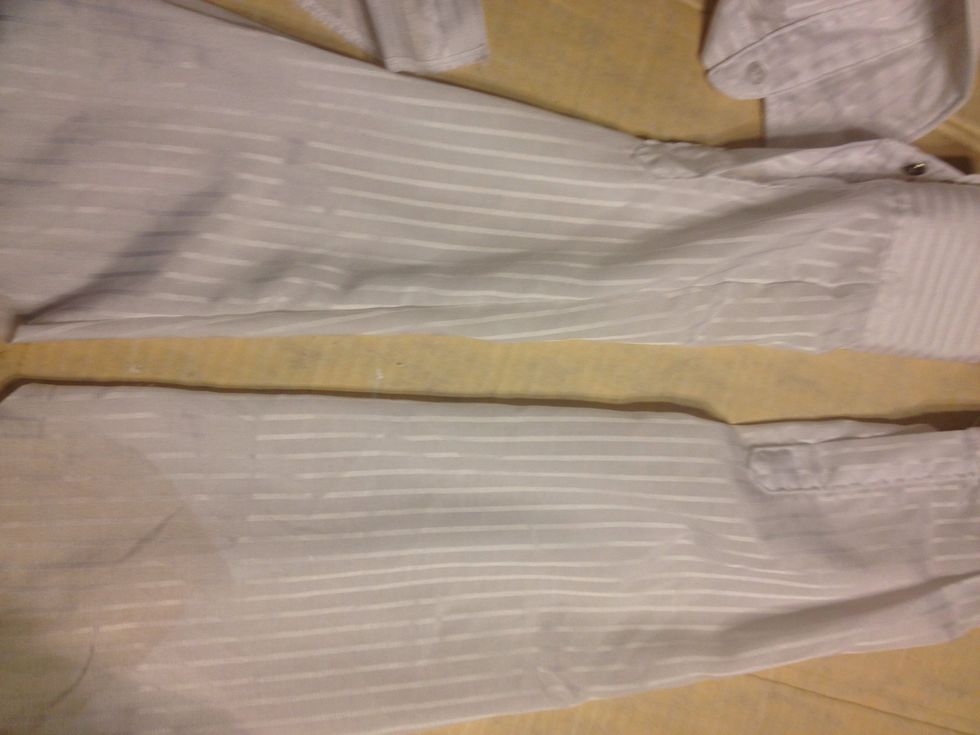
Turn the sleeves right side out.
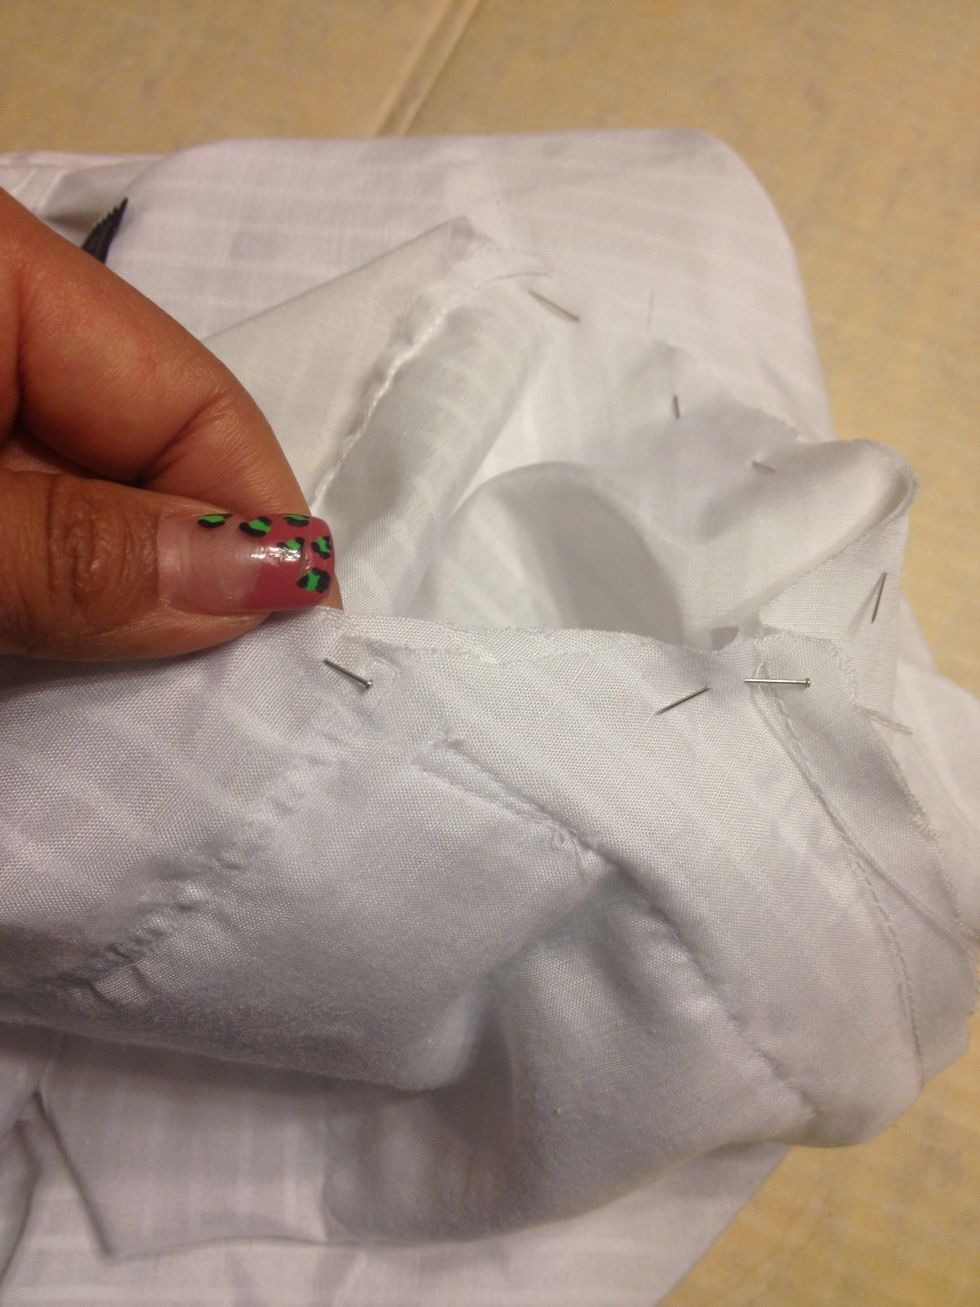
Pin the sleeves to the shirt. Line up the seams. Start pinning around. Then sew the sleeves on!
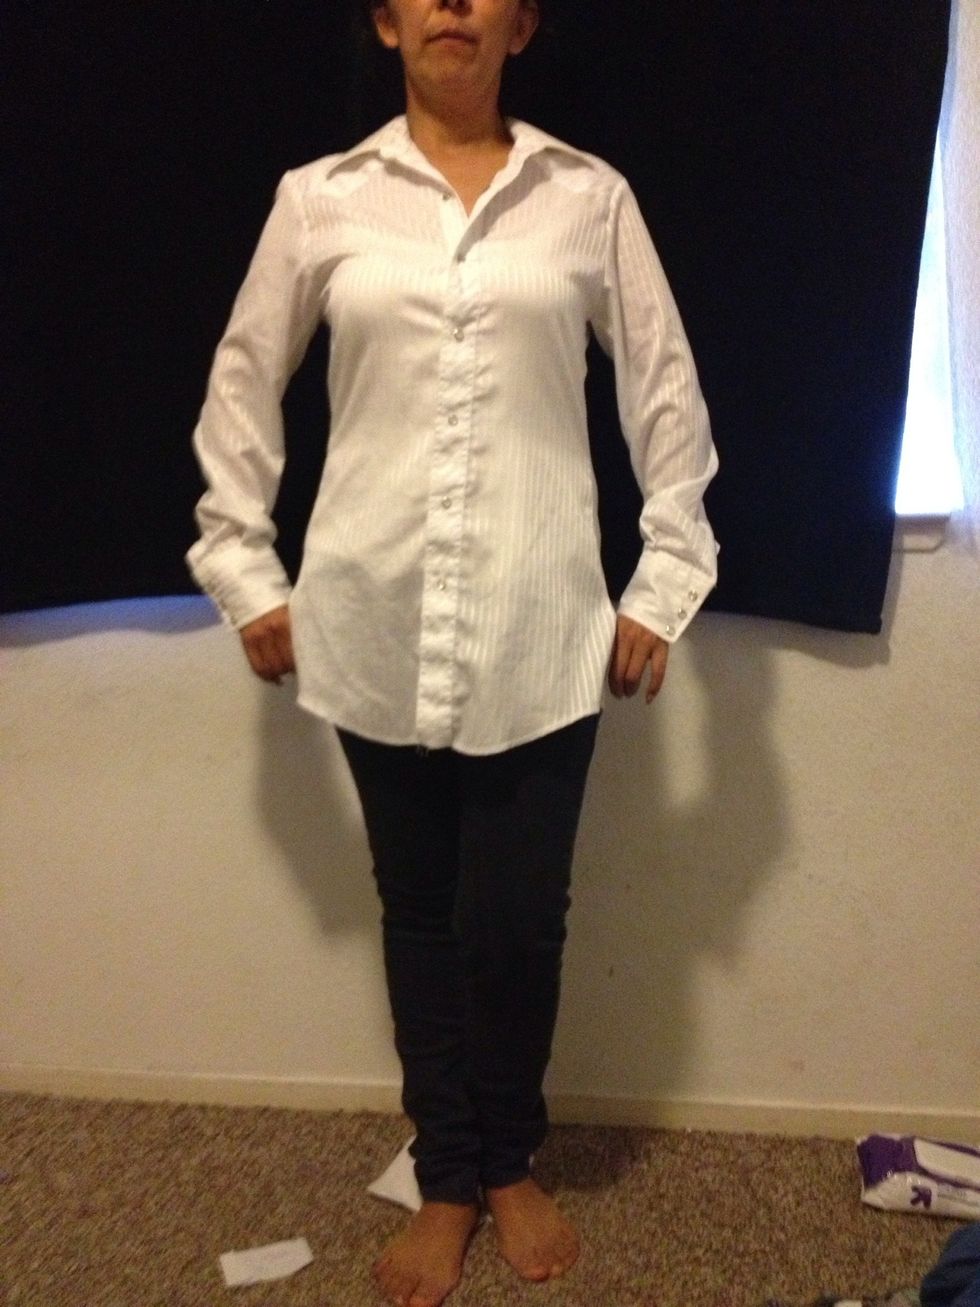
Voila!! Did you notice I unstitched the pockets?!
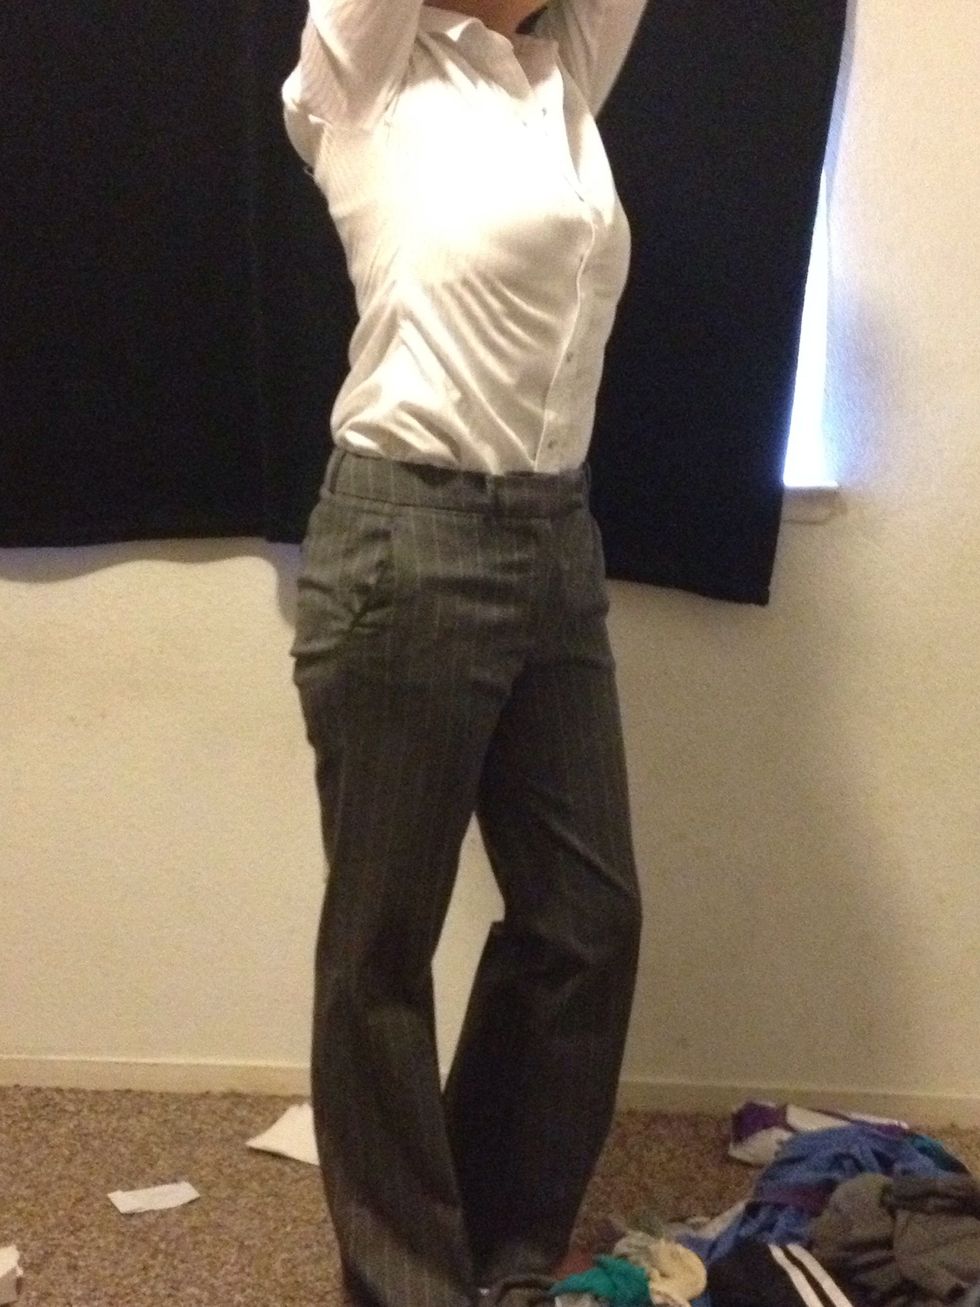
No UN-TUCKING!! Yay!
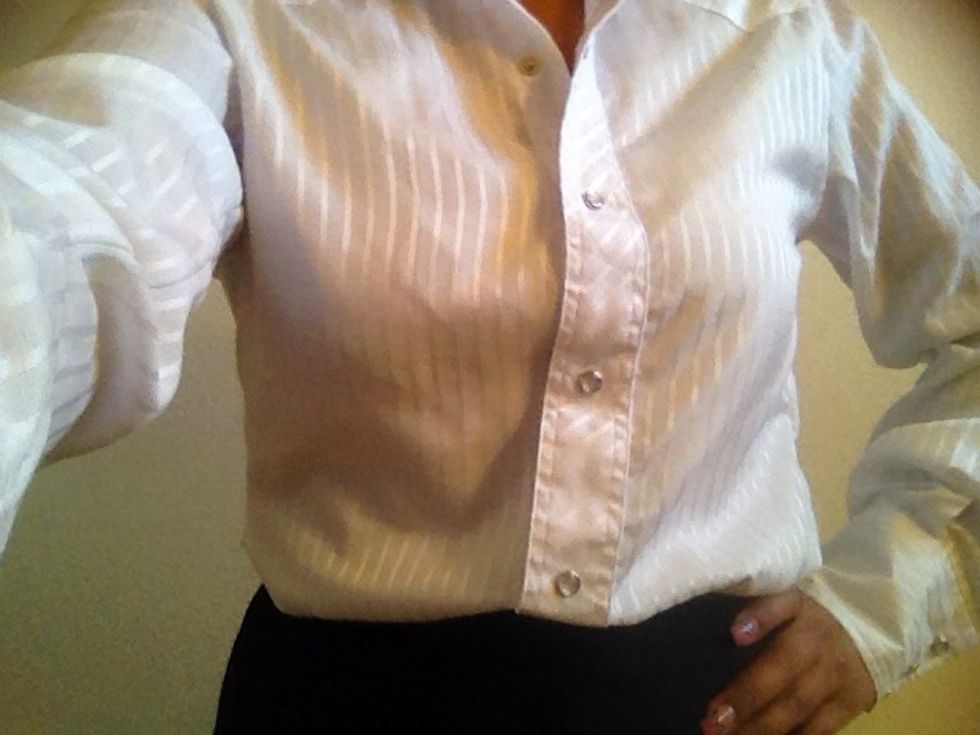
Sexy!! I know!! Lol. JK. But please. Tell me how clear or confusing this is/was?
- 2.0 Shirts (men's & women's)
- 1.0 Sewing machine
- 1.0 Pair of scissors
- 1.0 Thread to match
- 1.0 Box of pins
- 1.0 Pencil
Reyna Perez
I've hadn't posted anything in a while because I switched from the iPhone to Galaxy (LOVE IT) and there is NO Snapguide App for the Android market. \n
The Conversation (0)
Sign Up