The Conversation (0)
Sign Up
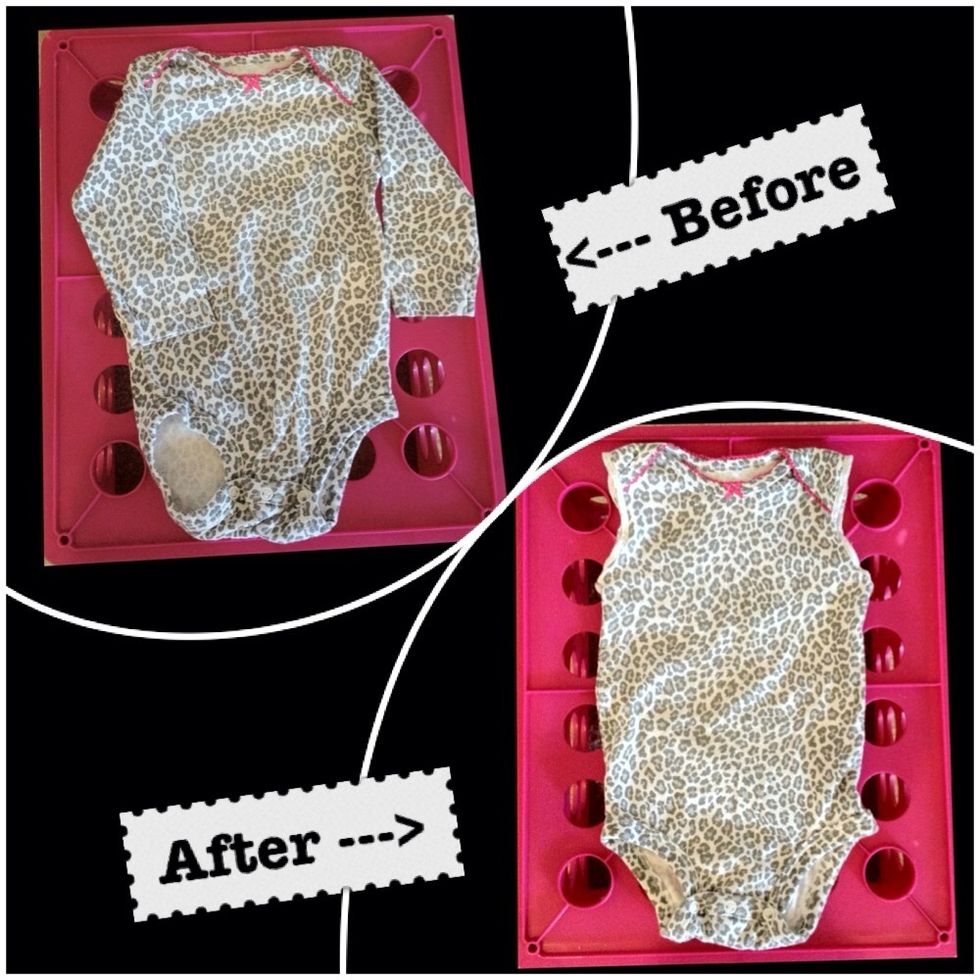
Choose your long sleeve onesie you would like to transform into a sleeveless one. Grab a pair of scissors ✂ since that's all you need to do so.
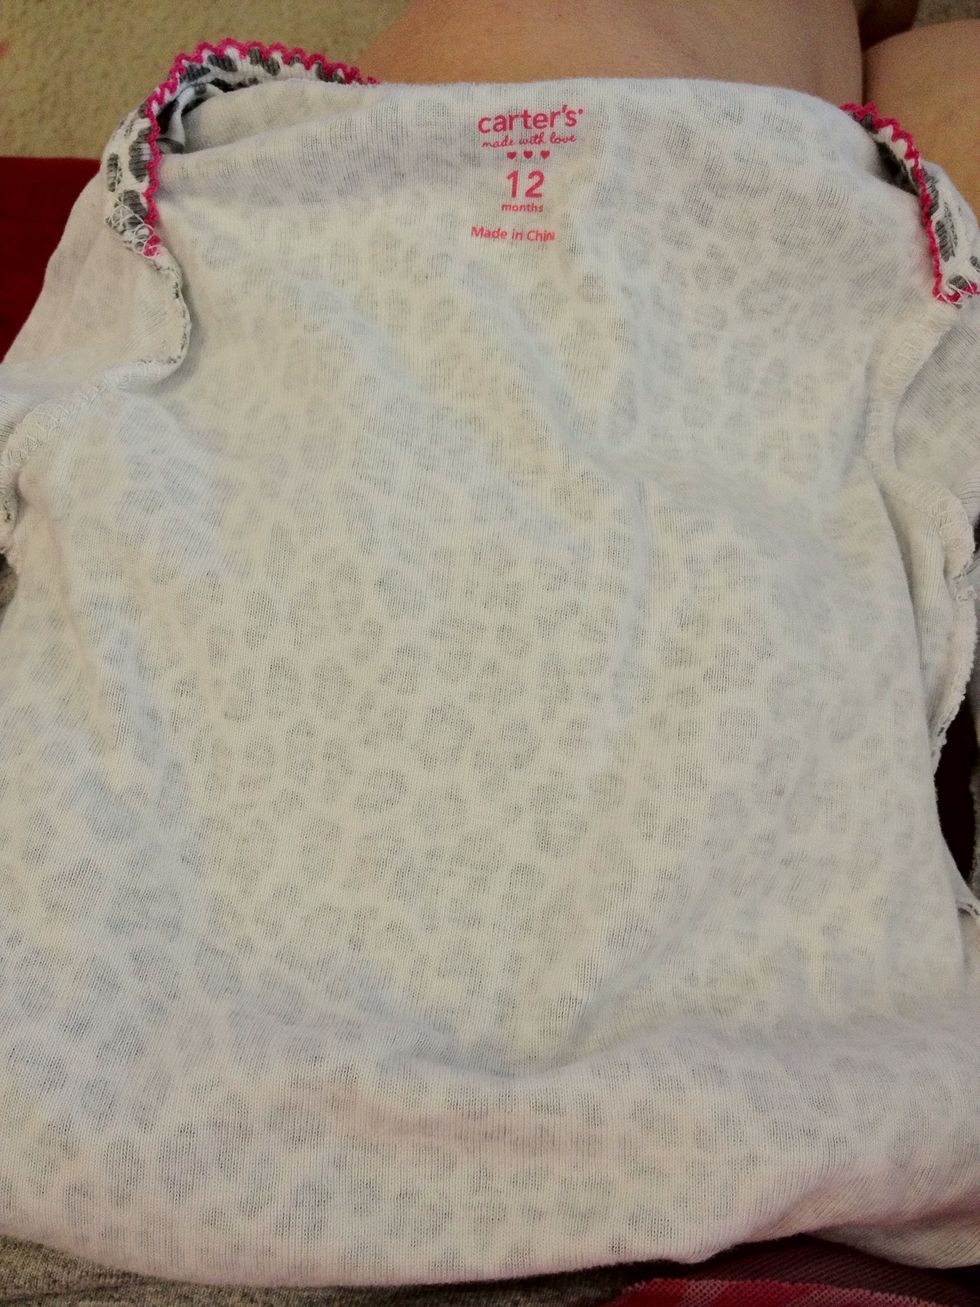
Turn your onesie inside out.
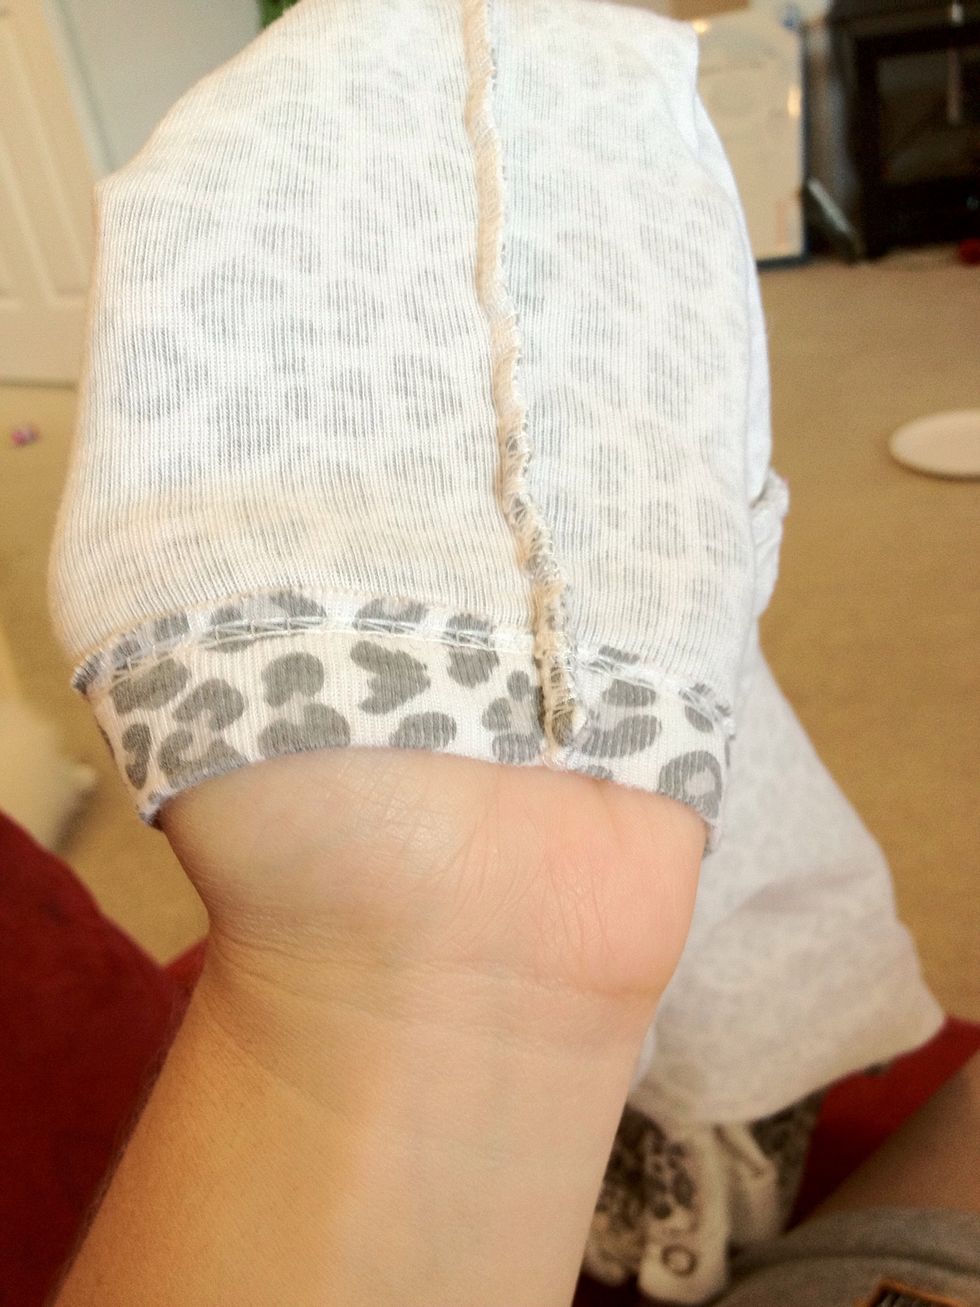
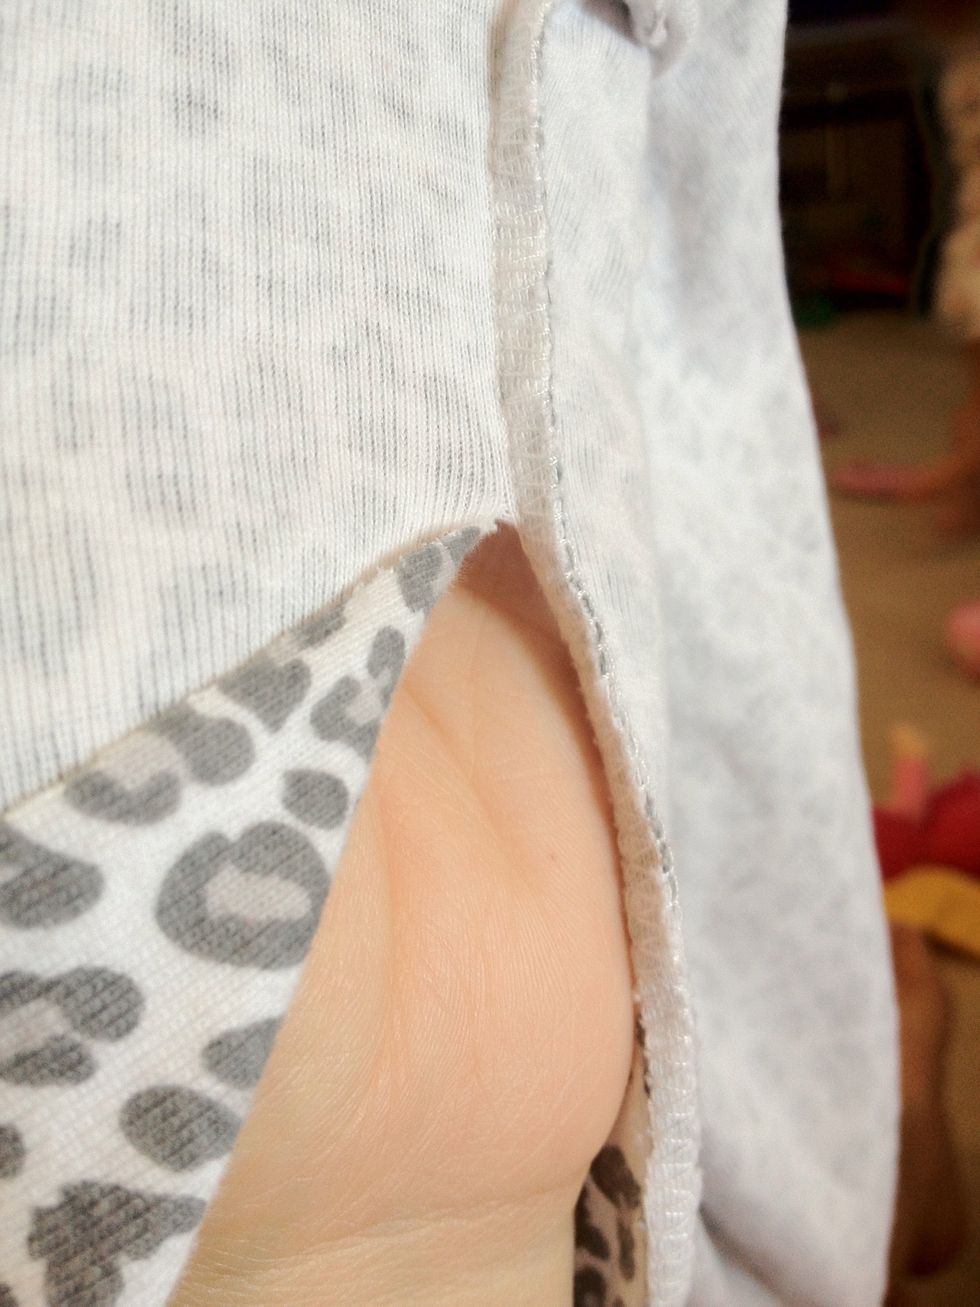
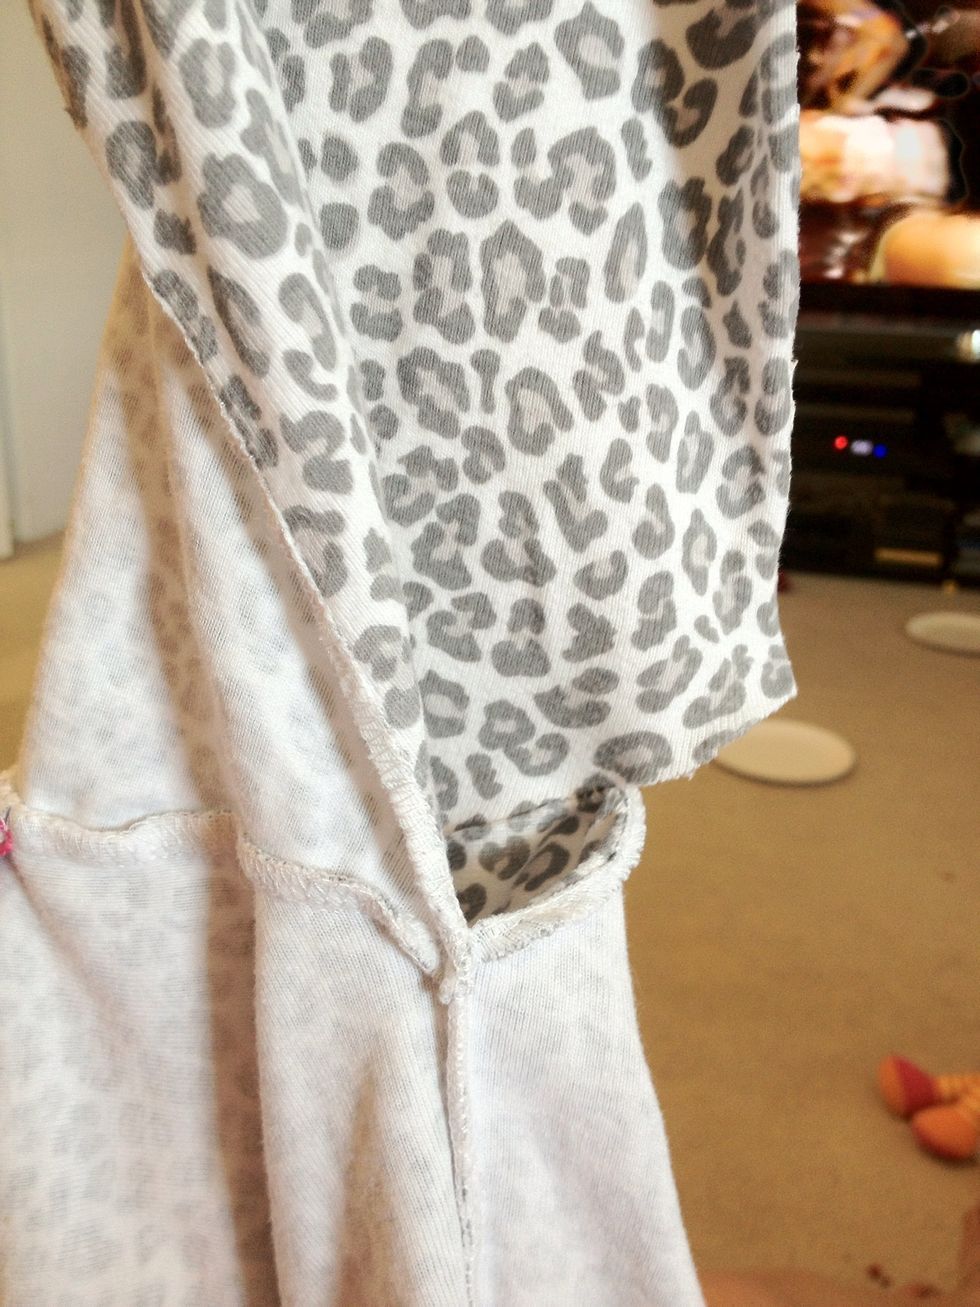
Choose which side/sleeve you are working with first and position your hand in the bottom of the sleeve with the seam facing you.
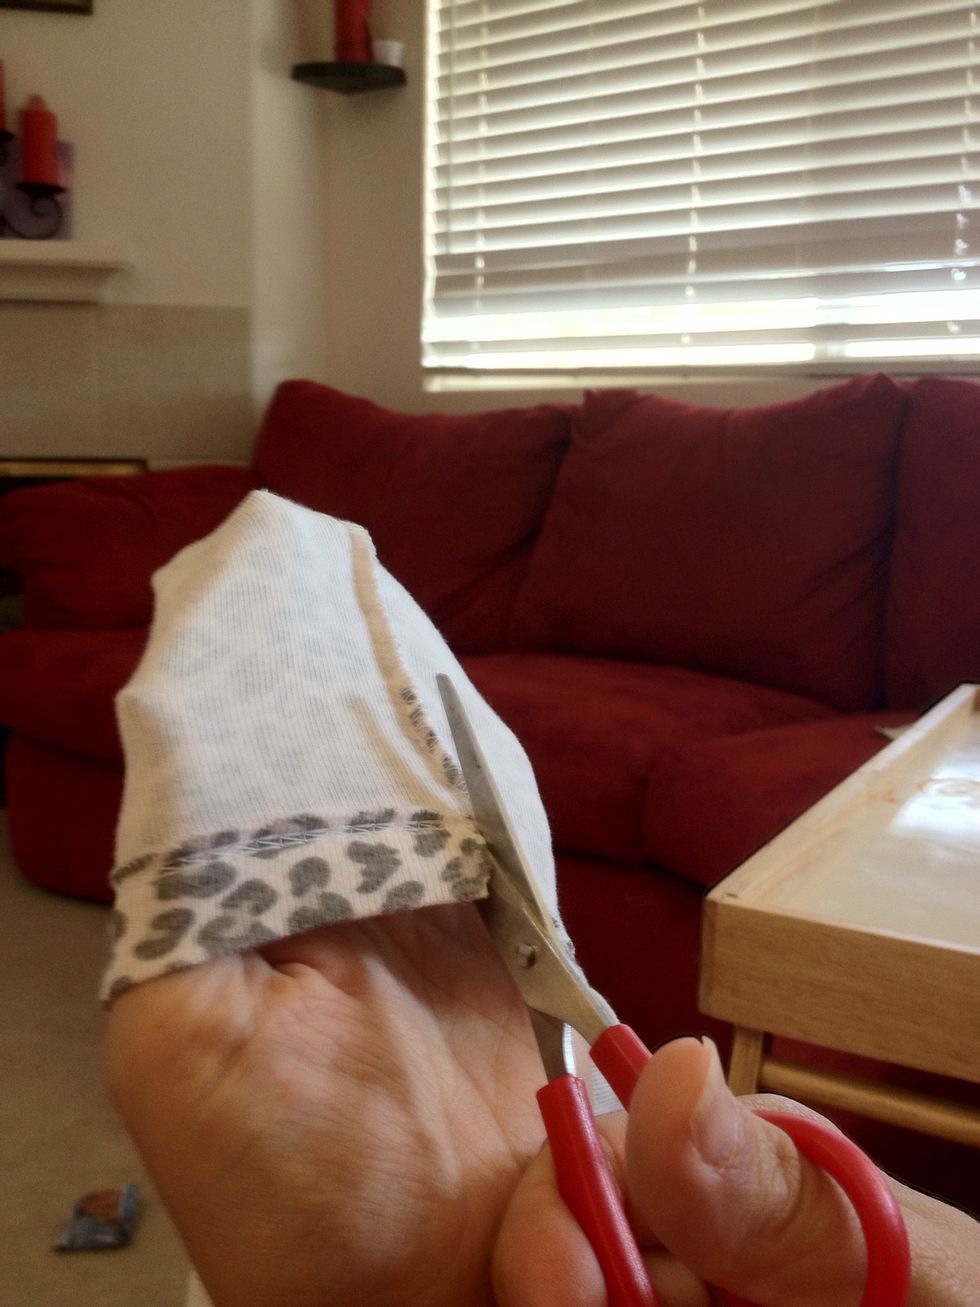
Start cutting right along the seam.
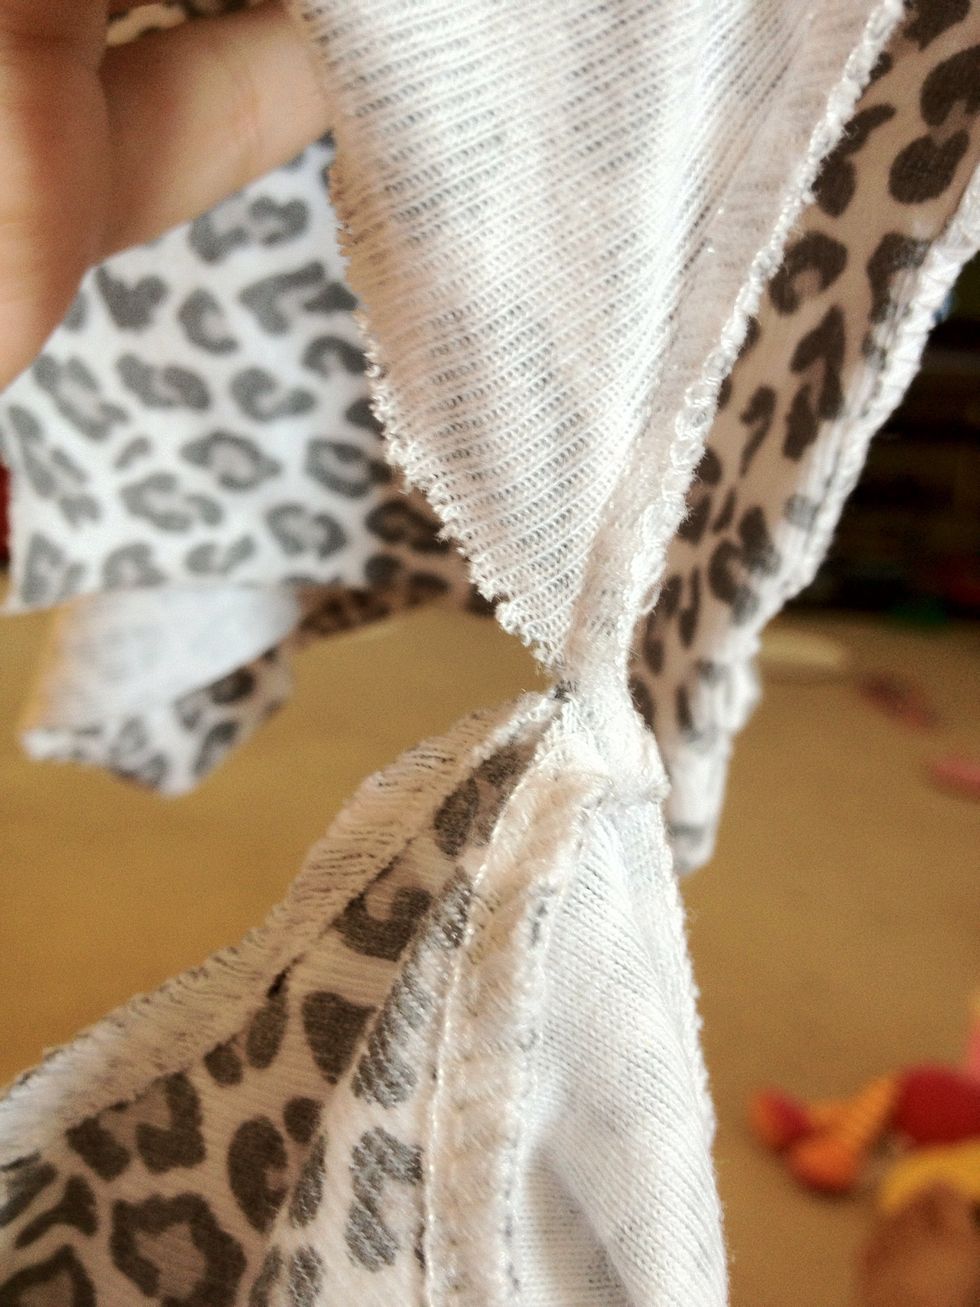
Here is a closer look of how it should be looking as you go.
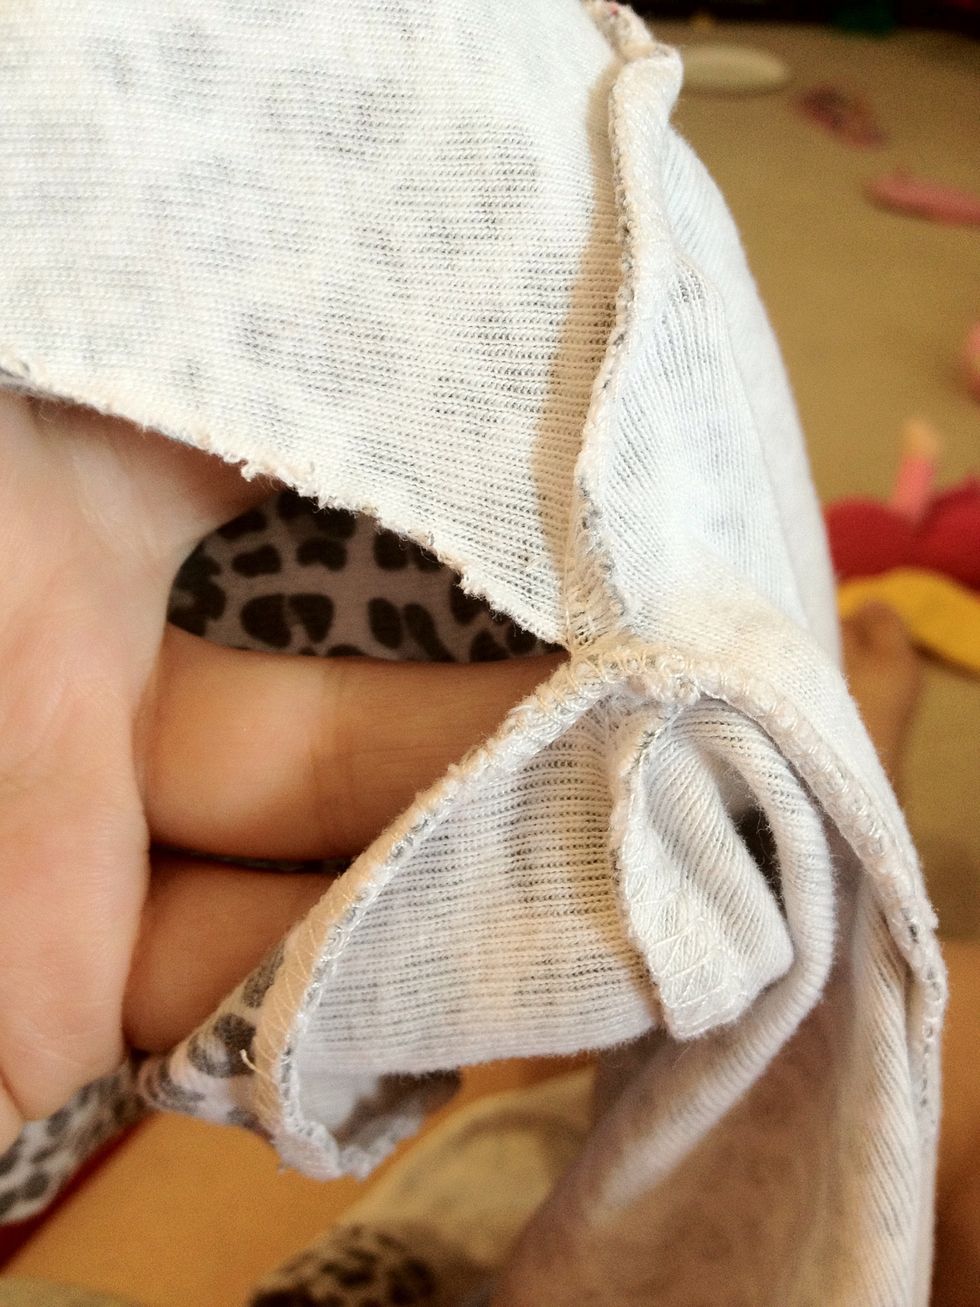
Cut along the seam all the way up to the top of the sleeve where all the seams meet.
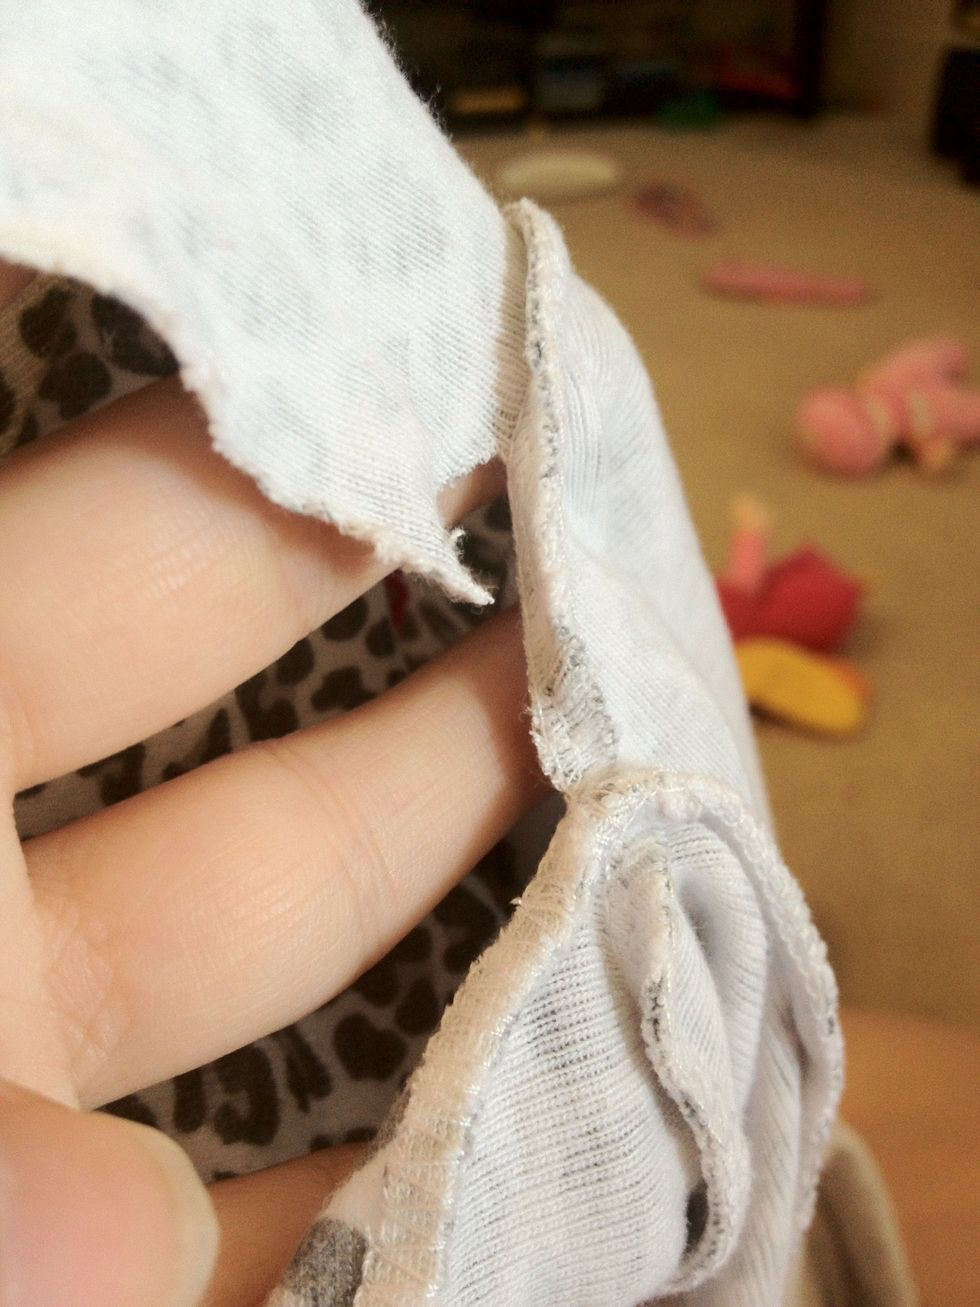
Now start cutting to the left still staying right along the seam.
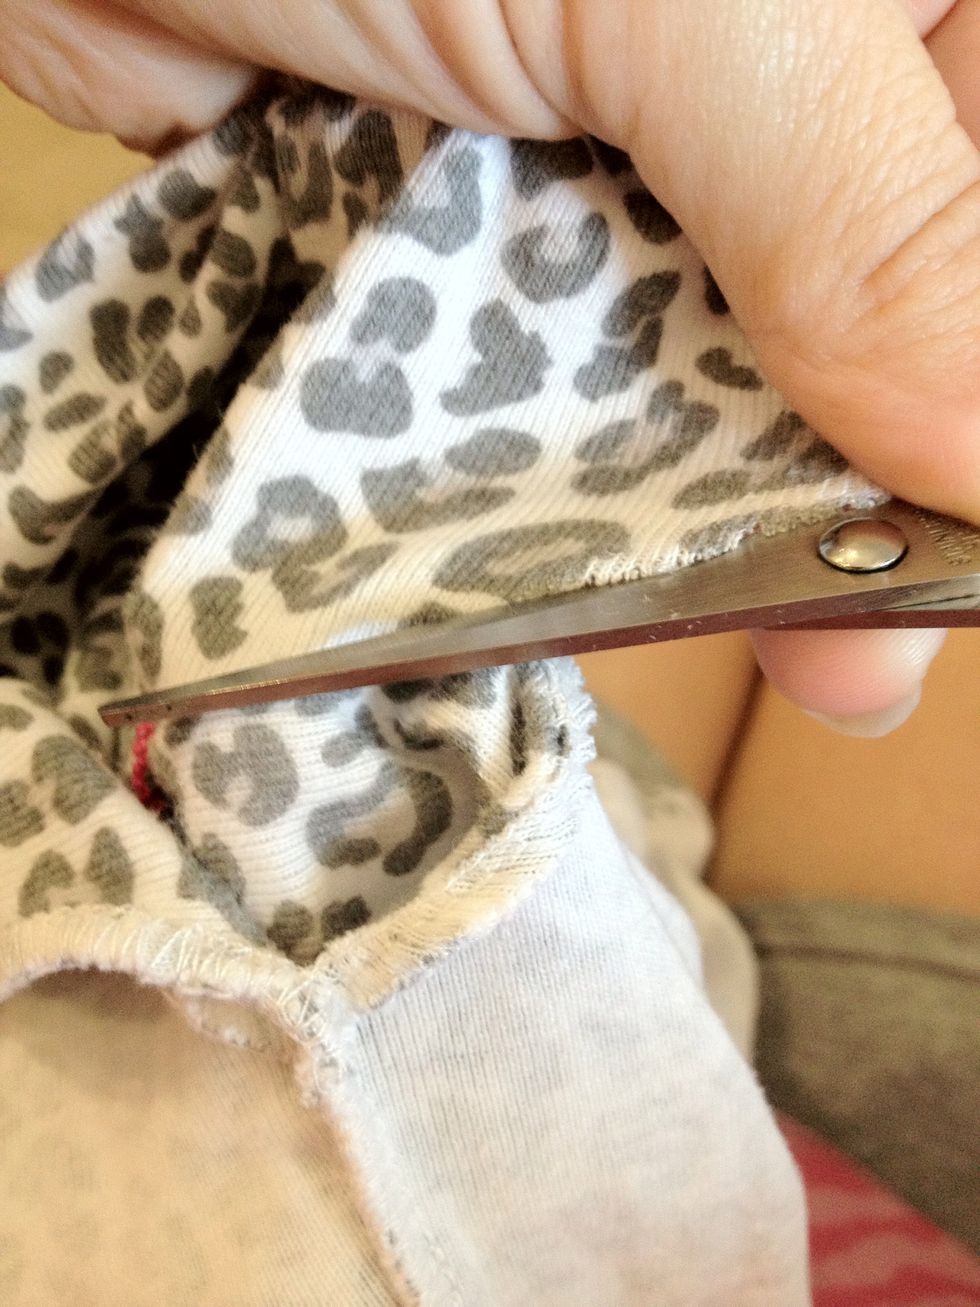
It helps to hold and pull the material of the sleeve while you are cutting along the seam to get an easier cleaner cut.
Here's what it should be looking like so far. Keep cutting all the way around the circle of the sleeve.
When you complete cutting around the circle and reach back where the seams meet, cut straight across the seam.
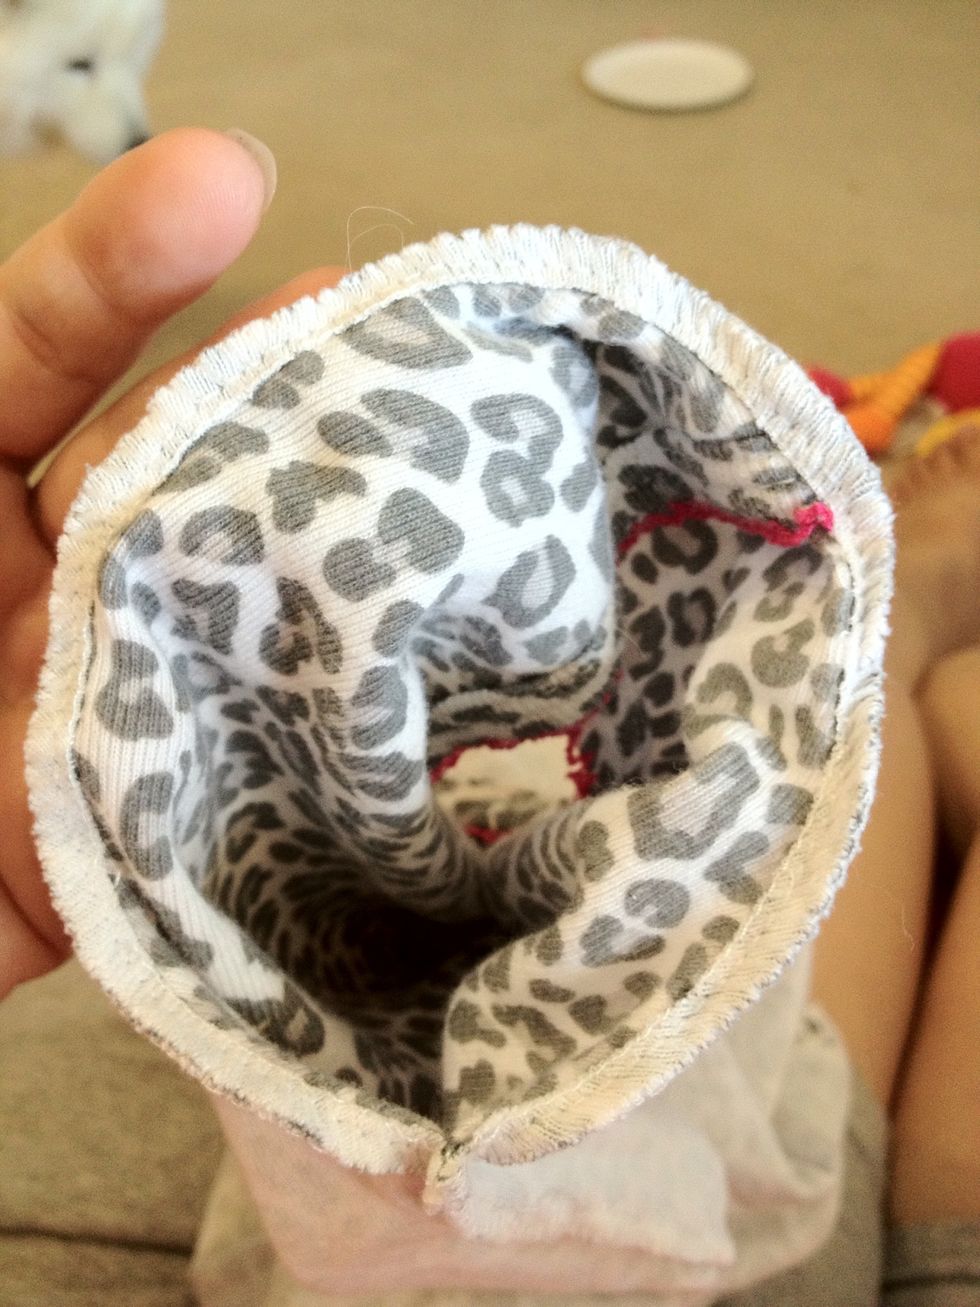
This should be what you now have when finished.

Now repeat steps 3 - 10 on the other sleeve, of course 😉
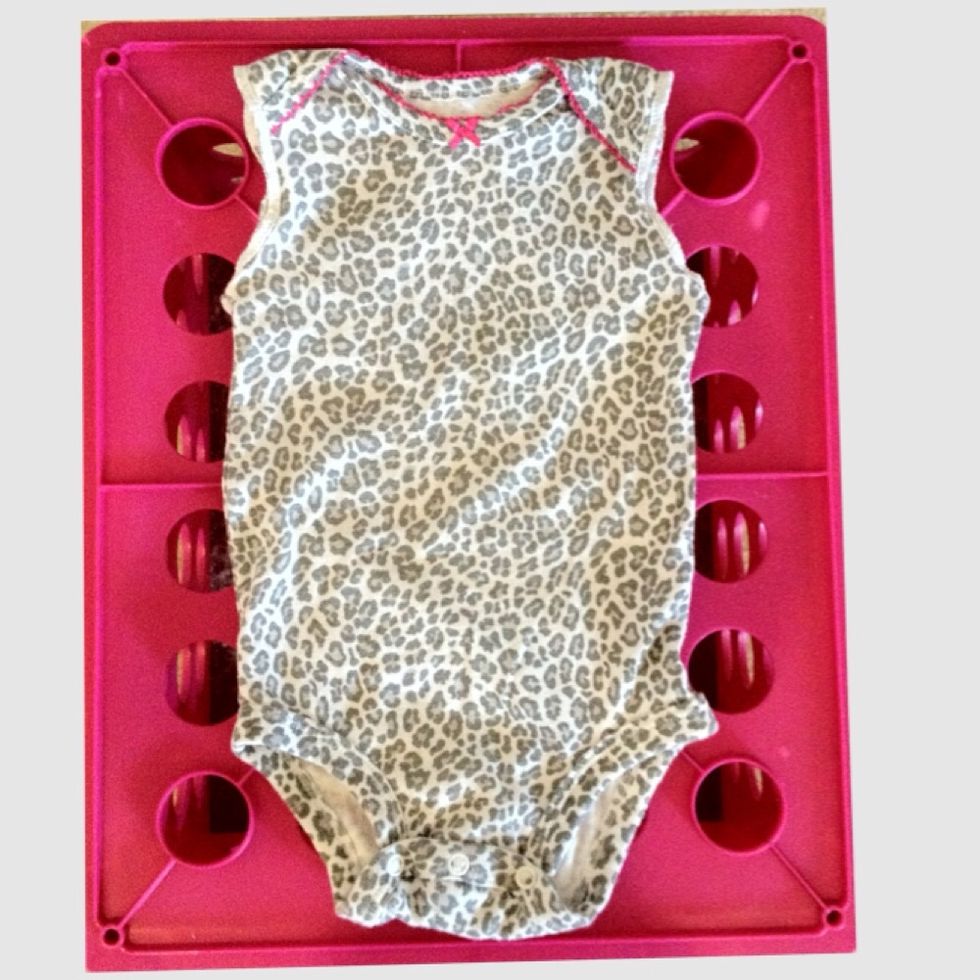
Now you have an adorable sleeveless onesie!!
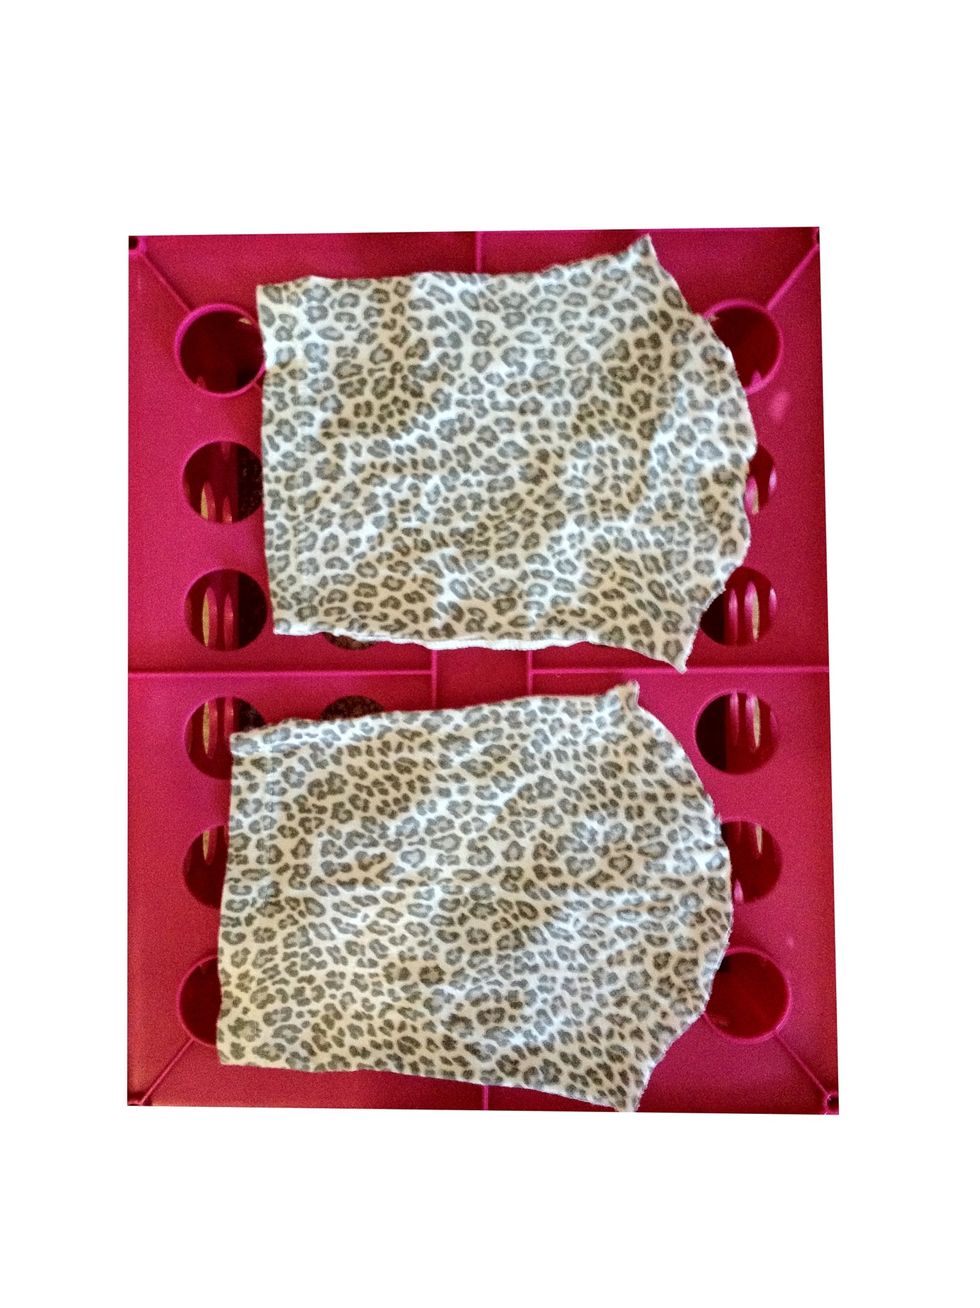
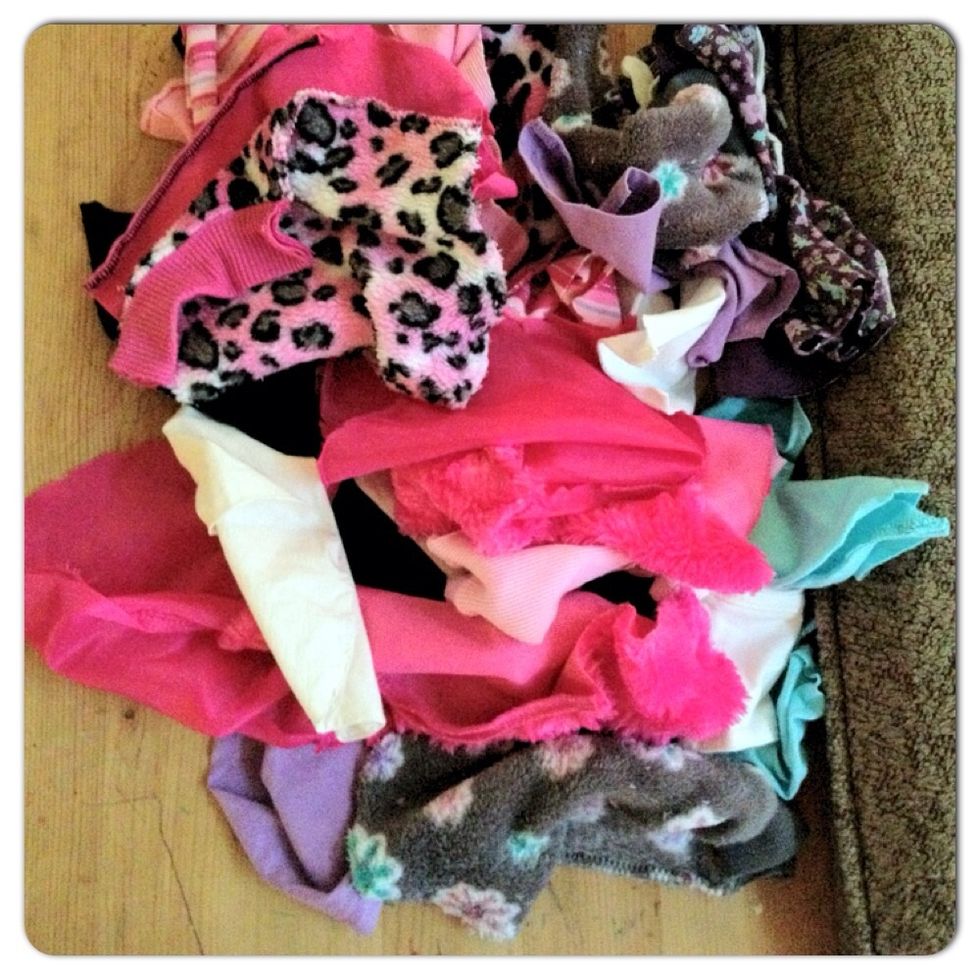
Save the two pieces of scraps to make matching hair accessories for your new onesie!! A guide on how to do this will be coming soon!! 😁
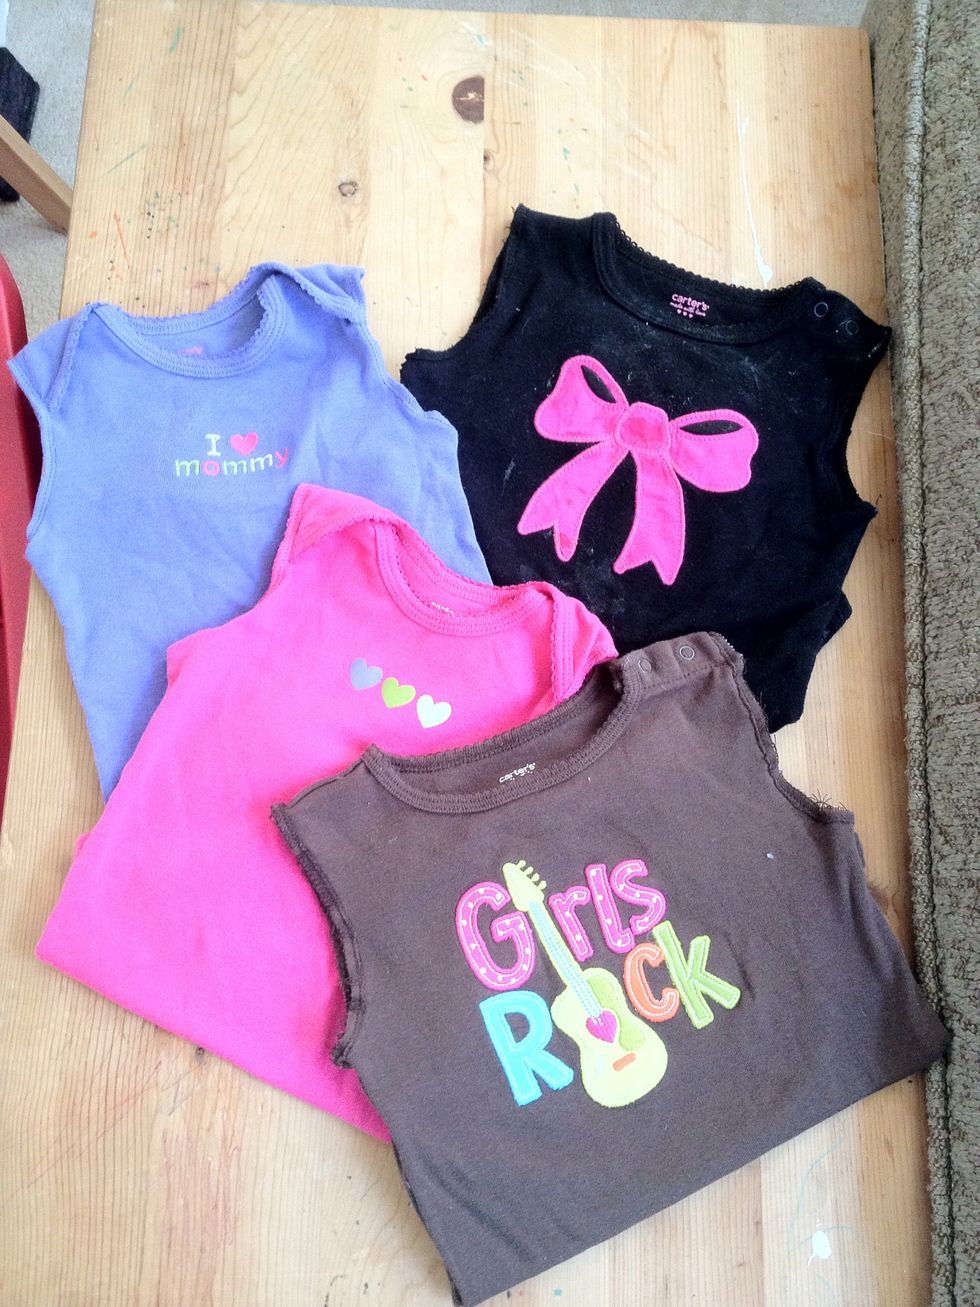
A few more long sleeve onesies I converted to sleeveless. I can't get enough of these!! Here in sunny (HOT!!!) California and having a 2 year old who won't keep any clothes on...these are perfect!!!
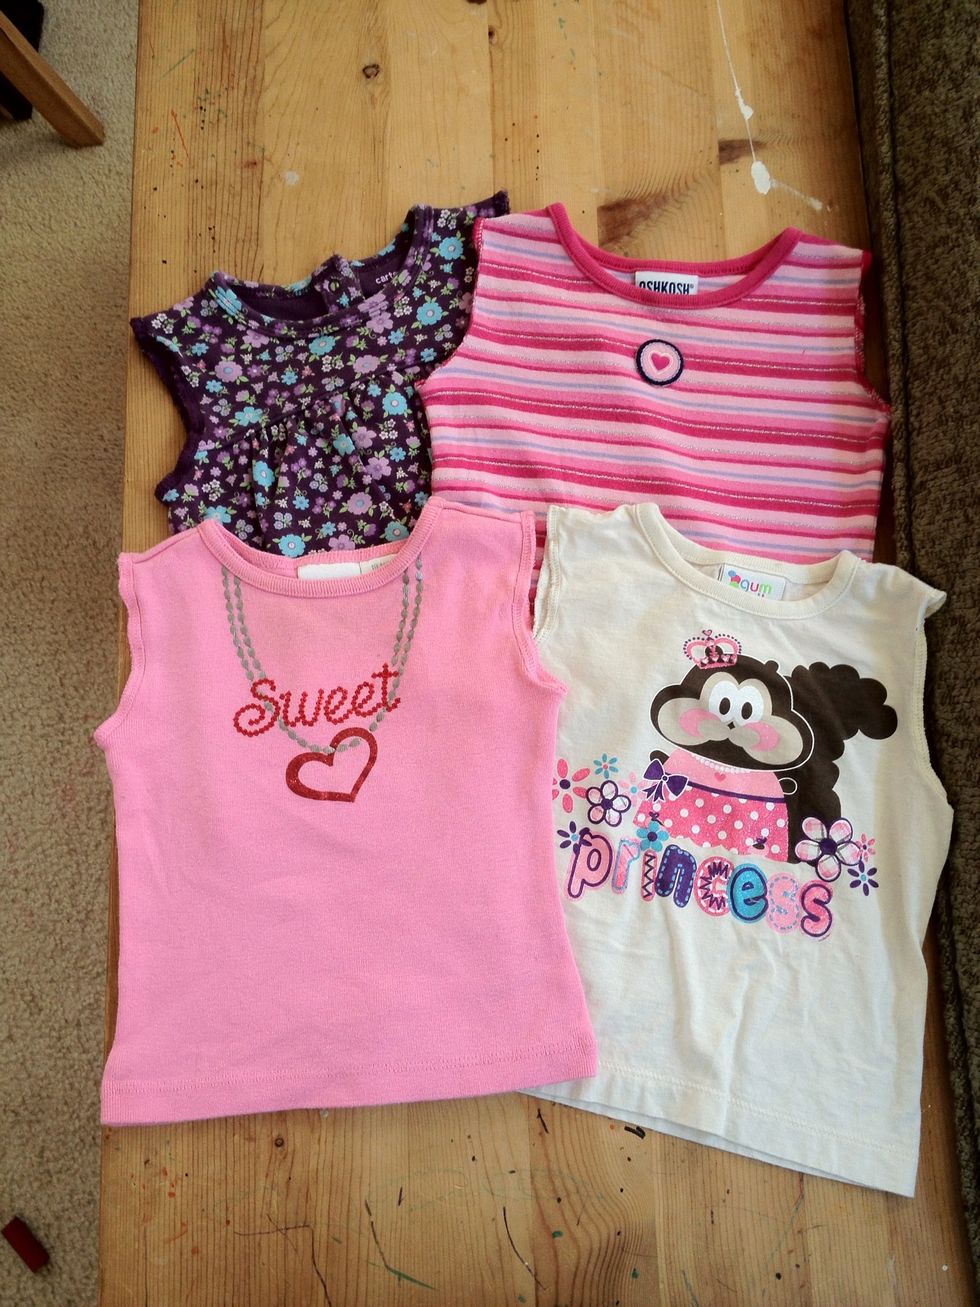
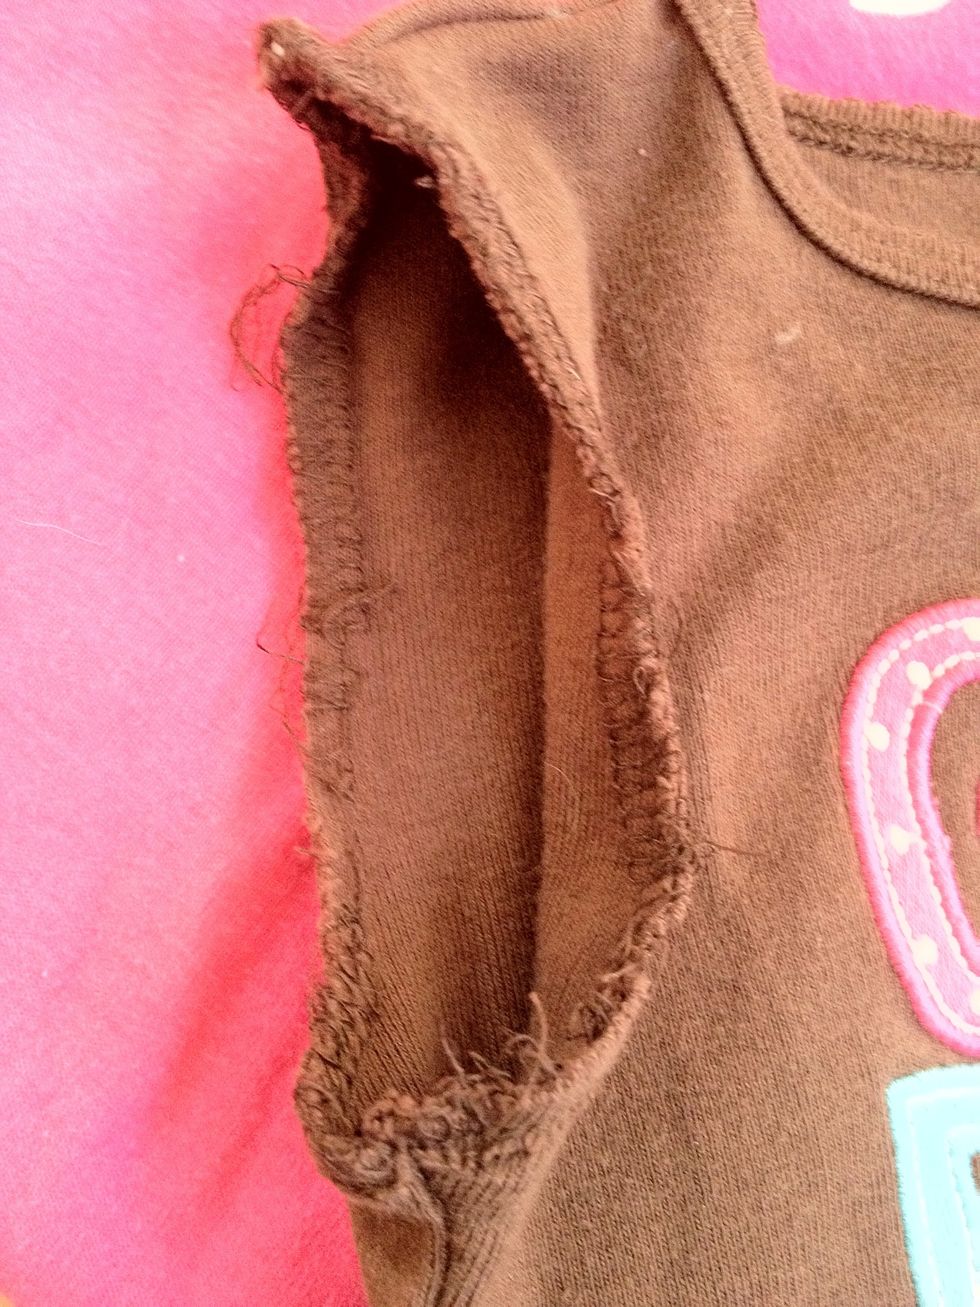
Here are some former long sleeve shirts that are now cute sleeveless shirts!! 😉
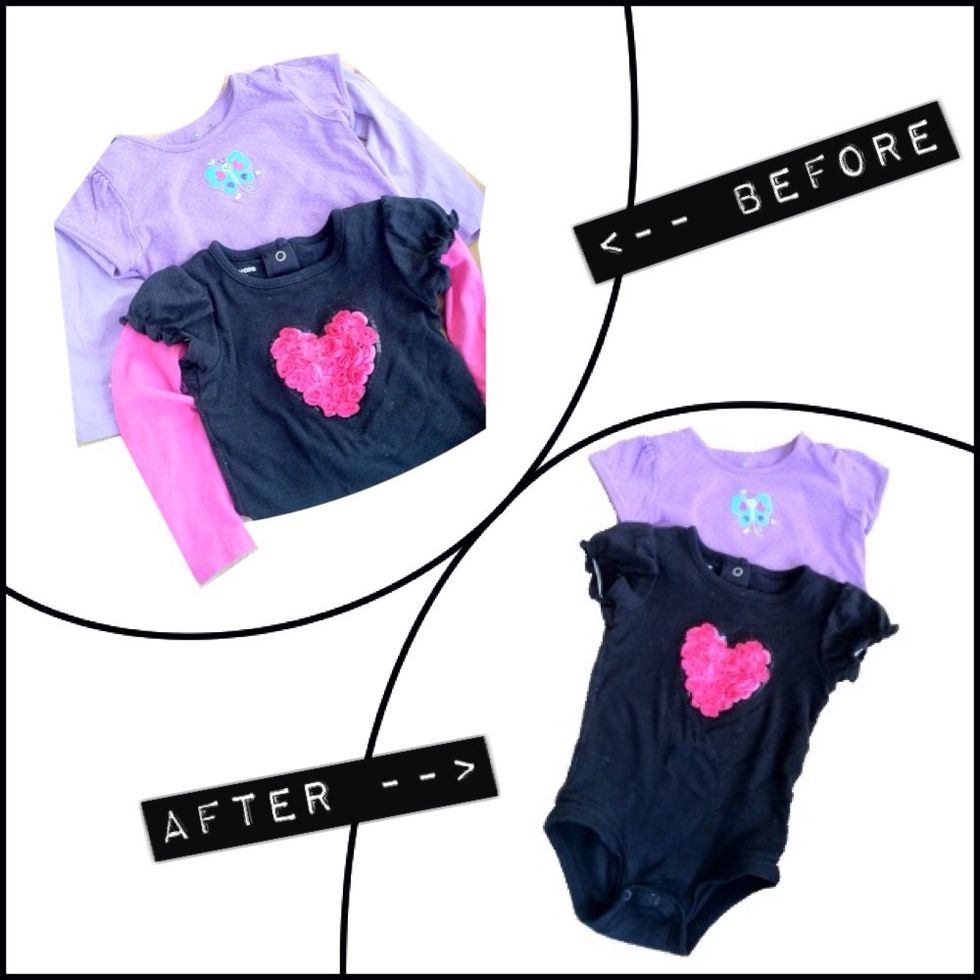
Here is an example of a couple onesies that had a short and long sleeve layer look. I did the same process with these and it leaves you with just a short sleeve onesie.
As you can see in the after photo, you still cut up the seam of the long sleeve to where all the seams meet and cut around the circle removing the long sleeve but keeping the short sleeve.
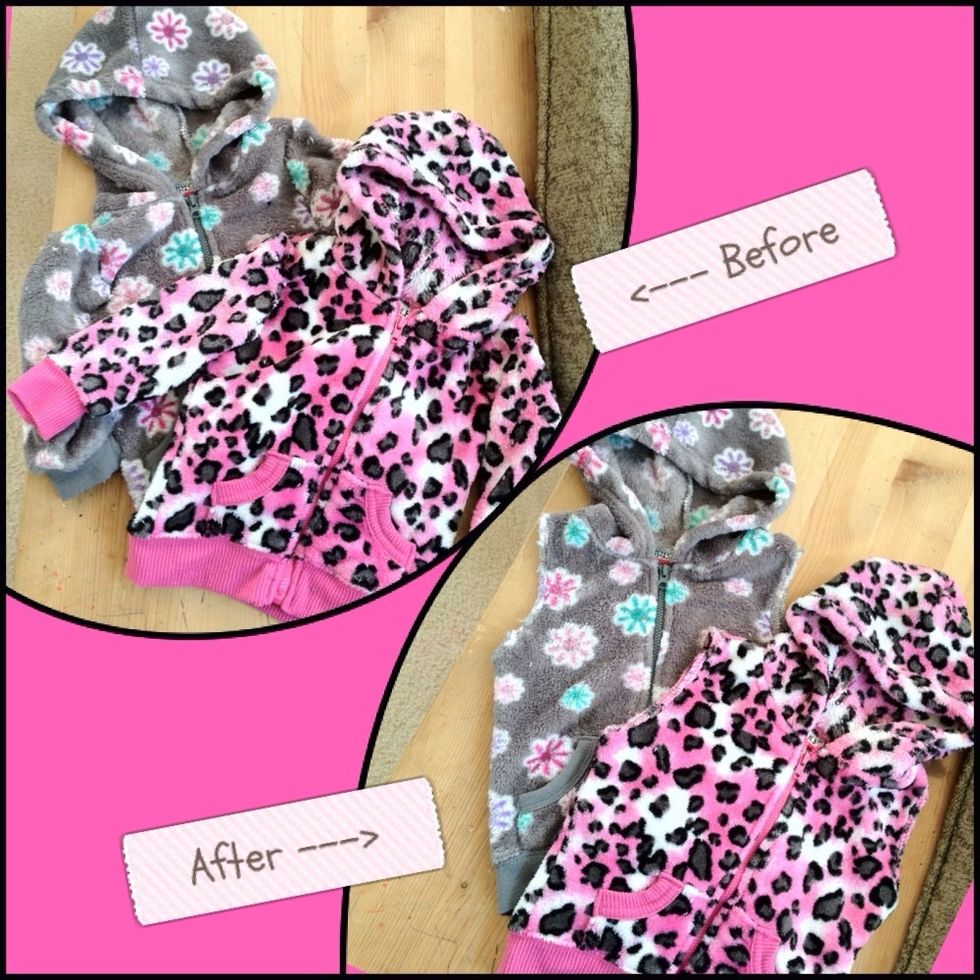
My daughter wore these soft fluffy Zipper jackets almost every day last winter. Everything about it still fits her except the sleeves. Now she has a cute hooded zipper vest to wear this winter!!
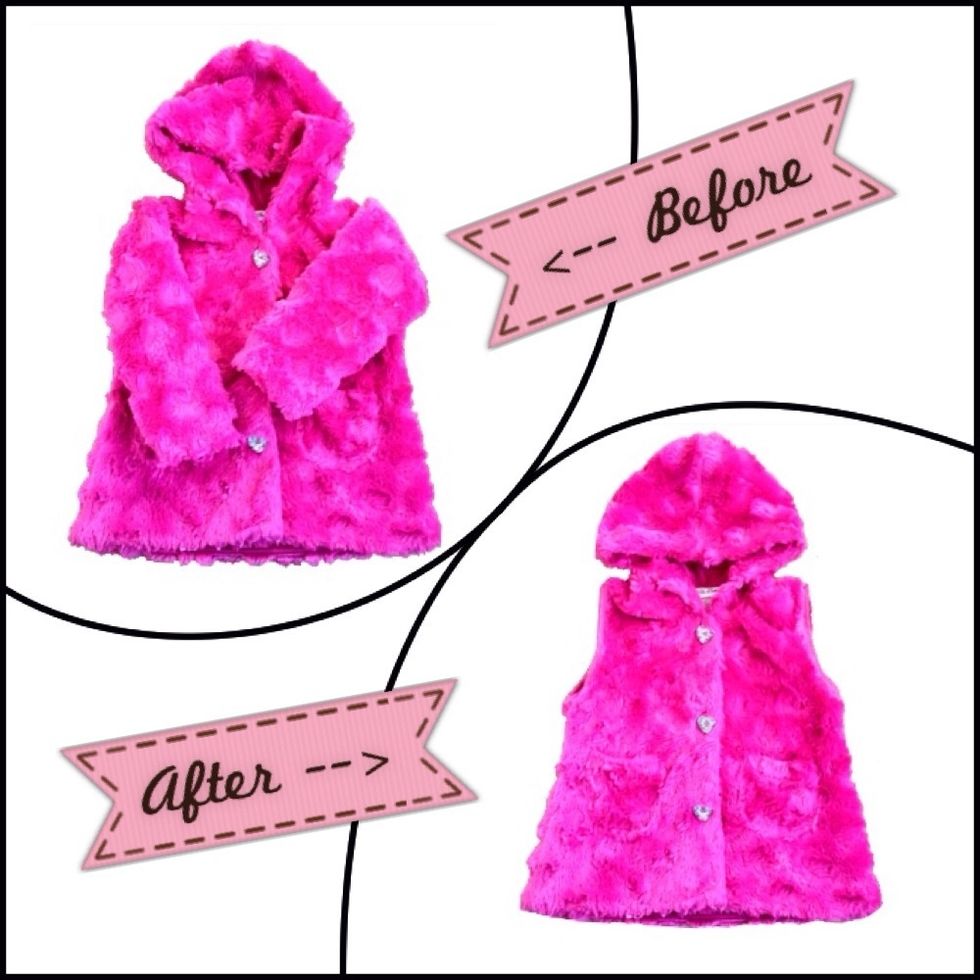
I'm so excited about this one!! Again I was sad the sleeves were too short and almost packed it away, then thought I would try this technique on it. I love the result!!

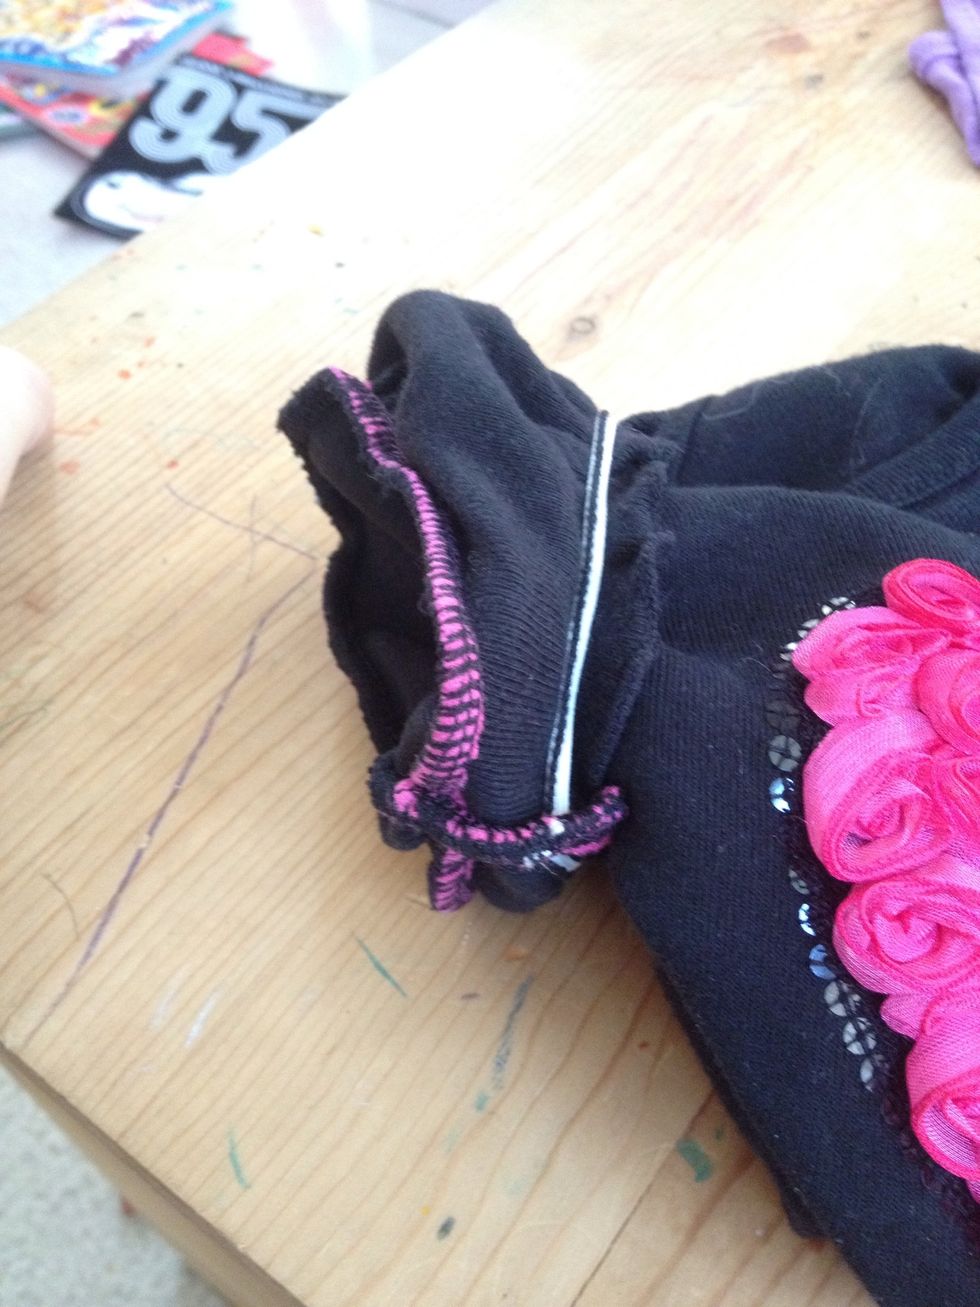
This one will require some pink thread and stitching because of the 2nd satin layer inside. But it's just a little bit and should not take too long at all to just close that up 😊
A quick note...I accidentally put this in a normal wash cycle and in the dryer after. The thread and seam is starting to come apart. So I recommend hand washing or gentle cycle and hang drying. 😊
I had a little too much fun altering my daughter's clothes!! Heading into fall/winter this may not be helpful to some at the moment but save it for the future. Remember...save those scraps!! 😉