The Conversation (0)
Sign Up
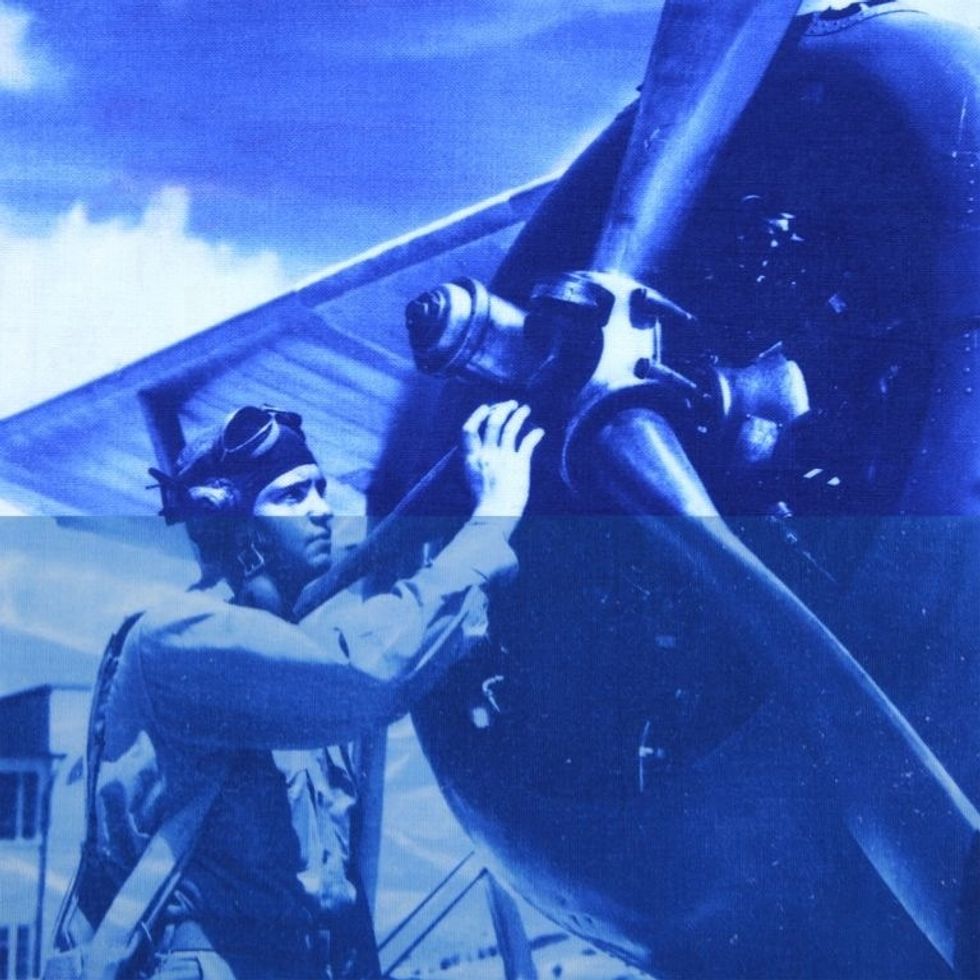
Compare the top half of this image with the bottom. Notice how the lights/whites look blue in the bottom half? There are a few reasons this can happen. Let's walk through the possibilities.
1. Your entire Inkodye print was exposed to light before the negative was placed. Be sure to coat your material & place the negative in a room with incandescent / subdued lighting.
2. Your entire print was exposed after the negative was removed & before washing. When finished with your sun exposure, wait until you are in subdued lighting to remove the negative & wash promptly.
3. Your negative wasn't dense enough to block light in the desired areas of your print. Be sure you have a dense negative with high contrast to yield the most photographically pleasing results.
4. The unexposed dye wasn't washed out of your print. If you see that your print is still developing after washing, be sure you are washing properly (tips in next step).
Wash your print twice in HOT soapy water. If washing by hand, scrub for at least 10-15 mins. If you have hard water, use a water softener like Borax. You may also use Synthrapol, a textile detergent.
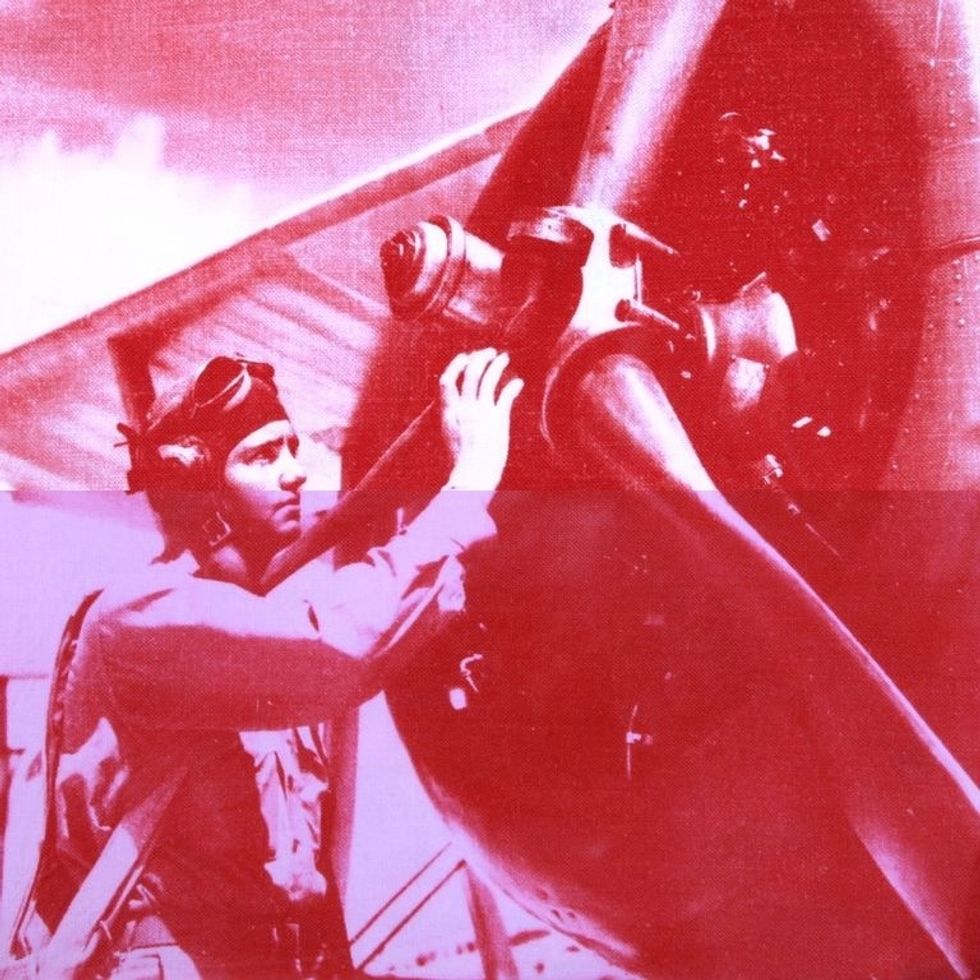
Here's another example of a properly exposed & washed print (top) vs material that was exposed to UV light before the negative was placed for proper exposure (bottom).
See our "Print a Photo on Cotton with Inkodye" guide for step-by-step instructions on how to make an Inkodye print.