The Conversation (0)
Sign Up
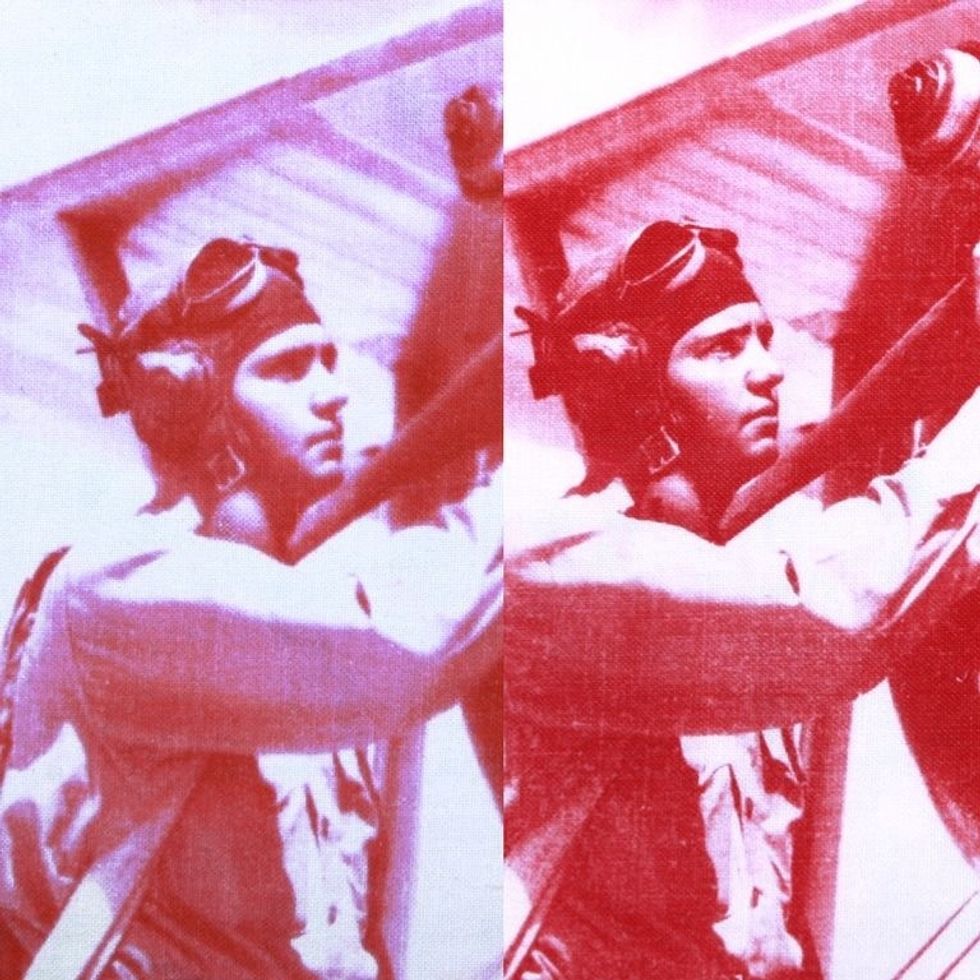
The image on the left demonstrates a negative that lifted slightly from the coated material during exposure. Even though the image is still decent, details are lost in the face and the edges are fuzzy
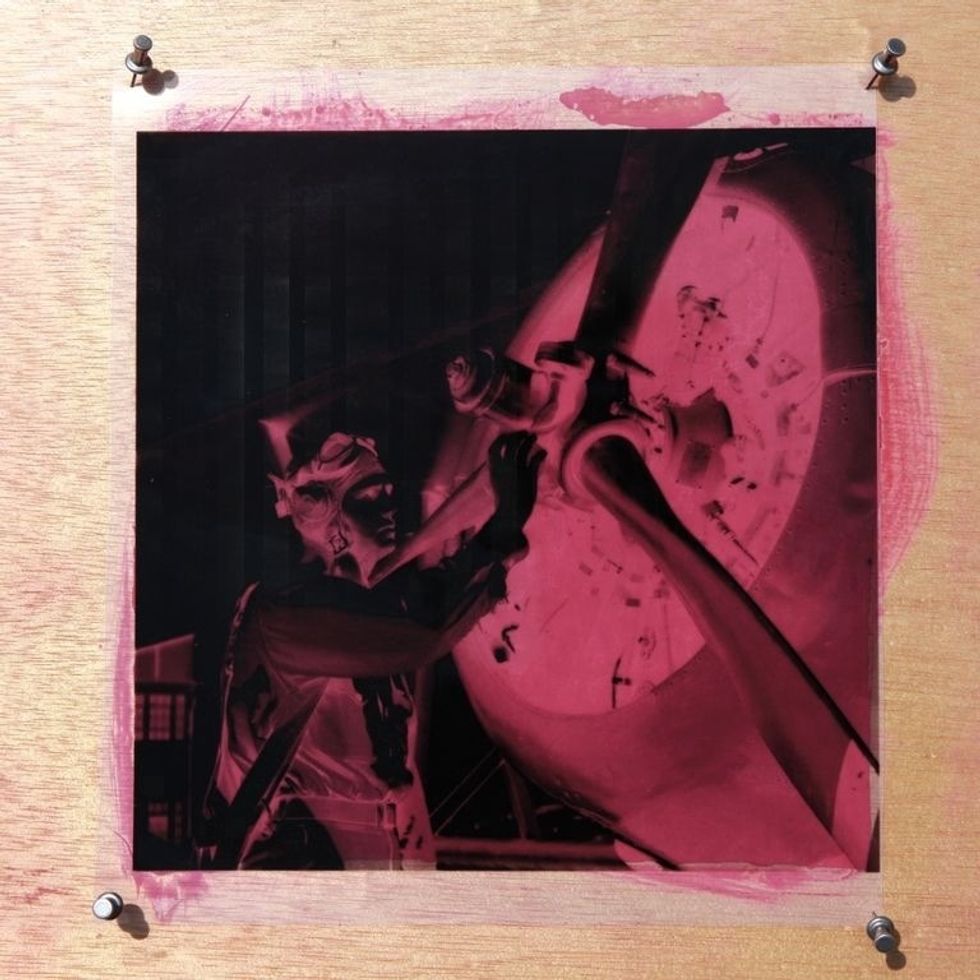
Pinning your negative down during exposure will keep it from blowing away if there's wind, but the negative can separate from the coated material, resulting in poor contact and a blurry image.
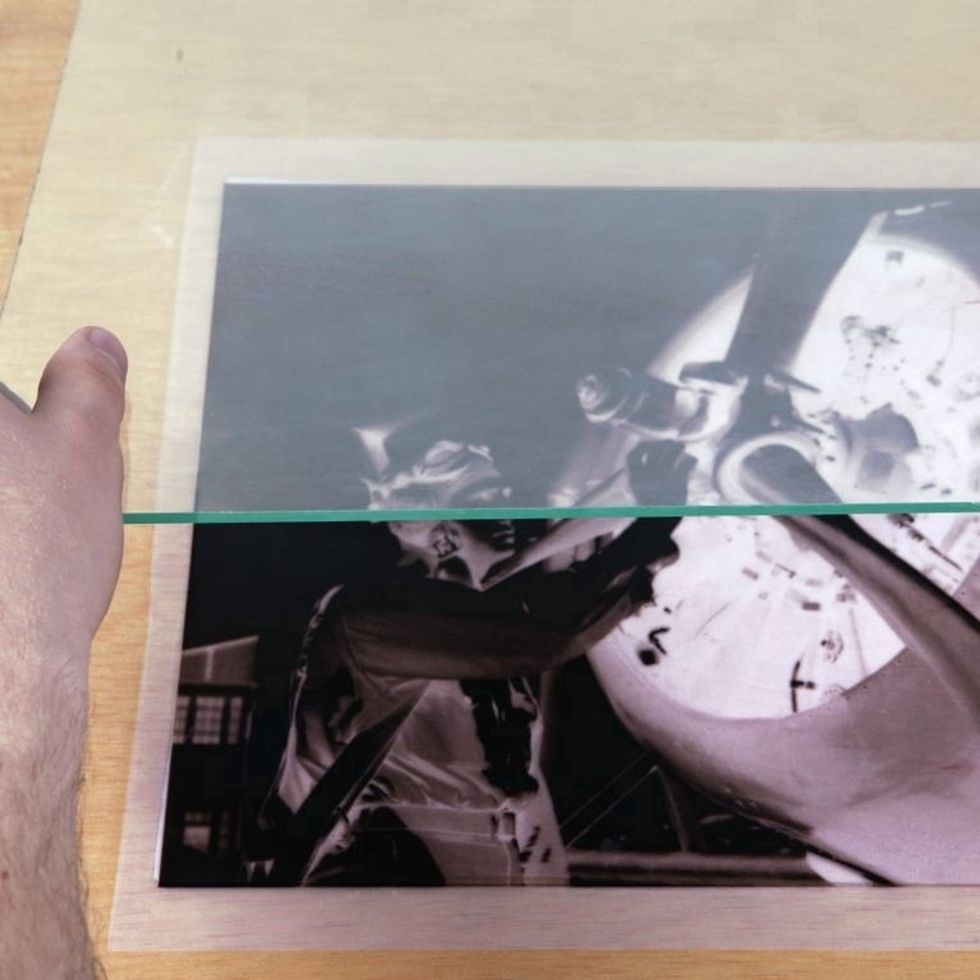
Instead of using pins, place a piece of glass on top of your negative to hold it flat against your coated material during exposure. This will prevent separation and shadows during exposure.
Tip: Since glass blocks some UV rays, exposure time may increase. On a sunny day, your print will take approx 10-12 mins to develop. If you use glass, you may want to expose for up to 15 mins.
See our "Print a Photo on Cotton with Inkodye" guide for step-by-step instructions on how to make an Inkodye print.