The Conversation (0)
Sign Up
First choose a piece of wood that you would like your picture transferred to.
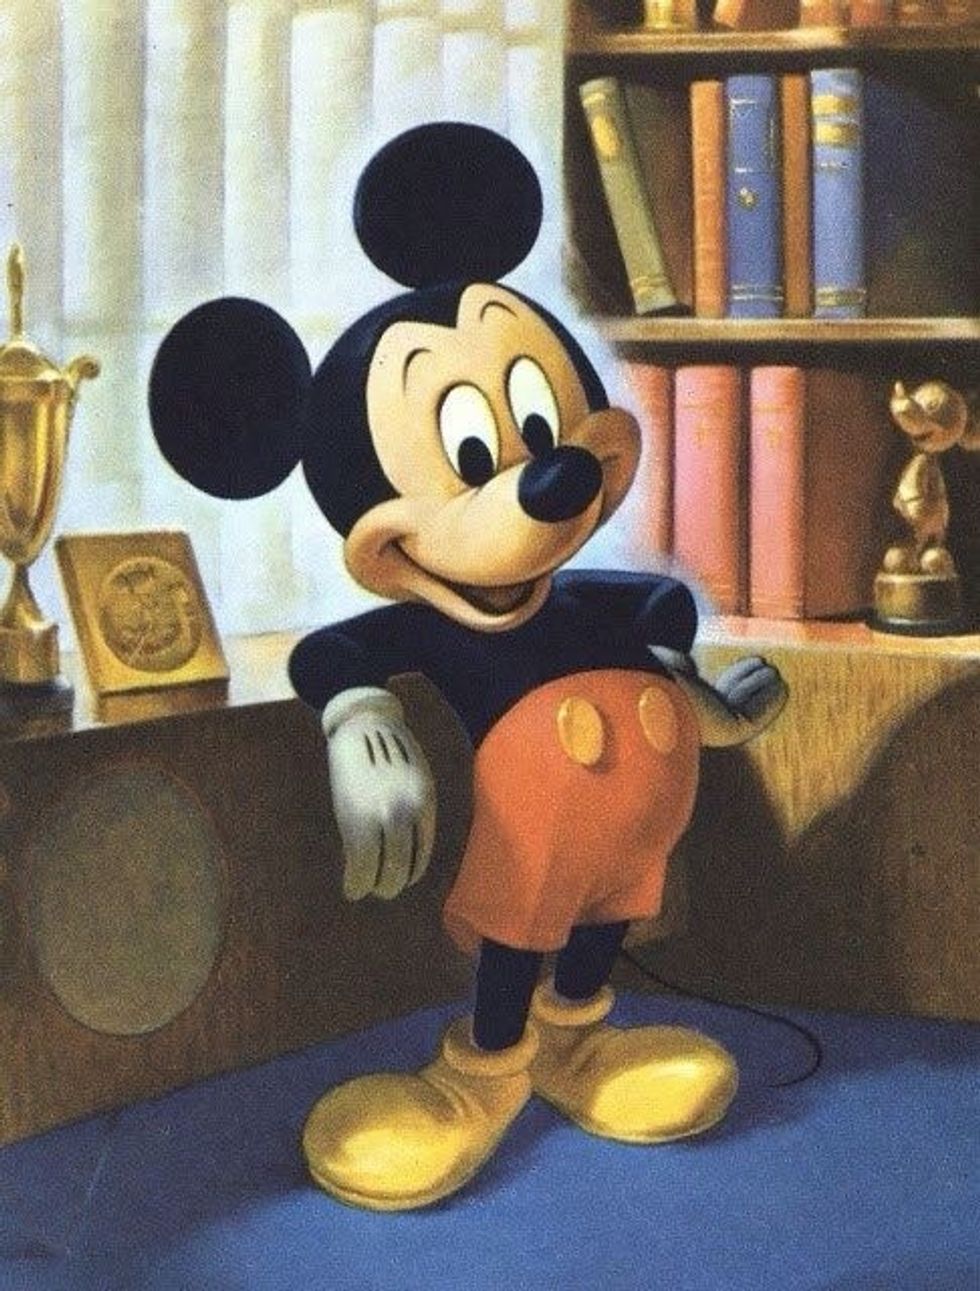
This is the picture I chose, it needs to be printed on a laser printer, ink jet won't work. Regular copy paper works best.
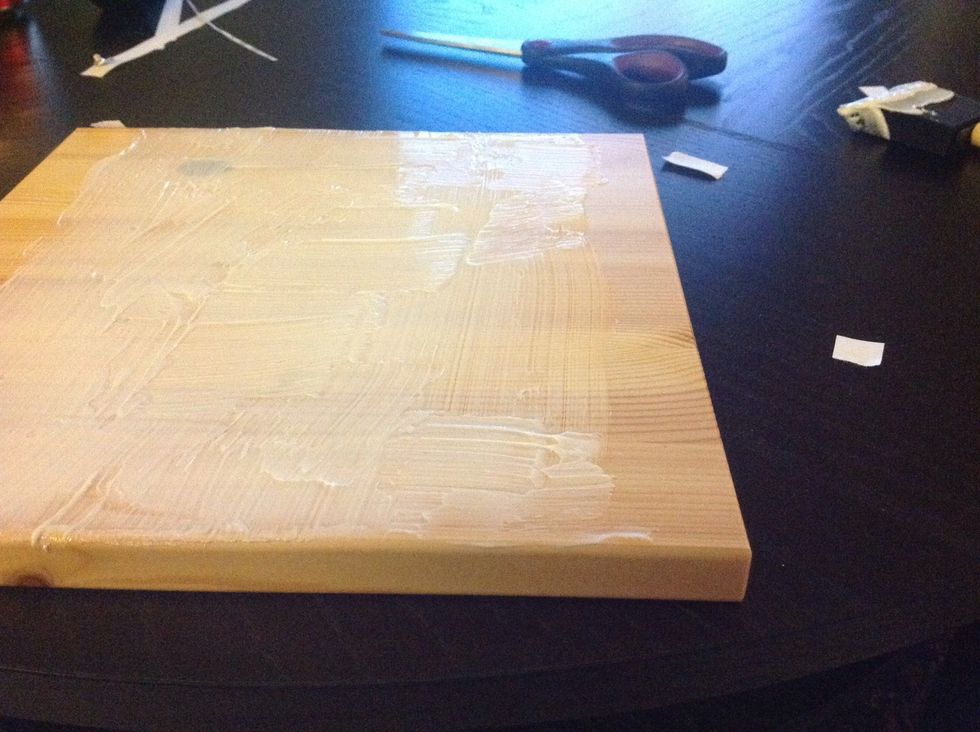
Apply the acrylic gel medium to the wood with the foam brush. You need to apply enough to ensure the photo will transfer, not so much that it will be gloopy, but enough that it will stick.
Lay photo face down on acrylic medium. If using pics with words, be aware that the words will appear reversed, unless you reverse the image first before printing.

Smooth out the bubbles using a credit card, or something with a flat edge.
Let dry overnight.
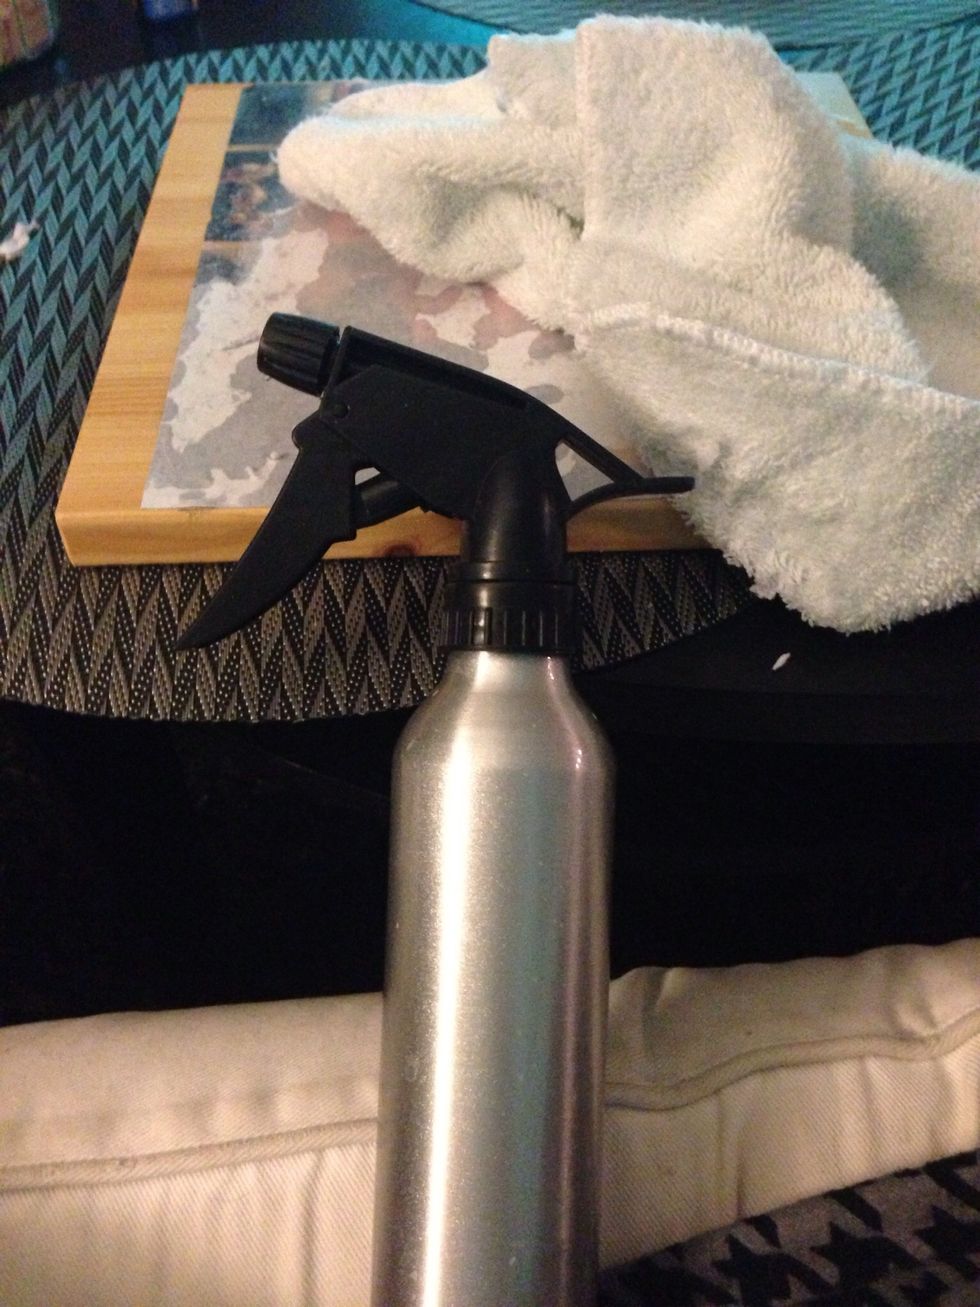
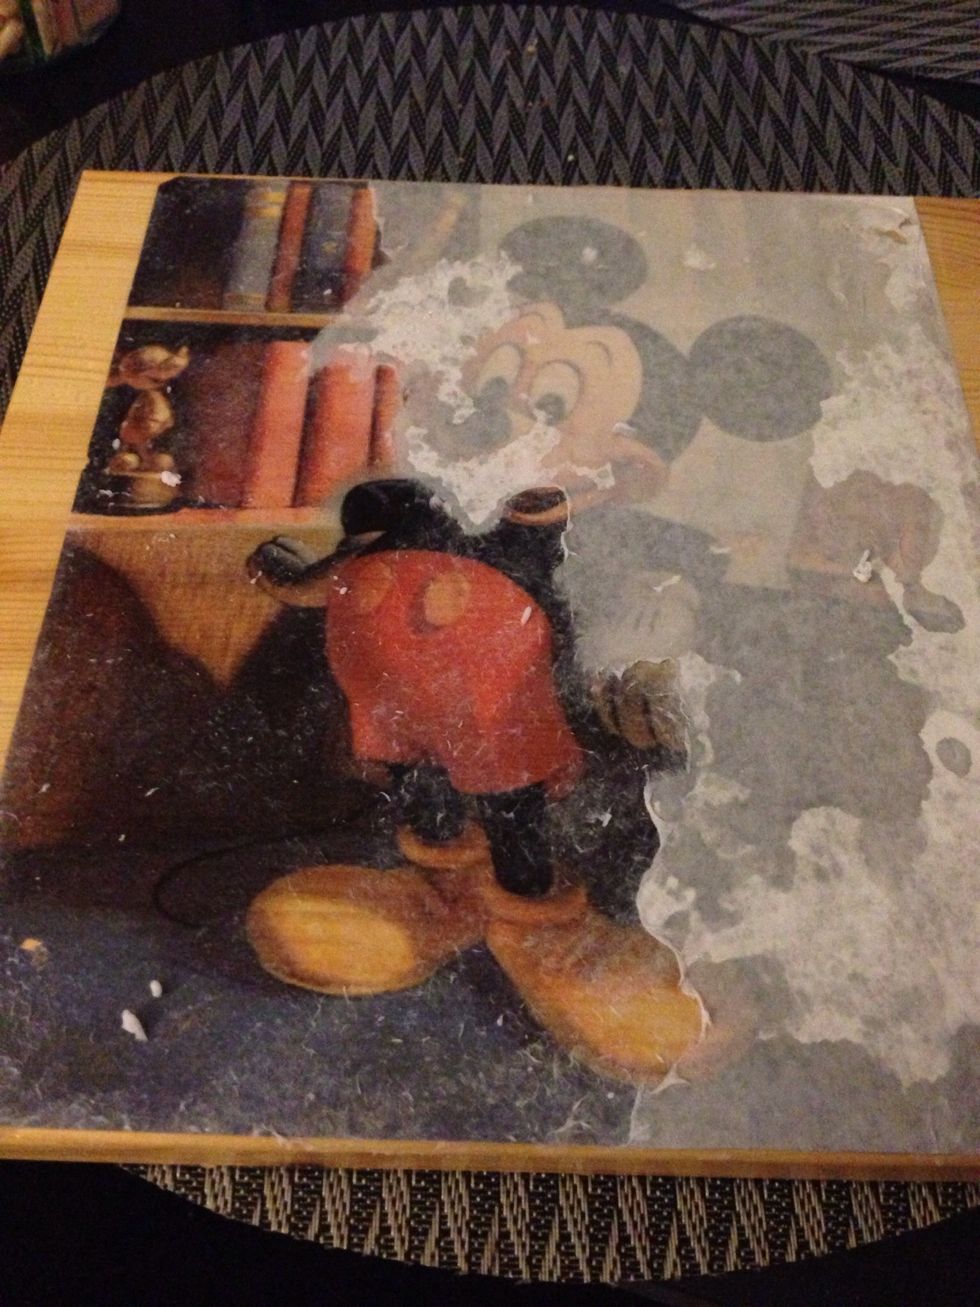
Here's the fun part. Time to remove the paper revealing the transferred pic underneath. I used a spray bottle to wet the pic.
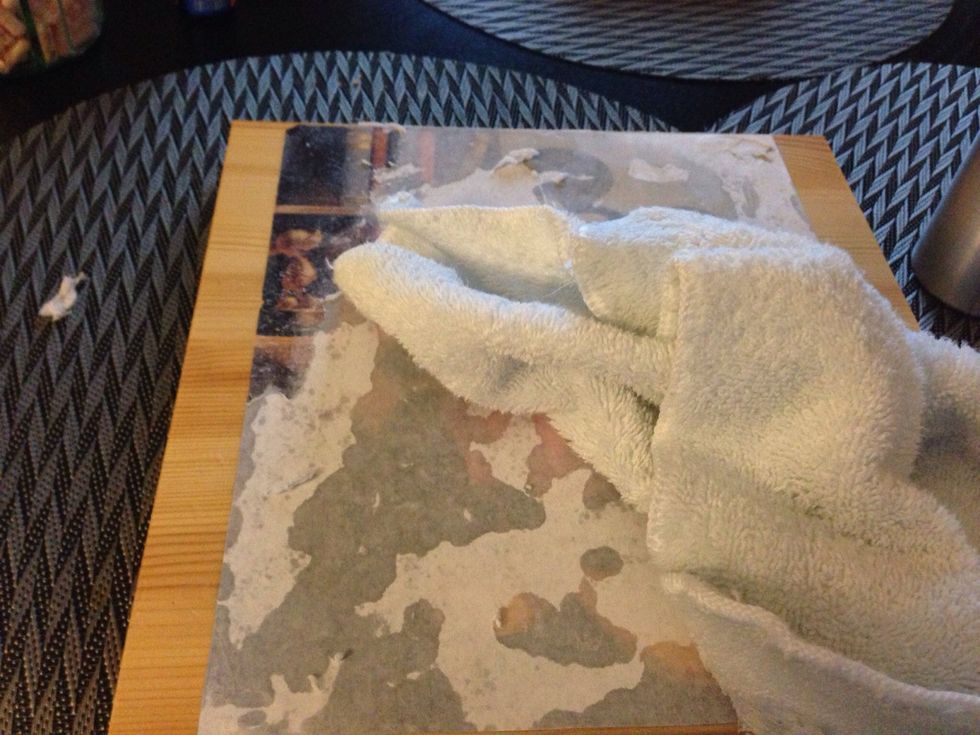
Wet the pic, you will see it begin to pop through the wet paper. Now the next step is fun, but requires care. Gently begin to rub off the paper. I used a wet facecloth for the first layer.
As you see here the pic starts to reveal itself, but you will also find a lot of little paper fibers too, for those using your fingers is best.
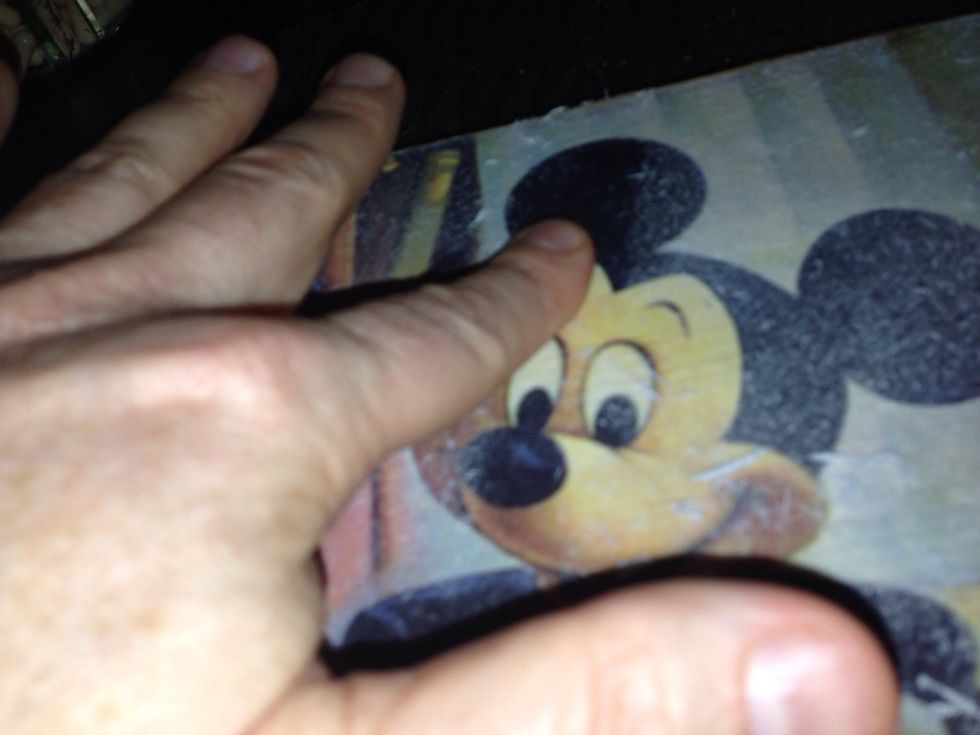
Gently rub the paper away, gently misting if needed. The paper needs to be slightly wet to be removed, your fingers will be the best tool at this delicate step. Be careful not to rub too hard.
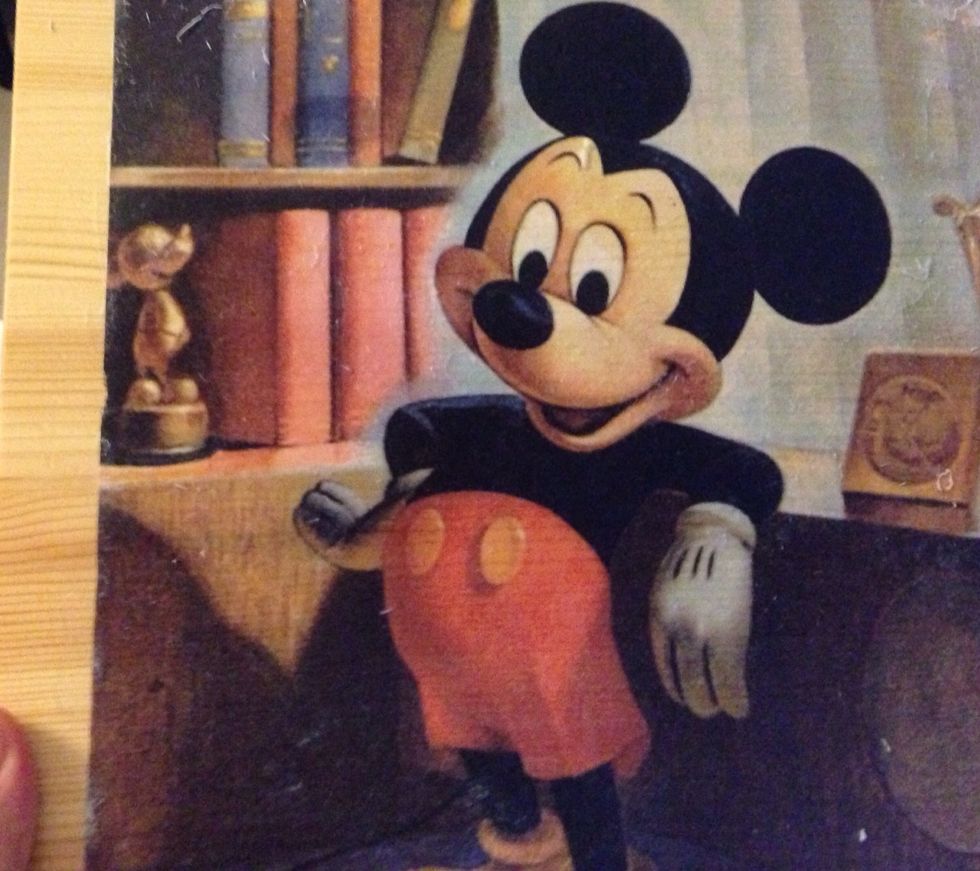
Once all the paper is removed, you will have completed the photo transfer. You can seal this with a layer of mod podge. Voila! All done!