The Conversation (0)
Sign Up
You can download Gimp by Google searching "Gimp" and going to their website. It is a free download, so download and enjoy :)
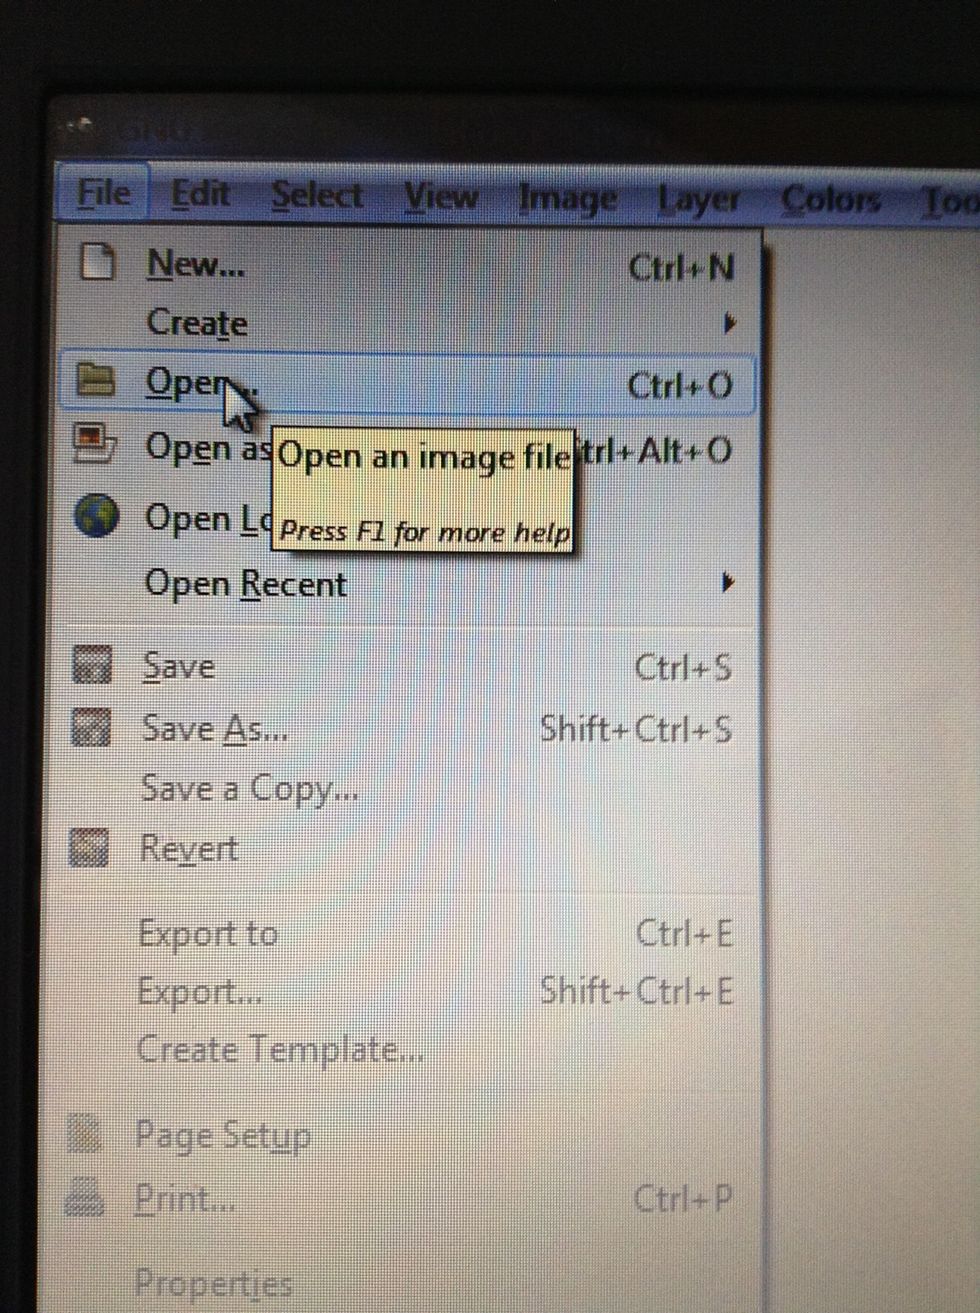
First, open the picture you want to tone.

Go to "Levels" under the "Color" tab.
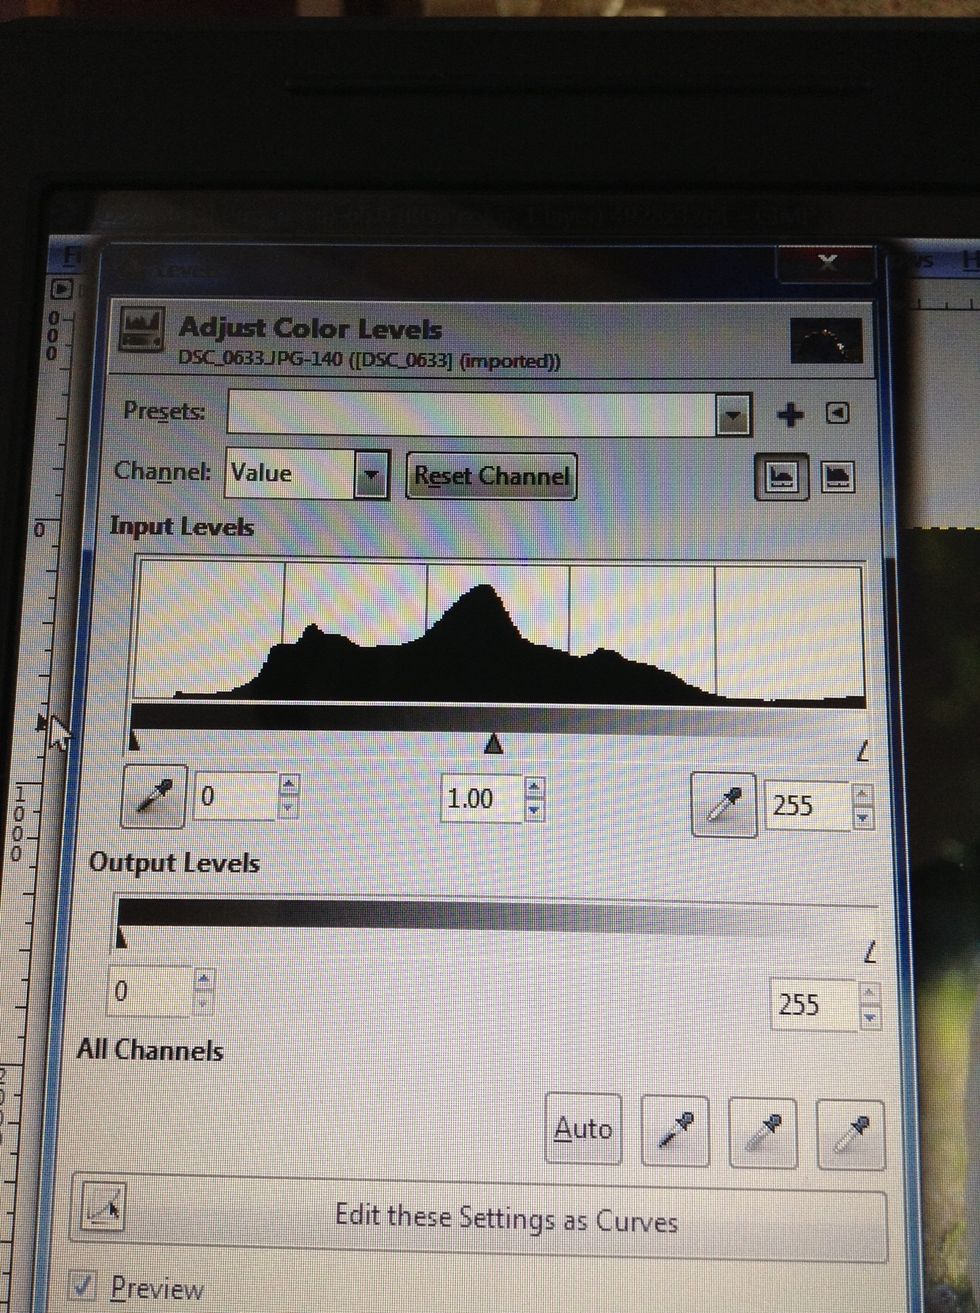
Drag the slider(s) to the edge of the histogram, which is the black, mountain looking thing.
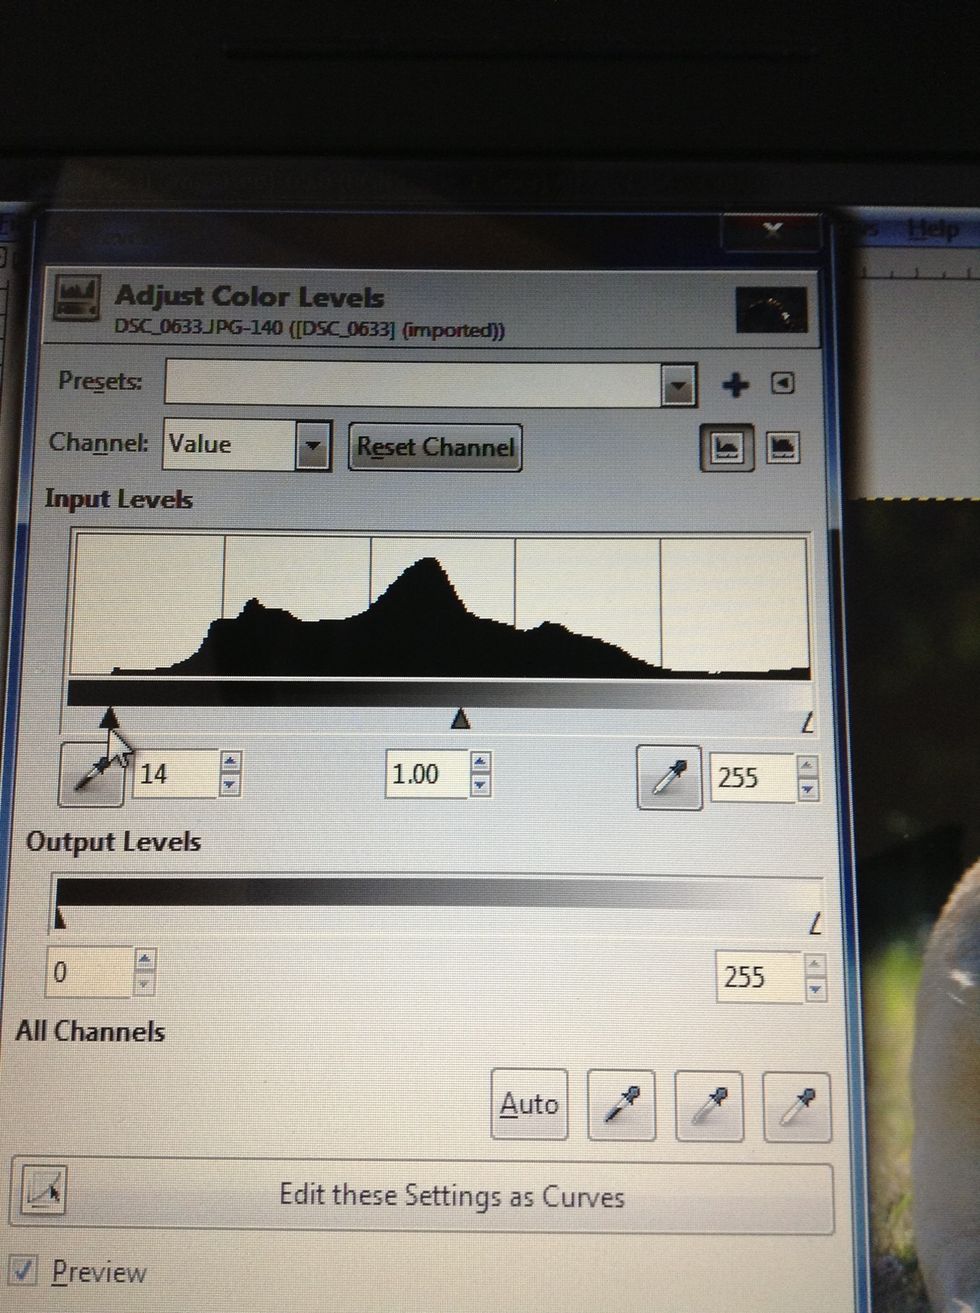
I dragged the left slider because it was the only one that needed to be moved.
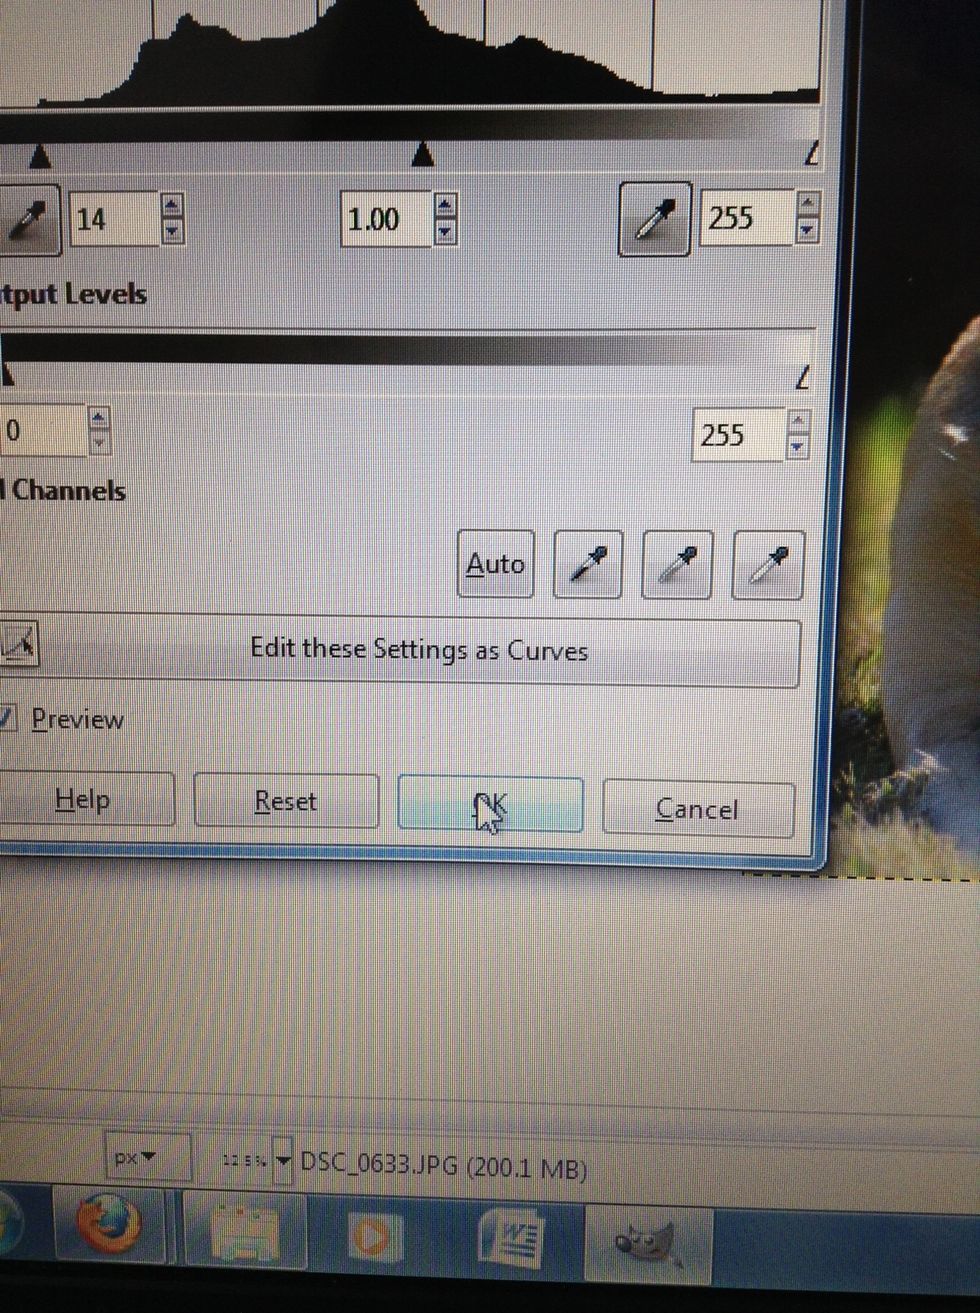
Press "OK."

Now, click on "Curves" under the "Color" tab.

If you move the line up, the picture will get lighter. If you move it down, the picture will get darker.
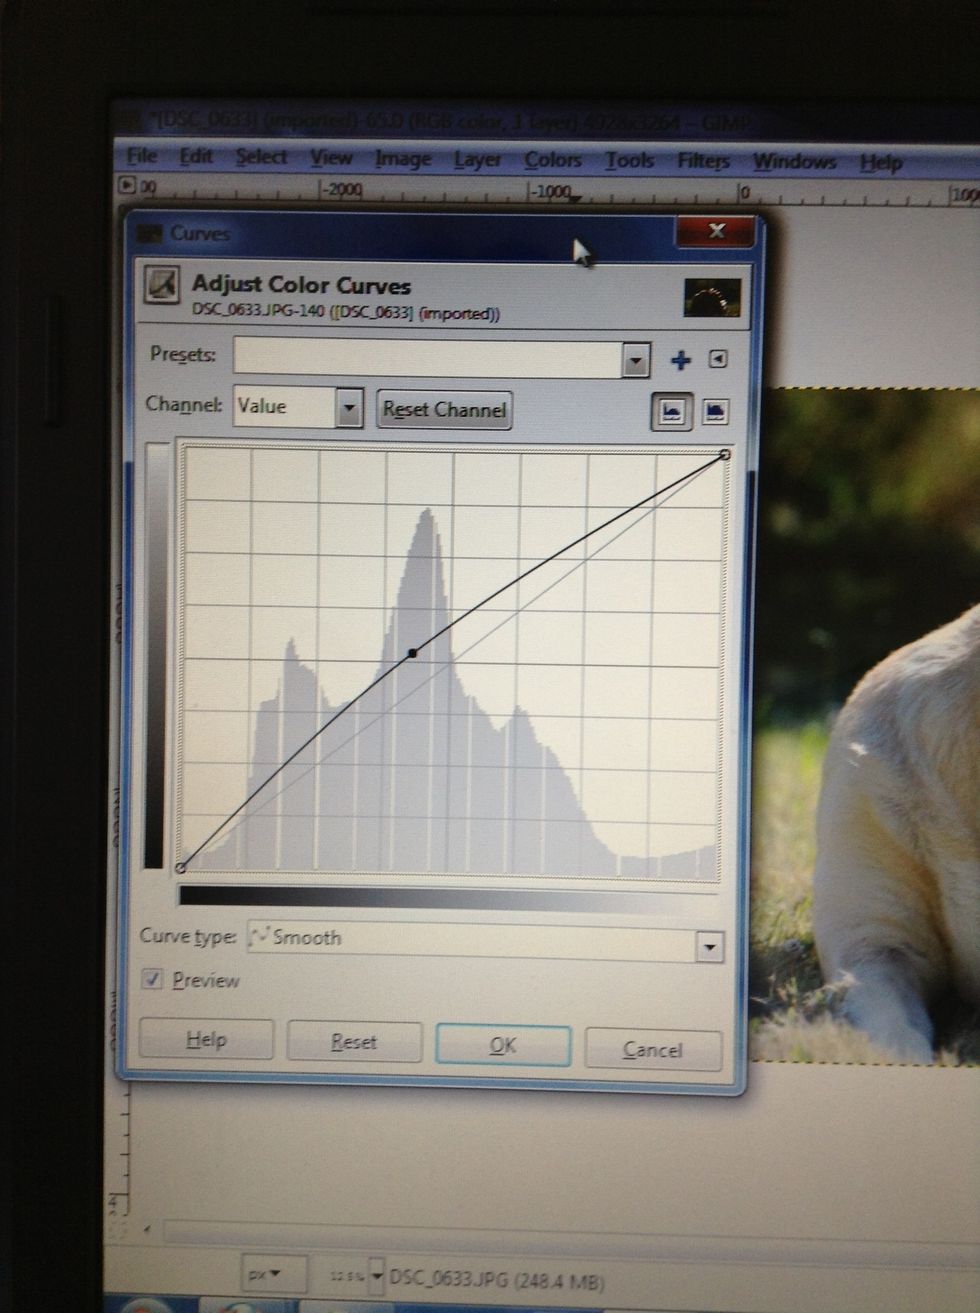
I moved it up.

Press "OK" when you are satisfied with the color.

Select the "Crop Tool" from the Toolbox.
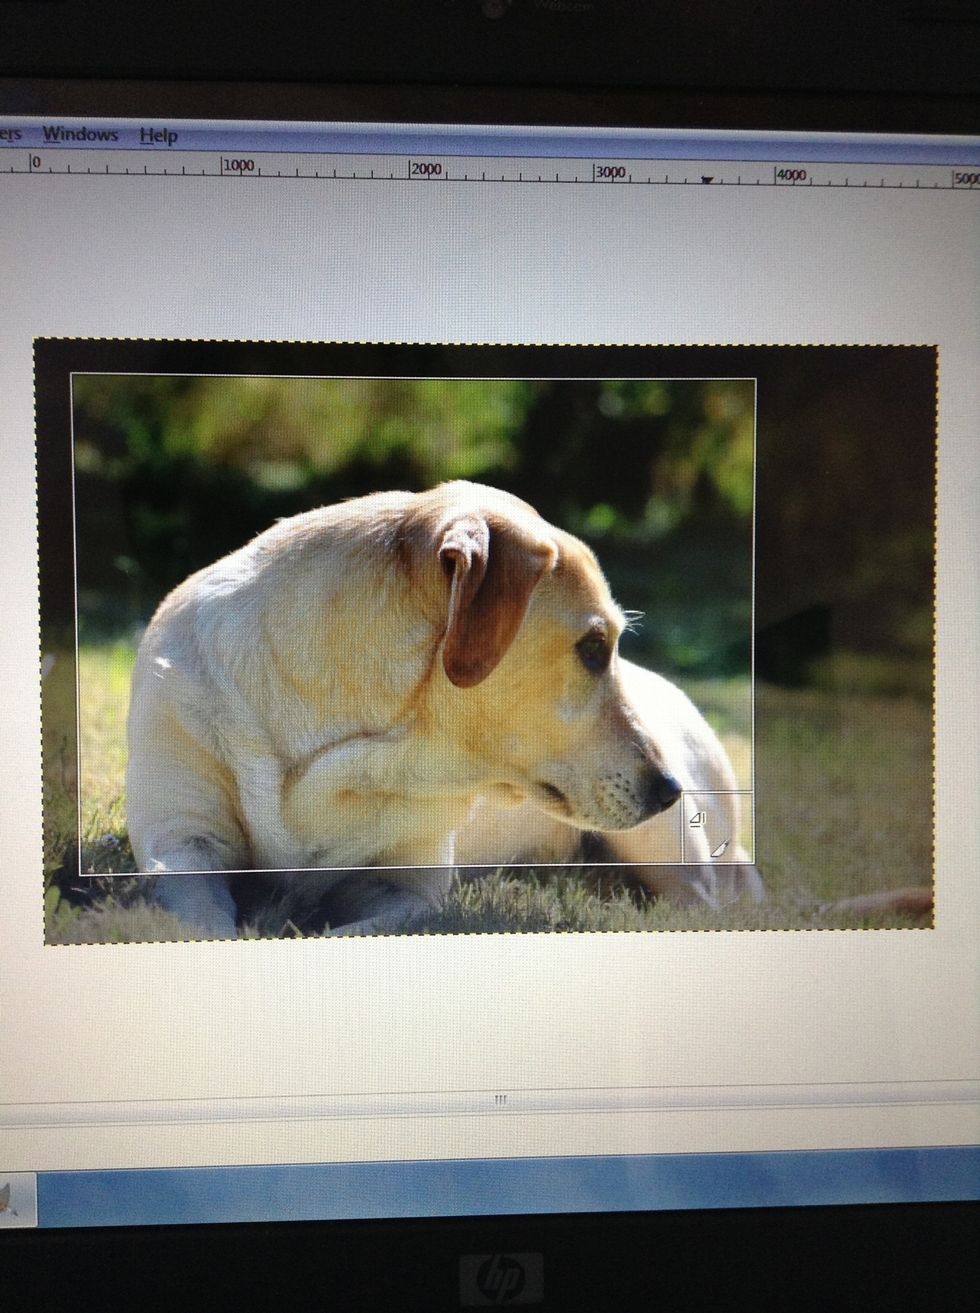
Crop the picture down to a good size.

When you are ready, click or double-click and the picture will be cropped.
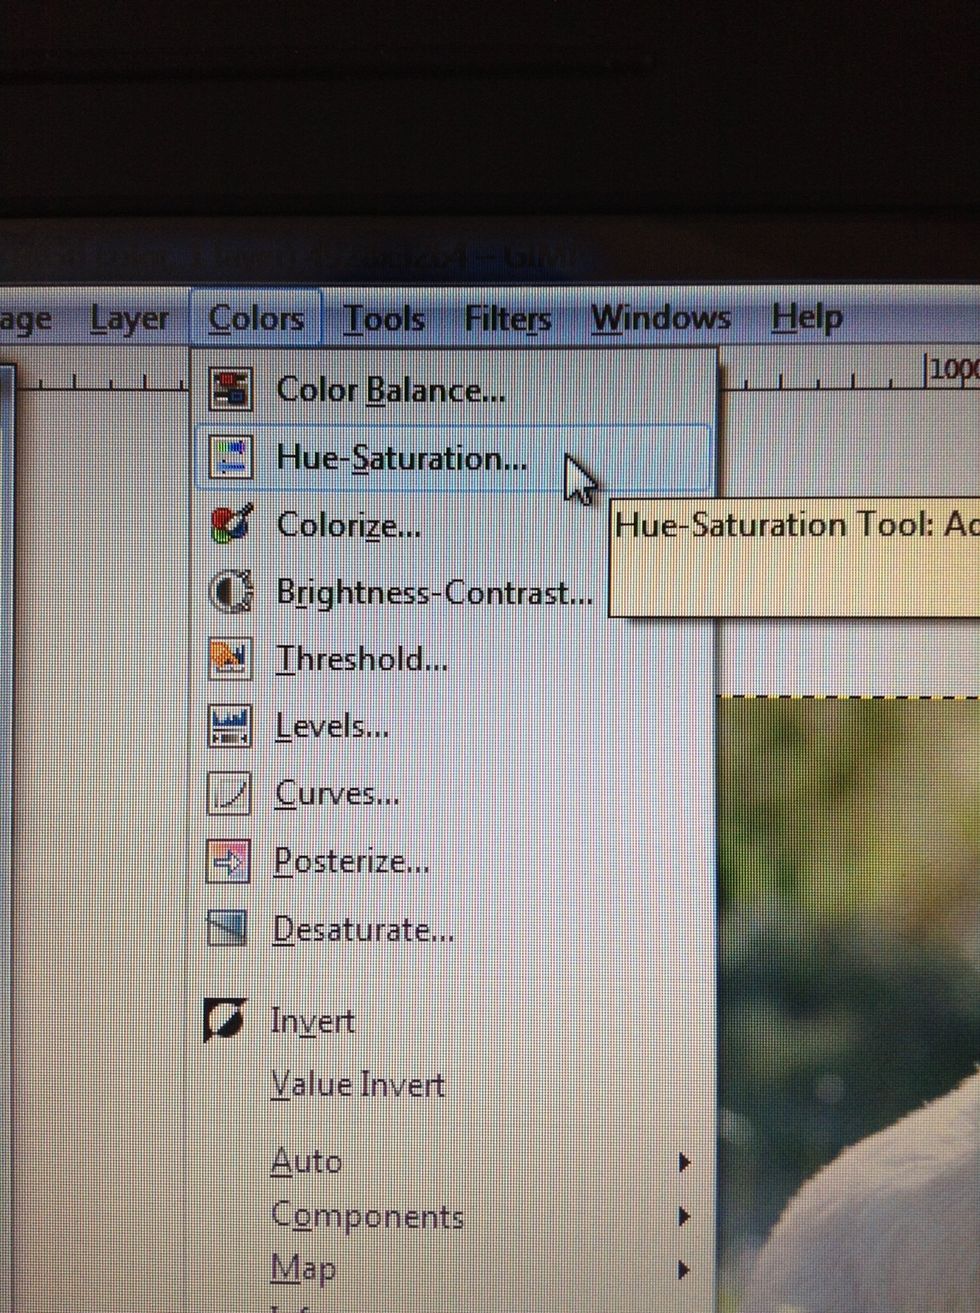
Open "Hue-Saturation" under the "Color" tab.
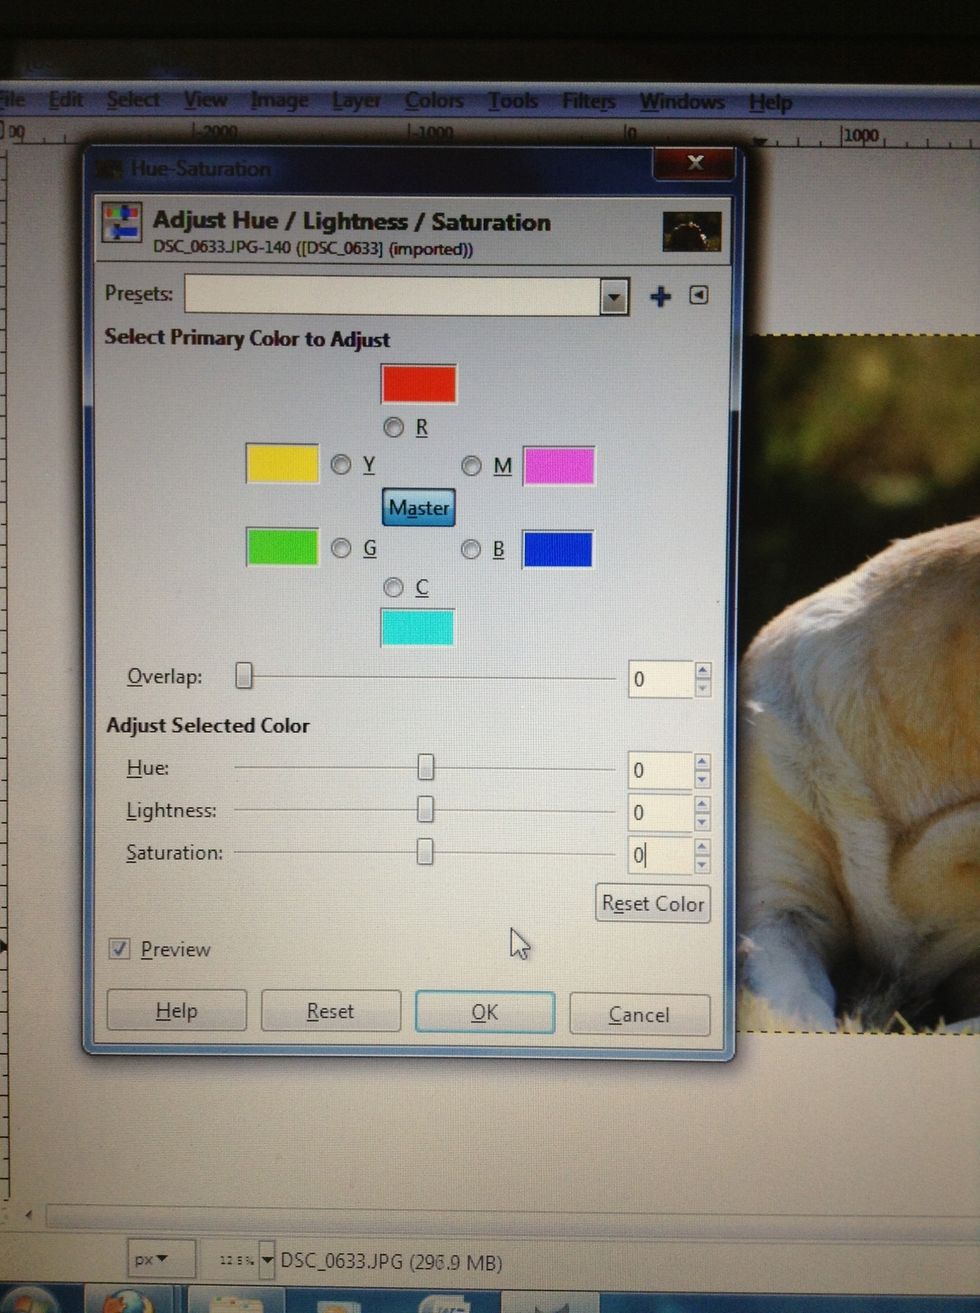
Change "Saturation" to "10."
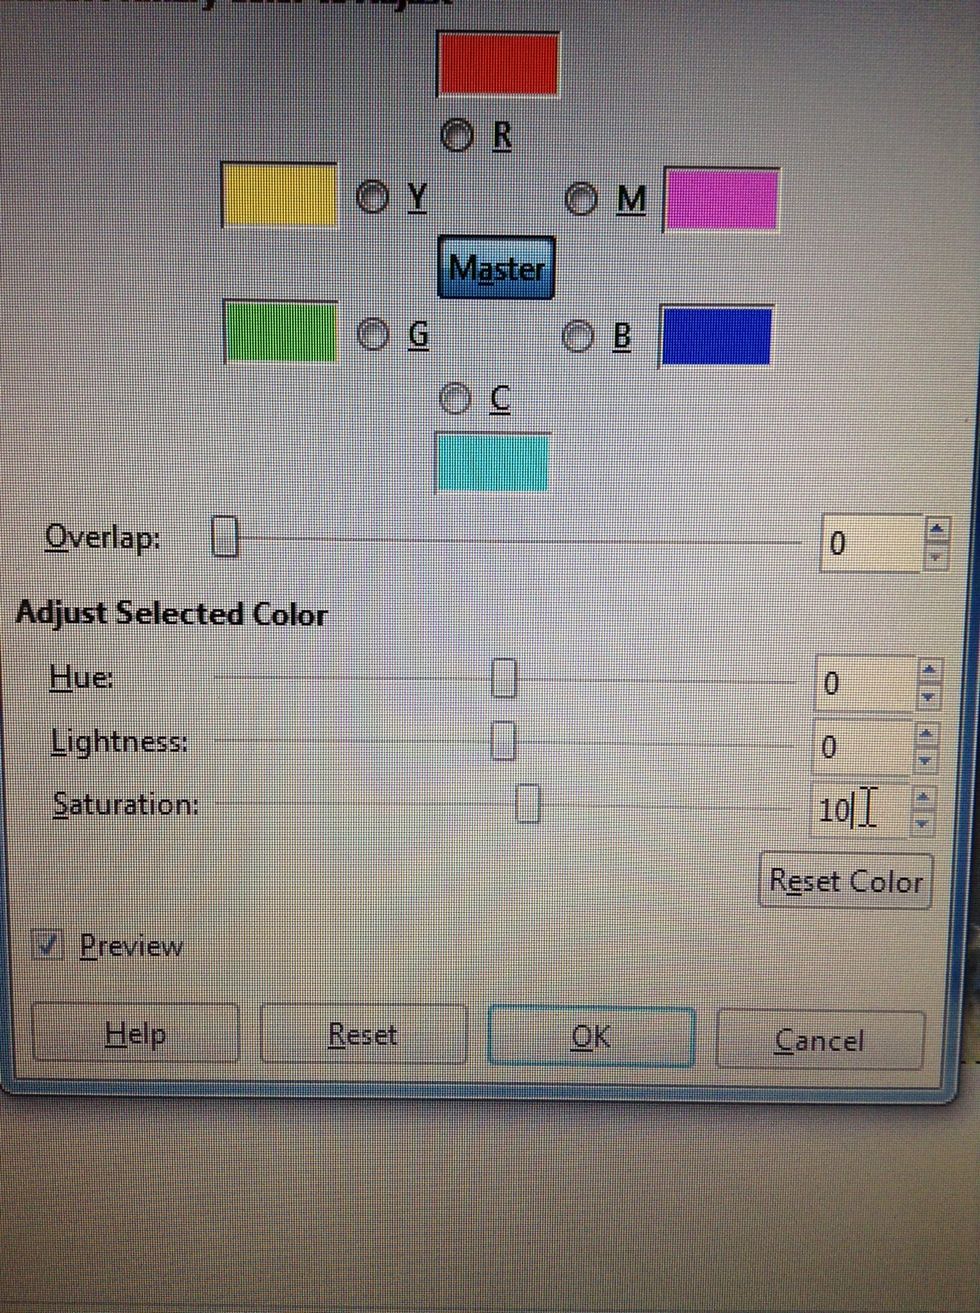
Once "Saturation" is changed, you can change the other two settings, "Lightness" or "Hue" to your liking.
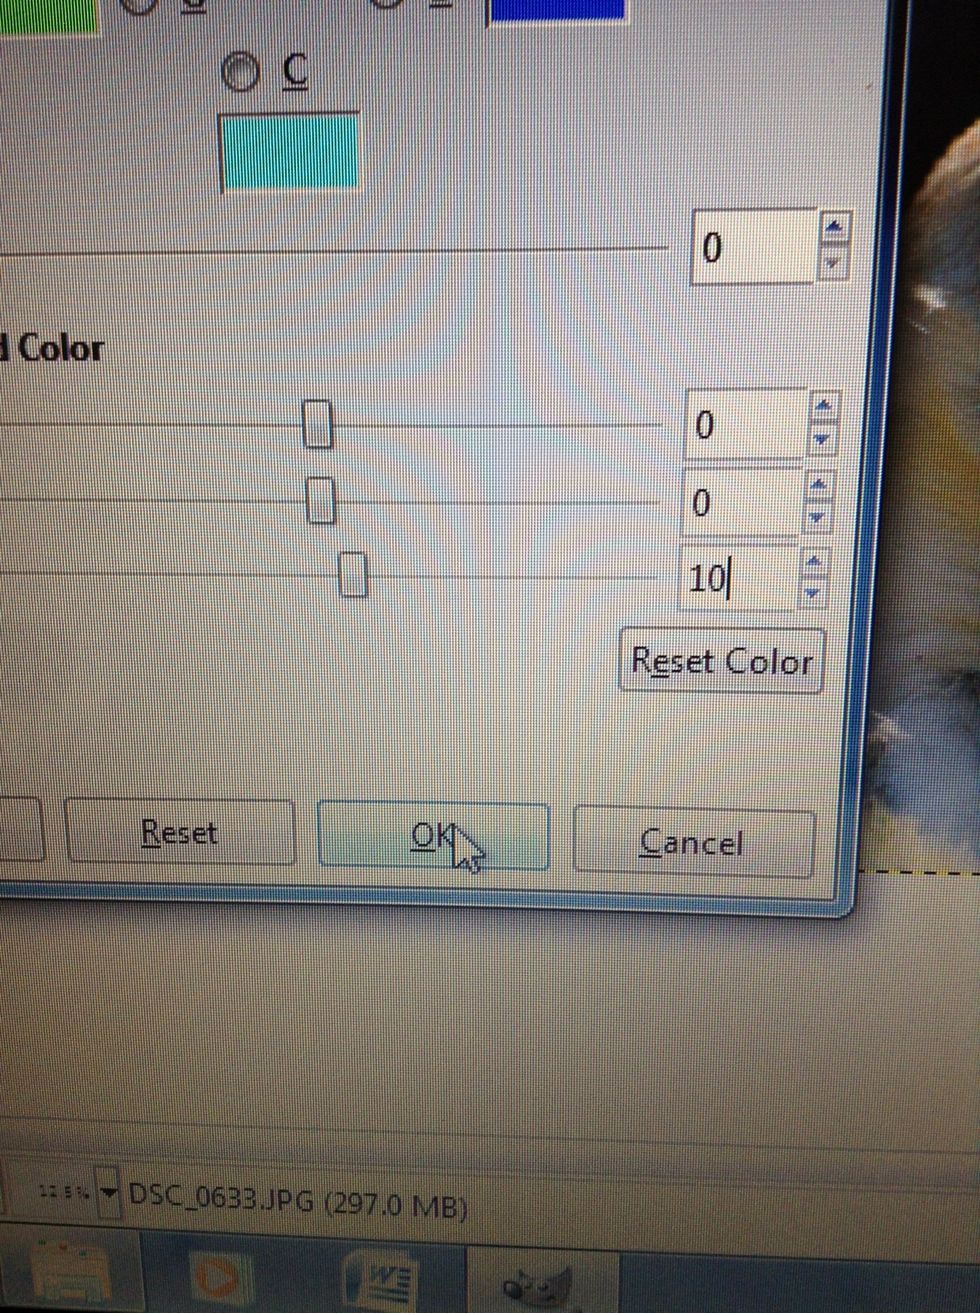
Press "OK" when finished.

Choose "Export" under the "File" tab.
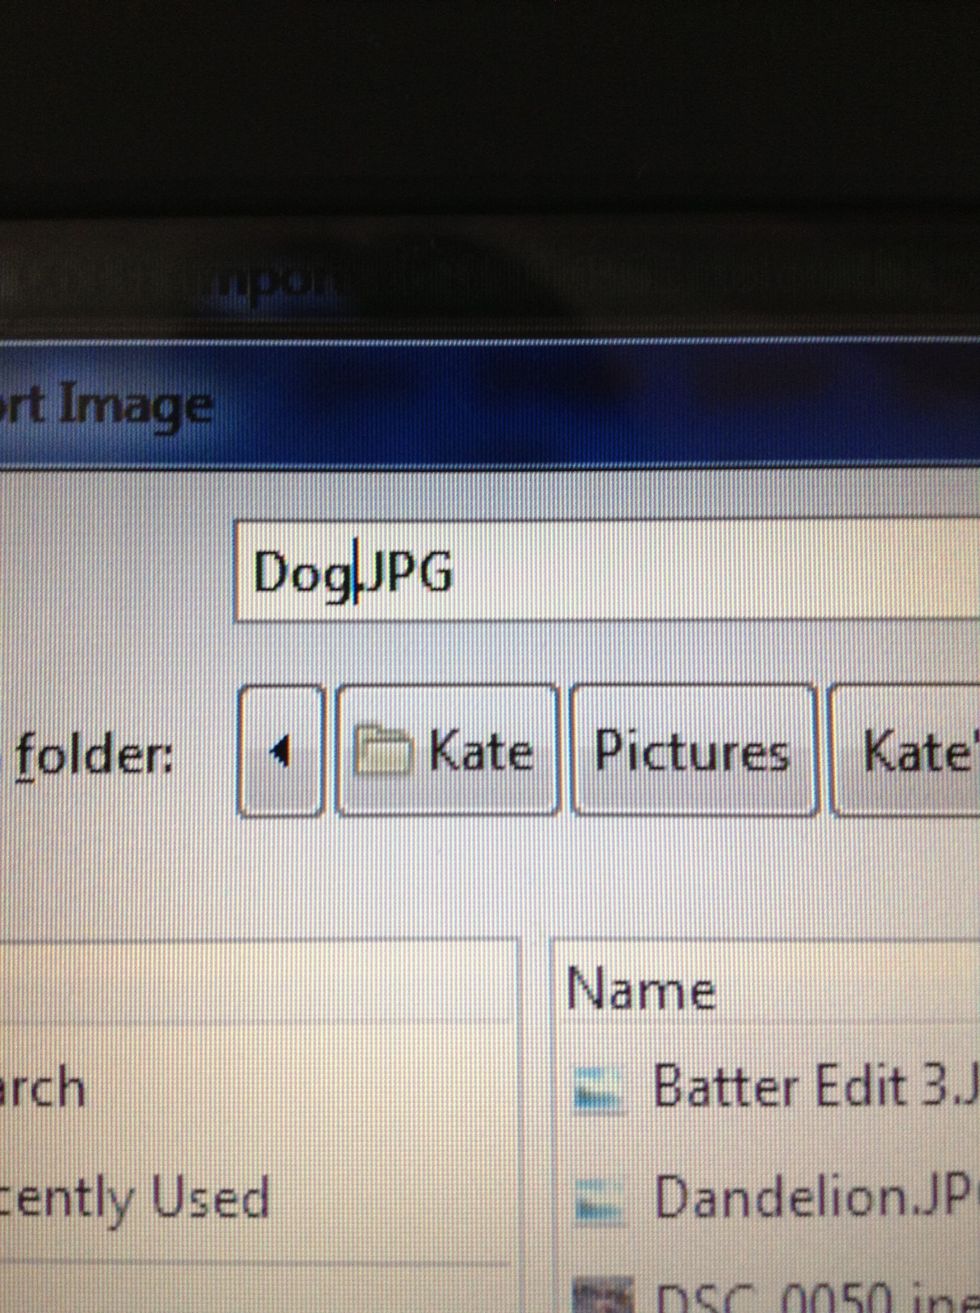
Rename the file and change the format to "JPG."

Press "Export" after making changes.
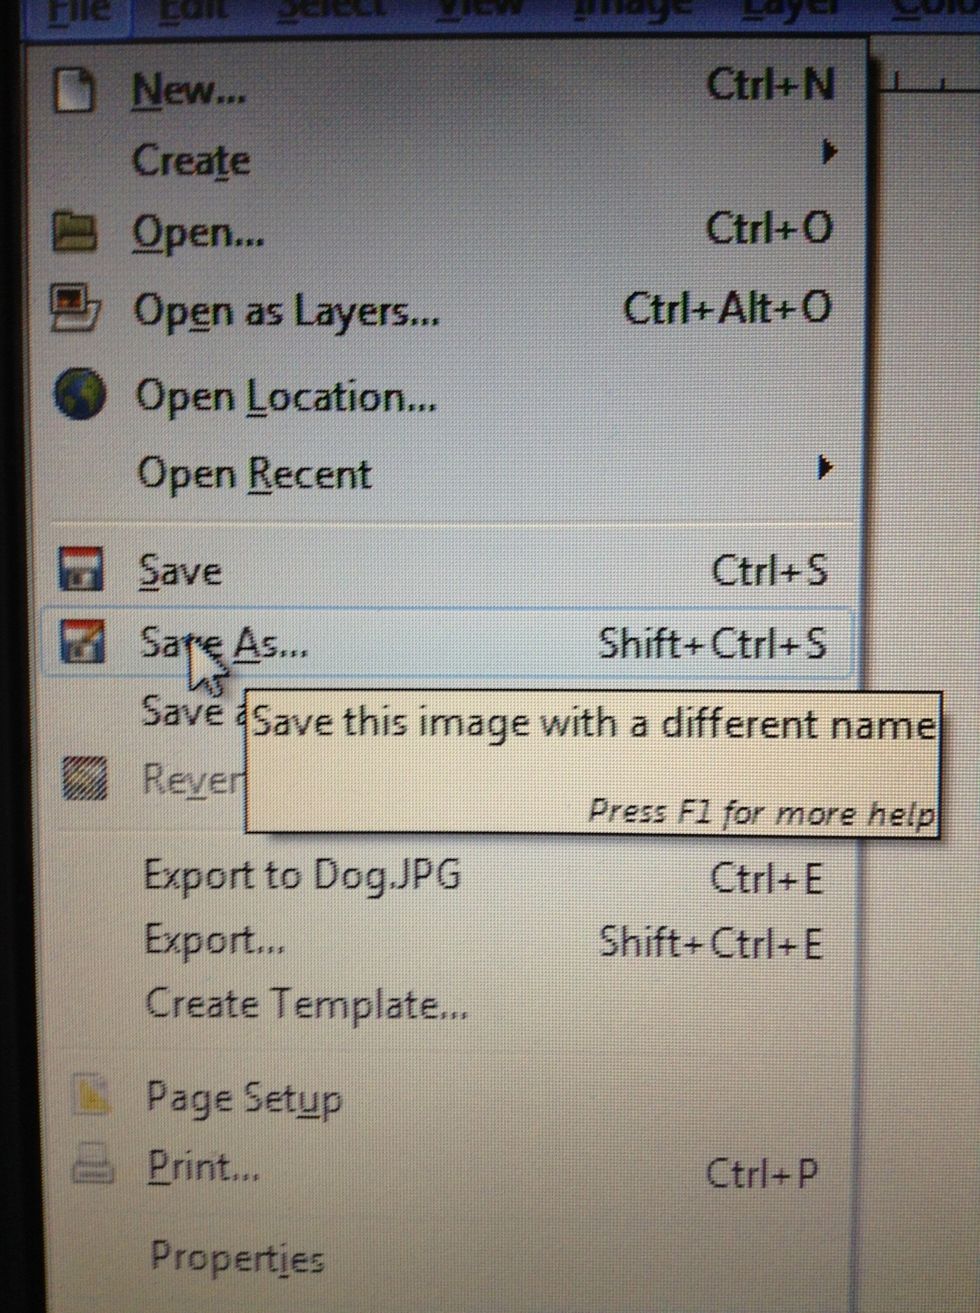
"Save As..." so that your original picture will not be affected.

Rename the picture so you can find it easier later.

Press "Save" after renaming the picture and selecting the folder you want.
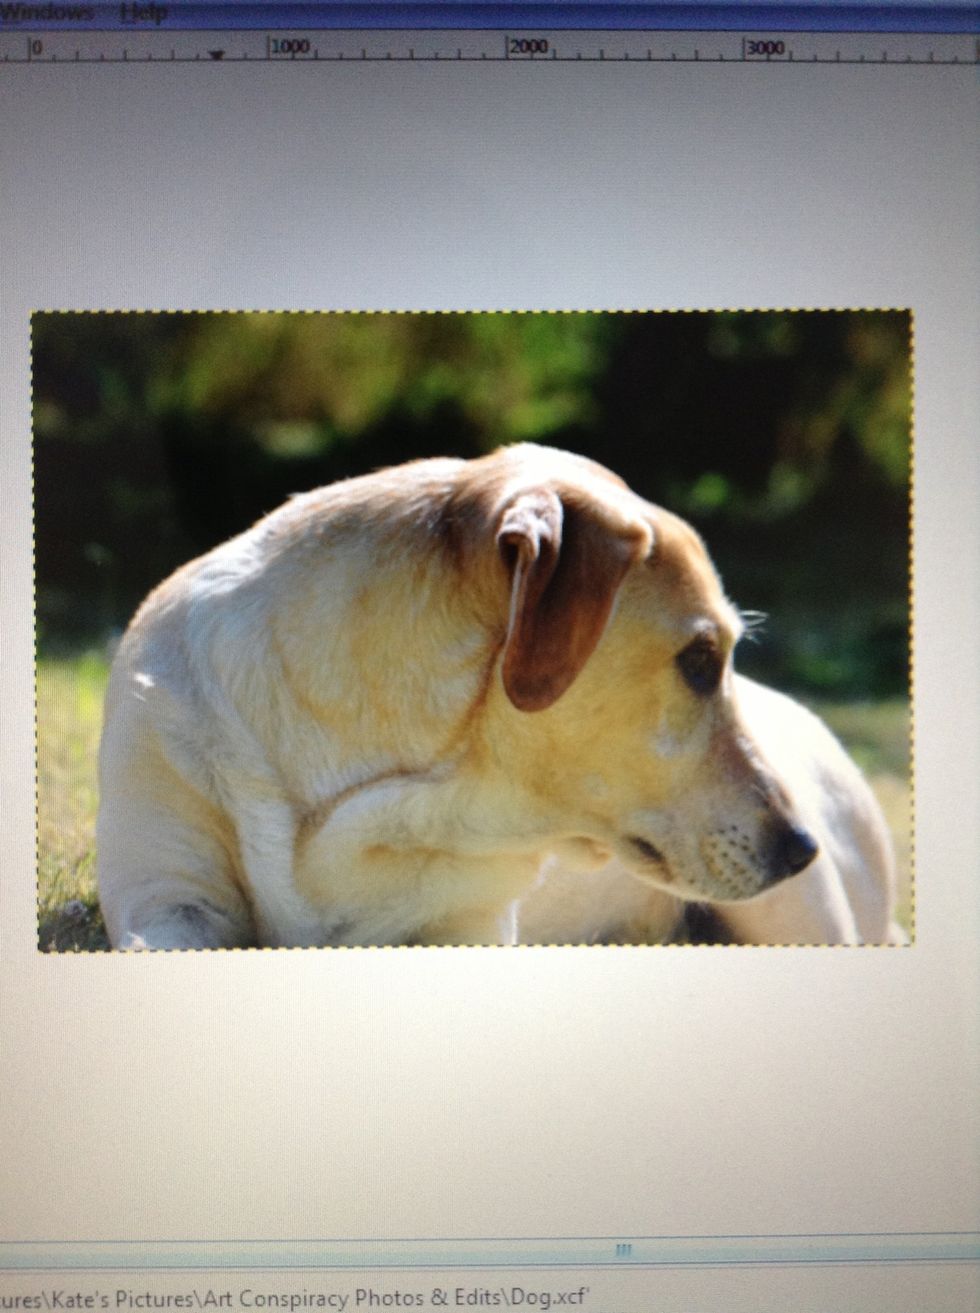
The finished product. This is my dog, Hunter. Yes, I did take the picture ;)