The Conversation (0)
Sign Up
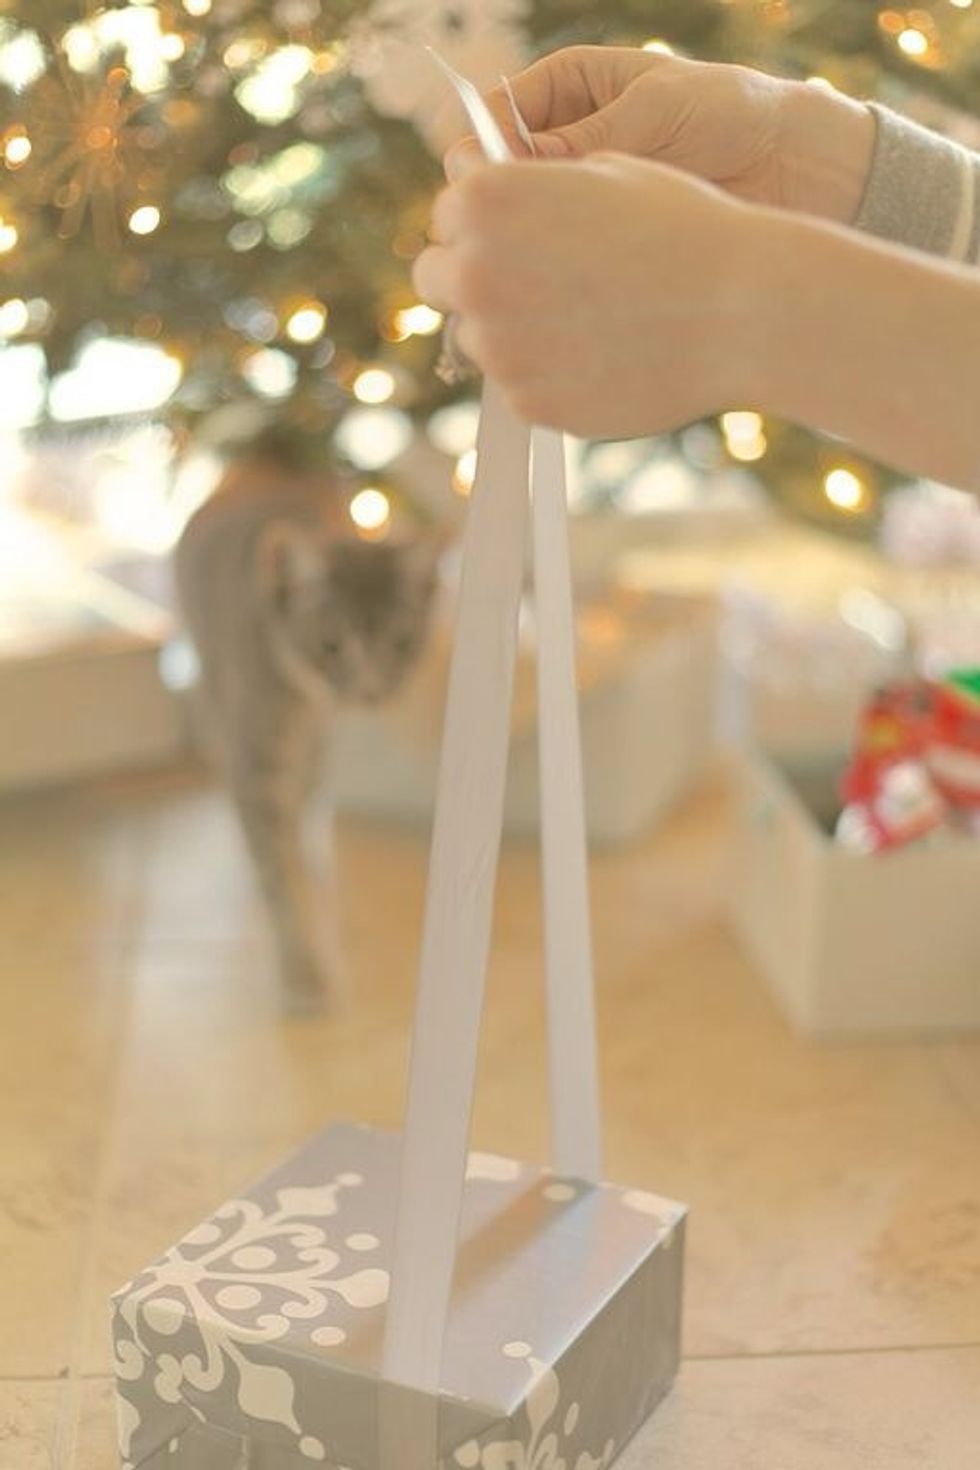
Measure out your ribbon so it wraps around the package 2.5 times. No need for fancy cut ends. The ribbon ends will be hidden
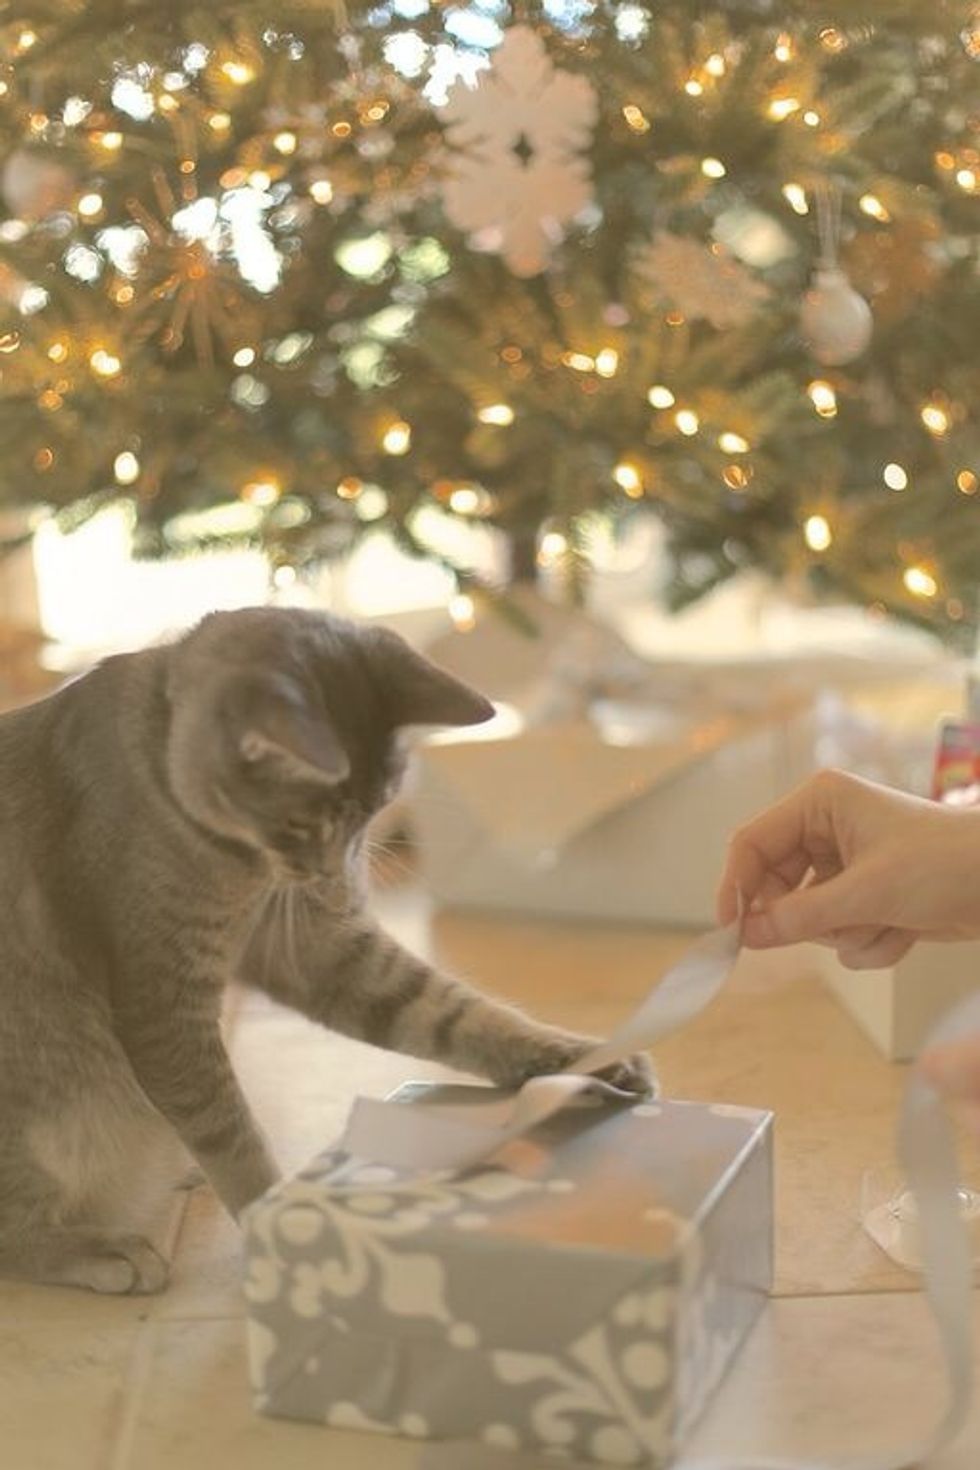
Let you kitten help. They may surprise you with their bow-tying skills ;)
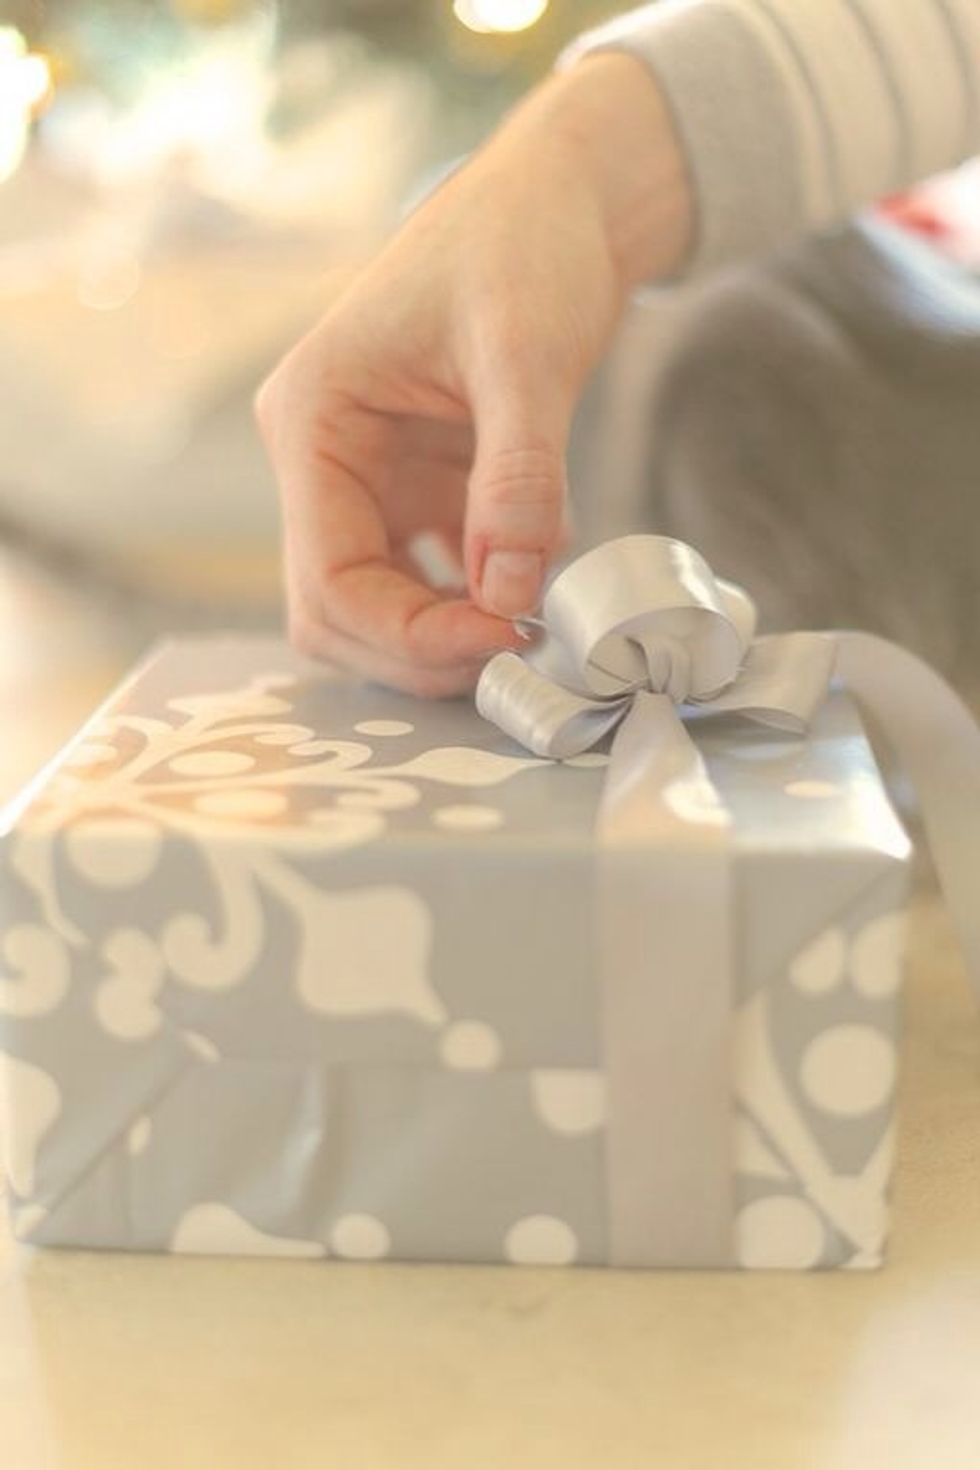
Place the ribbon under the gift and make sure each side is equal in length. I like the satin side of the ribbon out. Tie a knot in the center as tight as you can and hold the knot in place.

Finger aerobics! While holding the knot, start to make a bow. Make sure that the satin side of the ribbon is facing out on the "ears". This may take twisting the ribbon once. Tighten.
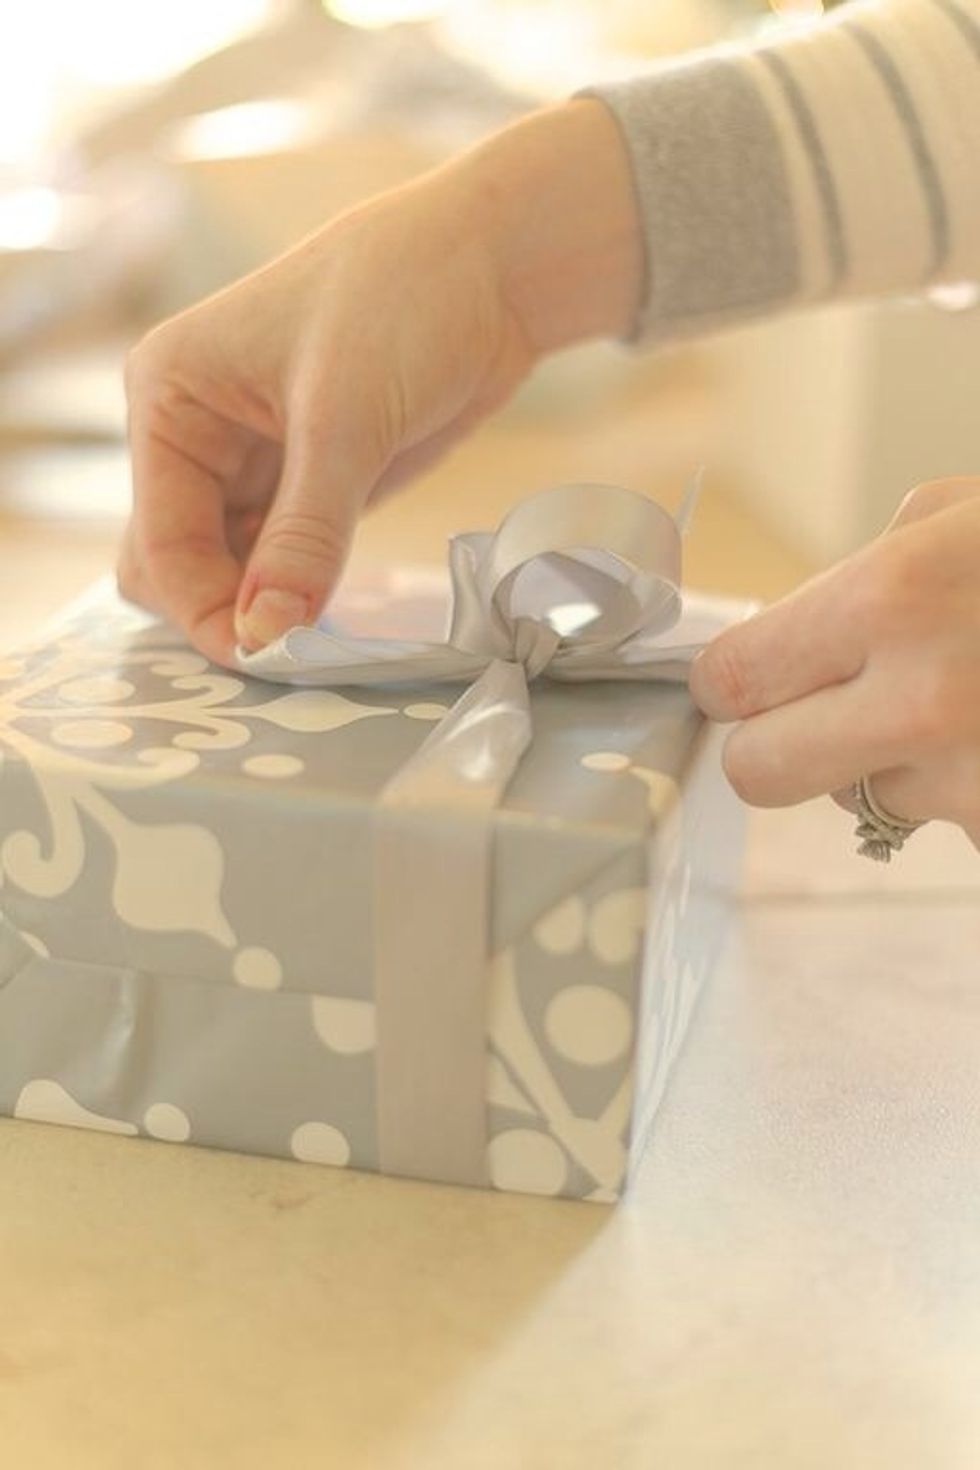
Take the mid-ribbon piece that is connecting the two ears and loosen. Pick up the long piece of leftover ribbon and loop it through the new hole you just made so it goes through the opposing side
The opposing side trick is how you get loops! Continue doing this with one ribbon, then the other until there is no extra left. This should be about twice per ribbon.
Take the two beginning ears and tighten like you would shoe laces... Pulling the top of one ear and the bottom of another usually works. Make sure it is tight.

By now your bow should look pretty awful with two huge ears and tiny clumped loops. Time to fix it!
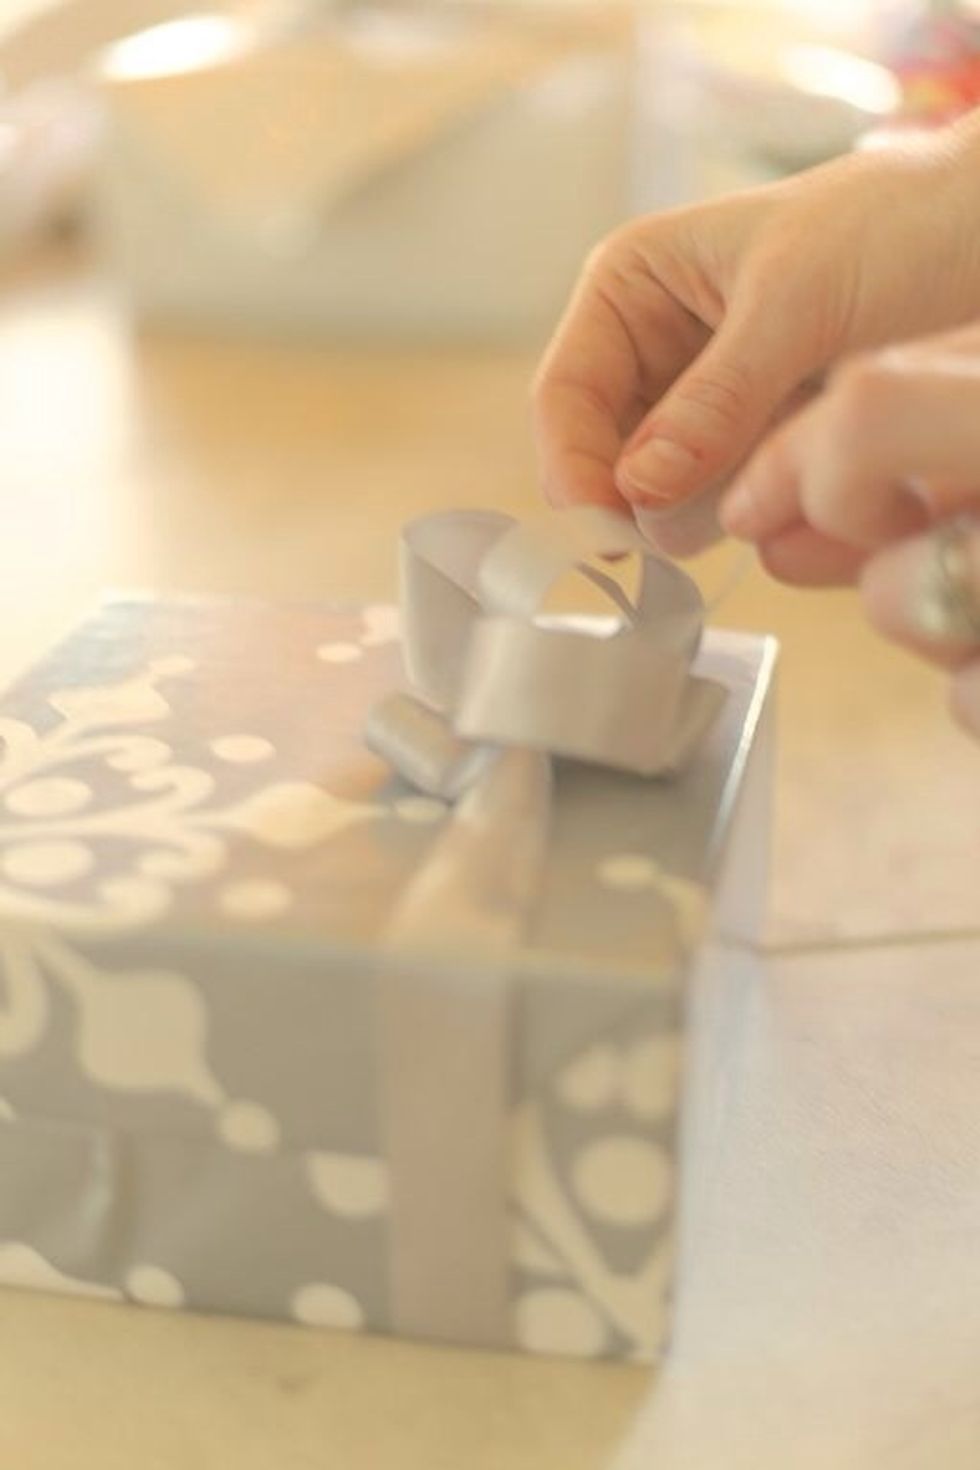
Even out the ears and loops by going from the first loop you made to the last. Pull the loop so the ear gets smaller and the loop gets bigger. Pull the next loop so they are the same size, and so on.
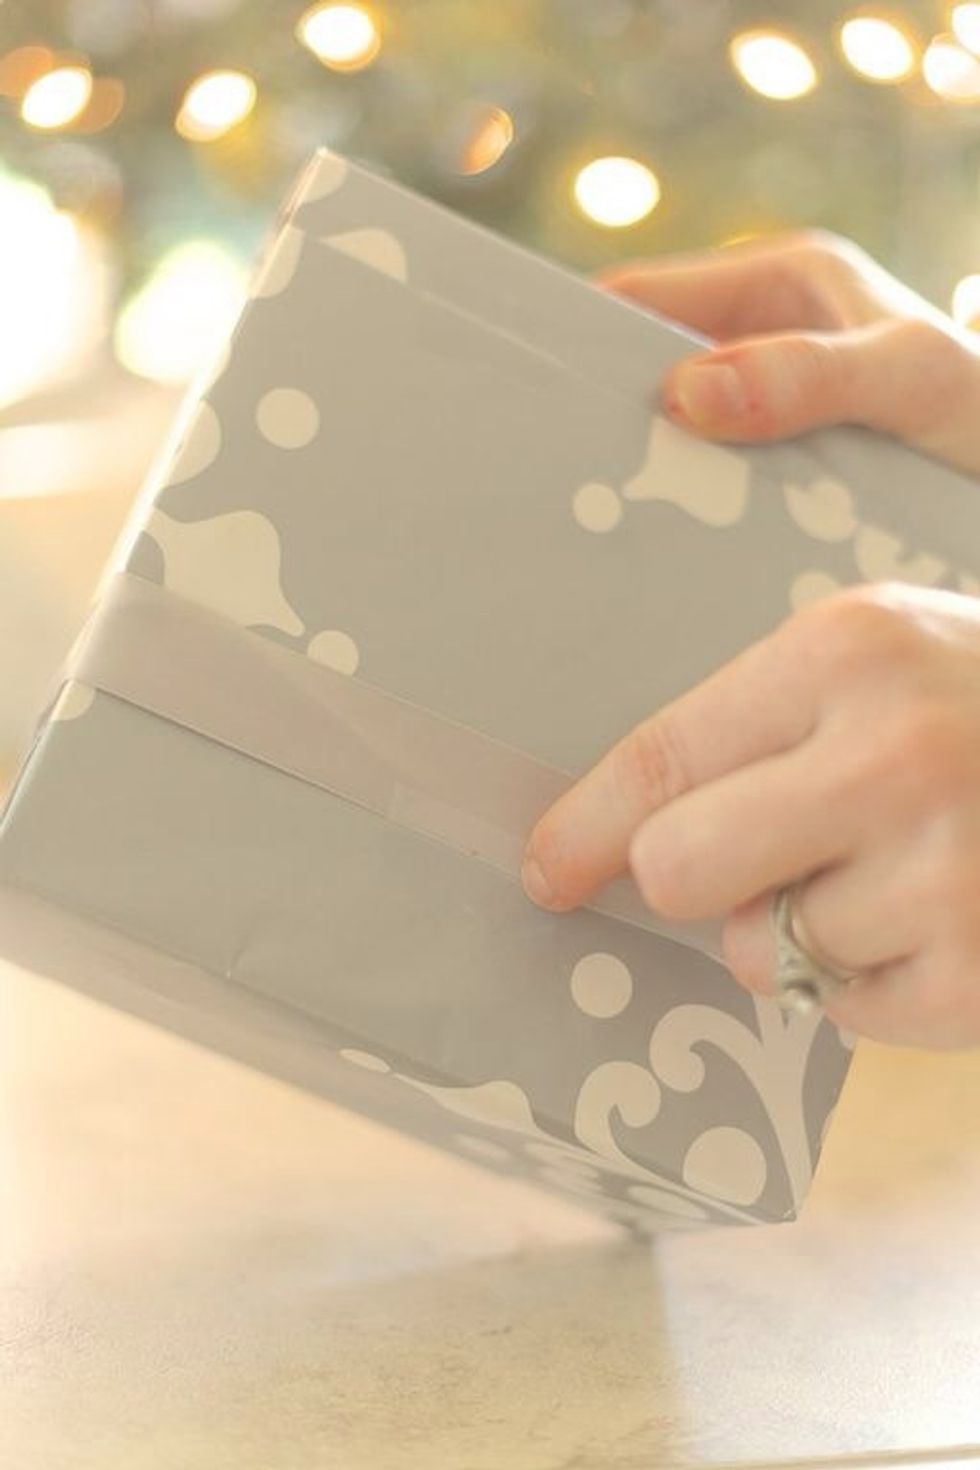
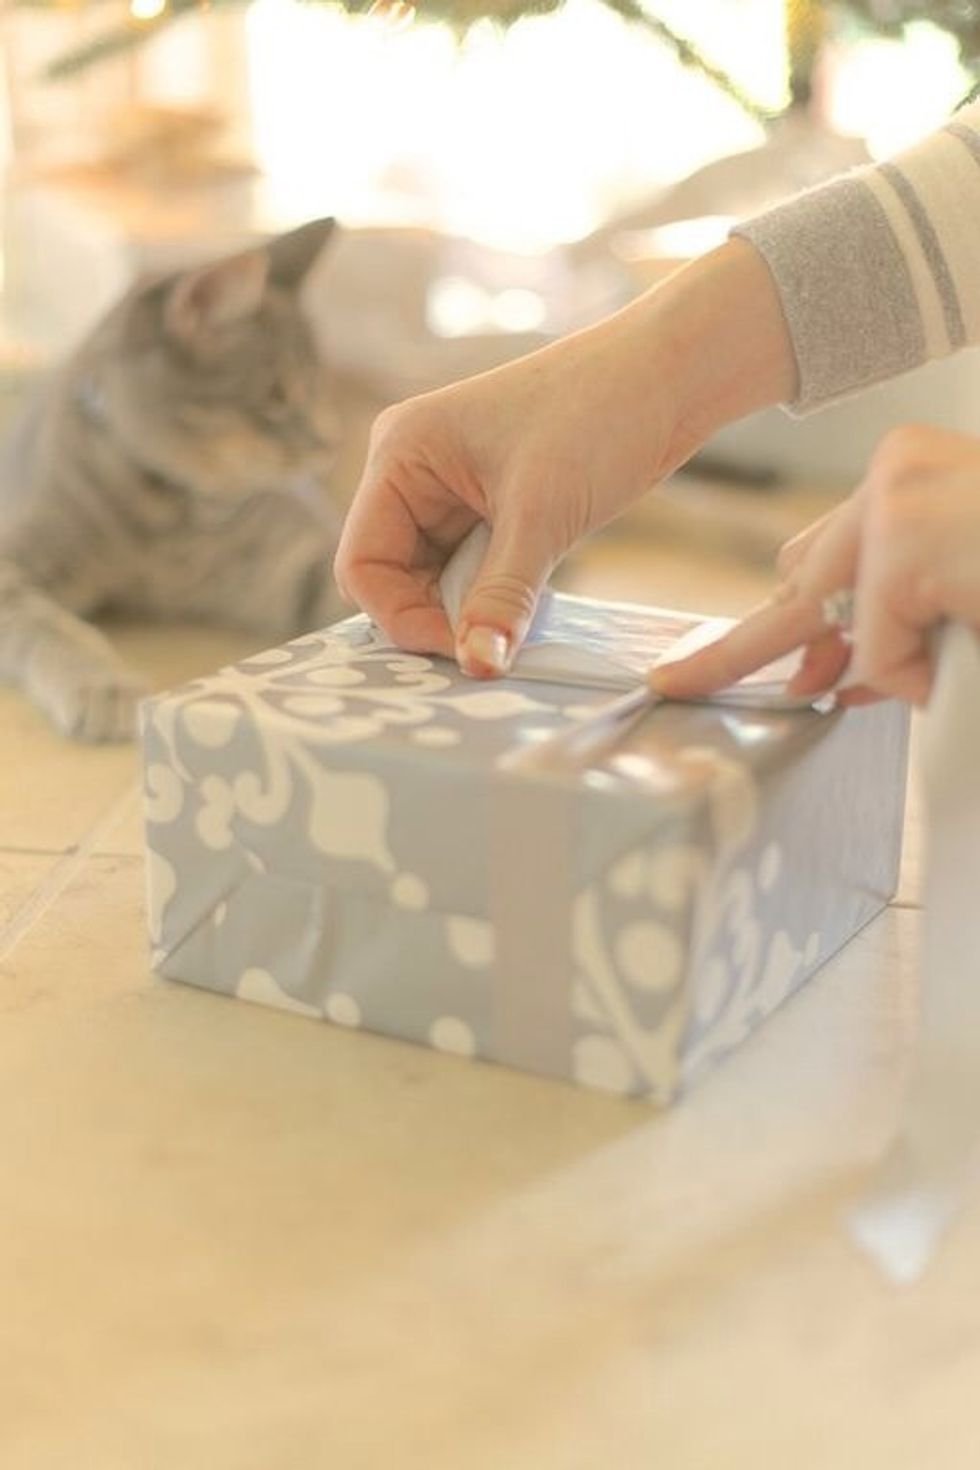
Re-tighten your bow as needed and even out anything else. Slide the bow where you want it and tape the ribbon on the underside. This is good to do if you have kids, pets, or will be traveling.
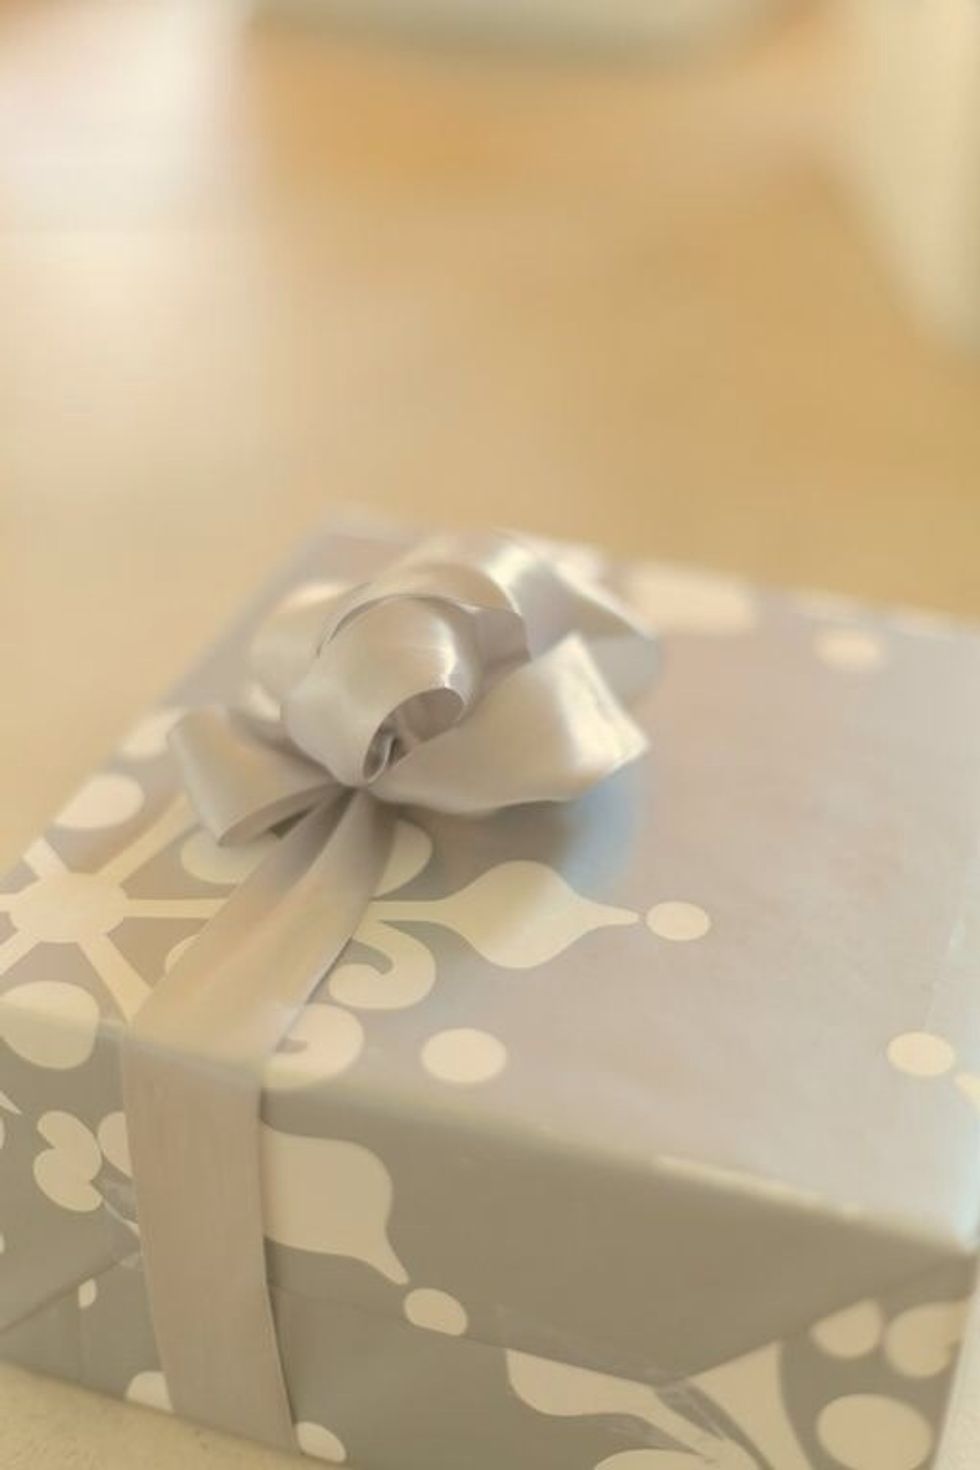
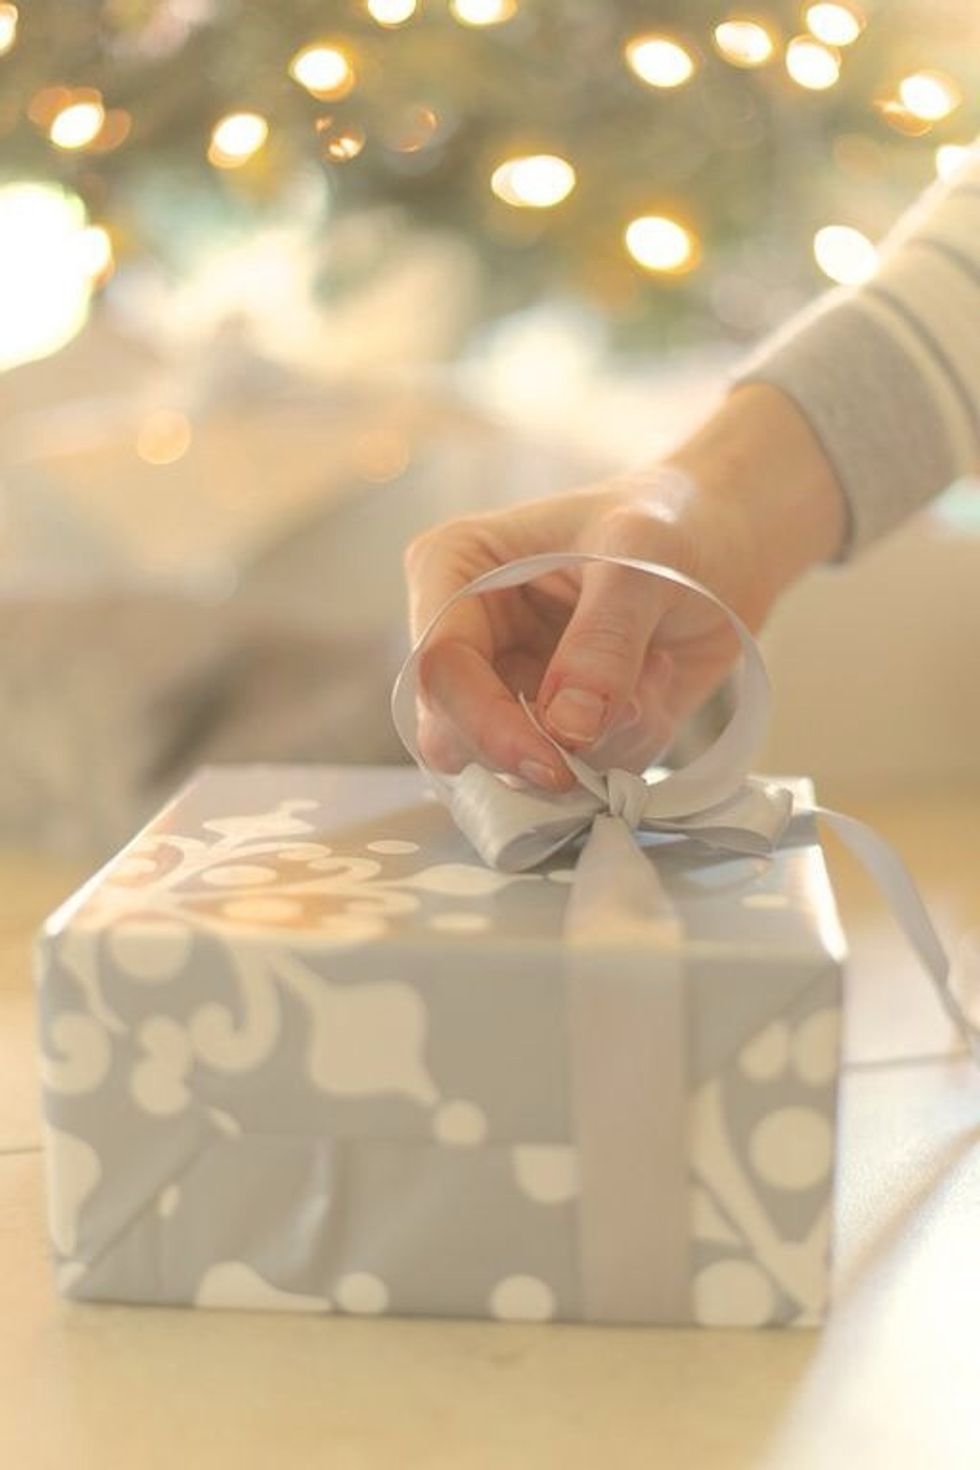
Look at that pretty bow you just made! The ends should go into hiding under the loops naturally. If not, just cut the remainder and tuck them under.