The Conversation (0)
Sign Up
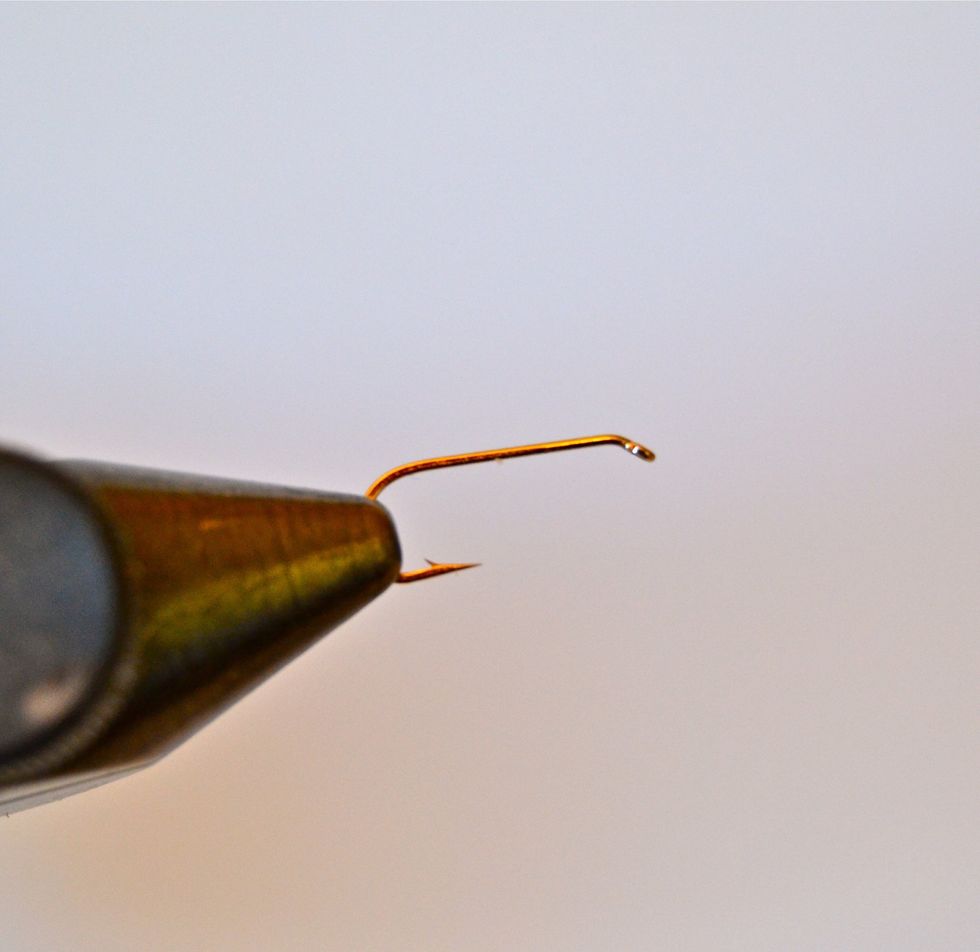
Choose a nymph hook of your size choice. In this guide I used a short #12.
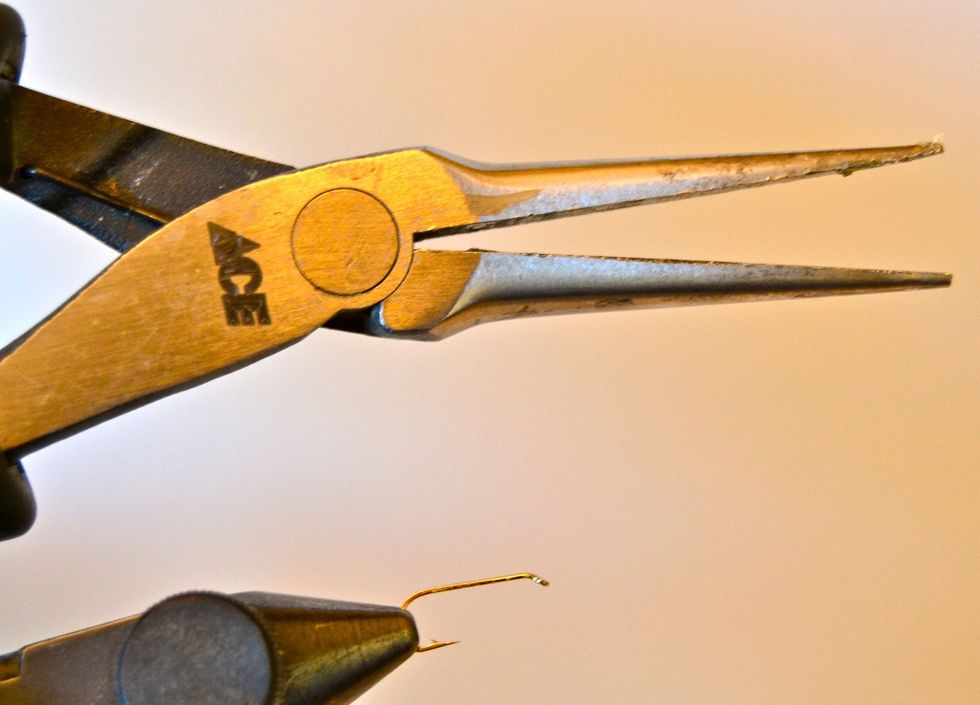
Some regulations require the use of barbless hooks. If you have a barbed hook, simply squeeze the barb flat with a pair of needle nose pliers. (I personally de-barb all my hooks.)
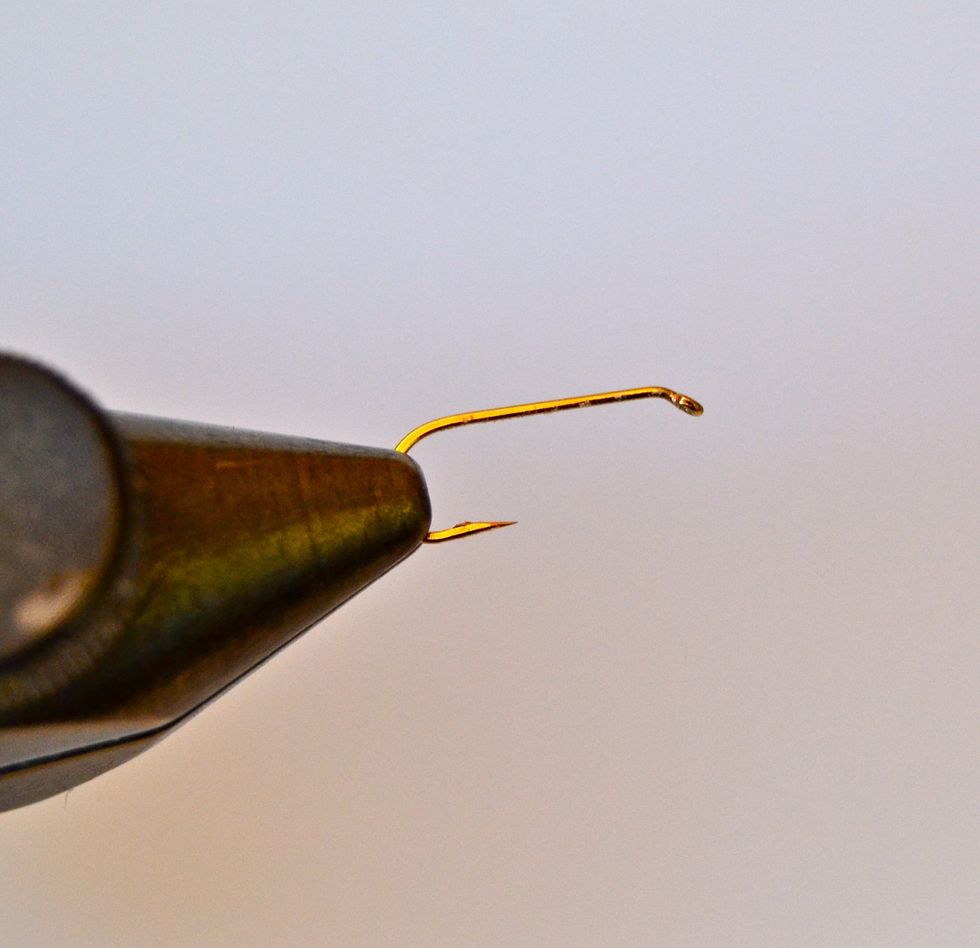
Here's what the hook looks like after squeezing the barb flat.
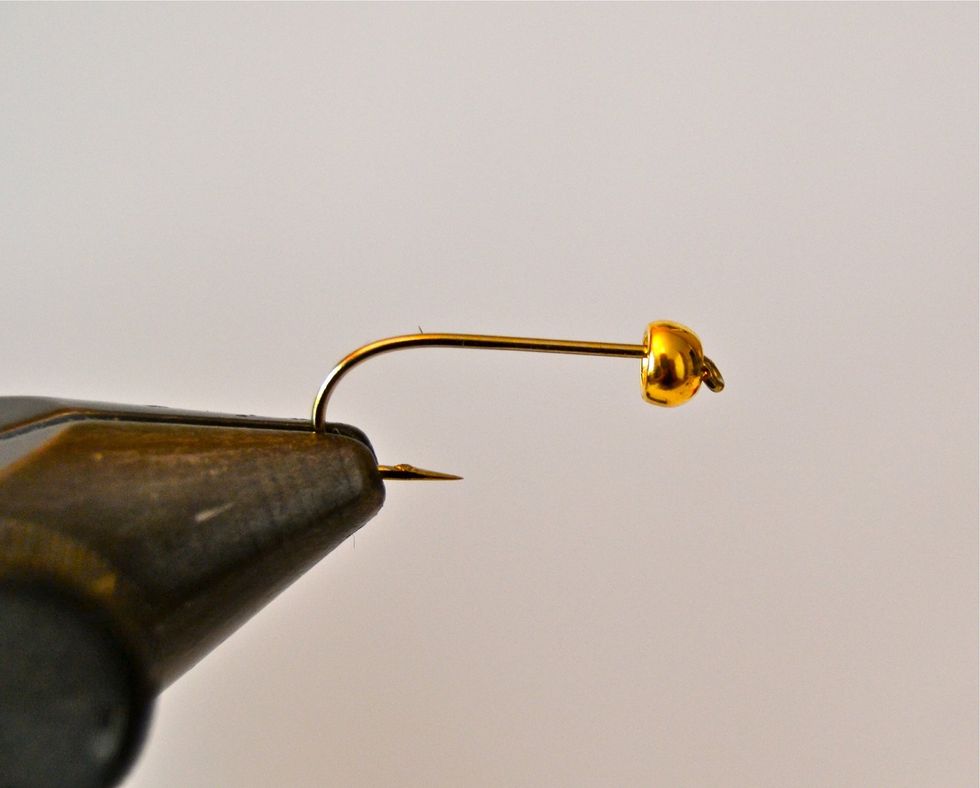
Slide on a brass or tungsten bead (gold colored) over the pointed end of the hook (small hole side first.) For this guide I used a 3.8 mm tung bead.)
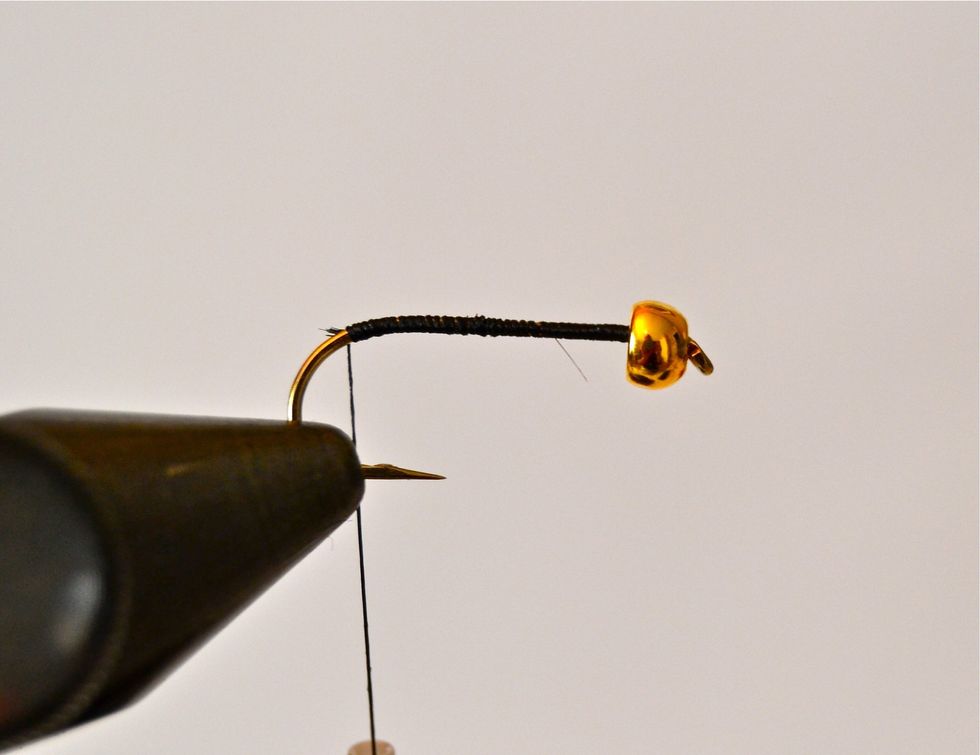
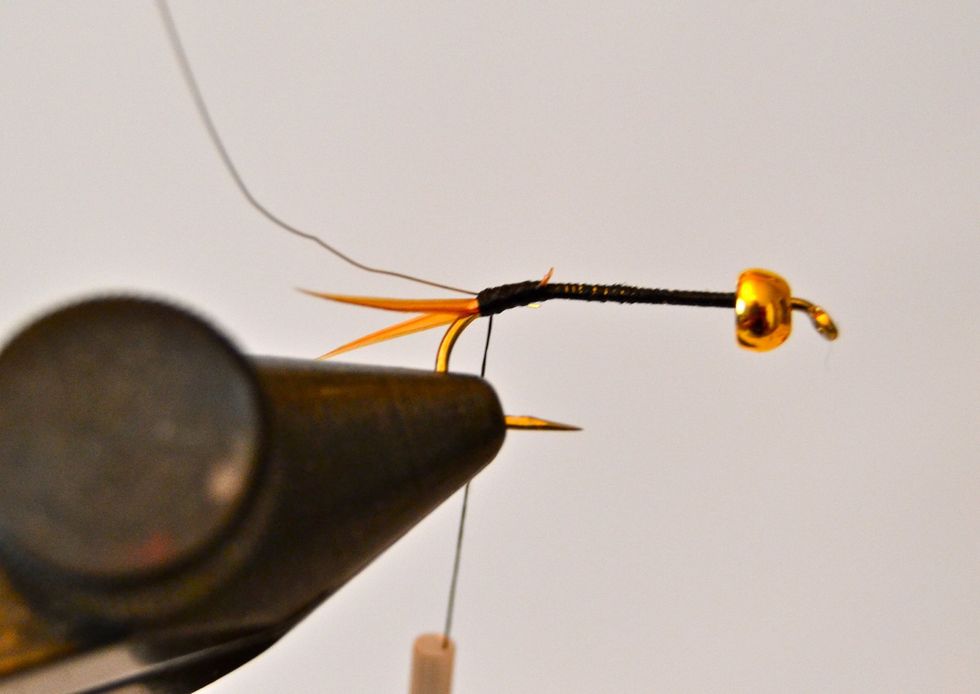
Wrap your black thread covering the shaft from the eye end back to where the shaft begins to curve down. This is where you'll begin making your goose biot 'tail.'
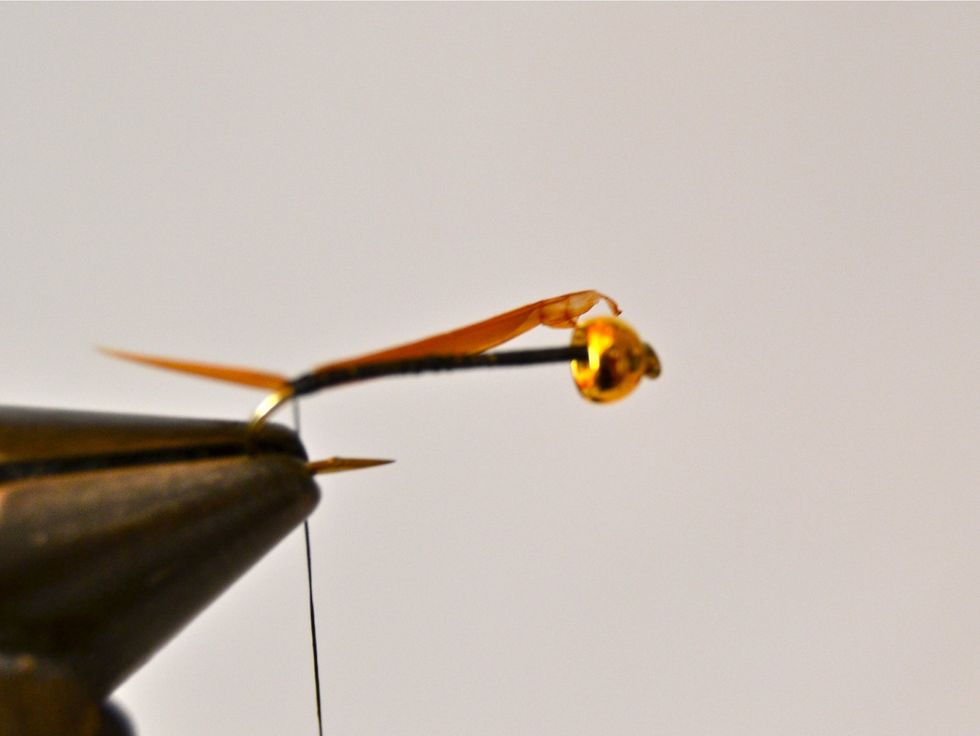
Extend a single tan goose biot 'barb' about 1/4 inch past the end of the hook and tie to the OPPOSITE side. Make sure the pointed end faces back and that the natural curve curves away from the hook.
Trim off the excess biot barb and make a couple more wraps to snug the biot barb in place.
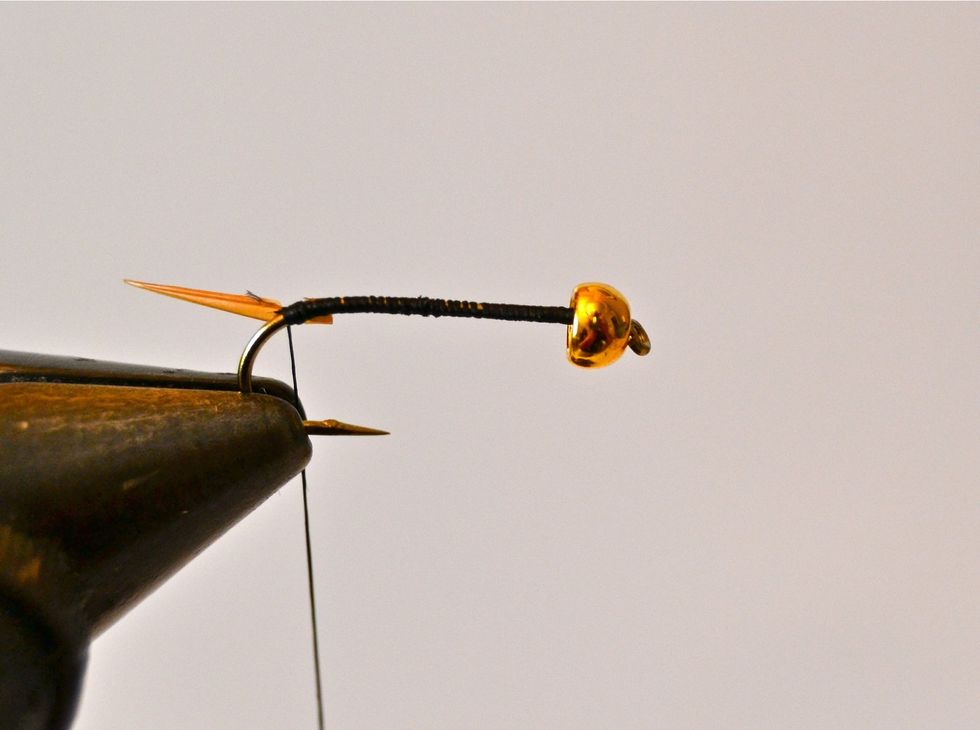
Tie in another single biot barb to the NEAR side of the hook in the same manner as the previous two steps. This should look like a 'tail' of sorts. :-)
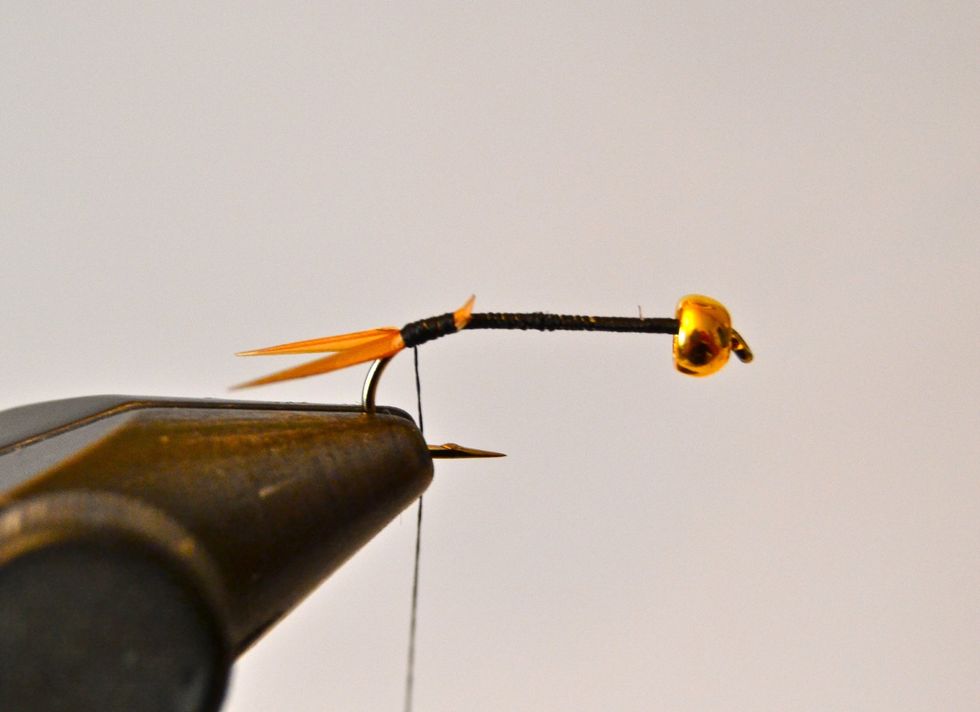
Tie in a single strand of fine gold colored wire at the front end of the 'tail.' (The wire should be at least 3-4 inches to make sure you have enough.)
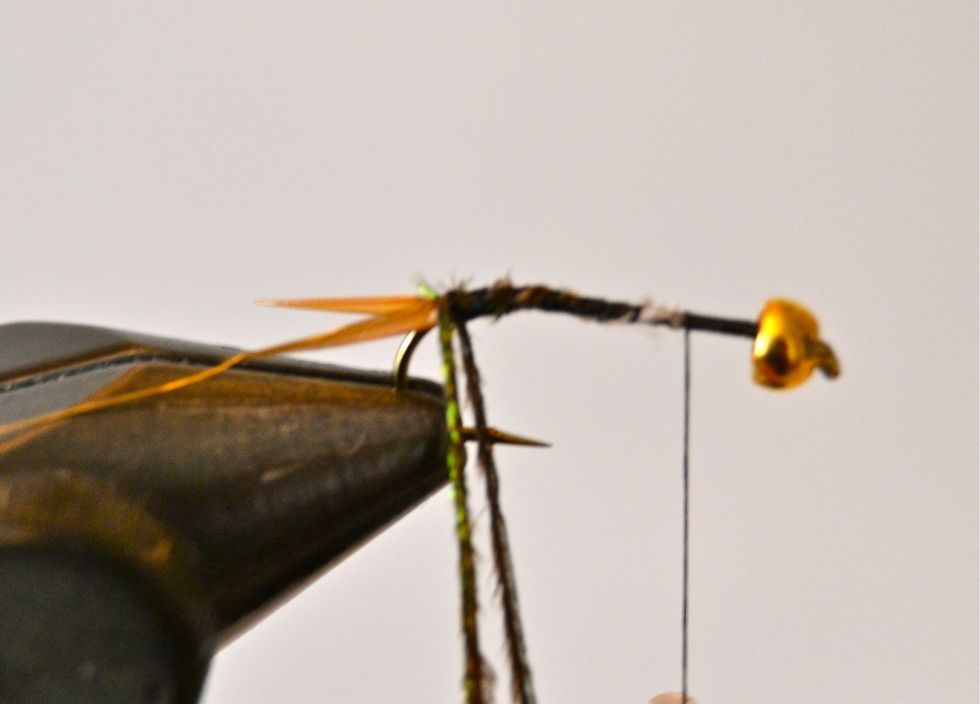
Tie in two strands of peacock hurl at the very front of the tail....immediately in front of the gold wire and then wind the thread forward a ways. Sorry for the 'blurry' picture here :-(
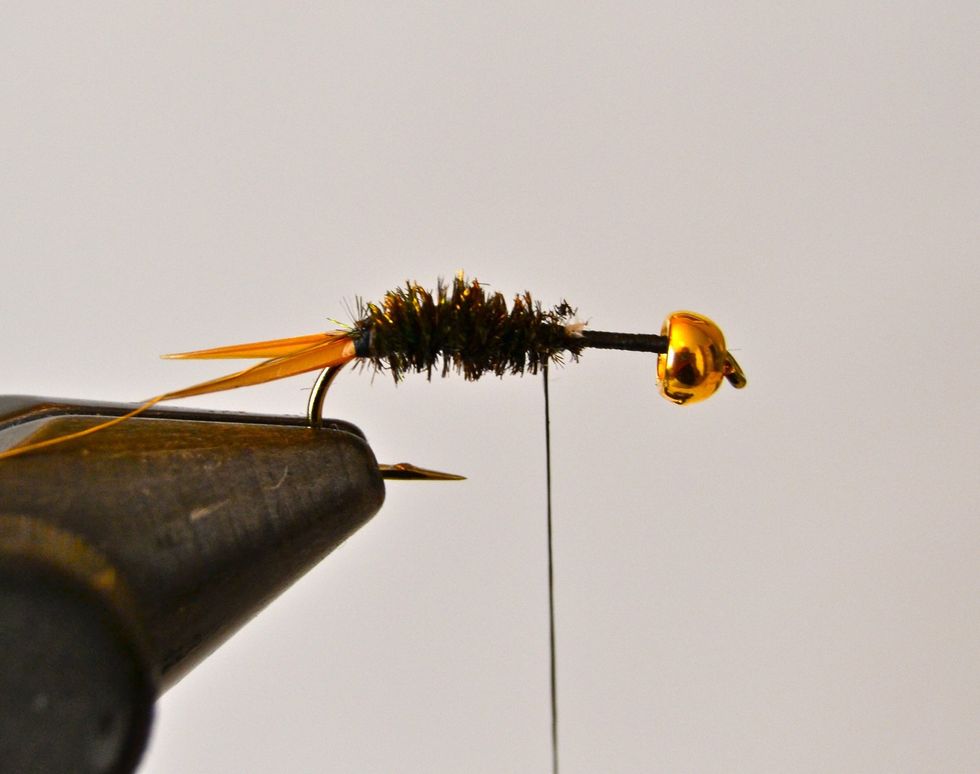
Wrap the peacock hurl forward, making each wrap snug. To make the middle of the body a little 'fatter' wrap the hurl close and if necessary over itself.
On this nymph I used up the hurl about half way toward the eye. I tied them off, trimmed off the little bit that was left, and then tied in two more strands to finish the body.
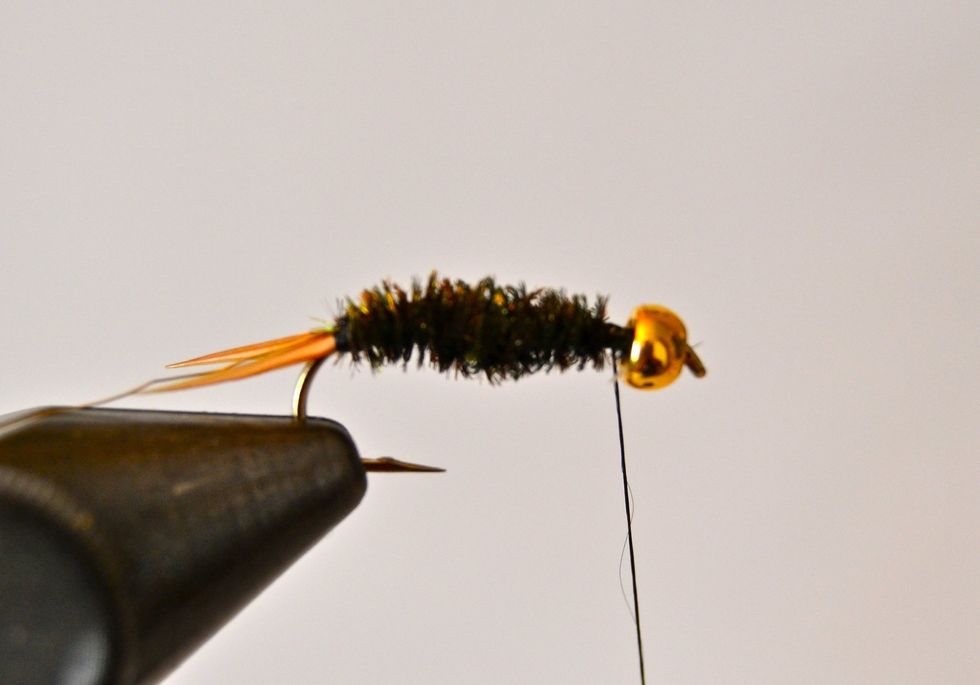
This is what the body looked like when finished wrapping the hurl forward. Notice the thick middle and tapered ends.

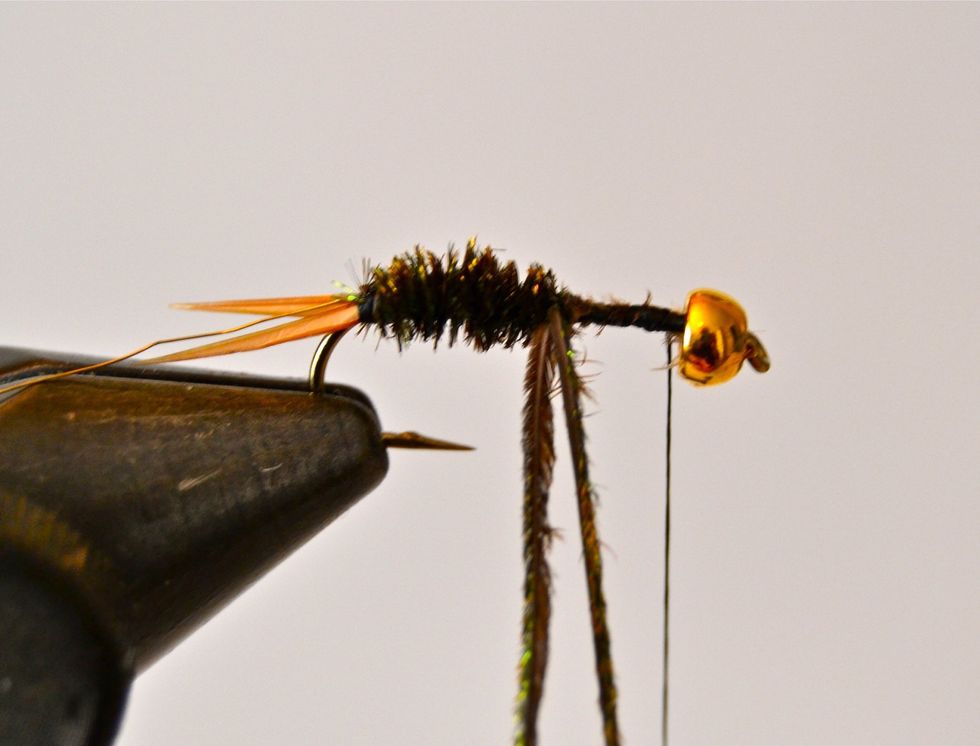
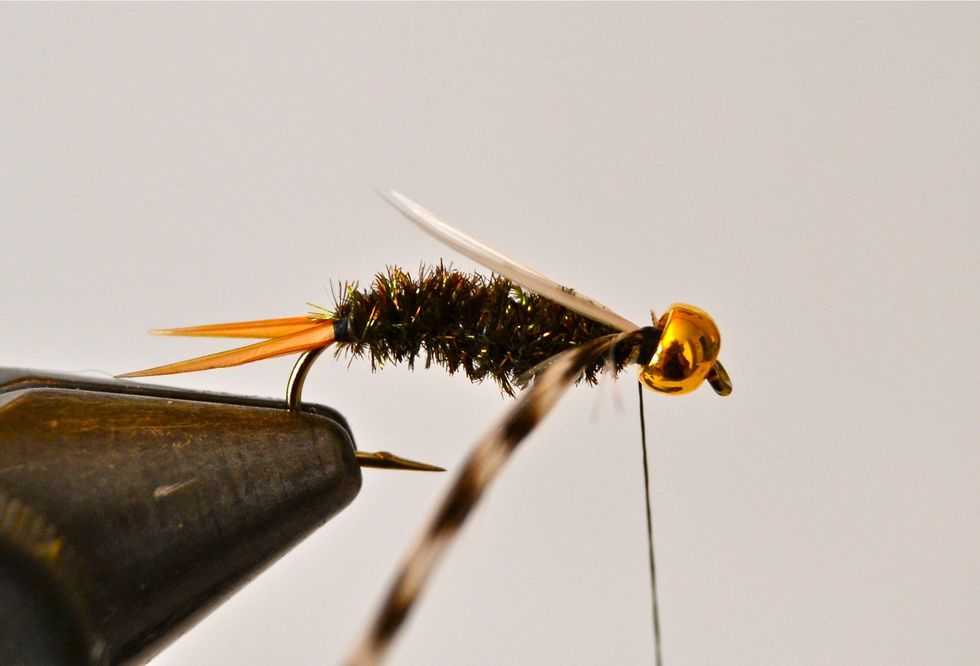
Now, wrap the fine gold wire forward over the top of the peacock hurl body keeping the wraps about 1/16 to 1/8 inch apart. This both creates what looks like body segments AND helps hold the hurl on.
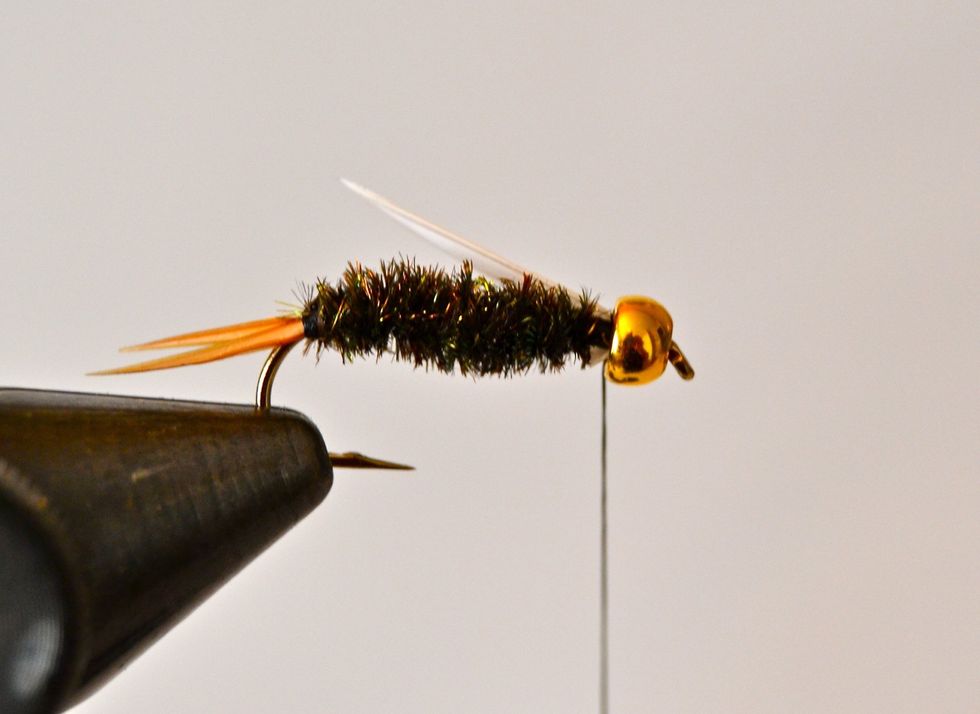
Next tie in a single white biot barb on the OPPOSITE side of the body near the top side. Extend it back from the eye about the length of the body. Make sure the pointed end faces back and 'upward.'
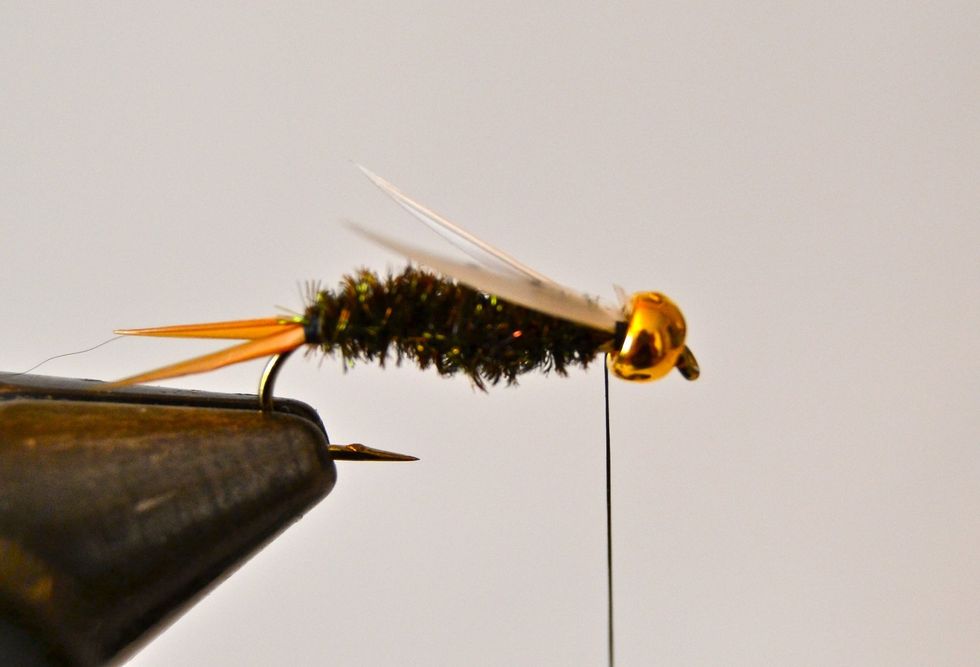
Tie in another biot barb on the NEAR side in the same manner as the previous step. (See picture). (These last two steps form the wings).
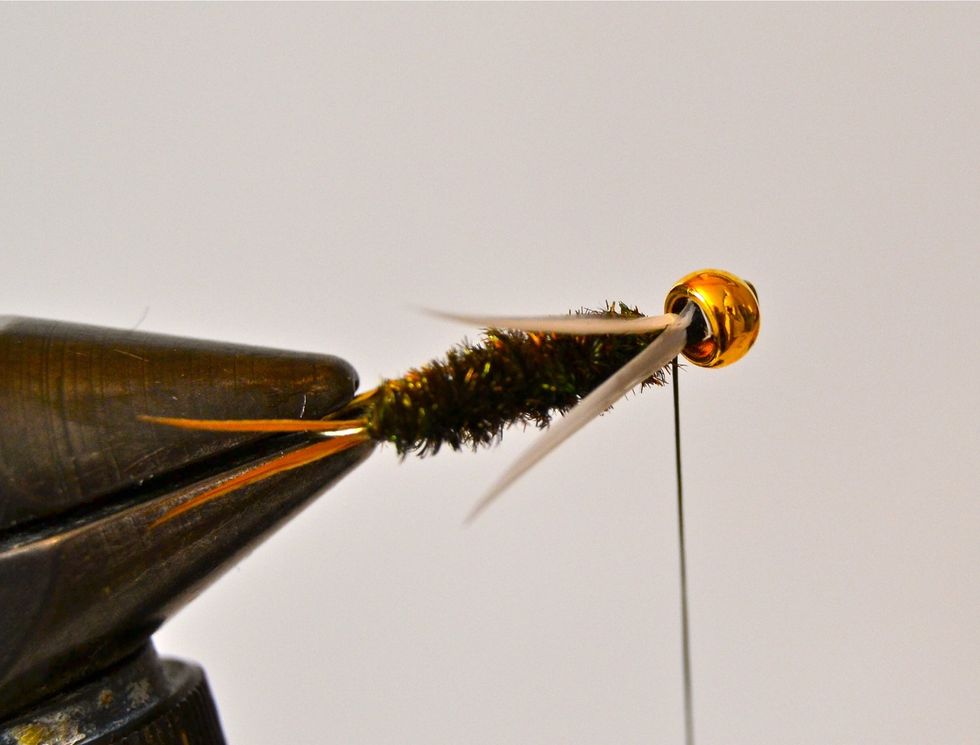
This is just another picture showing what these 'wings' should look like from the top.
Tie in a single strand of size 14 Grizzly hackle right behind the bead head.
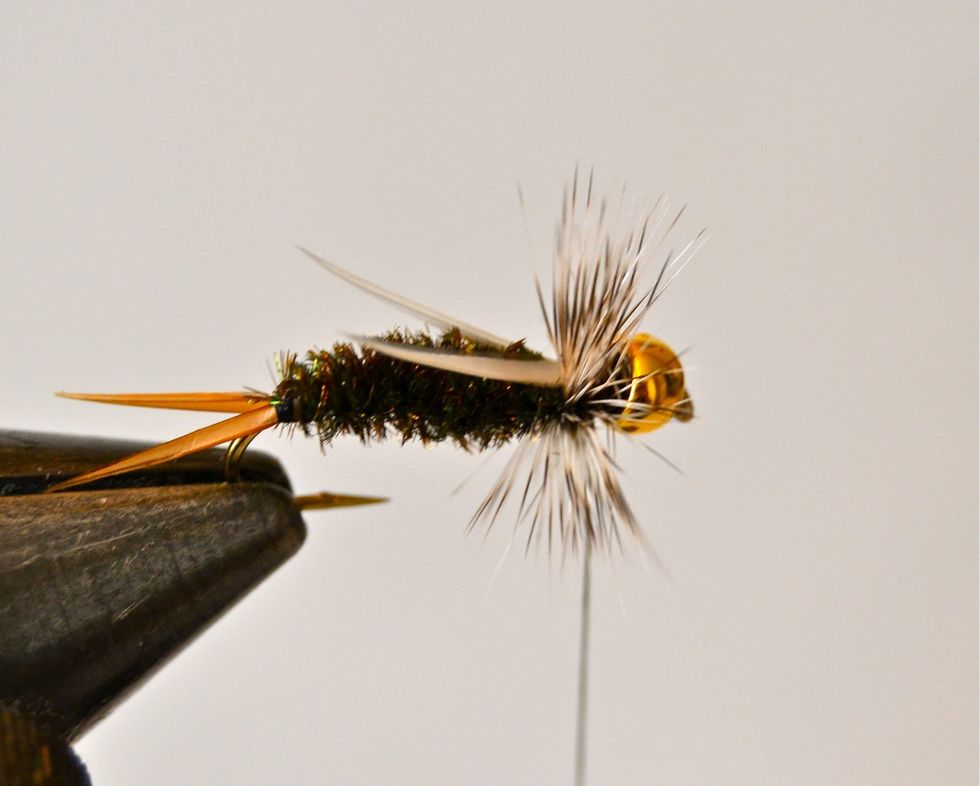
Wrap the grizzly hackle 4-5 times and tie off and trim off the excess hackle.
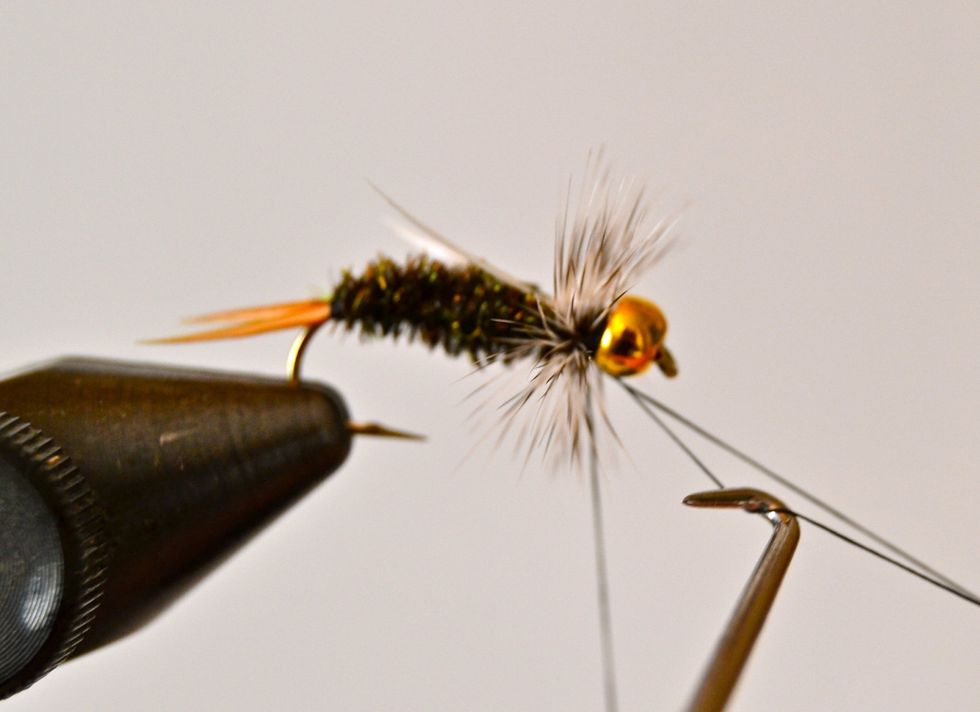
Whip finish and finish tying.
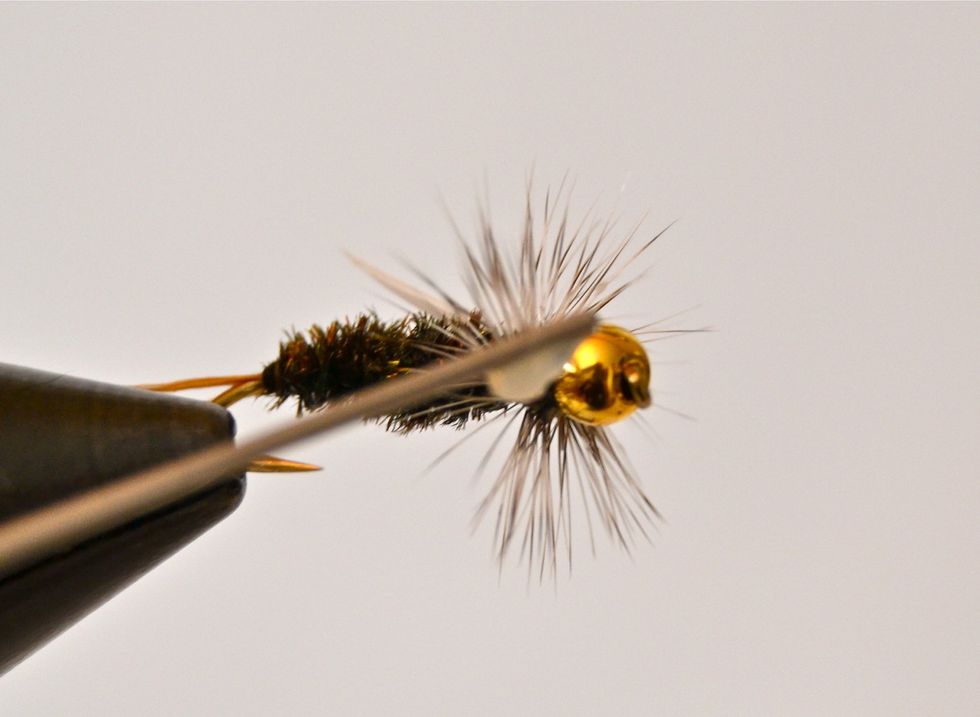
Give the head area a good soaking of head cement.

Go out and catch some nice trout! :/)