How to take photos with real bokeh using an iphone
Take Photos With Real Bokeh Using an iPhone
114
STEPS
TOOLS

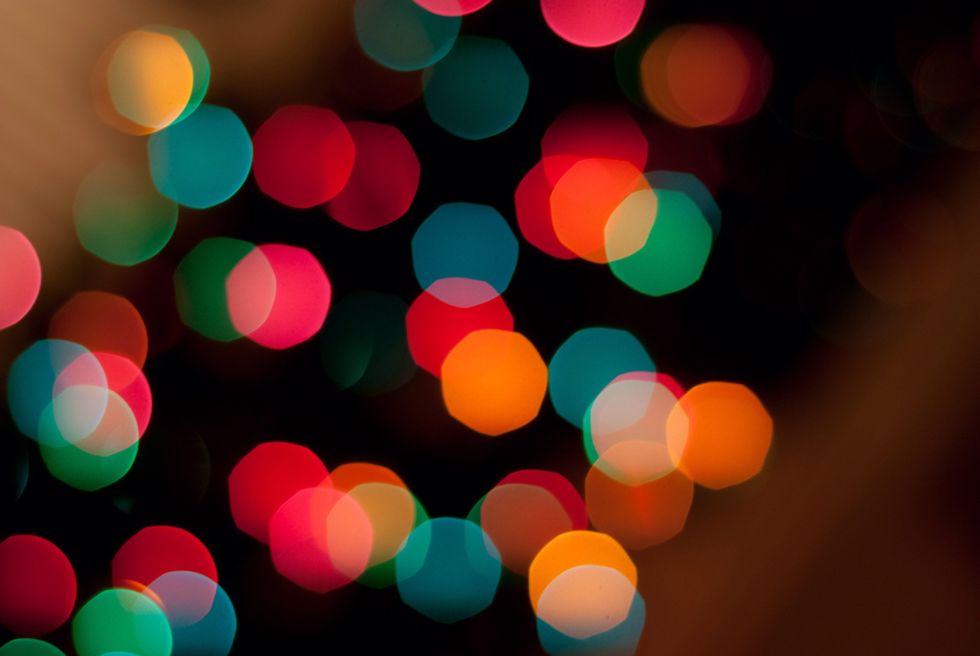
So what is Bokeh? Simply put, Bokeh is just a term used to describes a photo with a blurred background. In fact, Bokeh is Japanese for "blur".

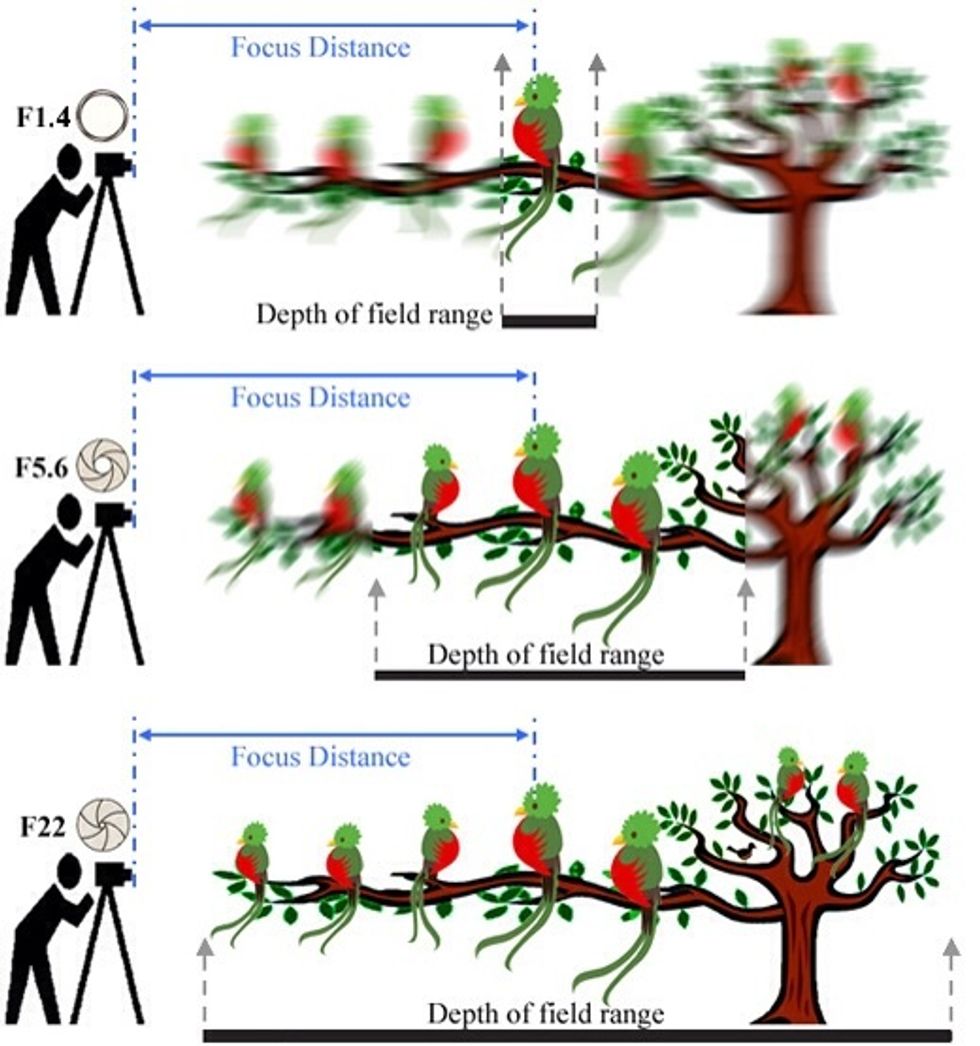
Bokeh has to do with 1) the aperture of a lens which refers to the size of the opening to let light in 2) the focal length and 3) the distance.

Without getting too technical, you will want to use these 3 factors to achieve a shallow depth of field which is the area that is in focus, so shallow = more blurring.
Keep in mind we're not here for apps that replicate the effect with software, this is produced straight out of the camera. If anyone would like a guide on apps to add Bokeh, leave a comment.

So now, let's apply this to an iPhone camera.

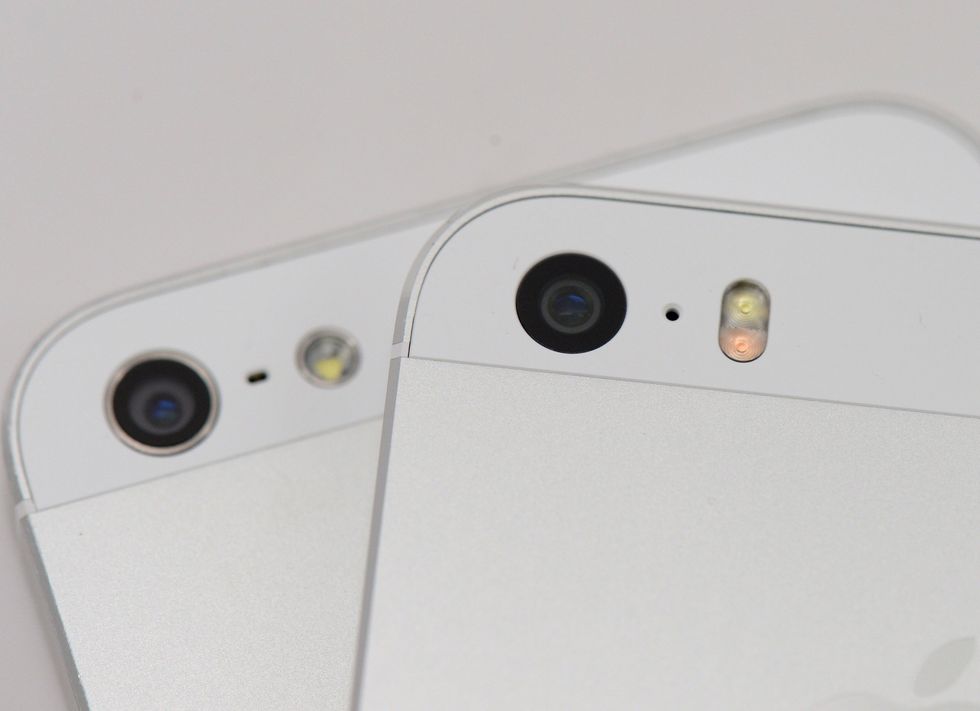
Since iPhones have a fixed aperture and not a very shallow depth of field, we will have to work around that with a simple solution.

1) hold you iPhone as close to the subject as possible (before it no longer can focus on it) and tap it to focus on it 2) have the background as far as possible from your subject (photo taken by me)

This will cause the depth of field to be around the subject in focus, whereas the background will be outside and therefore blurred! (photo taken by me)

And that's all there is to it! Please leave a like and comment if you liked this guide and learned something new. Also, visit http://www.suapps.blogspot.com for more.
*** I do not claim ownership of any images unless specifically stated. Also, photos taken by me have not been processed in any way, they're straight out of an iPhone 5 camera. ***
- iPhone
The Conversation (0)
Sign Up