The Conversation (0)
Sign Up
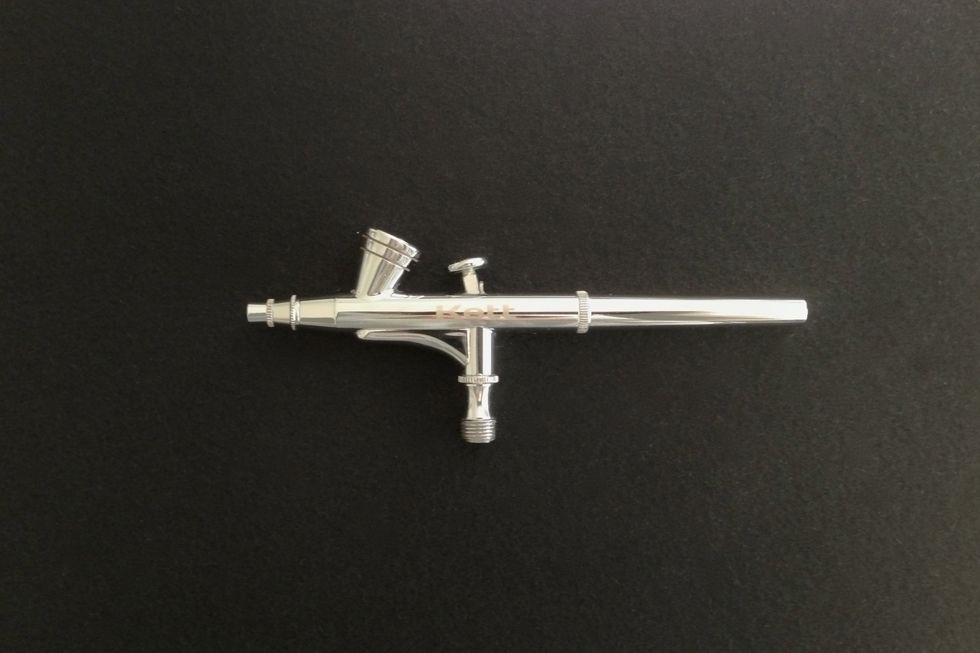
How to take apart the KETT Transformer Airbrush step by step.
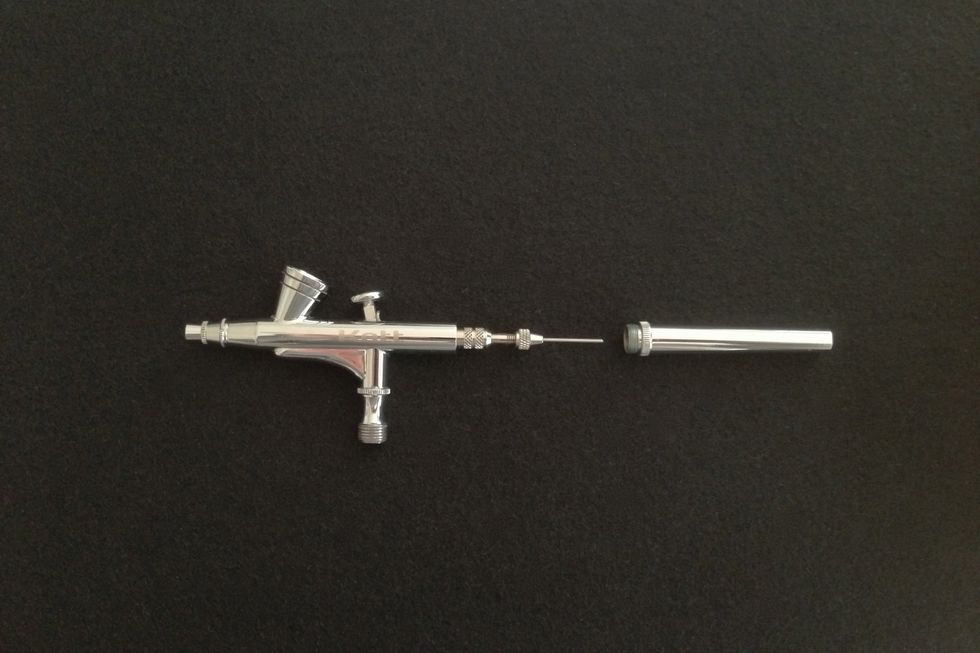
Loosen and remove the handle from the back of the airbrush.
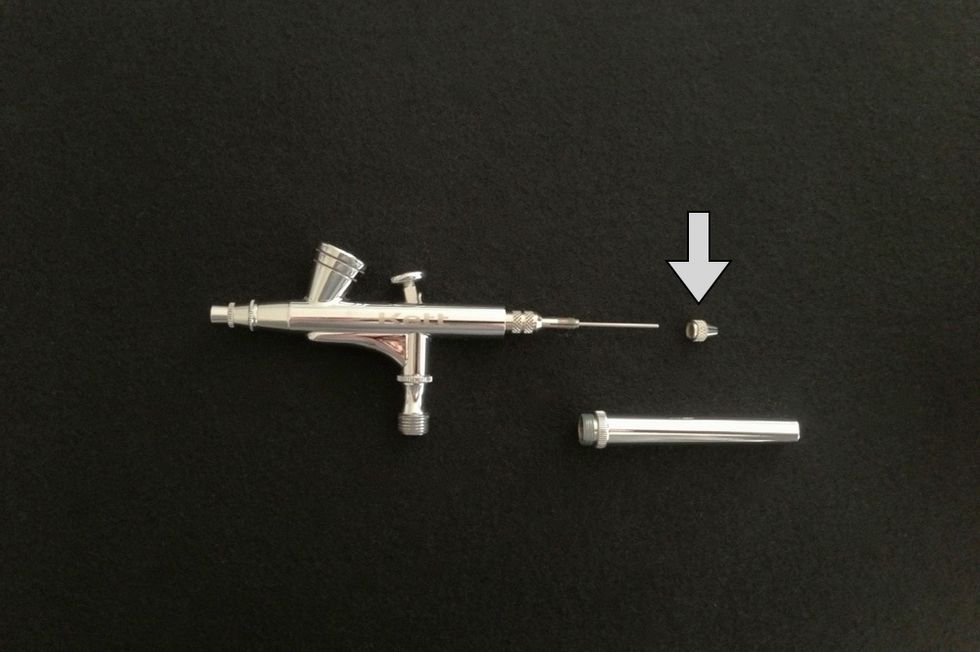
Loosen and remove the chuck nut. The chuck nut holds the needle in place during operation.

Remove the needle by gently pulling it backwards out of the airbrush. While cleaning keep all parts on a safe surface and be careful not to damage the fine point of the needle.
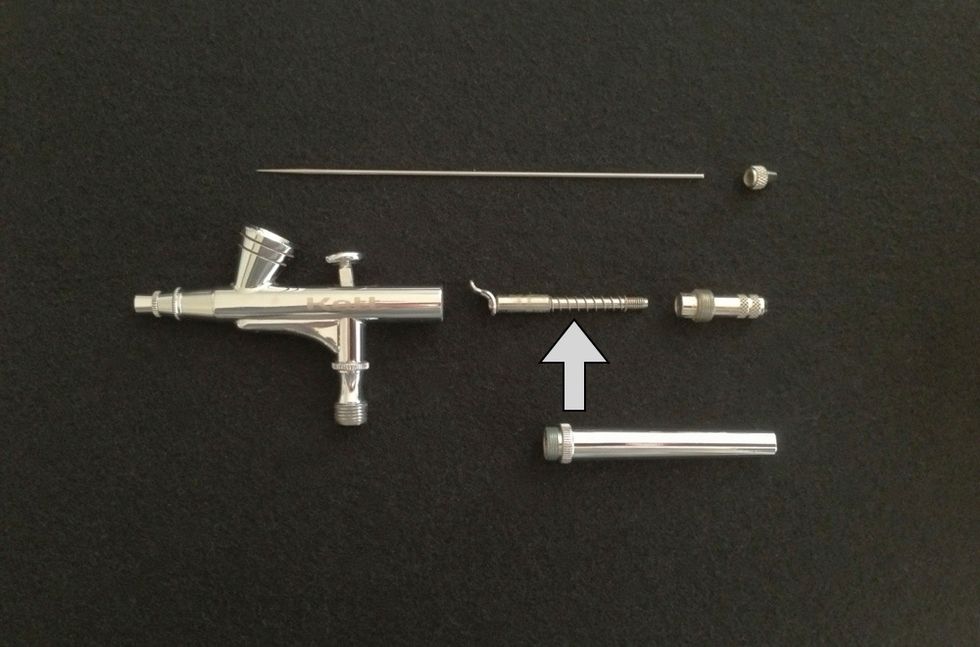
Unscrew the inside of the airbrush and pull backwards to remove. To reassemble insert with the tab pointing upwards as shown.
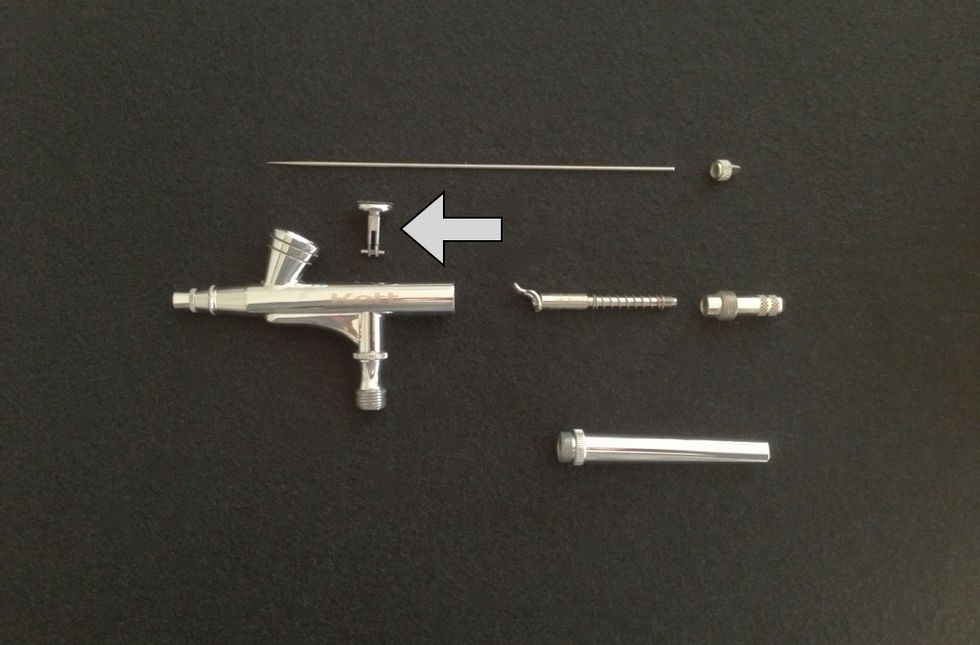
Remove the lever by turning 90 degrees and lifting upwards.
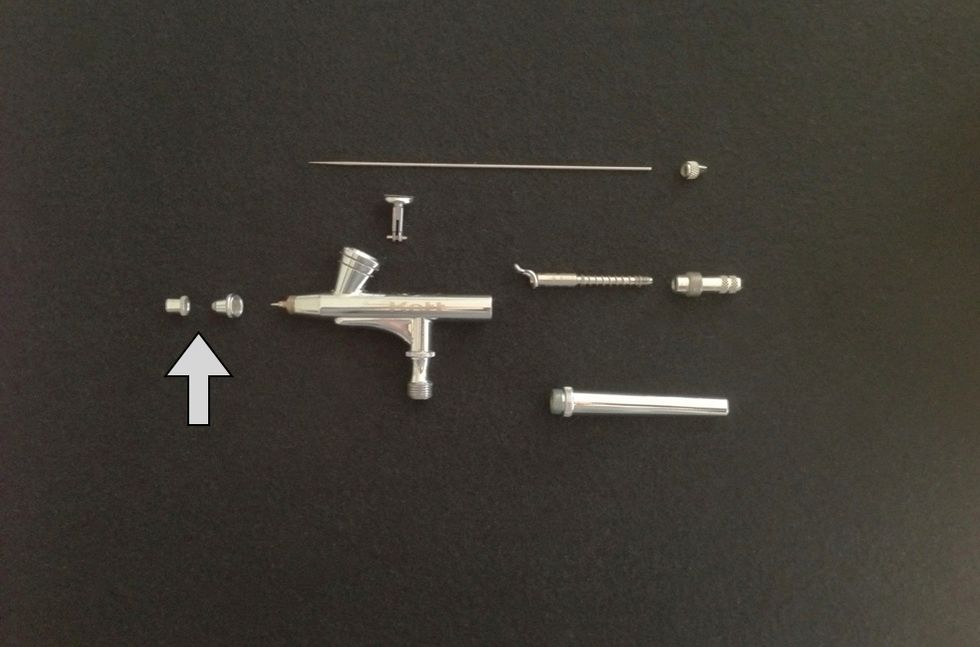
Unscrew the needle and nozzle cap to access the nozzle.

Using the wrench provided gently loosen the nozzle to unscrew. Now the airbrush can be thoroughly cleaned with Nurturing Force Airbrush Cleaner.
After assembling run water through the airbrush to remove all cleanser.