STEPS
TOOLS

Step#1 Find what you will need to take a wrist shot.
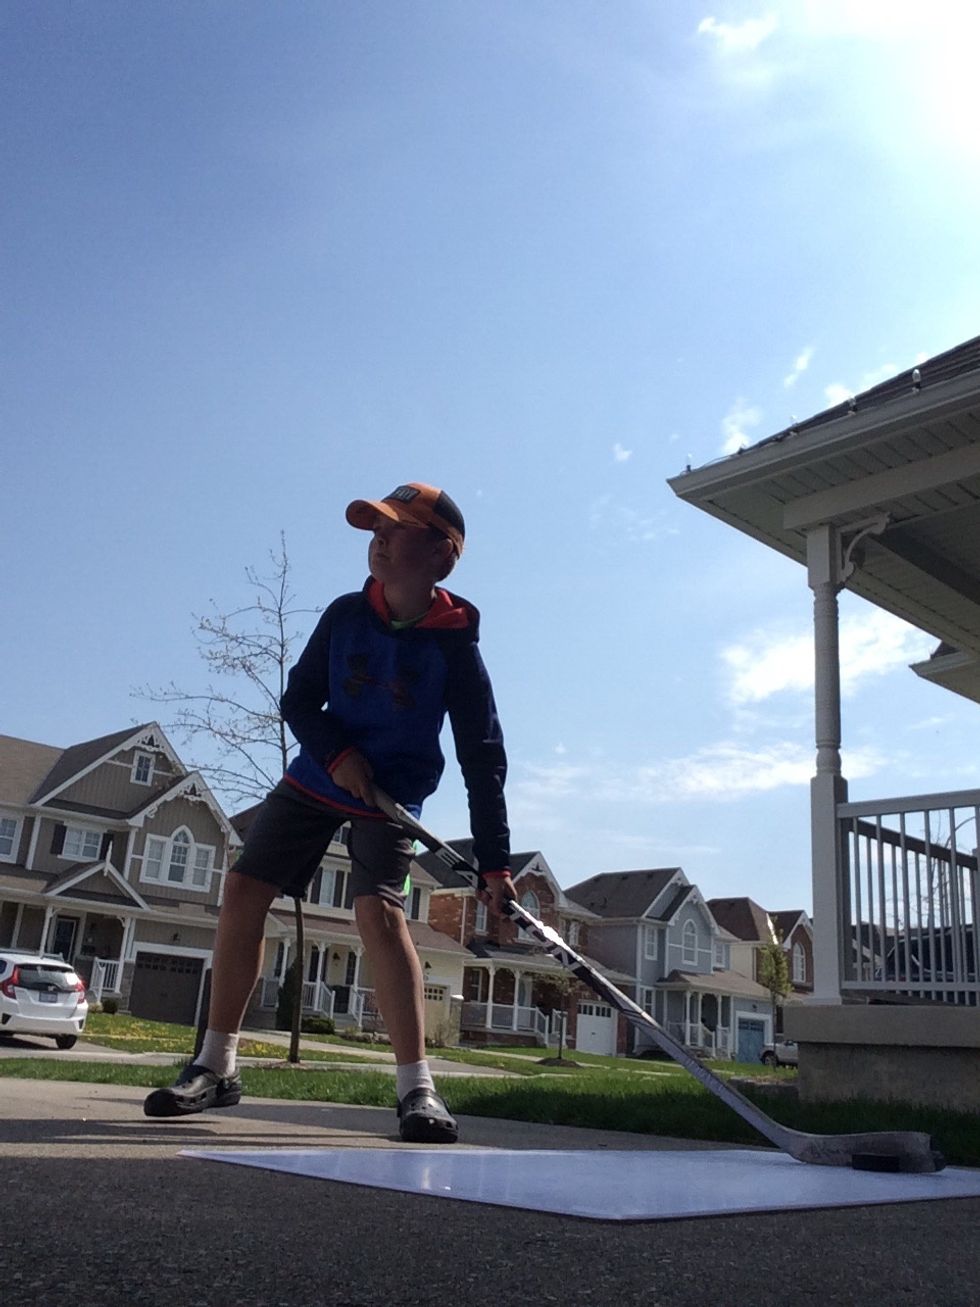
Step#2 find a place in front of the net where you are comfortable to take a shot.
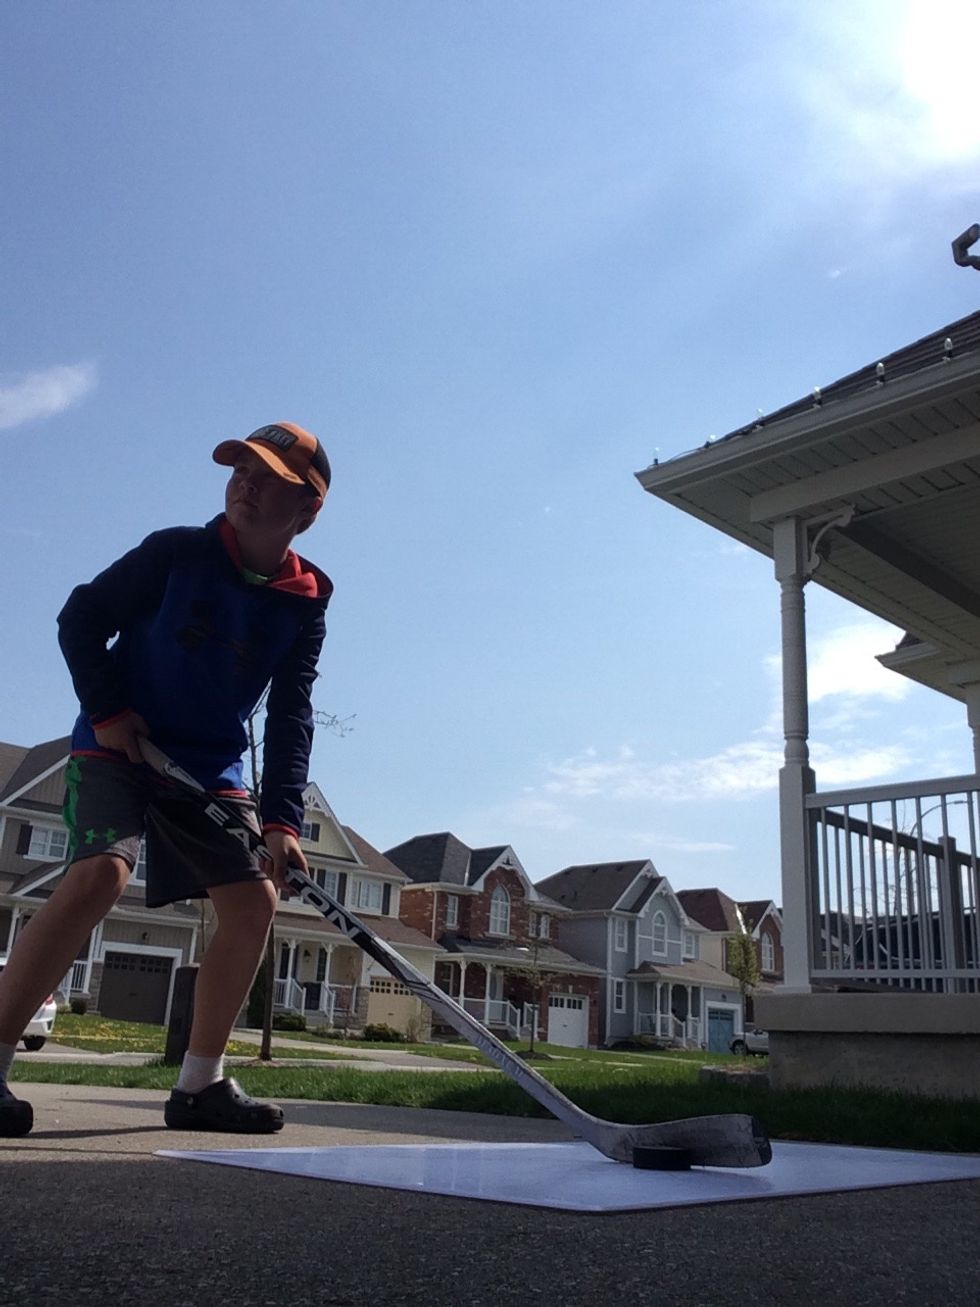
Step #3 Bend your knees and have the puck in front of your stick so it is touching the middle of your blade.
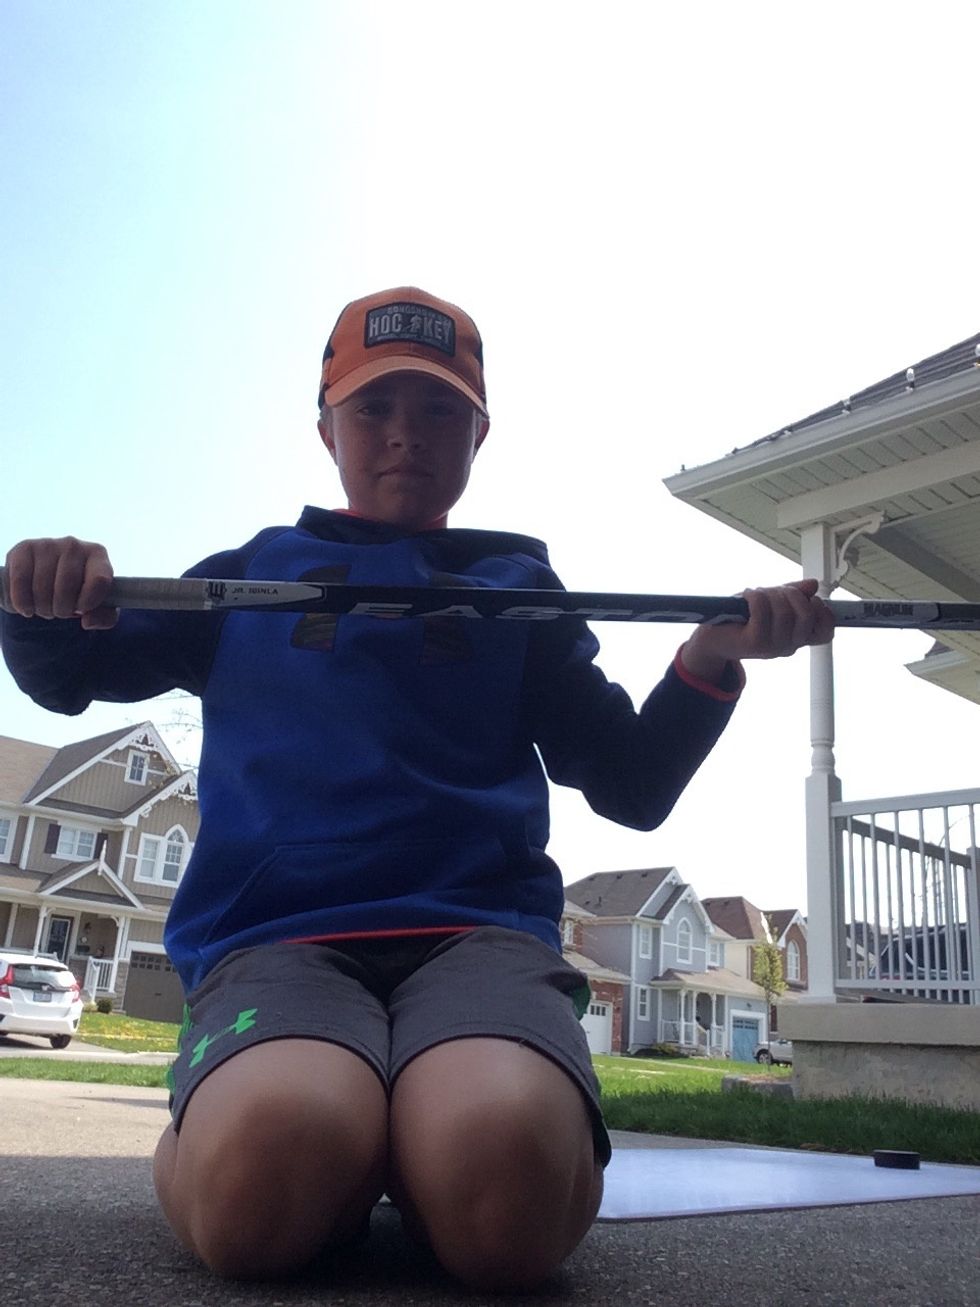
Step#4 Your hands should be about this far apart when you are taking the shot.
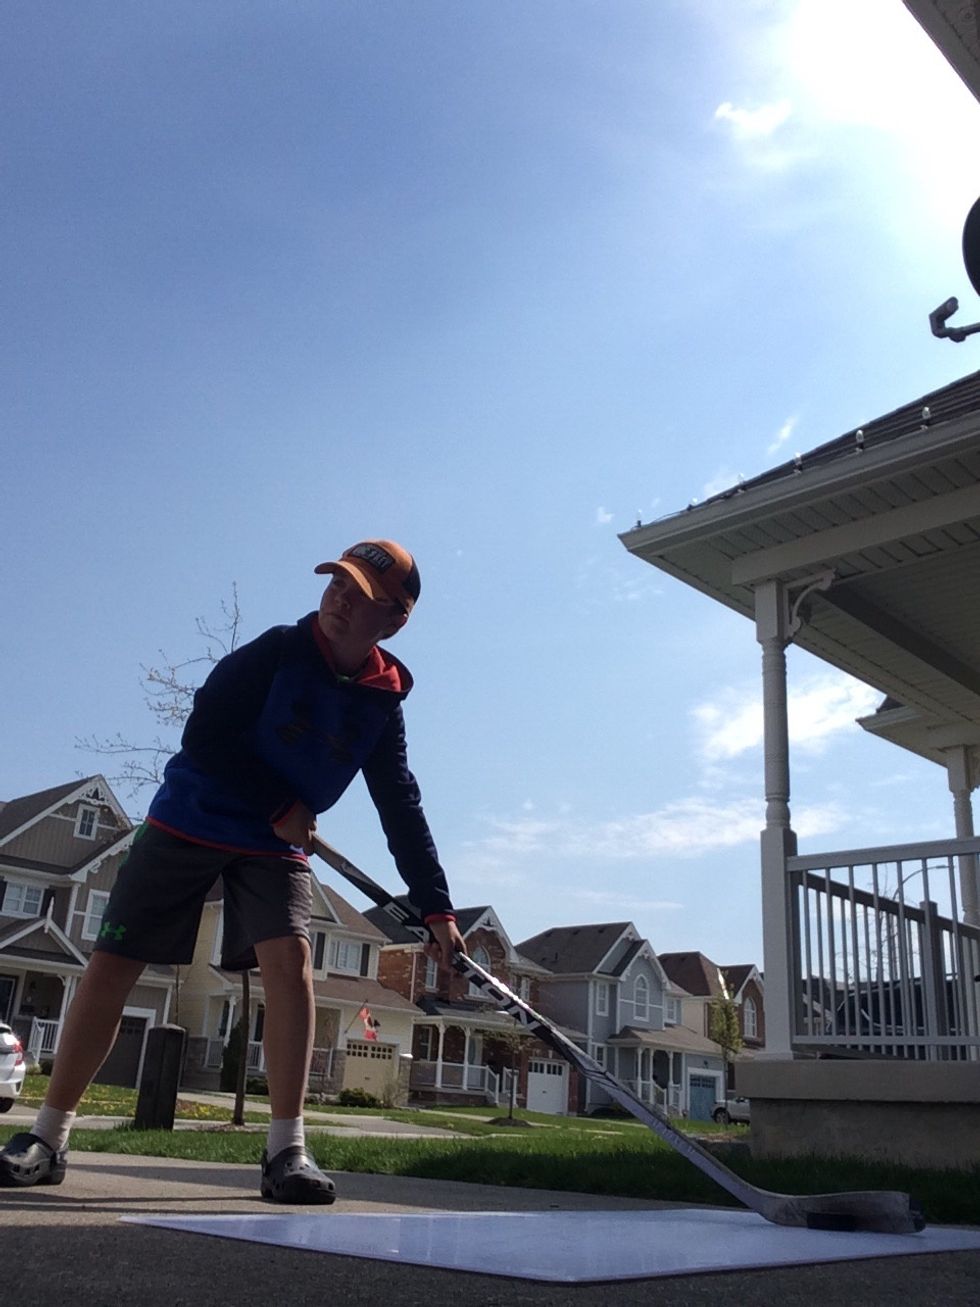
Step#5 Pull your stick back but still make sure the puck is on your stick.
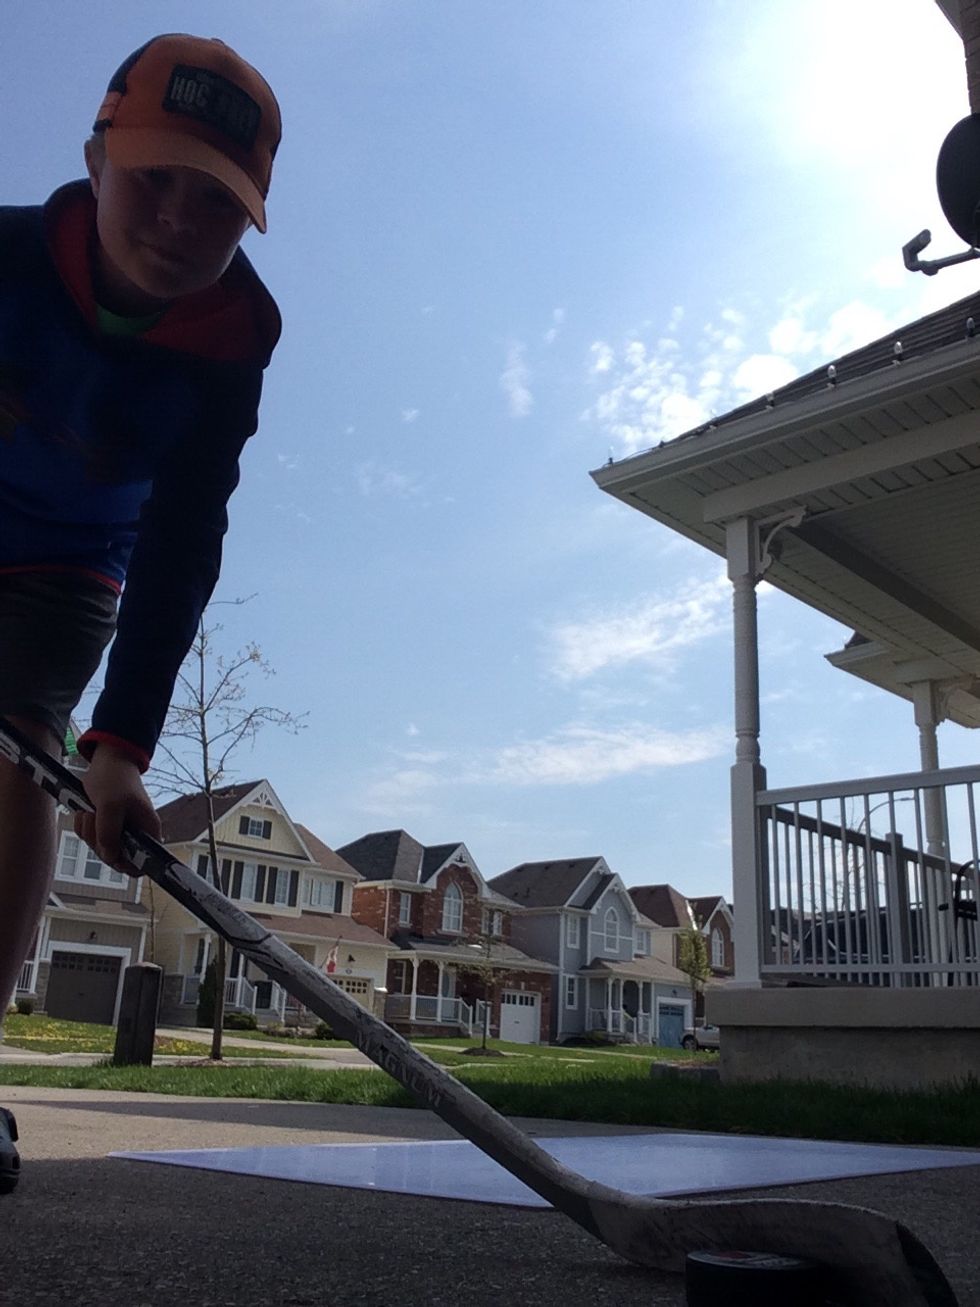
Step#6 The blade of your stick should be like this.
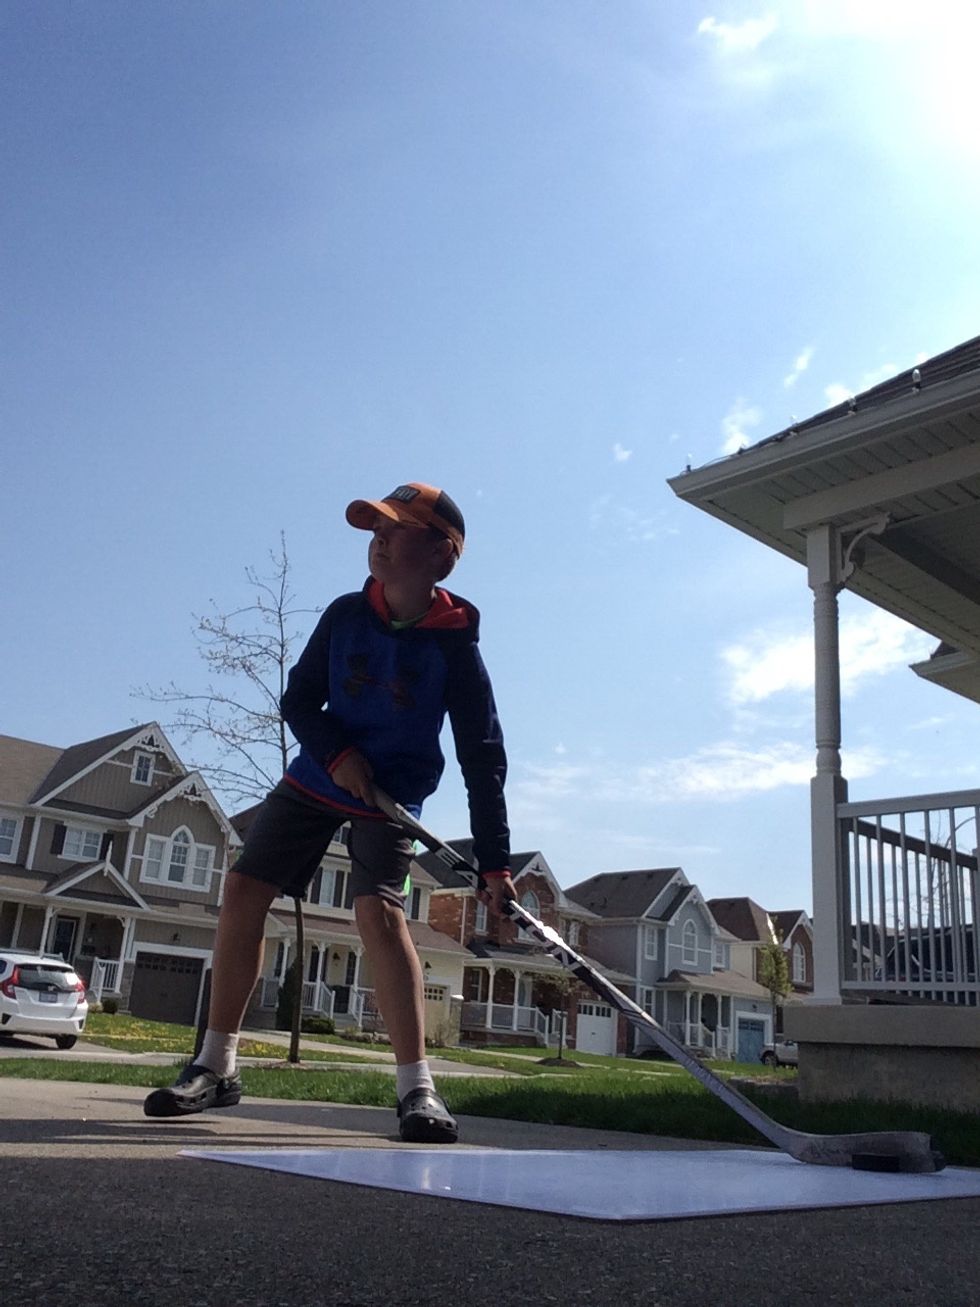
Step#7 To actually take the shot you have to move the stick forward as fast as you can and let the puck role of stick.

Step#8 After the puck roles off your stick turn your blade over and point to where you want the puck to go.
Step#10 Hopefully your shot turned out how you wanted it to, if it didn't keep trying remember practice makes perfect.The puck may not got high right on your first try but give it time it will.
- You will need :
- 1.0 Hockey stick
- 1.0 Hockey net
- 1.0 Hockey puck
- 1.0 Synthetic ice (if wanted)
The Conversation (0)
Sign Up