The Conversation (0)
Sign Up

Import the photos from your SD card into your portable WiFi Drive, such as Western Digital passport with built-in SD card reader or the Toshiba AeroMobile SSD.
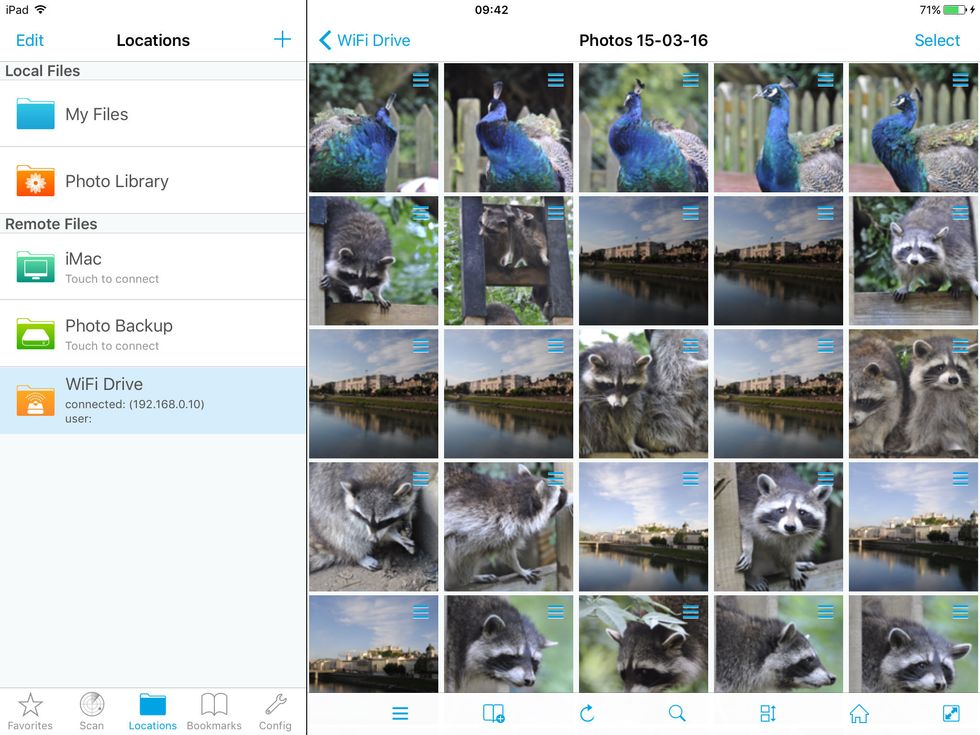
Use FileBrowser for Business to browse the photos on your wifi drive.
Select a photo and tap the information icon, this will bring up the information panel.

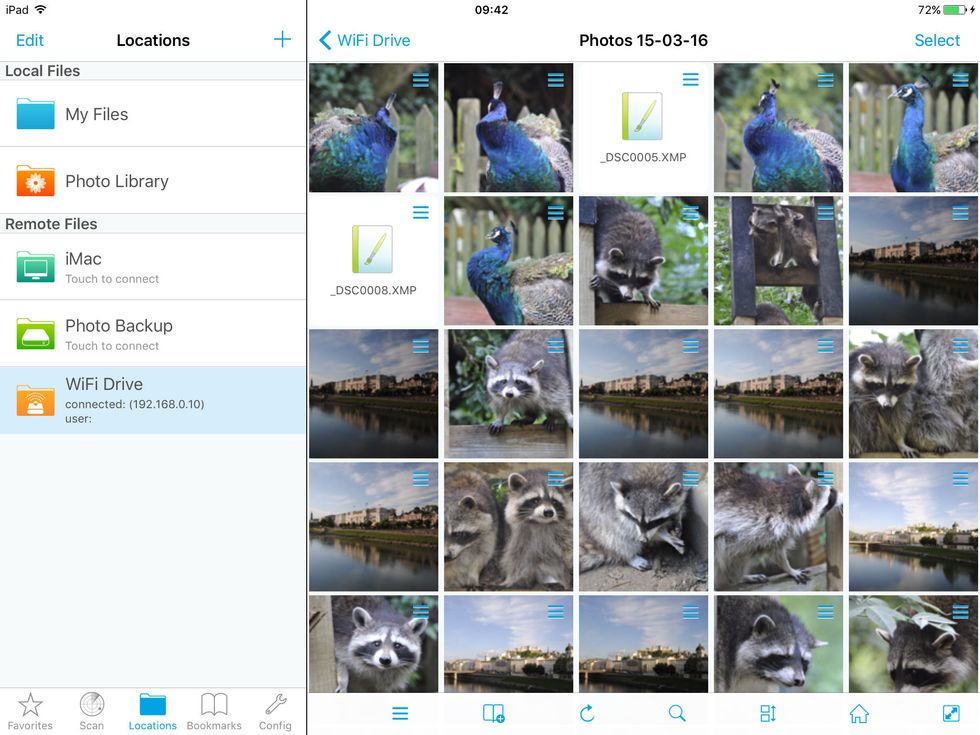
Reject, Star rate, mark photos for deletion. This info will be stored in a separate XMP file. Photos that already have an XMP file can also be rated or rejected and will update the existing XMP file.

When you return to the office, Adobe Lightroom or other products will read the info from the XMP files, allowing the reviewed photos to be easily indexed.
This review process can be done with minimal hardware (iPad & WiFi drive), and could be done on an Airplane or train whilst travelling back to the office or studio.