The Conversation (0)
Sign Up
The Idea
I usually had my LEGOs stored is a large sideboard in several boxes. That meant: Every time I wanted to build something, I had o take them out, put them somewhere and put them back afterwards.
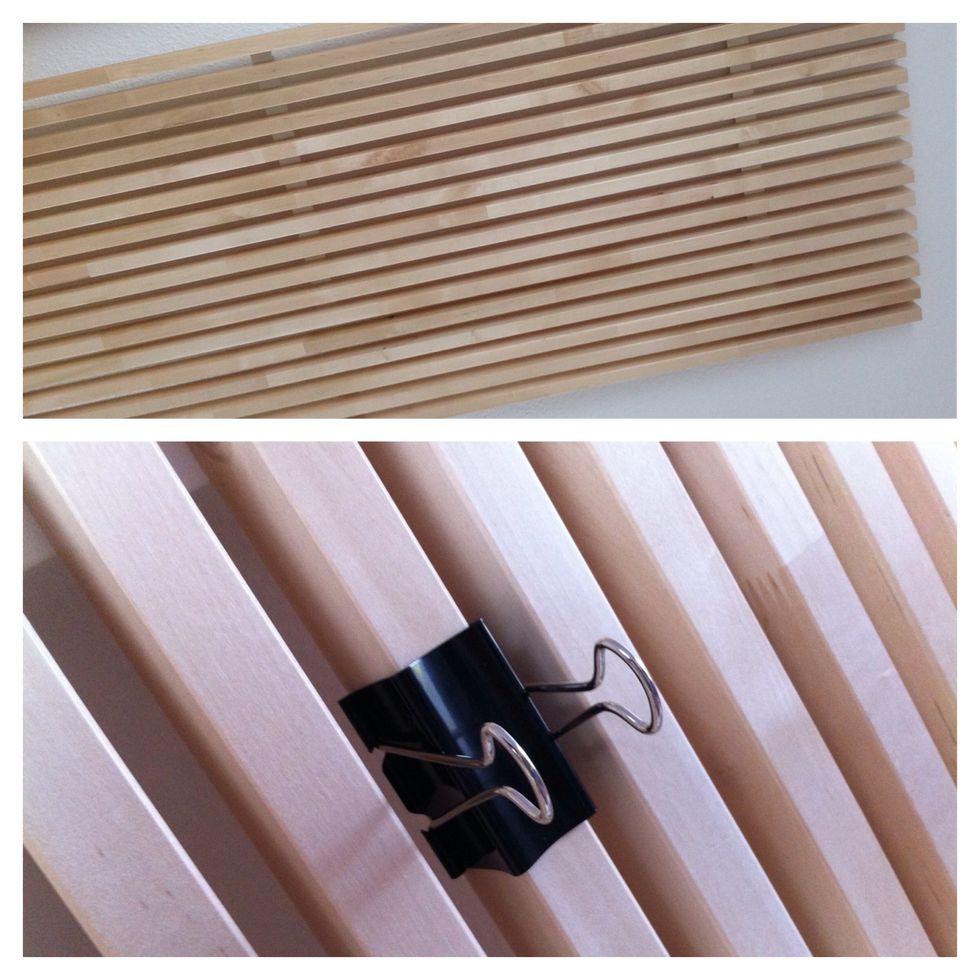
A few days ago we discovered a Mandal headboard at the IKEA "As is" section for 20€ and bought it. We didn't know what to do with it, but later that day I found a large binder clip on my desk.
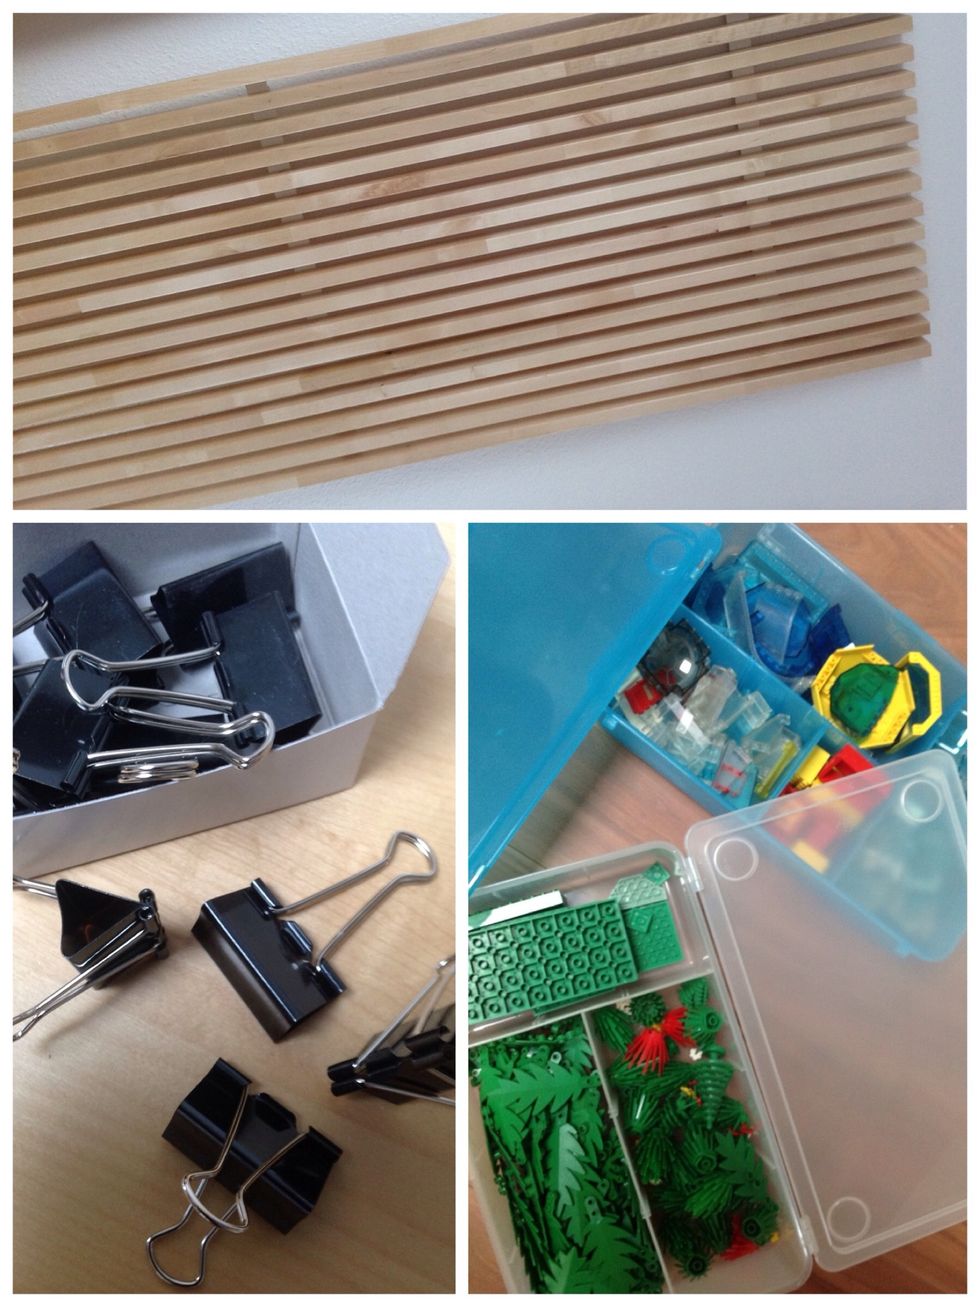
So I found an easy way to hang something on the headboard. Most of my LEGO was currently stored in IKEA Glis boxes.
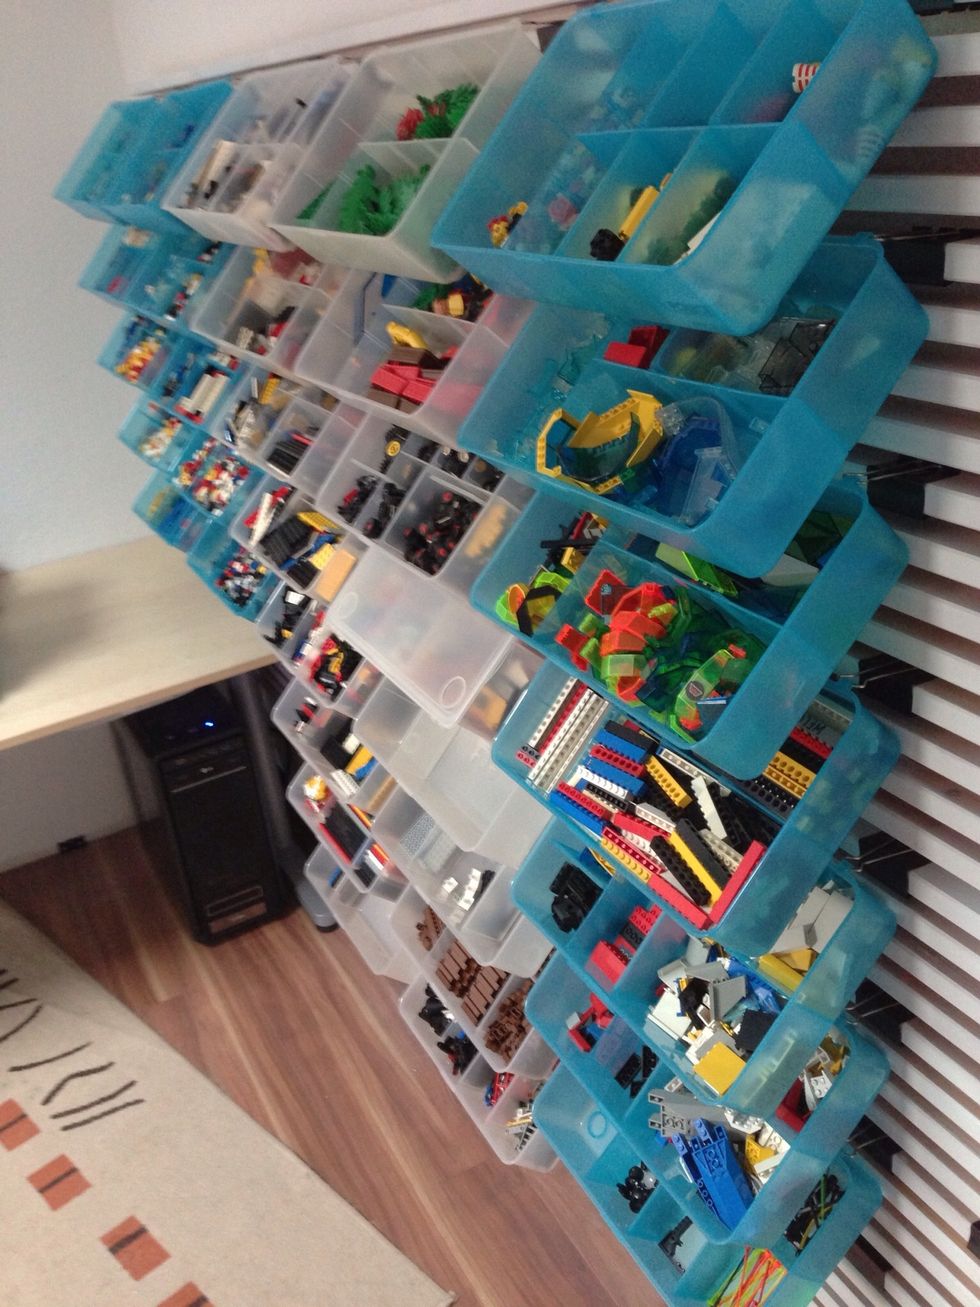
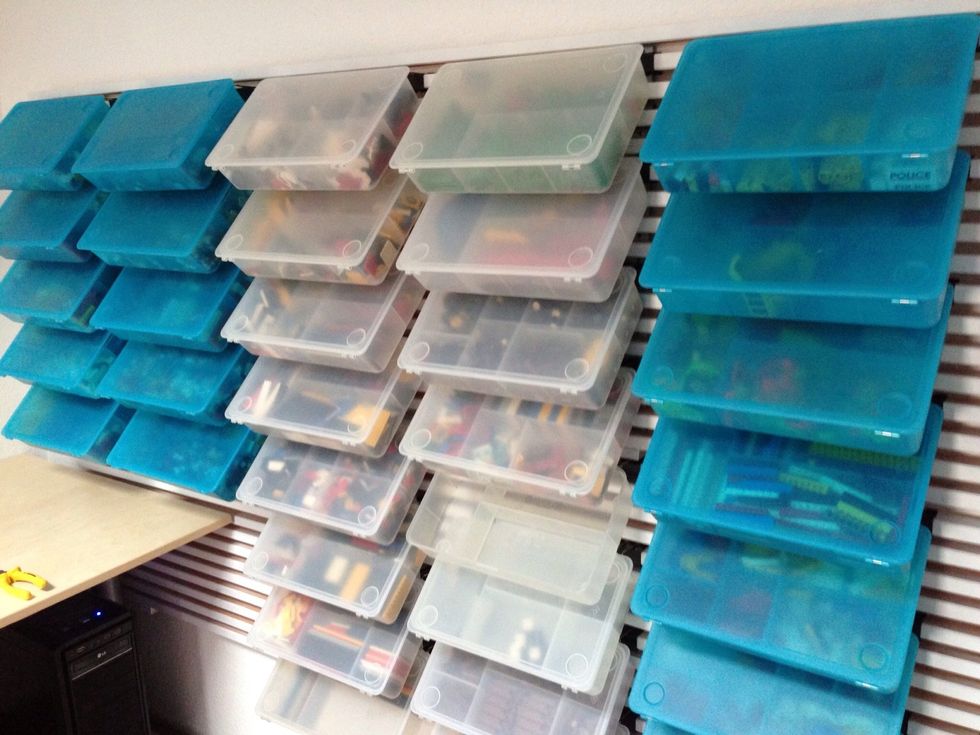
So the idea of a LEGO workspace was born: Put the headboard on the wall and hang the boxes (24 per headboard) with binder clips.
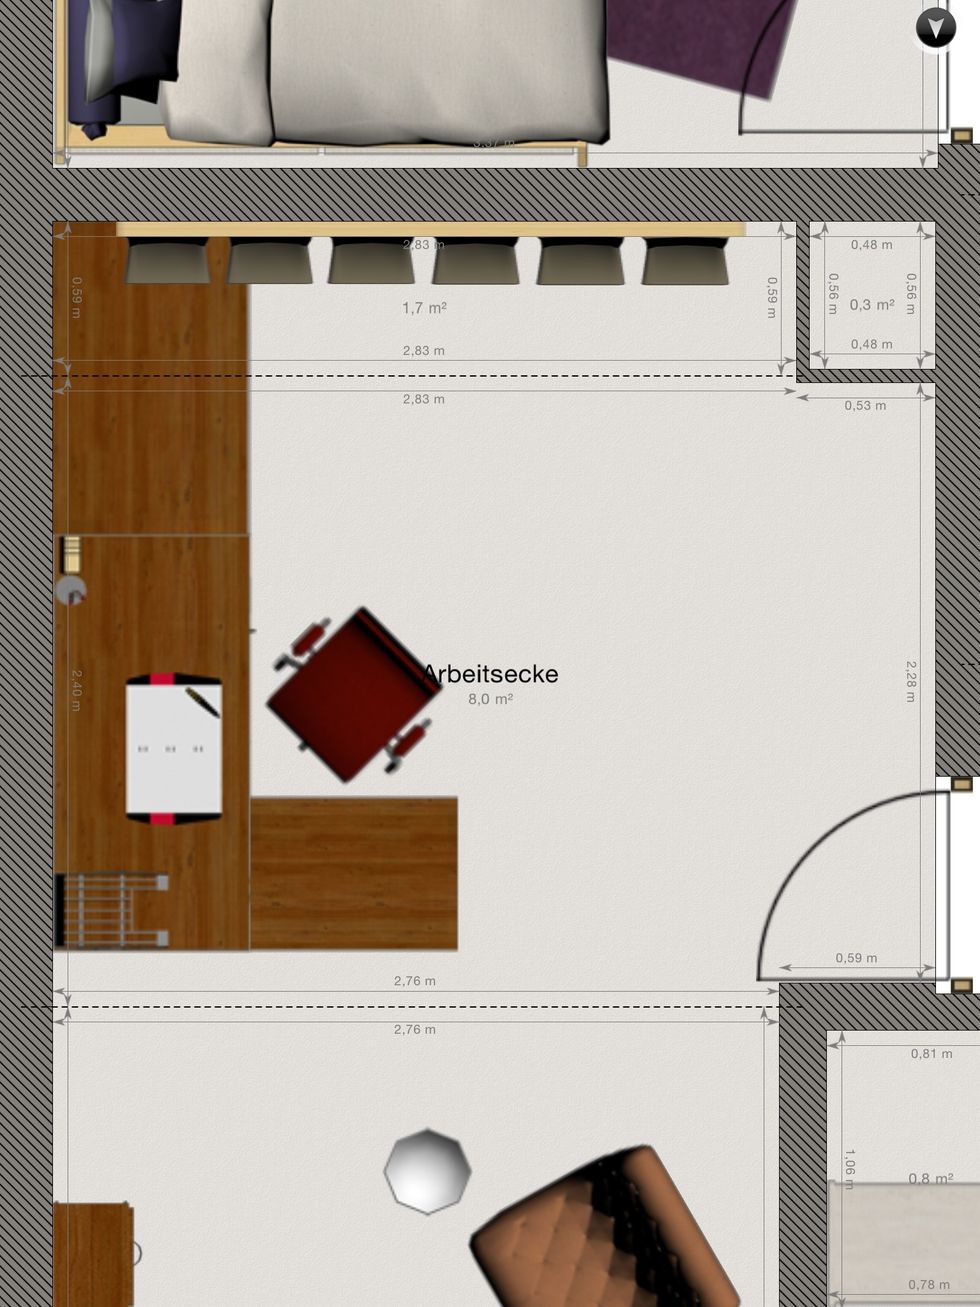
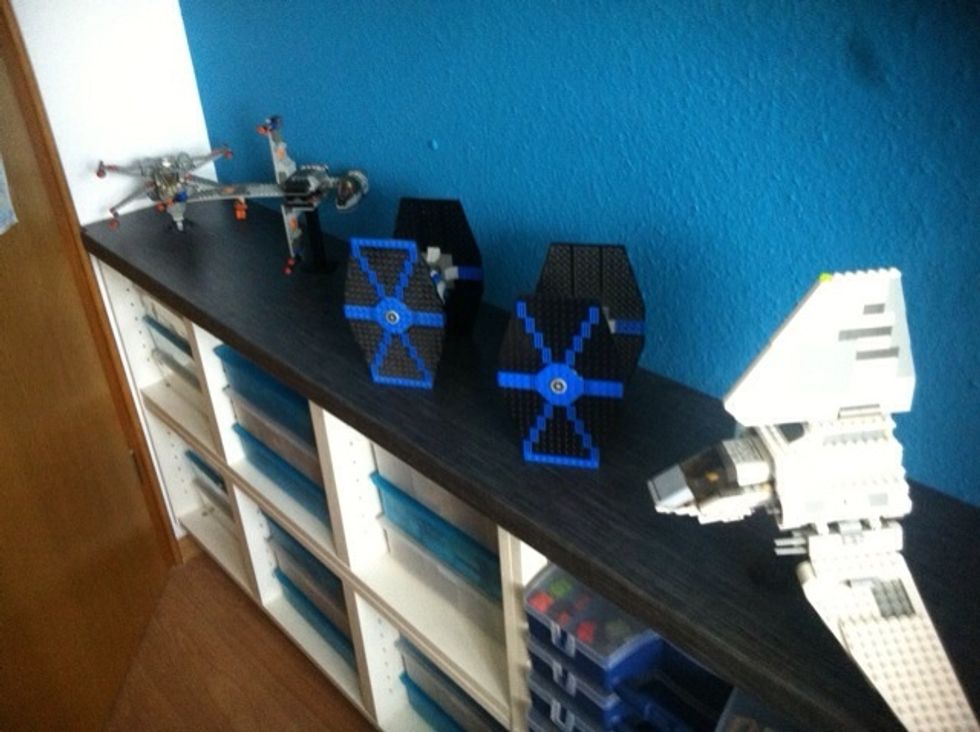
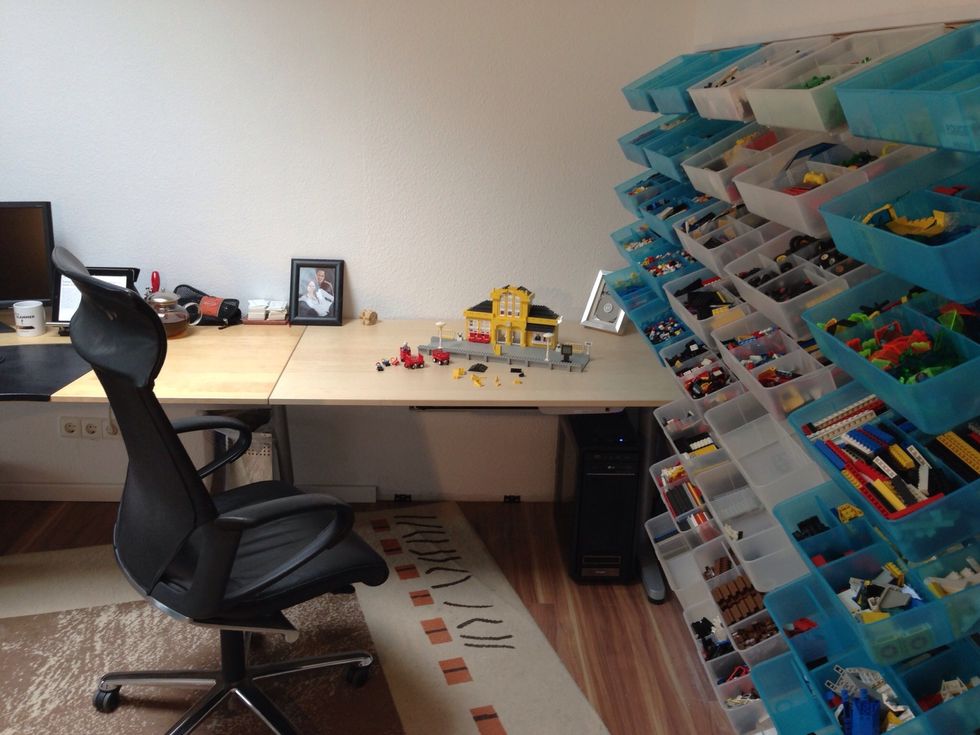
Here is where I placed it: At the end of my desk, so there is a clear distinction between building space and office space.
Mount the Headboard(s)
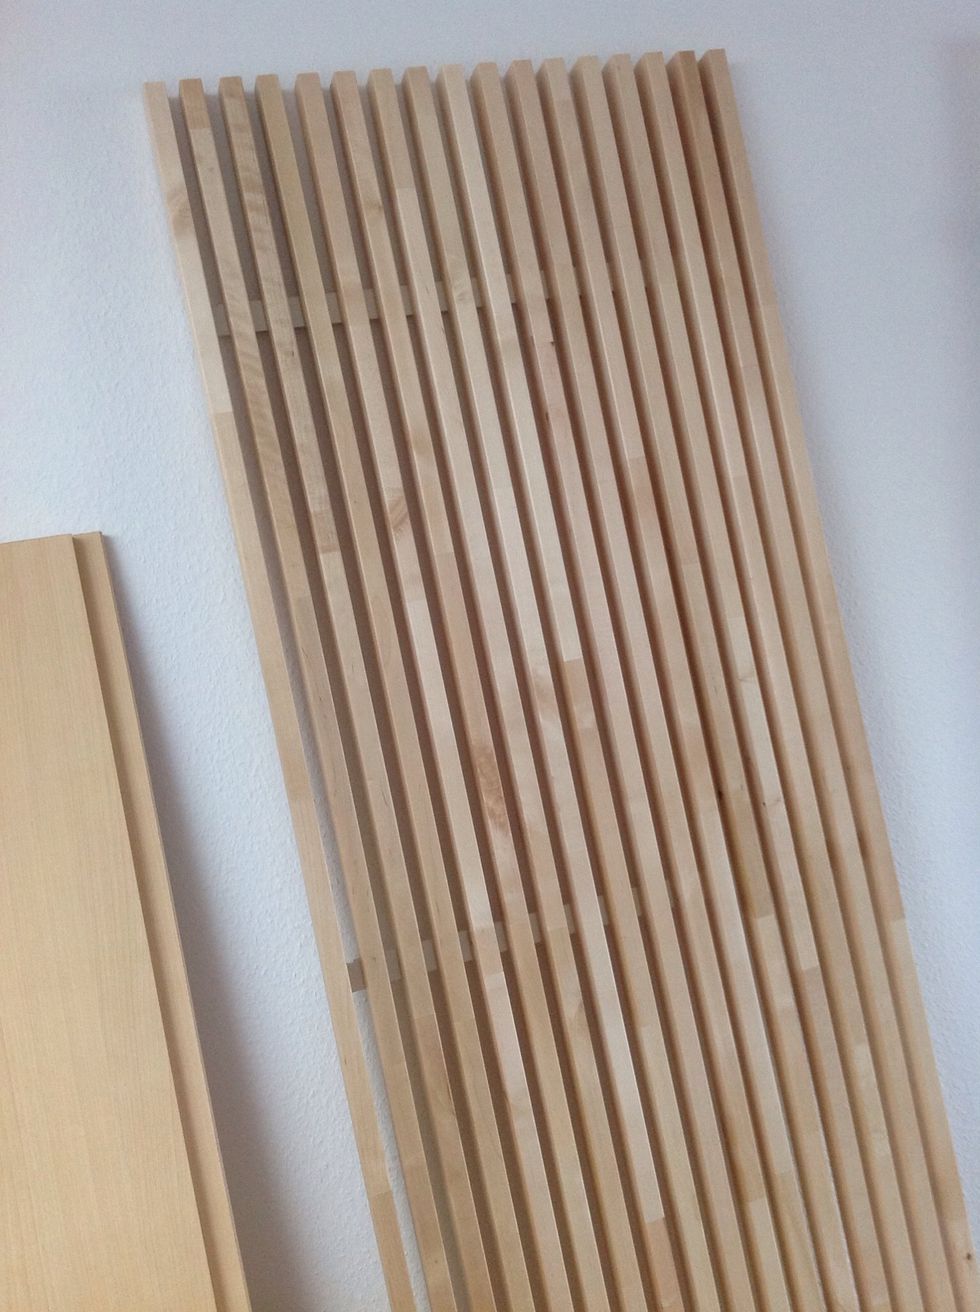
Mount the headboard on the wall first (as described in the manual).
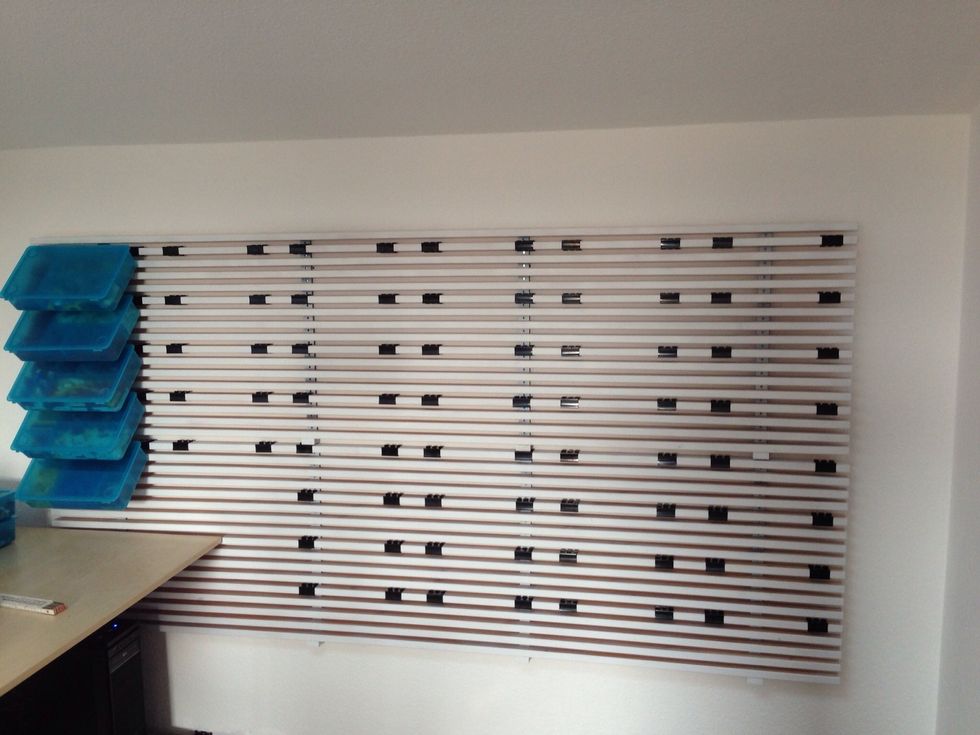
Starting after 4cm, attach a pair of binder clips with a distance of 22cm, then 8cm, then 22cm again... Do that in every 4th row.
Prepare the Boxes
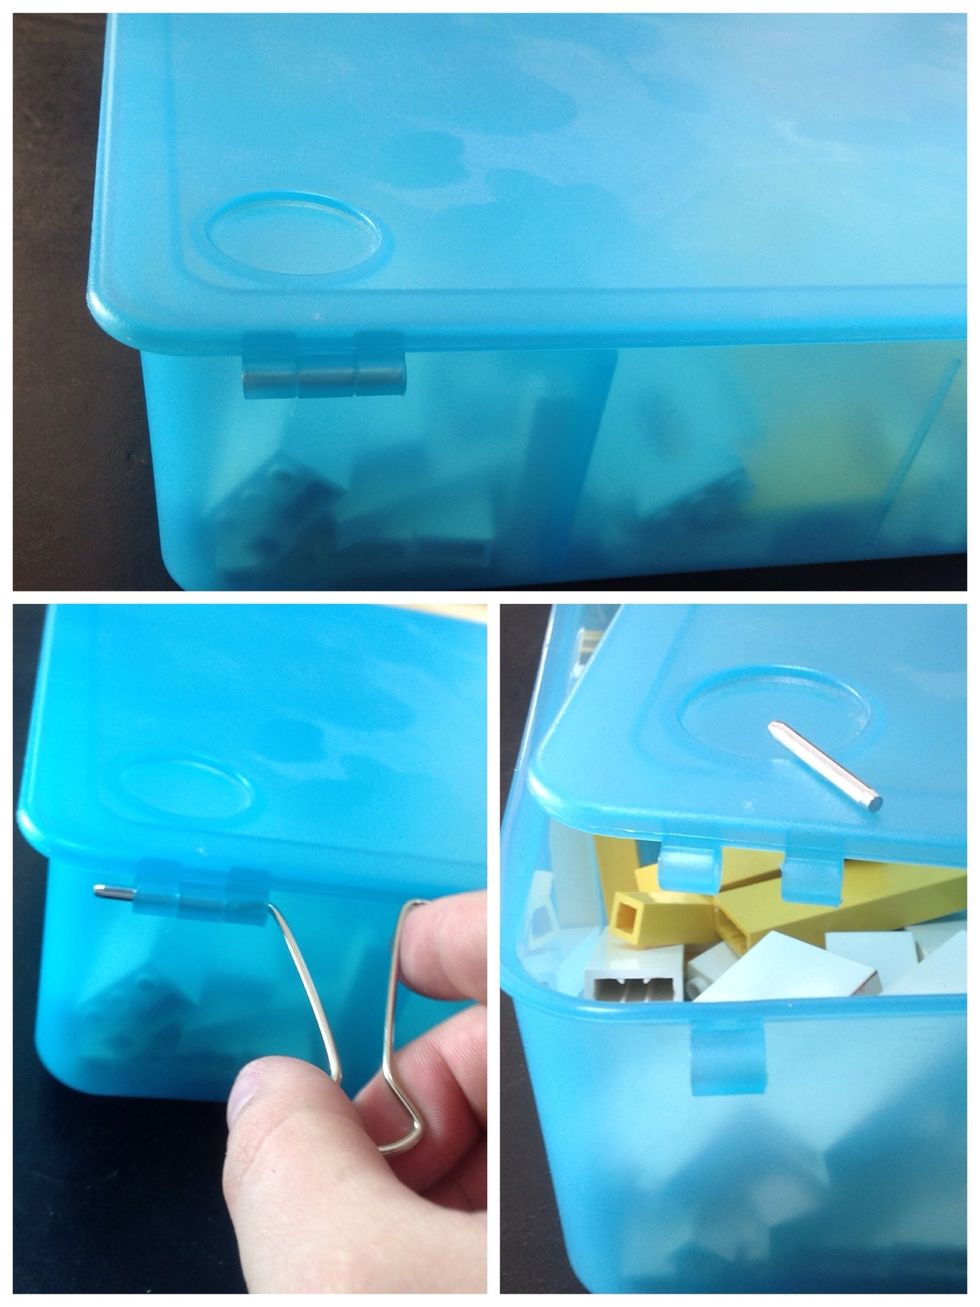
Remove the hinged covers from the boxes using a handle from the binder clips to push out the pins holding the cover.
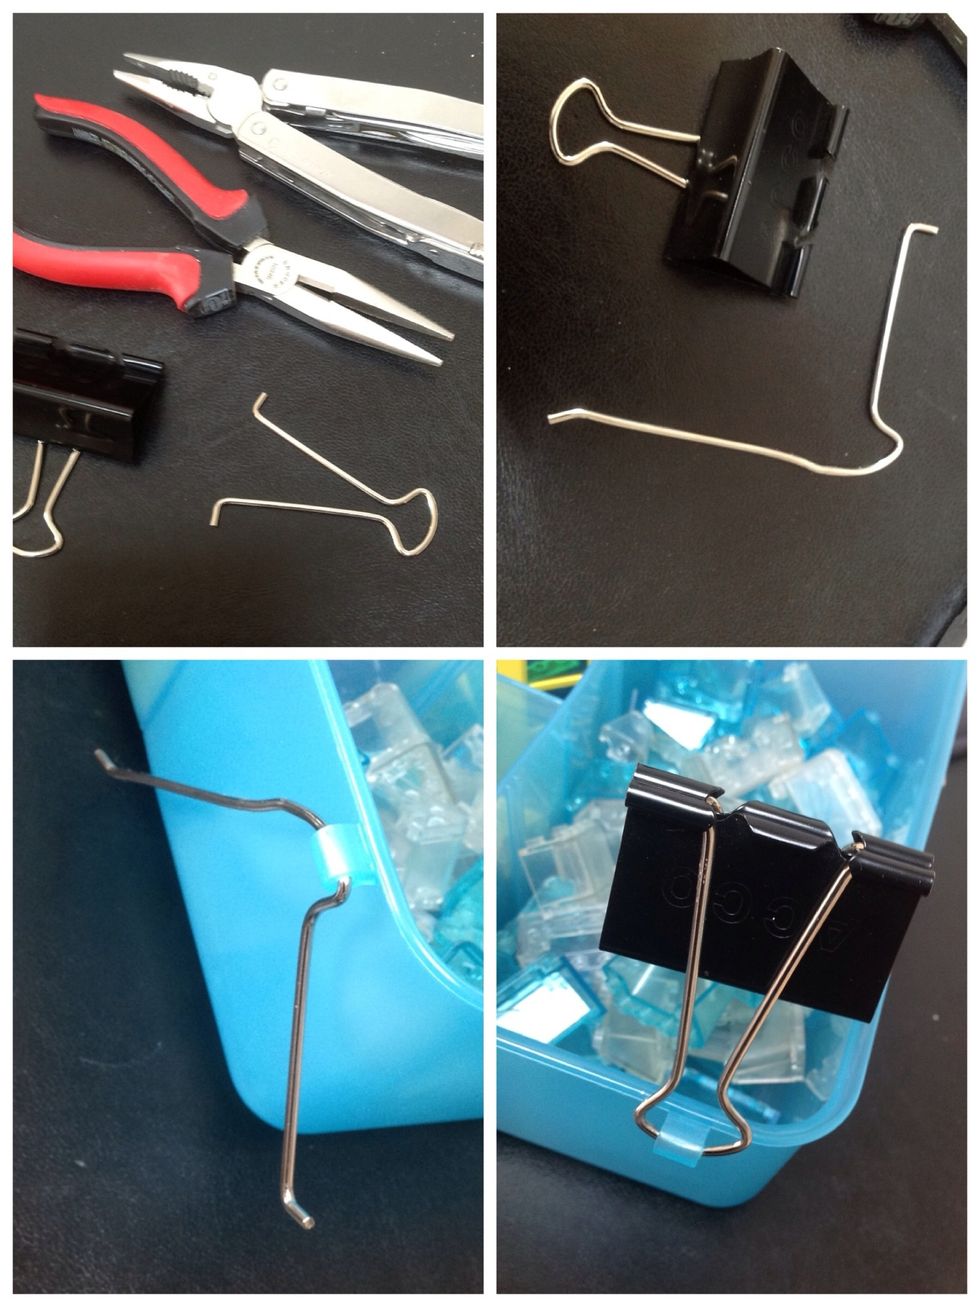
To attach the binder clip to the box you need to bend one of the handles, attach it to the box, then bend it back again. Twice per box.
Yes, you have to do this with every box, no exceptions.
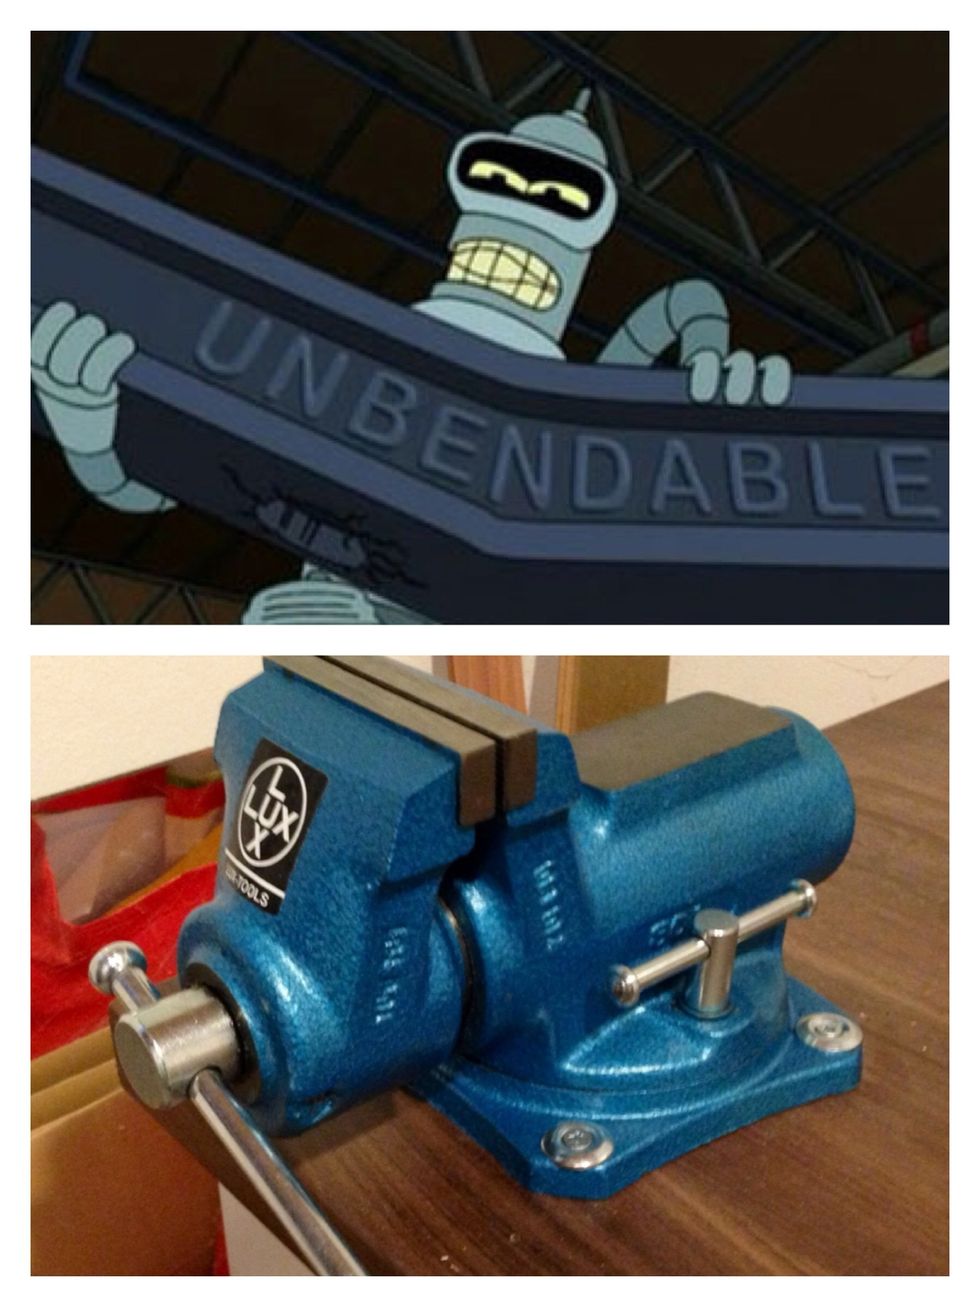
In case you have no bending unit at home, a screw clamp will be great help for bending the handles.
Hang & Adjust the Boxes
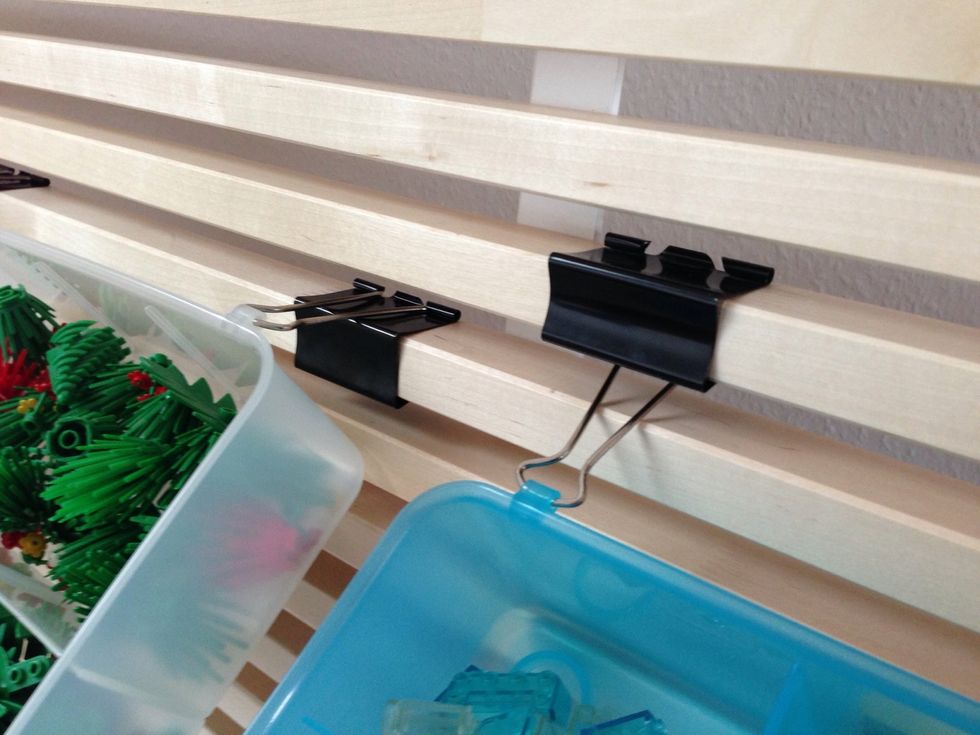
There are two ways you can hang the boxes. The left one has a small advantage.
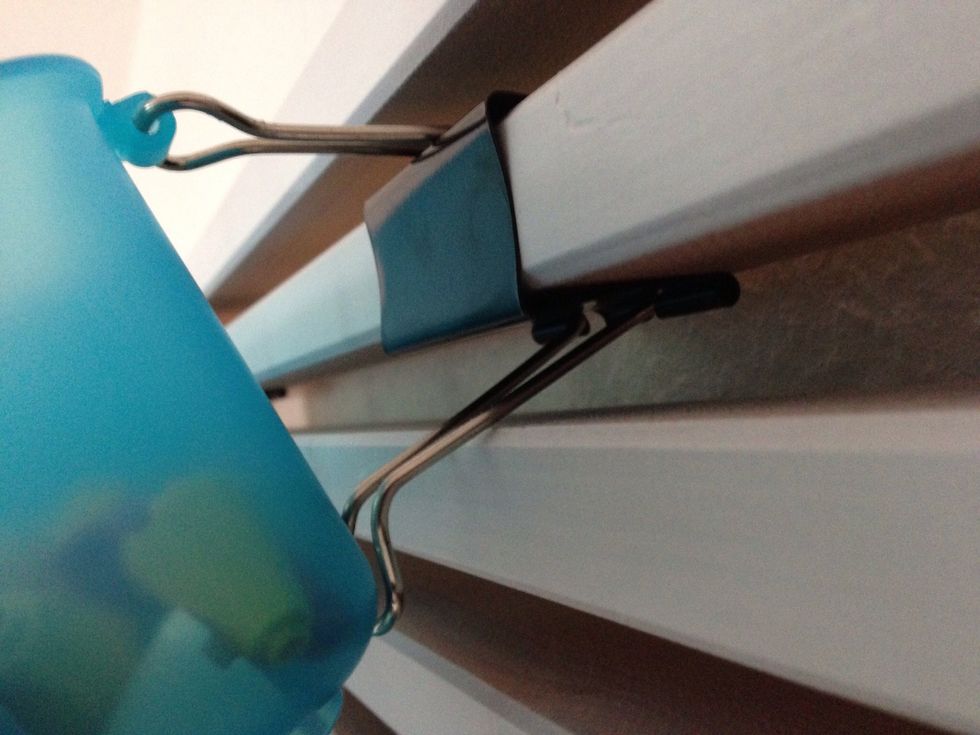
Hanging the box using the top handle, you'll be able to adjust the height using to lower handle.
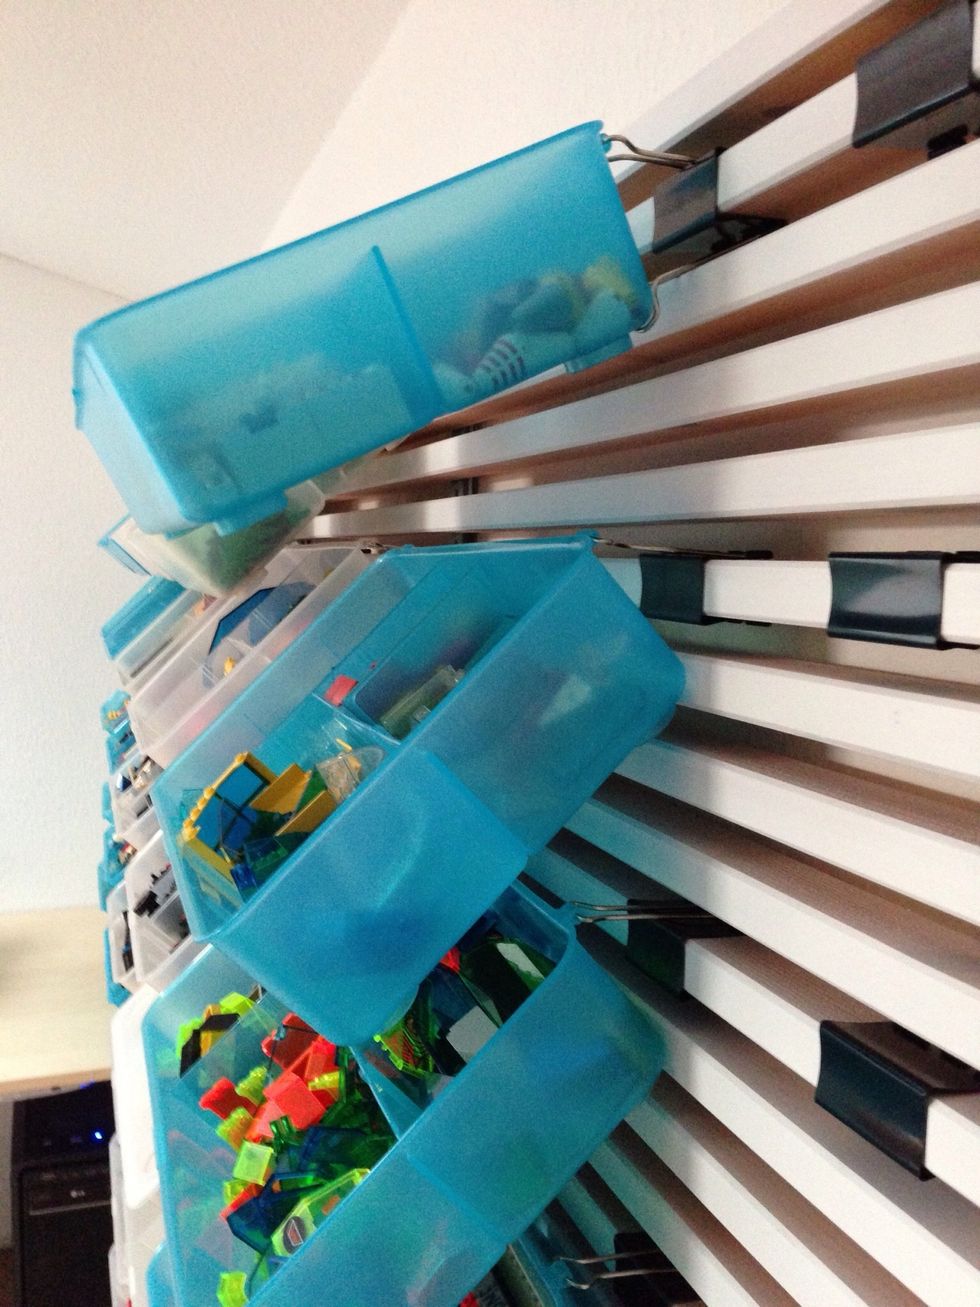
Here you see the difference with and without height adjustment.
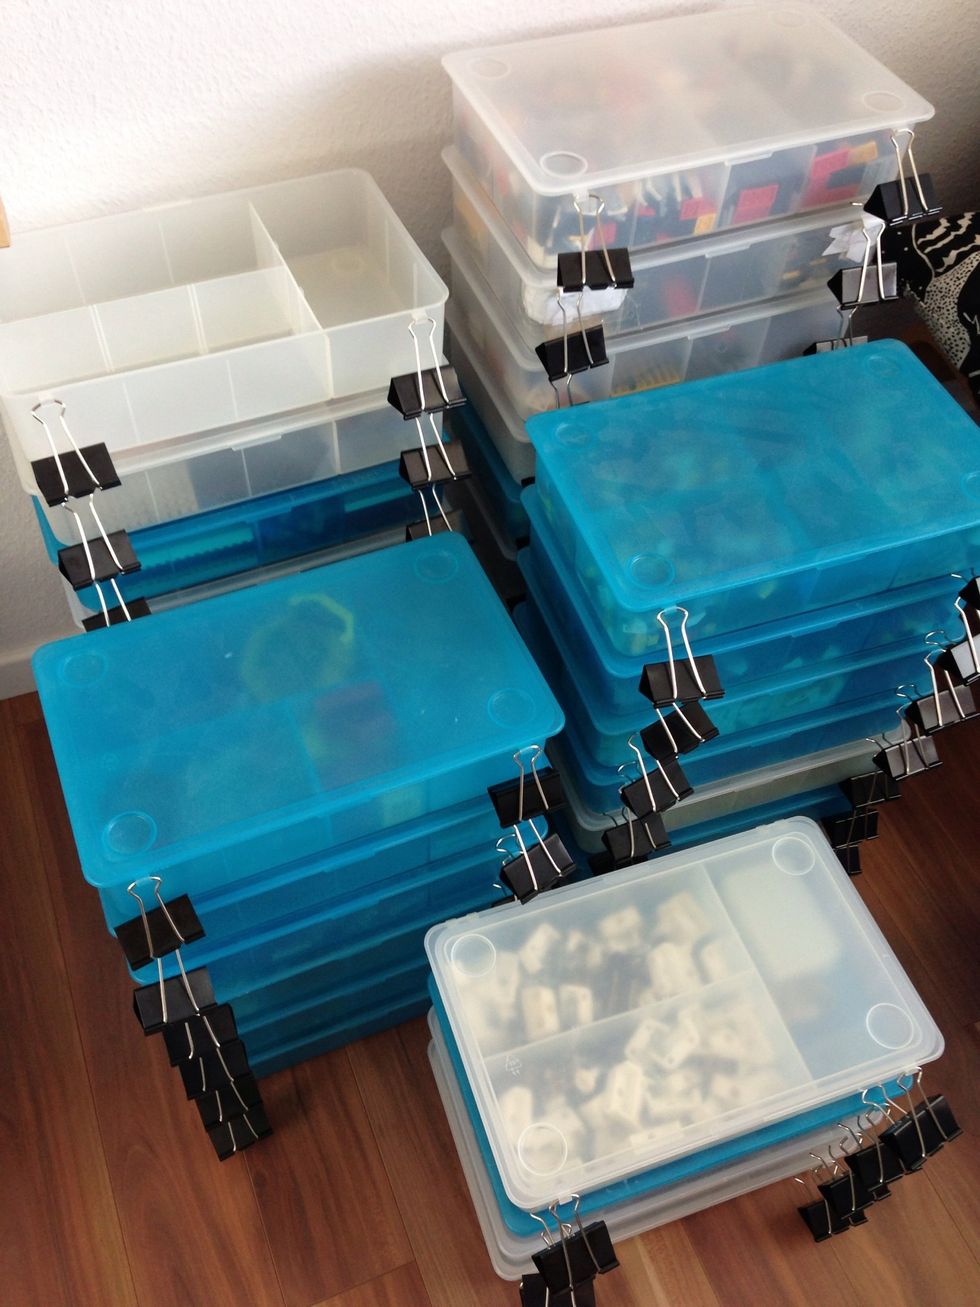
The Result
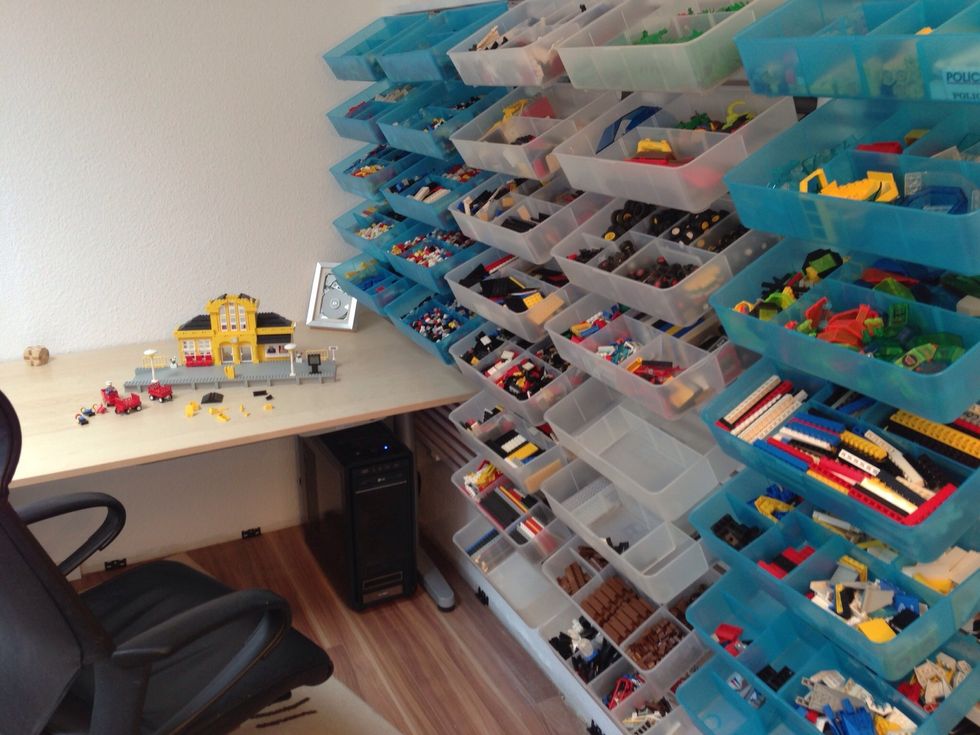
All done...
Ready to Build!
Whenever you're not building with your LEGOs, you can put the cover back on.
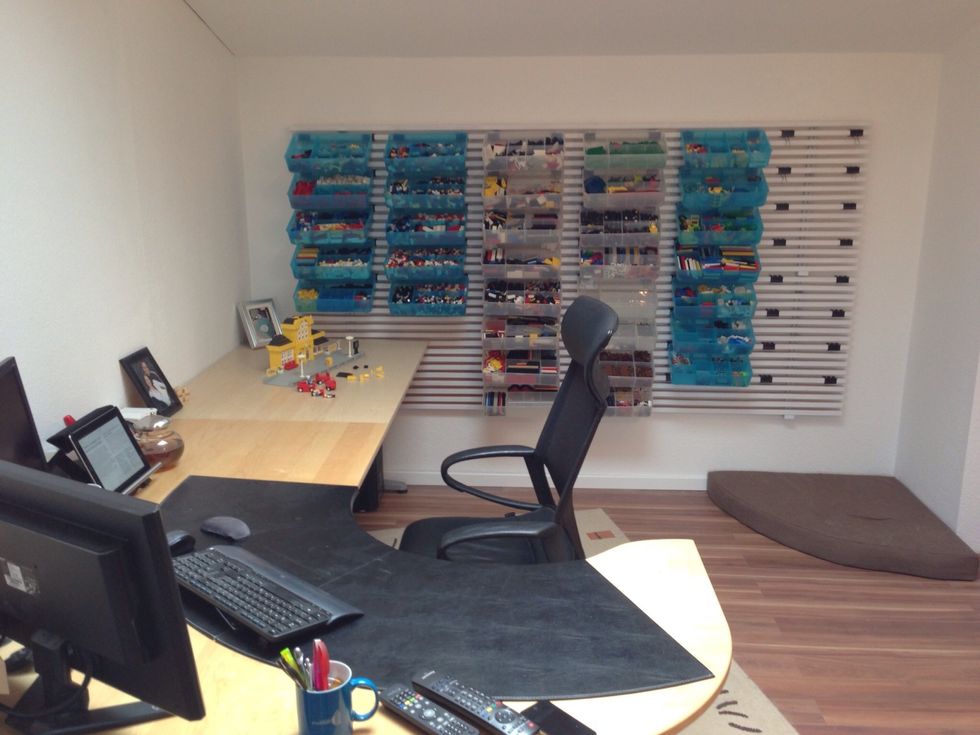
A clear distinction of office & LEGO space

With a lot of light from above
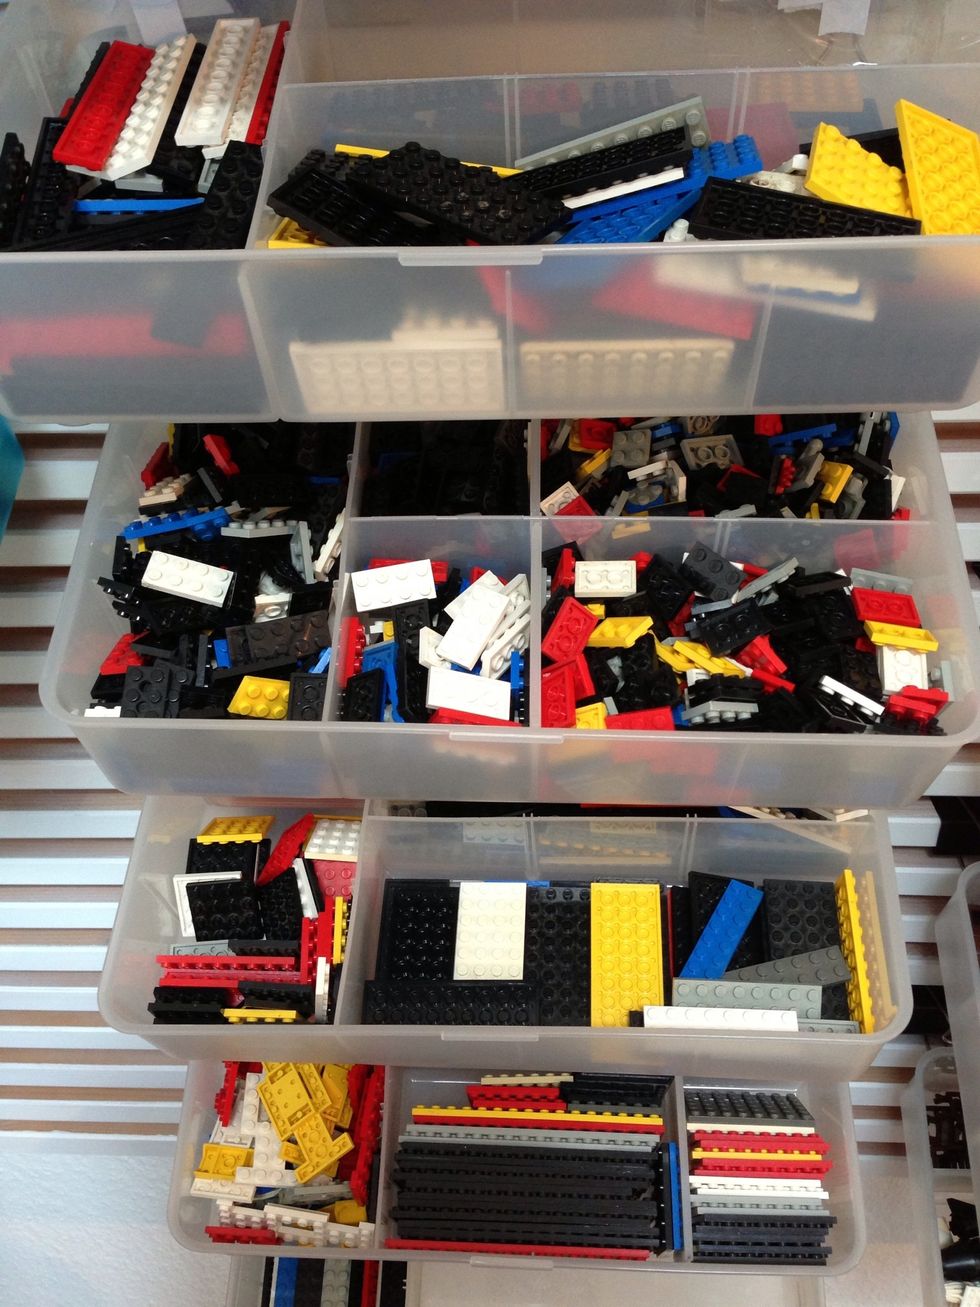
The boxes have variable compartments, which is great for LEGO.
I need your help: I need more boxes but the light-Blue boxes are no longer sold at IKEA. Does anyone have these boxes, doesn't need them anymore & would sell them to me? Contact: ikeahack@storbeck.me
Have creating it for yourself. If you need more inspiration, check out my other guides in the home category: https://snapguide.com/search?topic=home&q=martin+storbeck