The Conversation (0)
Sign Up
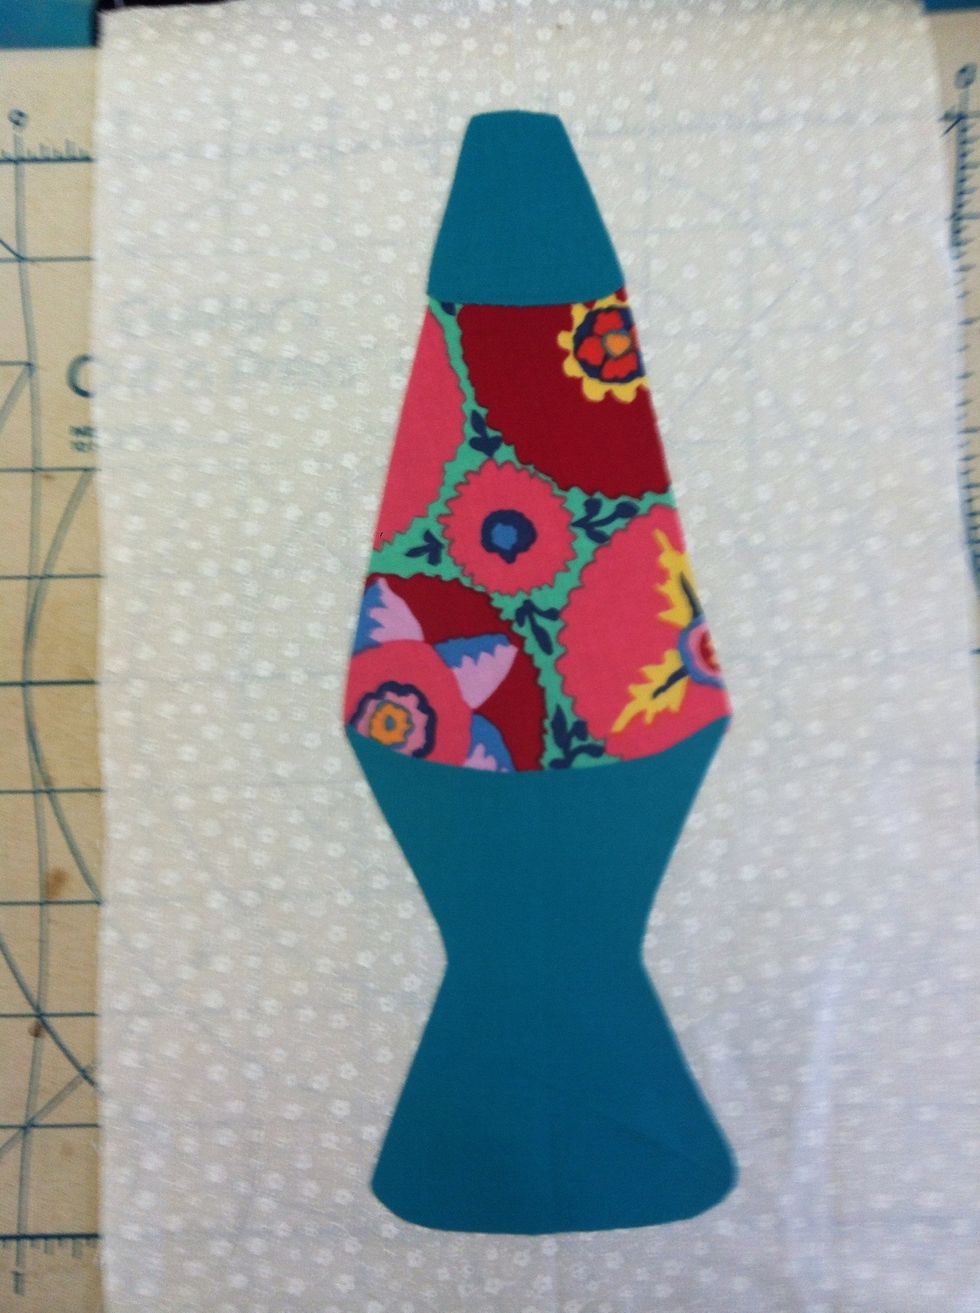
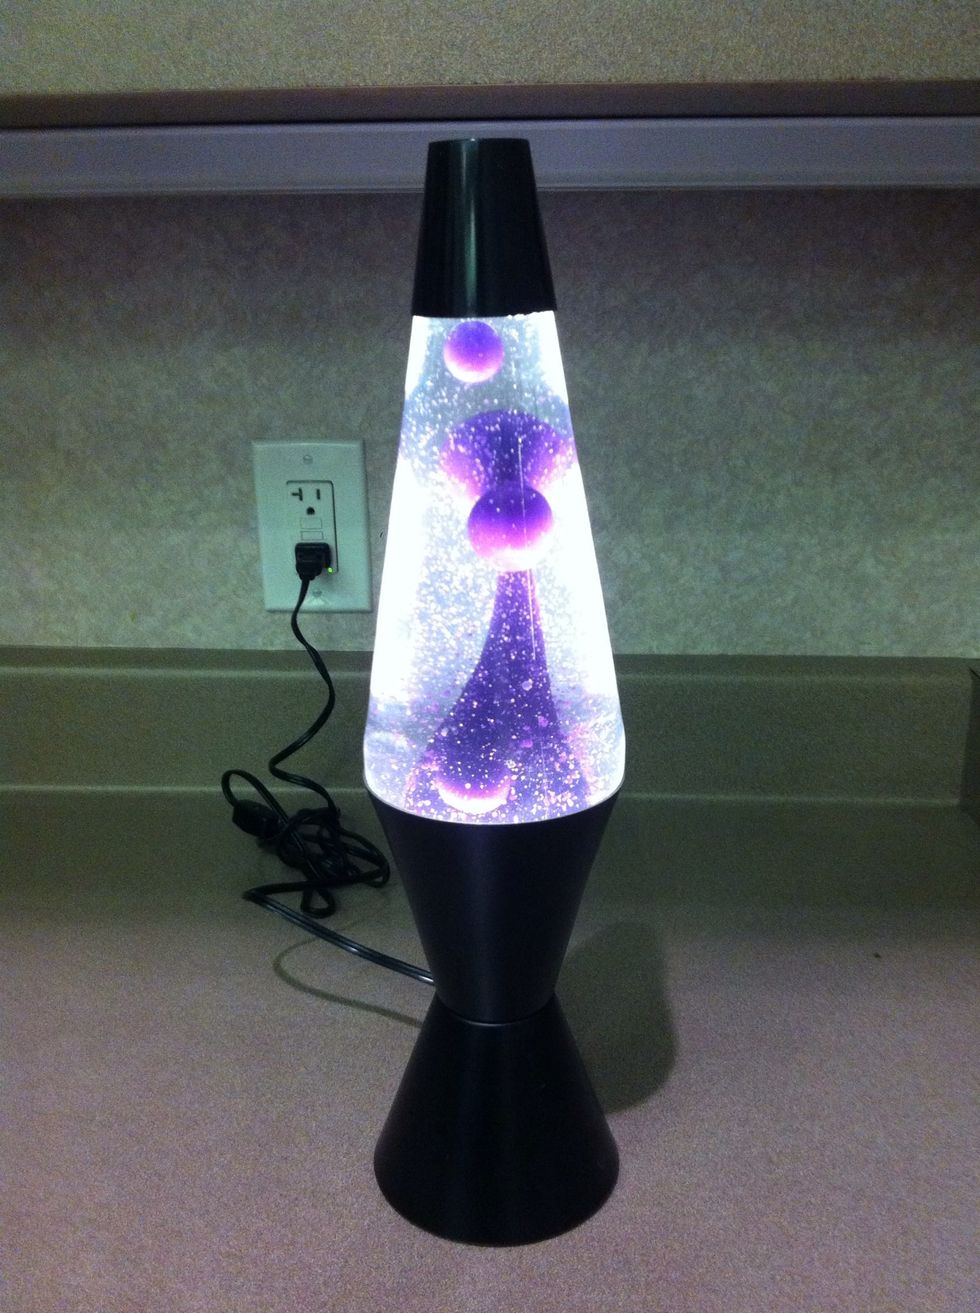
Choose your project. My example is this Lava Lamp block available free on my site: www.LynBrown.com. My SnapGuide for Fusible Applique (http://snp.gd/ebfbzm) is also available there.

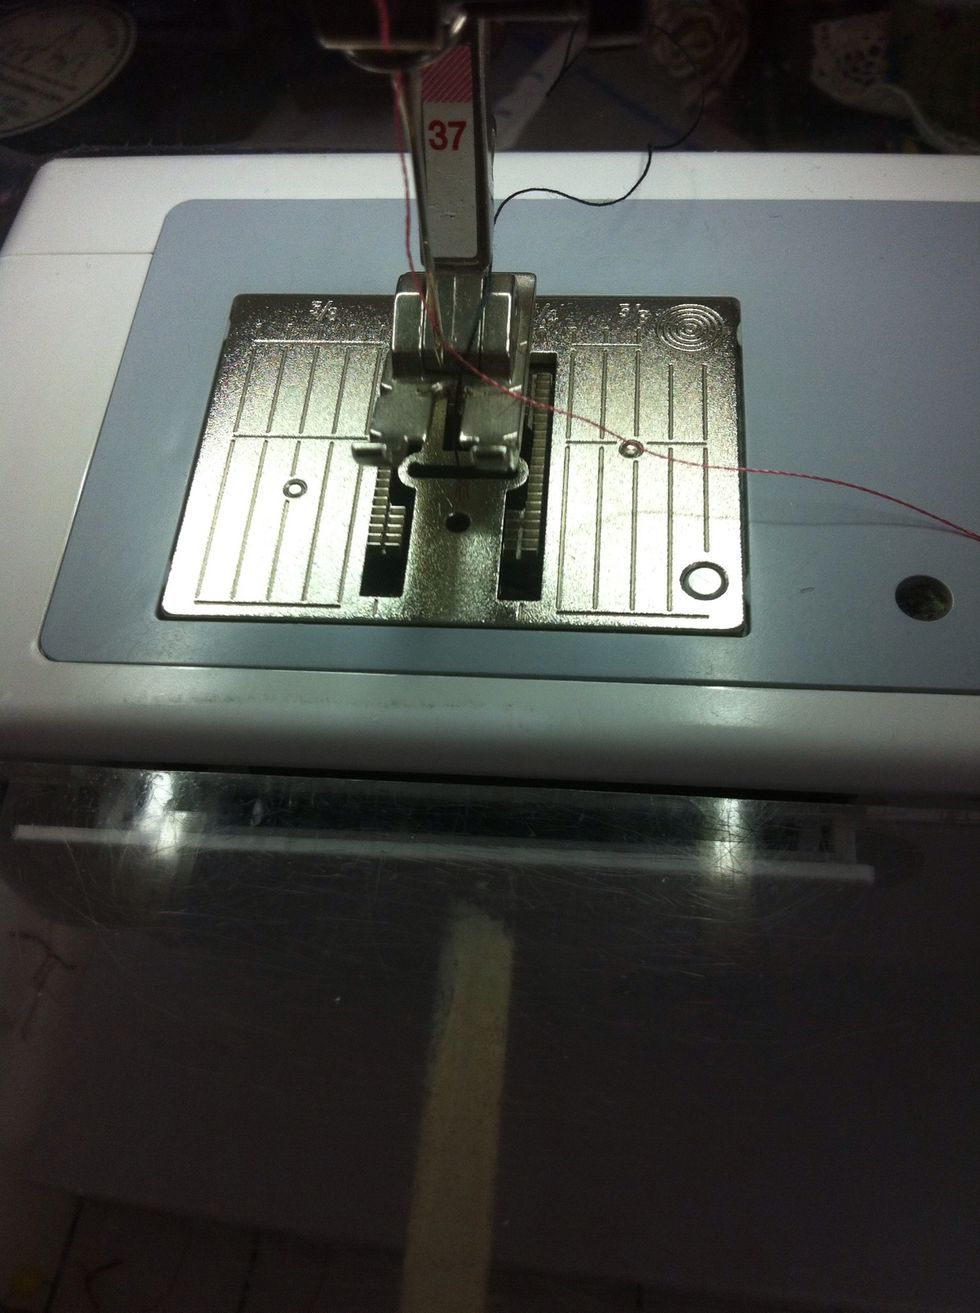
Thread a Zigzag Capable Sewing Machine with rayon or other thread to match your appliqué. For multiple layer appliqué, stitch the lowest/furthest layer first, changing thread to match each layer.
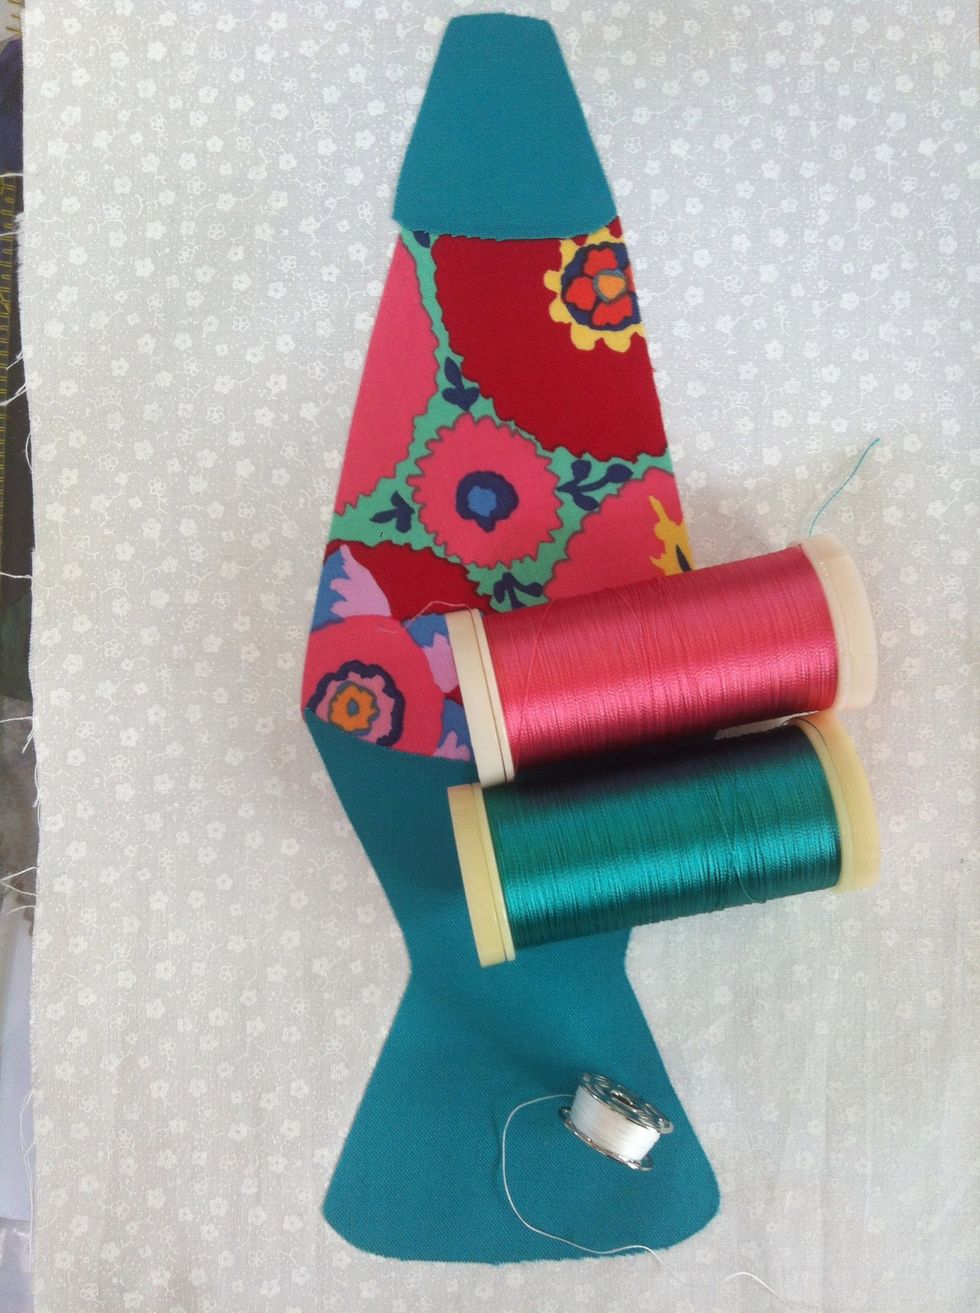
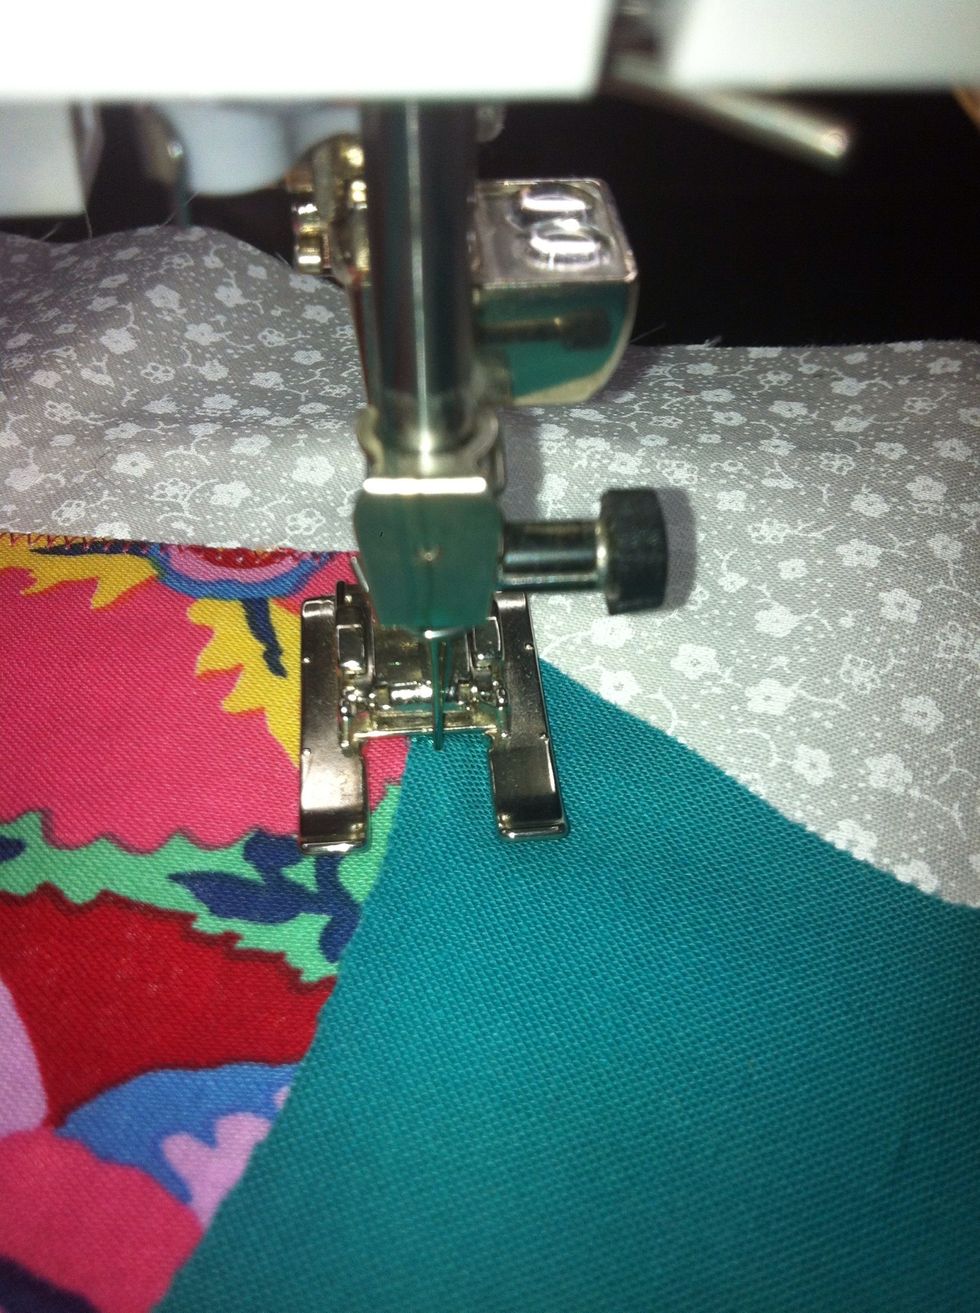
Put cotton thread in bobbin for best result. Can match the top thread OR be a neutral color. I'll stitch the print (Pink) first then stitch around the solid base (Green) on my Lava Lamp quilt block.
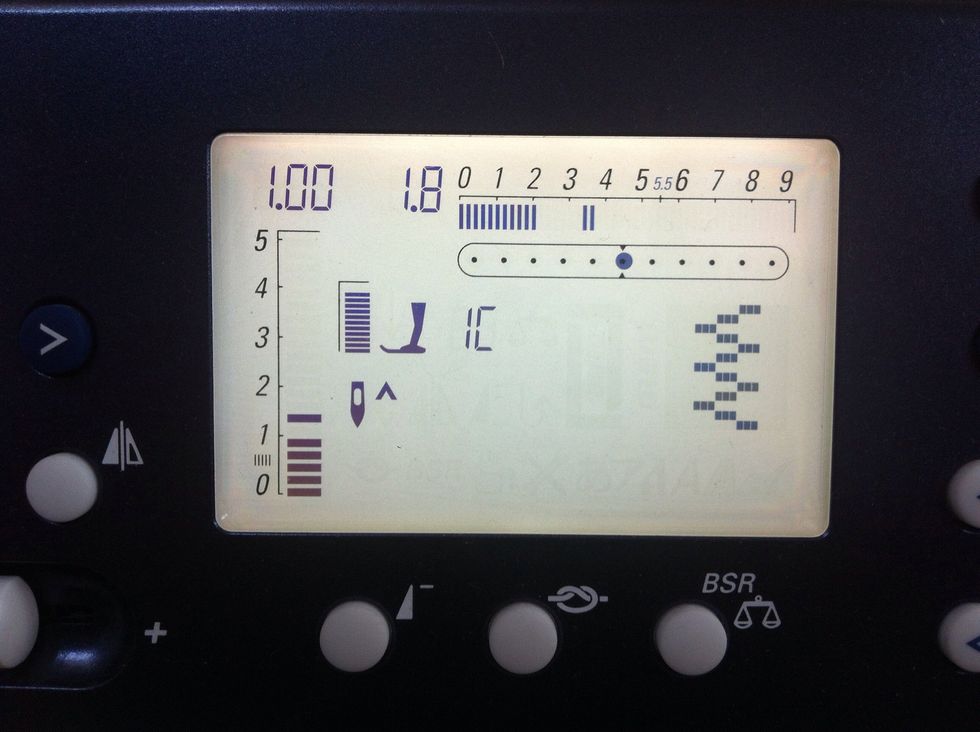
Set your machine to zigzag. Set the stitch length to one and then stitch width to two. This can be adjusted dependent upon the project.
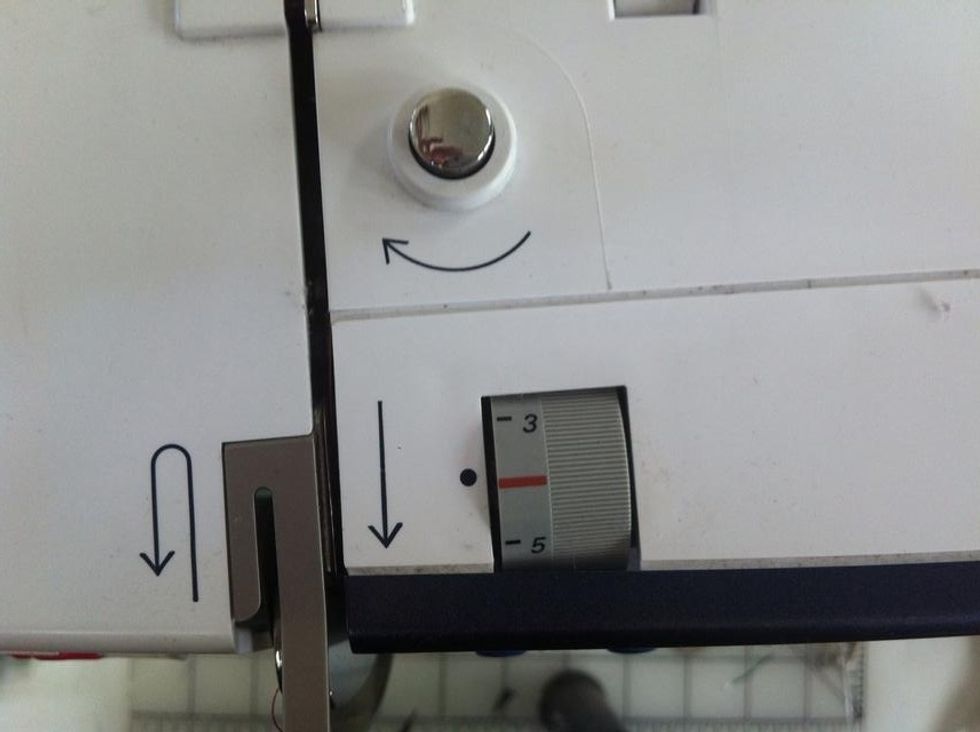
Reduce/Lower top tension one number. This is important to keep bobbin thread from migrating to top. Here the stitch length started at Four.
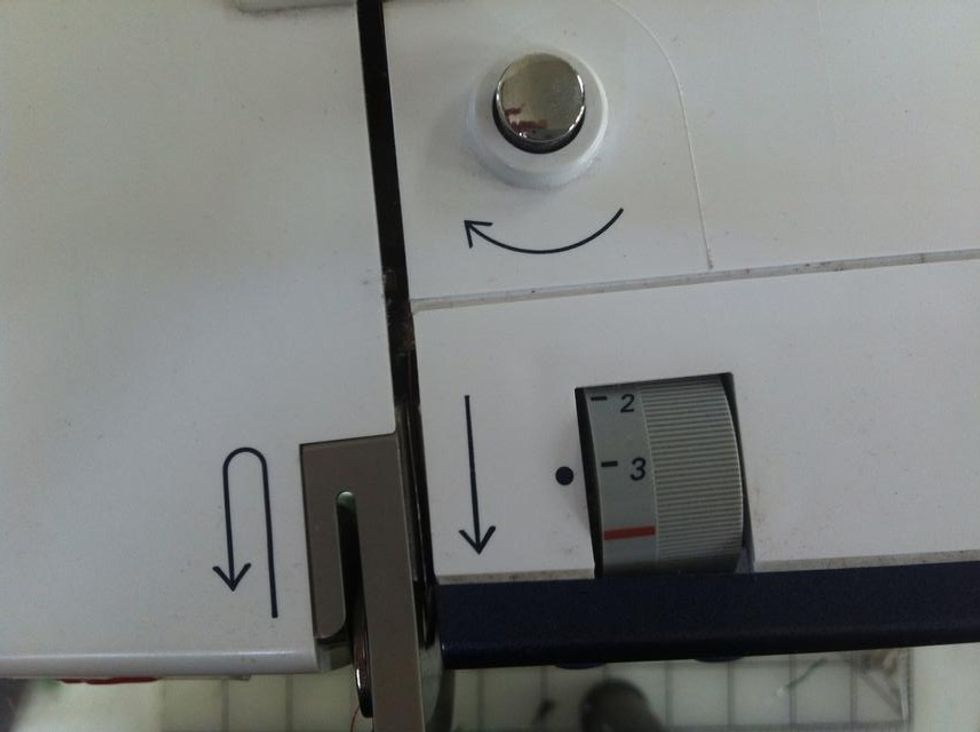
I reduced the tension to Three. Remember to set it back to normal when you are done with appliqué.
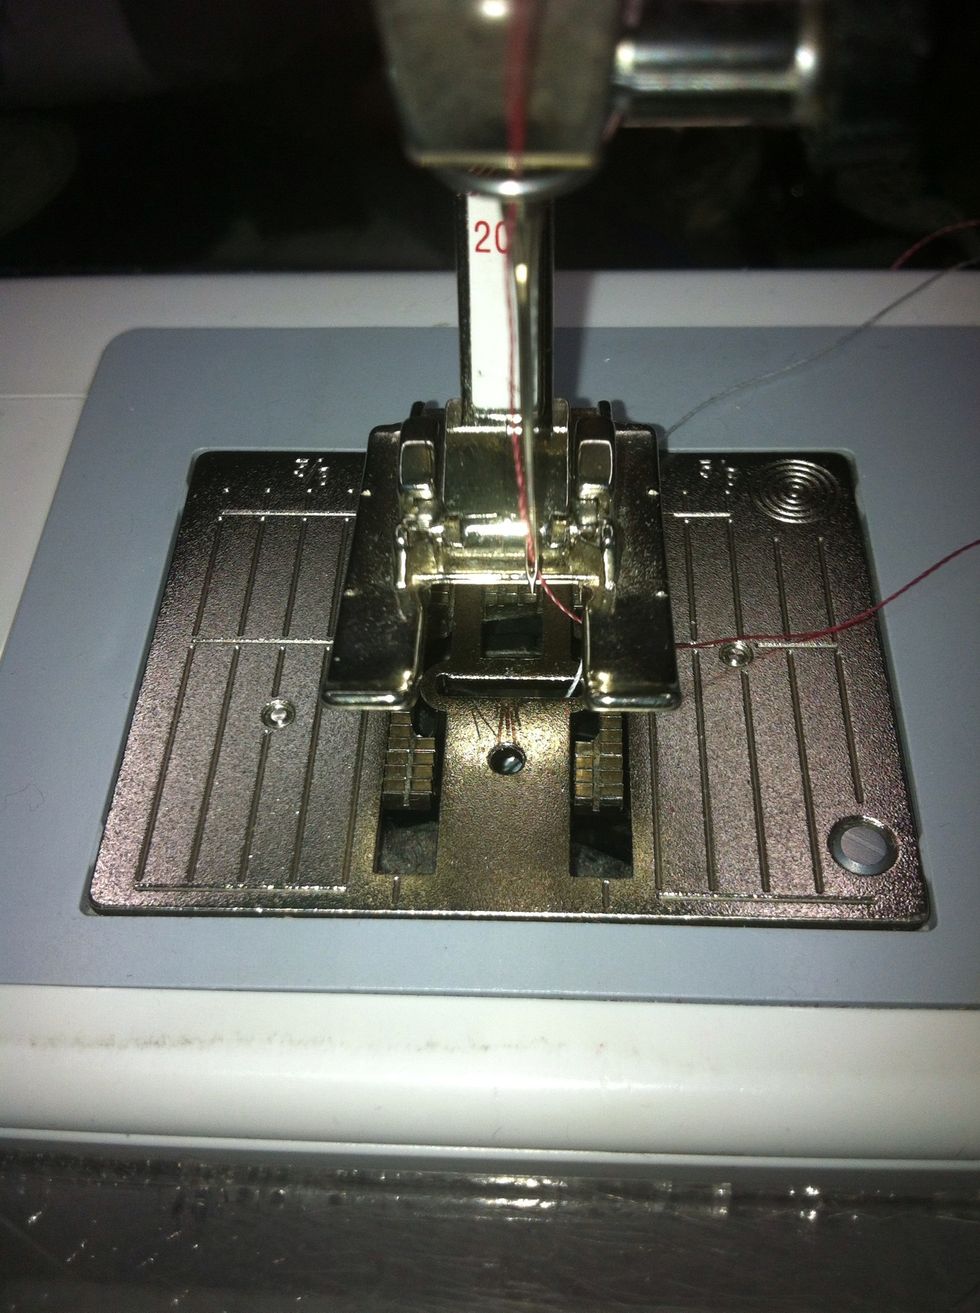
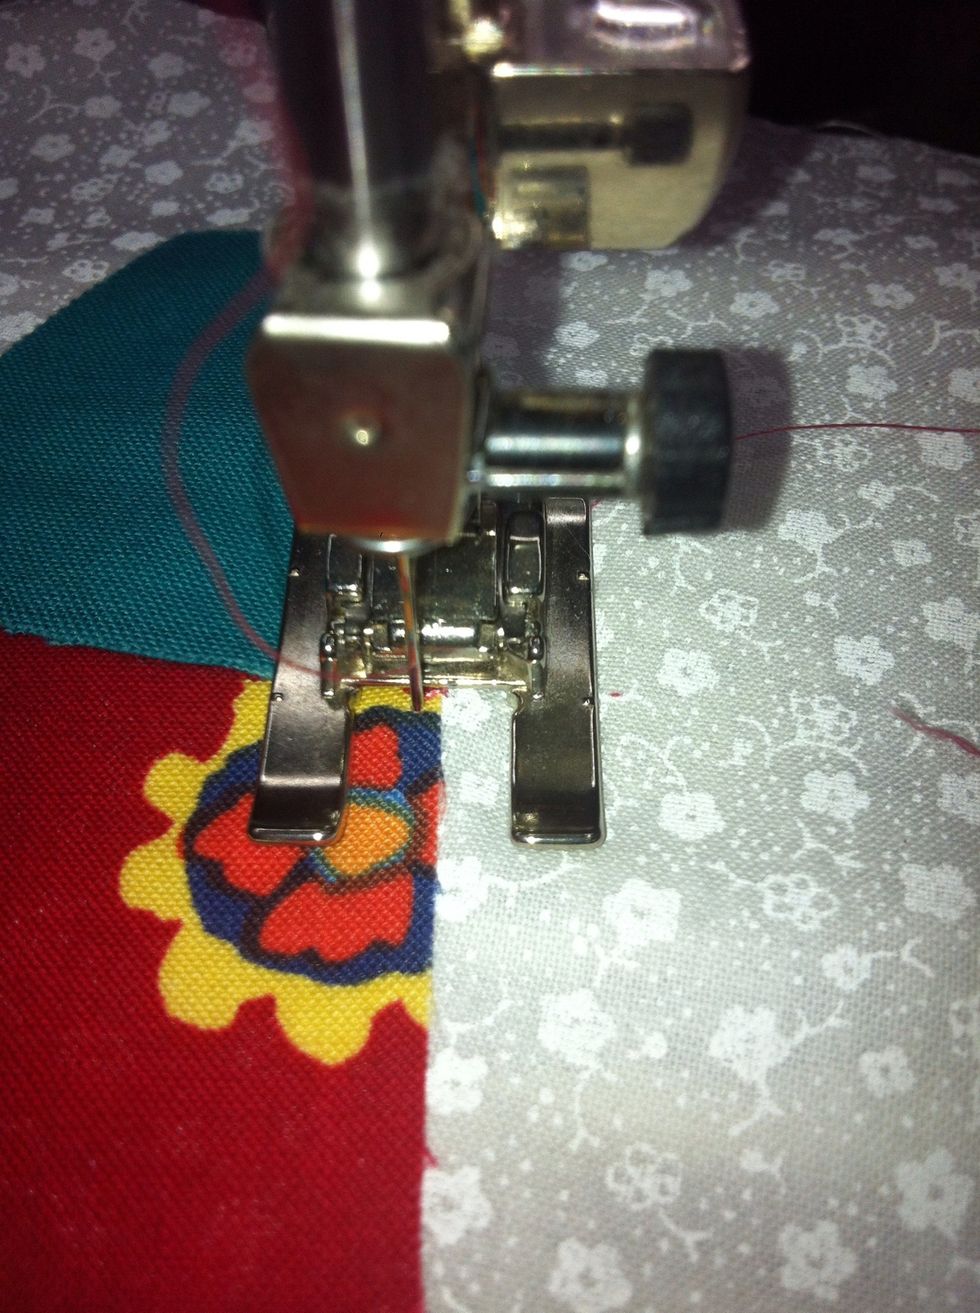
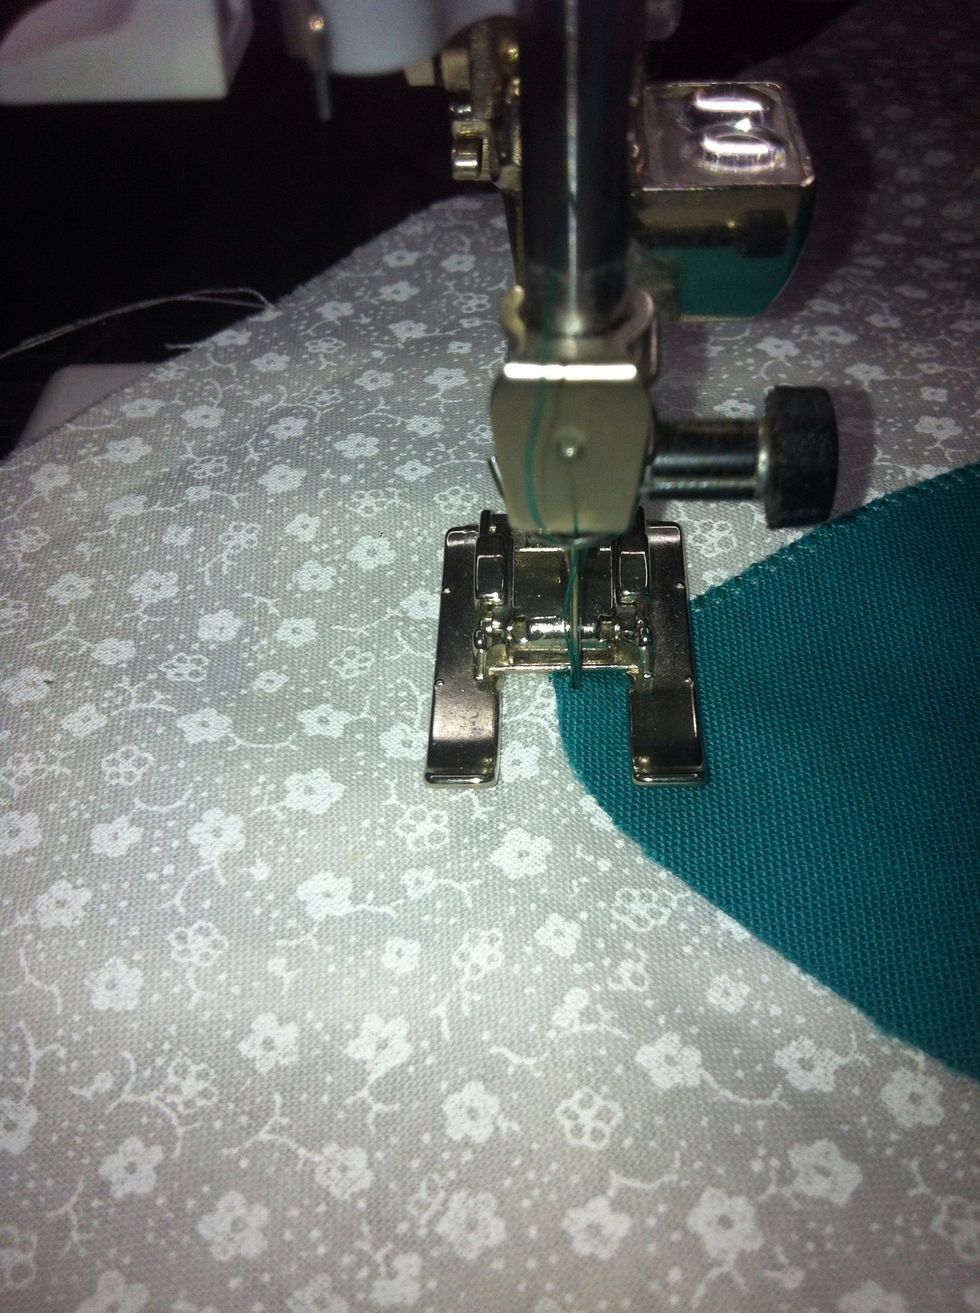
Be sure to change to your ZigZag Foot to avoid breaking your needle.
Position your block so the swing of the needle goes from outside the appliqué...
To just inside the appliqué.
Take a few stitches in place with a Zero Stitch Length to secure. Then set the length back to One.
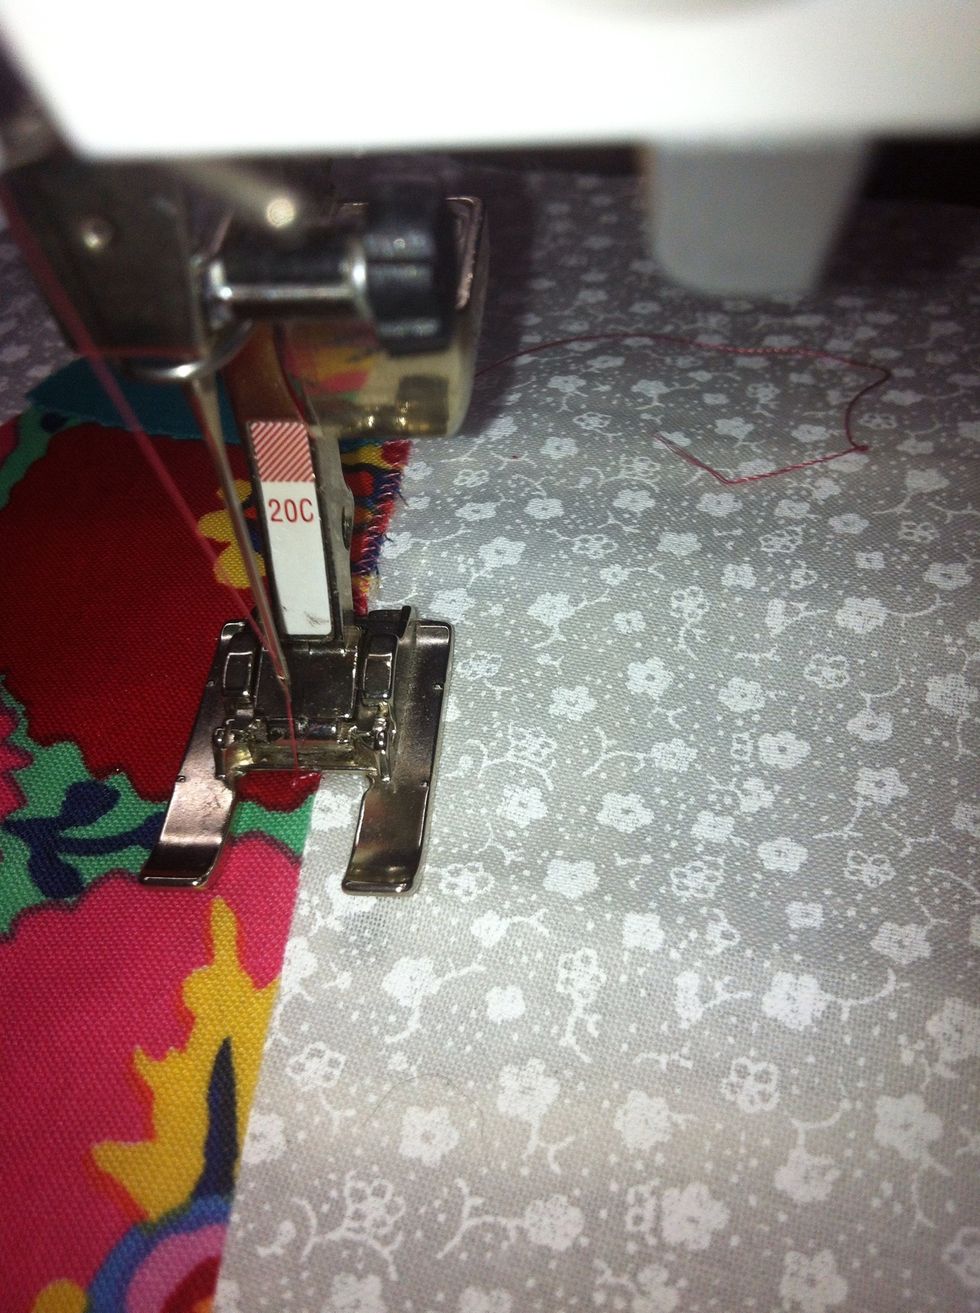
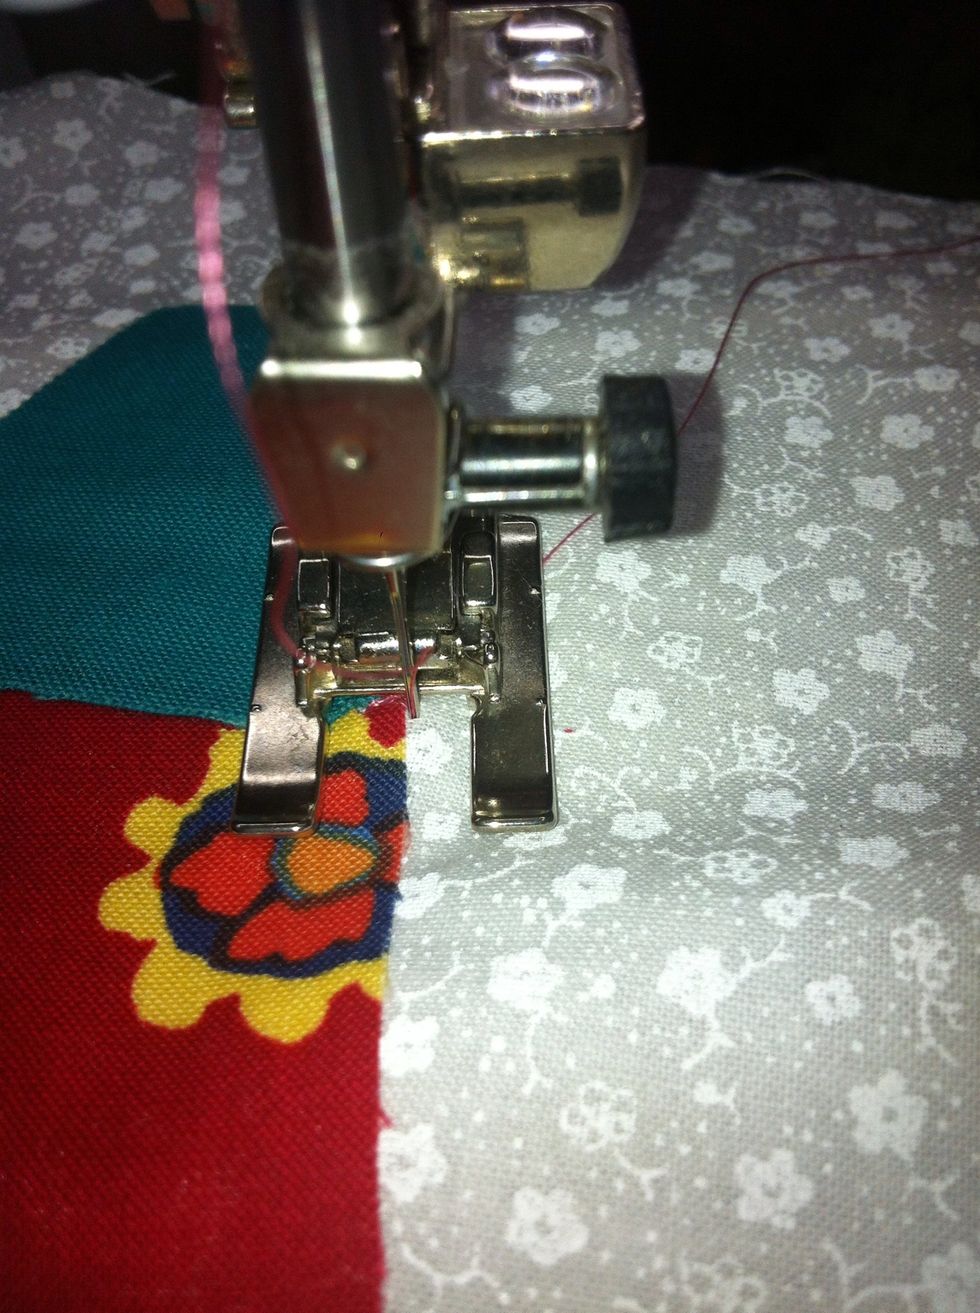
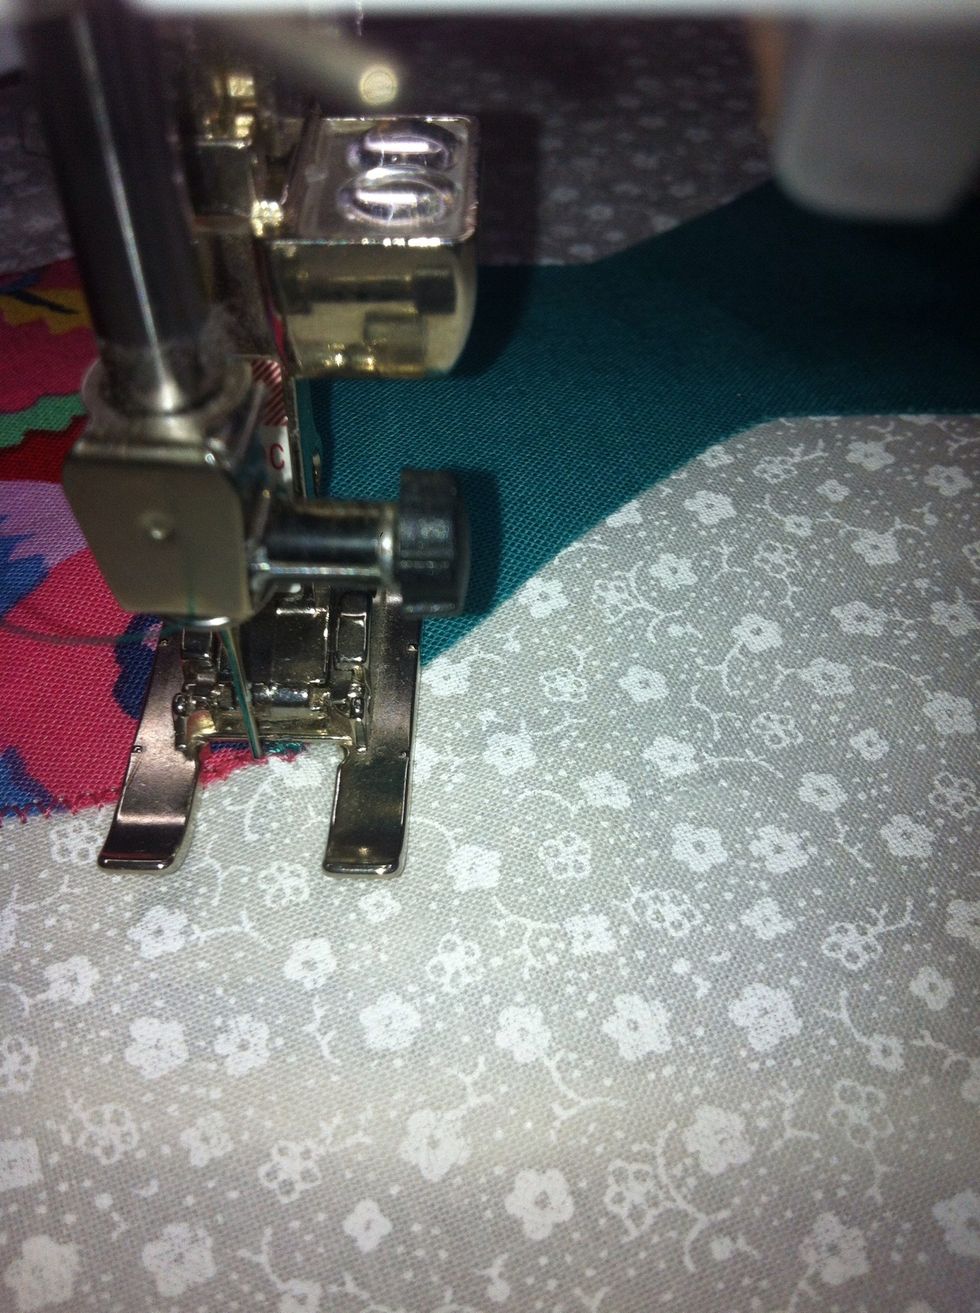
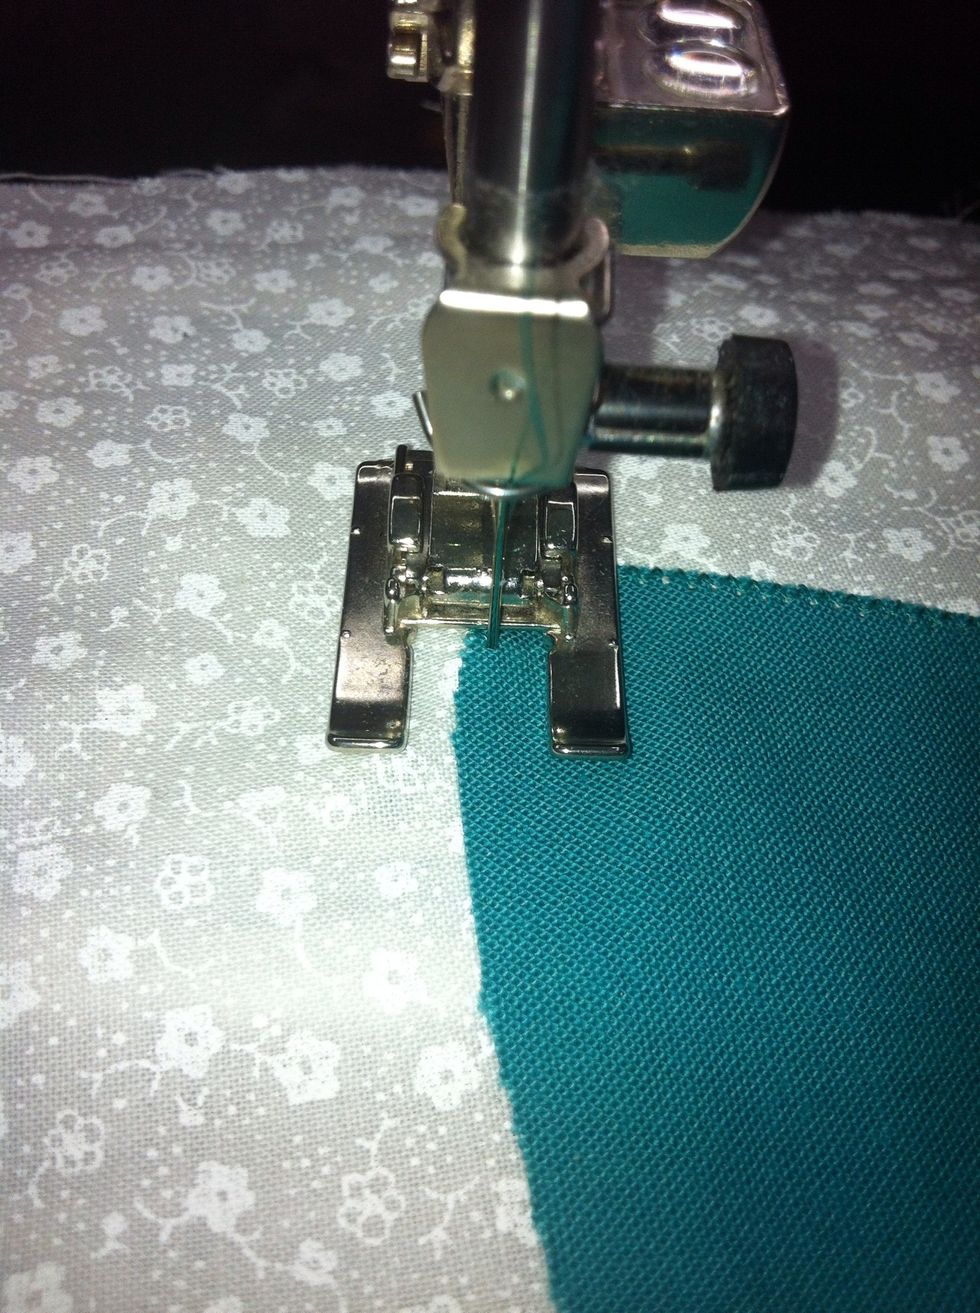
Stitch along following edge of the appliqué so the needle swings from the Background fabric at the edge of the appliqué into the Appliqué itself. Finish with a few stitches at 0 length to tie off.

Start on the next layer. Change thread to match. I like to start in a corner where a little thread build up is expected.
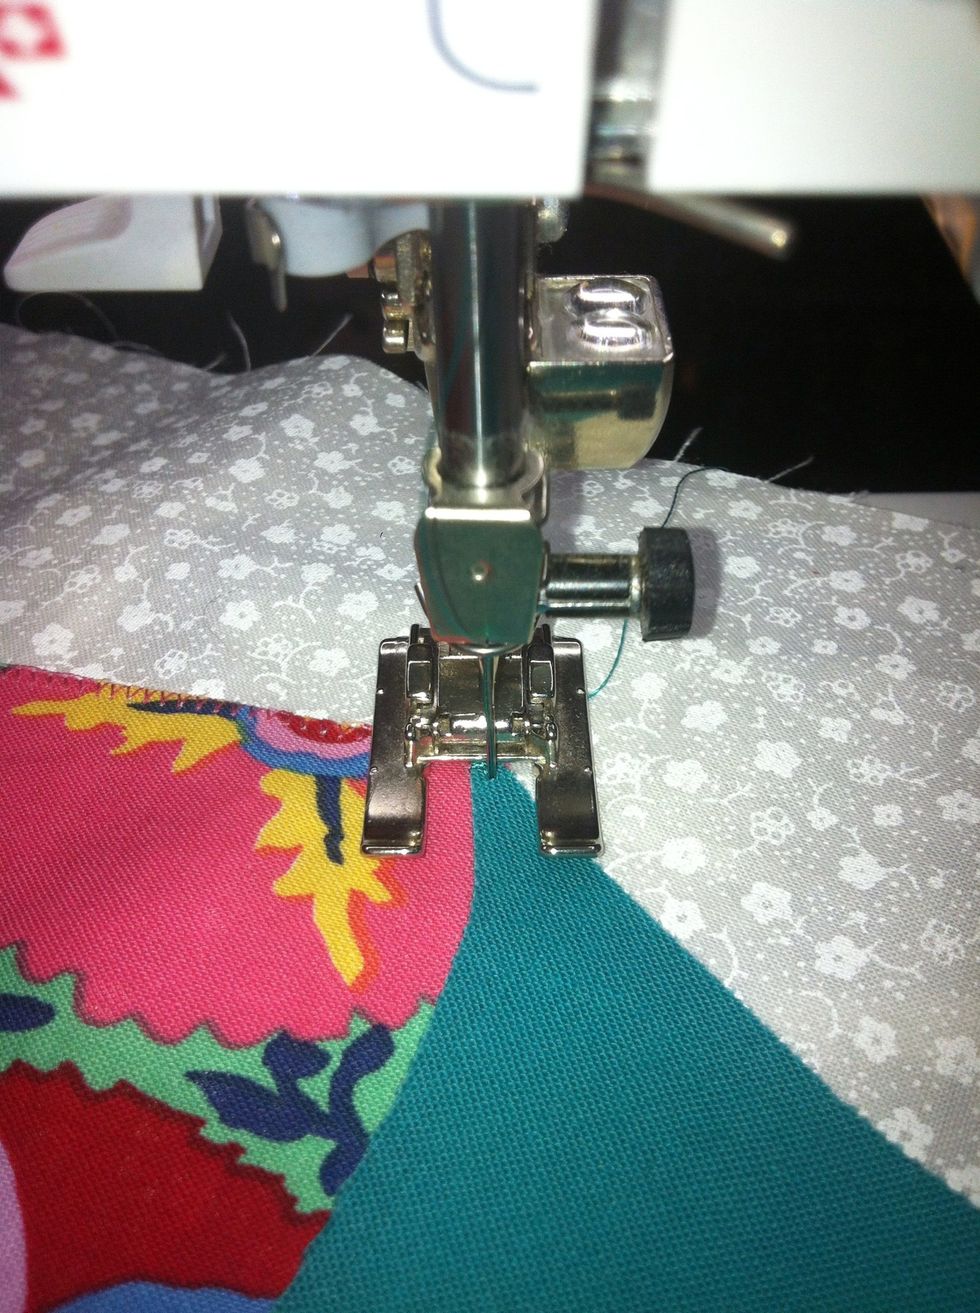
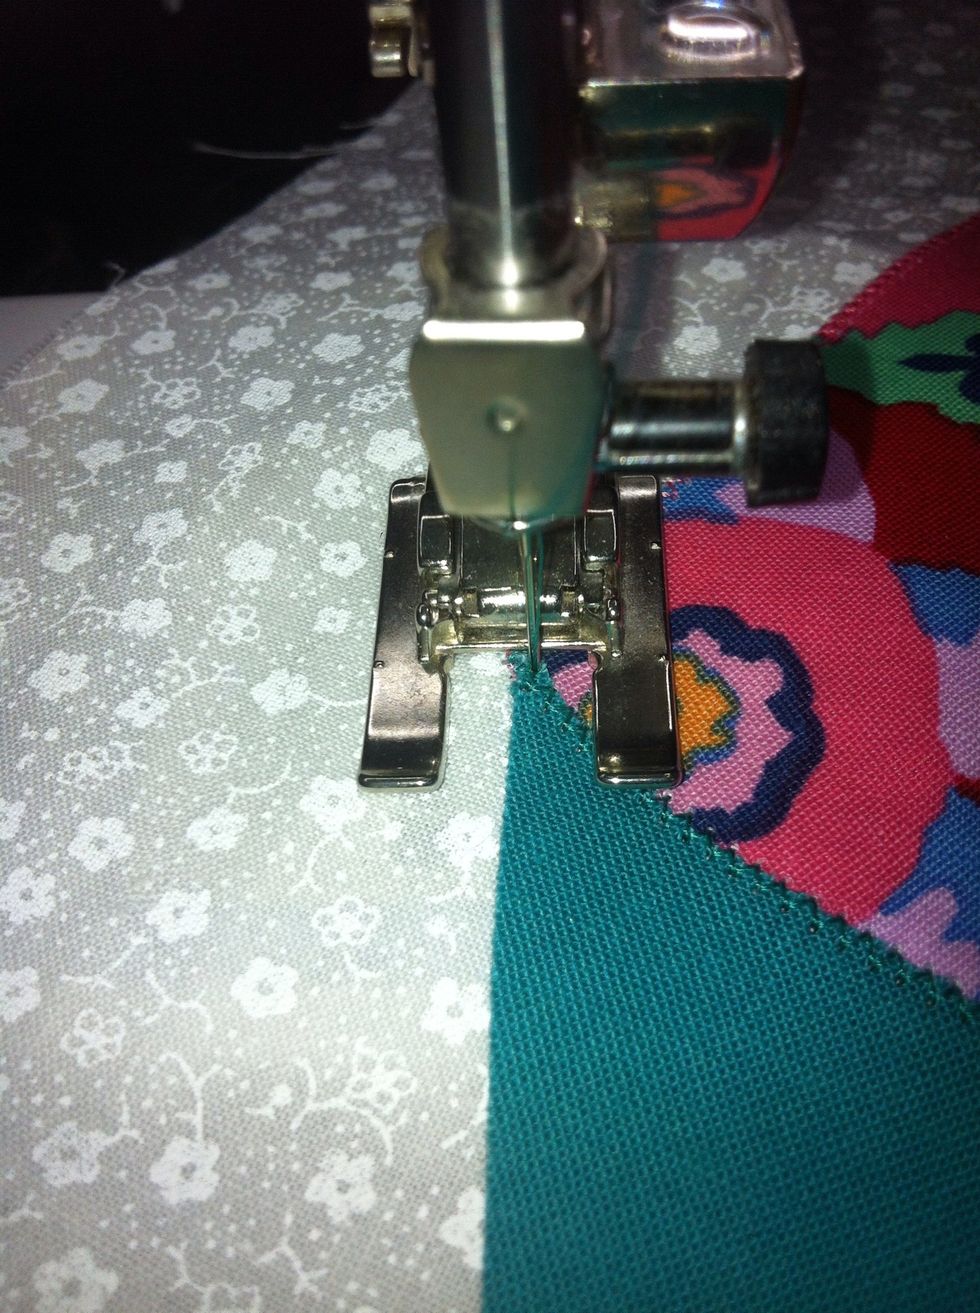
Once again, let the needle swing from just inside the appliqué...
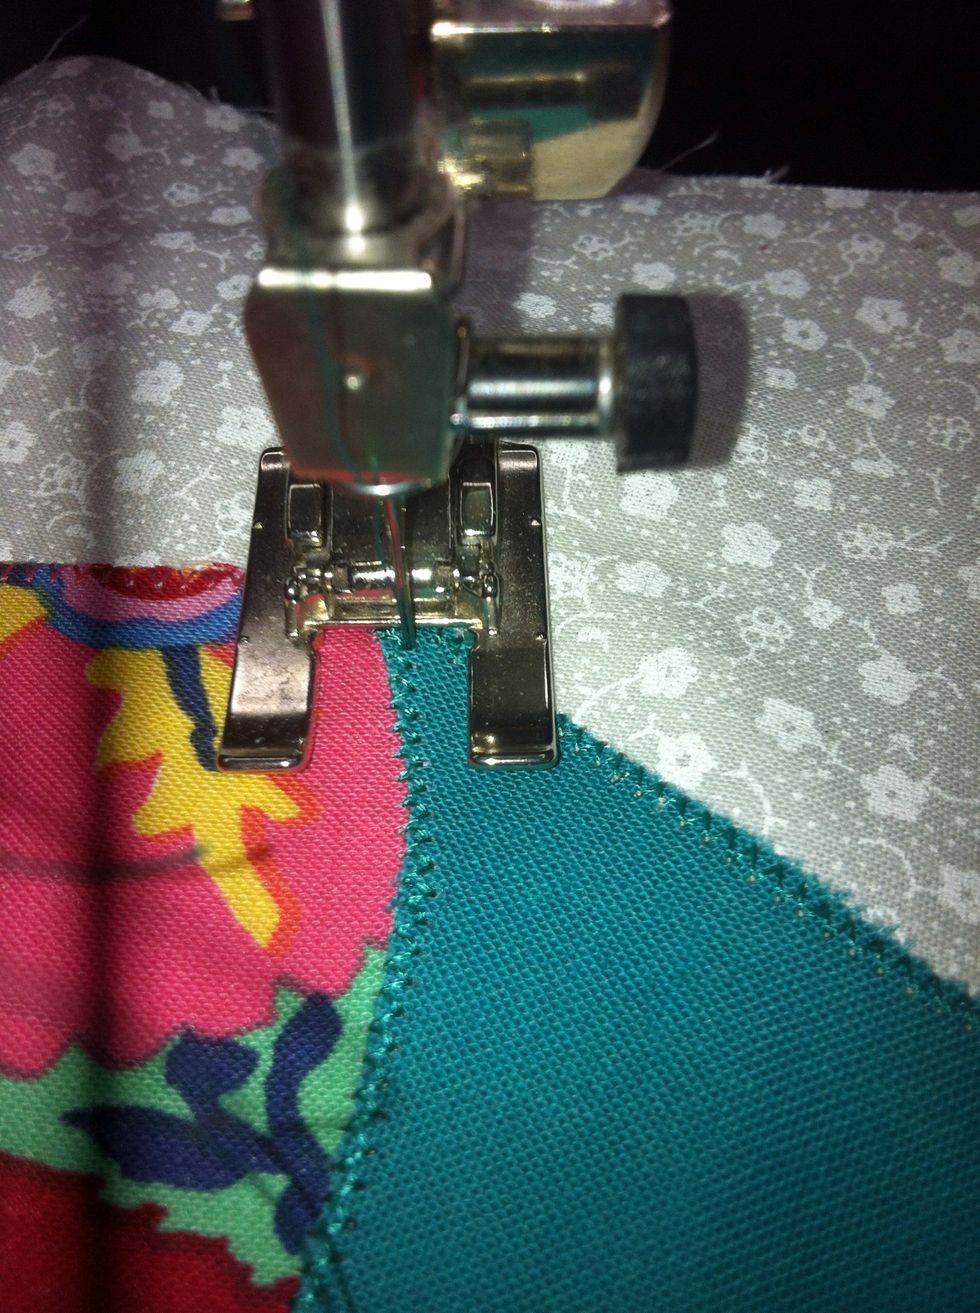
To just past its edge. Note now the needle is hitting another part of the appliqué instead of the background. See how the fabric curves? Follow that edge.
But when it becomes necessary to pivot, the position of the needle is important. On an INSIDE curve like this, pivot with your needle on the INSIDE of the appliqué. Then continue stitching.
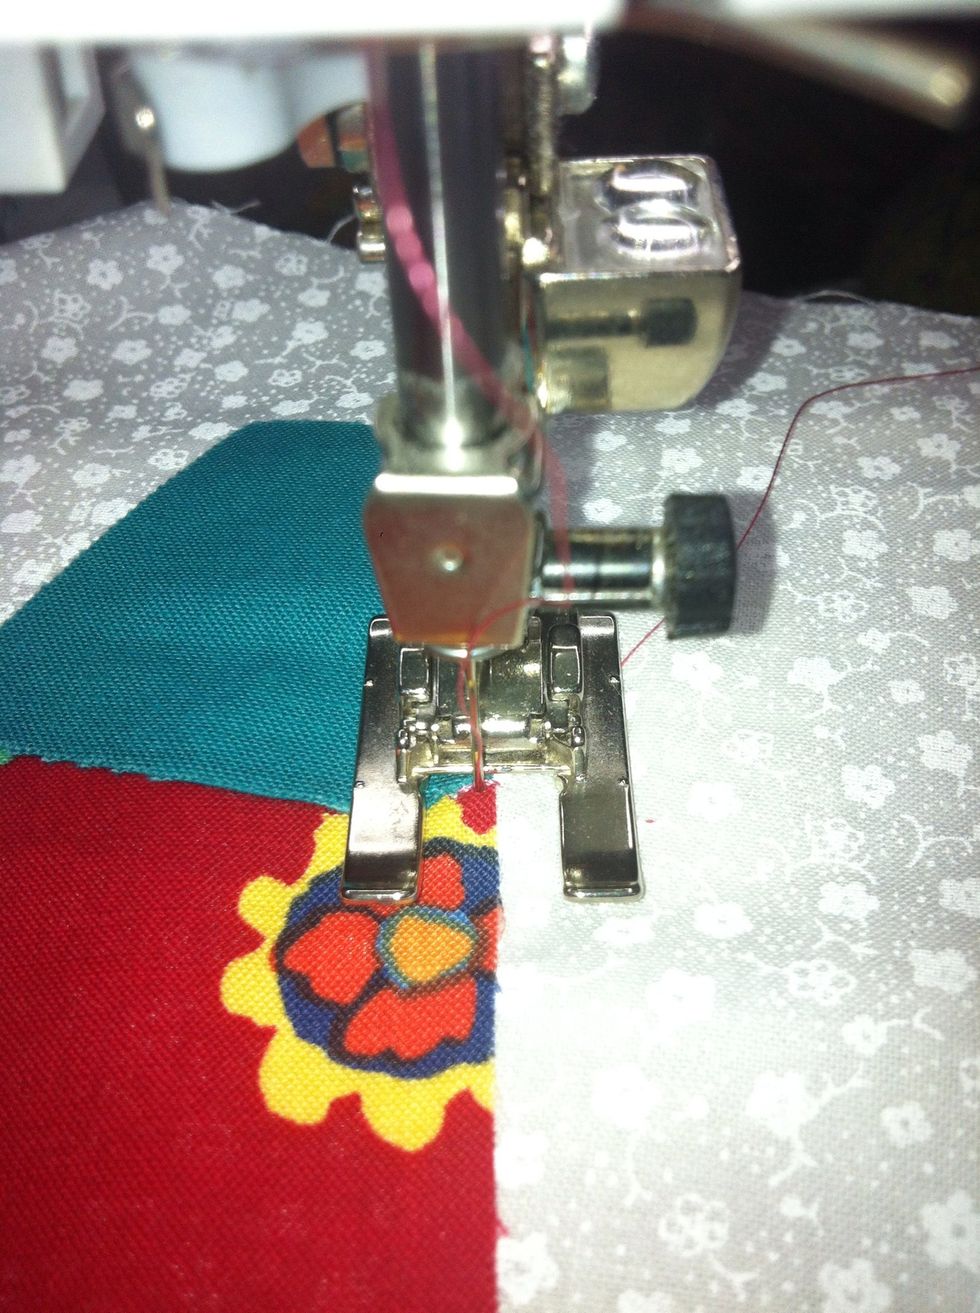
When you get to the corner, make a three point turn, to really nail down that corner...
Turn once about halfway, take a stitch, then turn again to make that three point turn at the corner.
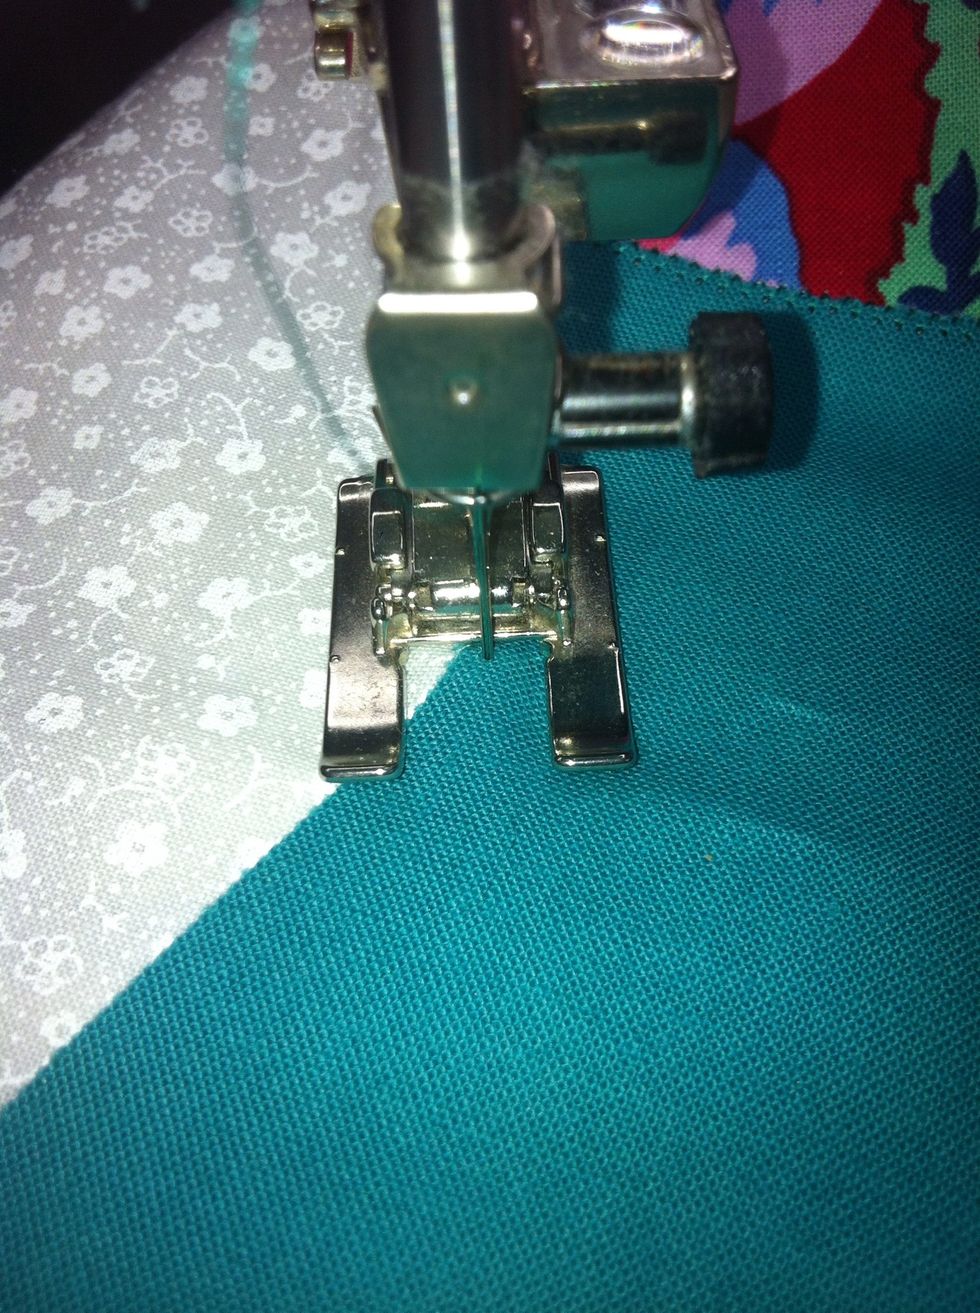
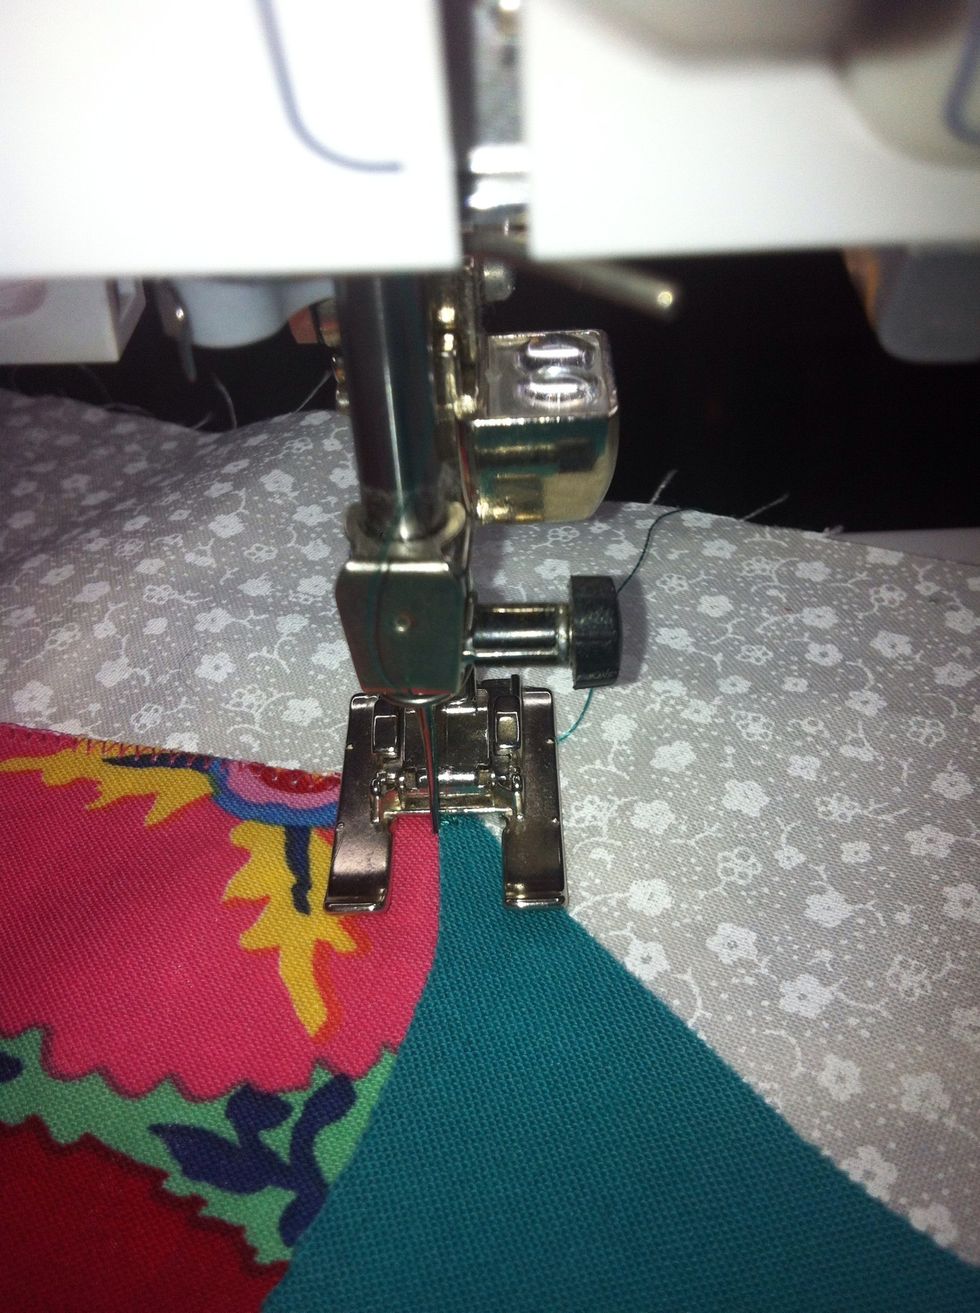
Here we are at an inside curve. Stop with needle INSIDE the appliqué. Conversely, on an OUTSIDE curve, pivot with the needle down on the OUTSIDE of the appliqué...

See, here is an outside corner. My needle is down on the outside of the appliqué.
Pivot with needle in the background and keep on stitching around the curve.
How often to pivot? Think of a clock face. Pivot 12 times as you go around a circle...That is 3 times in every quarter circle. Use this to judge pivot points. I joke that you pivot every 5 minutes...
Pivot every 5 minutes... Or once an hour... 12 times as you go around a complete circle (a click face) at least - More if necessary.
Back where we started. Stitch in place to tie off. Pull threads to back by pulling bobbin thread and tie off and/or trim.
When you finish appliquing, Remember to 1) Replace ZigZag foot with your regular foot 2) Go to straight stitch 3) And put tension back to normal... So you'll be ready for your next sewing project.
Make A Great Quilt! More info at LynBrown.com.