The Conversation (0)
Sign Up
Proper sterilization of your jars, lids, and rings is the first step to successful canning of fruits, veggies, and homemade jams, jellies, and preserves.
For a newbie, the whole process can be overwhelming! Never fear, this guide will have you on the road to canning in no time!
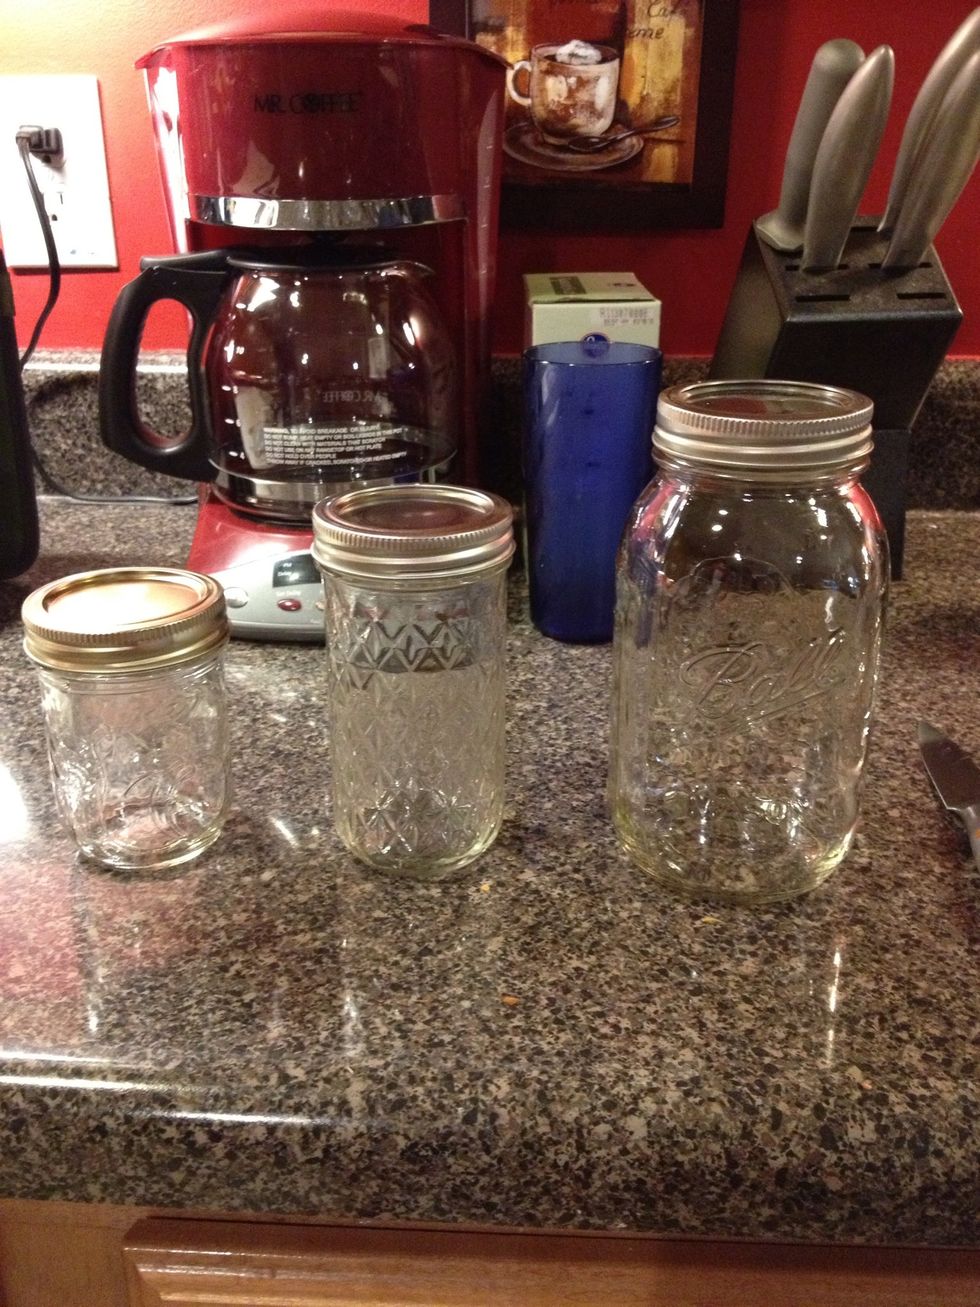
These are Mason jars. They come in various sizes. Pictured above are 8 oz., 12 oz., and 32 oz. jars. You can also find smaller (4 oz.) jars.
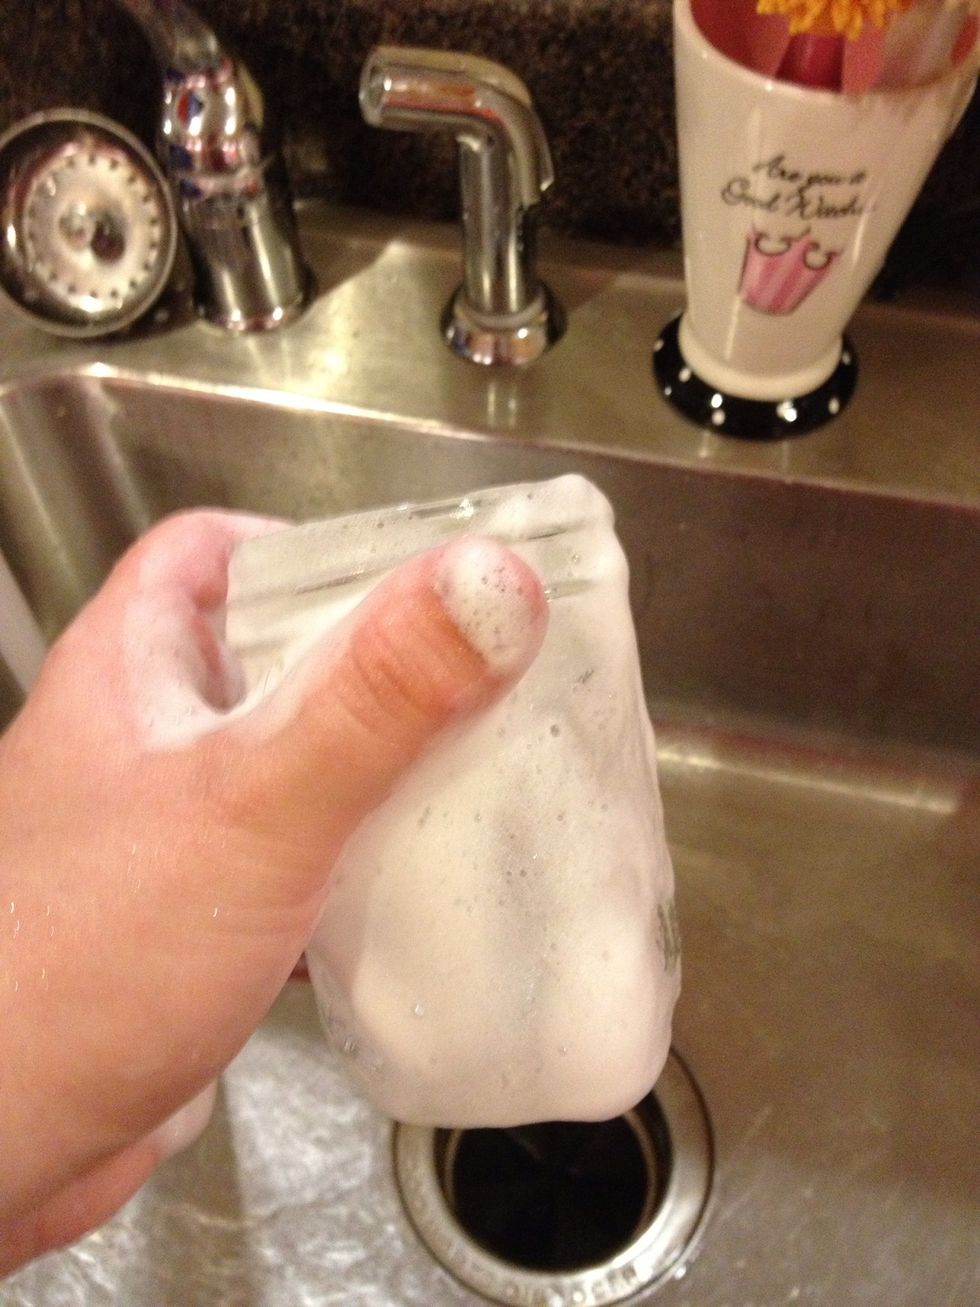
First, wash your jars, rings, and lids in hot, soapy water and rinse thoroughly also in hot water.
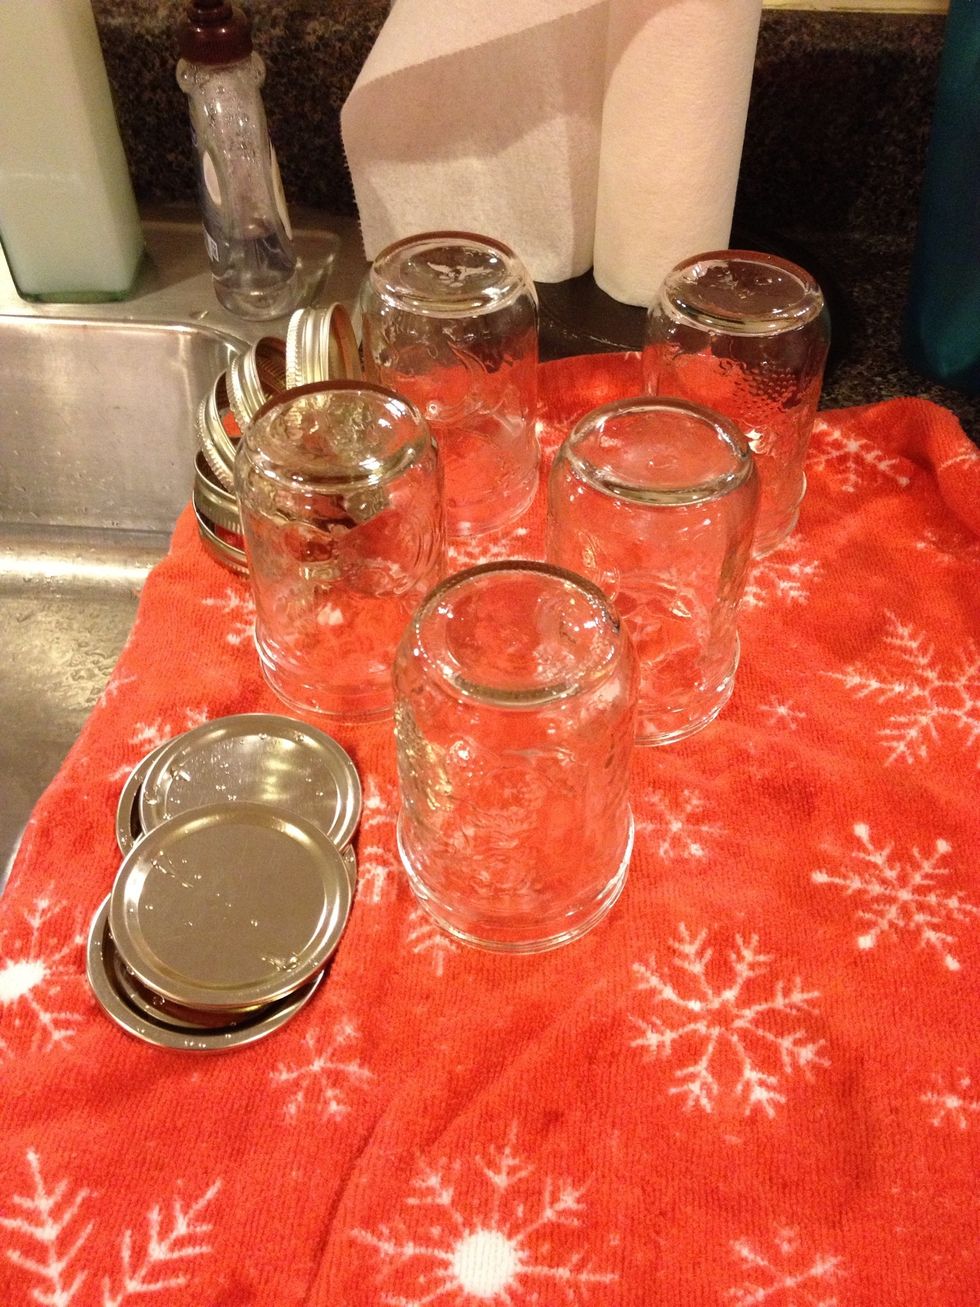
All clean!
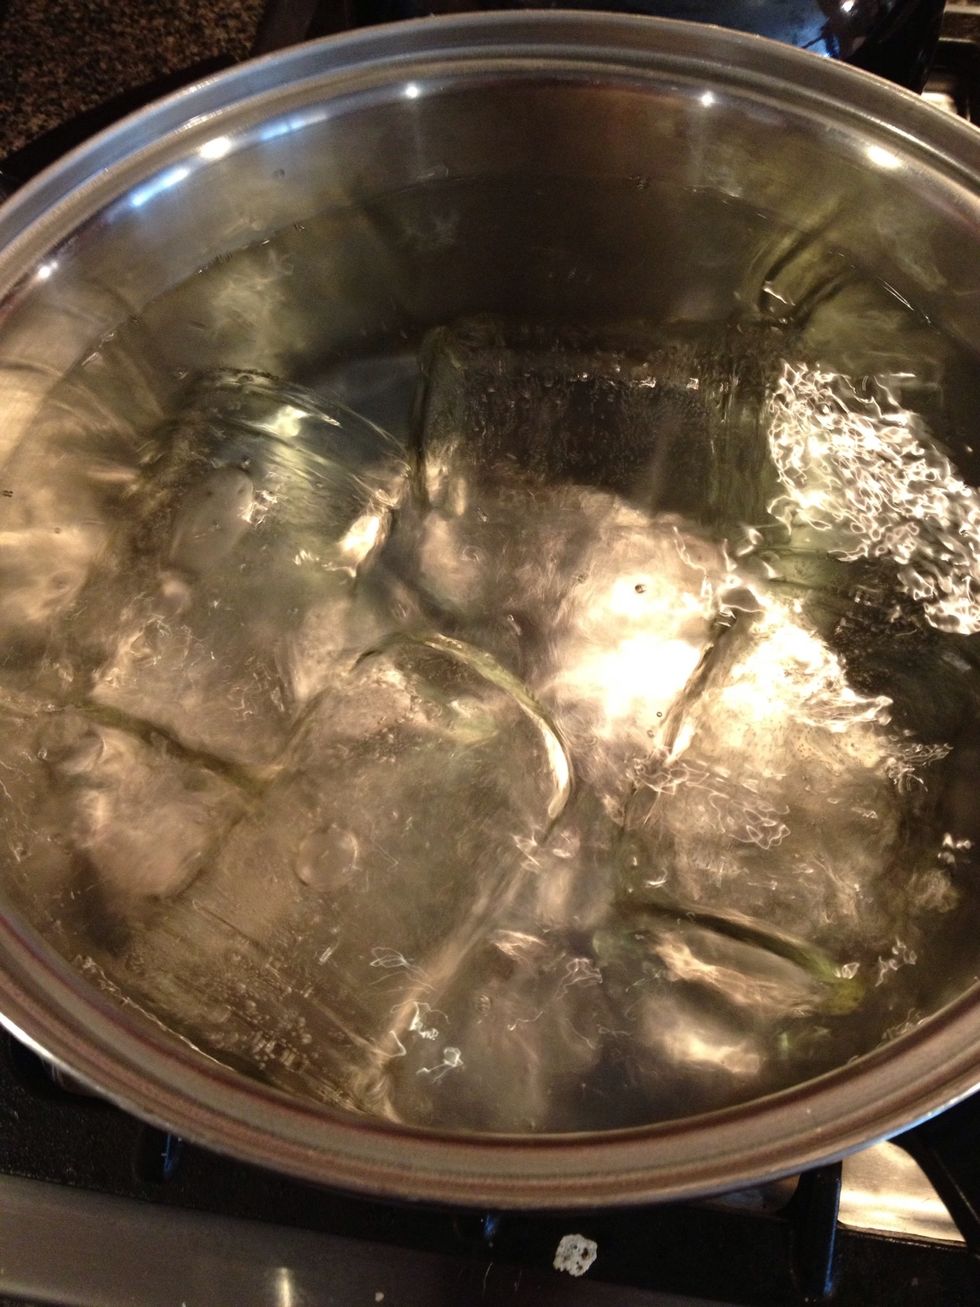
Fill a large pot with water and bring to a boil. Place several jars, rings, or lids in the pot making sure they are completely submerged in the boiling water.
Try to have at least 1 inch (2.5 cm) of water covering the jars while they boil.

Allow your jars and their accessories to boil for at least 10 minutes.
Using tongs, CAREFULLY remove your very hot jars, lids, or rings from the water. Special tongs with rubberized grips or a basket can be purchased to do this, but plain tongs work, too.
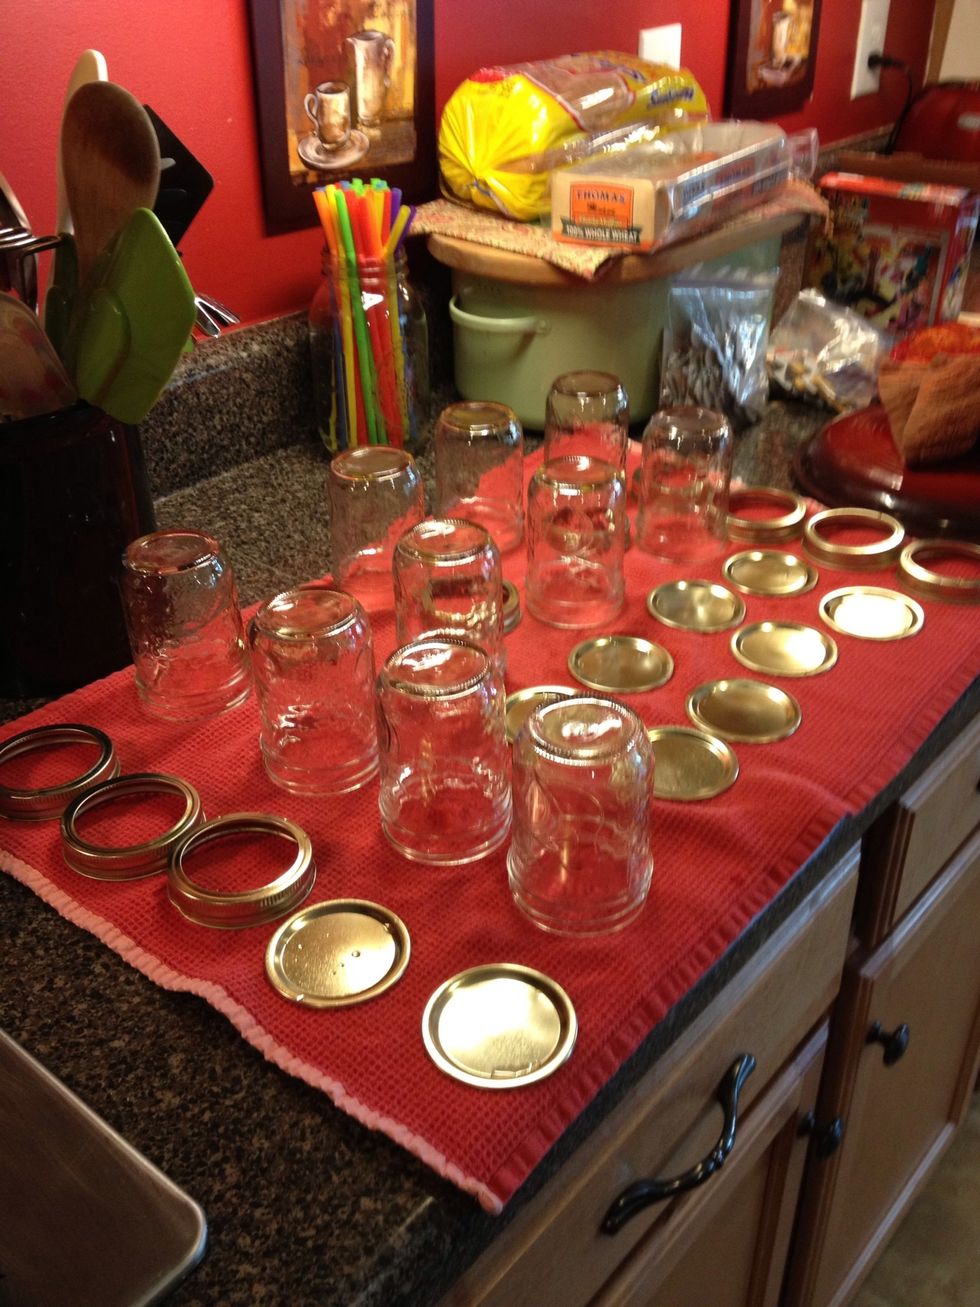
Place your jars upside down on a clean kitchen towel to allow any water to drain out. Lay lids and rings out to dry individually.
Repeat steps 6-10 if needed to sterilize all your jars. Otherwise, you're done and well on your way to canning!