The Conversation (0)
Sign Up
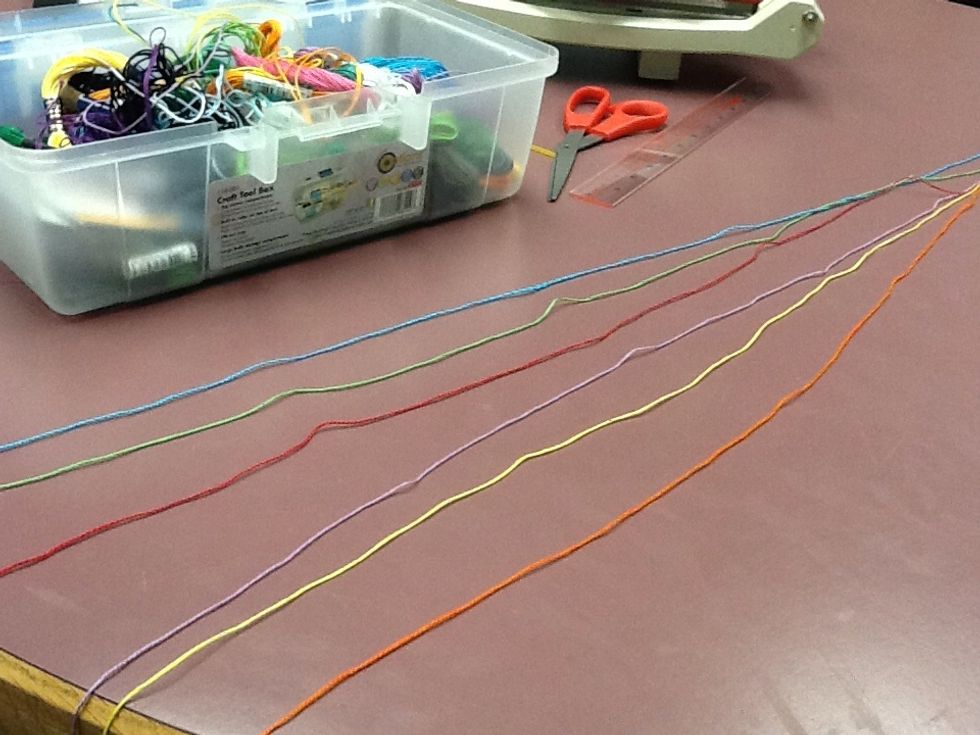
Select six colours of thread, each piece of thread needs to be at least four feet long.
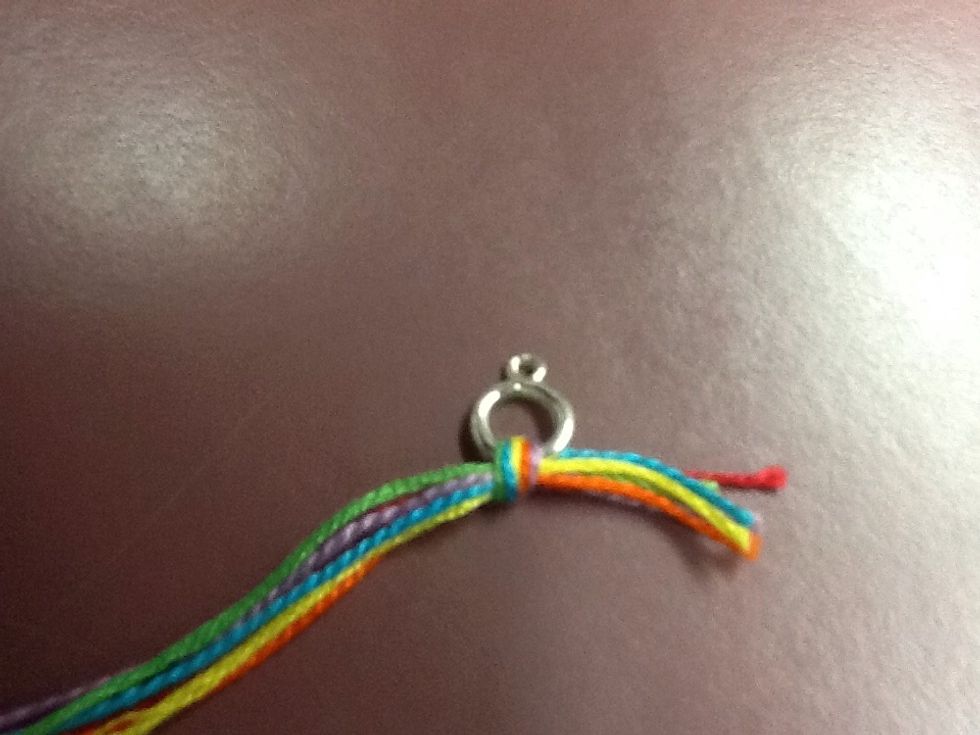
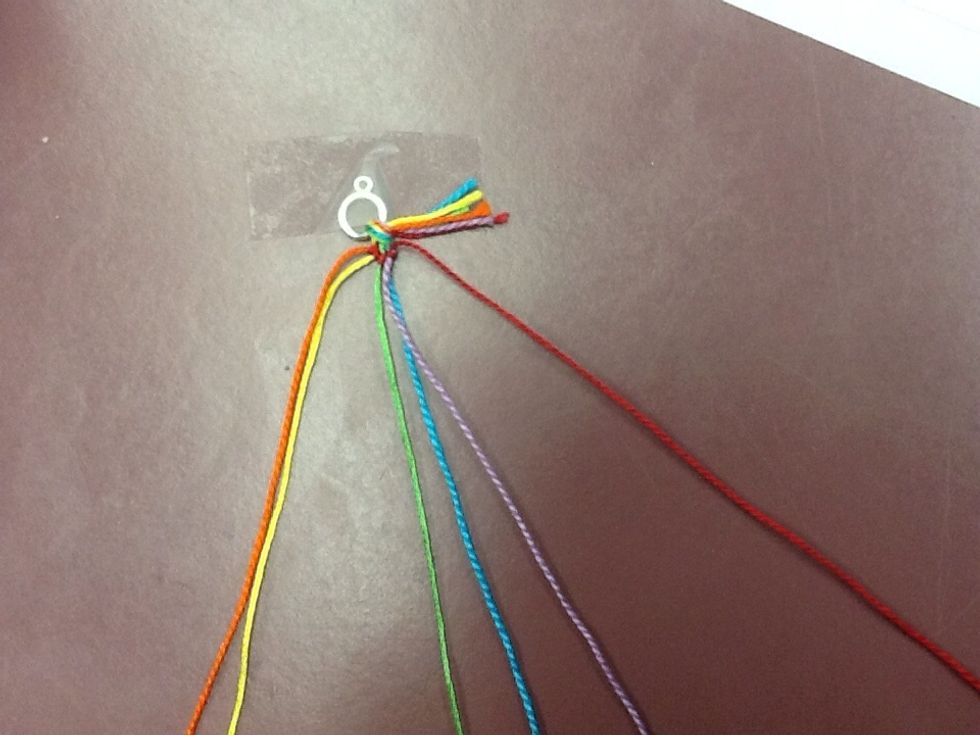
Then tie the thread in a knot through a ring.
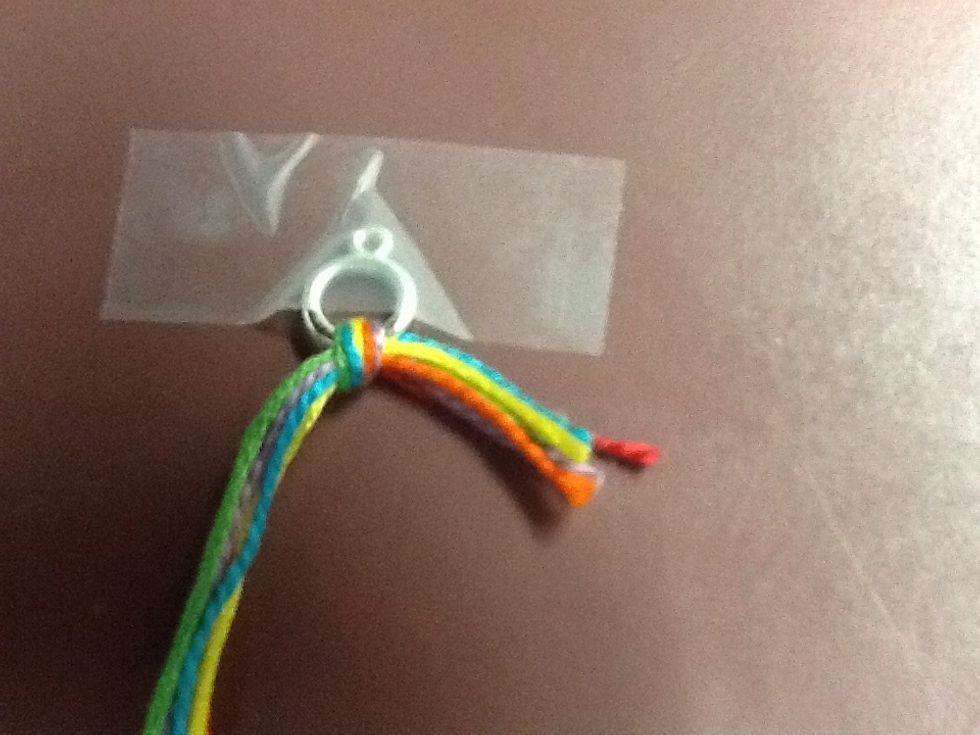
Tape the ring down to a flat surface, such as a table.
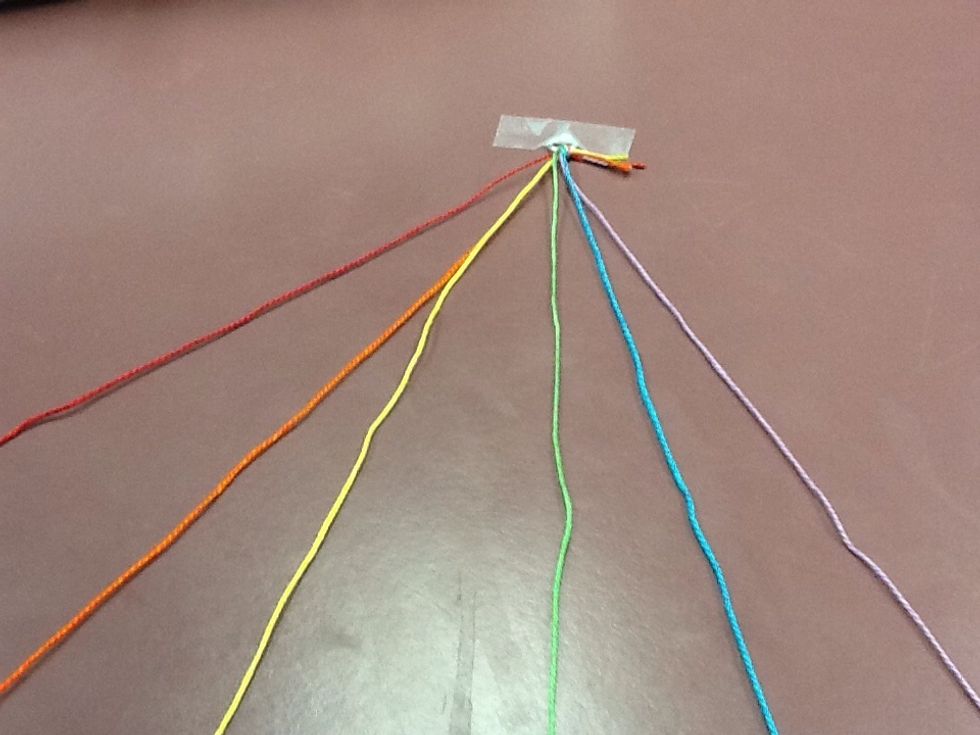
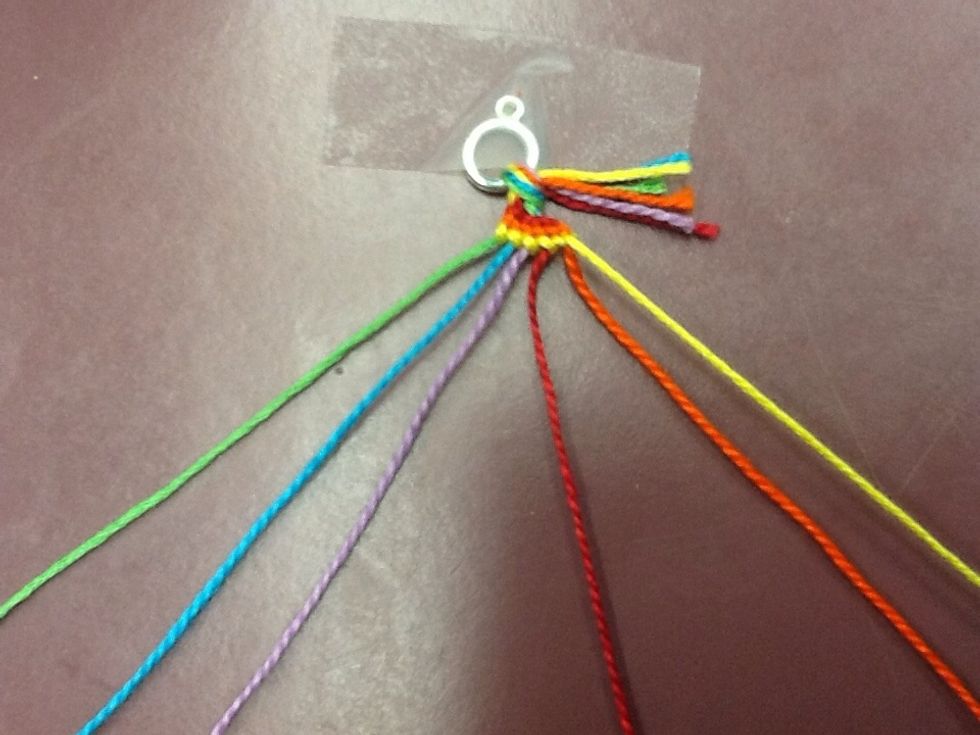
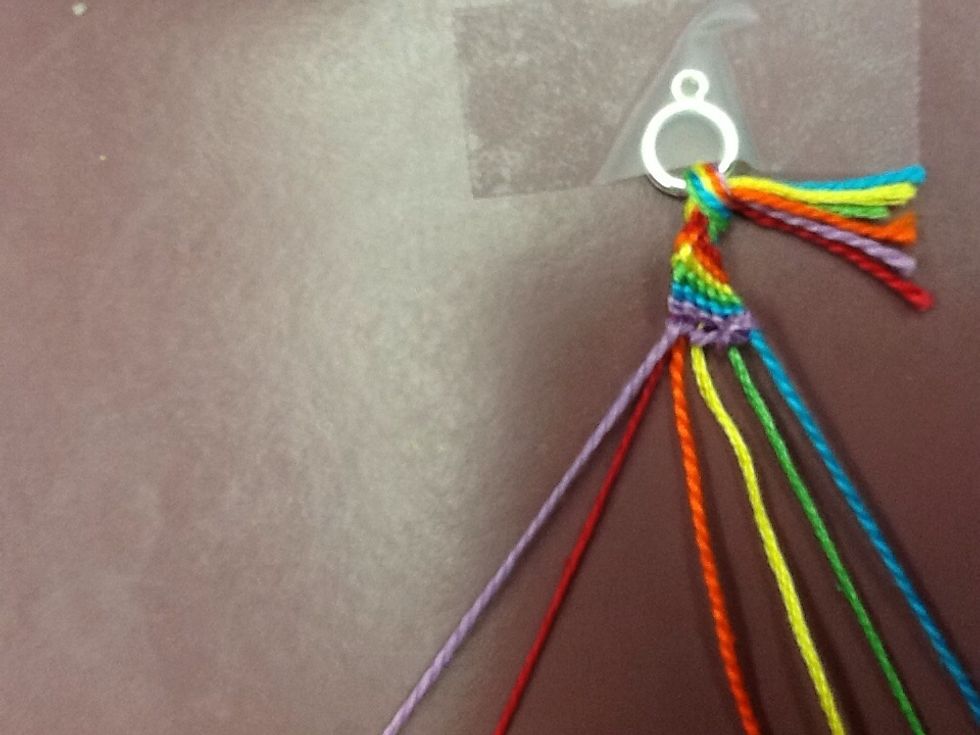
Place your strings in whatever order you want from left to right.
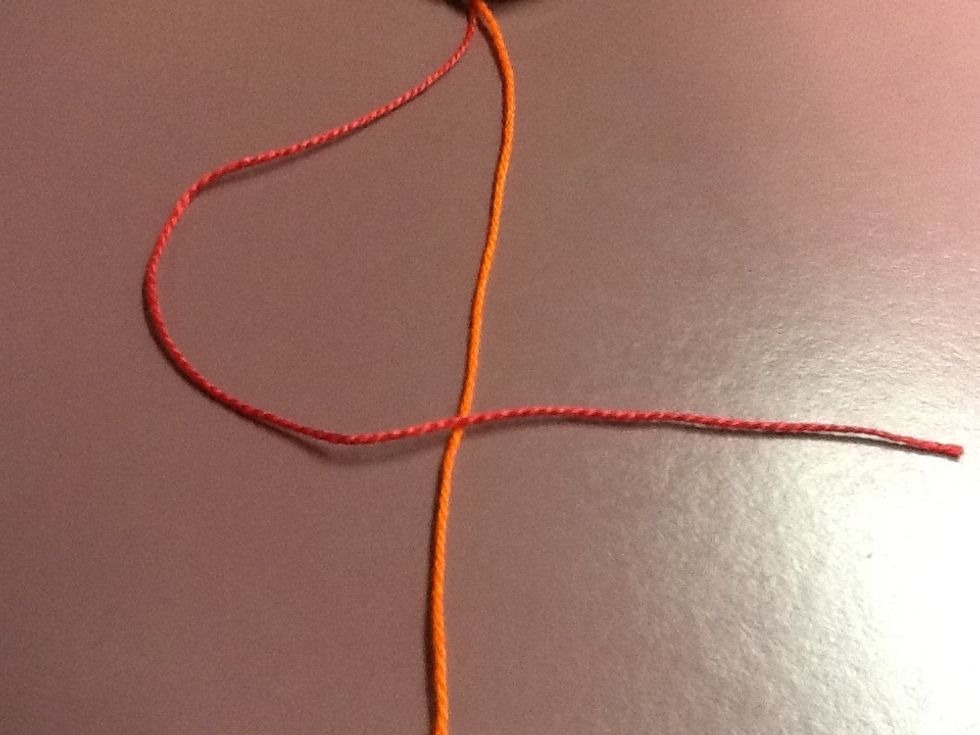
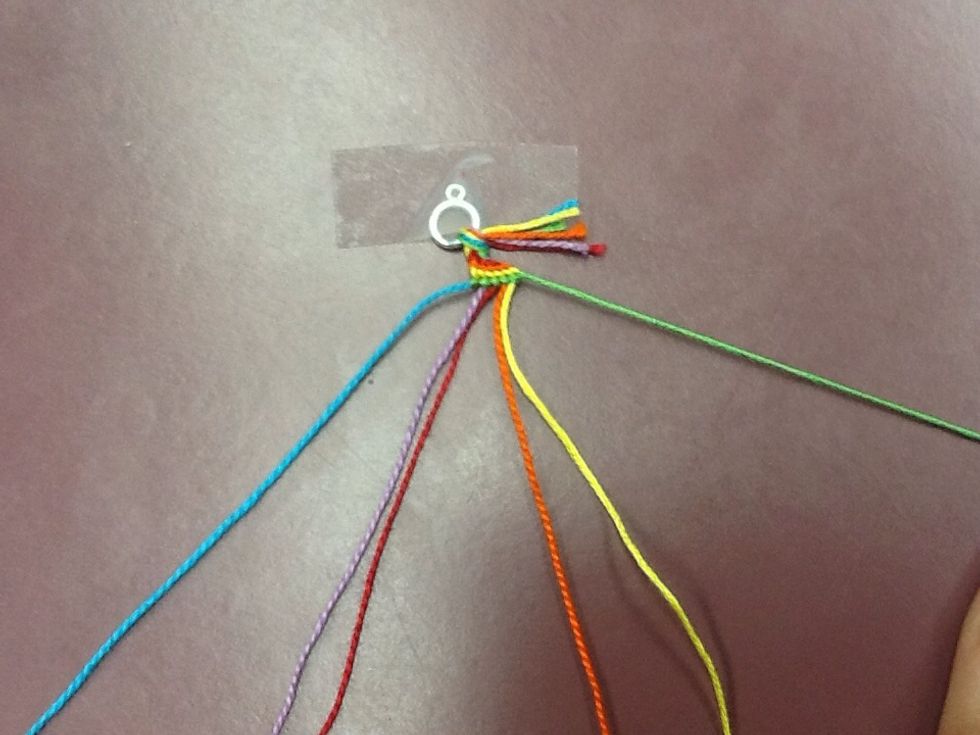
Pick up the first string on the left (red), and place it over the string beside it (orange).
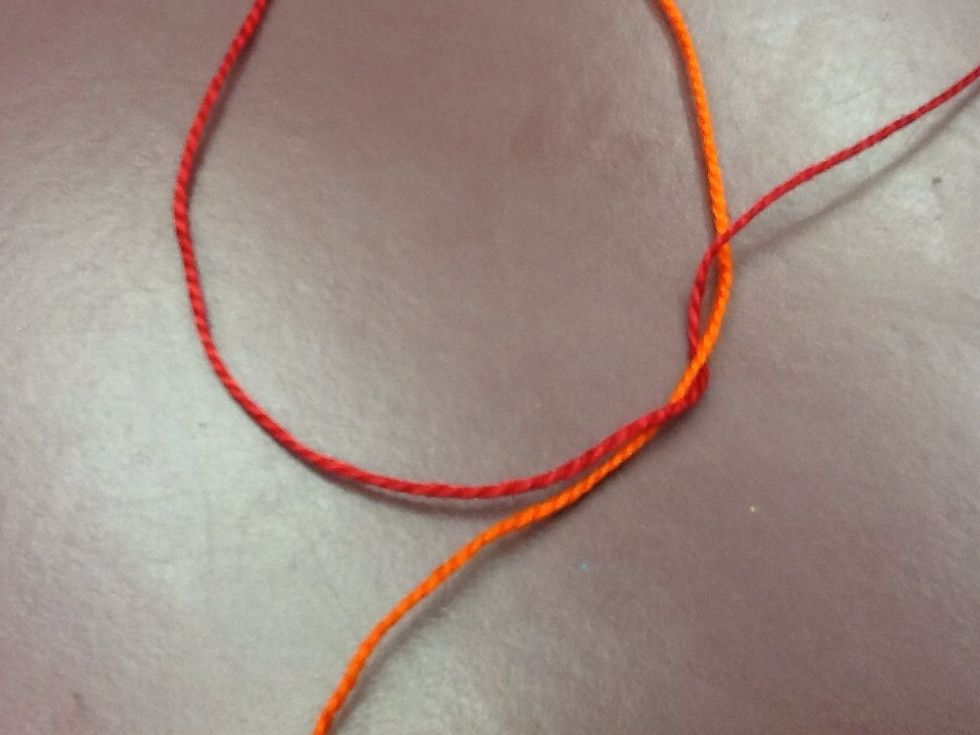
Then tie a knot pulling the string to the top.
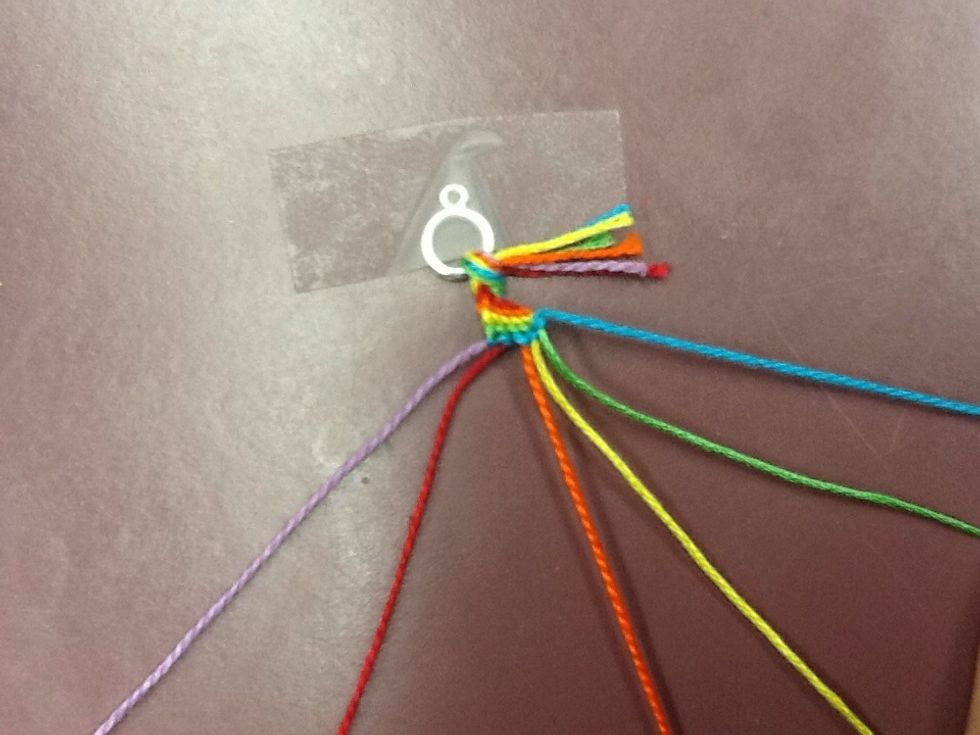
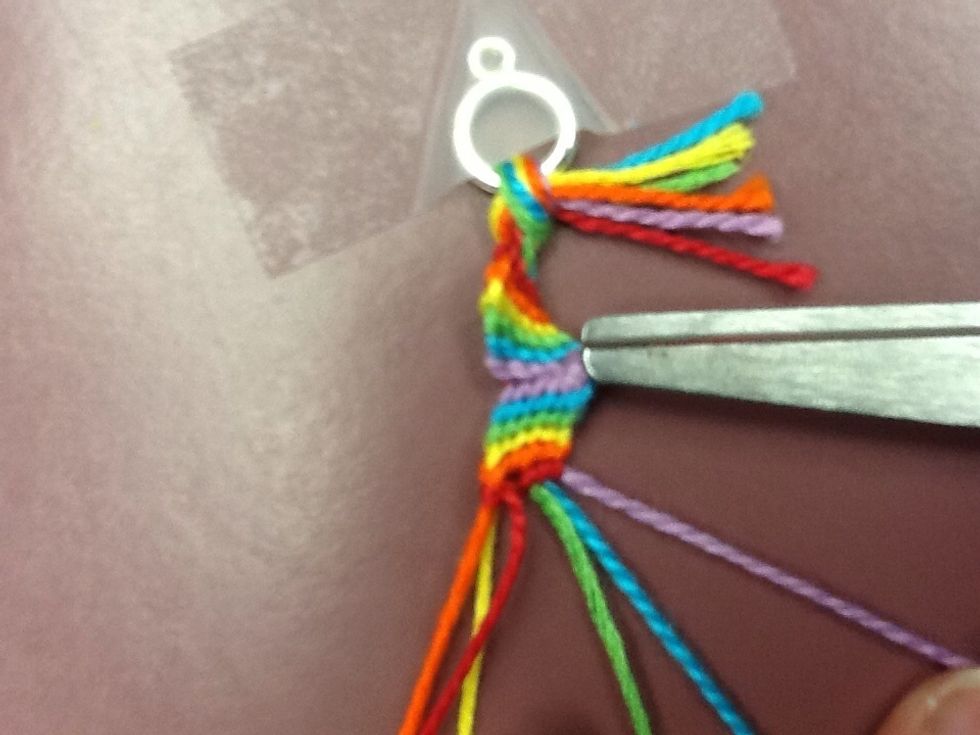
Repeat this step knotting the red string over the other colours (yellow, green, blue, and purple) until the red string is all the way to the right.
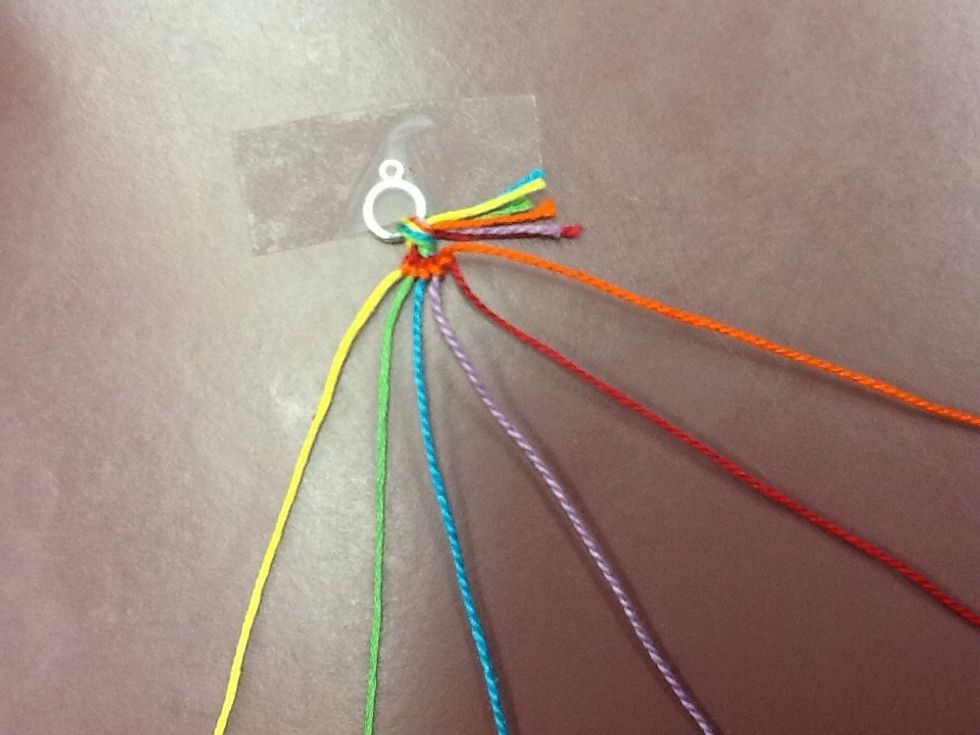
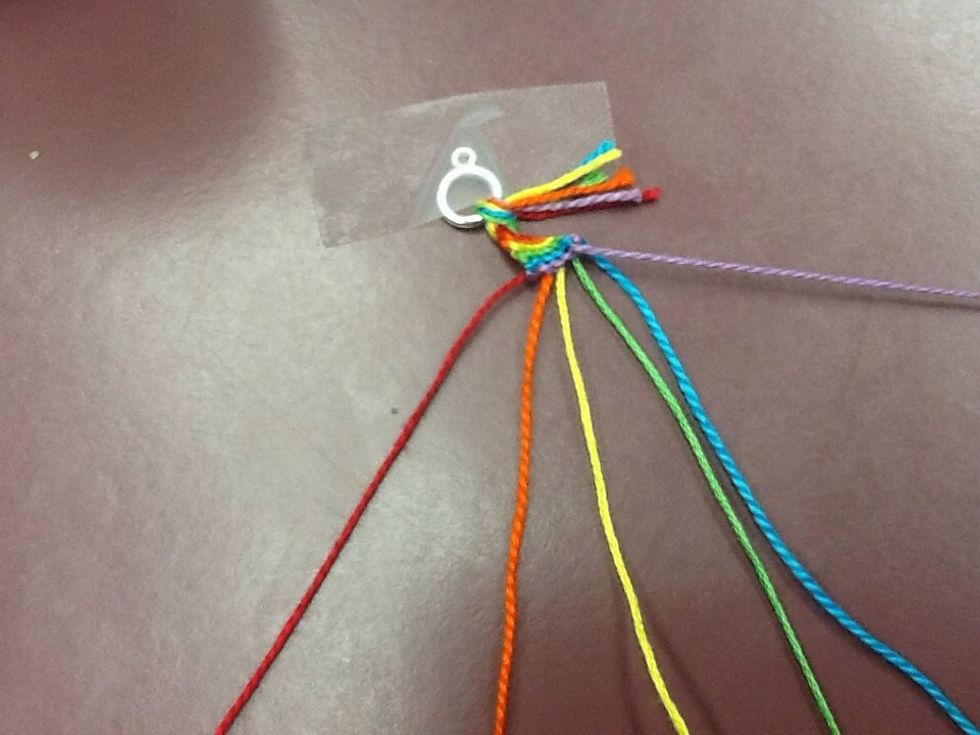
Now repeat these steps with the next string (orange), again working from left to right until the the orange string is all the way to the right.
Keep repeating these steps with each colour. Yellow
Keep repeating these steps with each colour.Green
Keep repeating these steps with each colour. Blue
Keep repeating these steps with each colour.Purple
Once you've wrapped the last string (purple), do the entire process over, but go from right to left. So the last string (purple) becomes the first string.
Once you've reached the last string (red), change directions and go left to right once again. So the last string (red) becomes the first string.
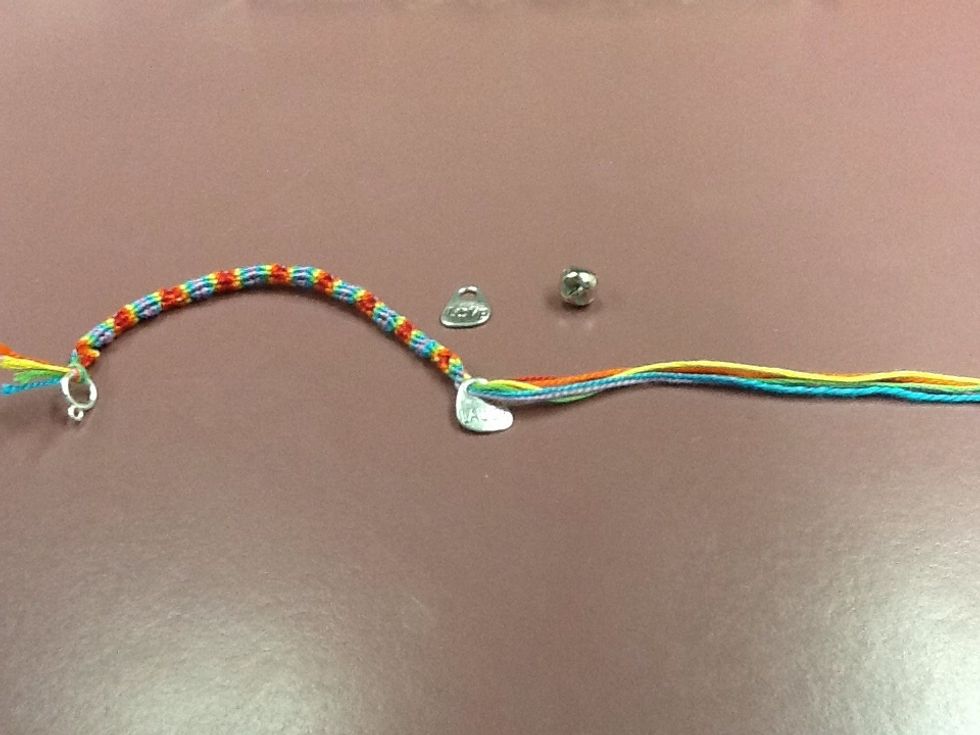
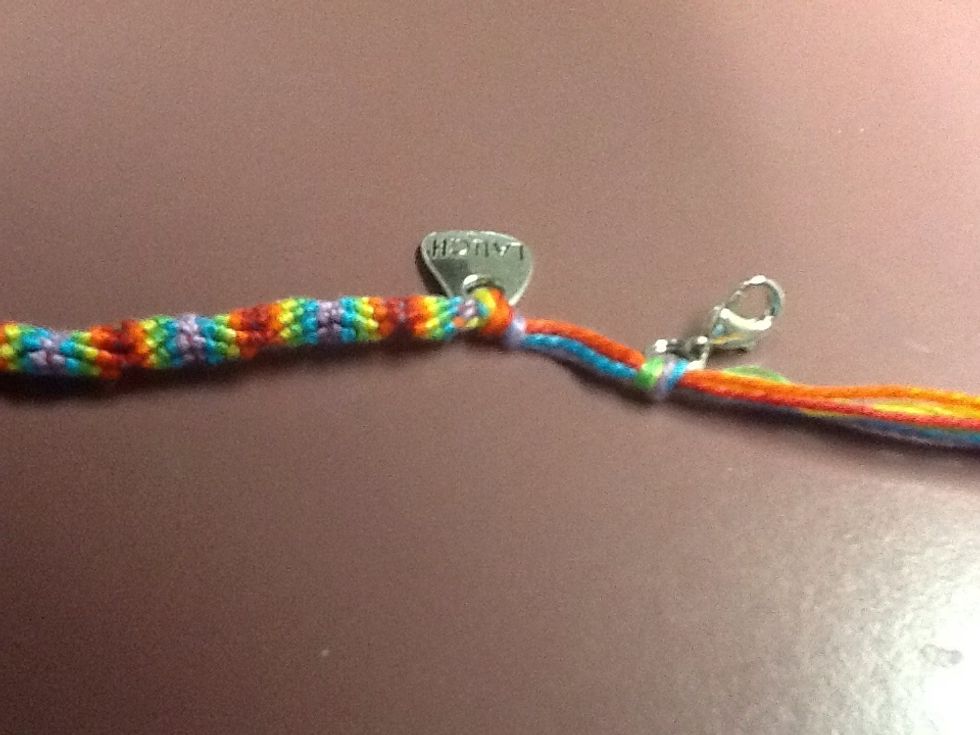
When you reached the desired length, you can add any accessories you like!
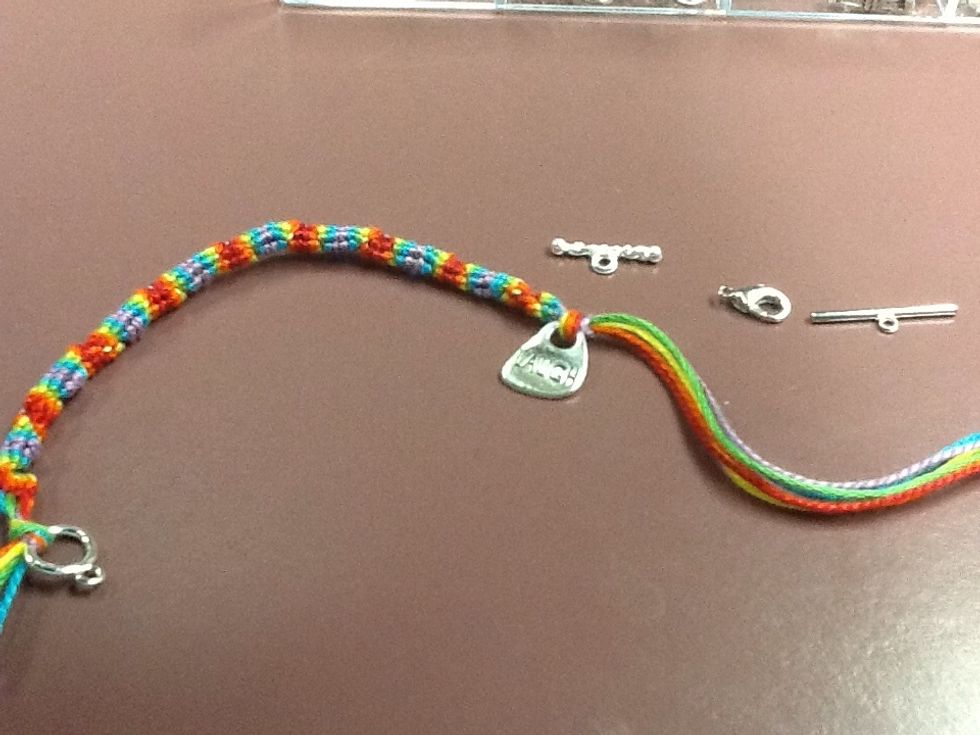
Tie a knot to secure the accessory, then choose a clasp or toggle to add to your bracelet.
Secure your toggle or clasp with a knot.
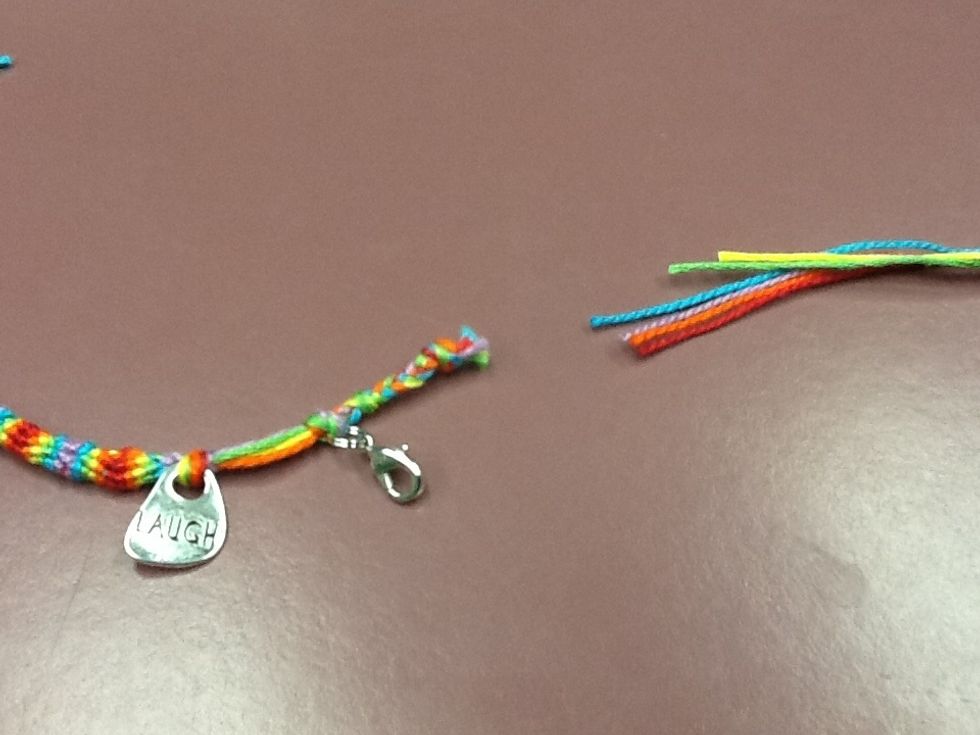
Cut off the long ends. Then you can braid the remaining ends of the bracelet.
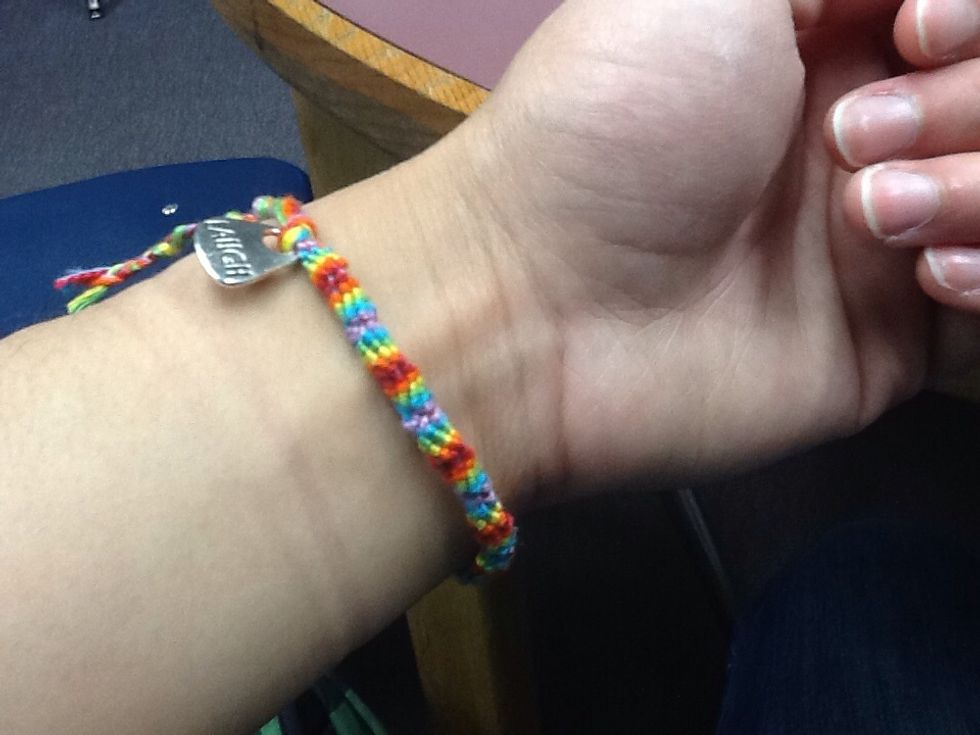
And now your done!