The Conversation (0)
Sign Up
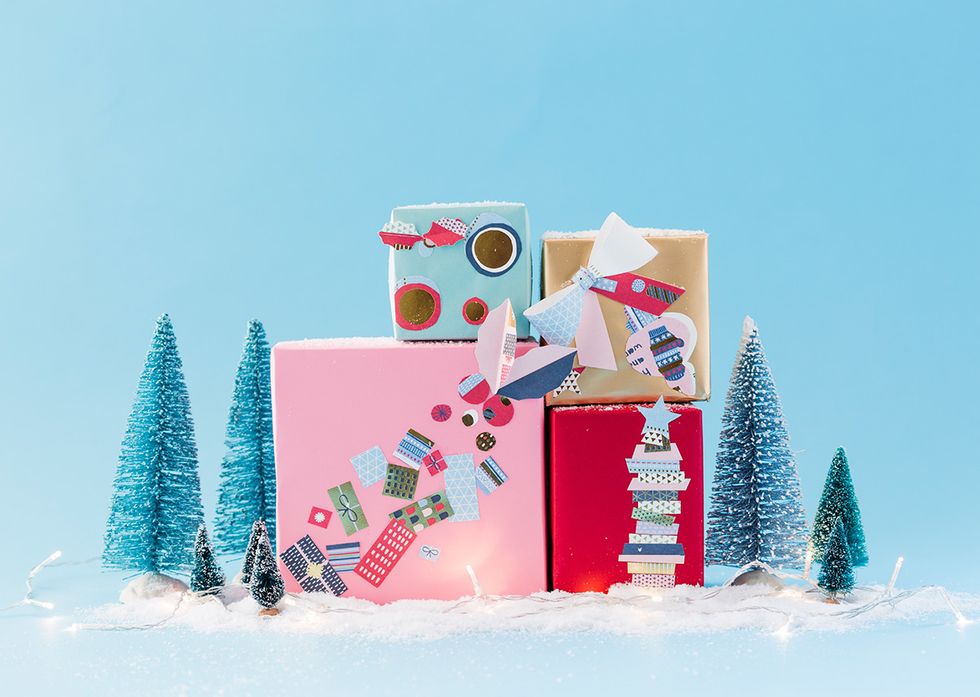
We teamed up with Studio Ink to wrap our presents this year by cutting up greeting cards to decorate our presents with. With this nifty DIY, you won’t be left with a pile of identical looking boxes!
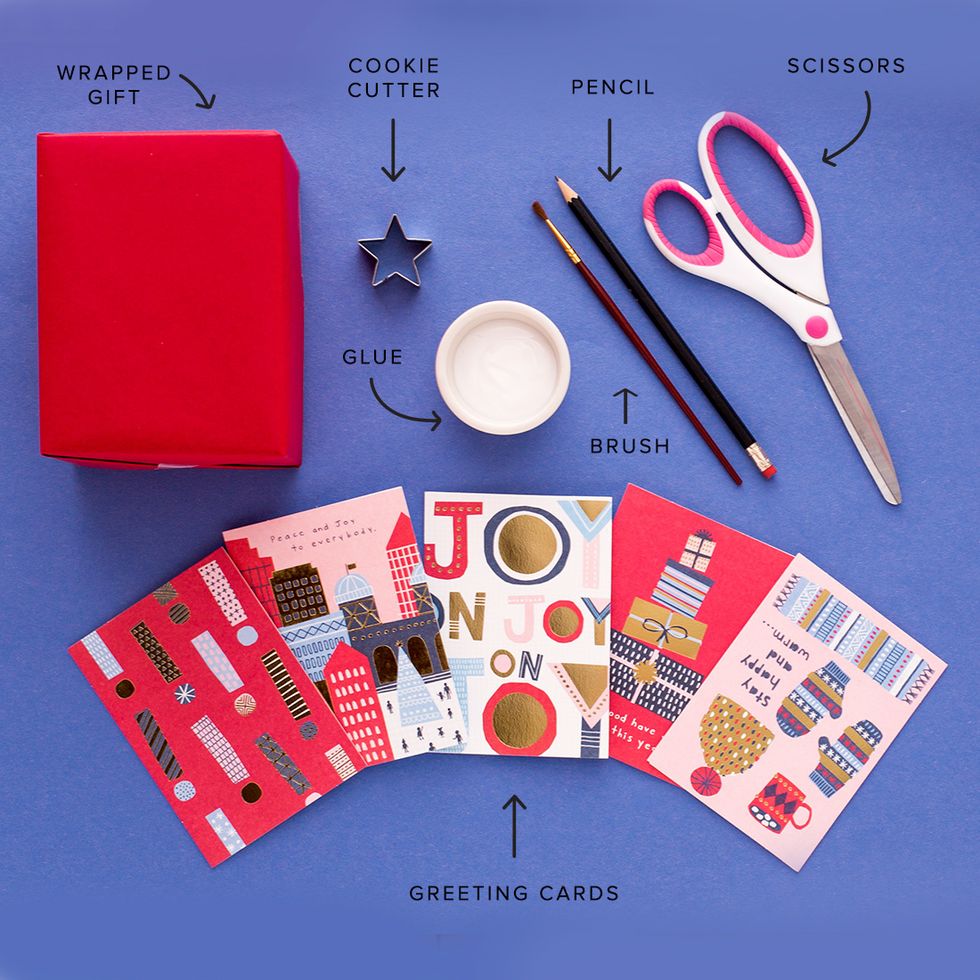
Gather your supplies.
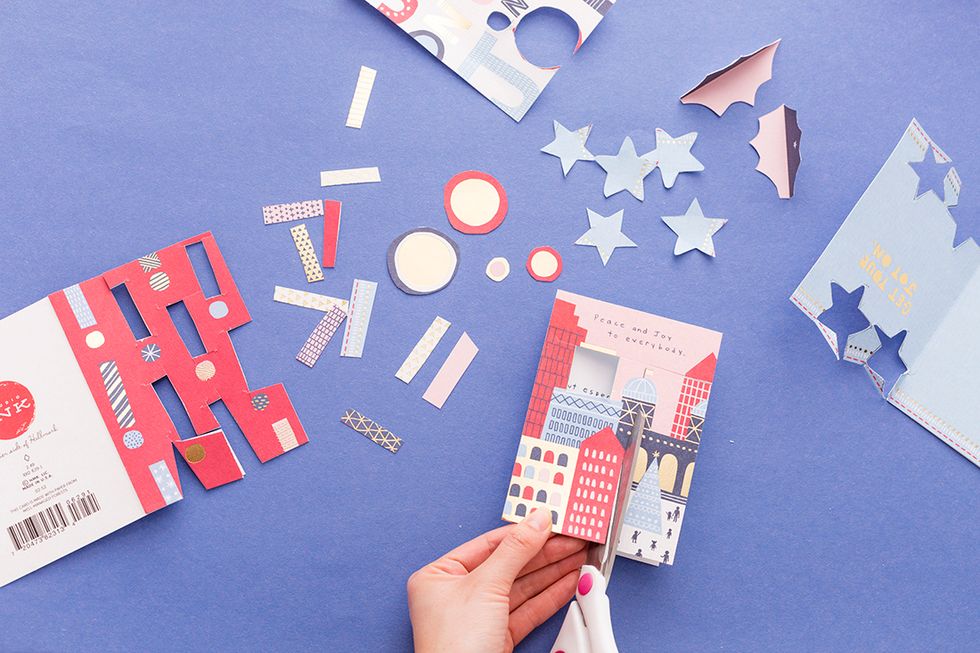
We started out by cutting out the illustrations in the cards, like the buildings, exclamation points and circles. Cut your own abstract shapes or cut out existing shapes in the cards.
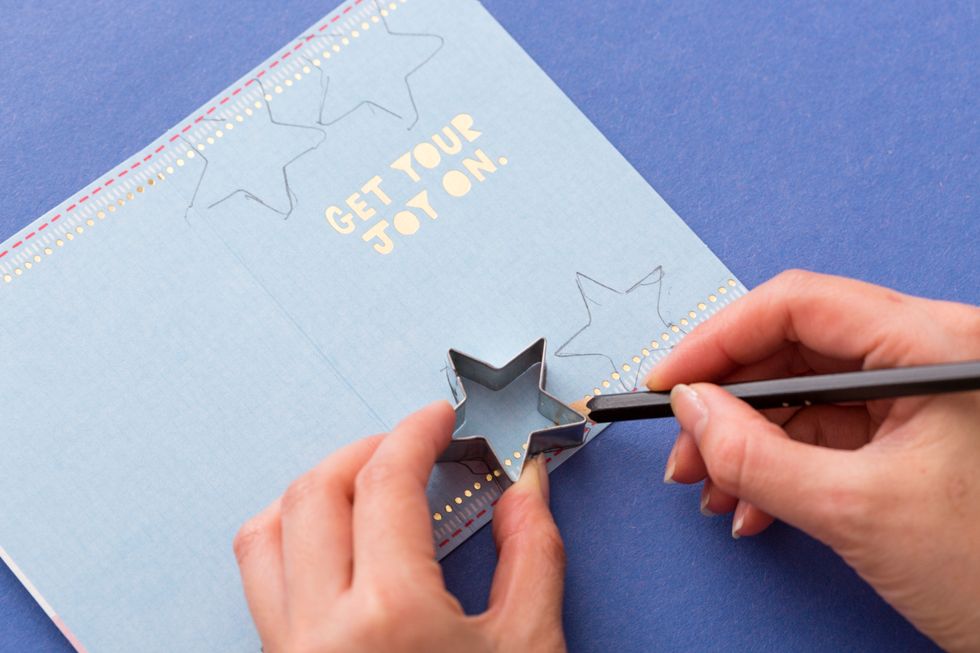
Who says that Christmas cookie cutters only serve one purpose? Turn them into stencils and trace shapes onto your cards. Cut, cut, cut!

All the shapes!!

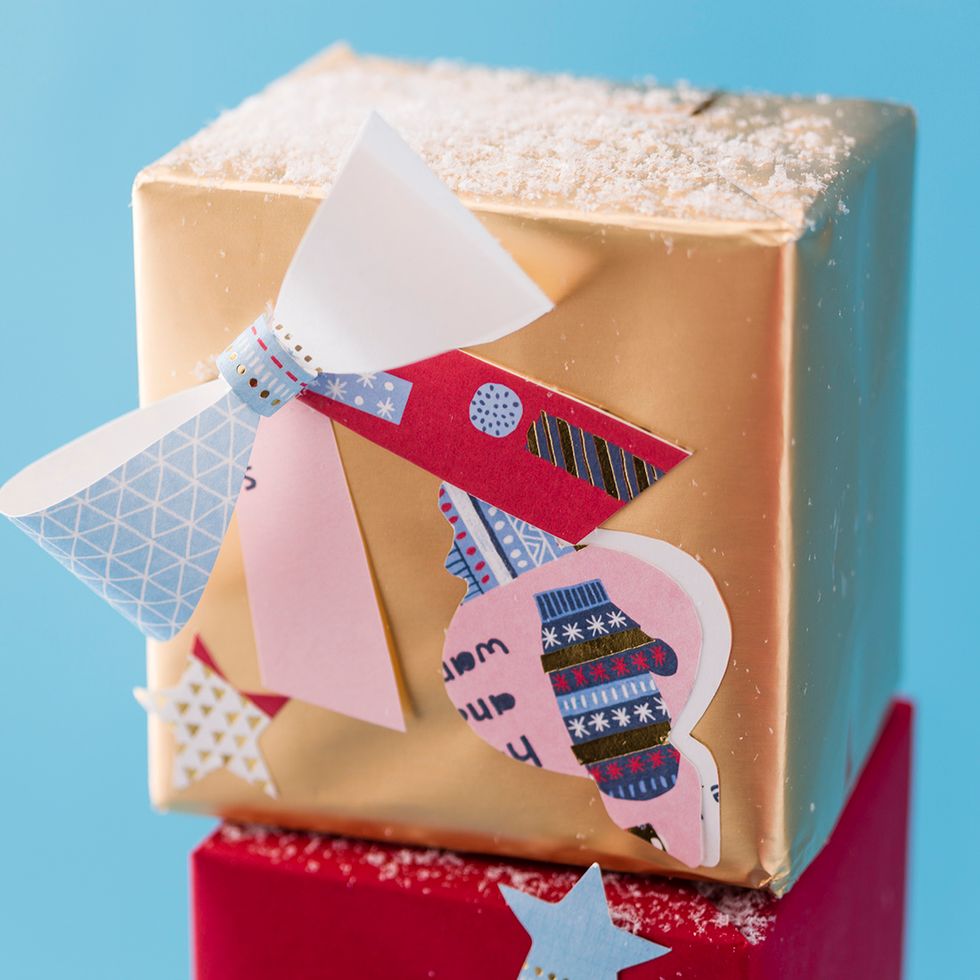
Now that we’ve graduated from Cutting Cards 101, we’re going to get a tad more advanced and make a paper bow. Cut out two pointed oval shapes, two rectangle shapes and one skinny strip.

Bend the oval shape so that the points touch and seal the points with glue.
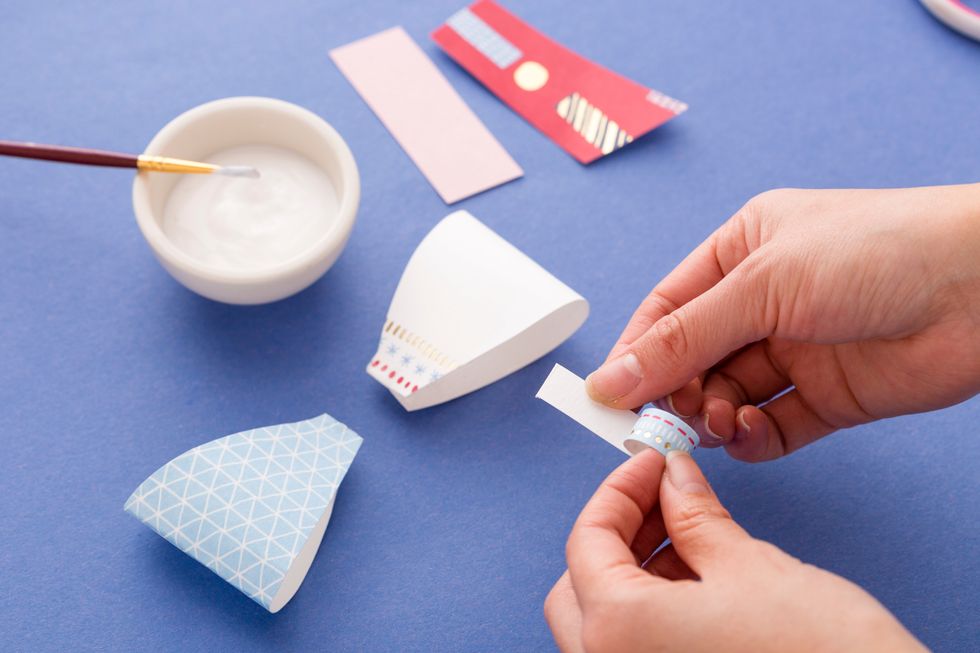
Make a loop with the skinny strip.
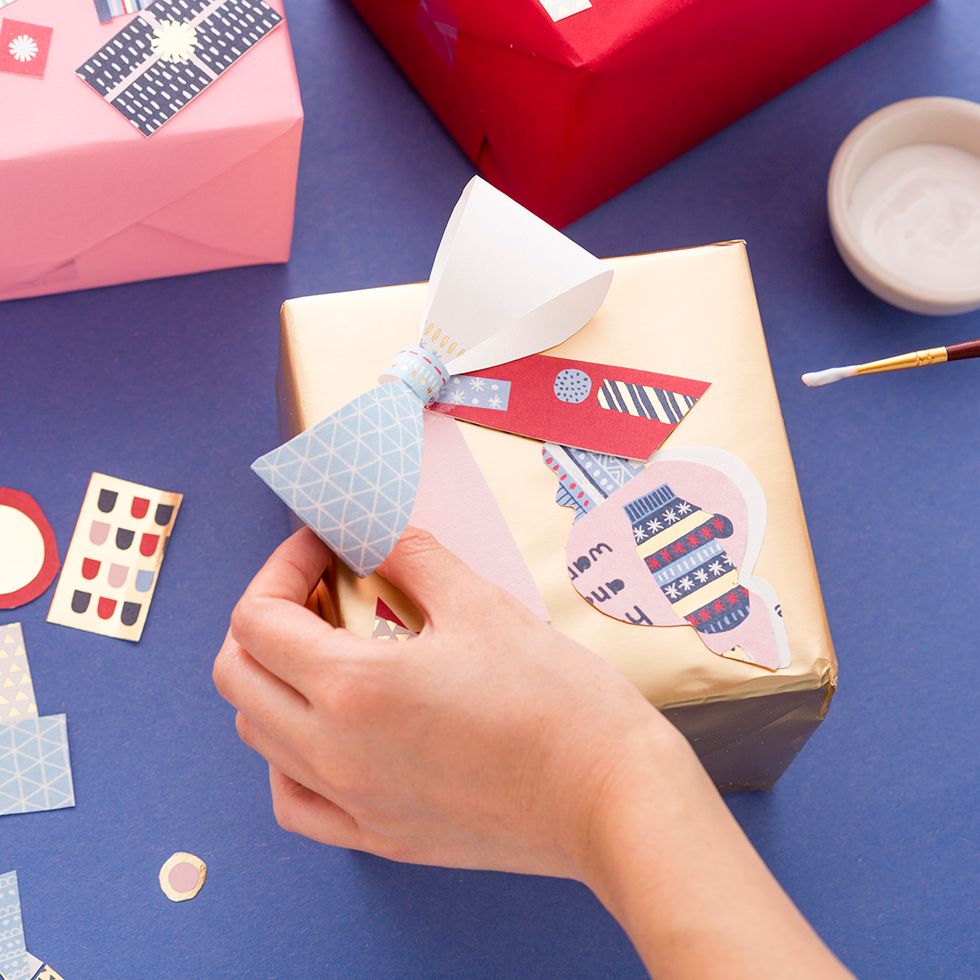
Use glue to attach a bow to your wrapped gift.
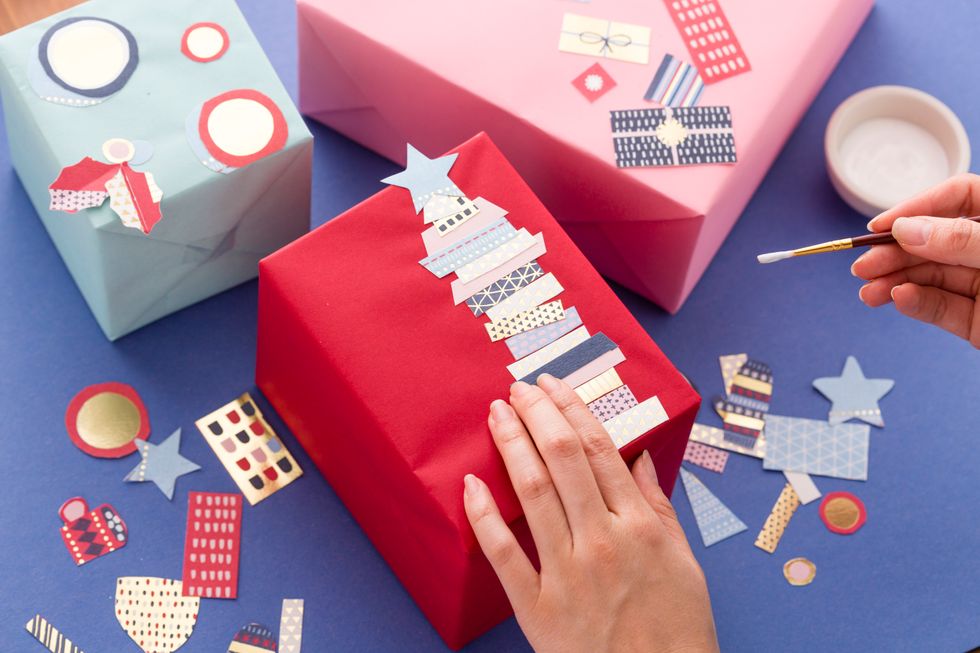
Arrange other shapes on presents. Get creative with your design! Glue shapes on presents.
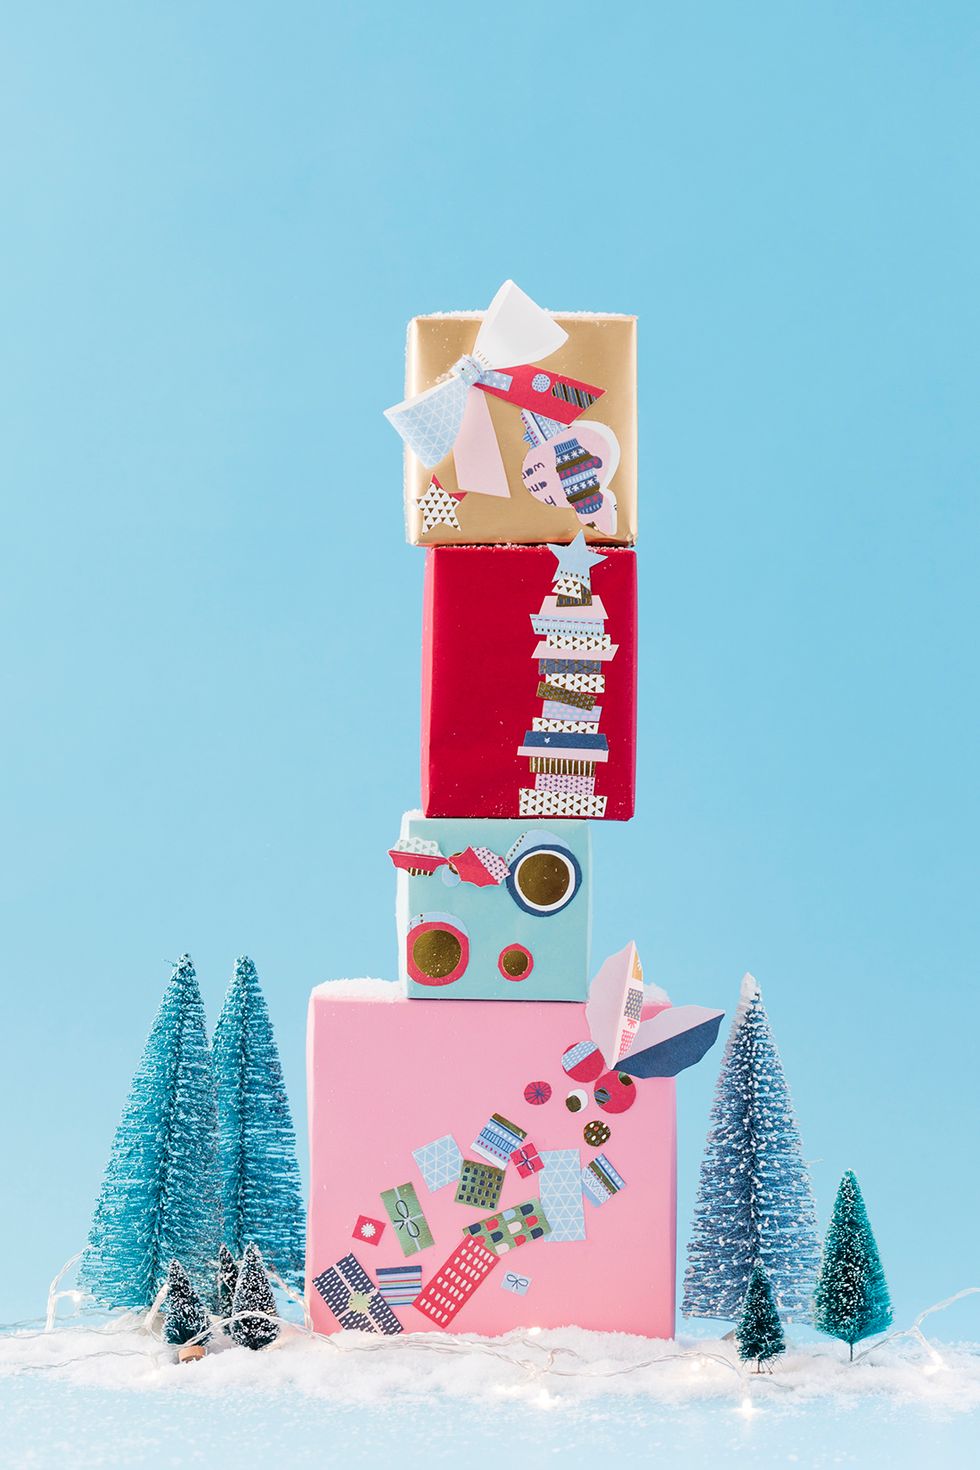
Ring in the holiday cheer!
Greeting cards turned wrapping paper. Who would’ve thought?