The Conversation (0)
Sign Up
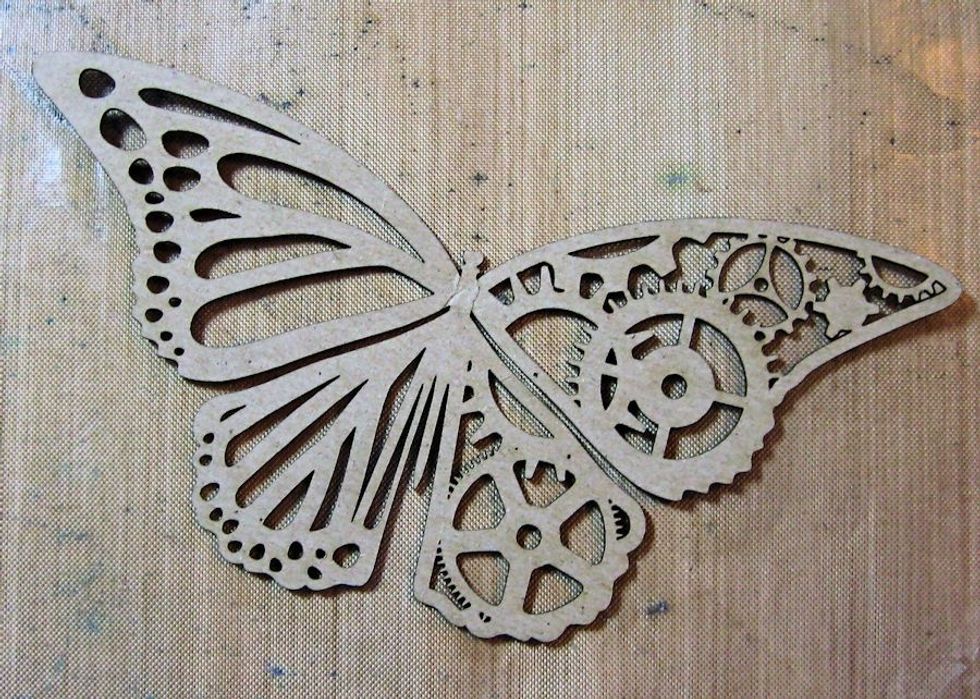
Get out your non-stick craft sheet and the Steampunk Butterfly Chip from Gypsy Soul Laser Cuts. Use a piercing tool to remove any "chads" that are left inside the design.

Gather Distress Paint in shades of orange, coral and yellow.
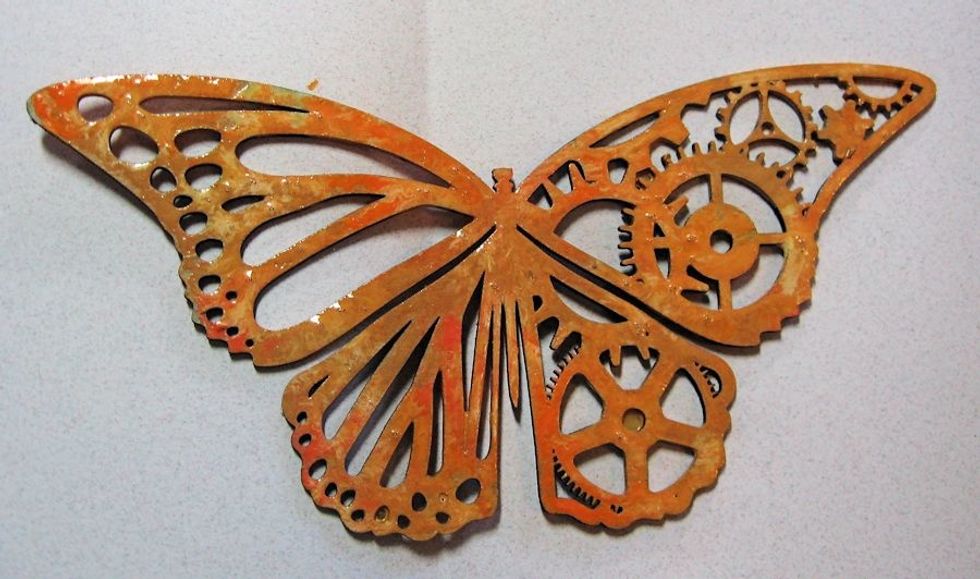
Paint butterfly with a solid coat of the darkest shade of orange. Dry. Randomly dab on the other colors, going from dark to light until you are pleased with the finished product.

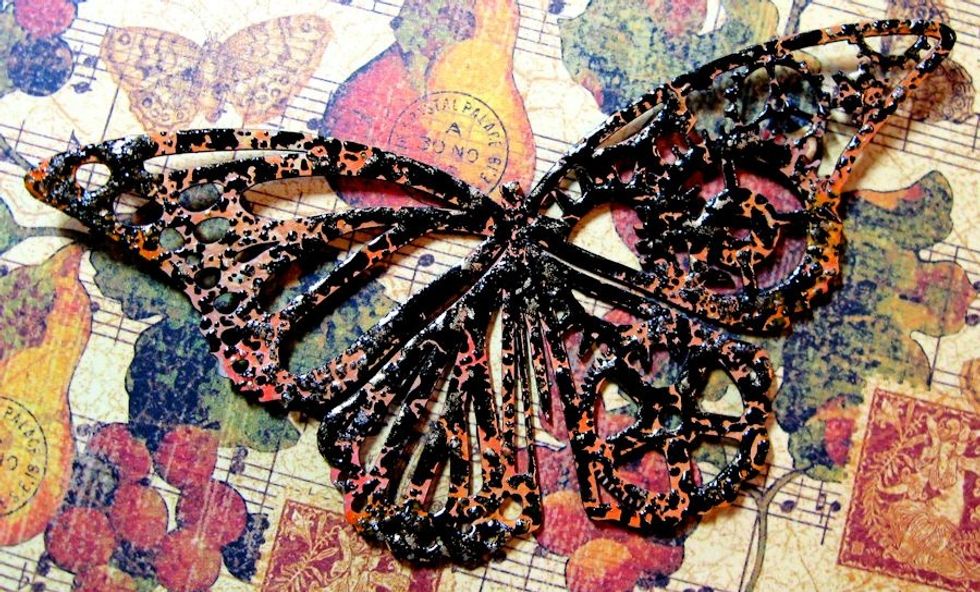
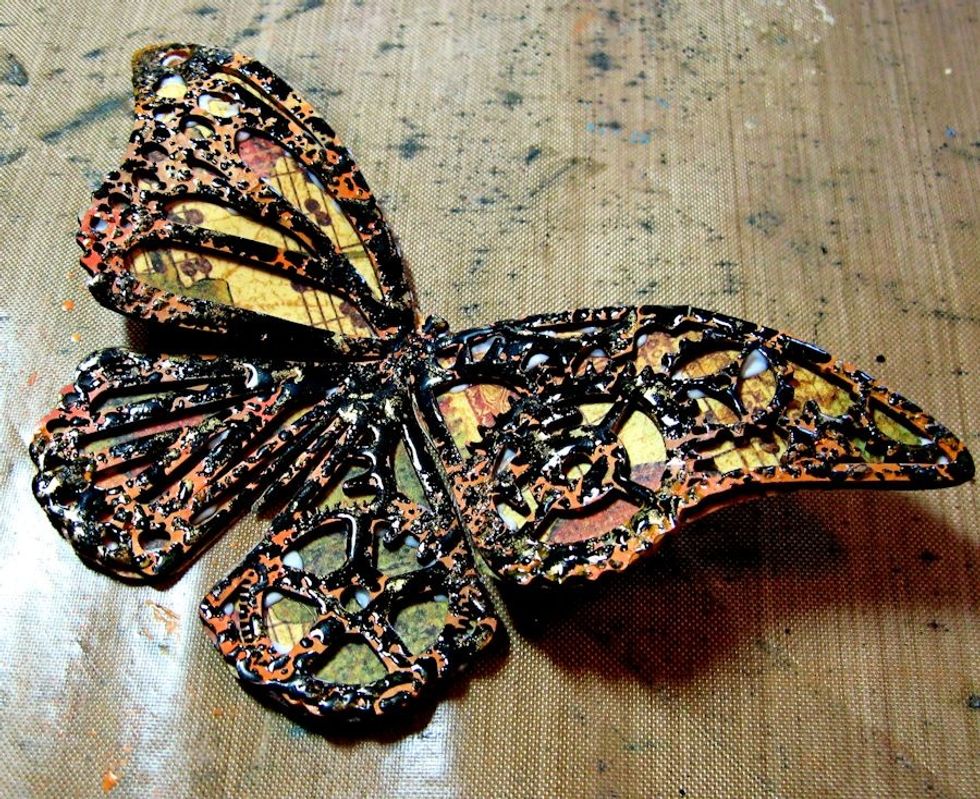
While paint is still damp, sprinkle the surface with Stampendous Aged Black Embossing Enamel. Let the excess roll off onto a sheet of paper or a tray. Heat emboss. Tap with more paint, if desired.
Place butterfly on designer paper. Trace around the outline. Cut out. Glue to back of butterfly wings, trimming with a craft knife if necessary.
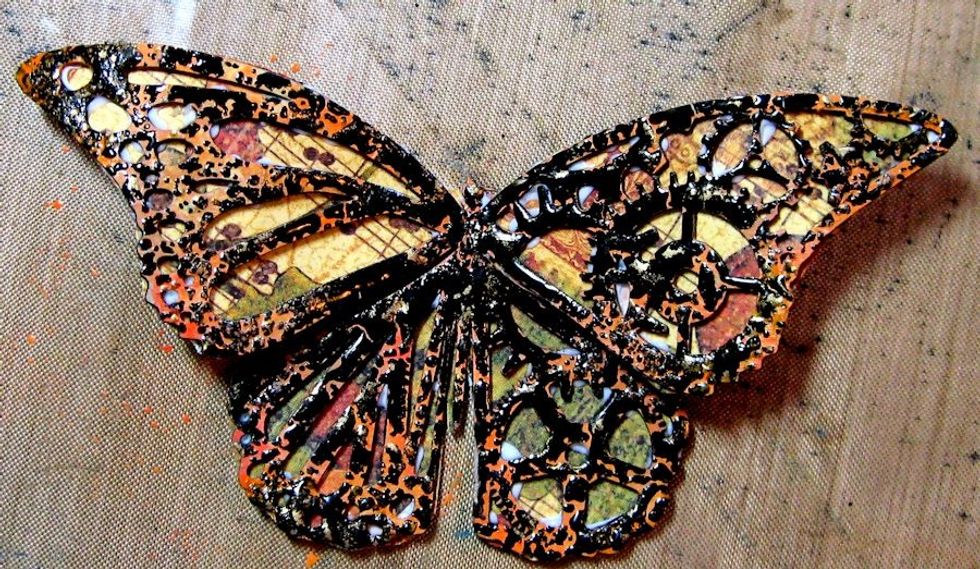
This is what your butterfly should look like now.
Gently heat the chipboard and while warm, shape the wings with your fingers to create lift and dimension for the wings.
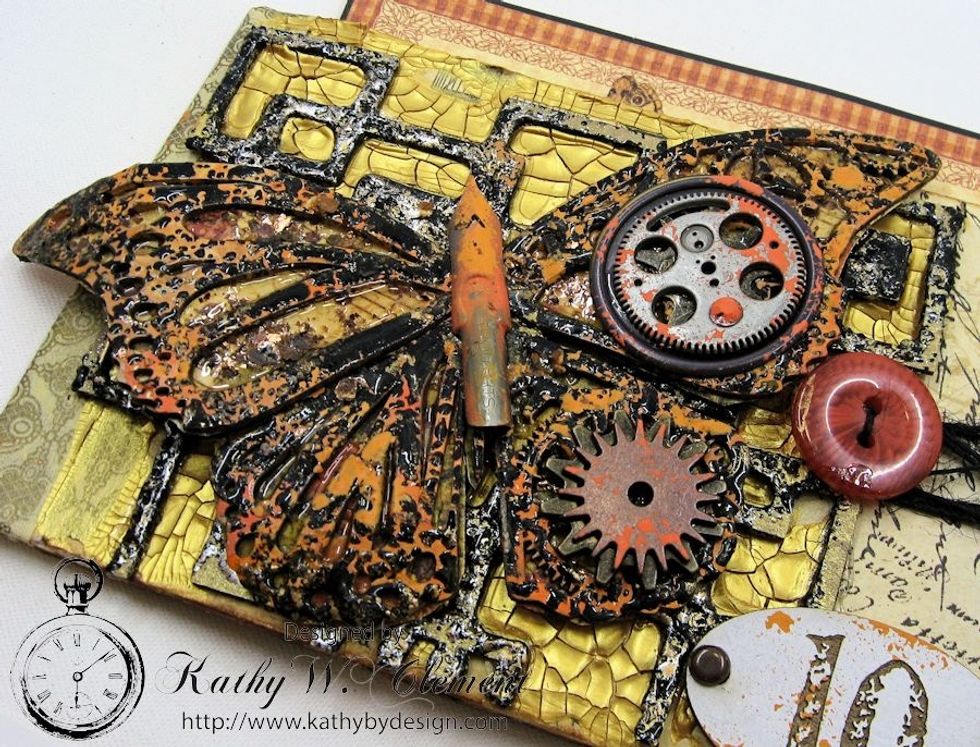
I added crushed mica flakes and Glossy Accents. When dry, I used GA to attach metal gears and a pen nib. I wanted more color, so I added more paint to the wings. Play with it until you are happy.
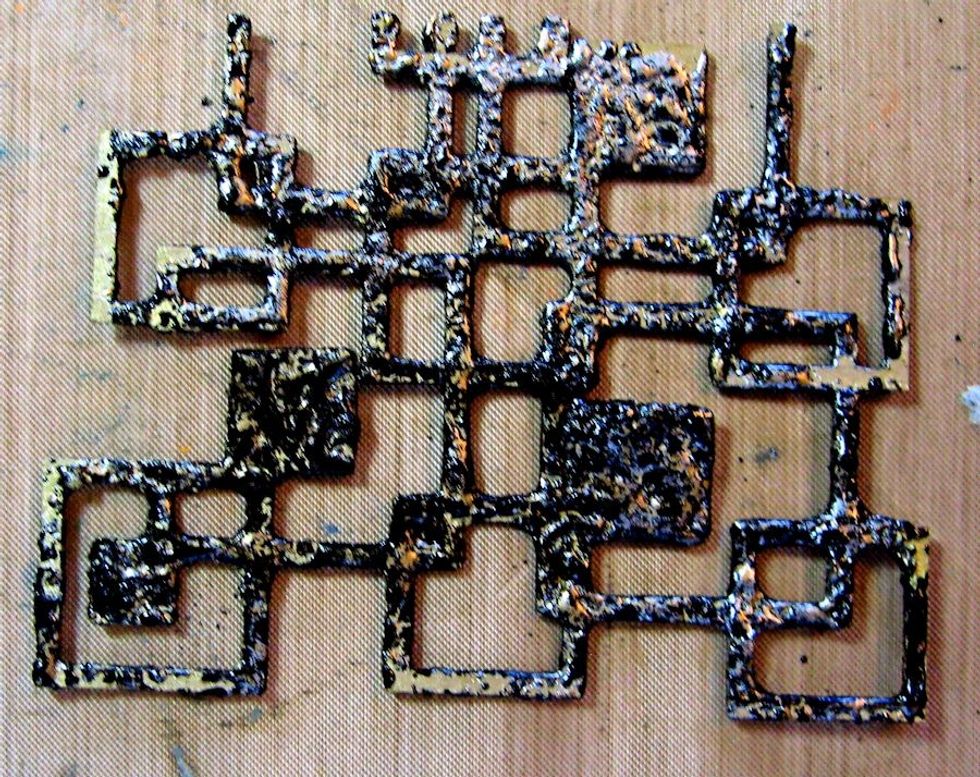
I used this chip from Mixed Media Fragments 2 (GSL) as a stencil for Gold Embossing paste on the cover of a Steampunk wallet. Then I painted the chip and heat embossed it with aged black enamel.
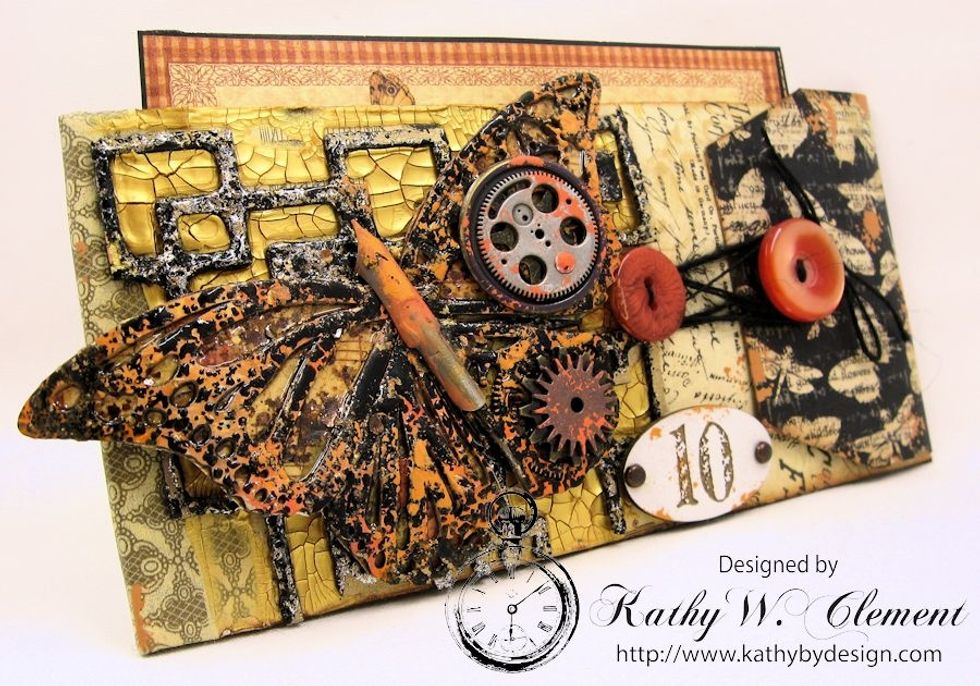
Use Steampunk butterfly in your artwork as a focal point. You can adjust the colors to coordinate with your project.
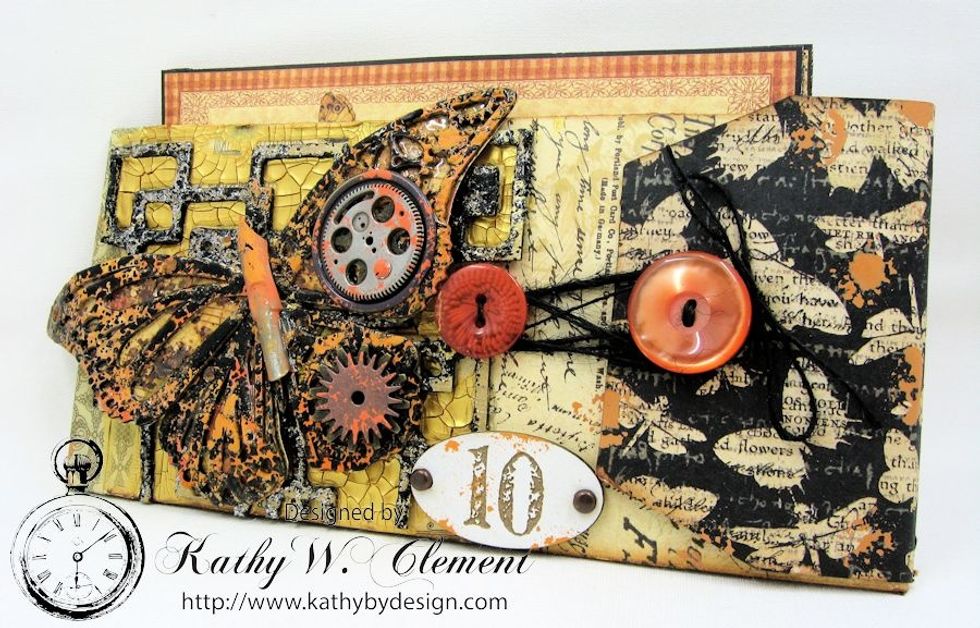
Thanks for joining me here on Snapguide! Visit Kathy by Design to see this entire project. http://www.kathybydesign.com Now go get your craft on!