The Conversation (0)
Sign Up
I will now explain the different steps in drawing a face more detailed and start with the form of the head. Check my first guide if you haven't seen it.
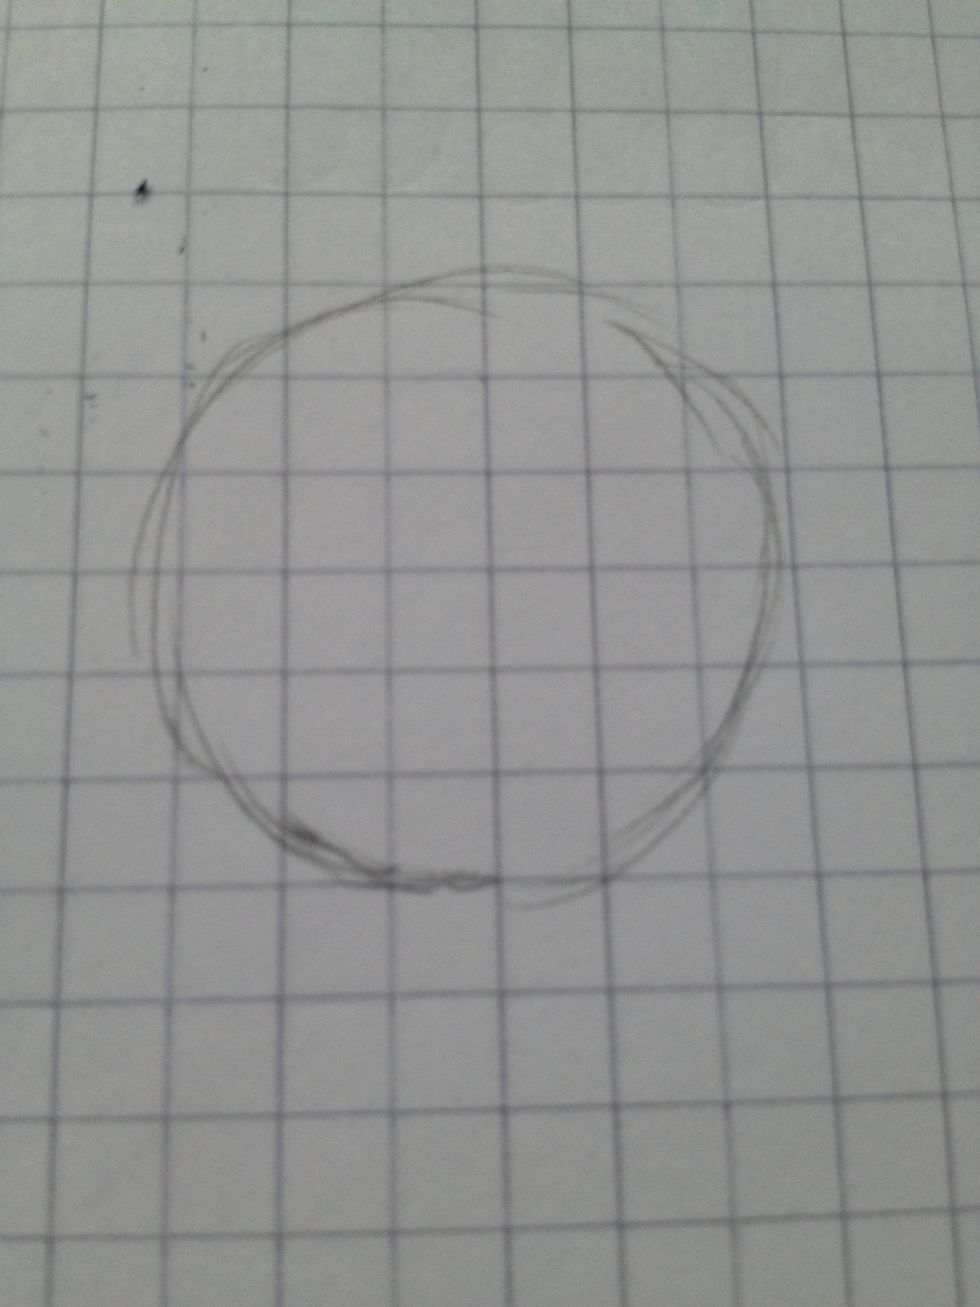
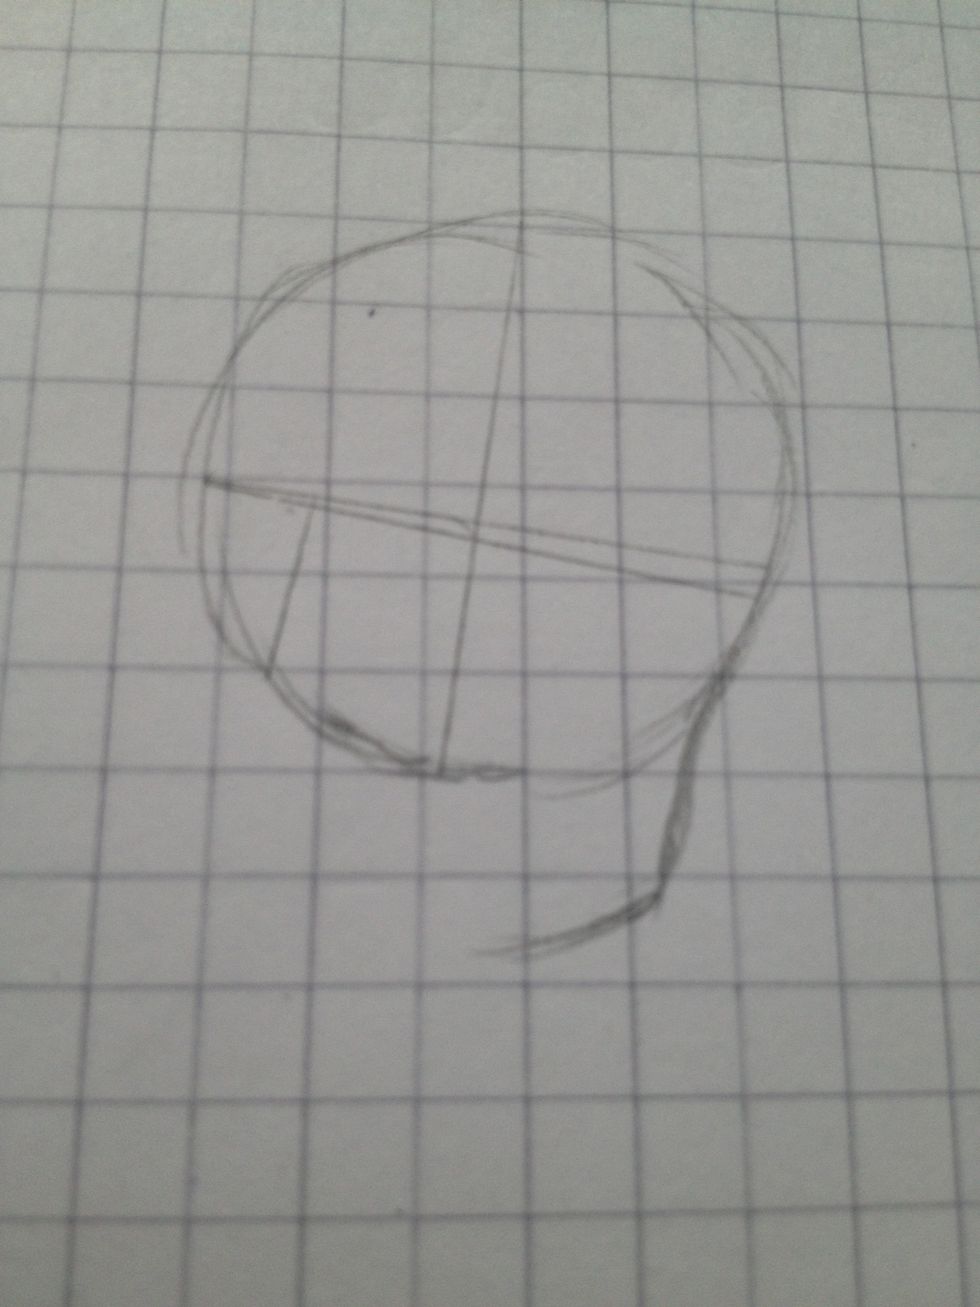
So there you go. First draw a circle. It doesn't have to be exact, you will erase it anyway. It's more like a help.
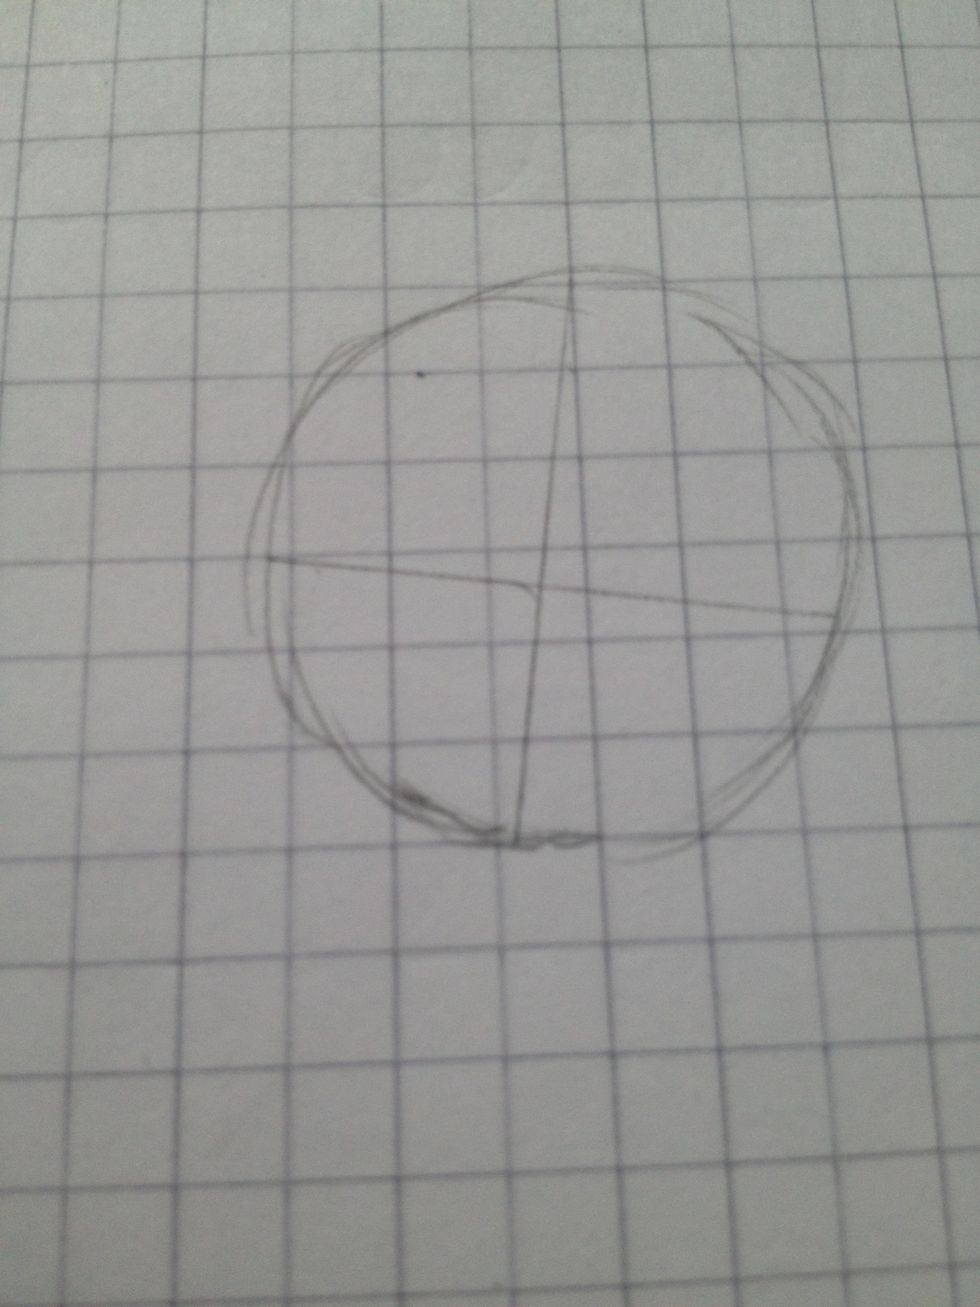
Then add a cross. You can do it like here, a bit down, so the character looks from bottom up, or the other way around. You have to know what you want to draw.
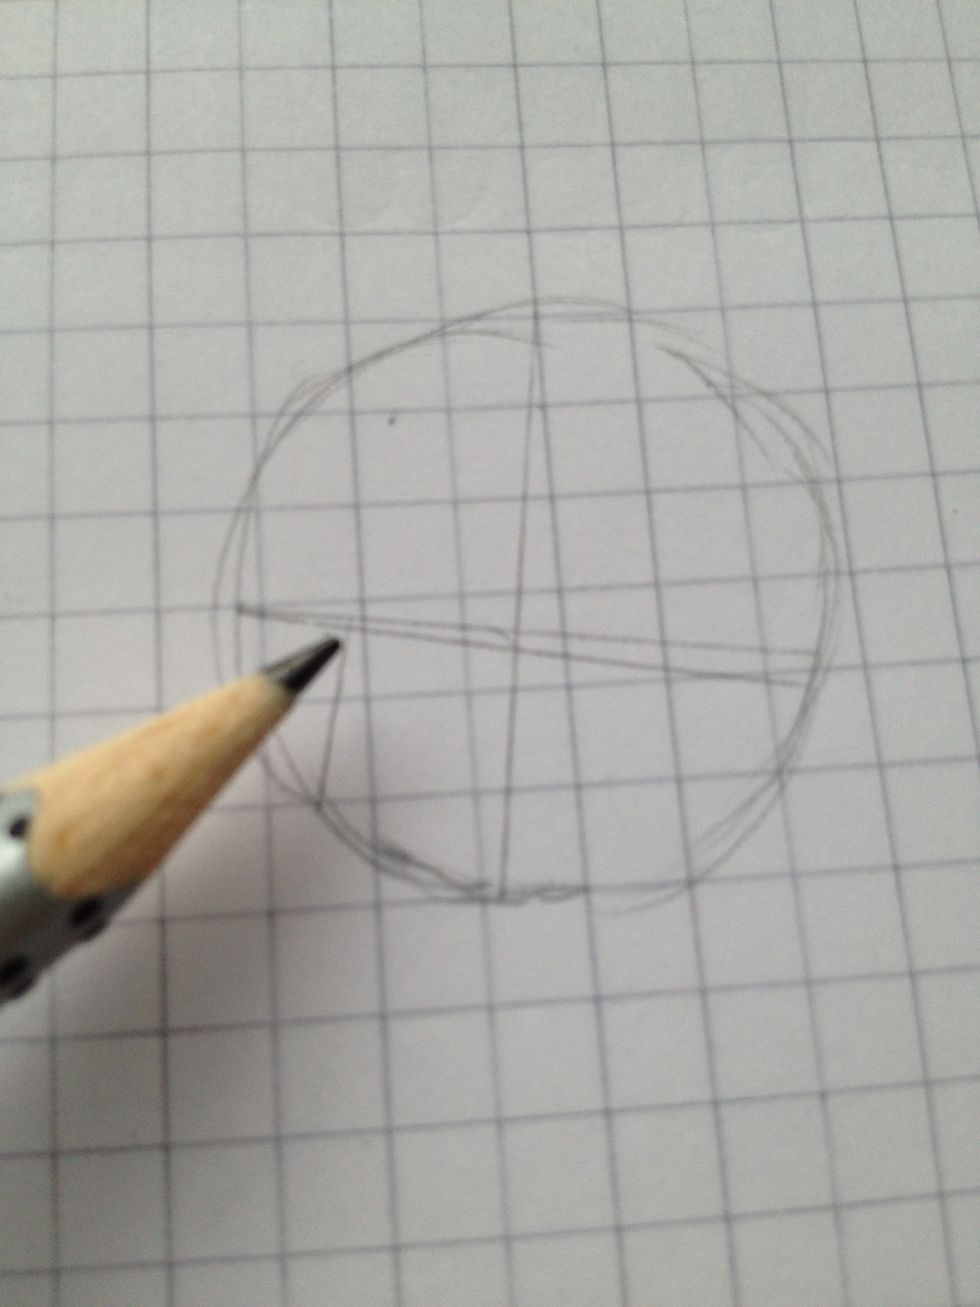
Add these two lines. The line on the left is a help for the ear, it should be parallel to the cross line. The other one is for the eyes and mustn't be parallel to the cross line.
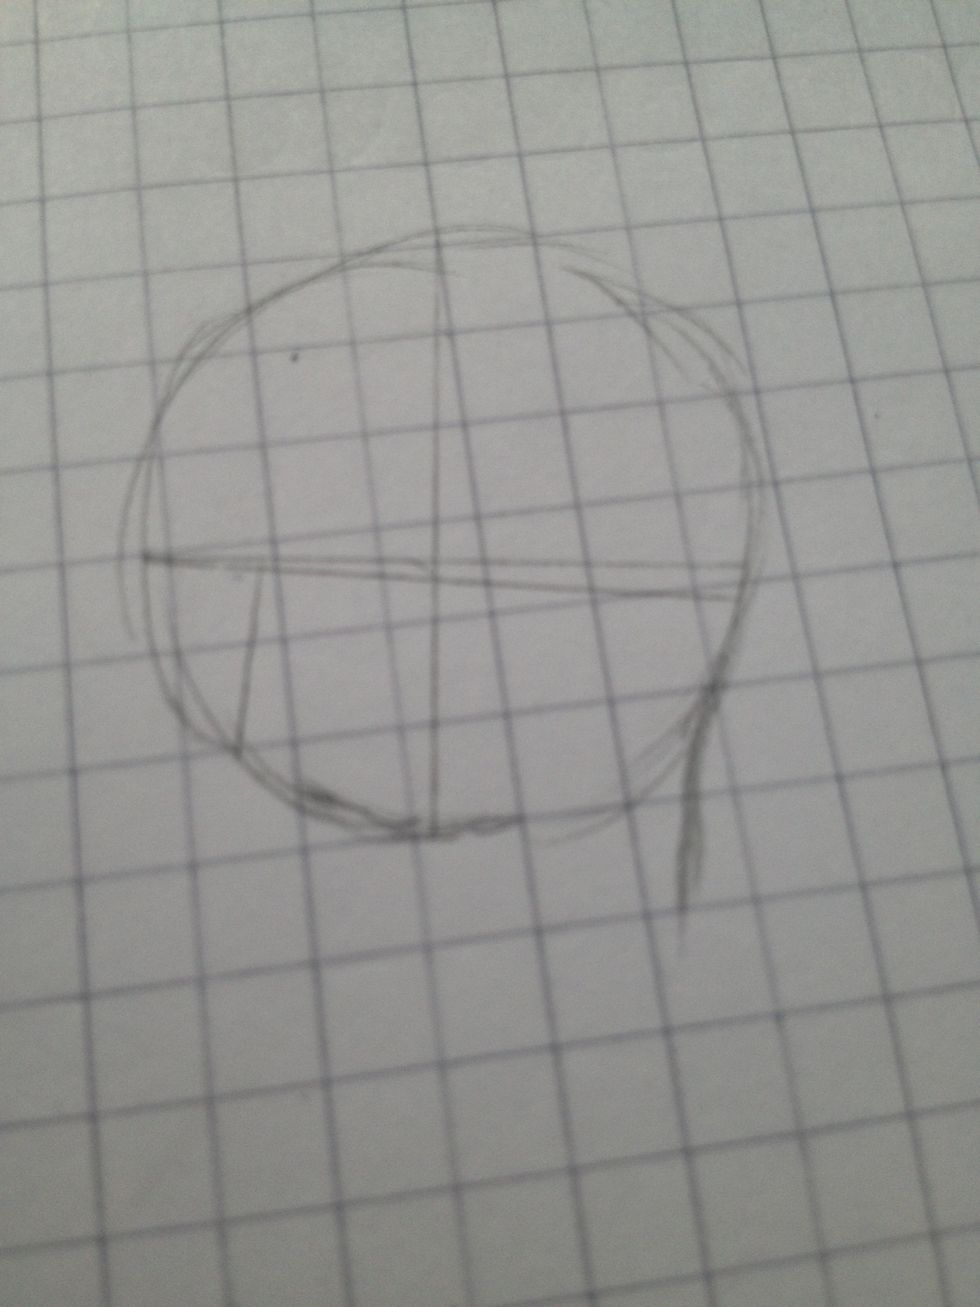
Now the probably most tricky part. First go down from the circle with a curved line.
At one point, go left-down. Thats pretty difficult, practise a bit.
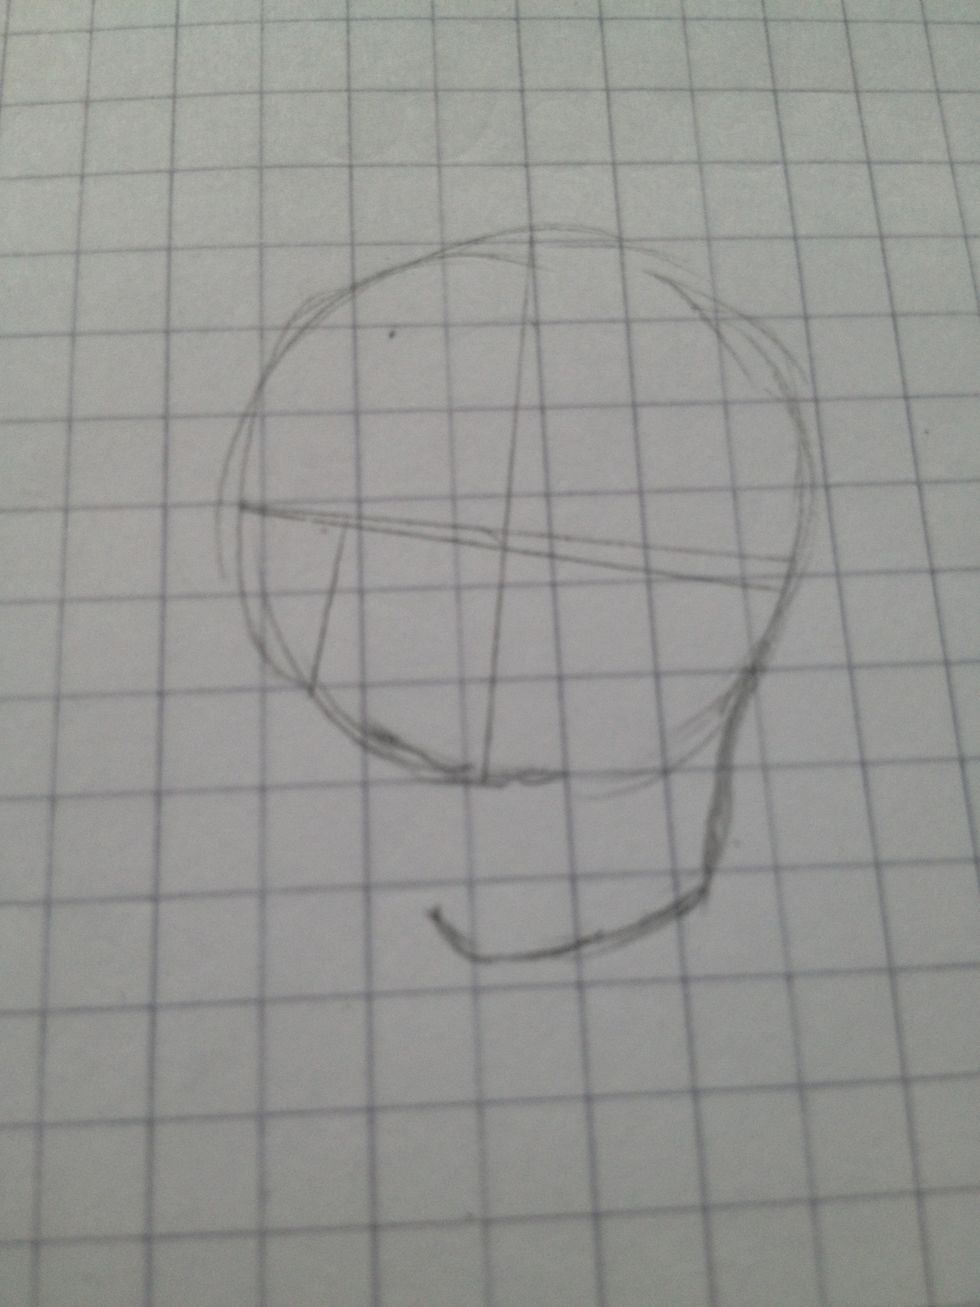
Do a curve and go up a bit. You can vary this, depending on where the face should look.
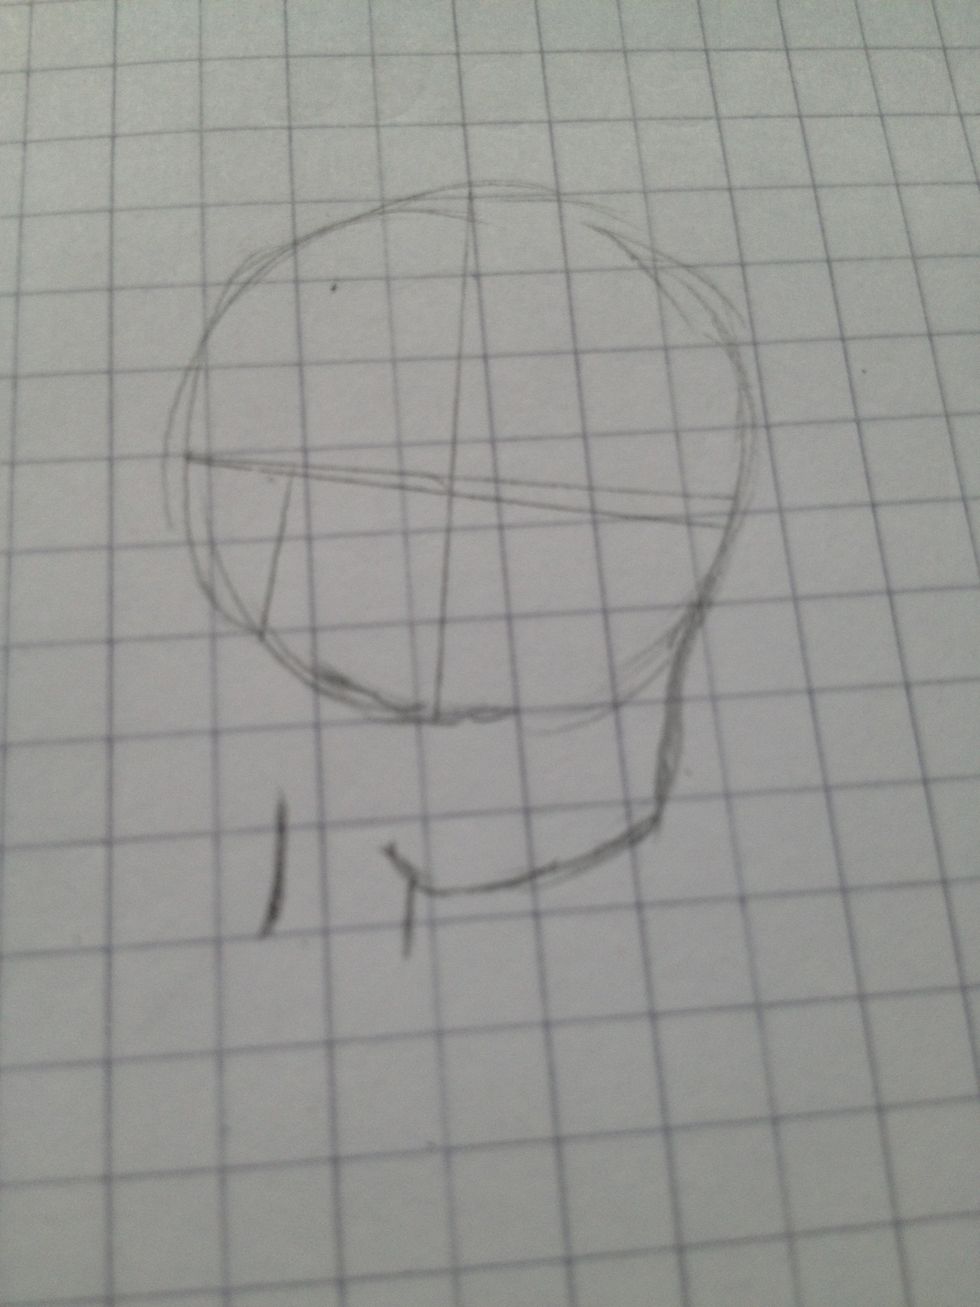
Now add two short, curved lines for the neck.
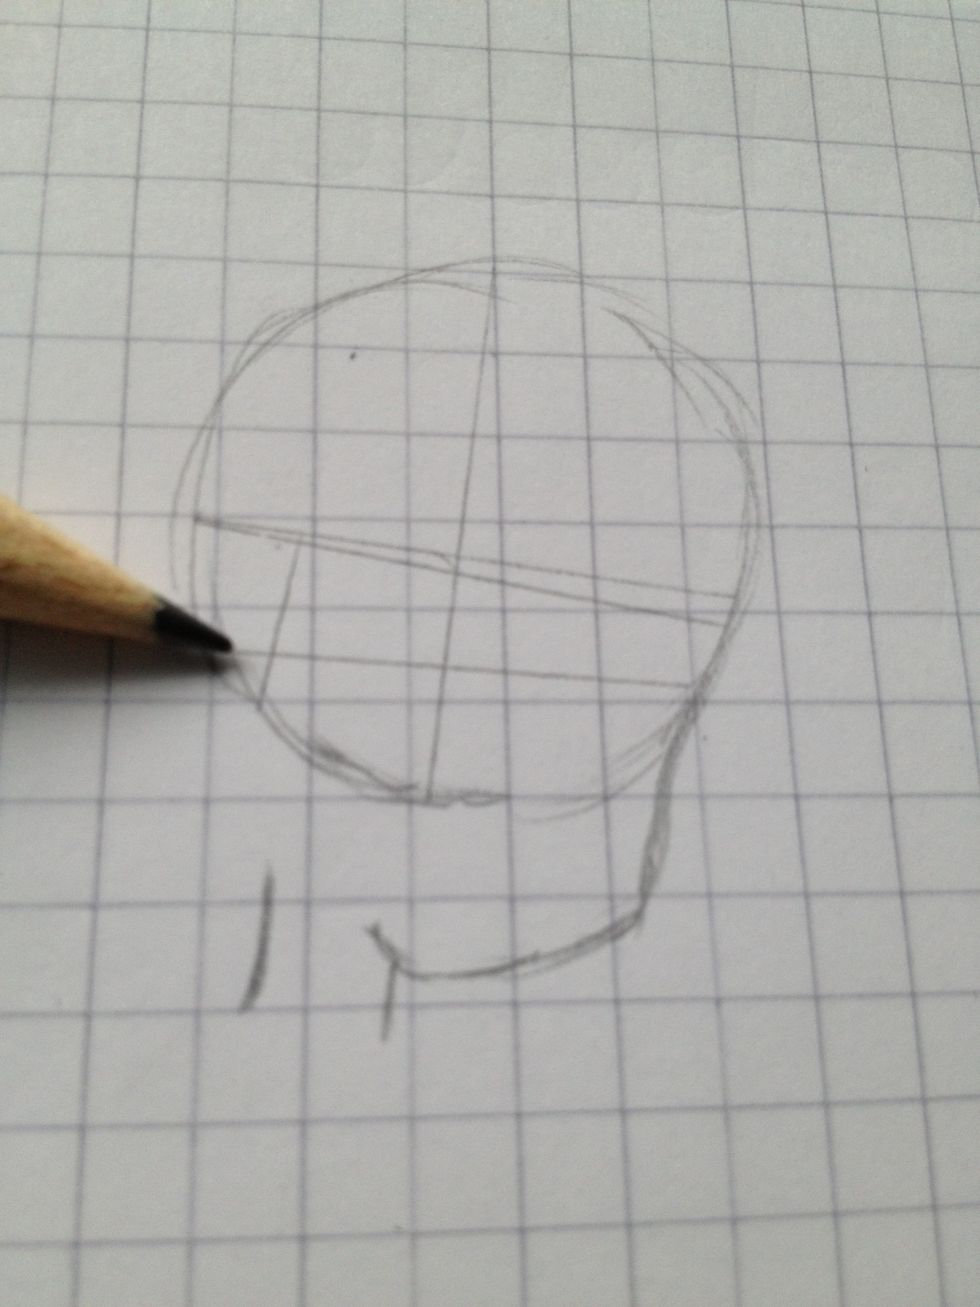
This is the last line. It's very important for the eyes. You can see how it goes.
And that's it! Now you can draw on and be creative. Of course I'll make other guides on eyes, hair etc. but try to find your own style. Thank you! 😊