The Conversation (0)
Sign Up
If you need help or clarification, feel free to comment. You can also alter some of these.
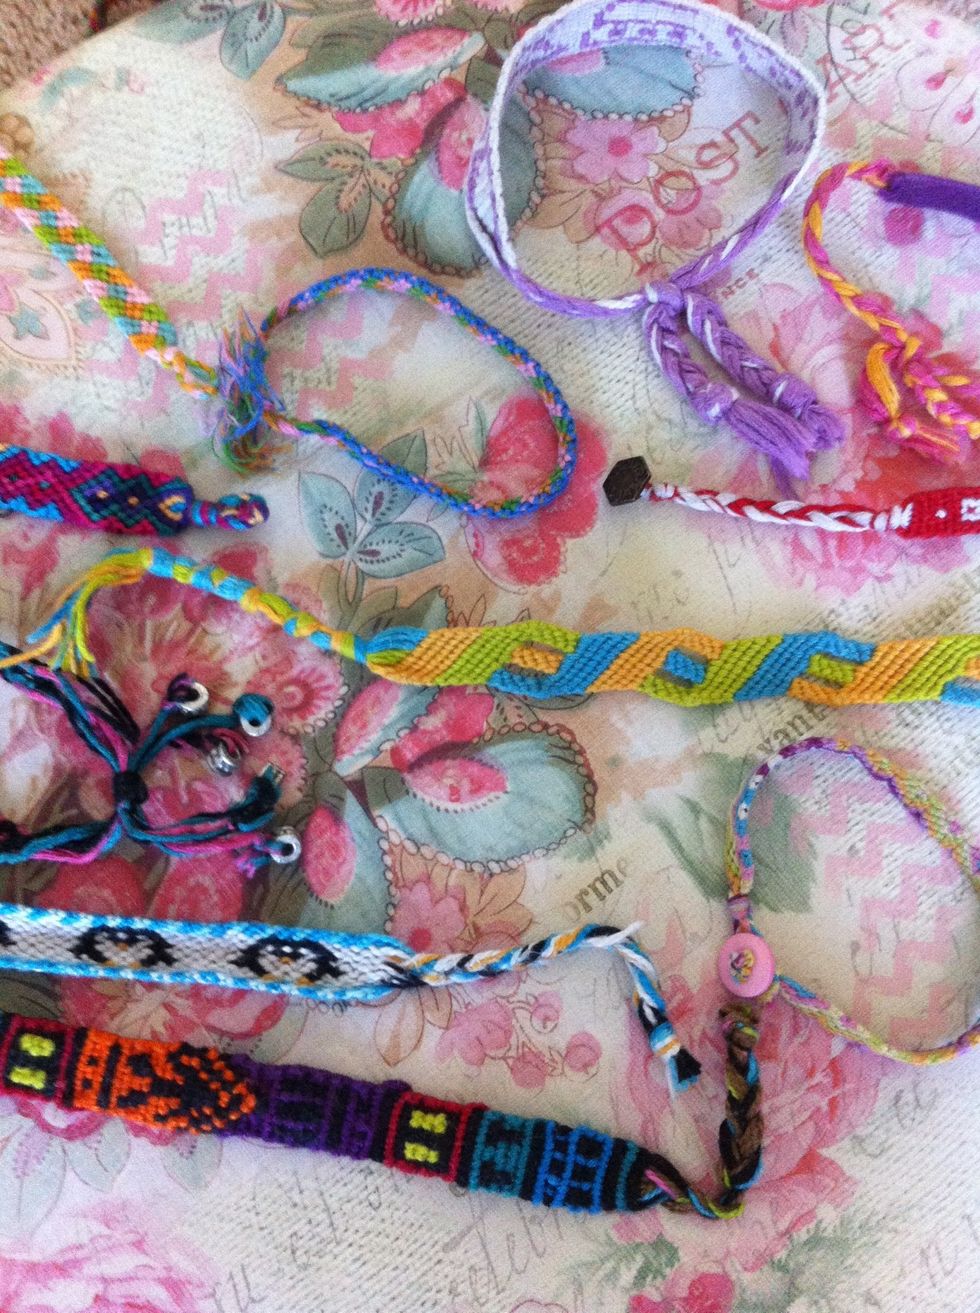
#1: the easy way
Tie a knot at the beginning and ending of your bracelet. Let it string at the ends stay the same. Tie both ends together on your wrist.
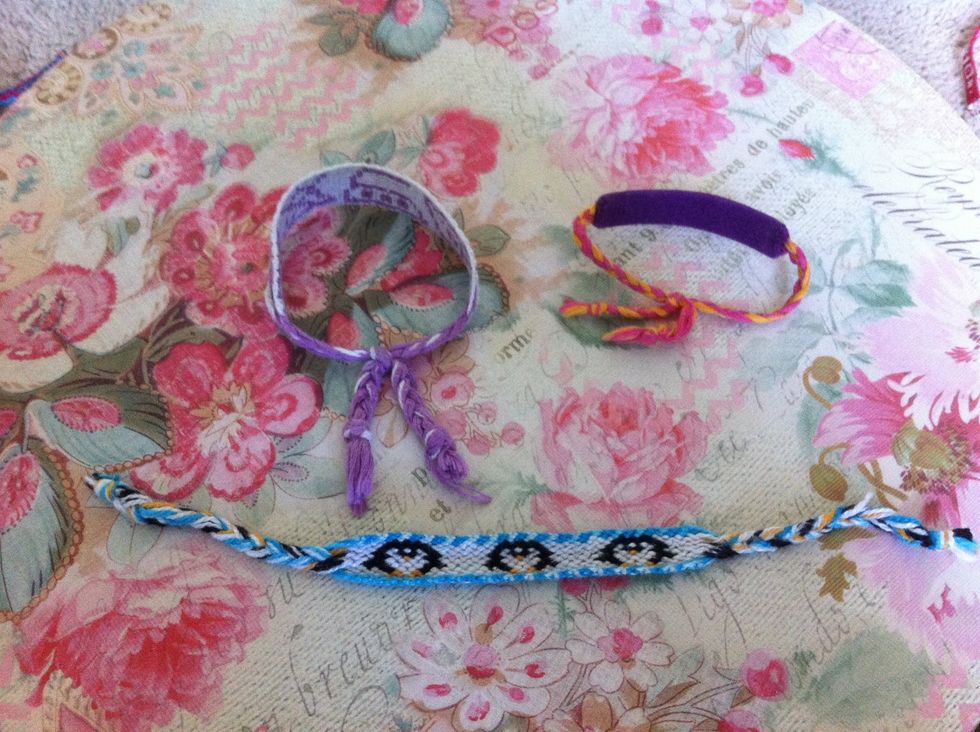
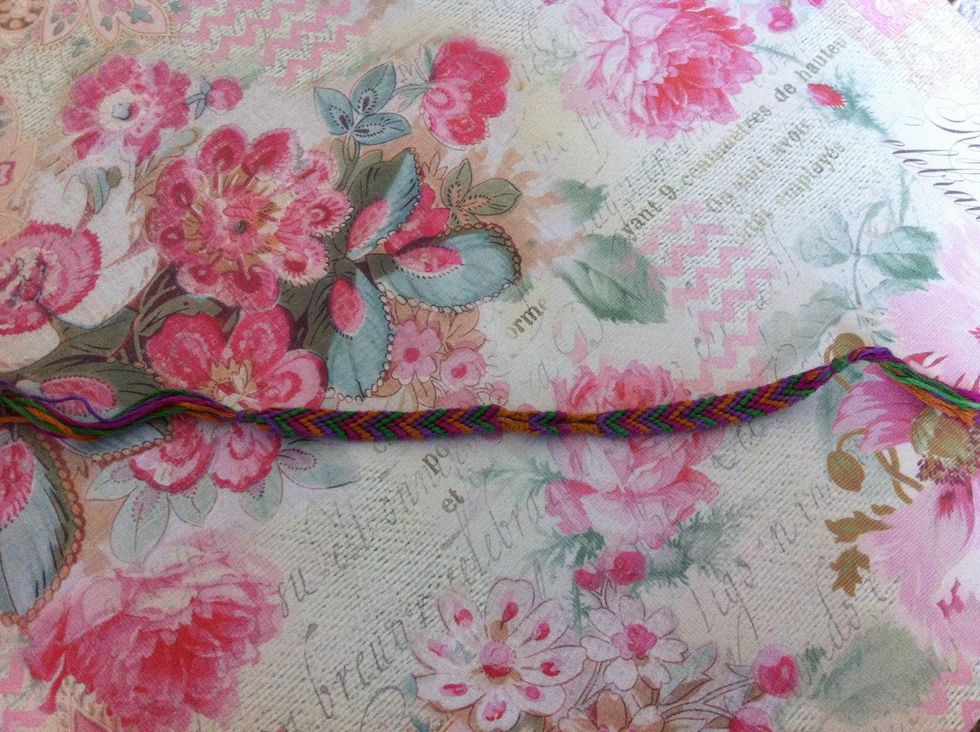
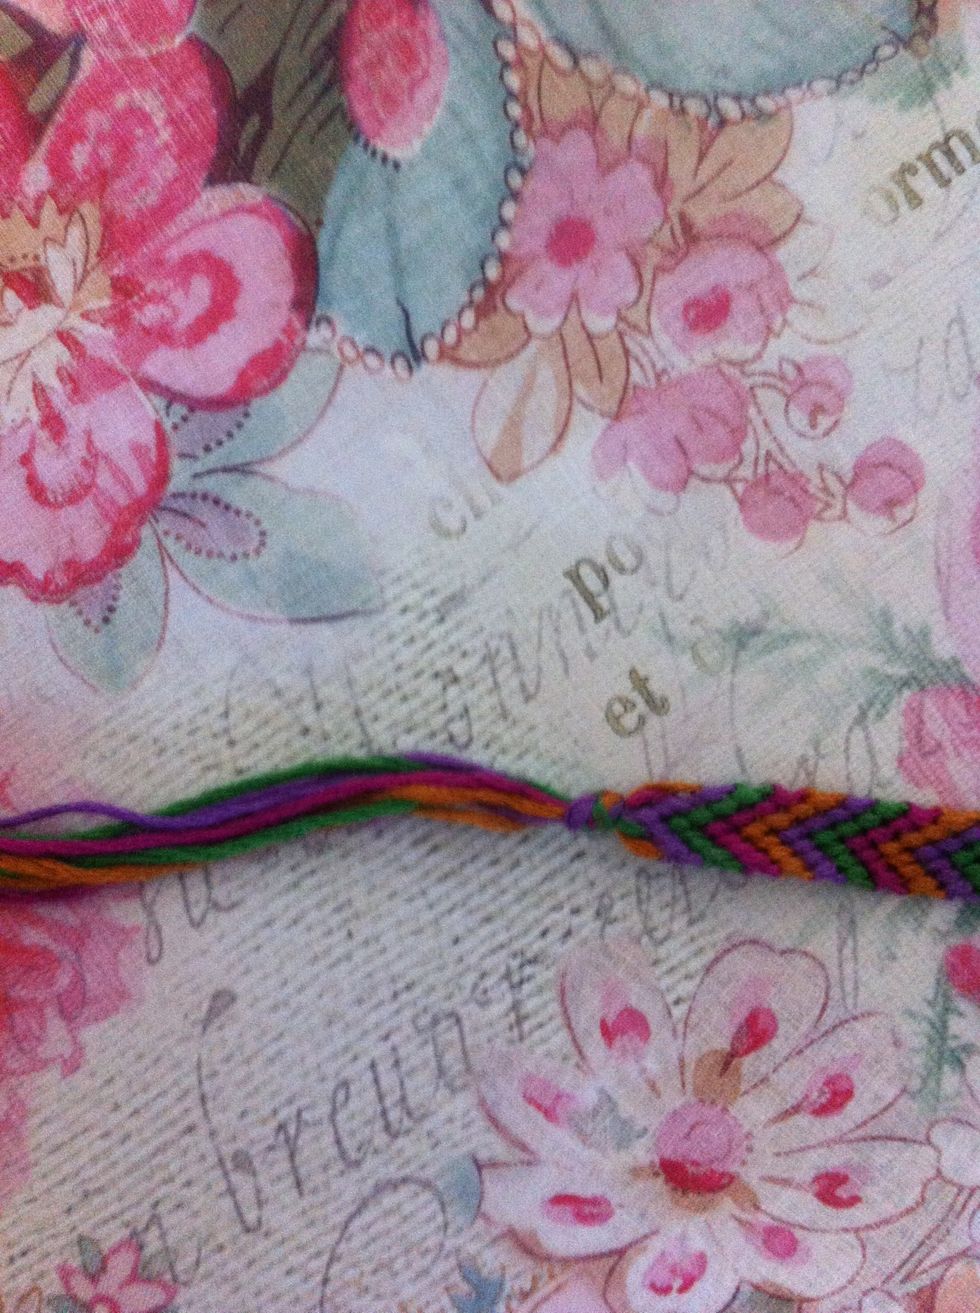
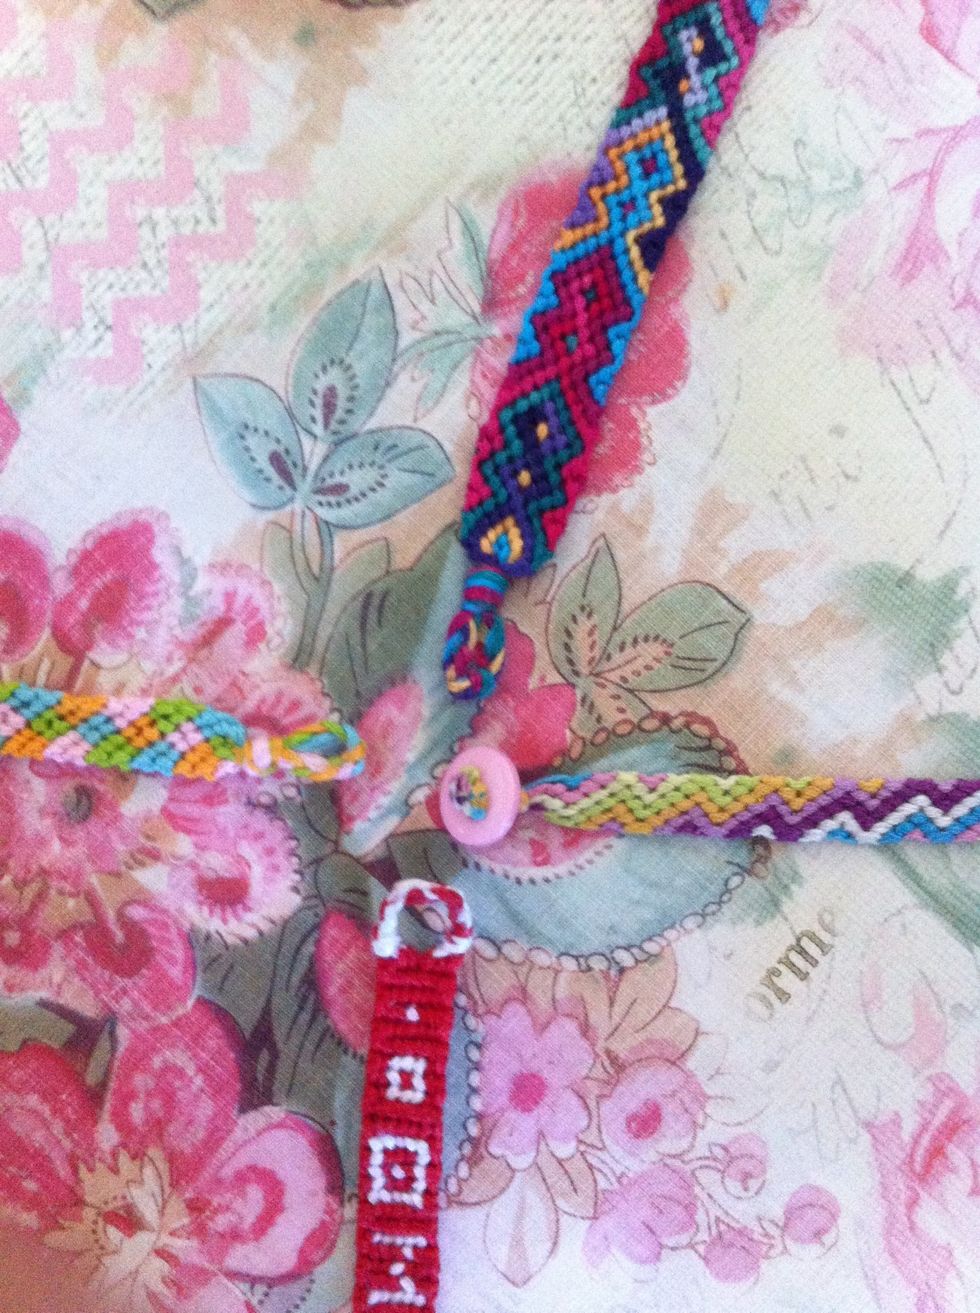
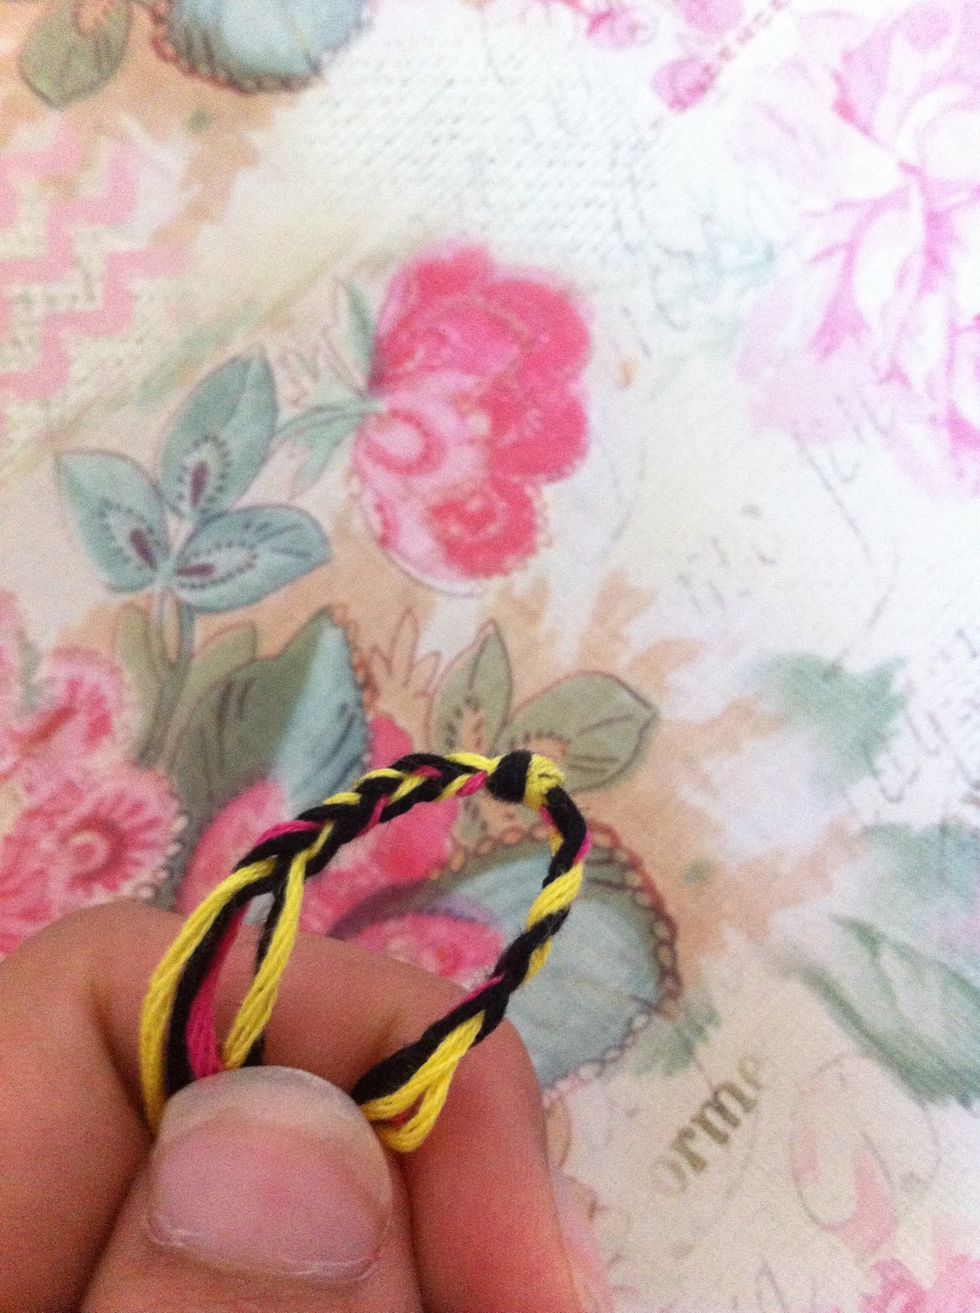
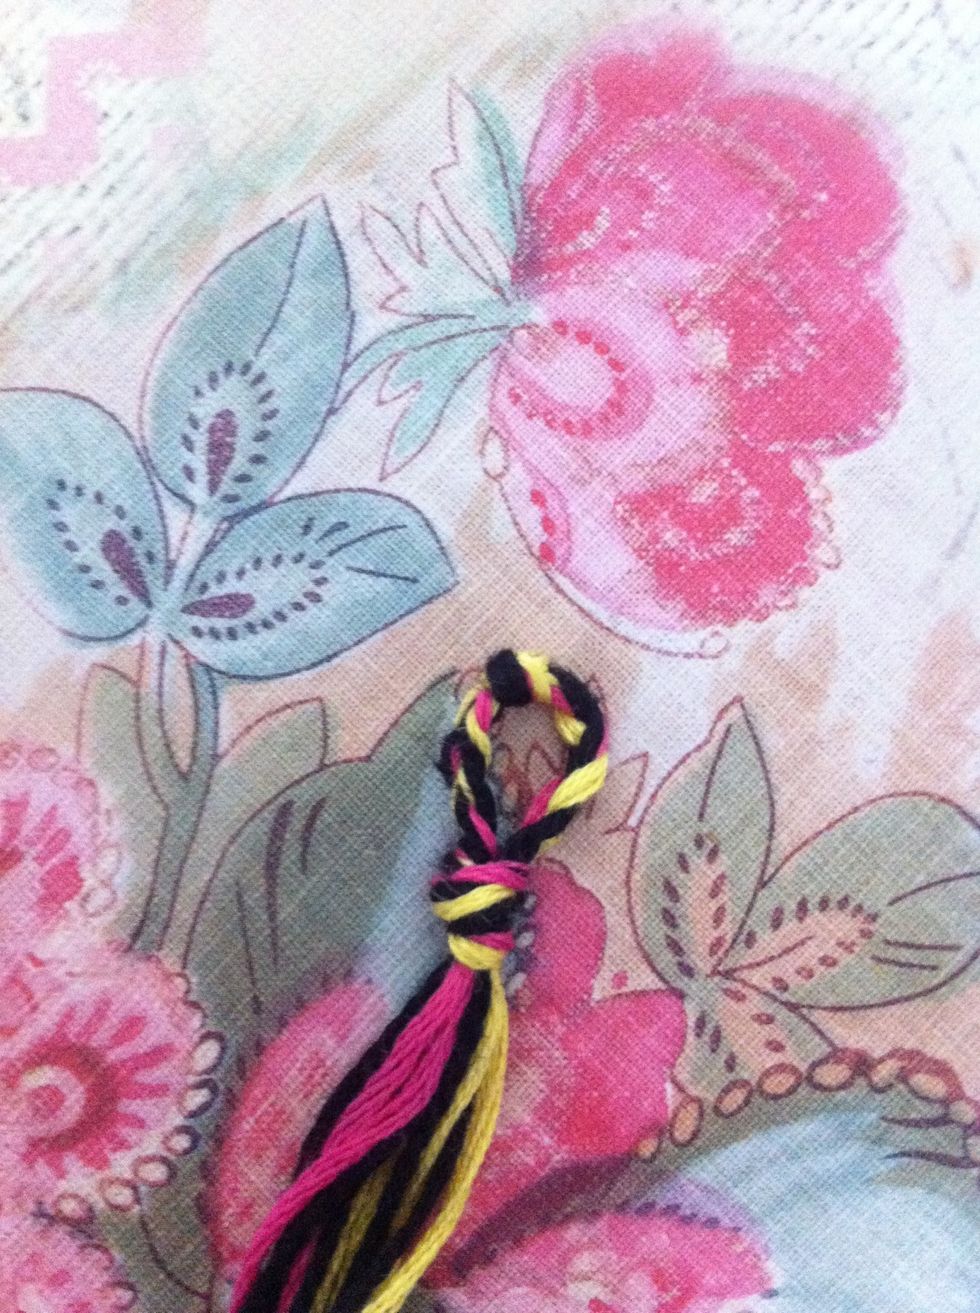
#2: braided ends
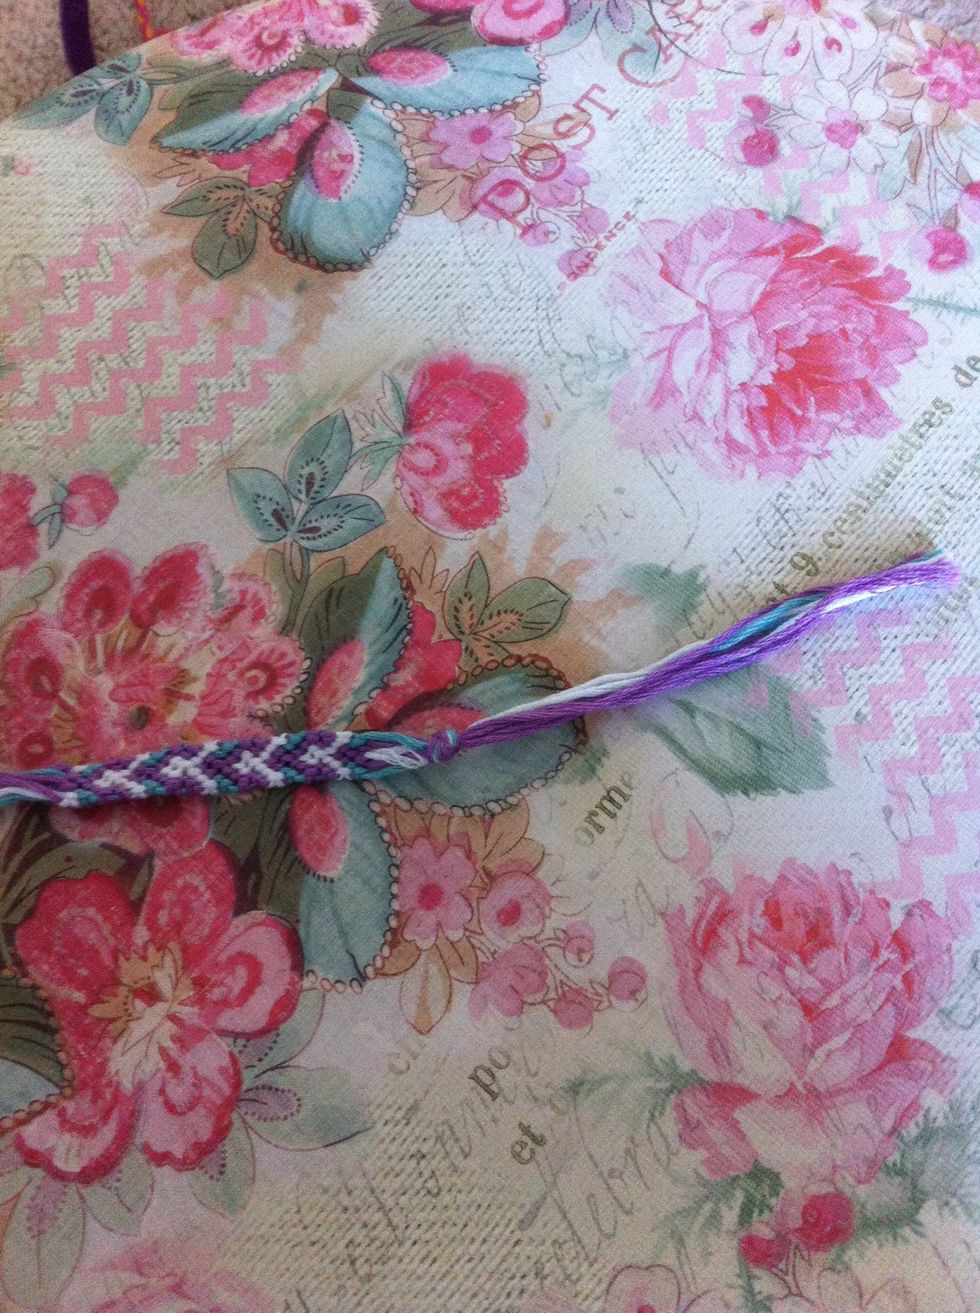
I usually tie a loose knot at the beginning leaving about 2-3 inches at the end for braiding.
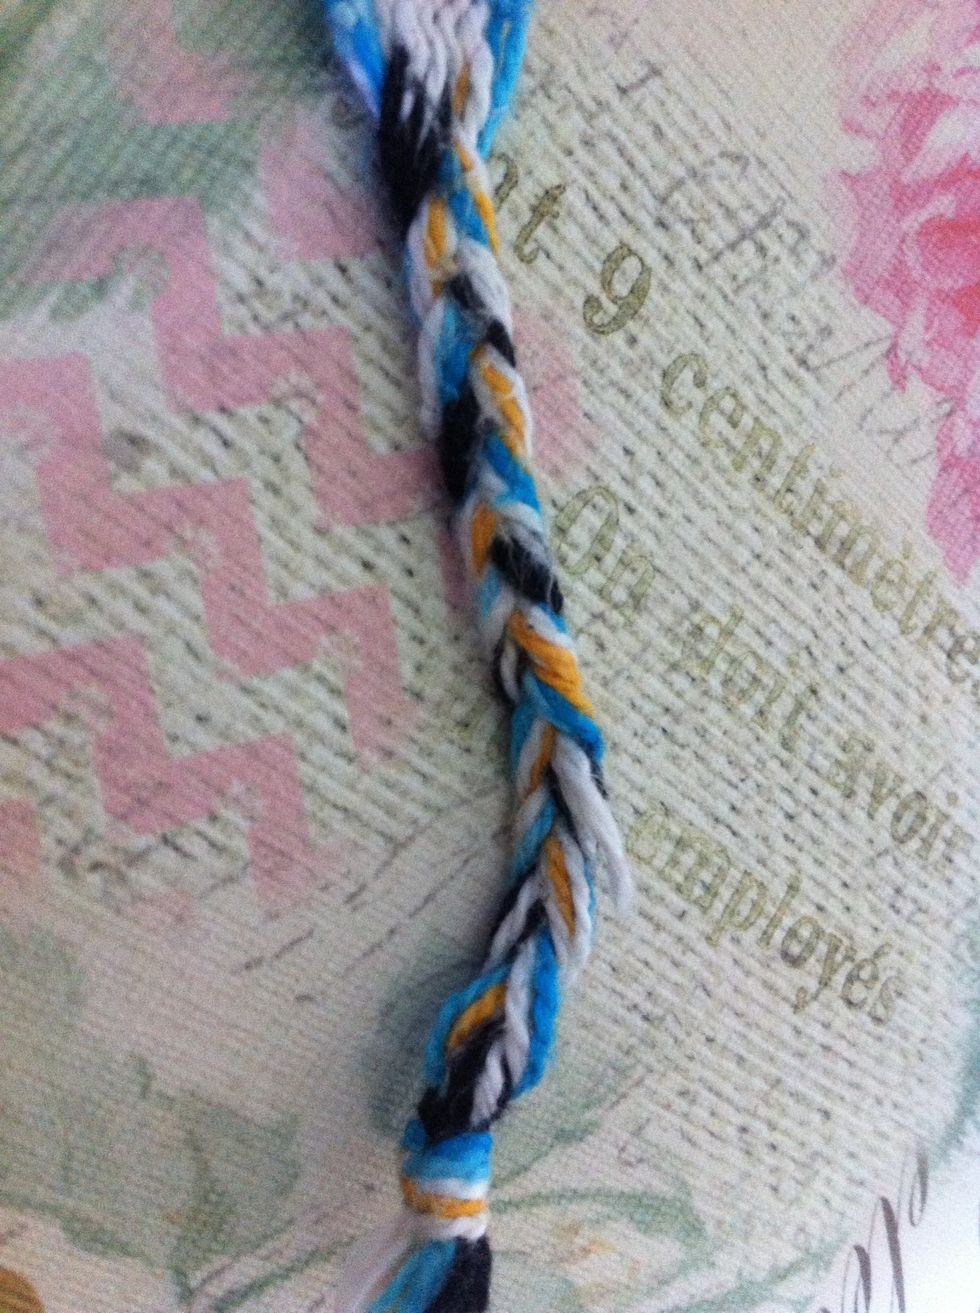
After finishing the bracelet, I braid both ends then secure with a knot. Option 1: tie around wrist. Option 2: make an adjustable knot.
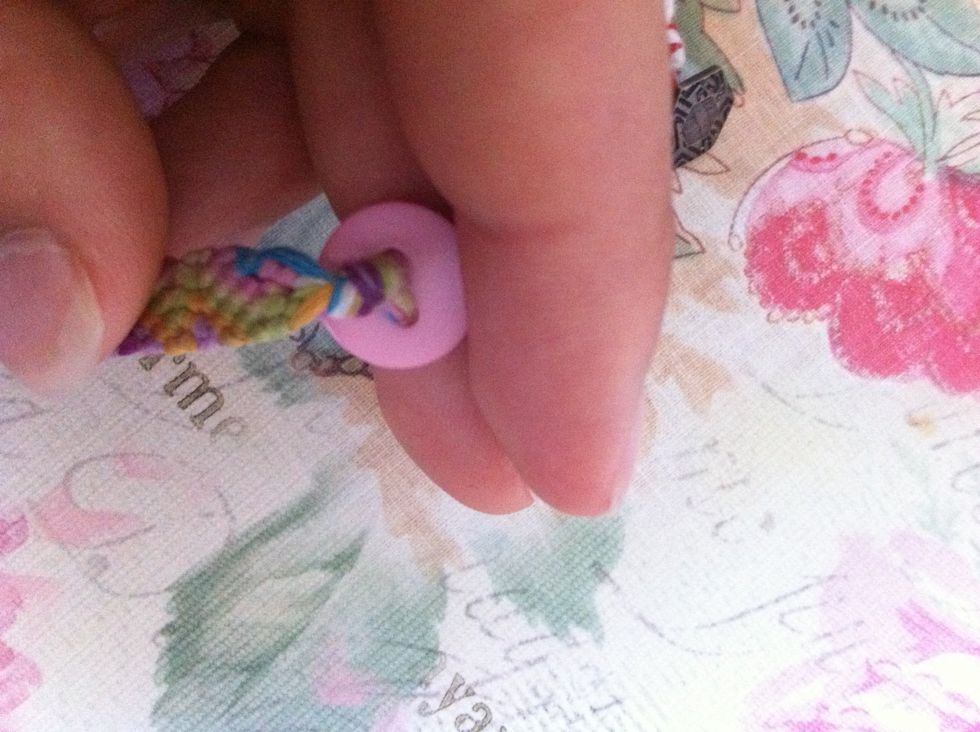
#3: button and loop
This works best when you have two strings that could be one string folded in half. Examples: the flip-flop friendship bracelet, abbaabba or anything similar.
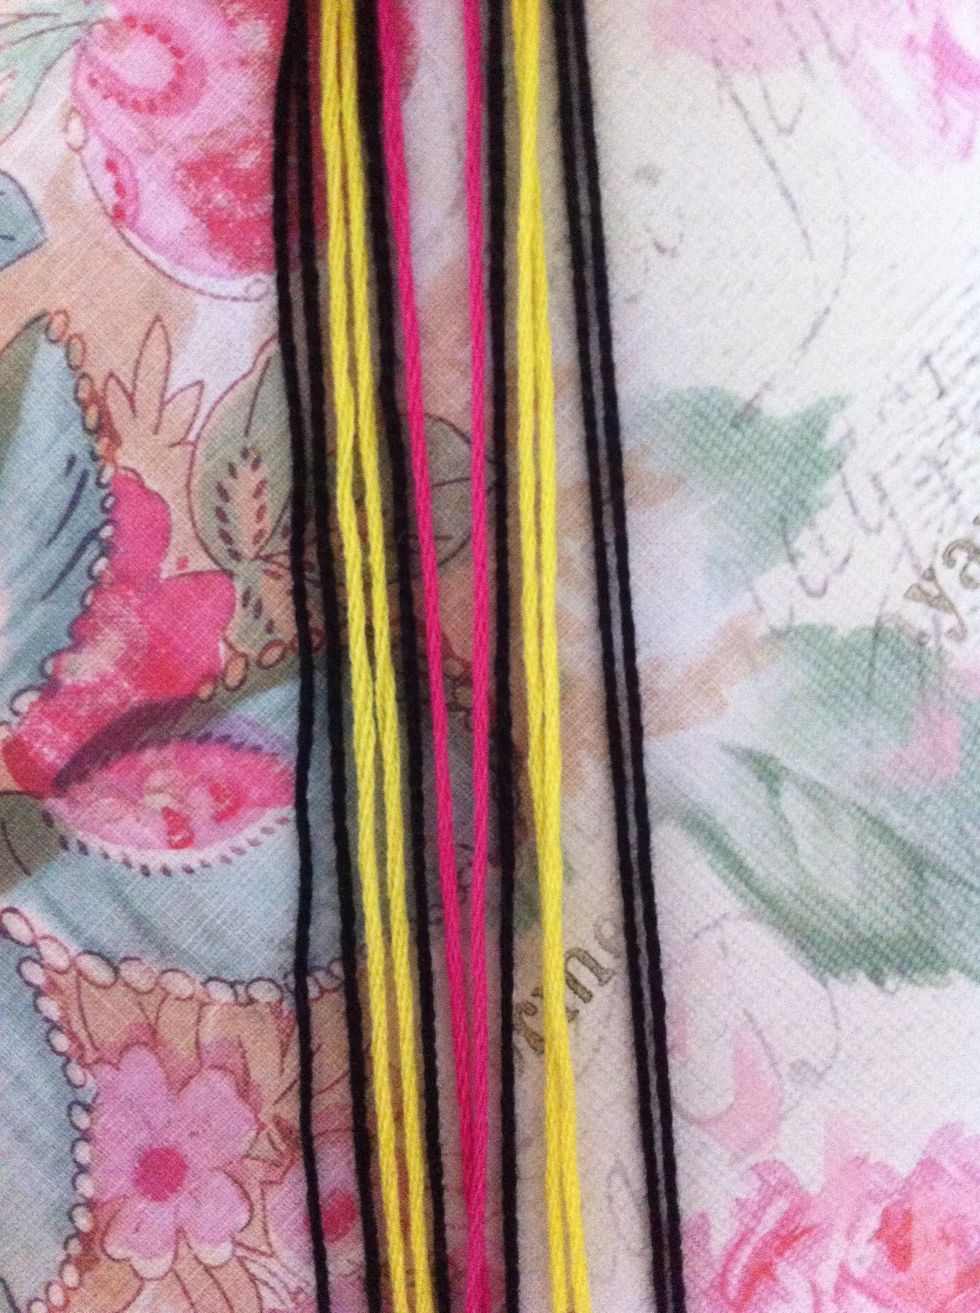
This may look like 12 strings, but it is actually 6 strings folded in half.
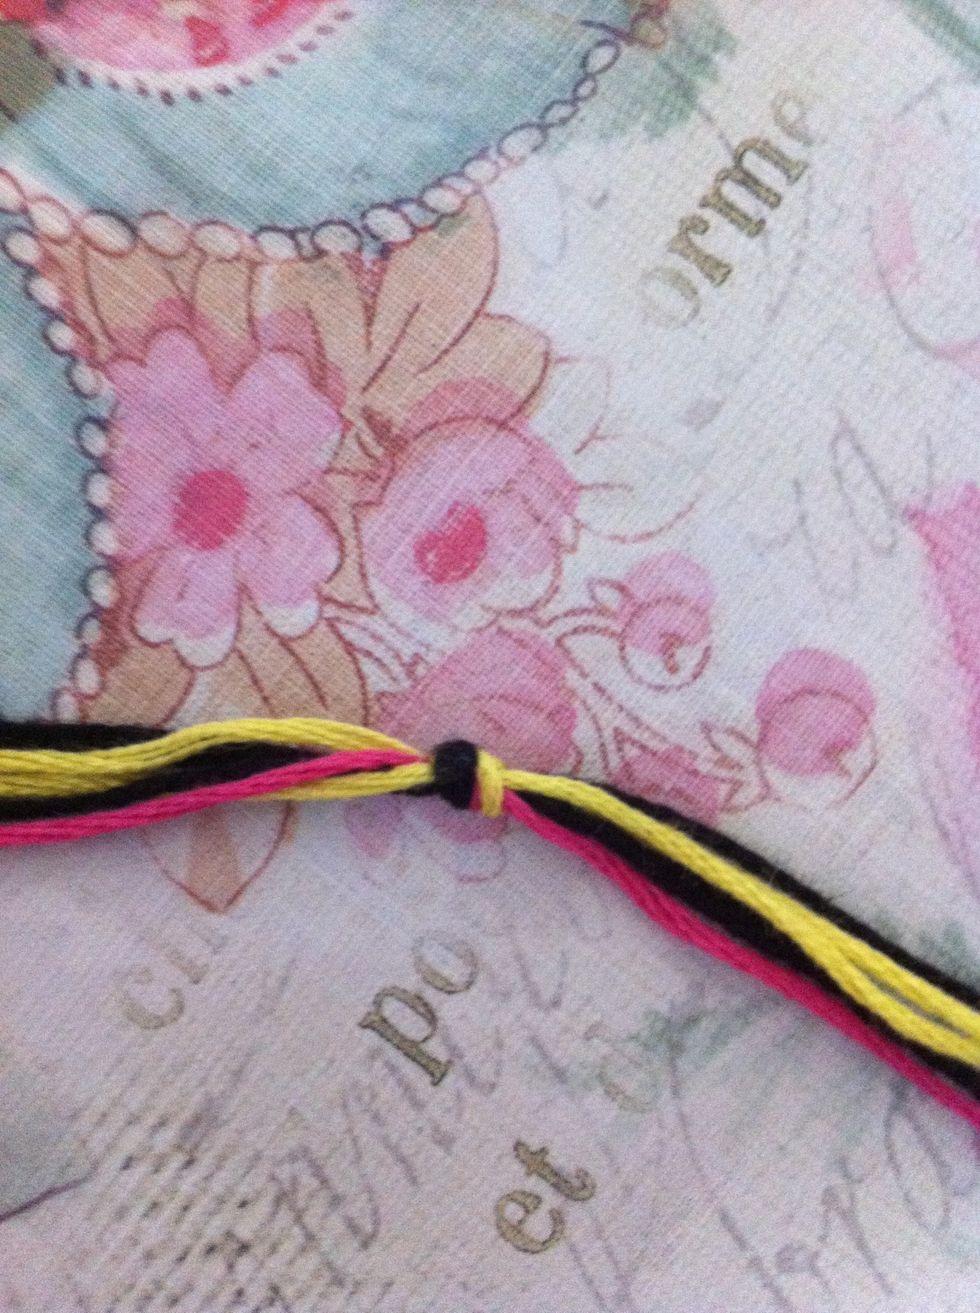
I like to tie a knot at the halfway point (where they fold in half).
Braid down both side of the knot.
Make sure your button will fit and tie a knot, then, start your bracelet.
Tie a knot at the end of your bracelet.
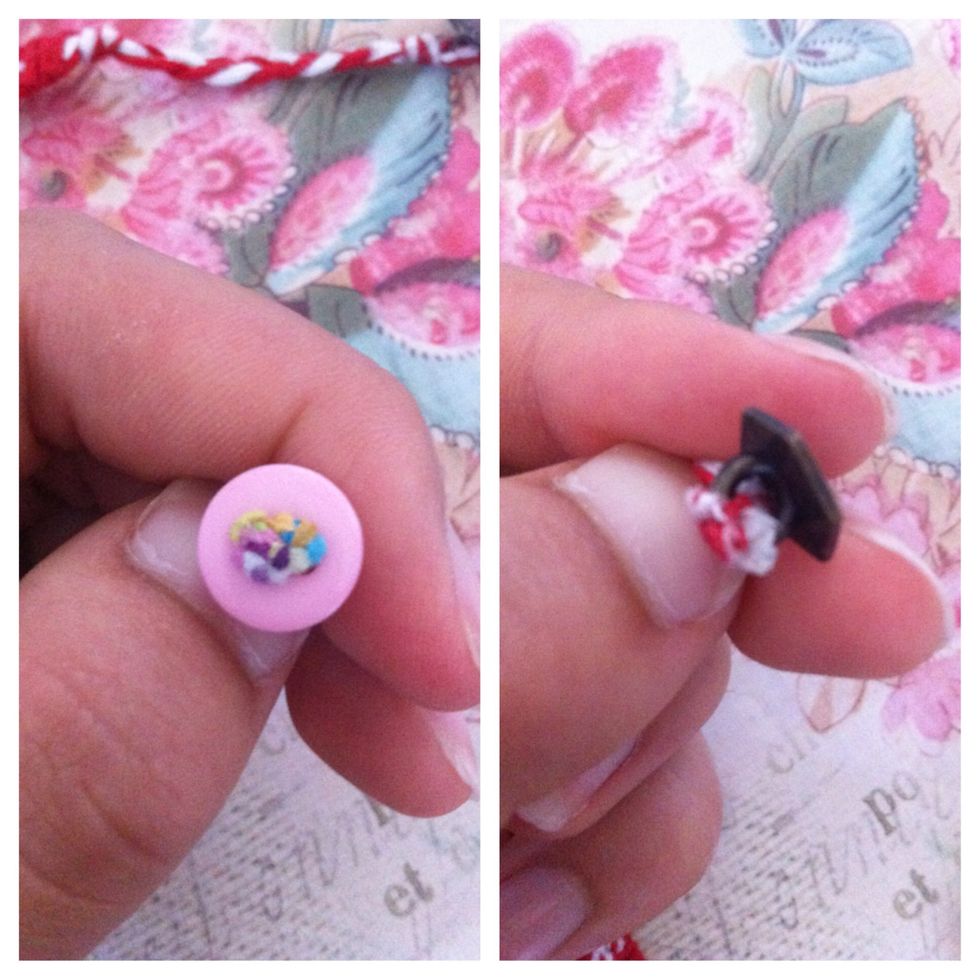
Tie bring the strings through the button hole(s) and tie square knots. Tie a knot with each string. Secure with permanent glue.
Enjoy your bracelet!